Tutorial: Comfy Seat Pillow Using Fabric Scraps
This tutorial will walk you through how to make a seat pillow that fits your chair specifically. I’ll also show you how to make it using leftover scraps of fabric so you can make it both unique and sustainable.
Supplies Needed:
Step 1
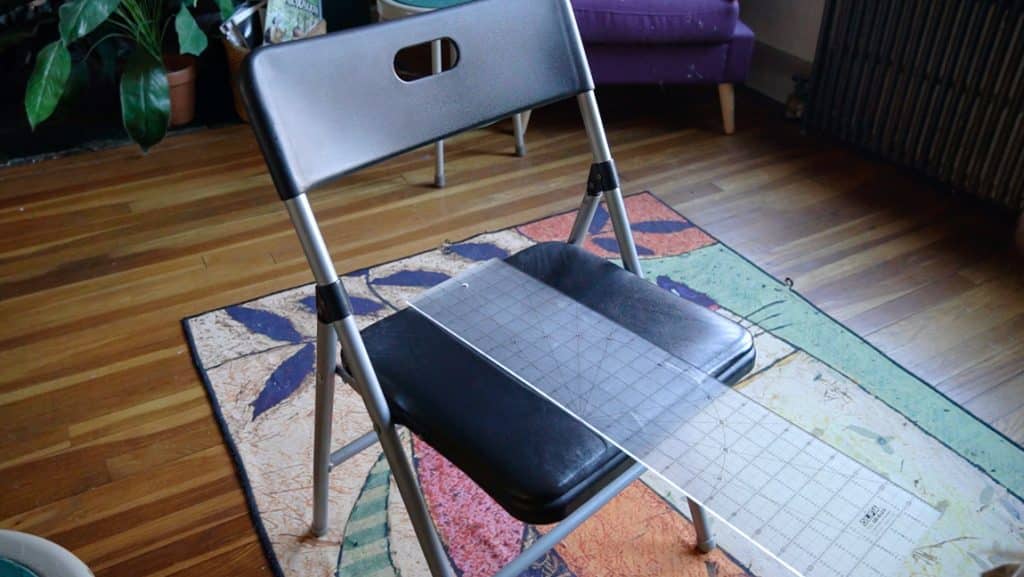
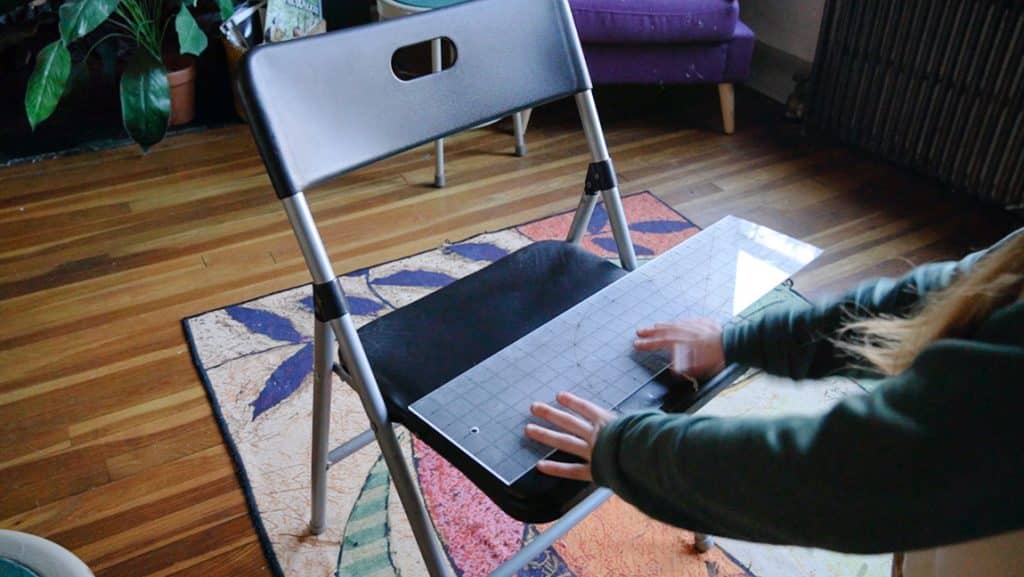
Measure your chair
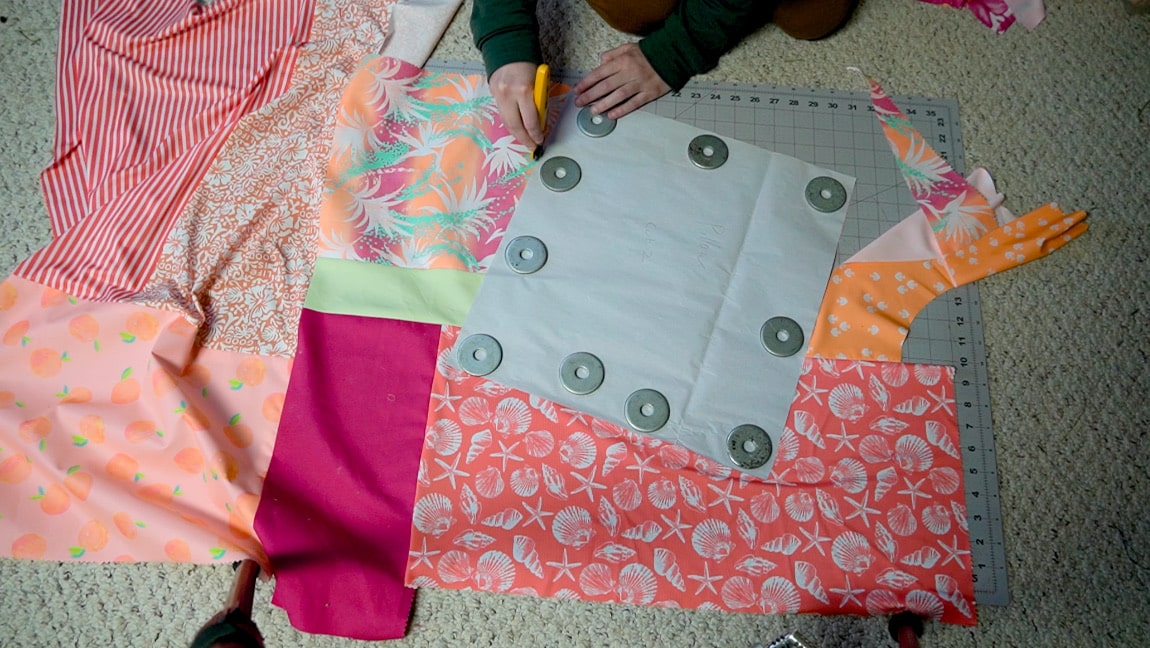
To make sure your pillow will fit your chair, you’ll first need to measure your chair. Use a ruler to measure the length and width of your chair. Then you want to add 1 inch to both measurements to sew with 1/2″ seam allowance.
- So in my case, the chair measured 14″ by 15″. So my pillow pattern will be 15″ by 16″
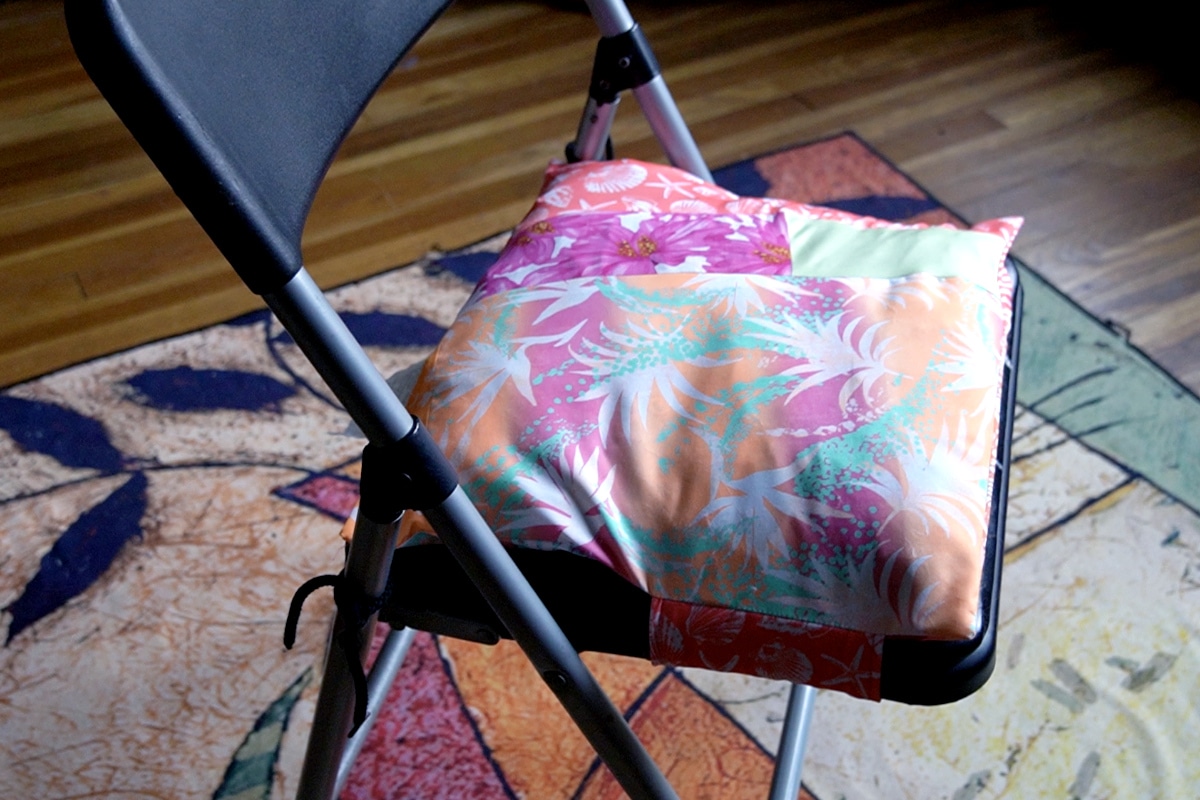
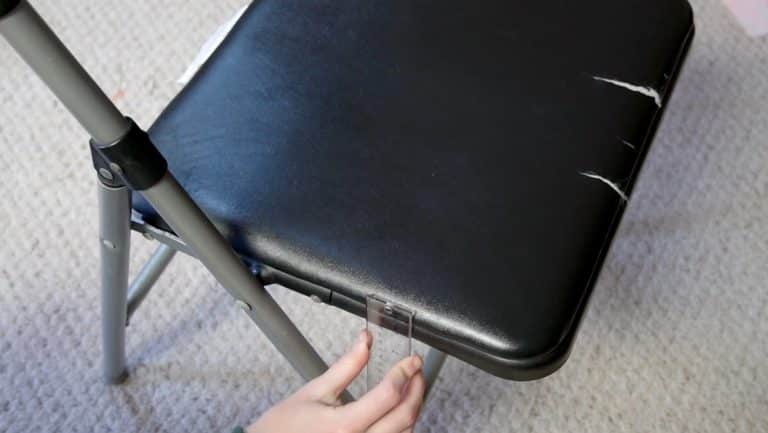
When making a chair cushion, it’s useful to add ties to the corners to make sure the pillow will stay in place. But, if you see in the photos, the front legs of my chair actually connect to the back. Because of this, I decided to make a strap that goes around the seat of the chair in front, and only have the ties in the back. If you have a chair with 4 normal legs, you can ignore this part and just add ties to all 4 corners.
Optional: For the strap, I needed to take the depth of the chair into account, which measured 1.5 inches. The length of the strap will be the width of your chair plus the depth on both sides (and then add seam allowance). The width of the strap can be whatever you want it to be (I chose 5 inches)
- The final measurements of my strap are 15″ (width of the chair) +1.5″+1.5 (depth of the chair)+1″(seam allowance). Which make the final strap dimensions 19″ by 6″
Step 2
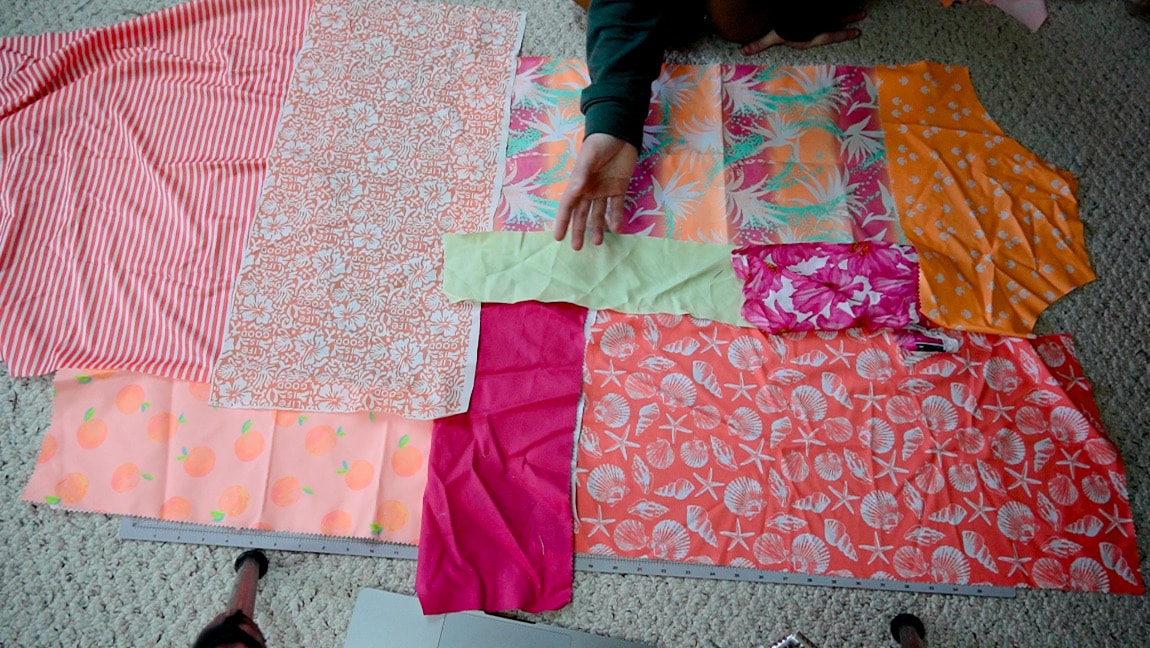
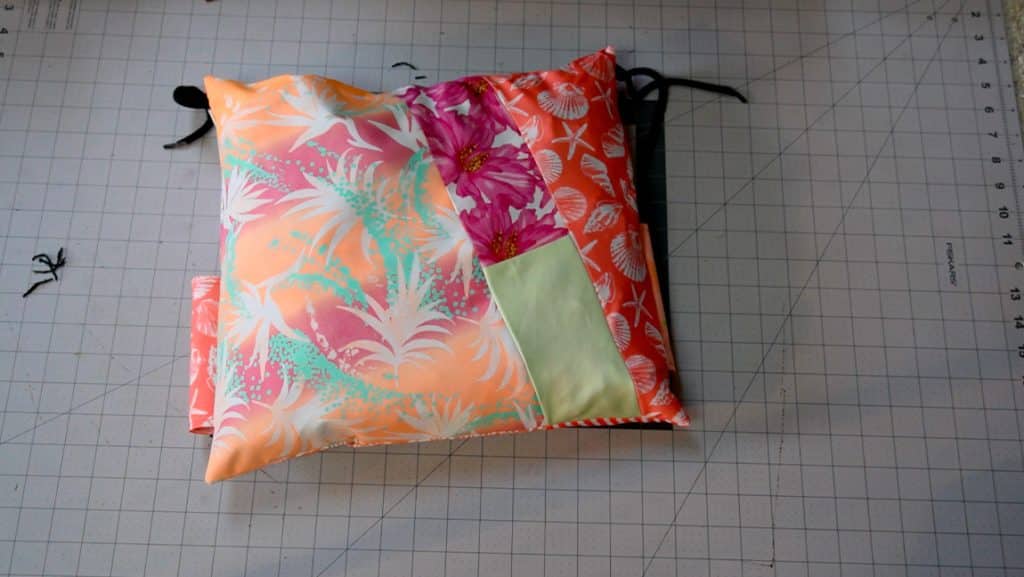
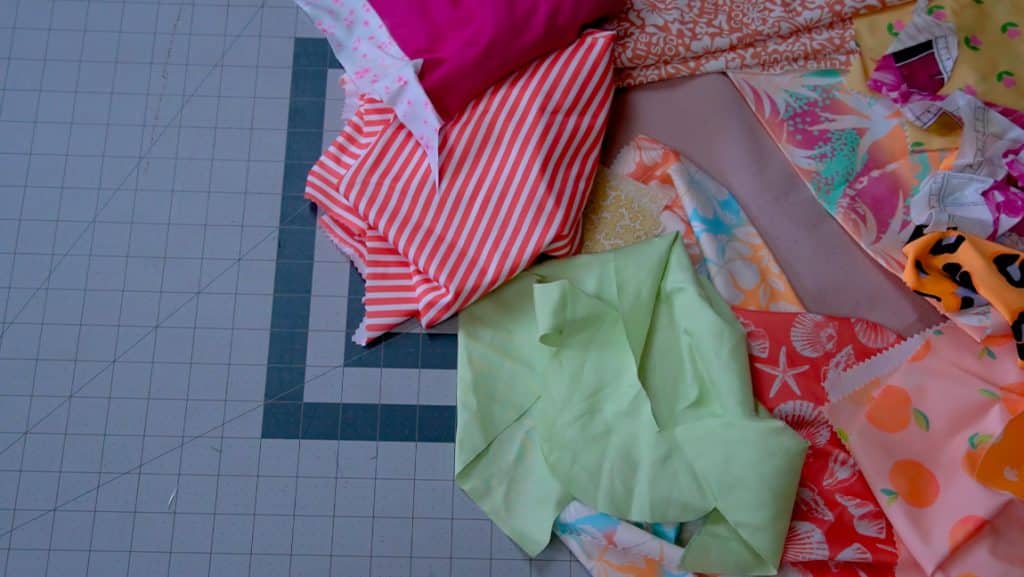
arrange your scraps into a collage and sew them together
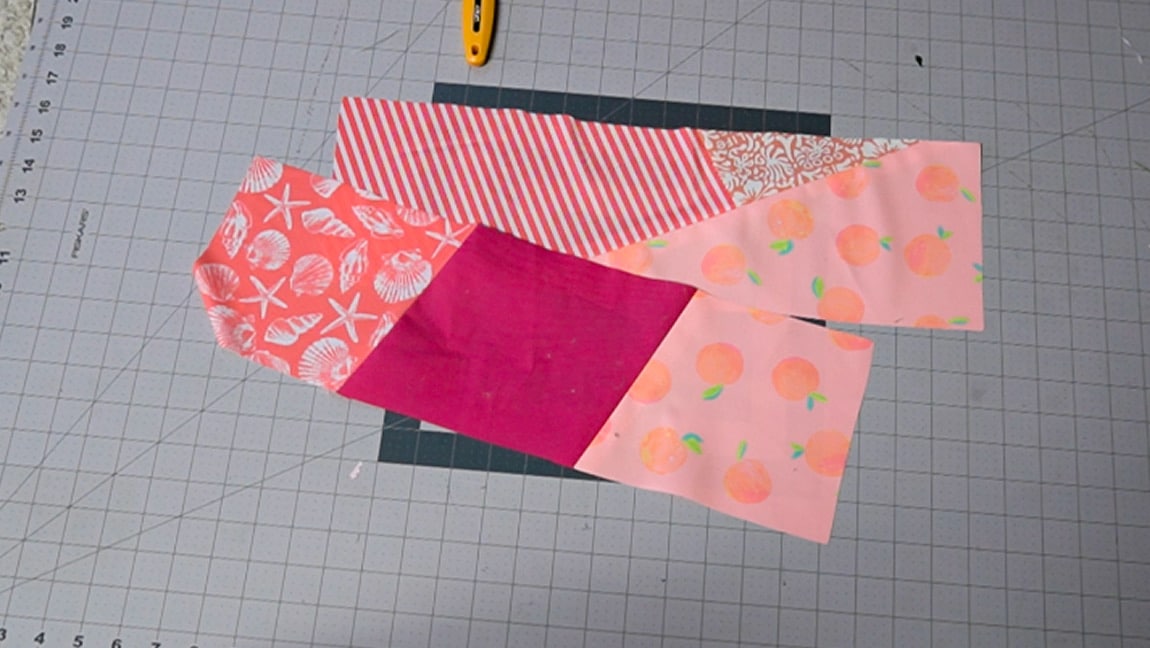
Start by laying out your fabric scraps in a collage. I recommend cutting your fabric pieces into squares and rectangles, especially if this is your first time making a scrap project. They are easier to work with than curved edges. The collage should be big enough to cut out your pattern pieces (2 sides of the pillow, and optional 2 strap pieces)
After you’re happy with the collage, sew all of the pieces together. It’s easiest to sew together smaller chunks, and then sew each chunk together to create the whole collage.
Step 3
cut out your pillow pieces
Overlay your pillow pattern piece on your collage and cut it out twice. If you are adding a strap to the bottom of the pillow, you also want to cut out two of the rectangle strap pieces.
Step 4
optional: sew your chair strap
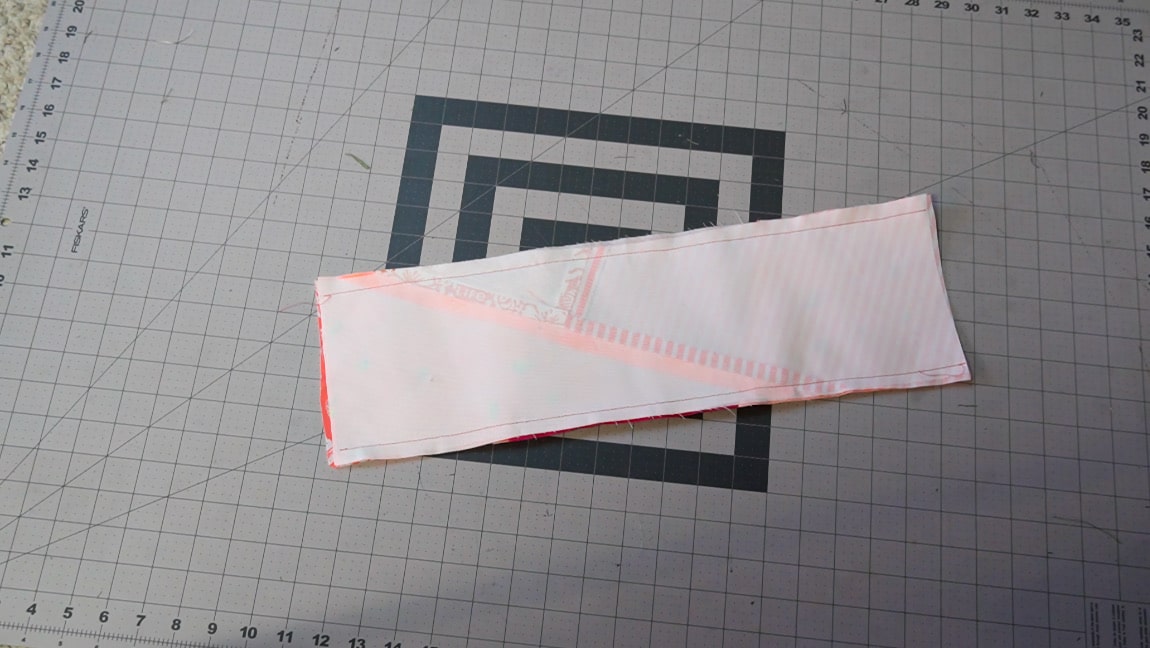
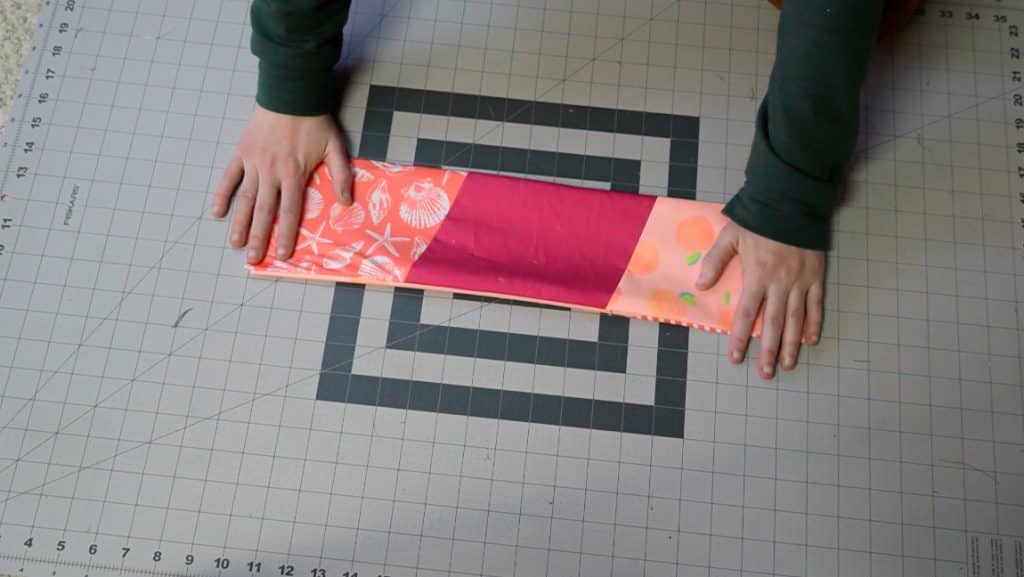
If your chair does not have legs at the front of the seat, like mine, you’ll want to add the strap. start by adding interfacing to one strap piece. Then sew them along the length with right sides together, leave the short sides open.
After sewing, turn the strap to the right side and press it flat.
Step 5
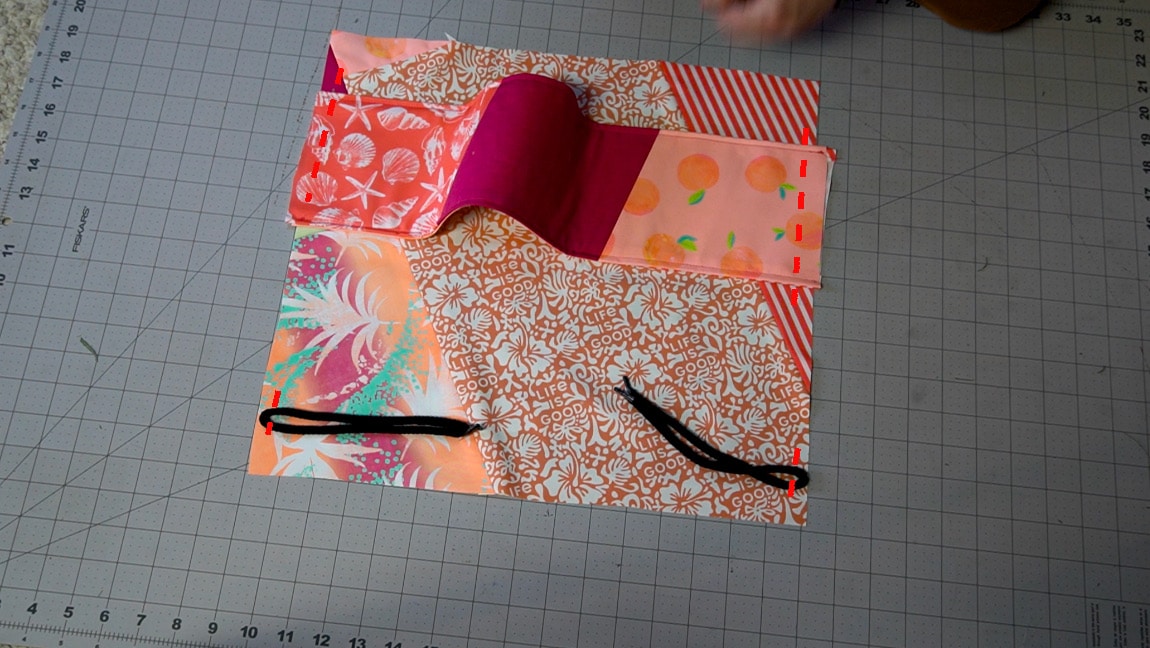
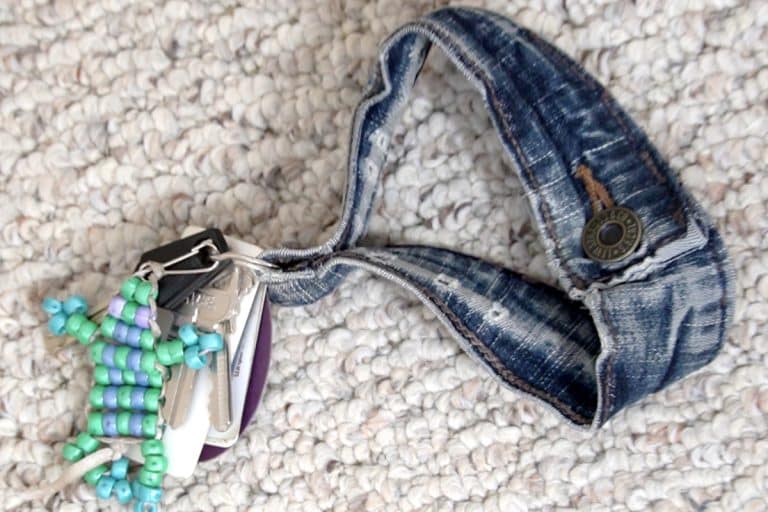
Baste your string and strap
Baste the strap to the front of the pillow and baste the string to the back of the pillow. Or just baste string to all four corners of the pillow.

Step 6

sew the pillow front and back
With right sides together, sew the front and back of the pillow sandwiching the strap and string on the inside. Make sure to leave a gap in the stitches somewhere.
Step 7
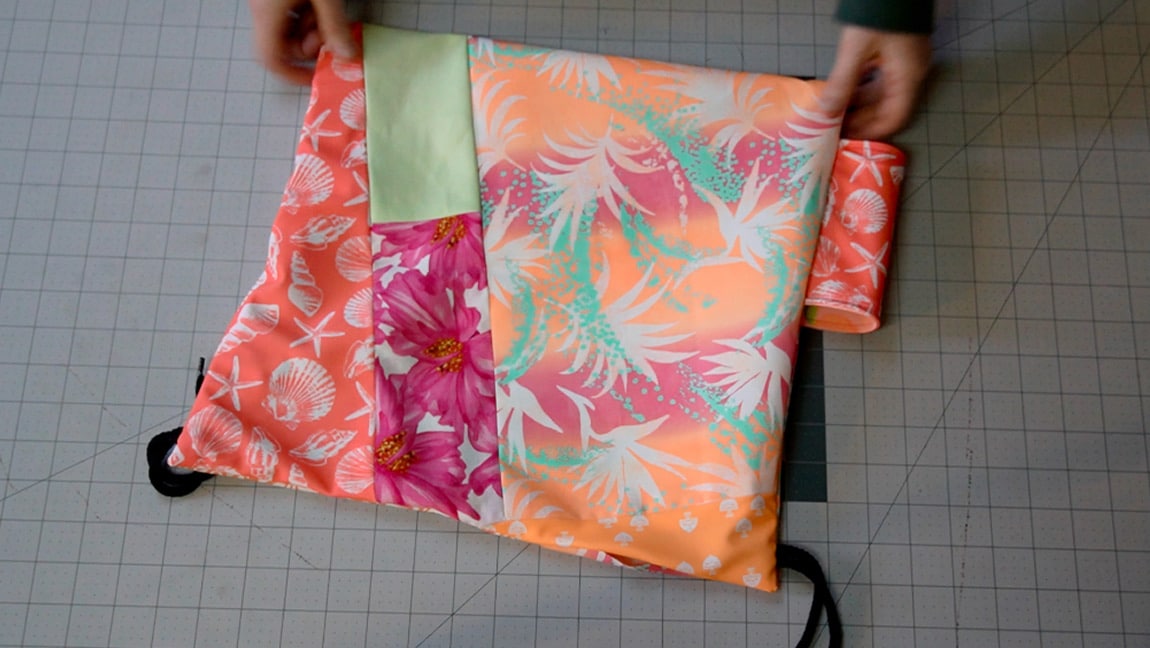
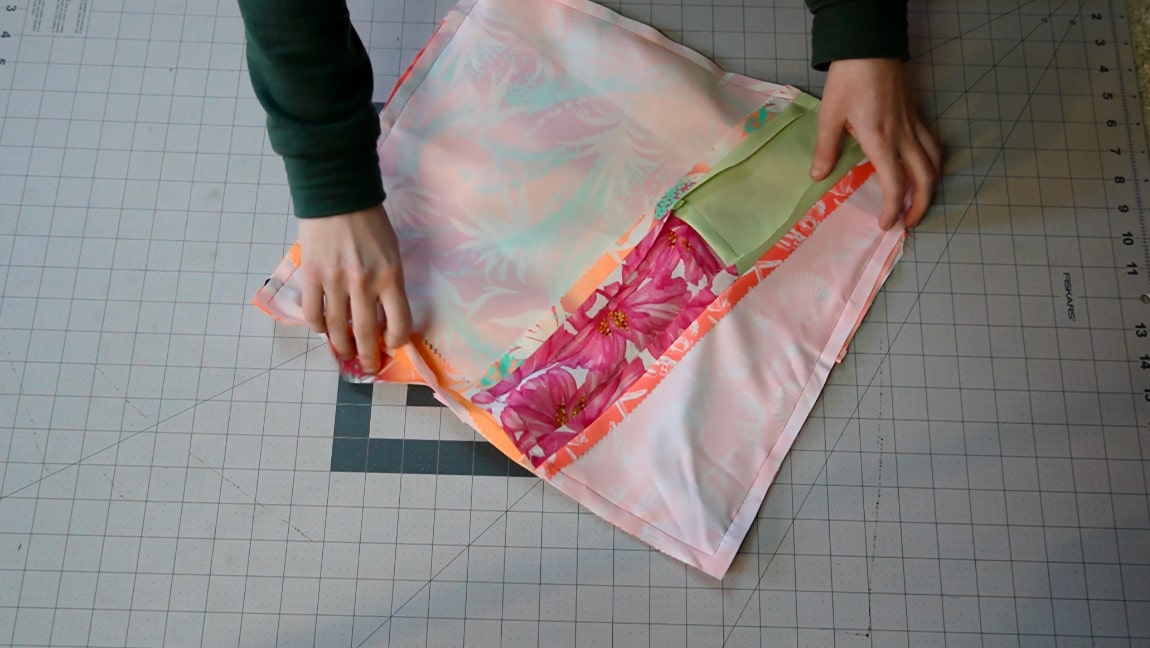
Turn the pillow to the right side
Turn the pillow to the right side through the gap. The string and strap should now be outside of the pillow.
Step 8

stuff the pillow
You can use anything you want to stuff the pillow. I like to use my leftover scraps for pillow stuffing, but poly-fill or other types of stuffing will make a softer pillow.
Step 9

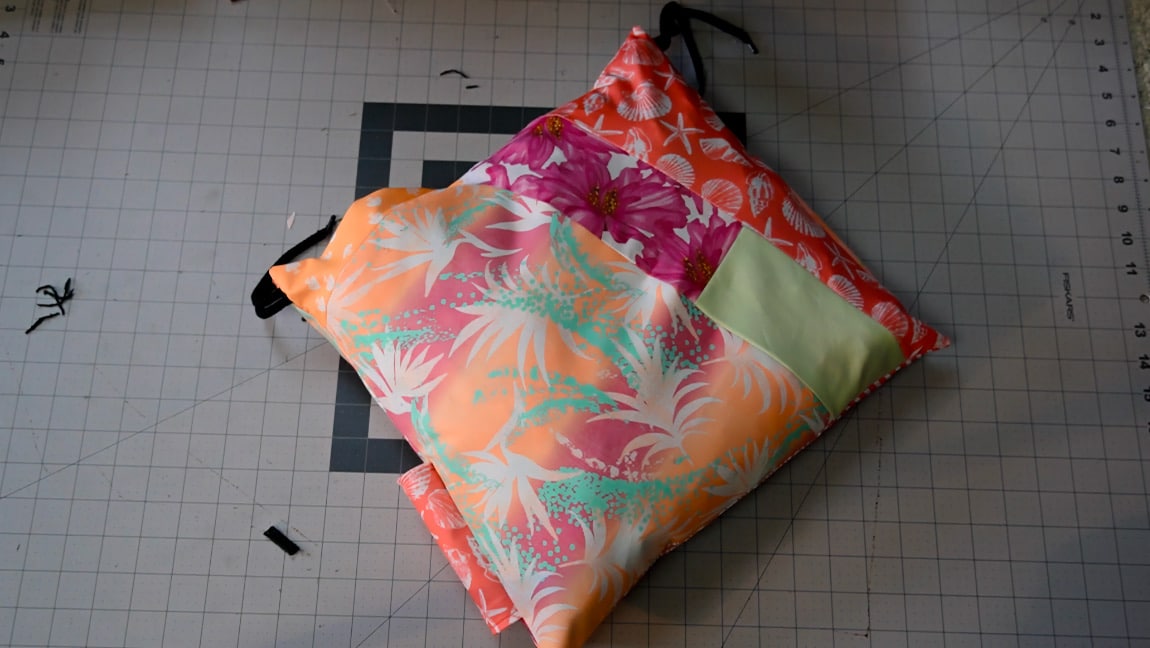
sew the gap
All that’s left to do is sew up the gap. Hand stitch this closed and attach you new seat pillow to your chair.
Finished!