Tutorial: Under-Bed Storage Solution for Plushies
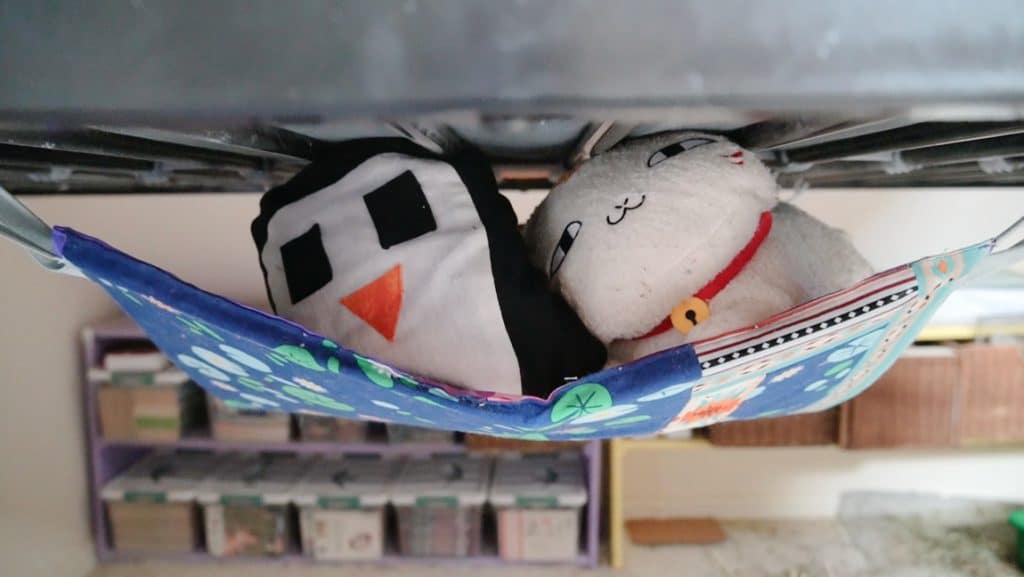
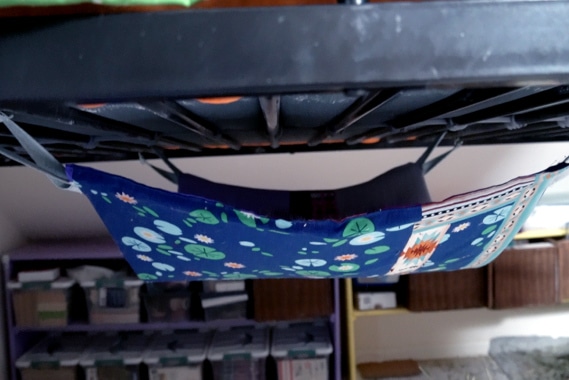
This tutorial will show you how to make a platform you can hang under a bed for a little more storage. It’s especially good for storing kids’ plushies (so I cal it a plushie hammock), but you can also use it for extra blanket, pillow, or other light-weight storage.
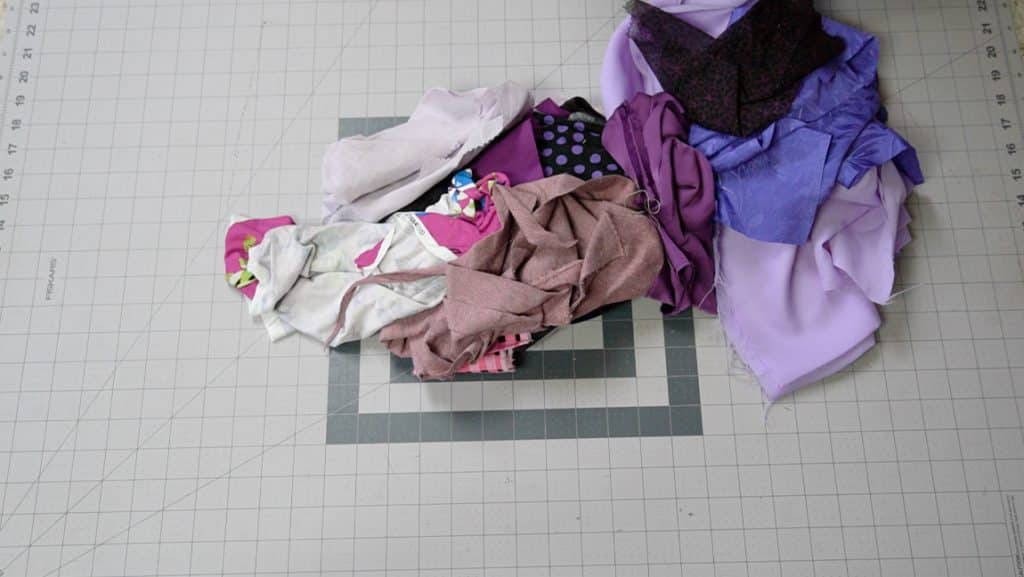
I created this under-bed storage platform using leftover fabric scraps, and I’ll show you how I did that. But if you prefer to use larger rectangles of fabric instead of all the scraps, you can skip steps 3 and 4 below.
This page contains affiliate links. As an Amazon Associate, I earn a small commission from qualifying purchases. That being said, I encourage you to use your local sewing shop whenever possible, or to look for supplies second hand.
Supplies Needed:
Step 1
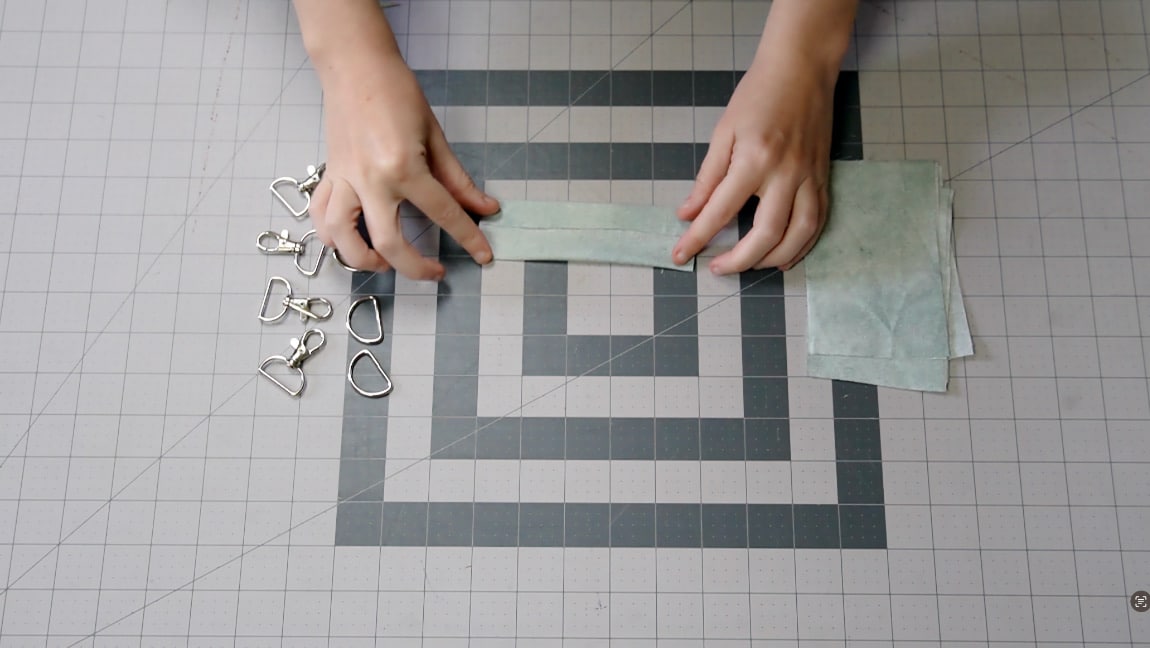
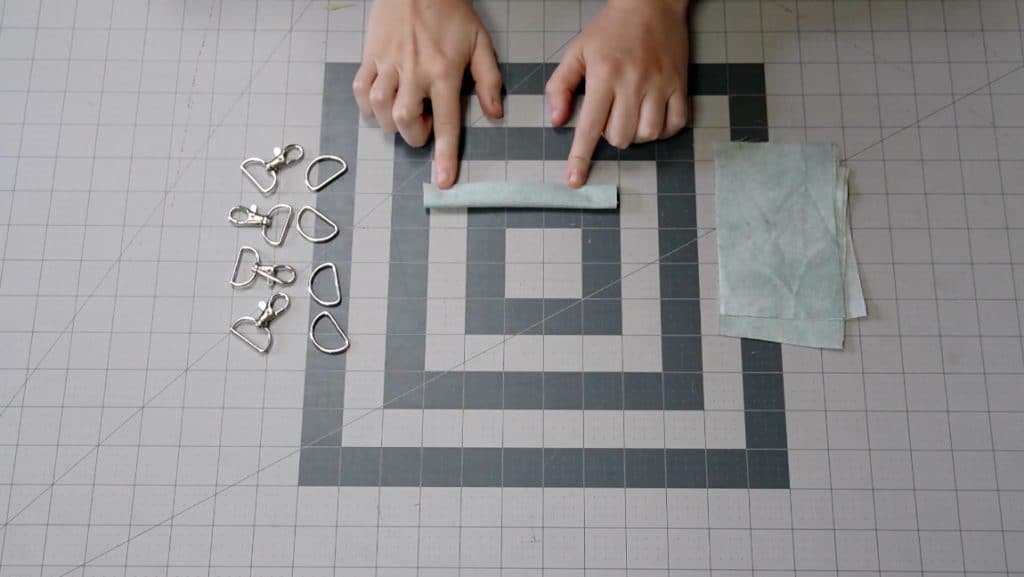
fold 8 strips of fabric in quarters
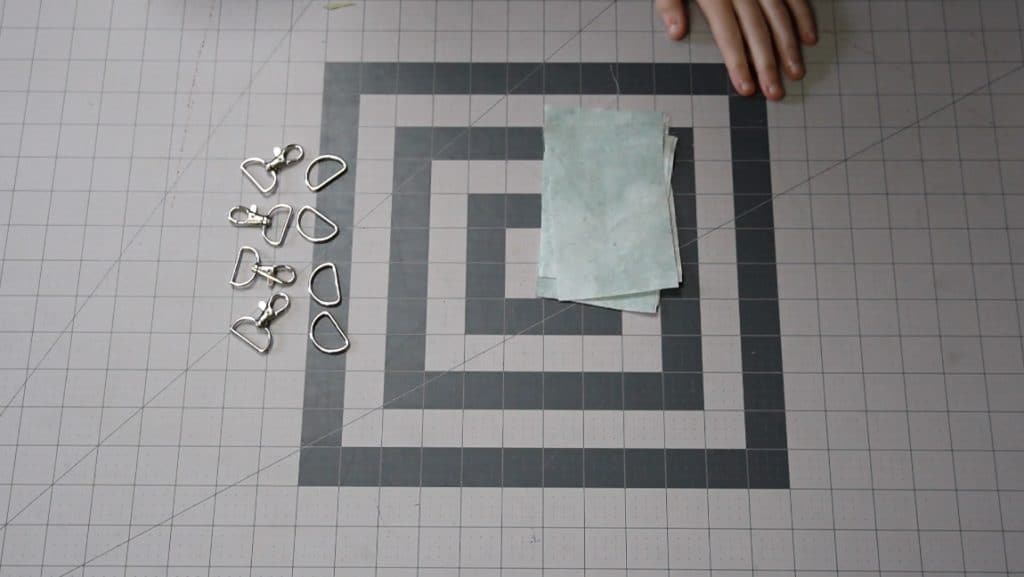
cut eight 3″X5″ strips of fabric. Fold the sides to the center, then fold it in half (just like double fold bias tape). Sew along the open edge.
Step 2
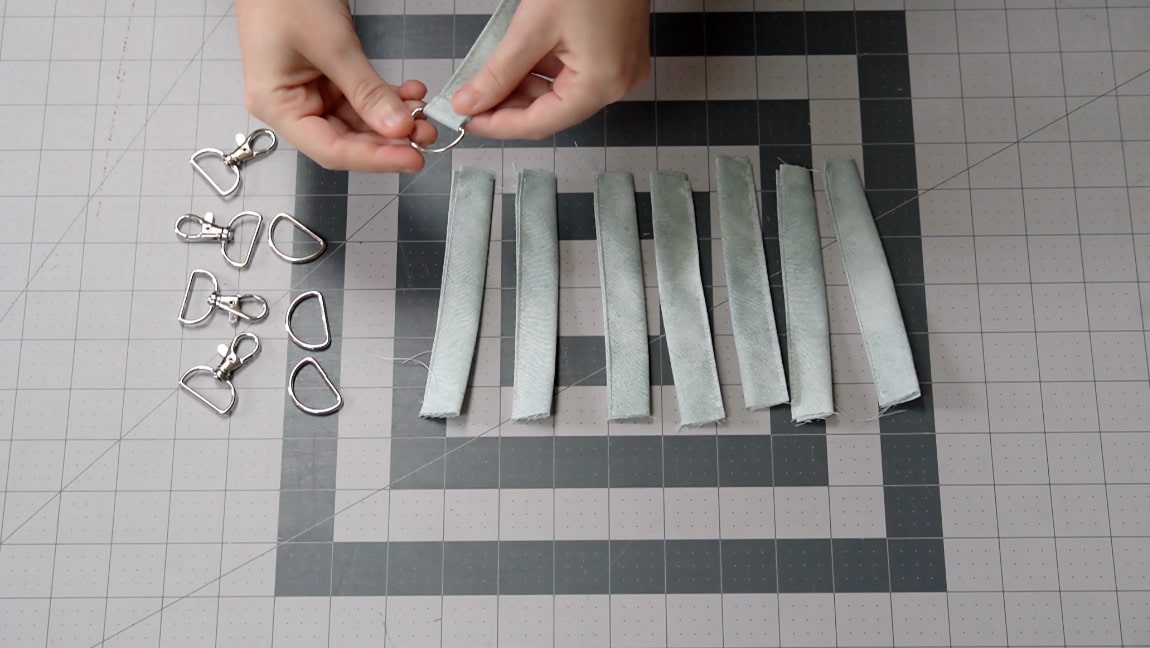
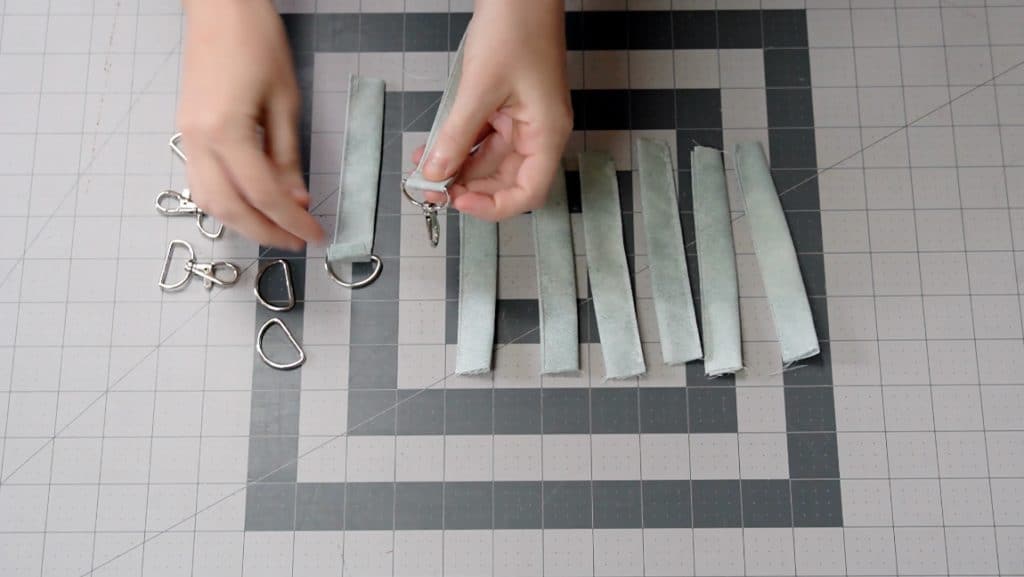
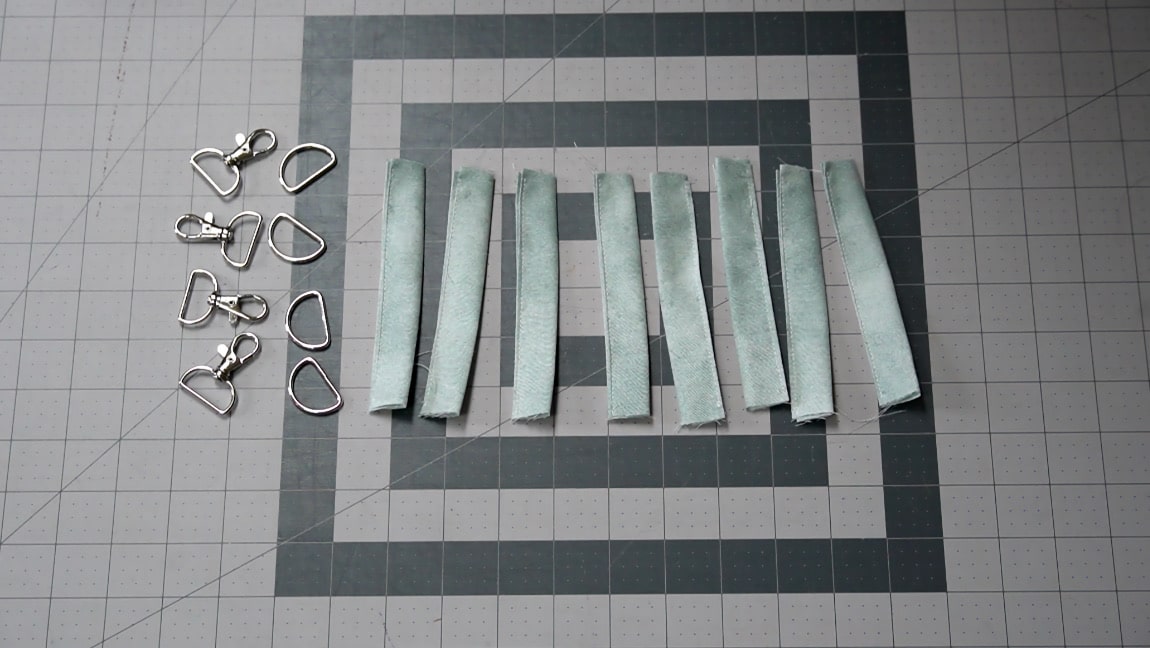
Fold the fabric strips around the clips and rings
Fold the fabric around the clips and rings, and sew it in place. You should have four clips and four rings.
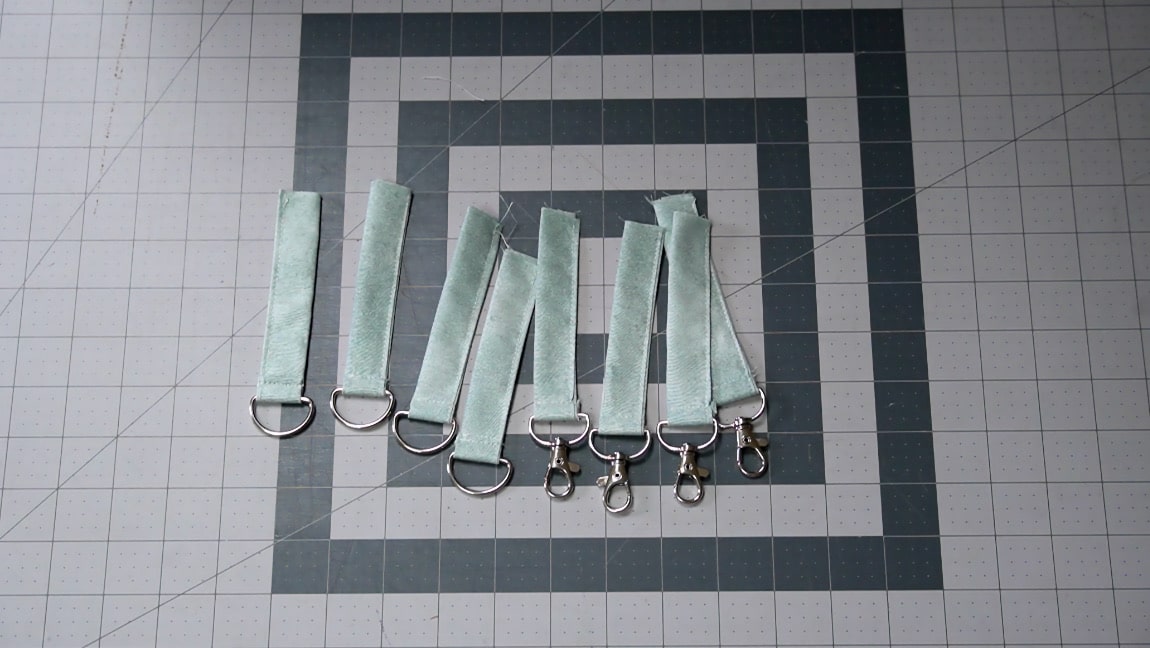
Step 3
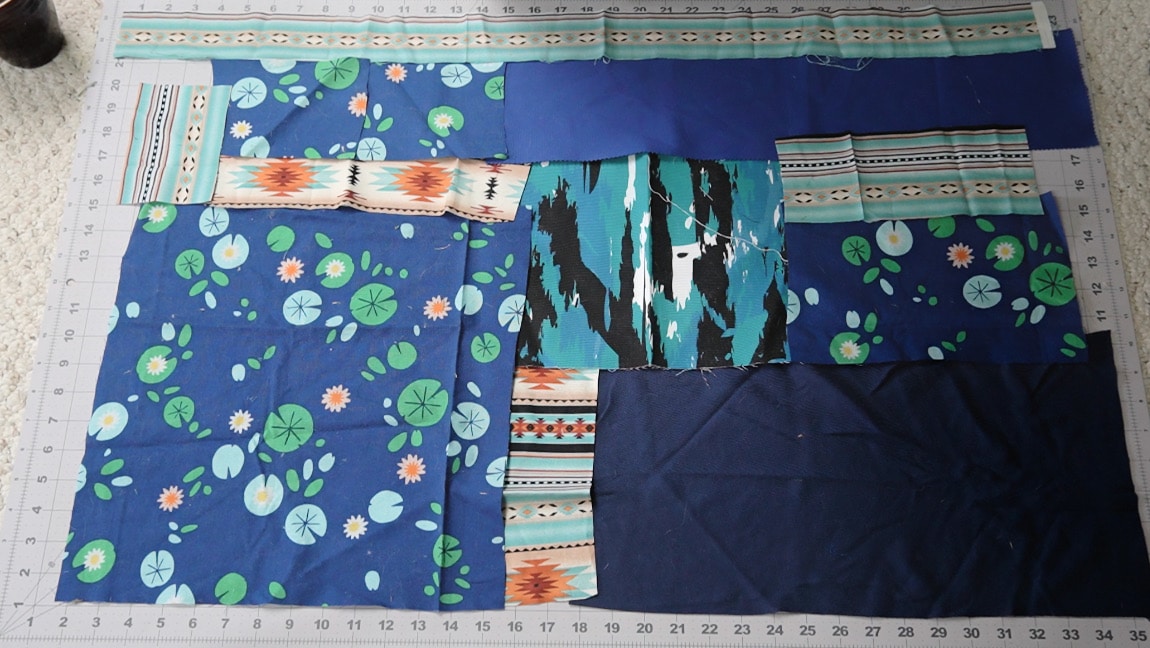
arrange the fabric scraps
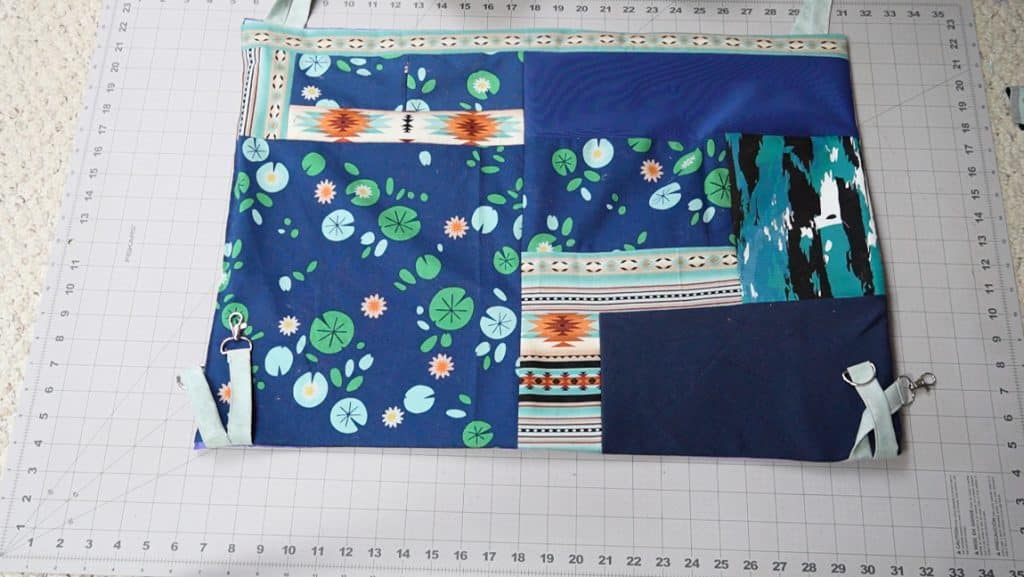
Create a collage of your fabric scraps, making a layout that is large enough for your cardboard. I recommend cutting your fabric pieces into rectangles, since they are easier to sew together than curved pieces.
Step 4
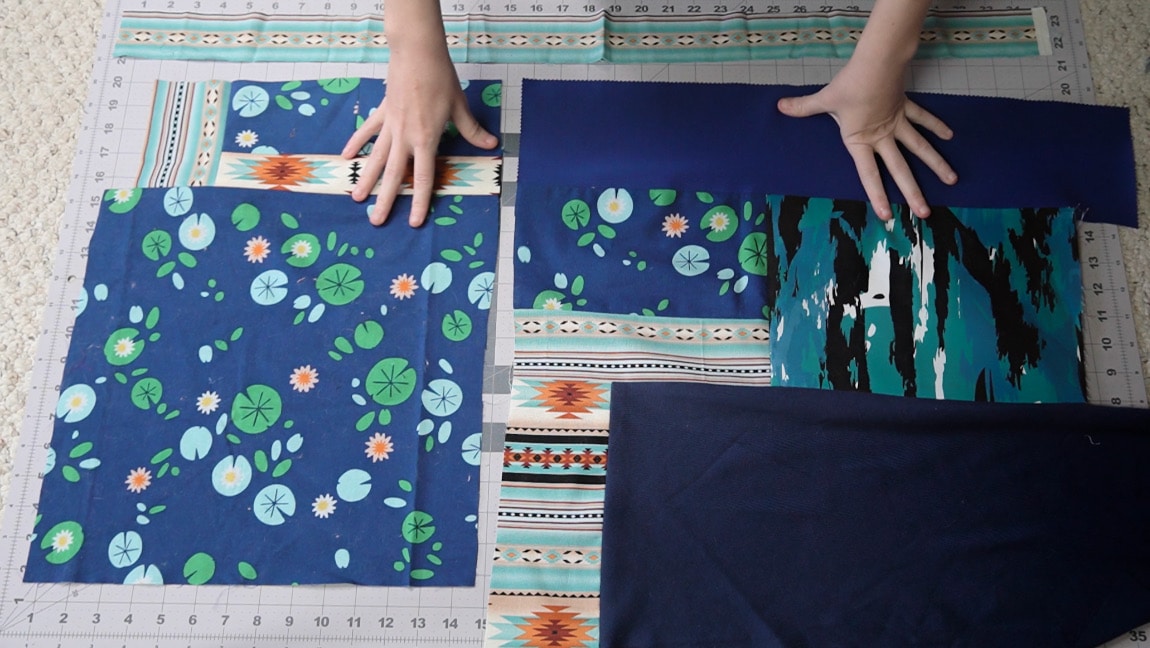
sew the fabric scraps together
one by one, sew all the fabric scraps together. I find it easiest to do this is smaller sections, and then sew the larger chunks together.
Step 5
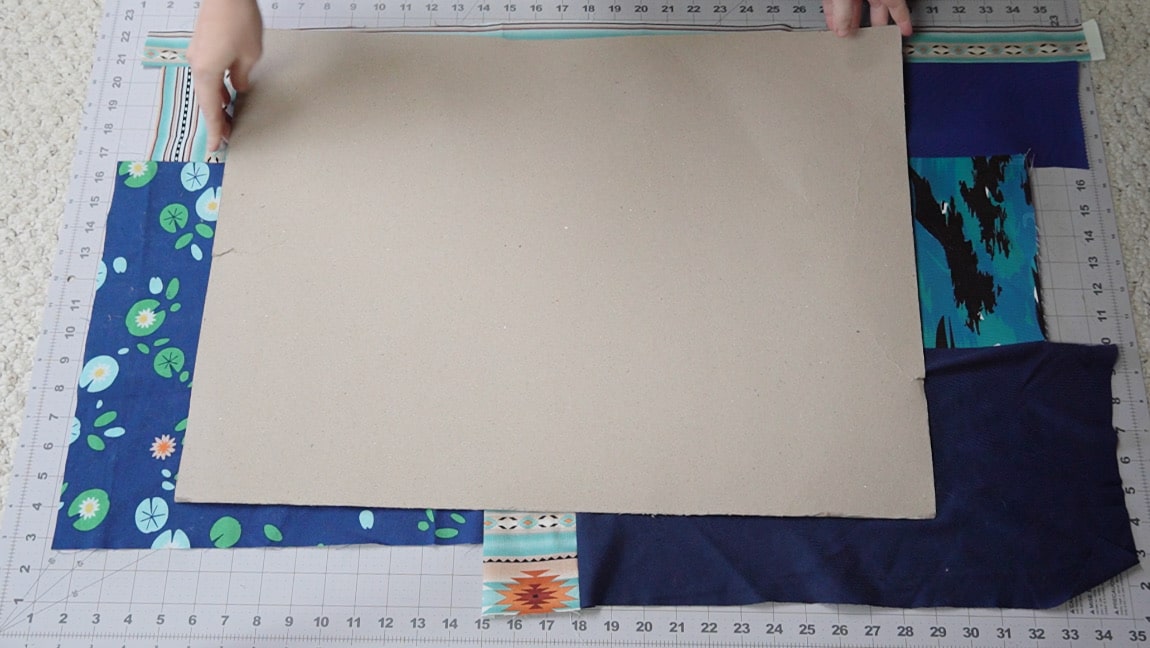
cut the scrap collage to fit the cardboard
Measure your cardboard. Cut your collage to make it 2 inches wider and 2 inches longer than your cardboard piece. This will account for seam allowance and the thickness of the cardboard. Note: My piece of cardboard was 18″X24″, but you can use whatever size you want.
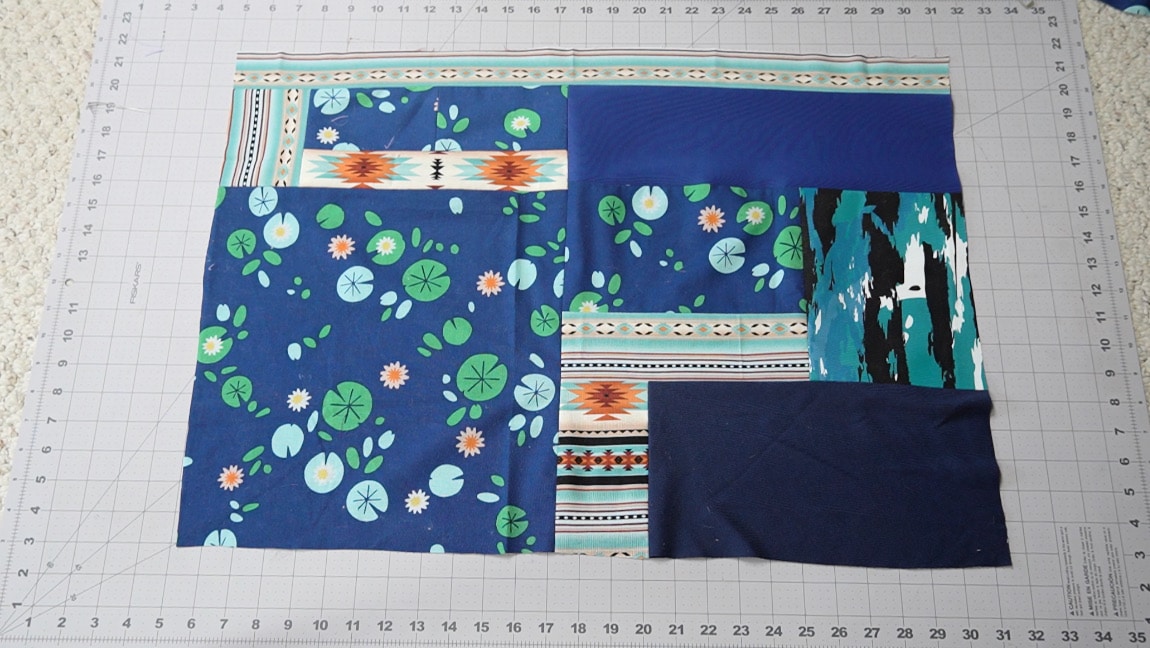
Step 6
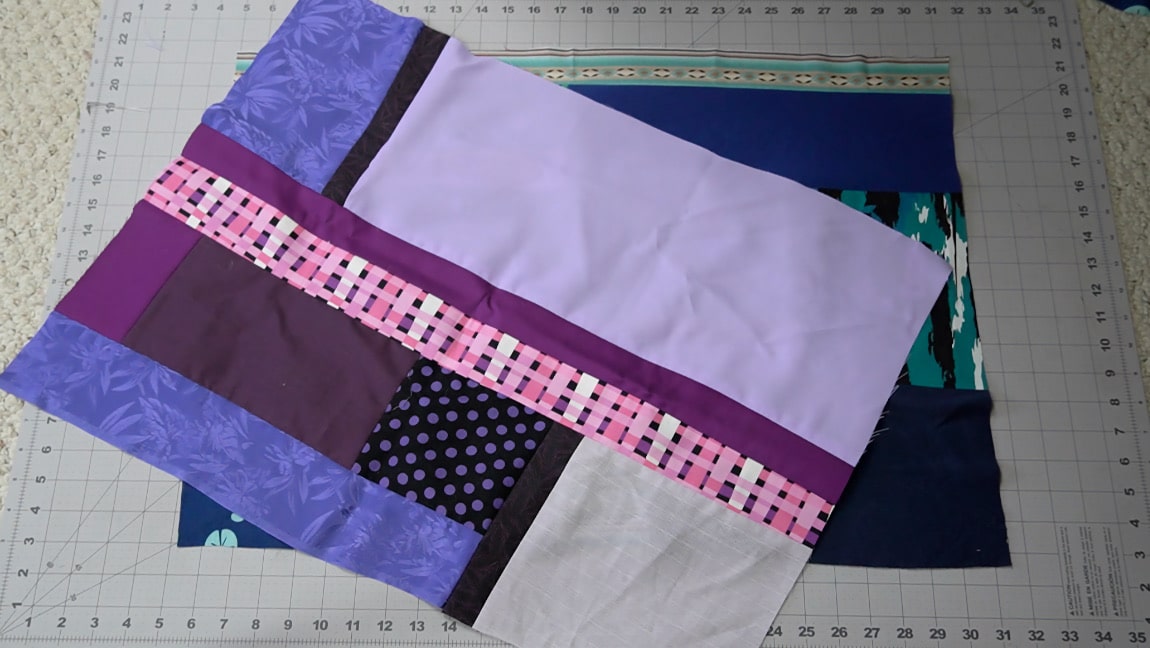
repeat for a second set of scraps
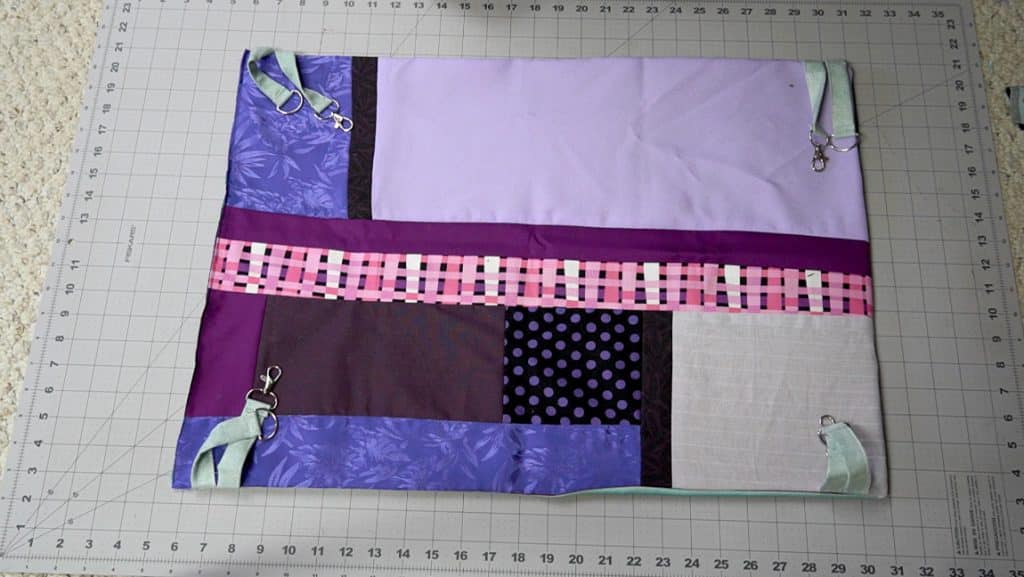
Repeat steps 3-5 to make the second side of the platform.
Step 7
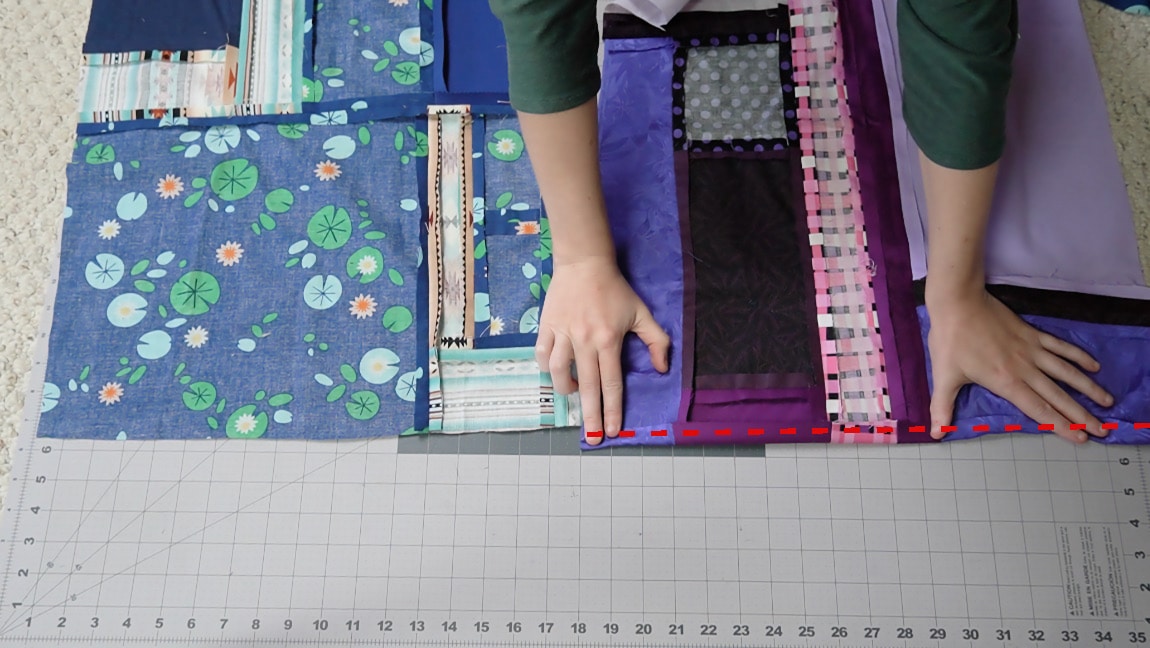
fold over the seam allowance on one side of both pieces
Fold over 1/2 inch on one side of both pieces. Baste it in place.
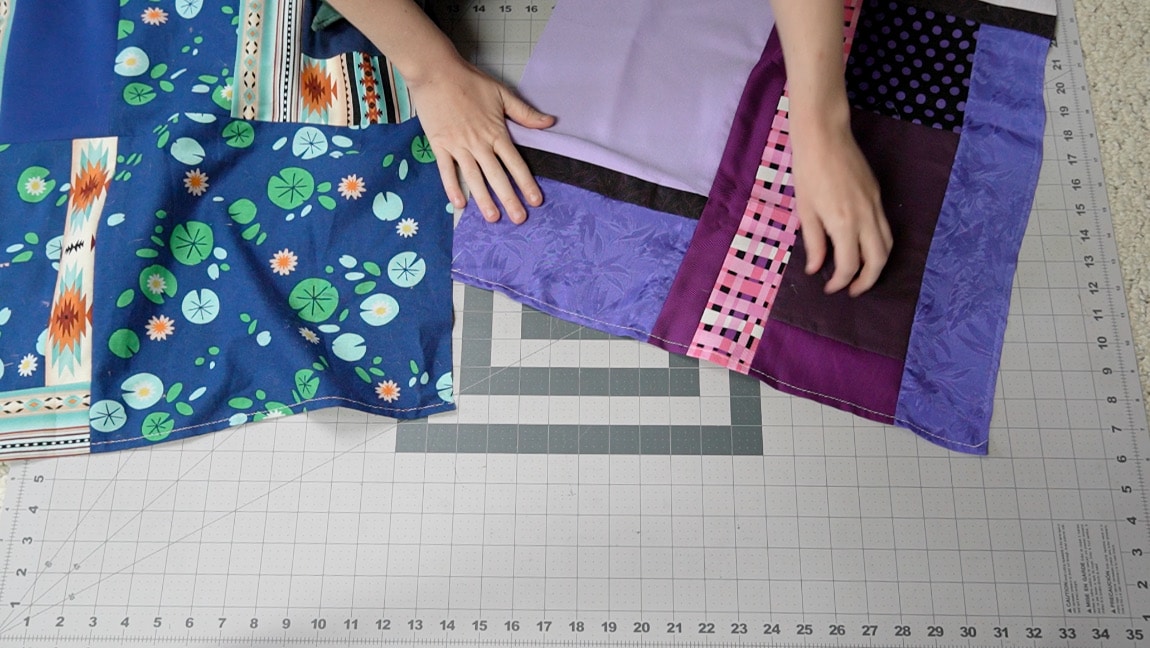
Step 8
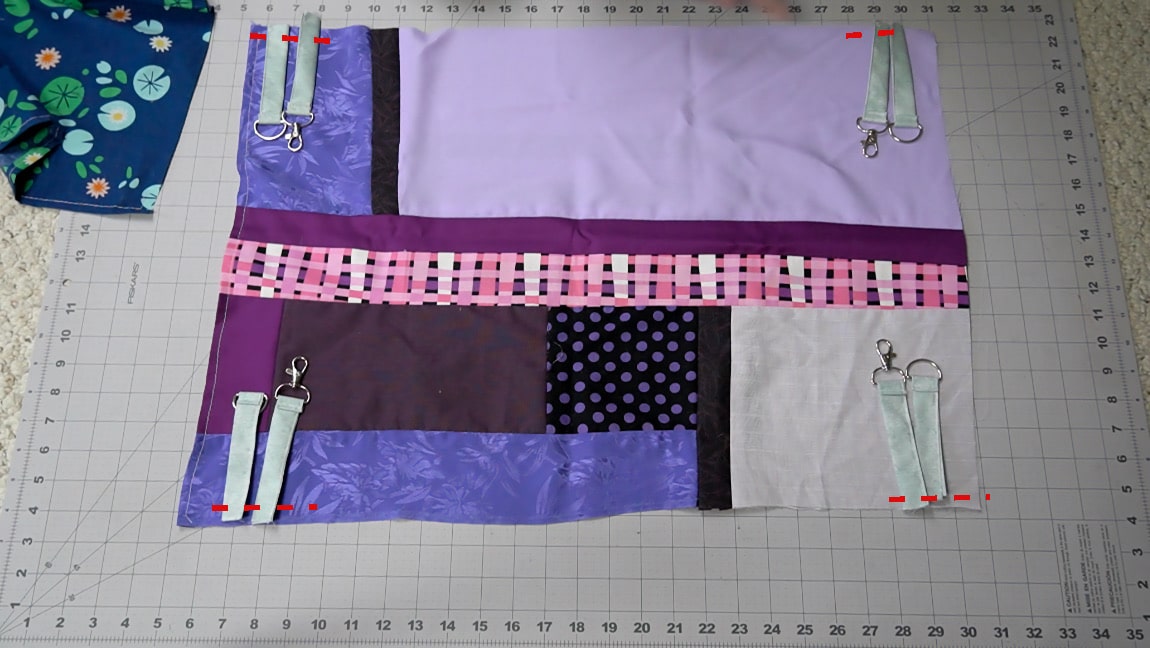
baste the clips and rings to the corners
Place one clip and one ring on all for corners of one side and baste them in place.
Step 9
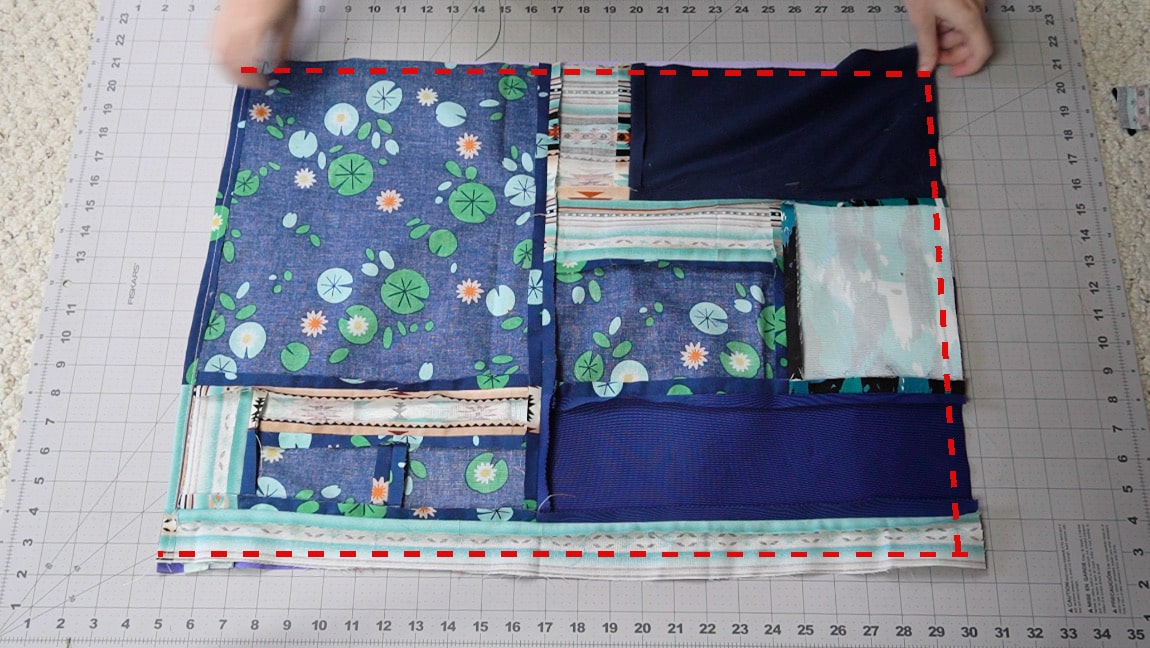
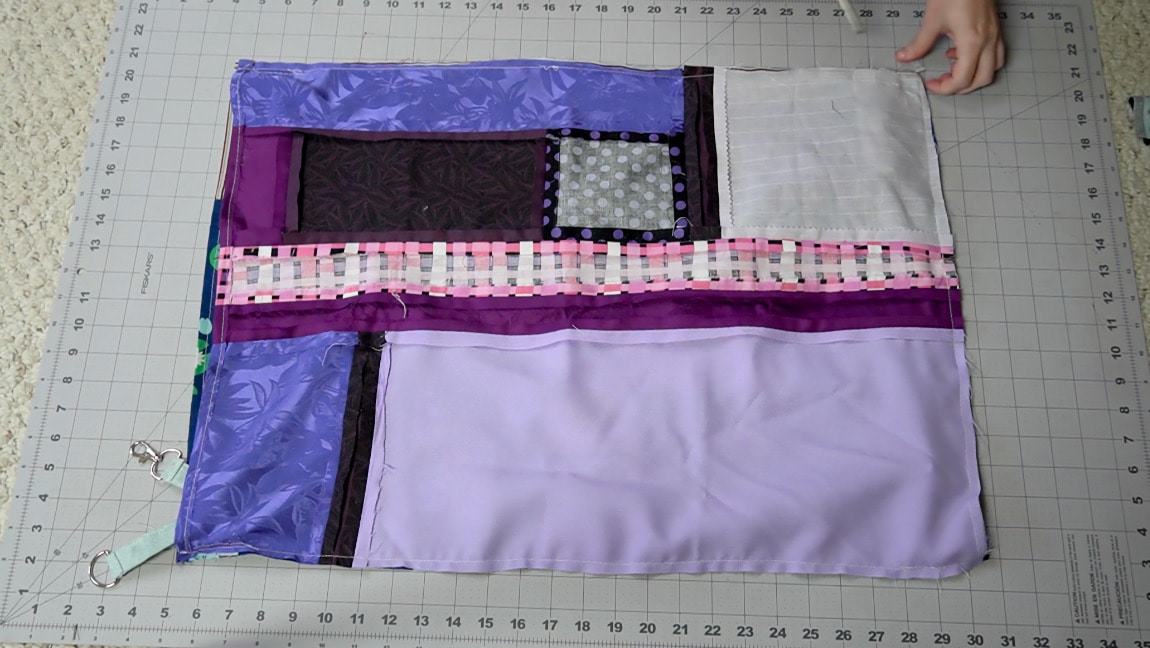
sew the top and bottom together
with right sides together, sew the top and bottom of the platform. Leave the basted side open.
Step 10
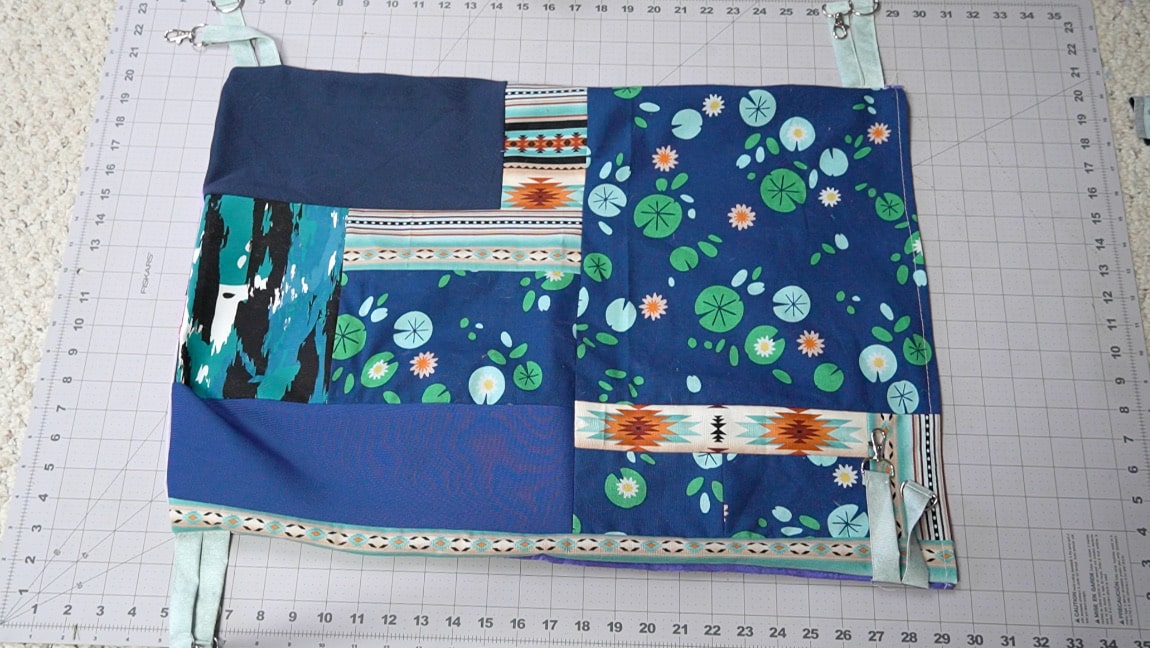
turn the platform to the right side
Step 11
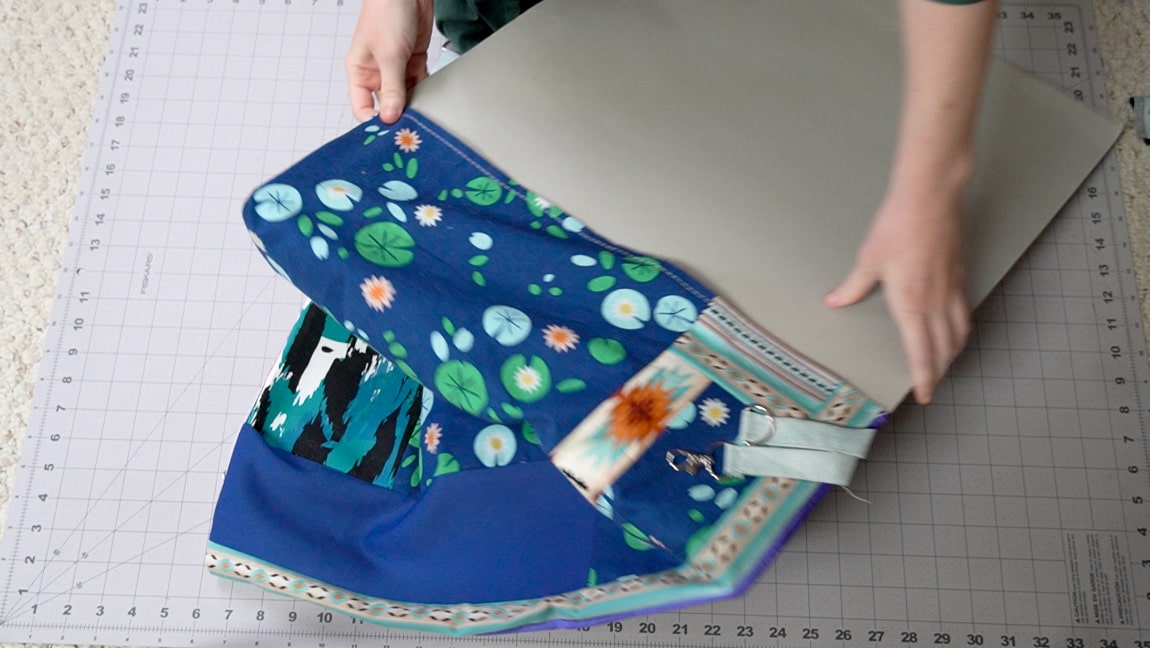
insert the cardboard and sew the open side closed
Slide your cardboard into the platform. Then sew the open side closed and remove the basting stitches. Use the clips to hang the platform under a bed for some extra storage.
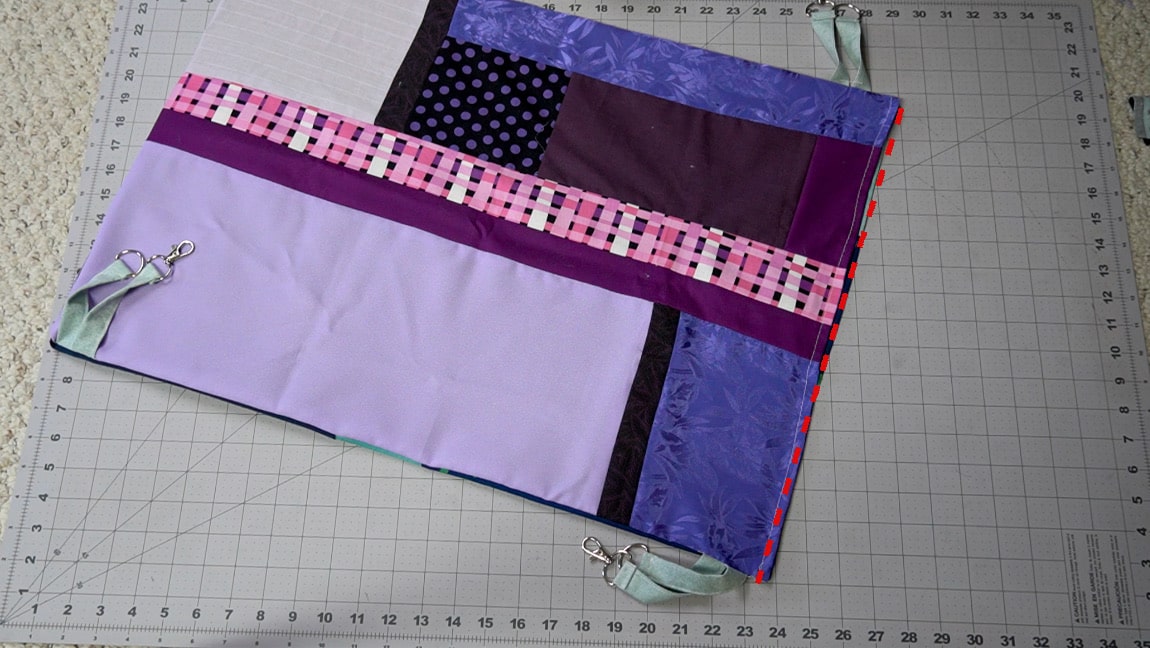
Finished!