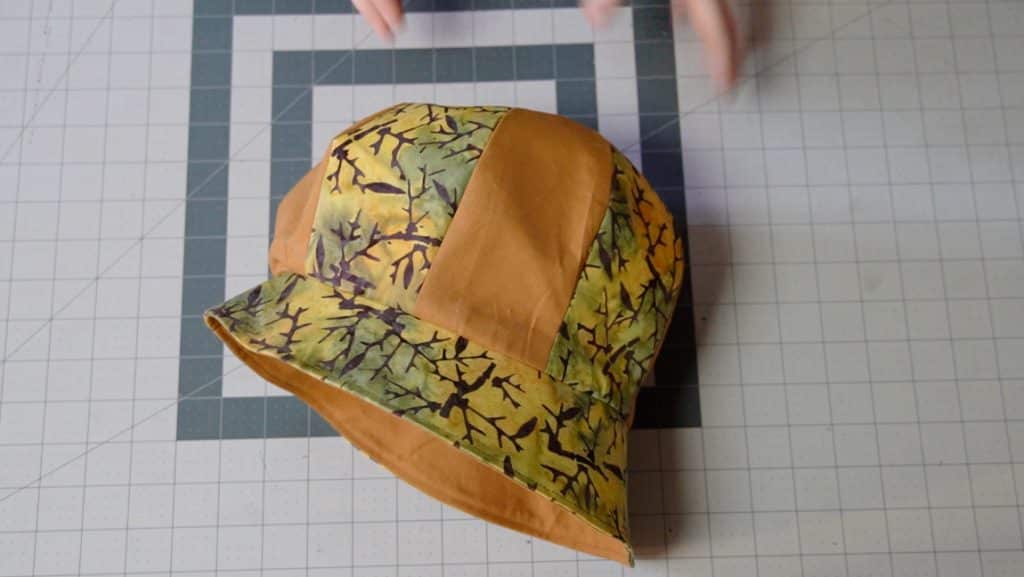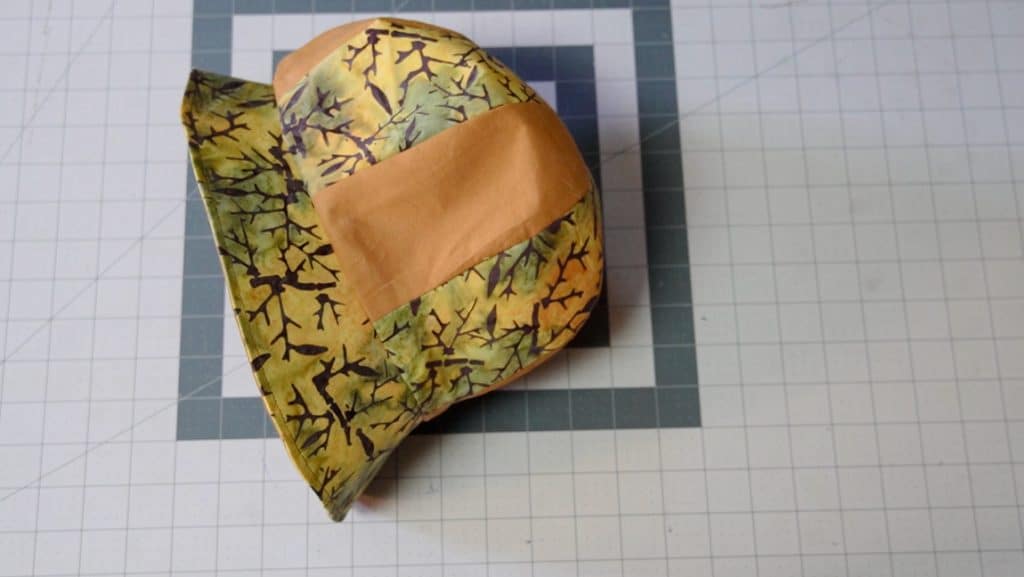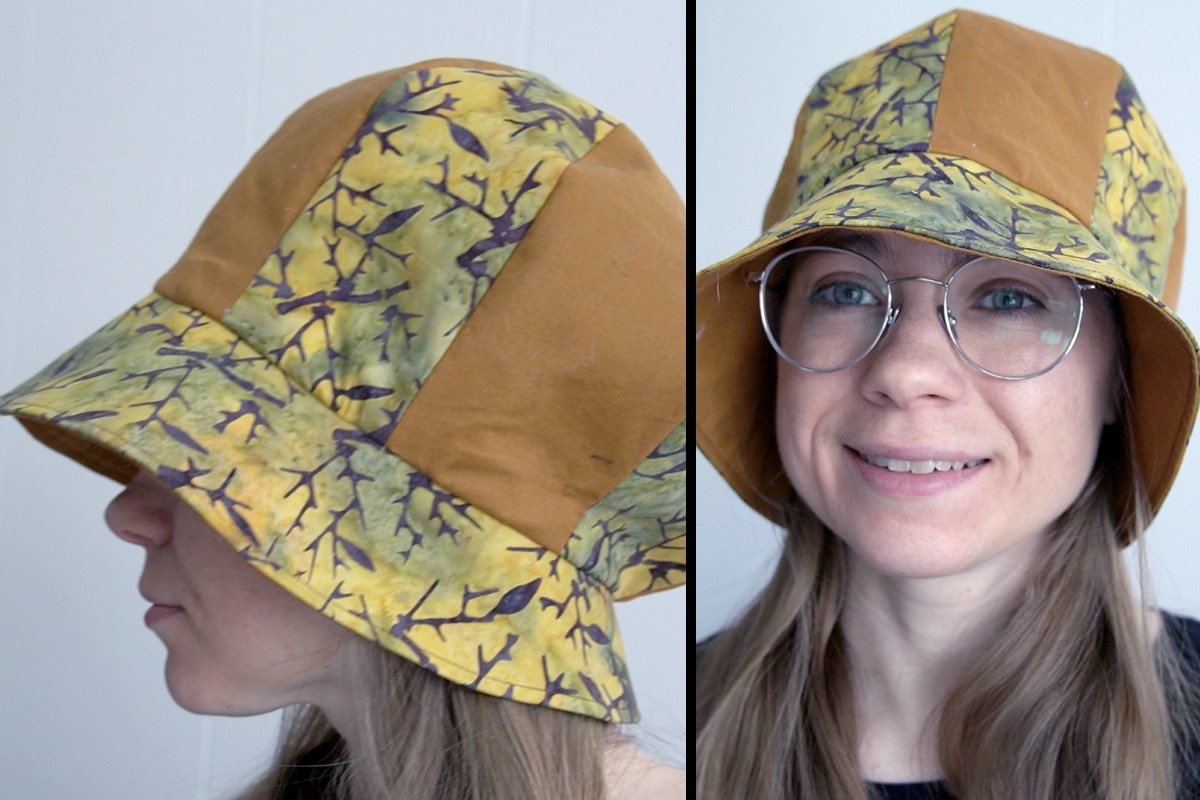
Tutorial: 20’s-Style Brimmed Bonnet Hat
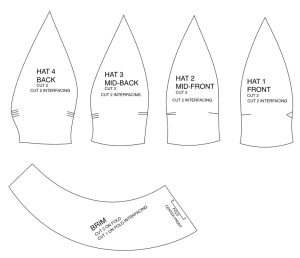
I’ll walk you through how to make a cute 20’s style hat. You can use scraps of fabric and make each panel a different color, or you can use 1/4 yard of two contrasting fabrics for a two-toned hat. Print out the free pattern below and follow along with the step-by-step tutorial.
This page contains affiliate links. As an Amazon Associate, I earn a small commission from qualifying purchases. That being said, I encourage you to use your local sewing shop whenever possible, or to look for supplies second hand.
Supplies Needed:
(all of my patterns include 1/2″ seam allowance)
Step 1
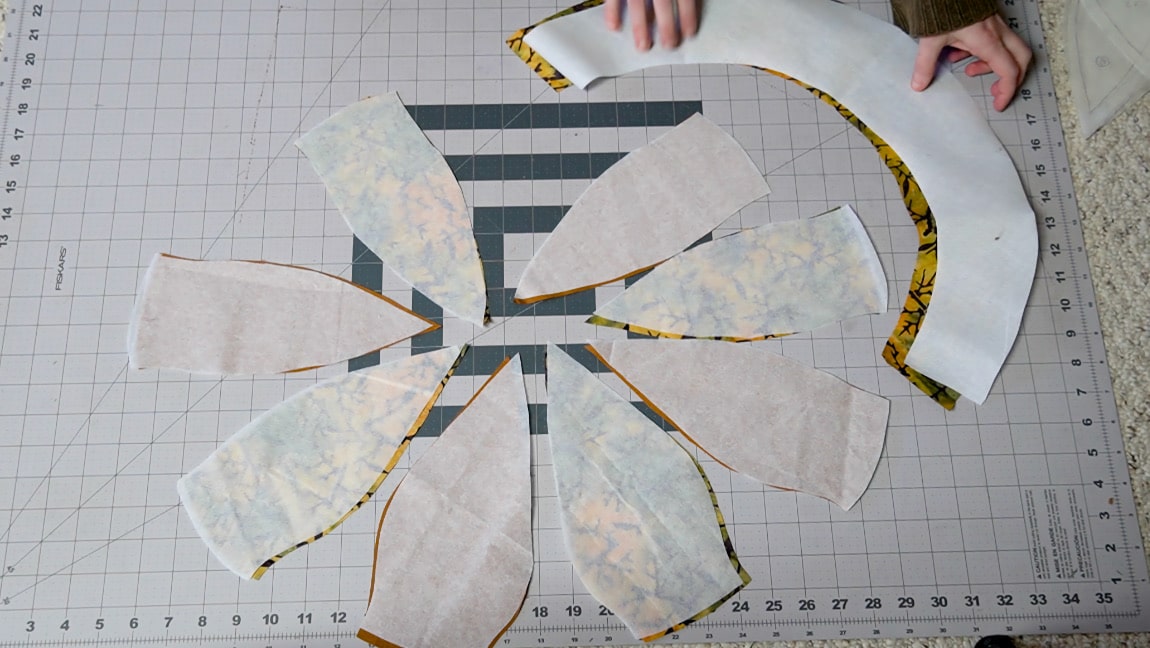
apply the interfacing and buckram to the hat panels and brim
Apply medium weight interfacing to the hat panel pieces and buckram or heavy interfacing to one of the brim pieces.
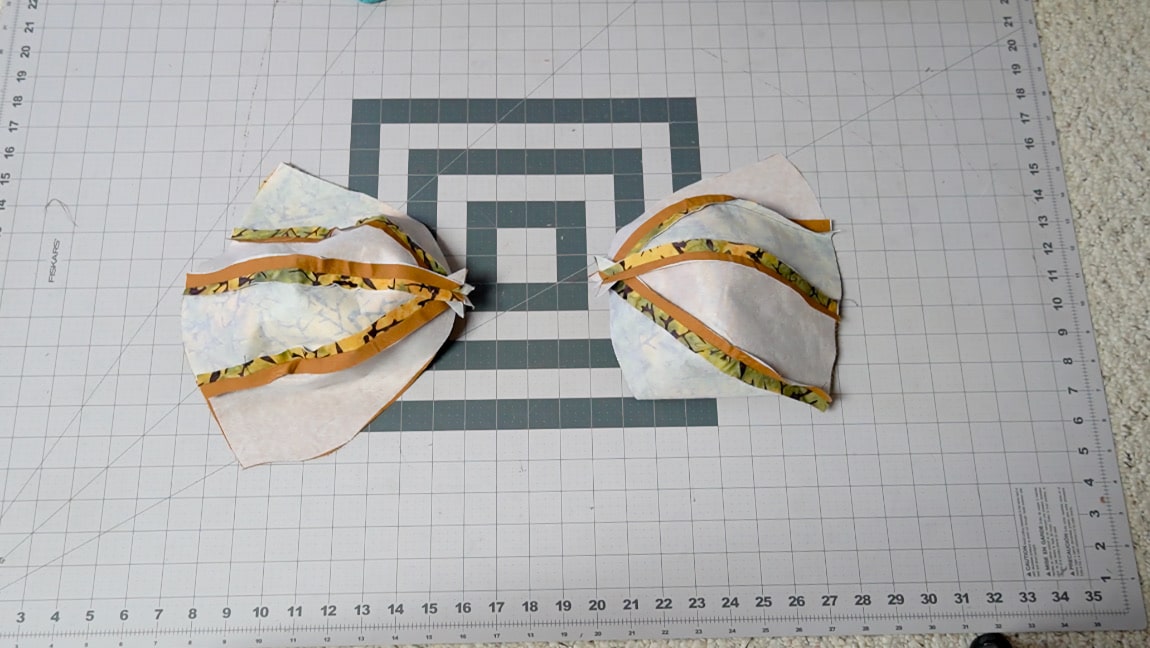
Step 2

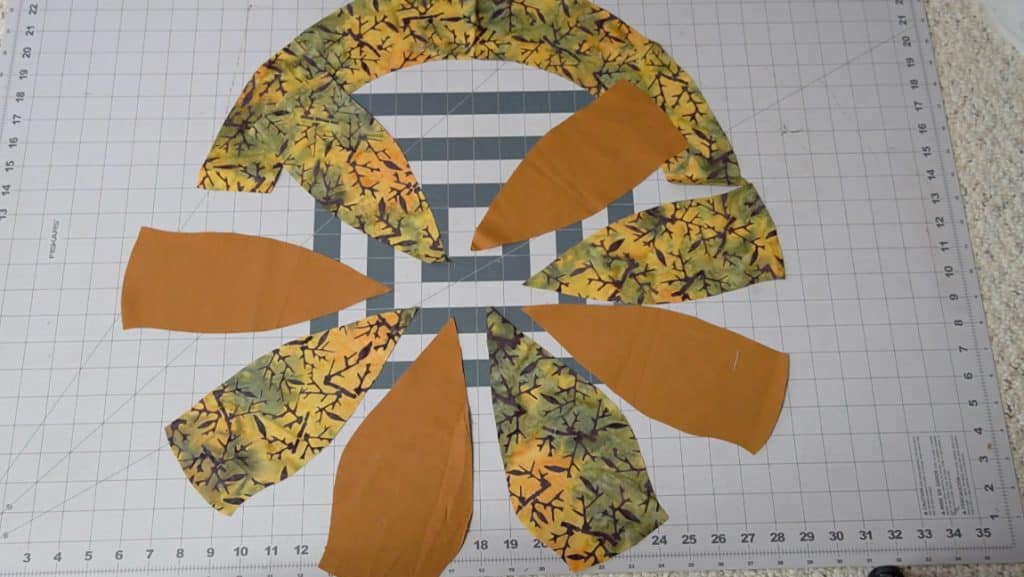
sew the hat panels together in two groups of the 4 hat pieces
Sew the hat panels together in two groups with each of the 4 hat pieces. Hat 1 is the front of the hat, while hat 4 is the back of the hat.
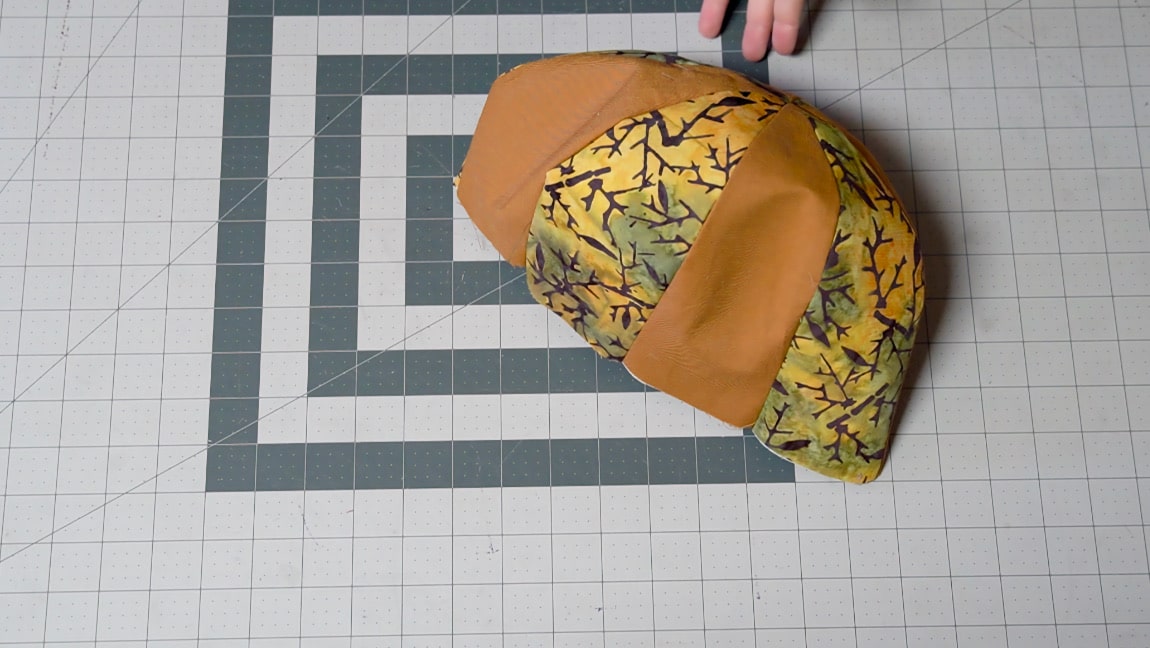
Step 3
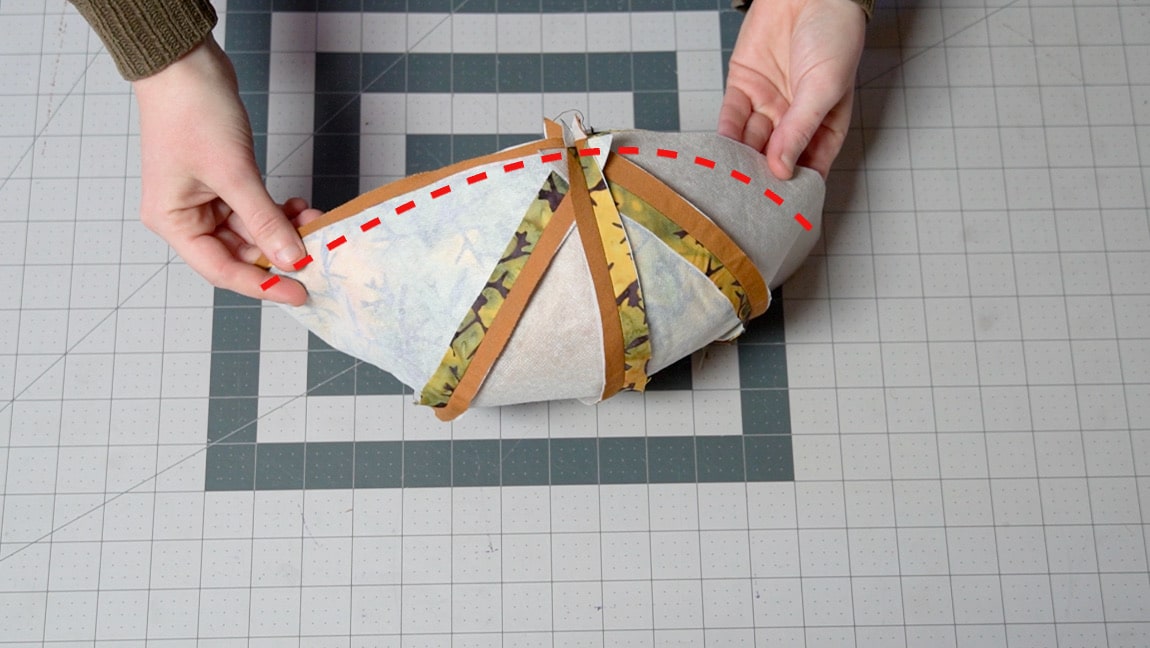
sew the two sides of the hat together
With right sides together, sew the two sides of the hat down the center.
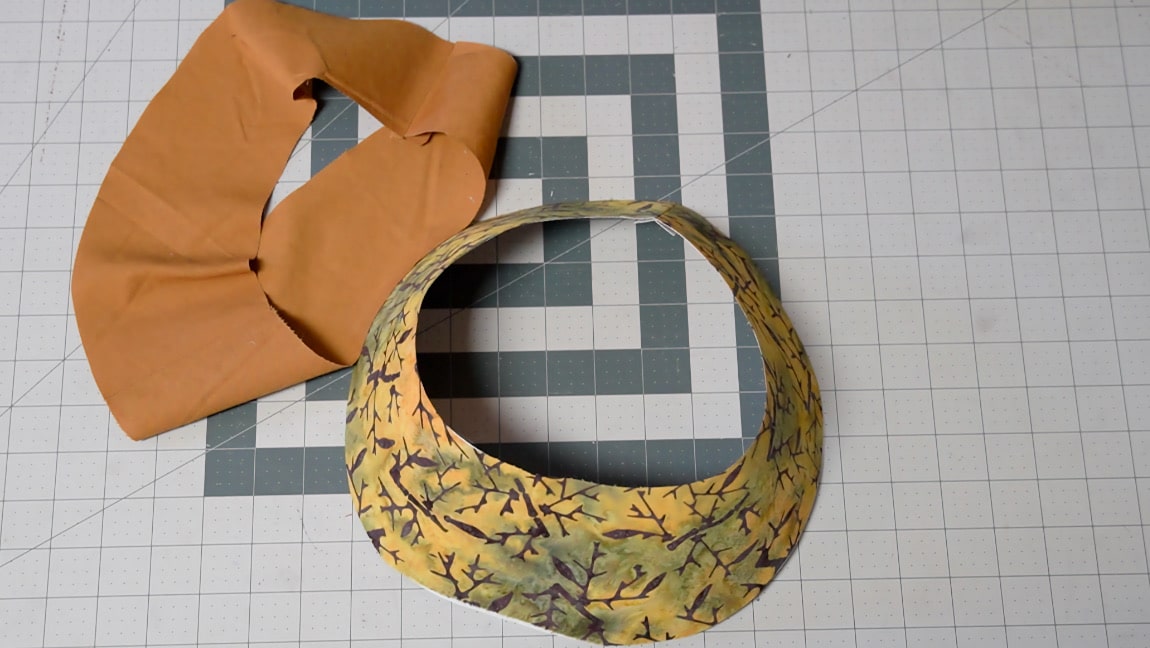
Step 4
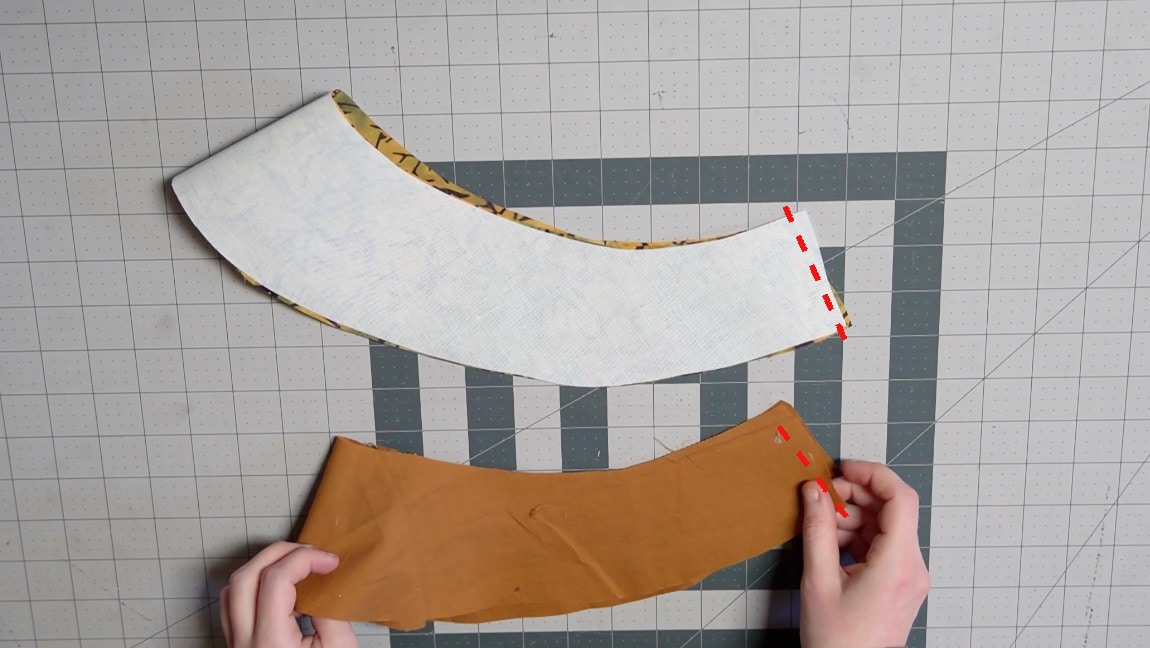
sew the brim into a circle
Fold both of the the brim pieces in half with right sides together and sew it in a circle.
Step 5

sew the two brim pieces together
With right sides together, sew the brims together along the outer edge.
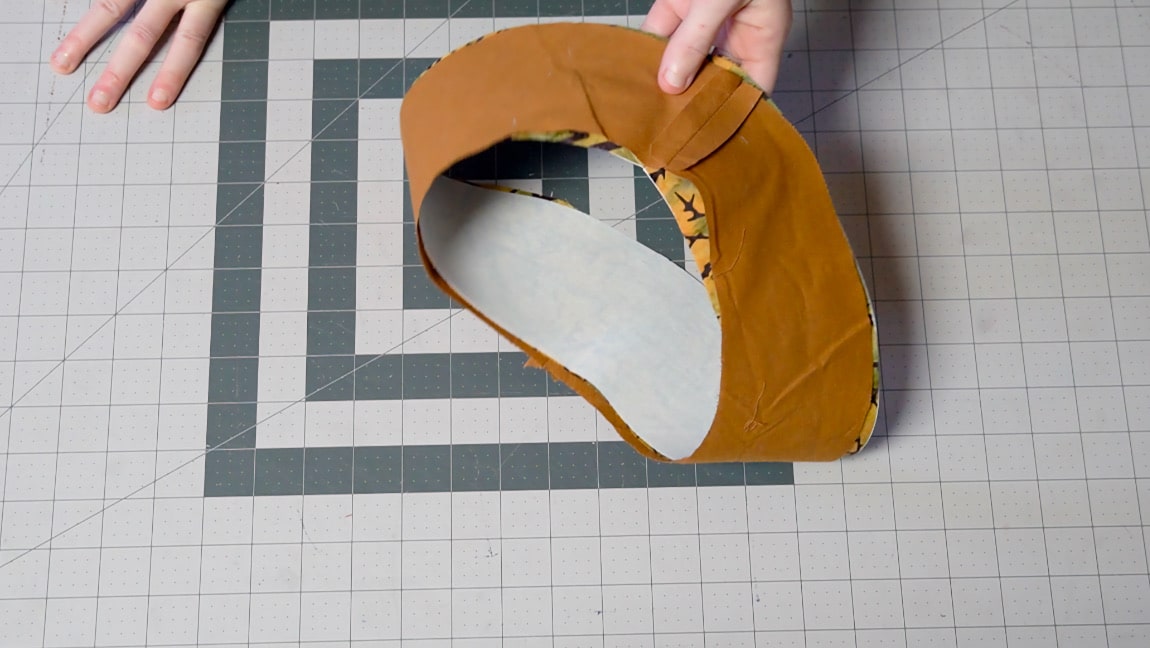
Step 6
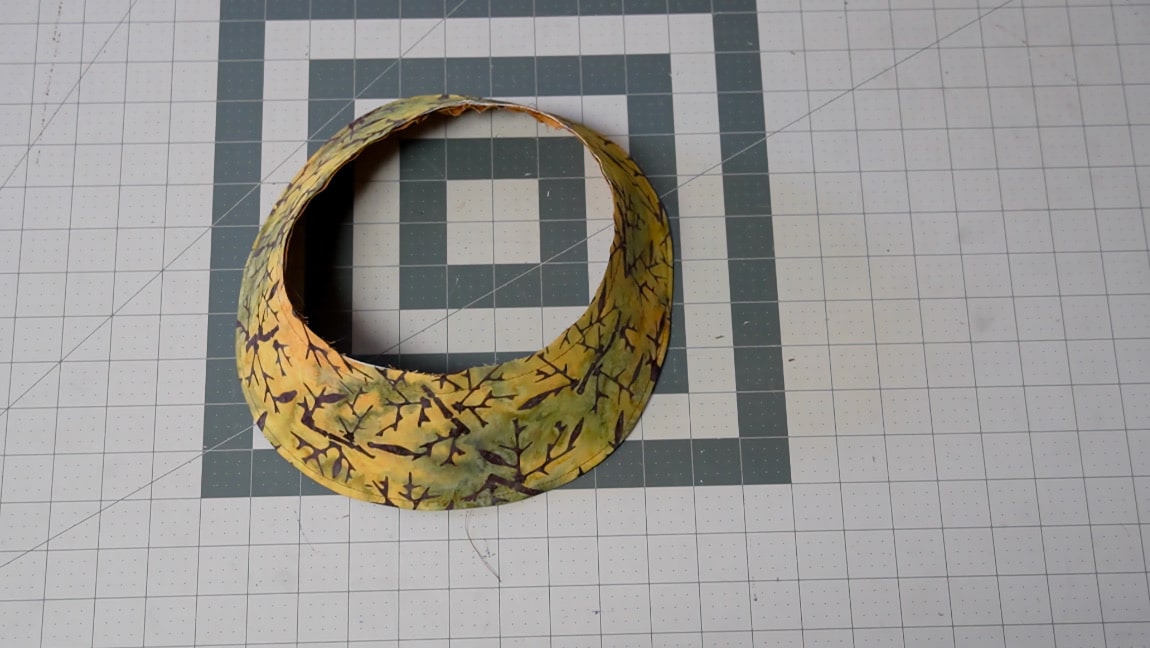
turn the brim to the right side
Turn the brim to the right side through the middle. Then top stitch around the edge of the brim to make it neat.
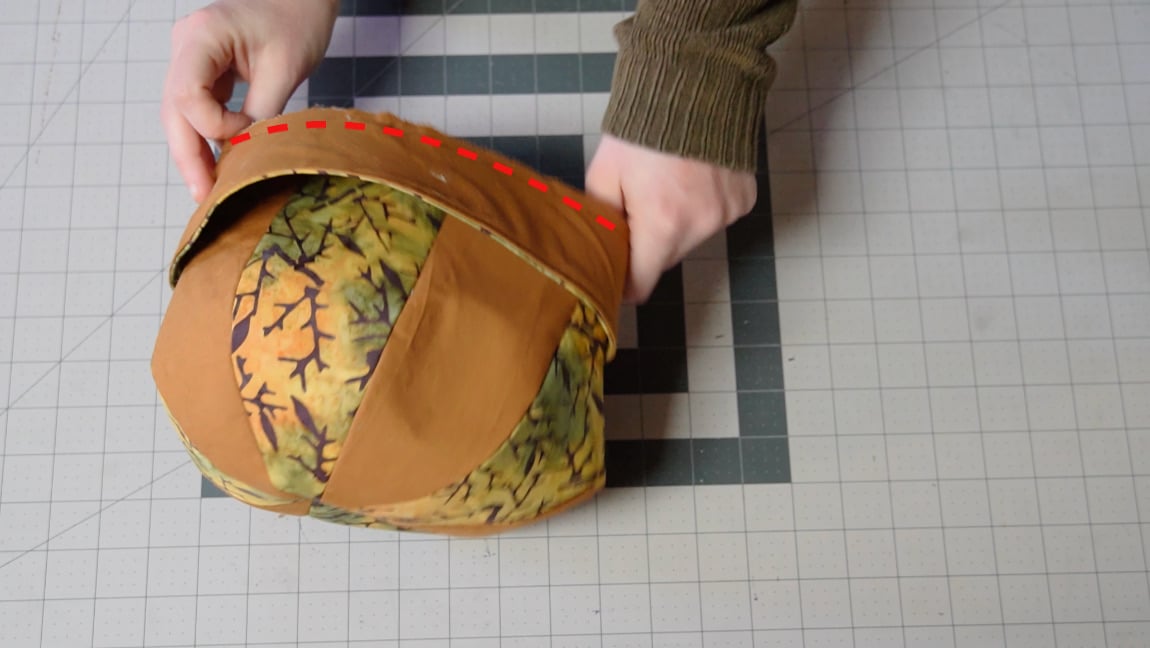
Step 7
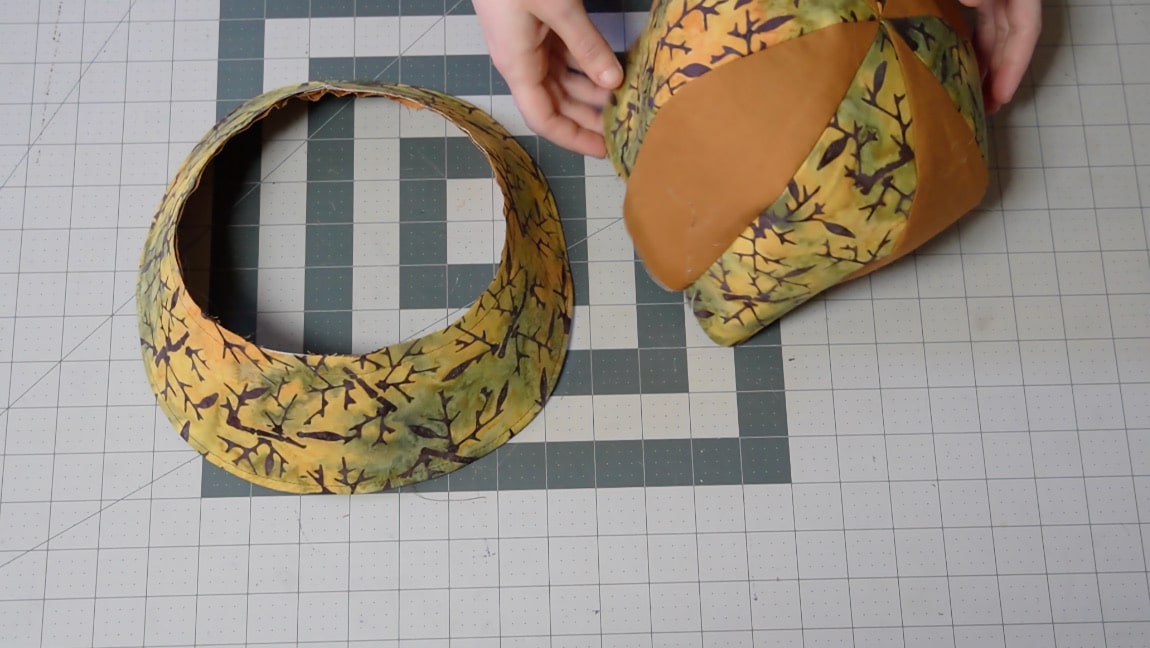
sew the brim to the hat
With right sides together, sew the brim to the hat. You will need to ease the fabric as you sew around the hat to keep it from puckering.
Finished!