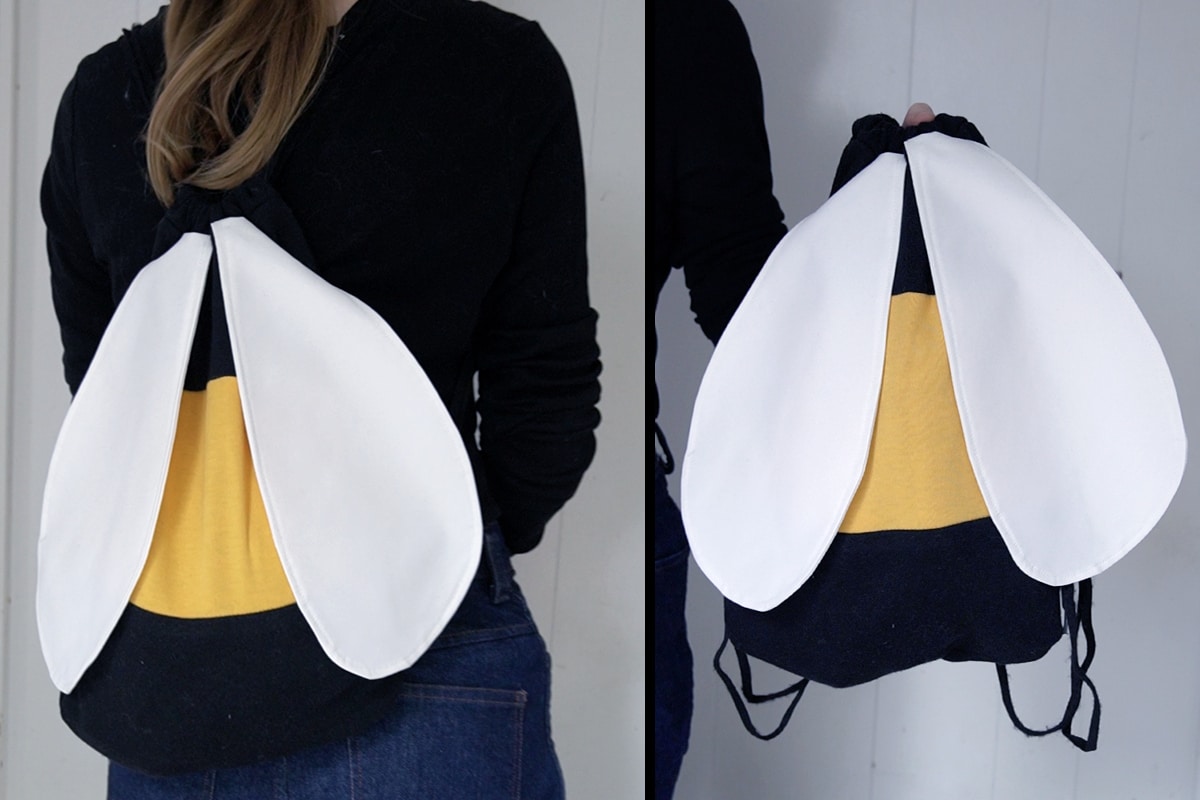
Tutorial: Bumble Bee Drawstring Backpack
Learn how to make a simple bumble bee drawstring tote bag. I made this pattern to be able to use with leftover remnants of fabric that you have leftover from other projects. Just check out the free pattern below and follow along with the step-by-step instructions.
This page contains affiliate links. As an Amazon Associate, I earn a small commission from qualifying purchases. That being said, I encourage you to use your local sewing shop whenever possible, or to look for supplies second hand.
Supplies Needed:
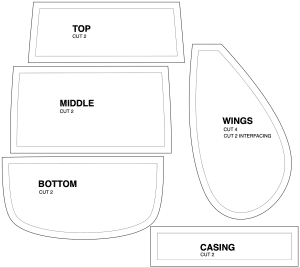
(all of my patterns include 1/2″ seam allowance)
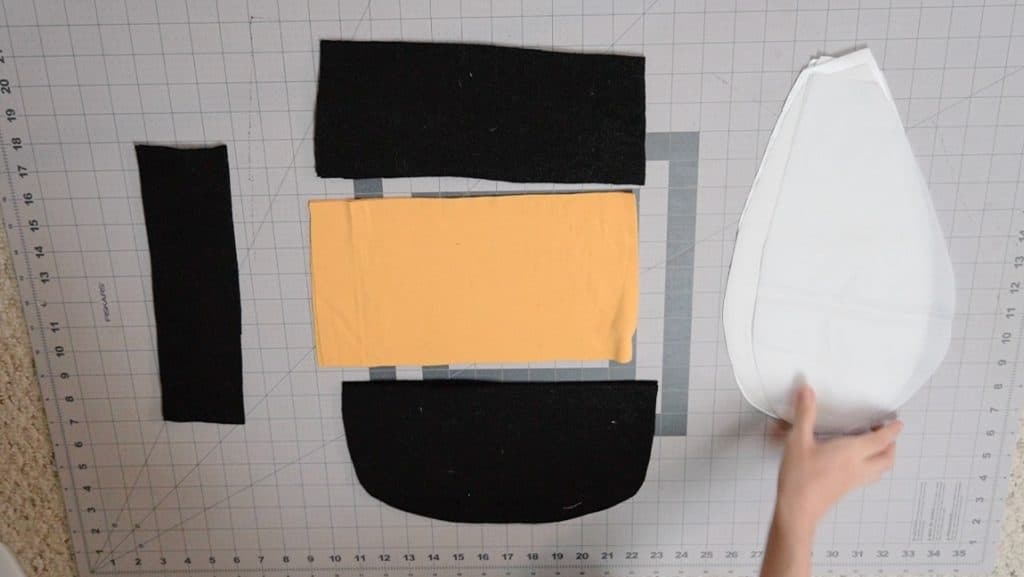
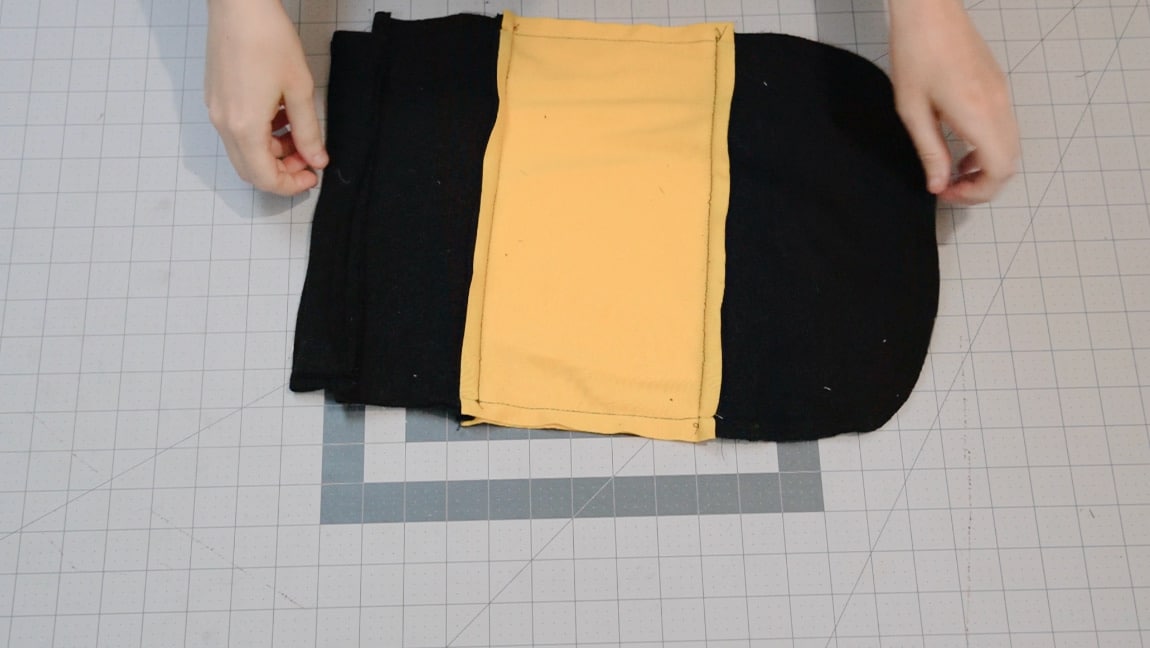
Step 1

sew the middle piece to the bottom piece
with right sides together, sew the middle pieces to the bottom.

Step 2
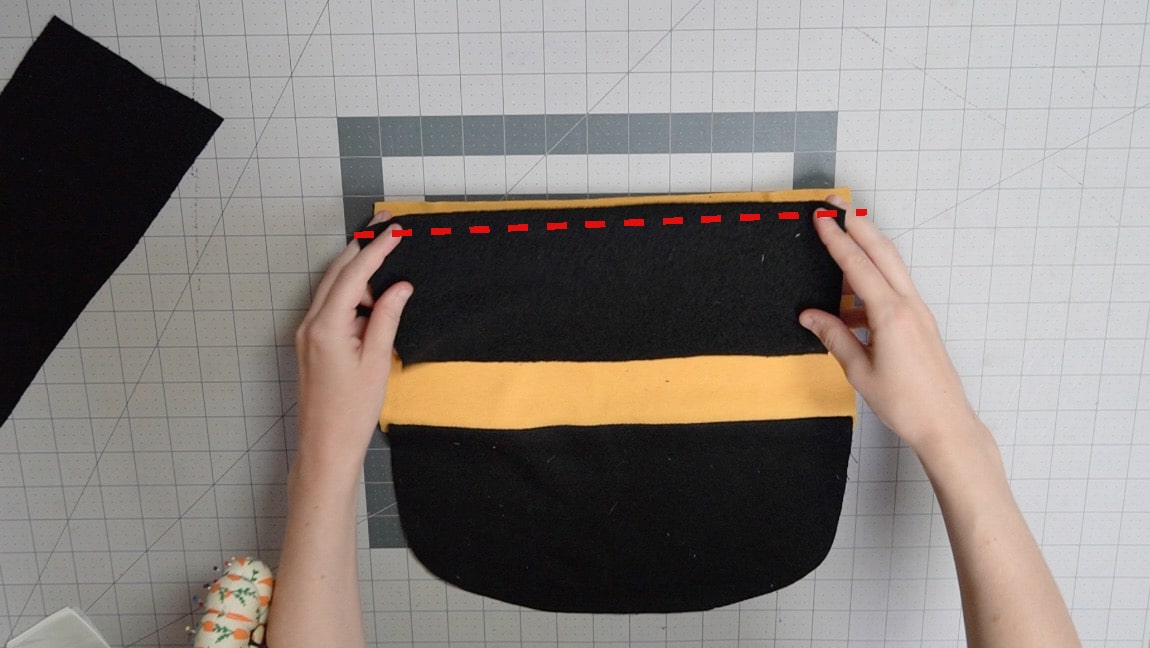
sew the top to the middle
with right sides together, sew the top pieces to the middle

Step 3
Apply interfacing to the wings
Apply interfacing to two of the wing pieces.
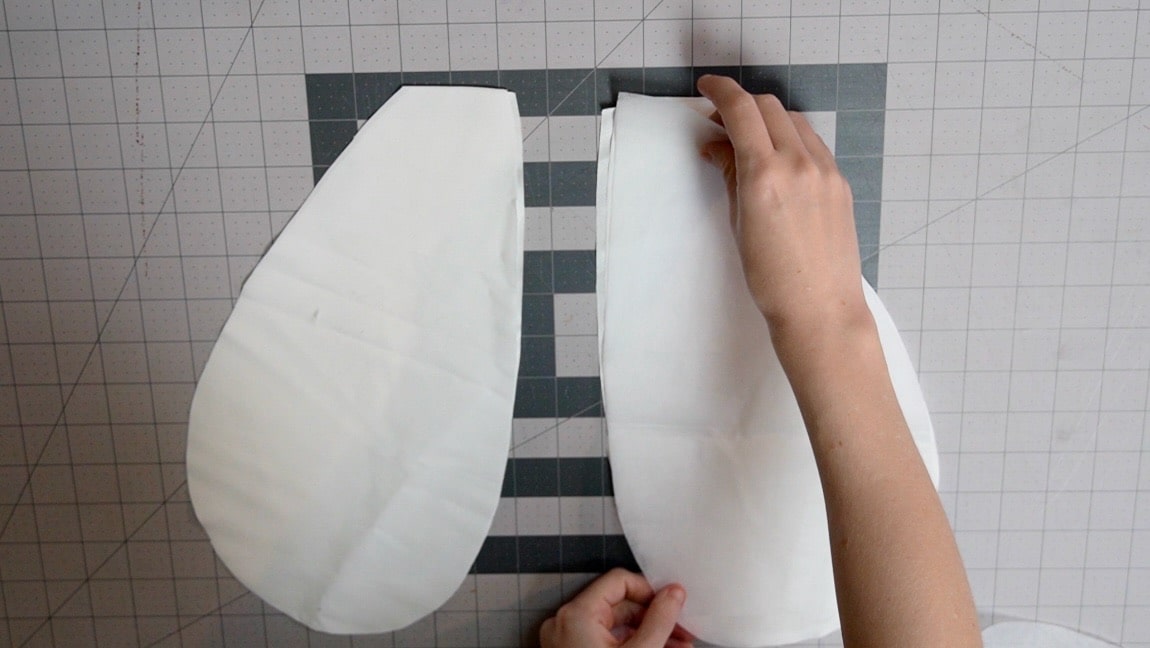
Step 4

sew the wings together in pairs
with right sides together, sew the wings together around the perimeter. Leave the top open.
Step 5
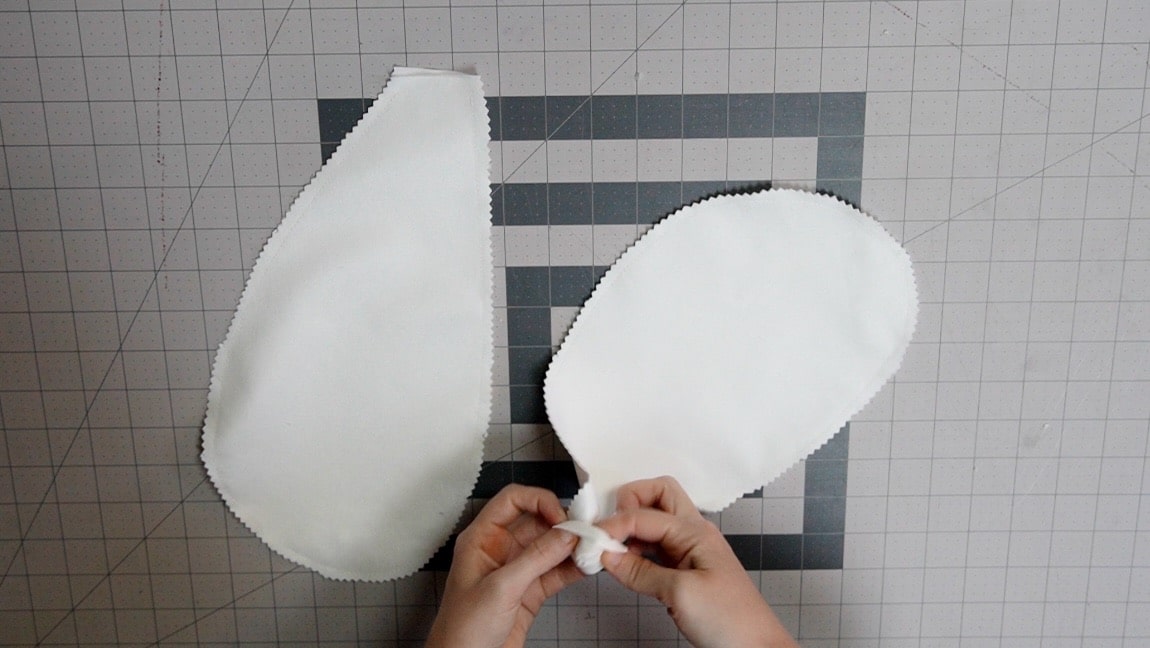
turn the wings to the right side
Clip the curves and turn the wings to the right side through the top. Press the edges and topstitch if necessary.

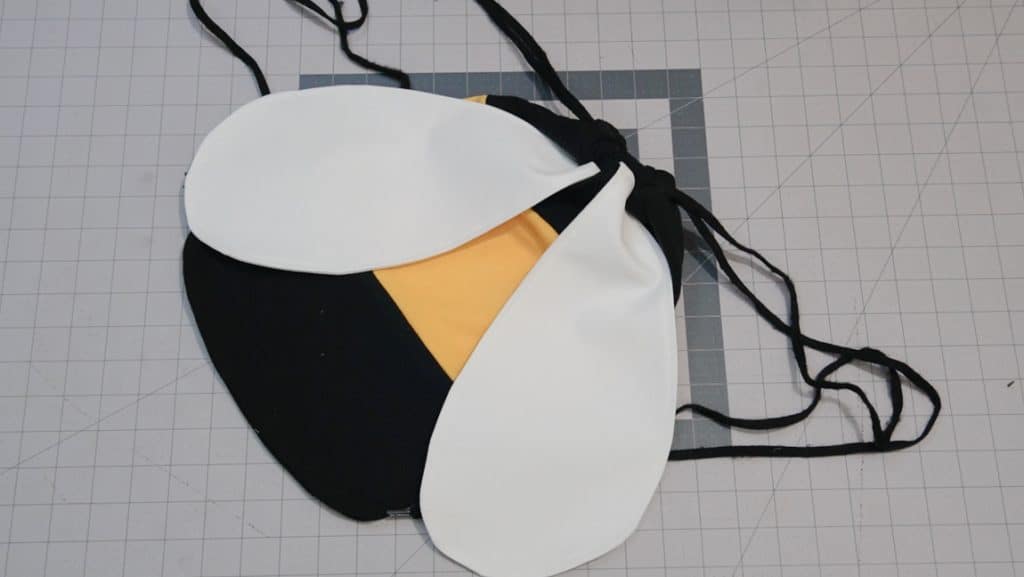
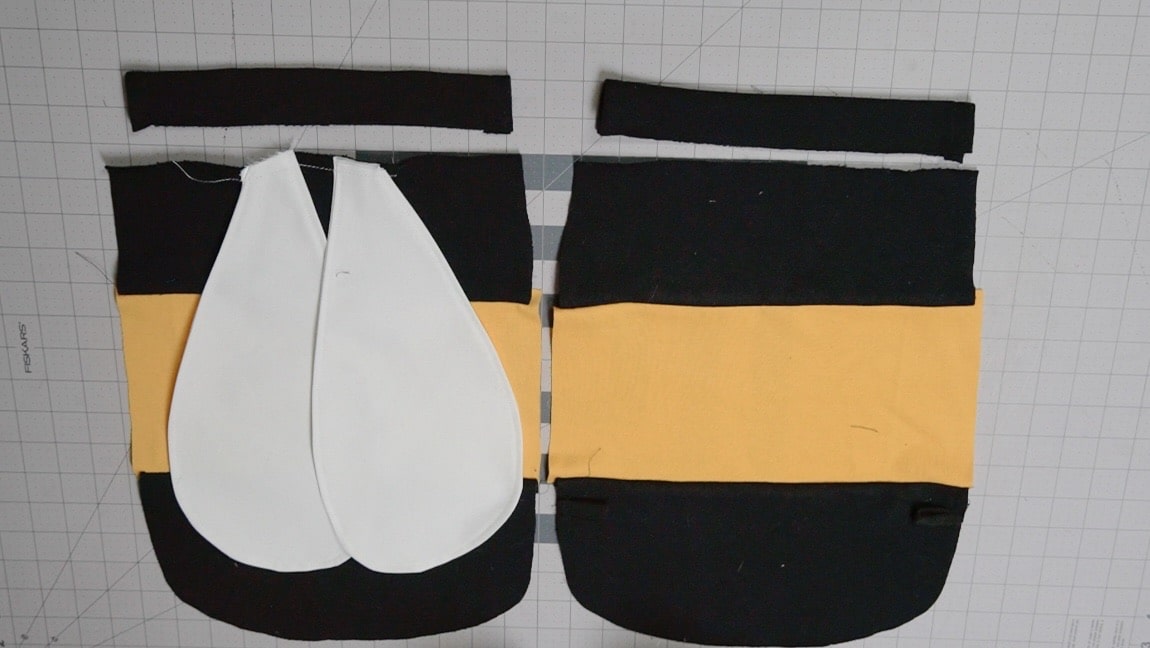
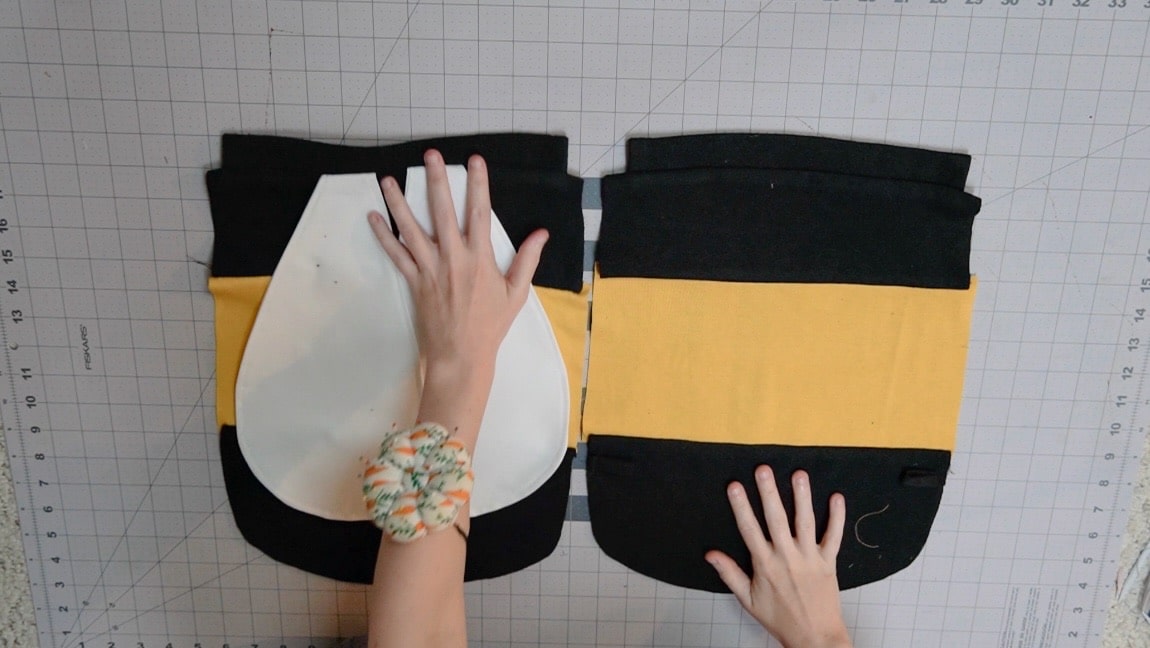
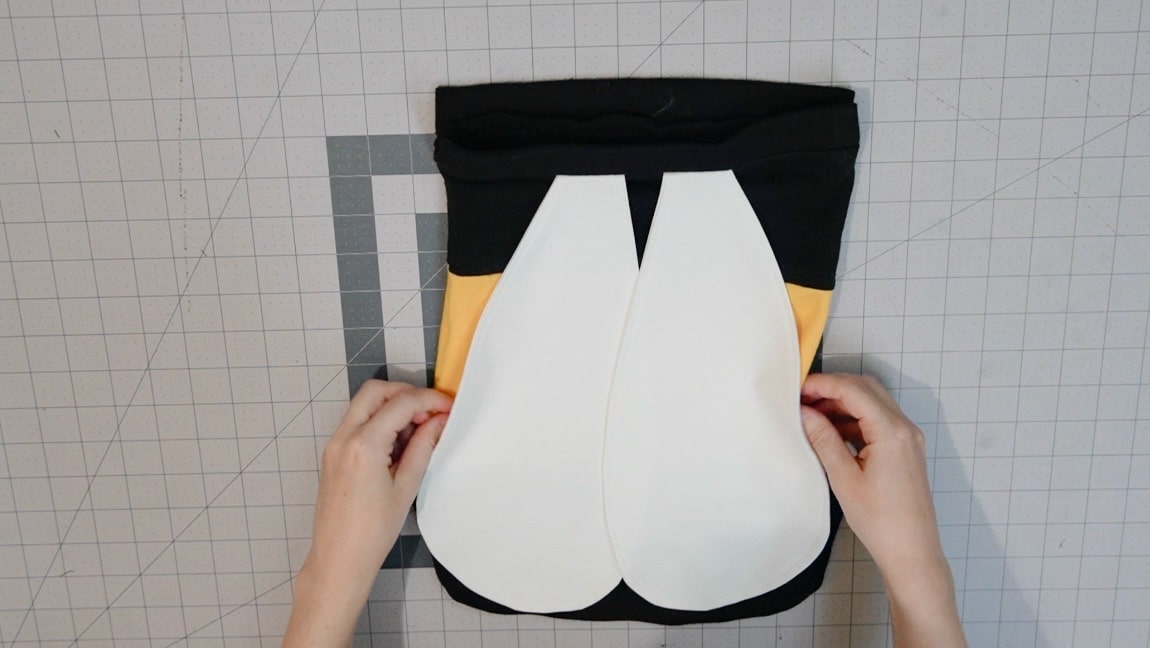
Step 6
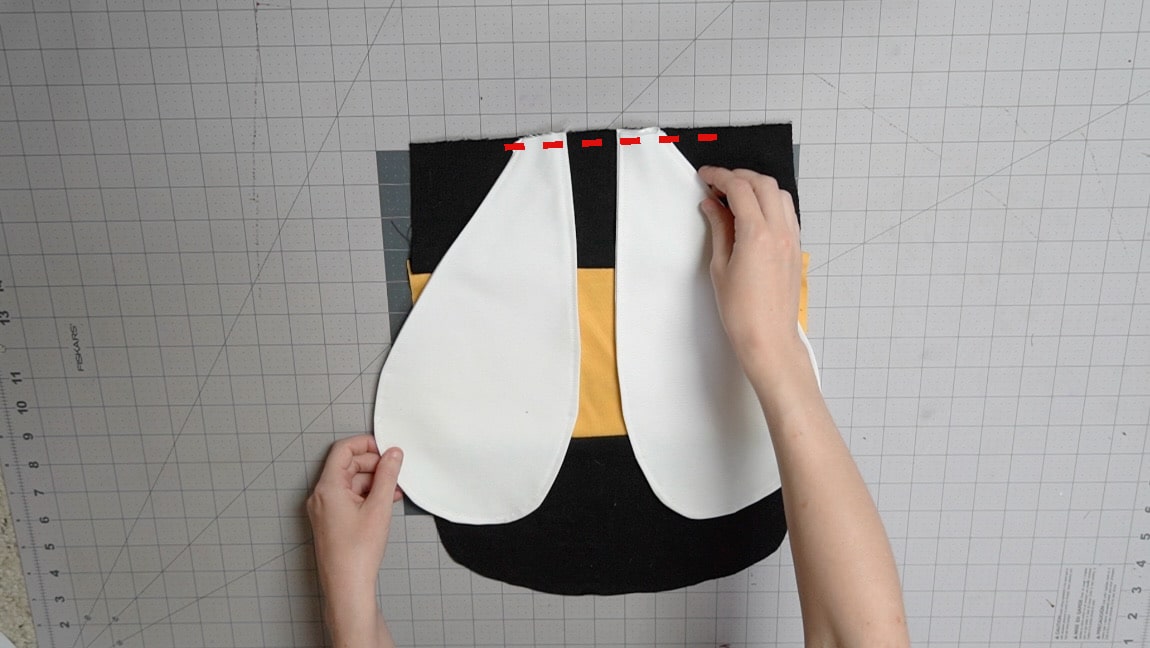
baste the wings to the top of the front bag
line up the wings with the top of the front of the bag and baste them in place.
Step 7
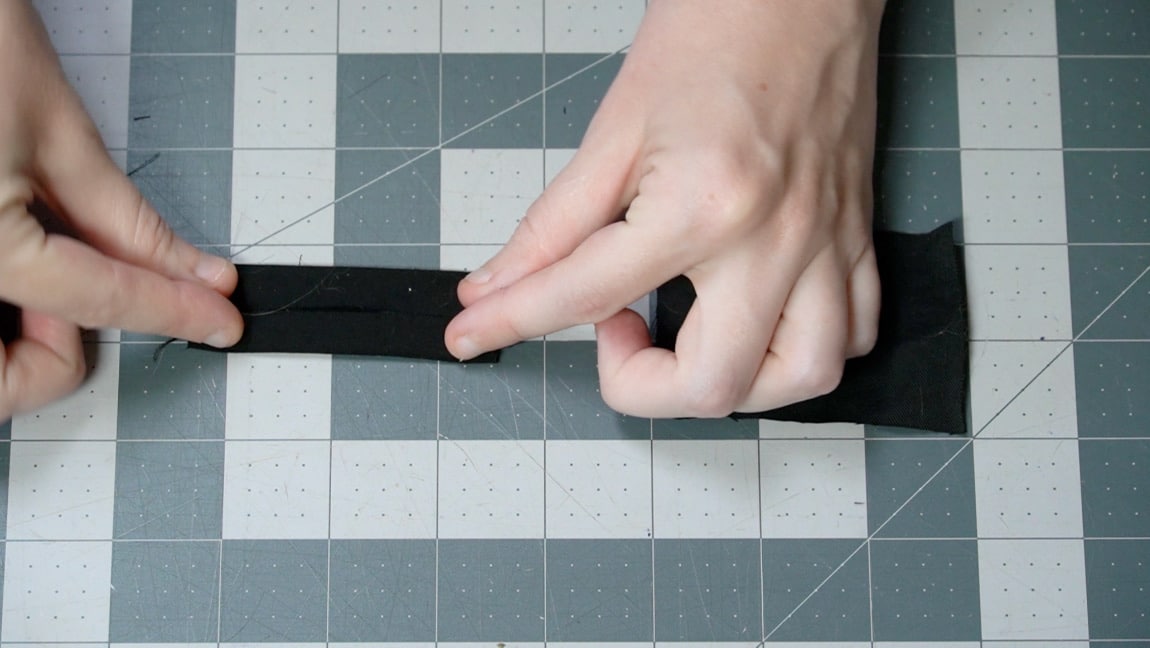
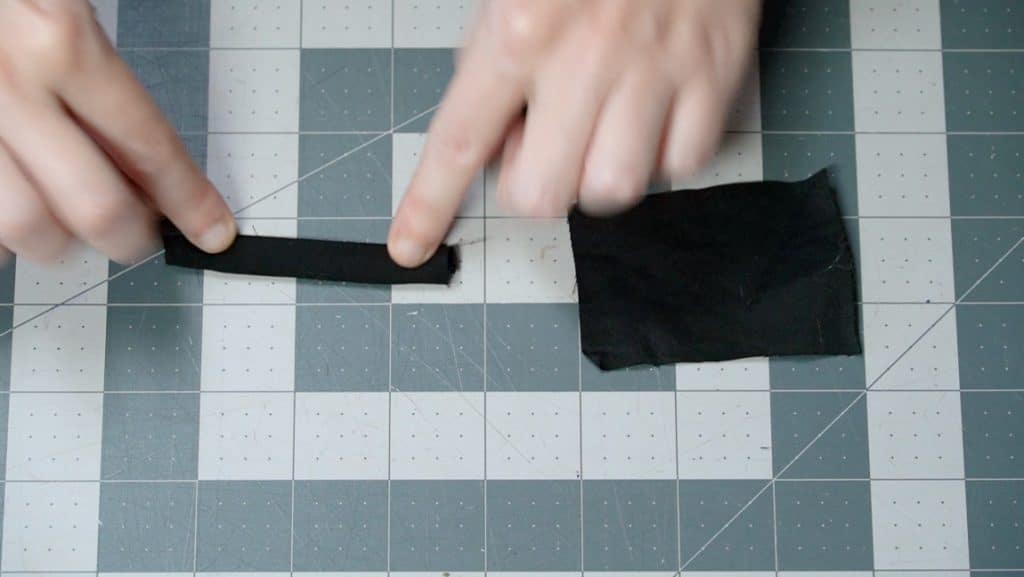
Sew the tabs
Fold the sides of the tab pieces to the center and then fold them in half. Sew along the length of the two tab pieces.

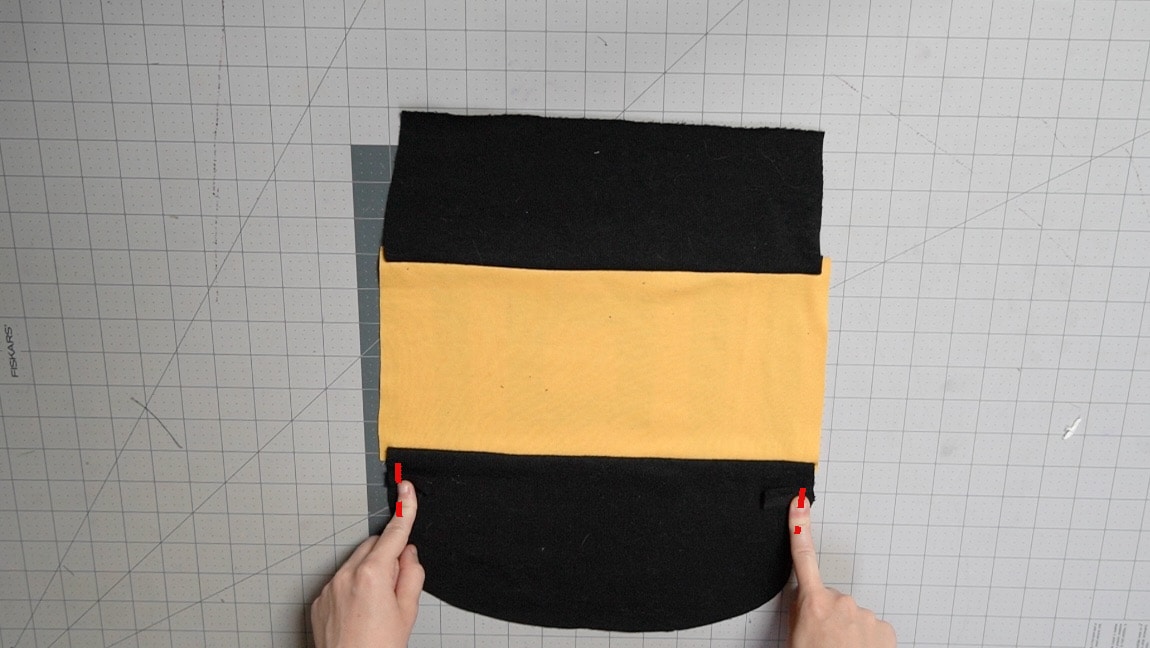
Step 8
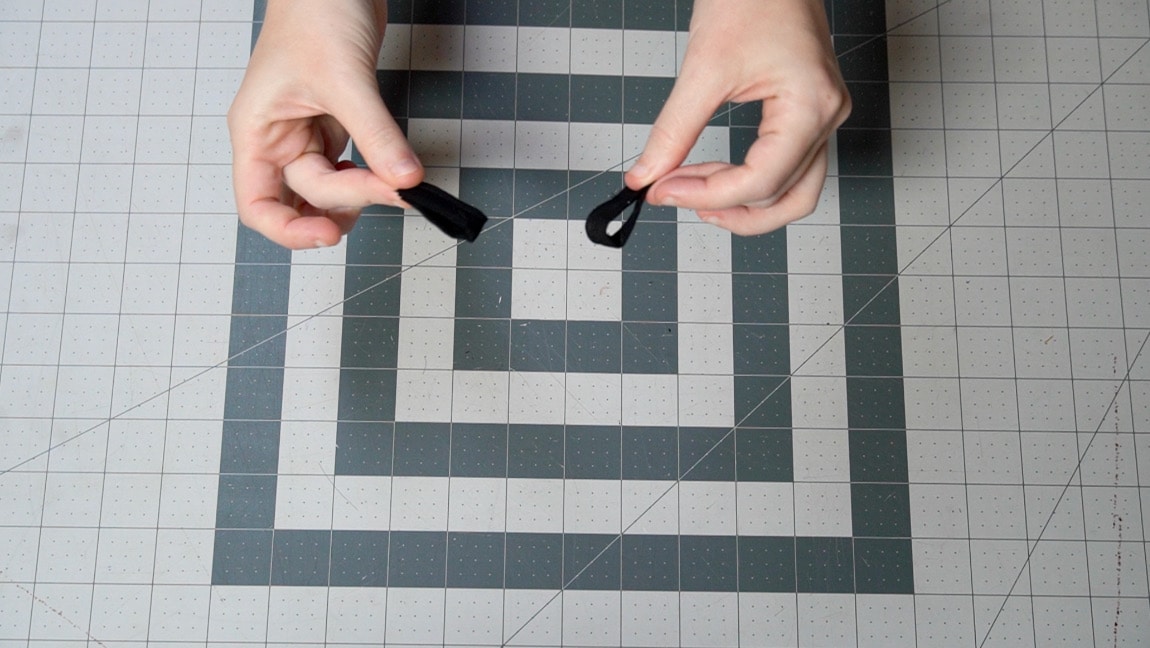
Baste the tabs to the back of the bag
Fold the tab pieces in half and baste them to the bottom of the back bag piece.
Step 2
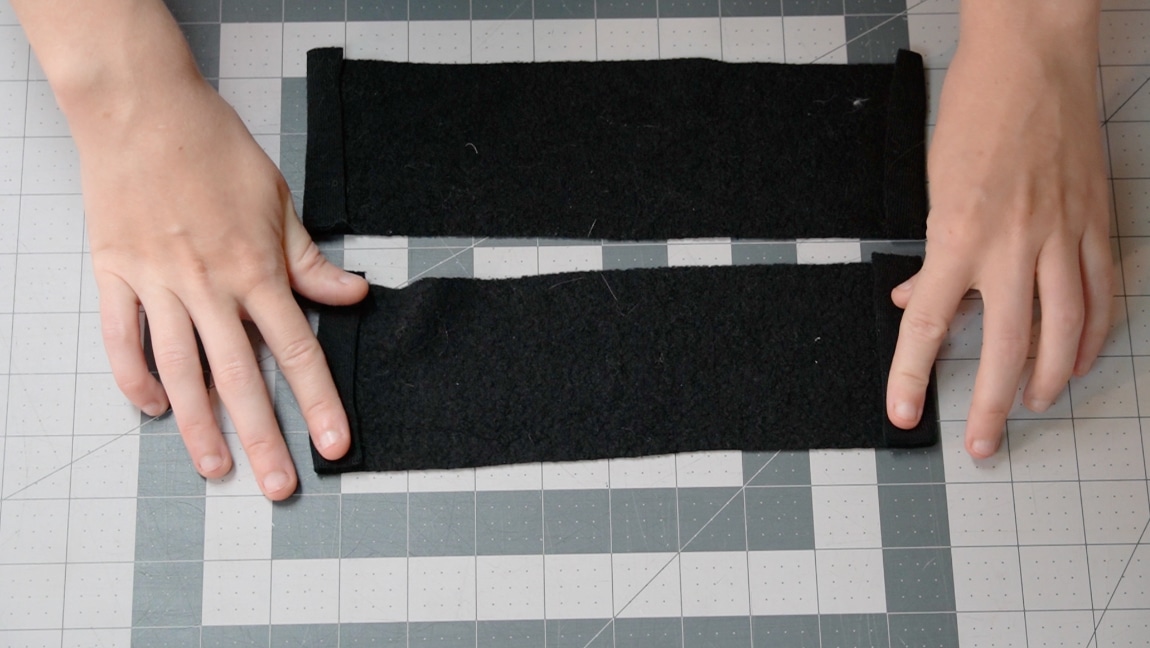
hem the sides of the casings
make a narrow hem on both of the shorter sides of both casings.
Step 9

sew the casings to the top of the bag
Fold the casings in half lengthwise. Then sew the casings to the top of the bag front and back.
Step 10
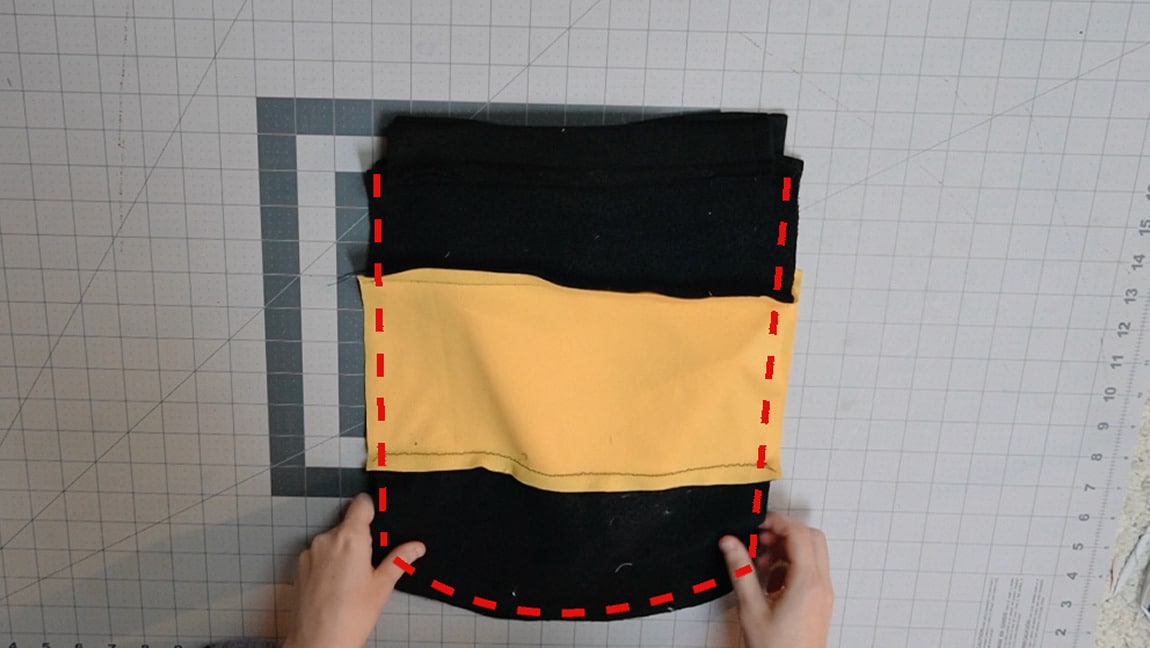
Sew the front and back of the bag together
With right sides together sew the front and back of the bag along the sides and bottom.
Step 11
Turn the bag to the right side
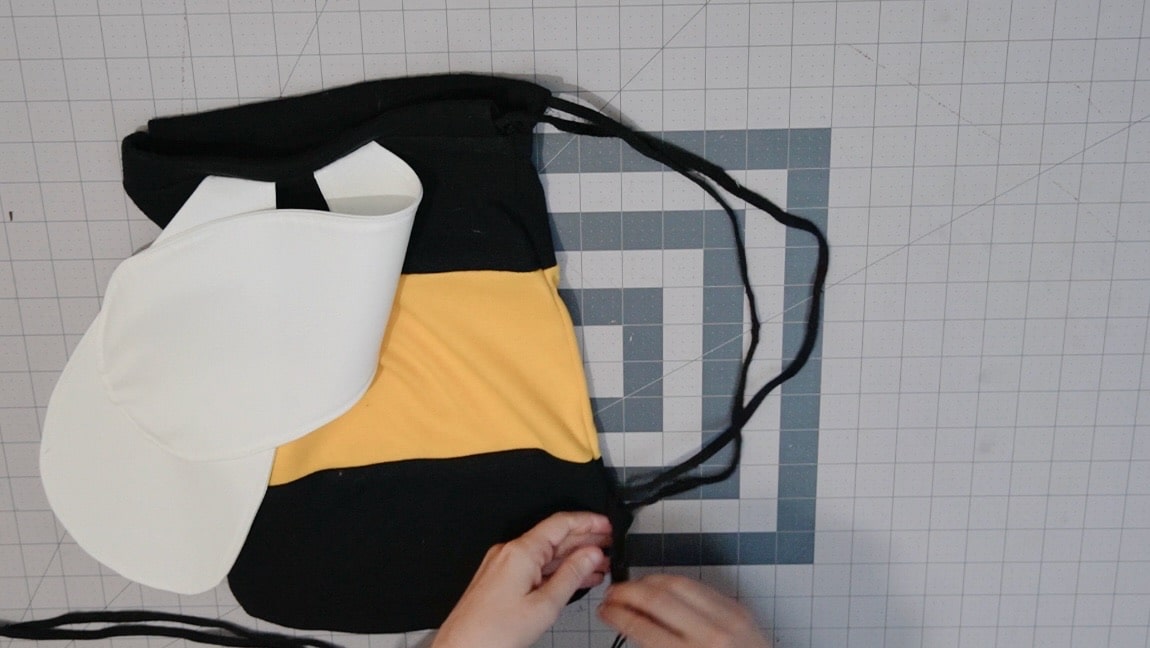
Step 12

add the drawstring to the casing
You need two pieces of string (about 60″ long) and they both need to go all the way around, through both casings. One string you’ll insert through the left side, thread it all the way around so it comes back out the left. The other will start on the right side and go all the way around so it comes back out the right.
Then you want to tie each string around the tabs that were sewn in earlier.
Finished!