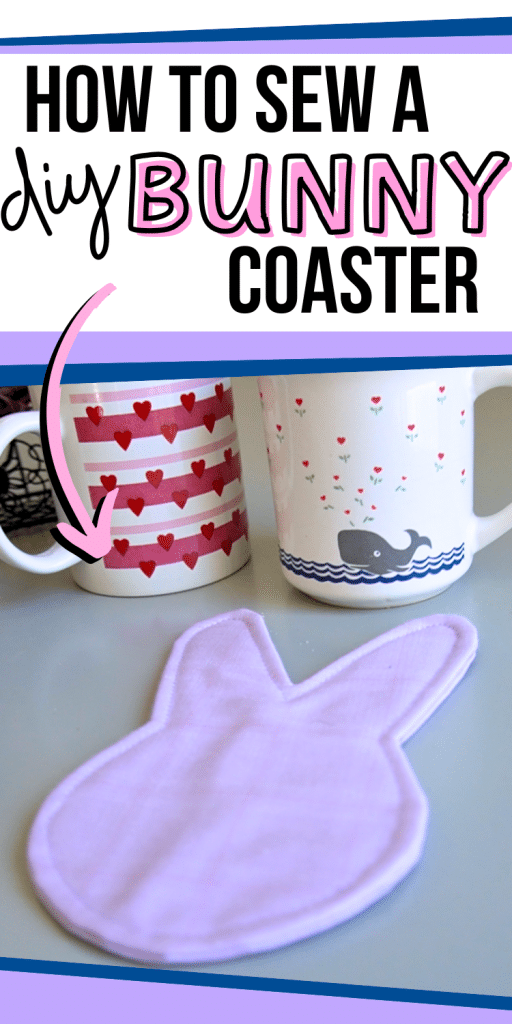
Tutorial: Bunny Coaster with Free Sewing Pattern
Learn how to make cute bunny coasters to bring a little whimsical “spring” to your decorations while giving your cups and mugs a place to rest. This bunny pattern (free below) can easily be made using small scraps of leftover fabric, giving you a cute and useful way to reduce waste.
This page contains affiliate links. As an Amazon Associate, I earn a small commission from qualifying purchases. That being said, I encourage you to use your local sewing shop whenever possible, or to look for supplies second hand.
Supplies Needed:
(Note: I include links to sewing supplies and notions that I used. However, I always hope that if you have similar leftover supplies from other projects, you will use those before buying new)

all of my patterns include 1/2″ seam allowance

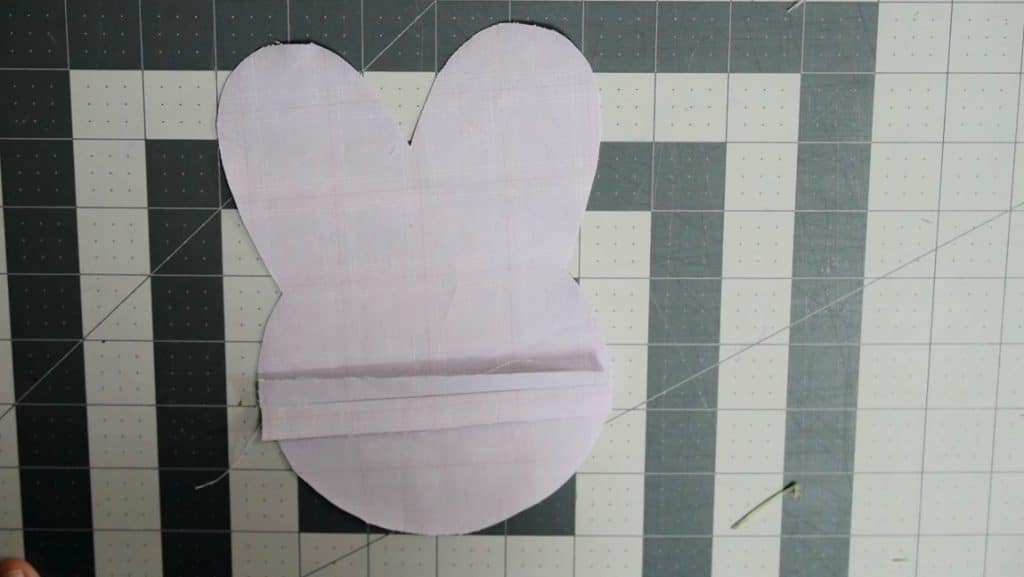
Step 1
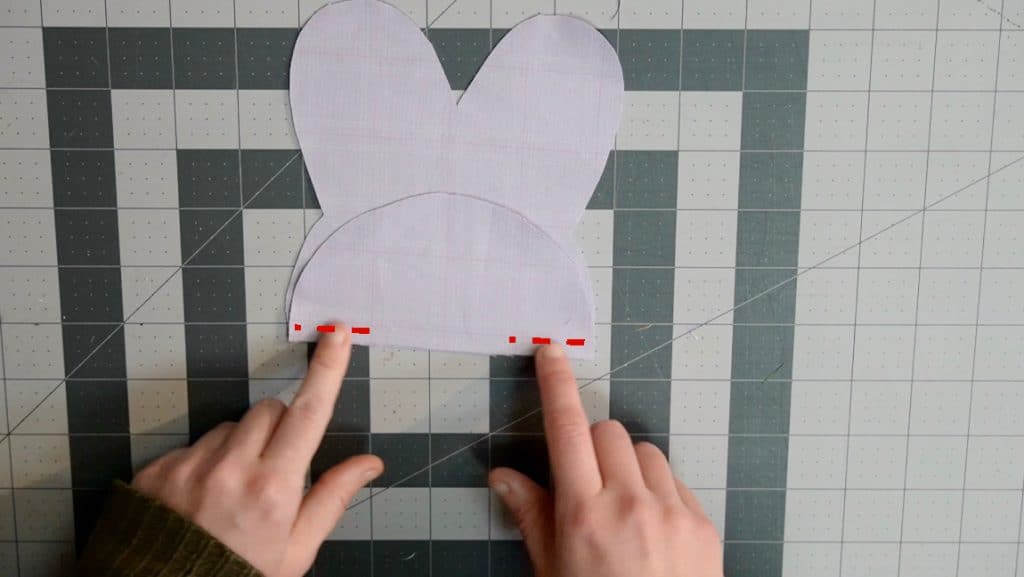
sew the top and bottom bunny pieces together
With right sides together, sew the top and bottom of the back rabbit pieces on the sides. Leave a gap in the center.

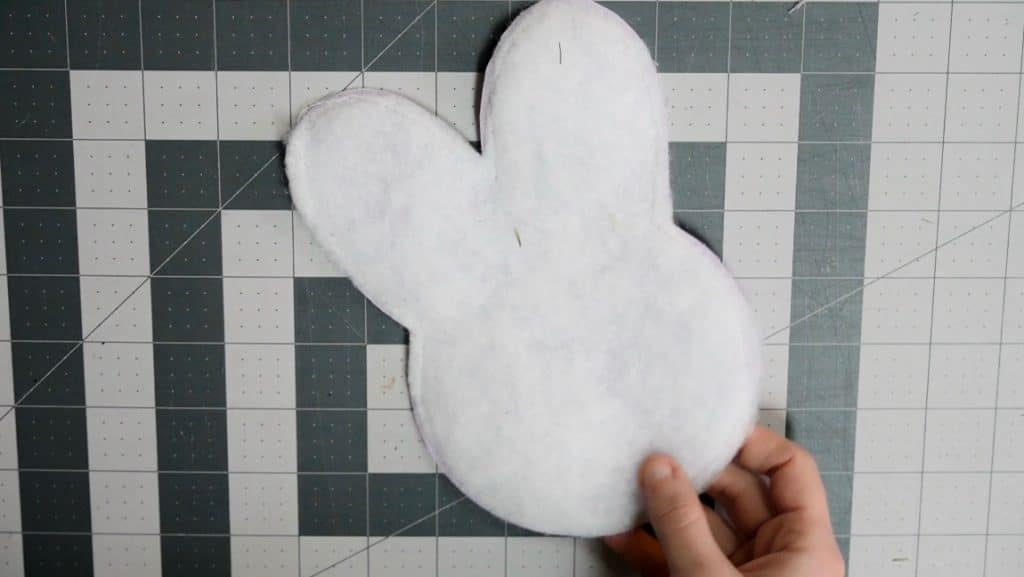
Step 2
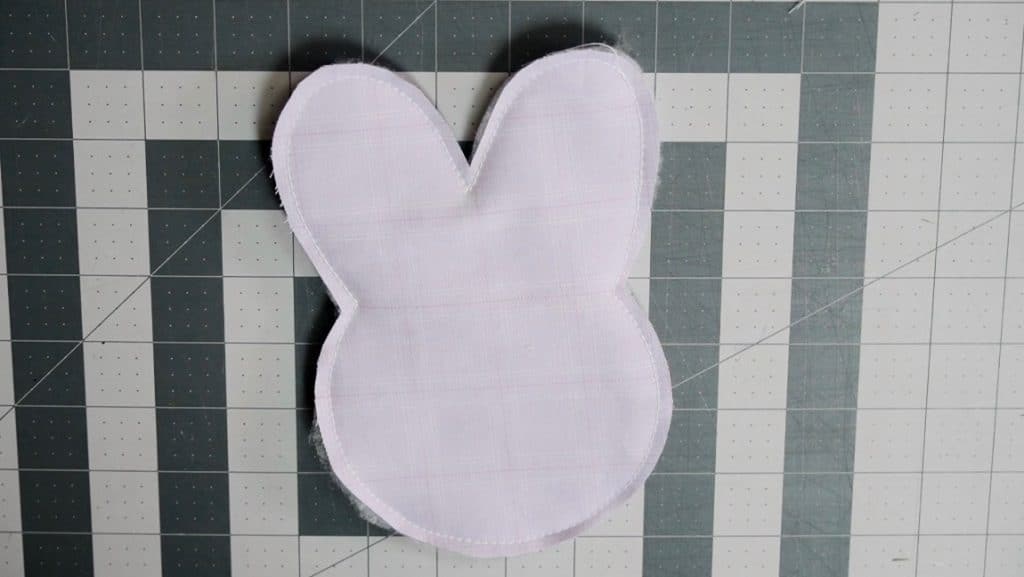
baste the front bunny face, the interfacing, and the batting together
Layer the interfacing, batting, and front fabric rabbit piece. Then baste around the edges of all of them.
Step 3
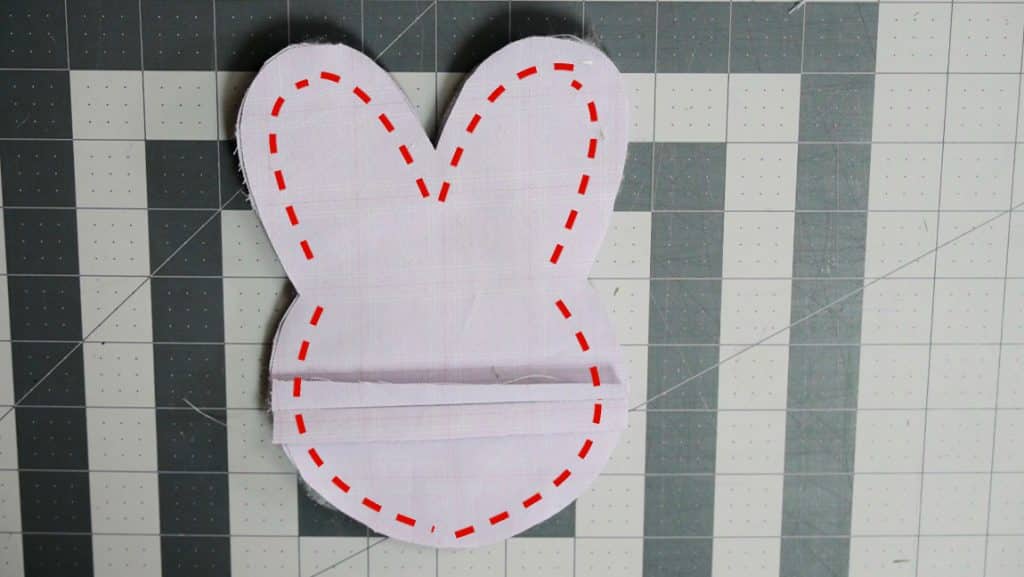
sew the front and back of the coaster together
With right sides of fabric together sew the front and back of the coaster all the way around the perimeter.

Step 4

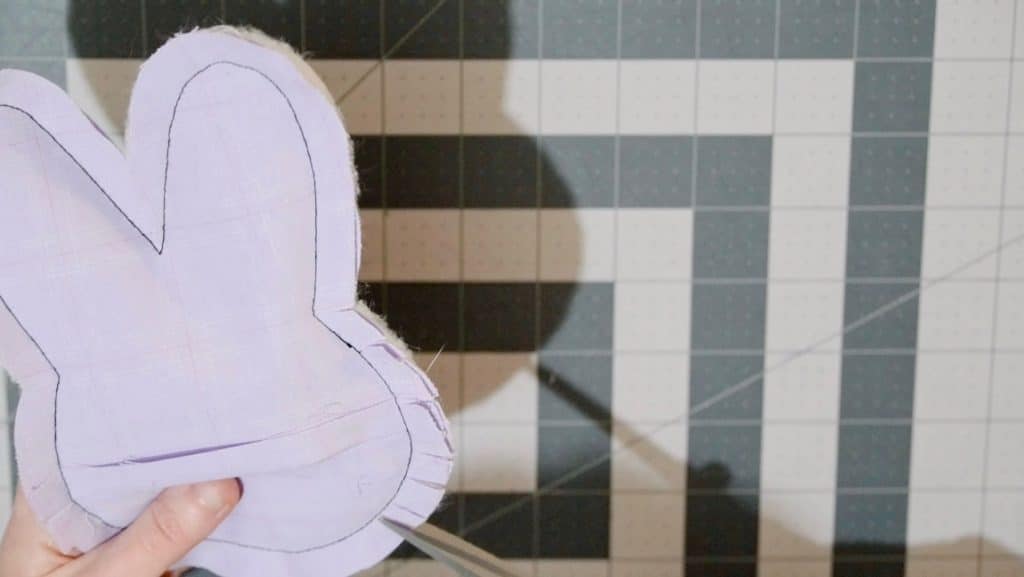
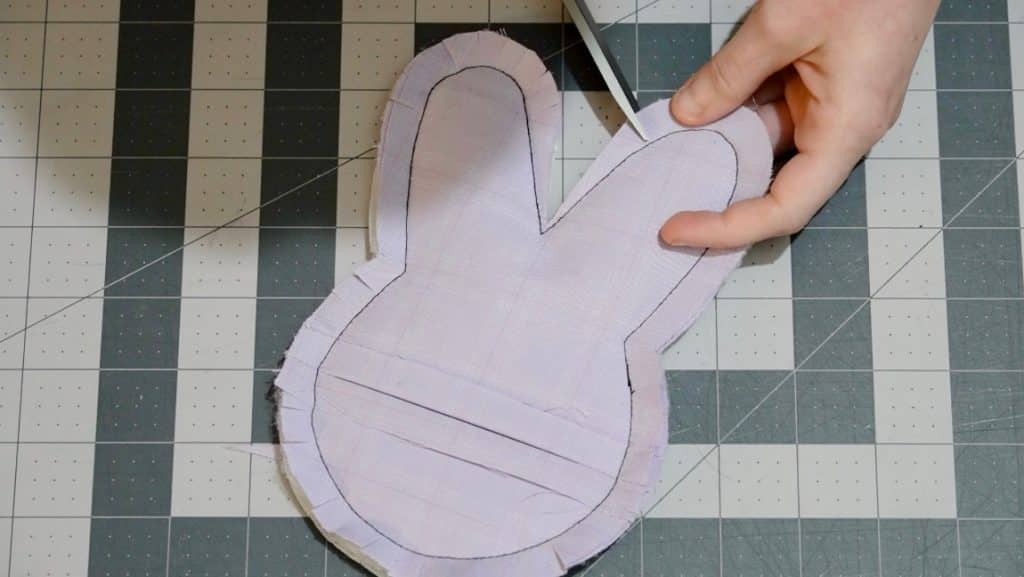
clip the corners and curves
Clip the corners around the ears to the stitching (without cutting through the stitches. Clip around the curves of the ears and the bottom of the bunny face.
Step 5
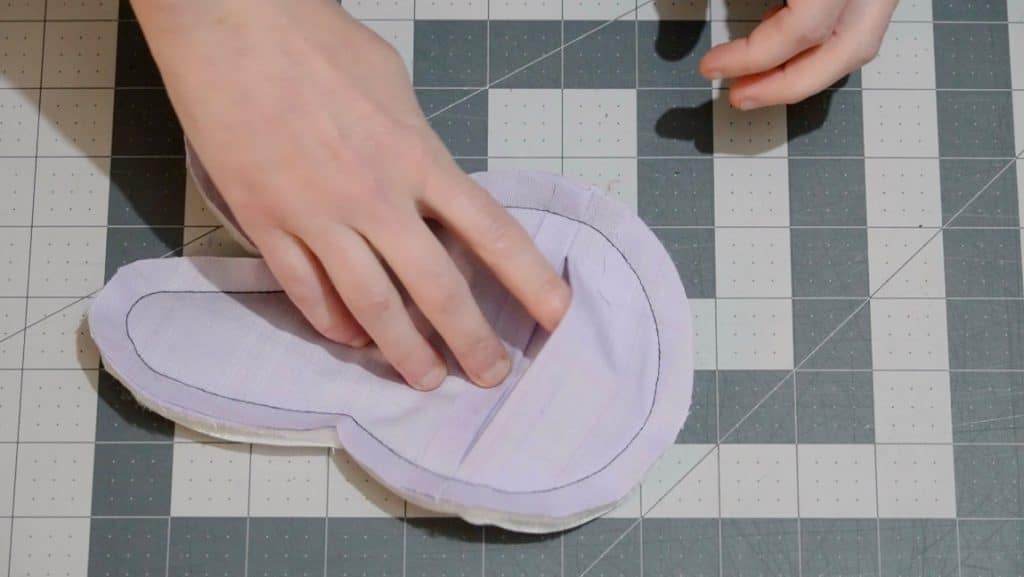
turn the coaster right side out
Turn the bunny coaster right side out through the gap in the back. Then sew up the gap.

Step 6

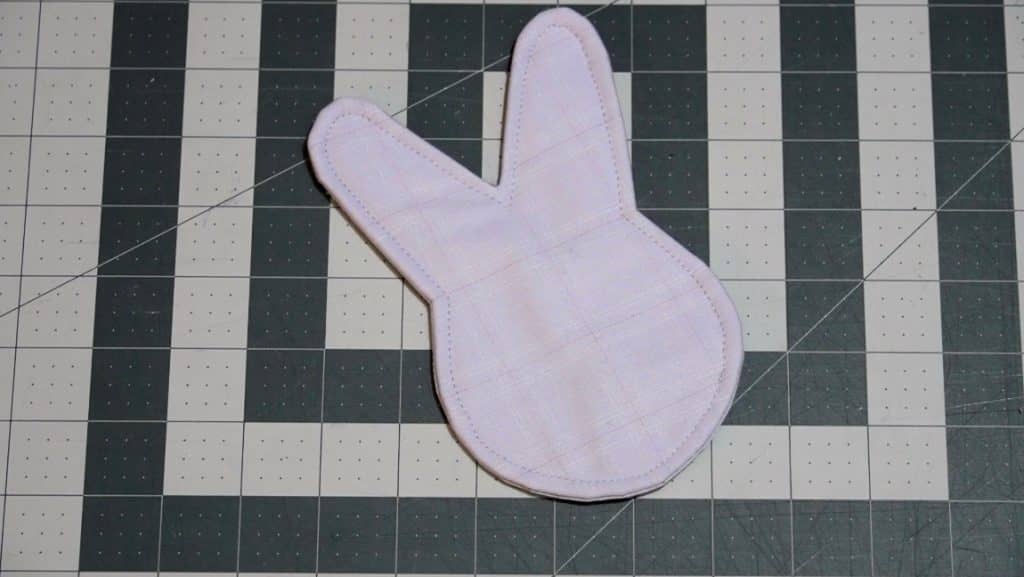
Top stitch around the edge of the coaster
For a neater finish, top stitch all the way around the edge of the bunny coaster.
Finished!