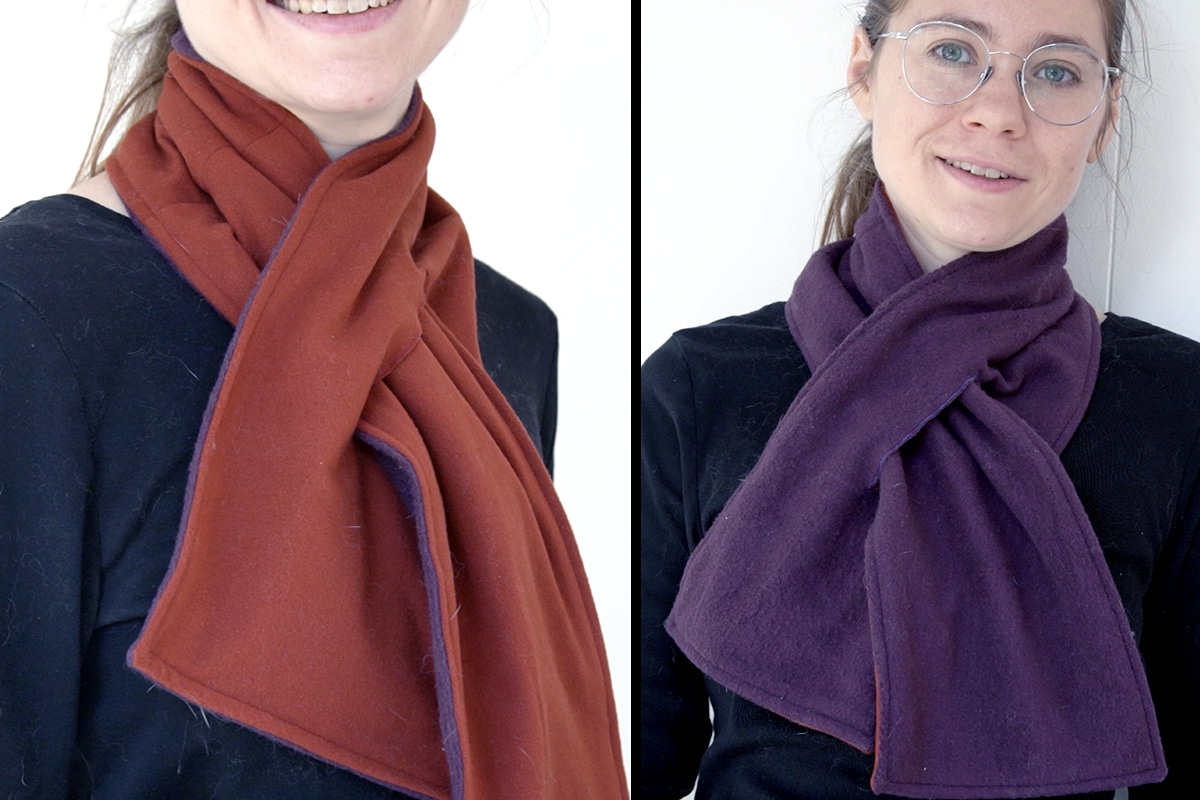
Tutorial: Cowl Scarf With a Slot
This quick tutorial will walk you through how to make a reversible neck scarf with slot so it will easily stay put around your neck. You will need to be familiar with the manual button hole settings of your sewing machine, but otherwise this is a super simple tutorial that you’ll be able to complete in less than an hour.
Supplies Needed:
(all of my patterns include 1/2″ seam allowance)

Step 1
sew the scarf to the front and back
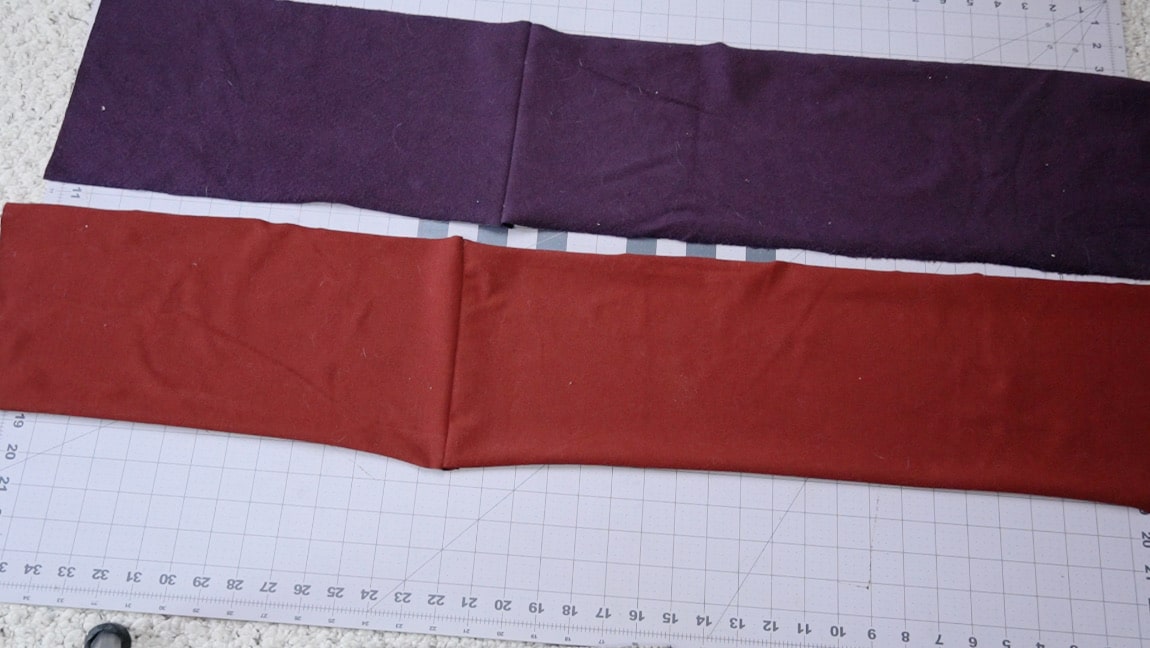
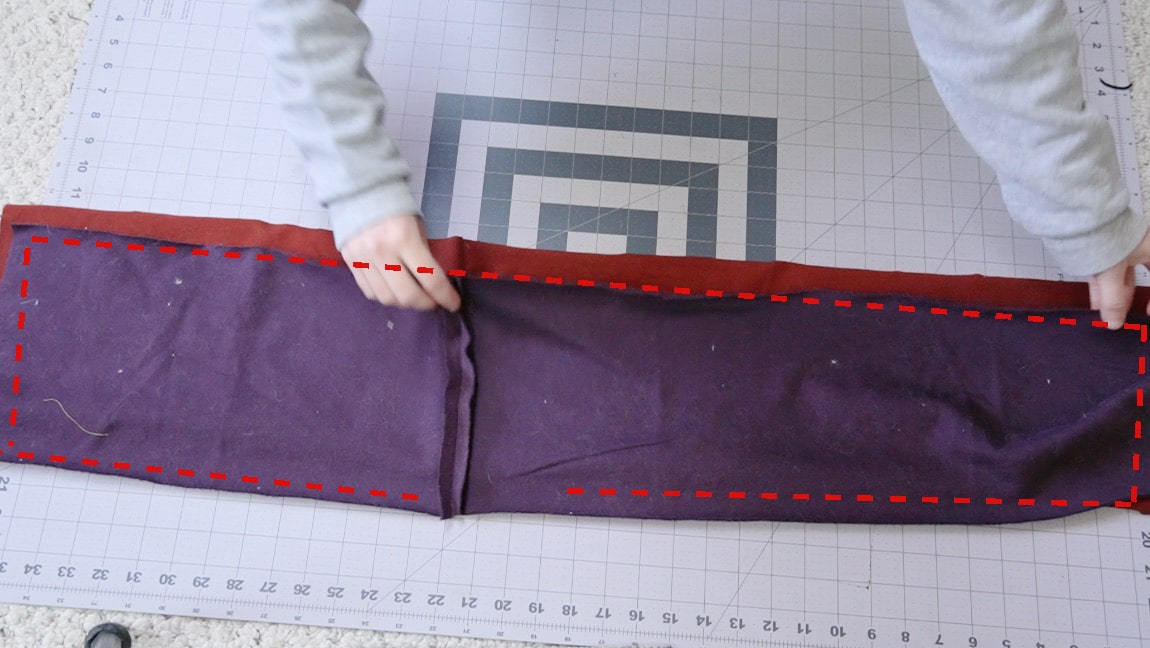
With right sides together, sew the scarf front and back together along the perimeter. Leave a small gap in the center.
Note: ignore the seam that you’ll see in the fabric pieces I’m using. As much as possible, I try to use leftover scraps for my sewing projects, and my fabric pieces were not quite long enough for this scarf so I extended them.

Step 2

turn the scarf right-side-out
Clip the corners and turn the scarf to the right side through the small gap. Then press the seams.

Step 3

fold the gap together and Topstitch the scarf
Using matching thread (one color as top thread and the other color as the bobbin), top stitch all the way around the perimeter of the scarf about 1/4″ in (this will also close up the gap in the scarf). This will keep the edges crisp over time.
Step 4

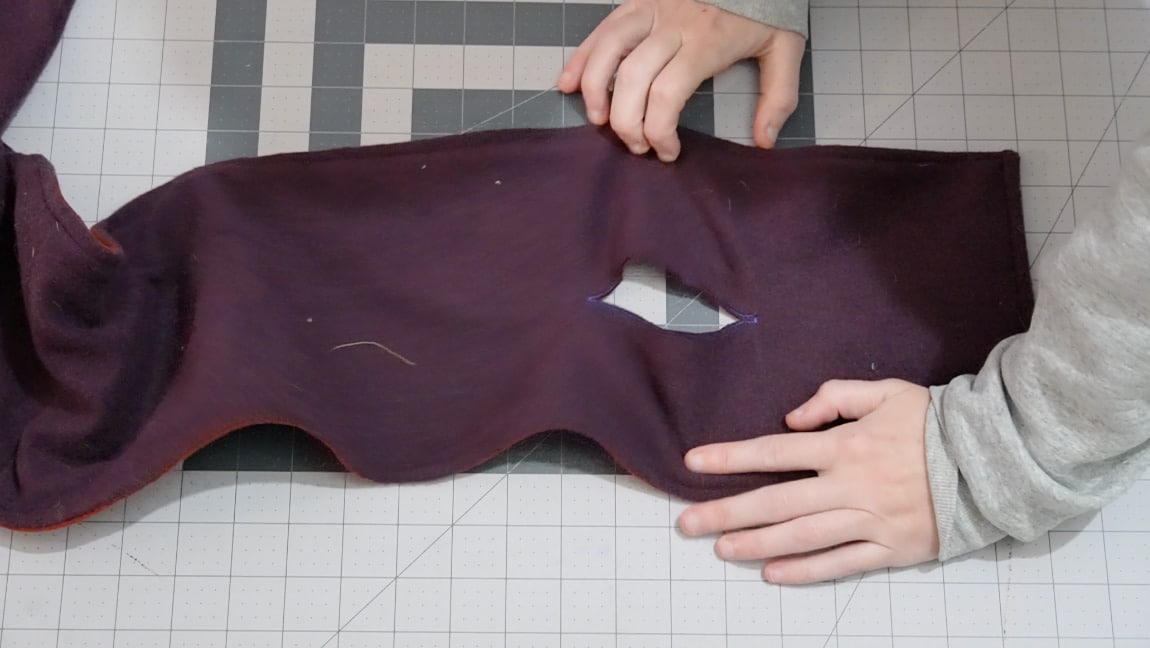
sew the slot using the button hole settings on your machine
Use the marking on the pattern as a guide for sewing the slot as a button hole. Since this slot is much longer than a typical button, you will need to use manual button hole settings on your sewing machine so you can make the hole as long as it needs to be. This will vary a lot depending on your sewing machine, so be sure to refer to your machine’s manual.
After sewing the button hole, cut it open and insert the other side of the scarf through the slot.

Finished!


