Tutorial: Easy 3/4 Flowy Pants With an Elastic Waist
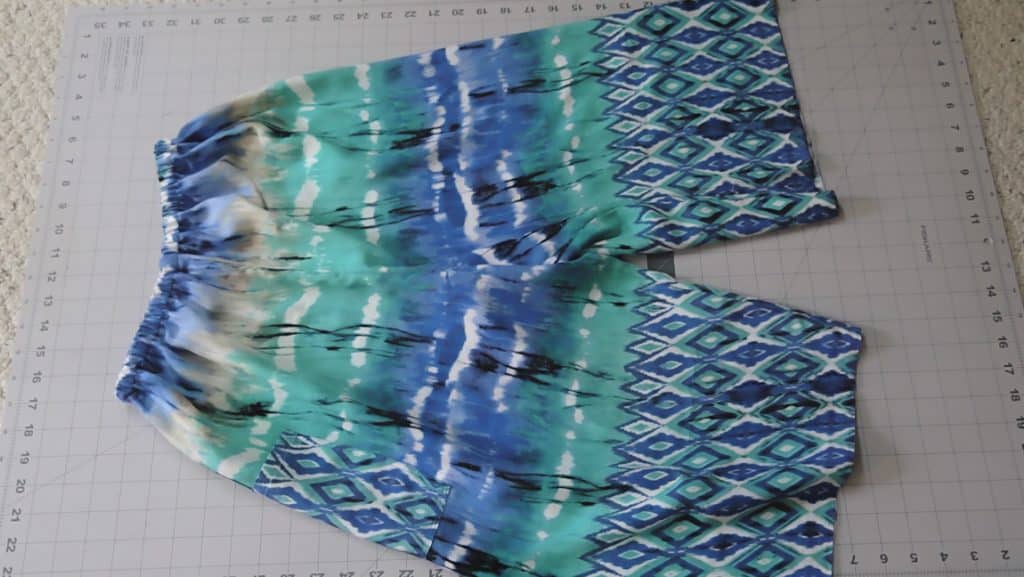
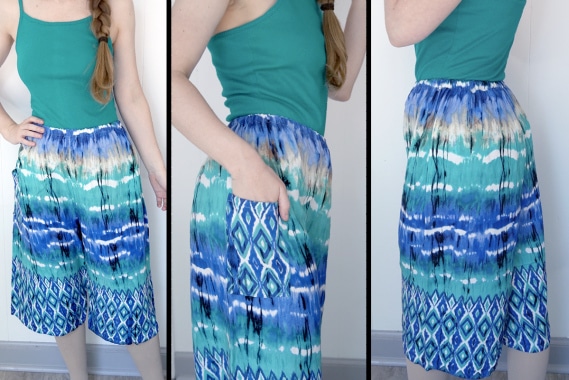
Learn how to make a super quick and easy pair of elastic waist pants. I made this pattern to be a 3/4 length pant, but please lengthen or shorten them to whatever length you want. You can print out the pattern below, or create your own pattern based on your own measurements. Then, follow along with the step-by-step tutorial.
This page contains affiliate links. As an Amazon Associate, I earn a small commission from qualifying purchases. That being said, I encourage you to use your local sewing shop whenever possible, or to look for supplies second hand.
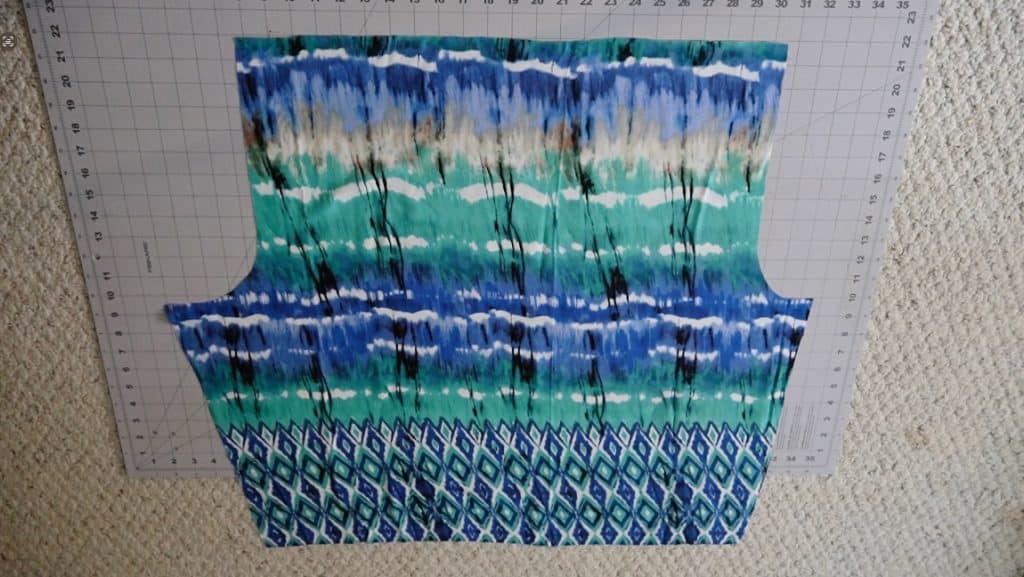
Supplies Needed:
(all of my patterns include 1/2″ seam allowance)
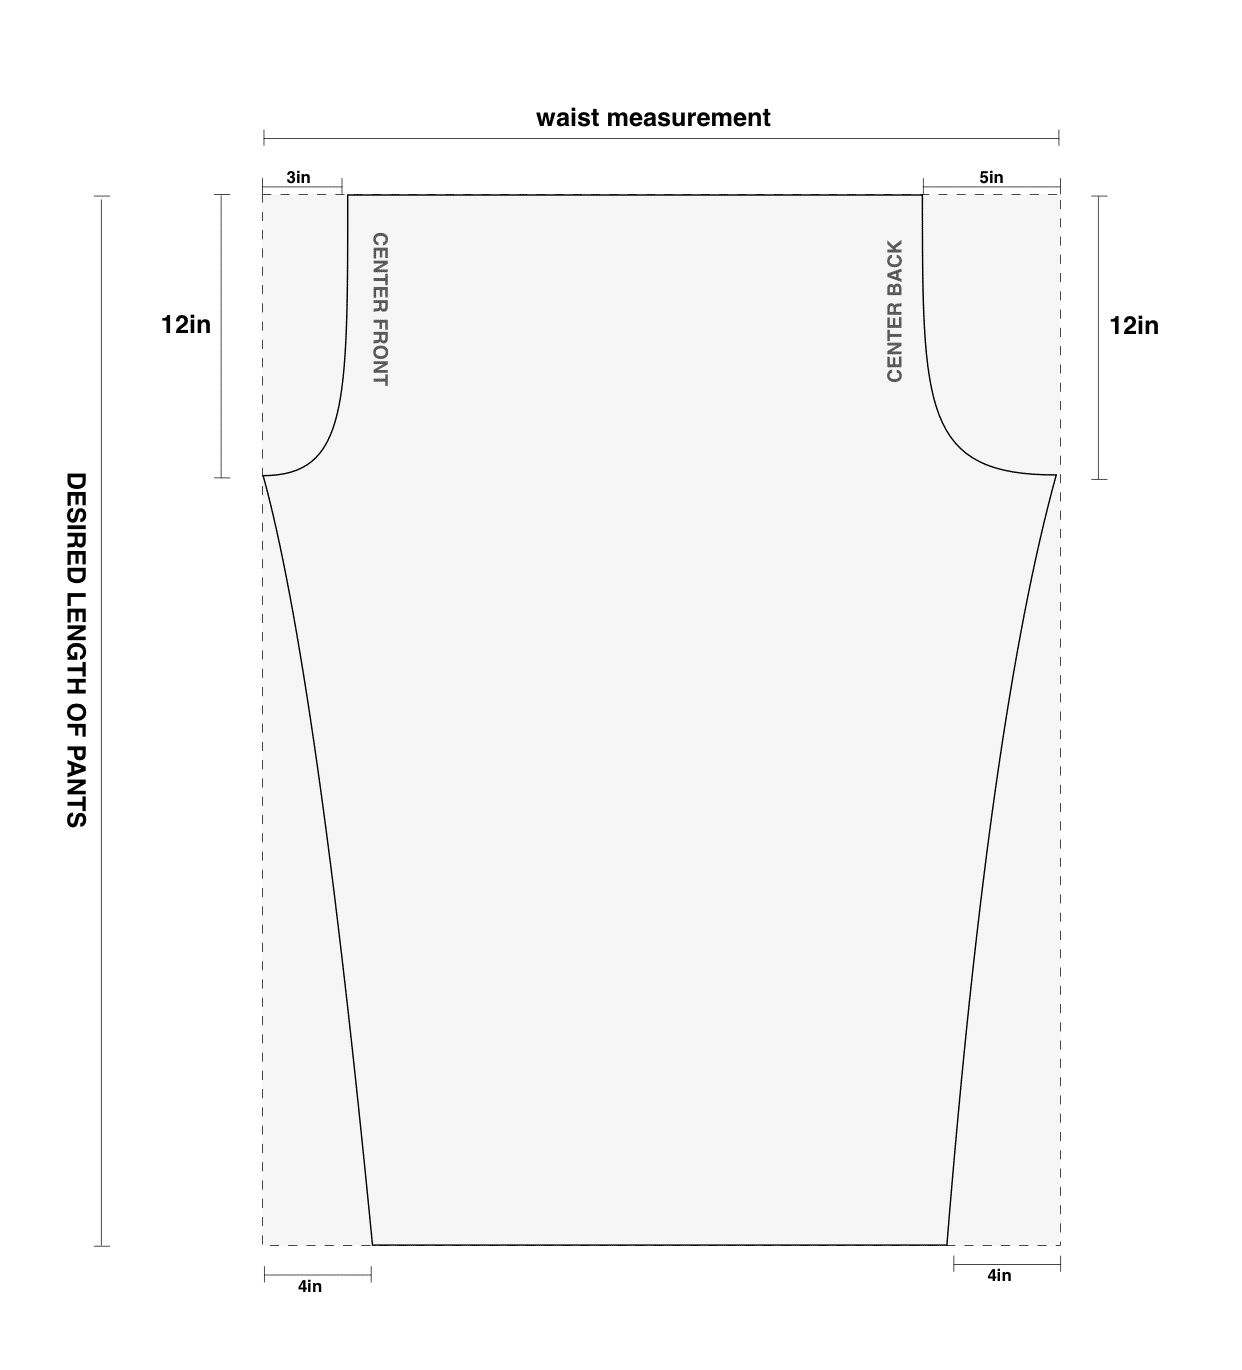
* Note: This pattern will comfortably fit someone to a hip width of about 48 inches. You can make the entire pattern wider by using a starting rectangle that matches your wait measurement, and creating your pattern from there.
or Make Your Pattern:
* The measurements I give you for the I center crotch seam are meant to make it loose so that it will fit most body types. However, if you are very tall or have a bigger bottom, you can lengthen or widen the crotch measurements for a better fit.
Step 1
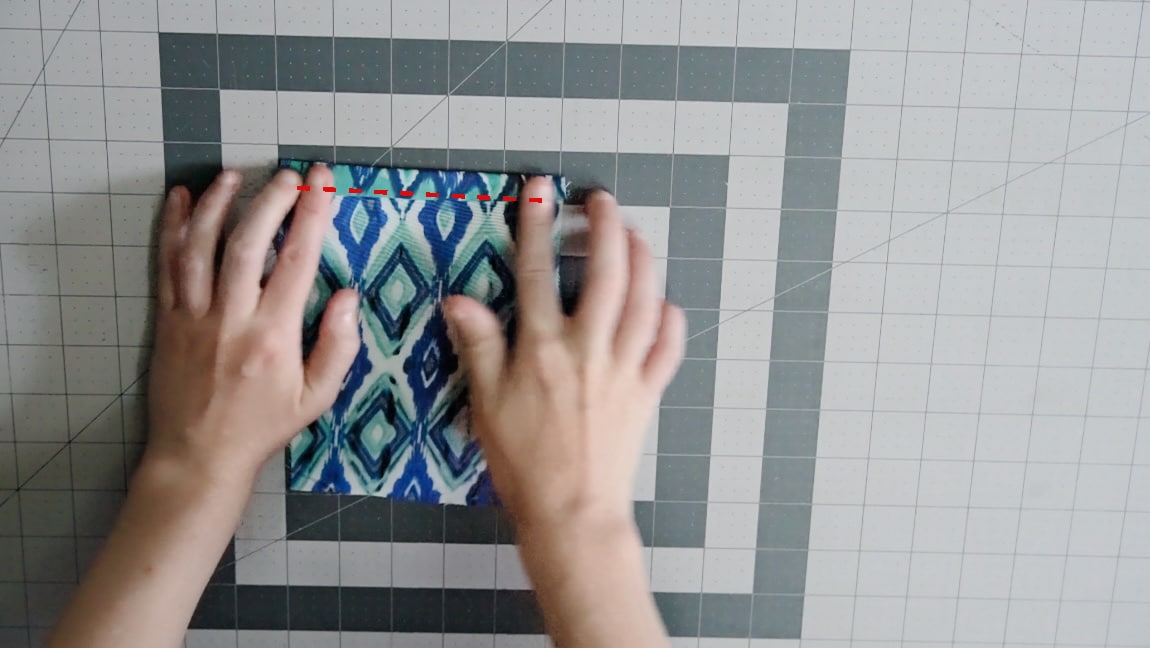
hem the top of the pockets
Make a 1/2 inch hem at the top of the pocket.
Step 2
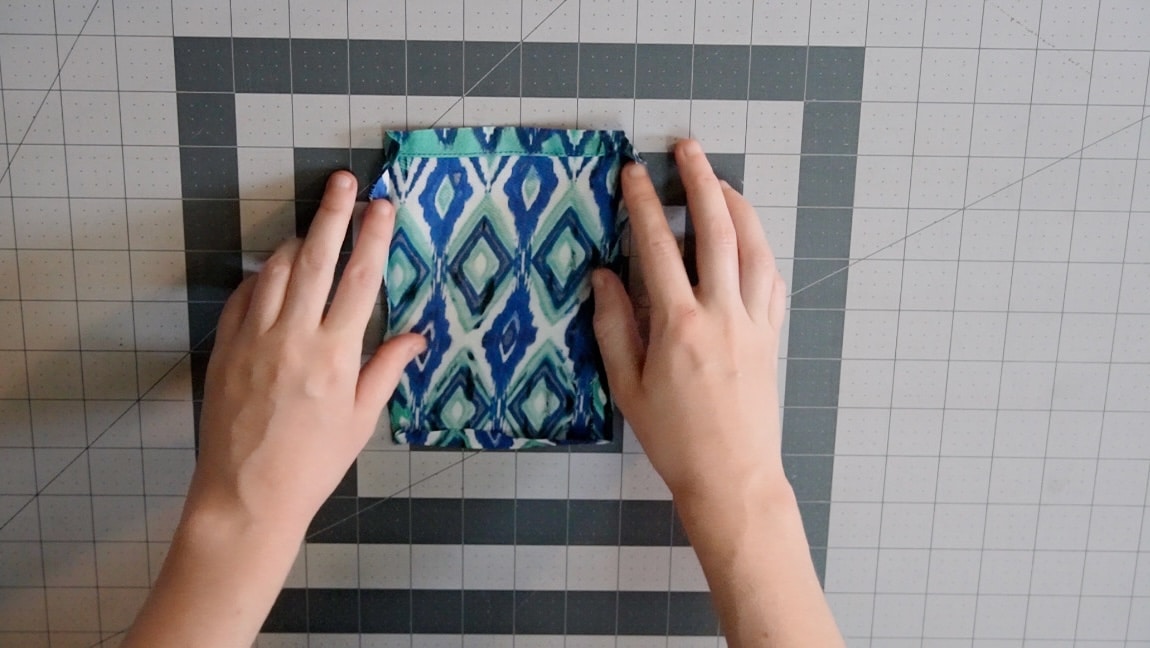
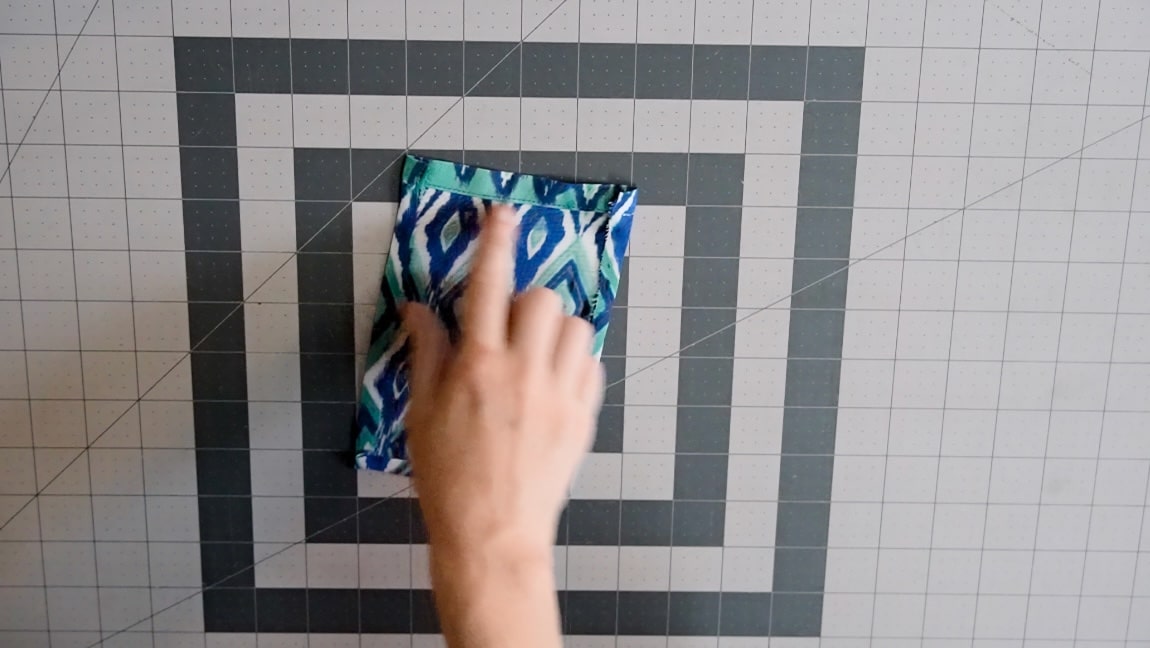
fold over the seam allowance for the pocket
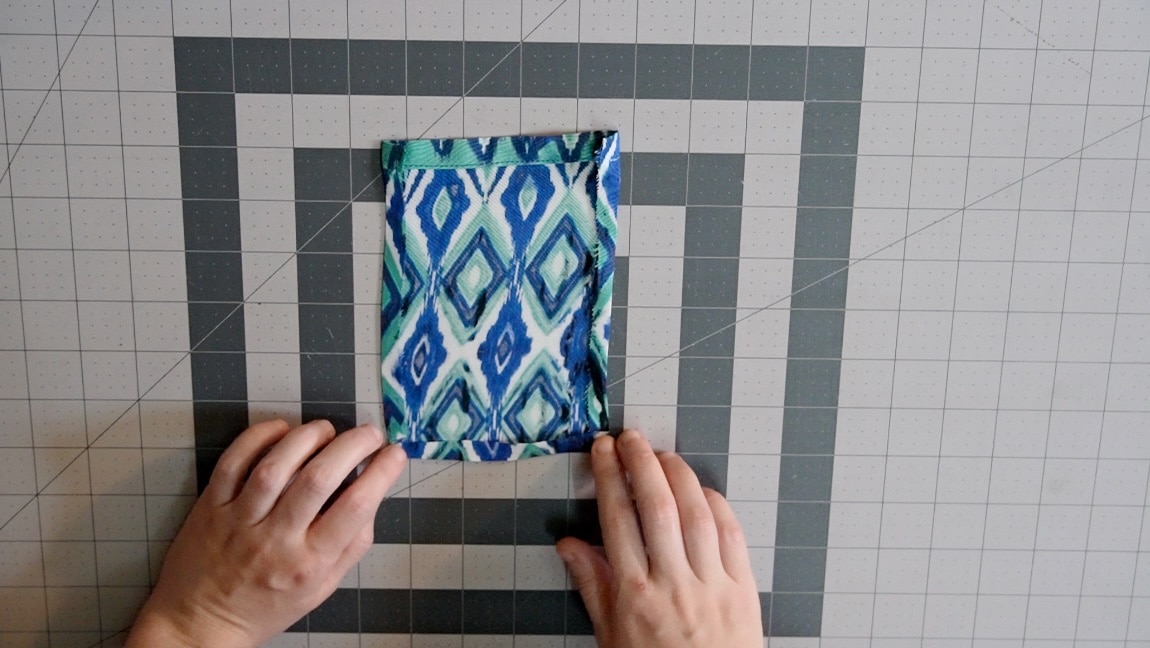
Fold over the seam allowance on the remained three sides of the pocket. Baste in place if necessary.
Step 3
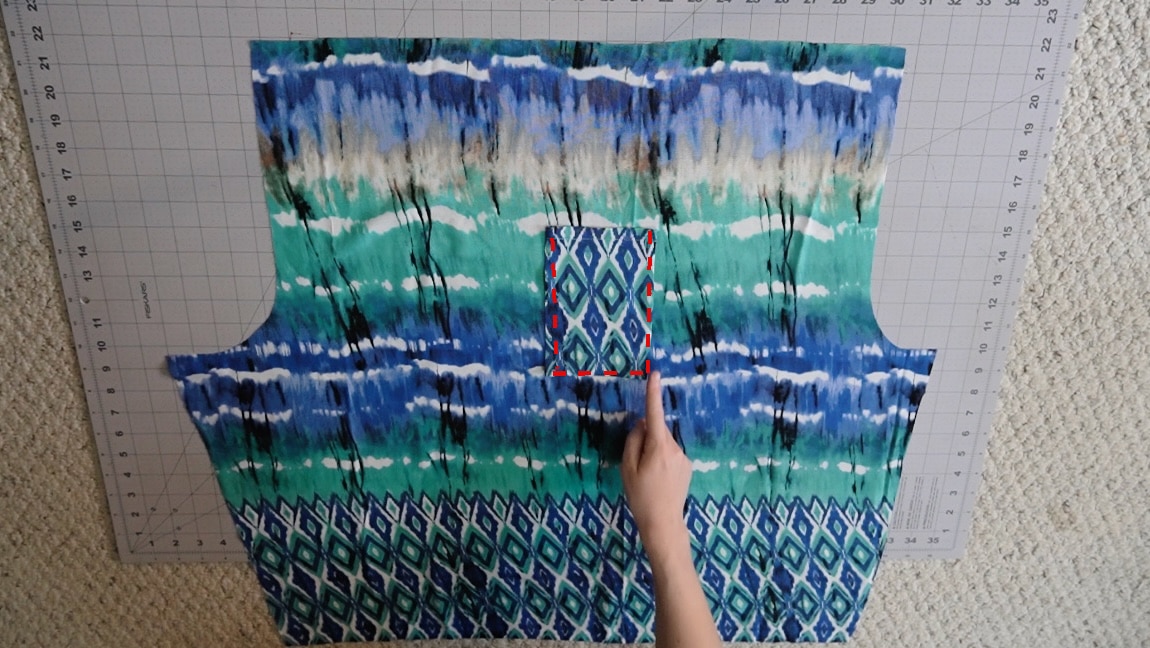
sew the pocket to the pant leg
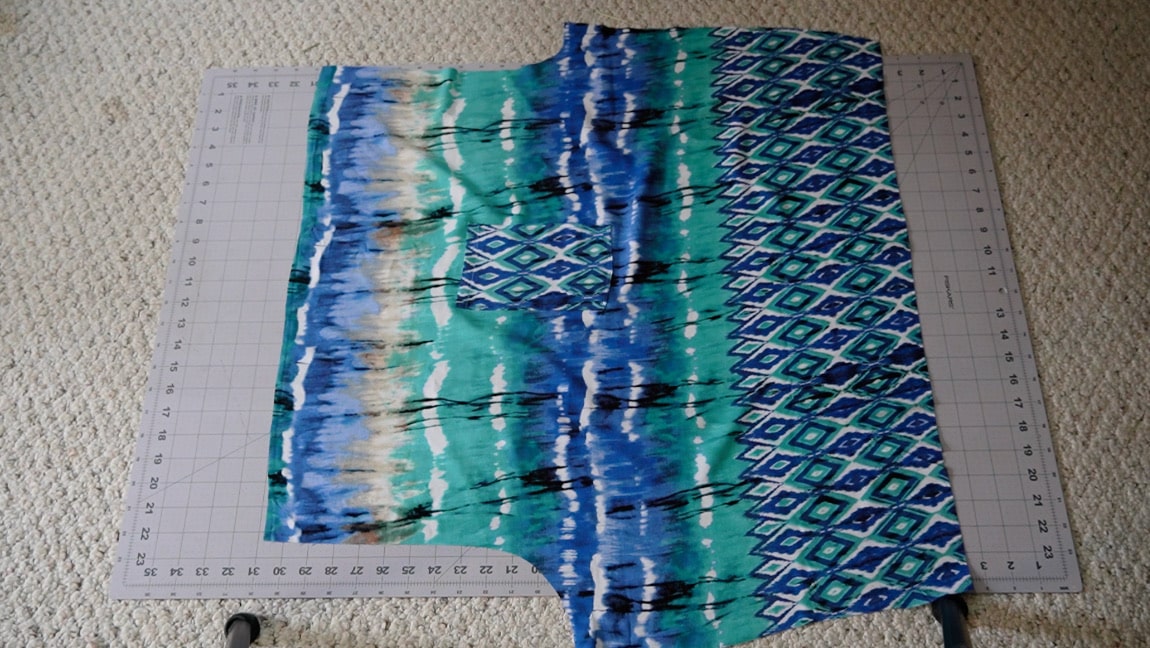
Center the pocket on the pant legs. Make the top of the pocket 8-12 inches down from the top of the pants. (typically if you are shorter make the pocket higher up. If you are taller make the pocket lower down.)
Note: You can make two pockets if you want to. I like to use one and always put it on the right pant leg so that I can tell at a glance which side is the front and which is the back when wearing the pants without using a clothing tag.
Step 4
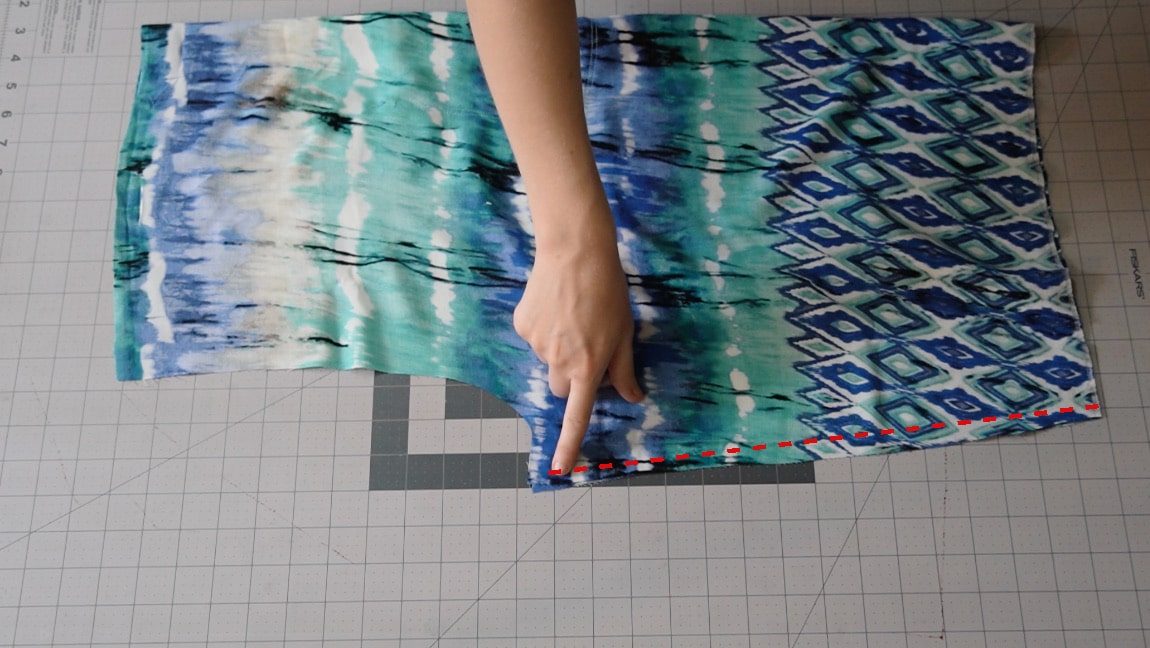
sew the pant inseam
Fold the pant legs in half with right sides together and sew the inseam for both legs.
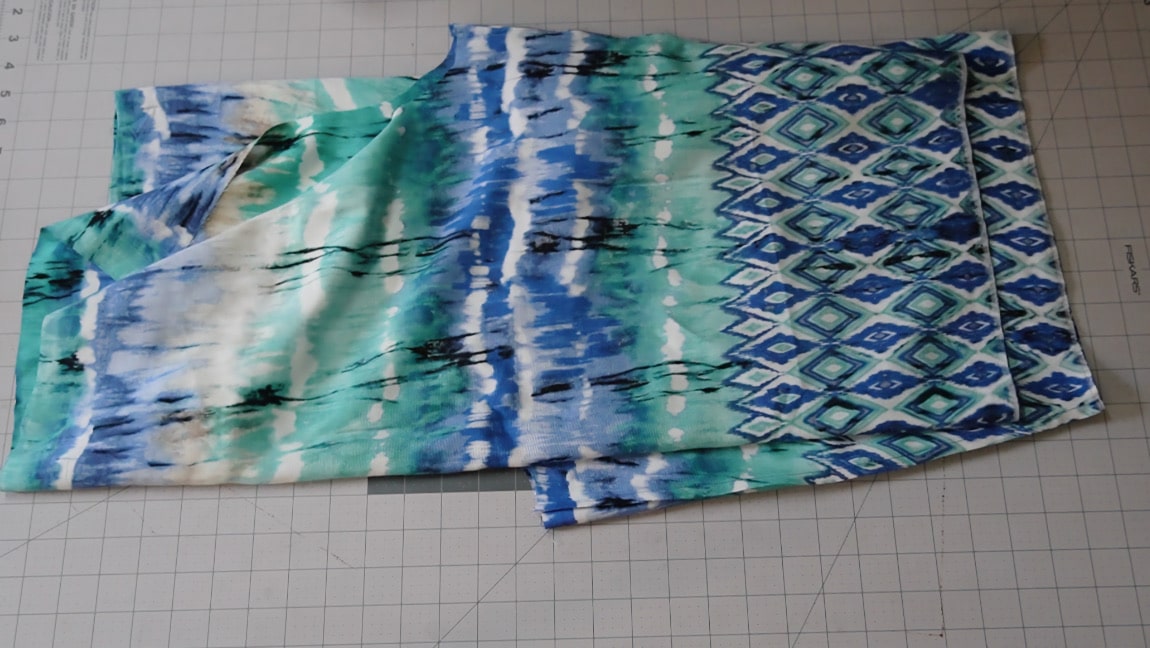
Step 5
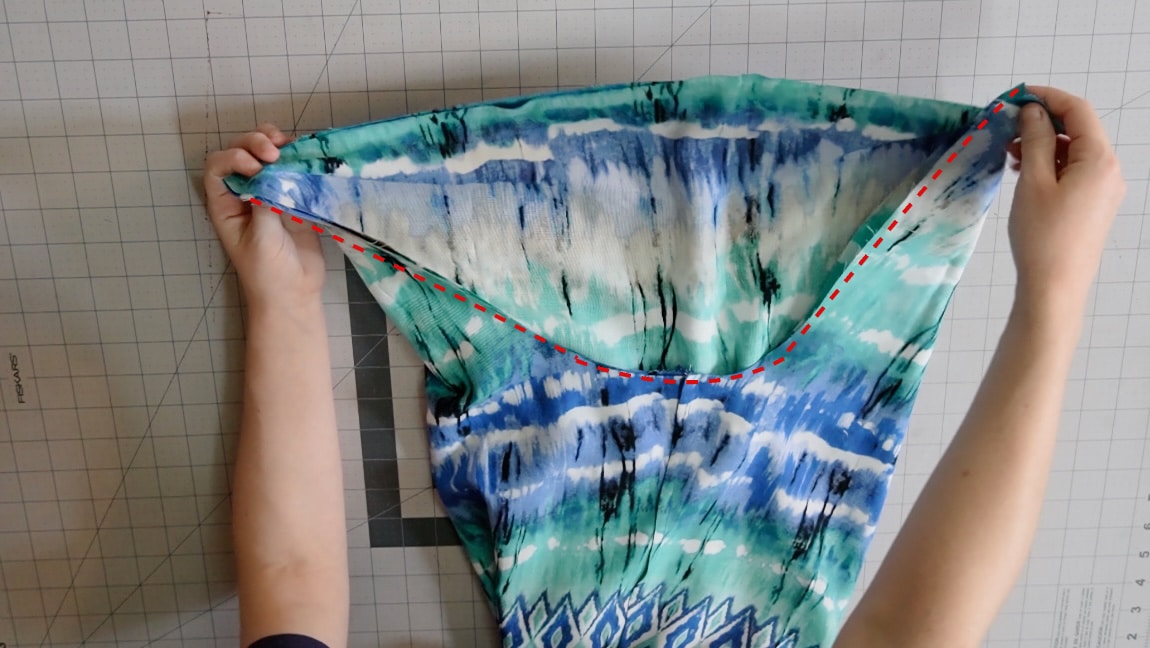
sew the pant crotch seam
With right sides together, place one pant leg inside the other. Then line up the crotch seam and sew. Turn the pants to the right side.
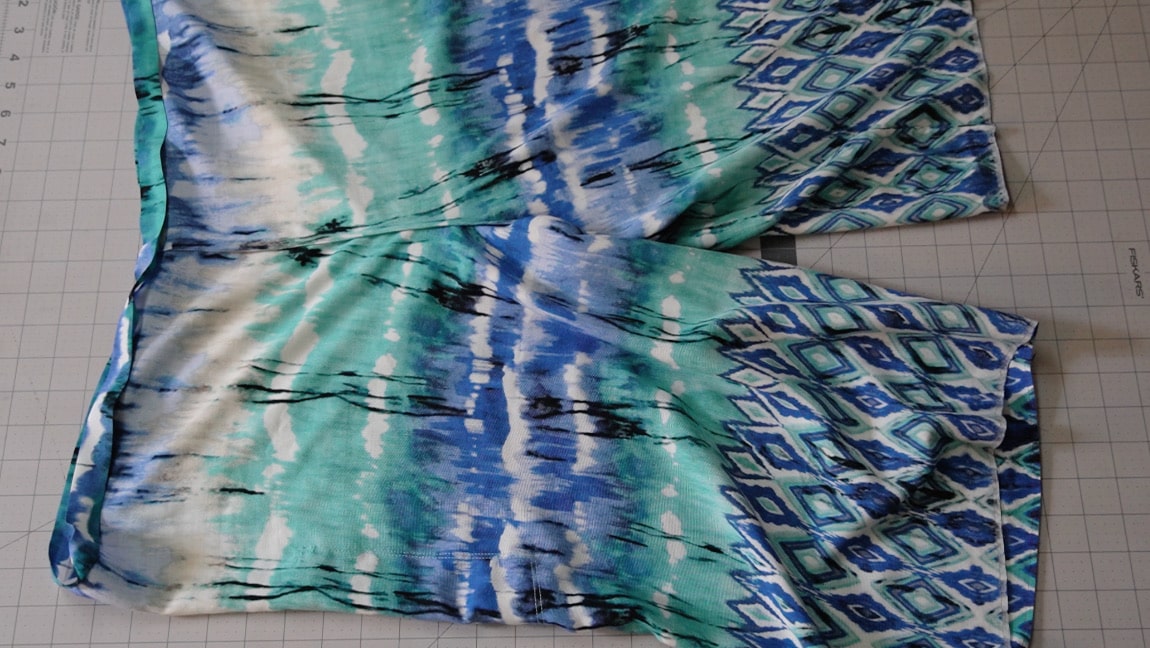
Step 6
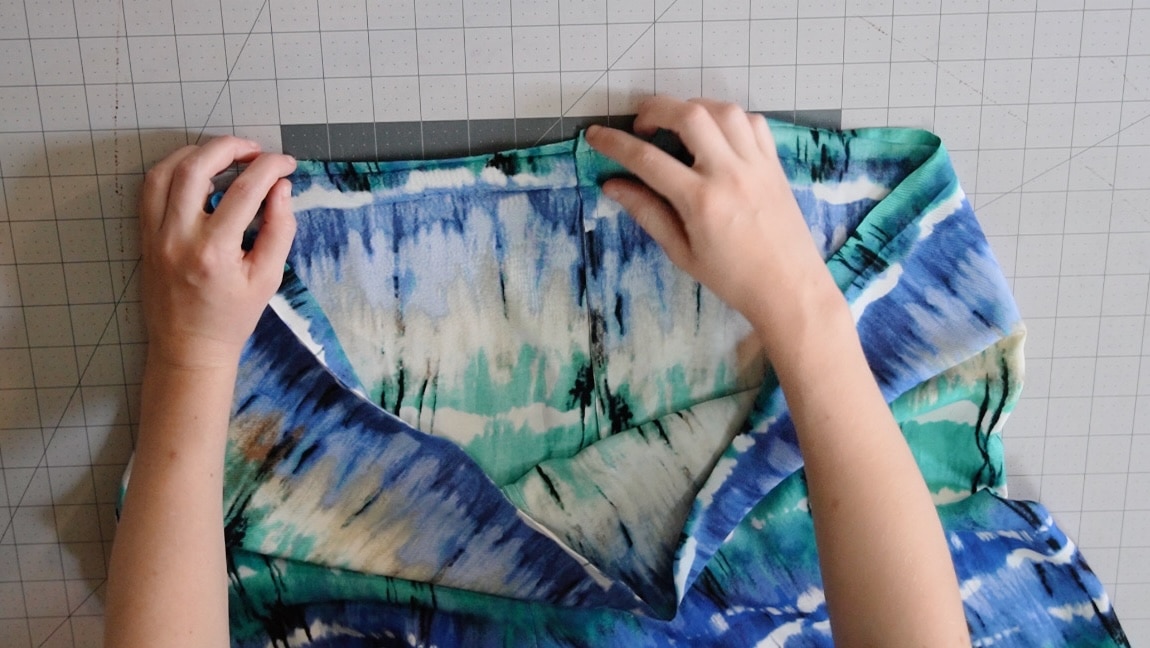
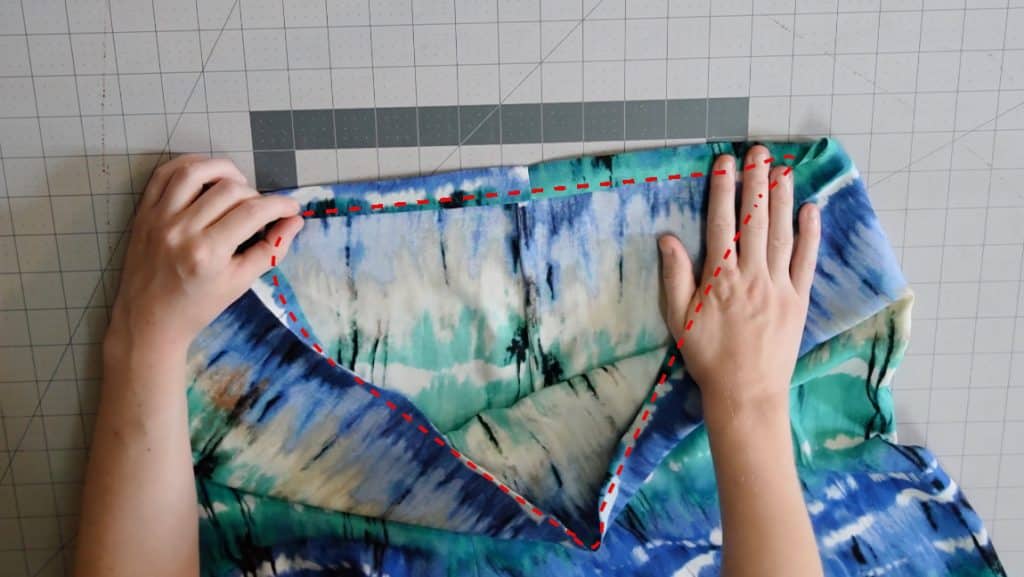
fold over the top to form a casing
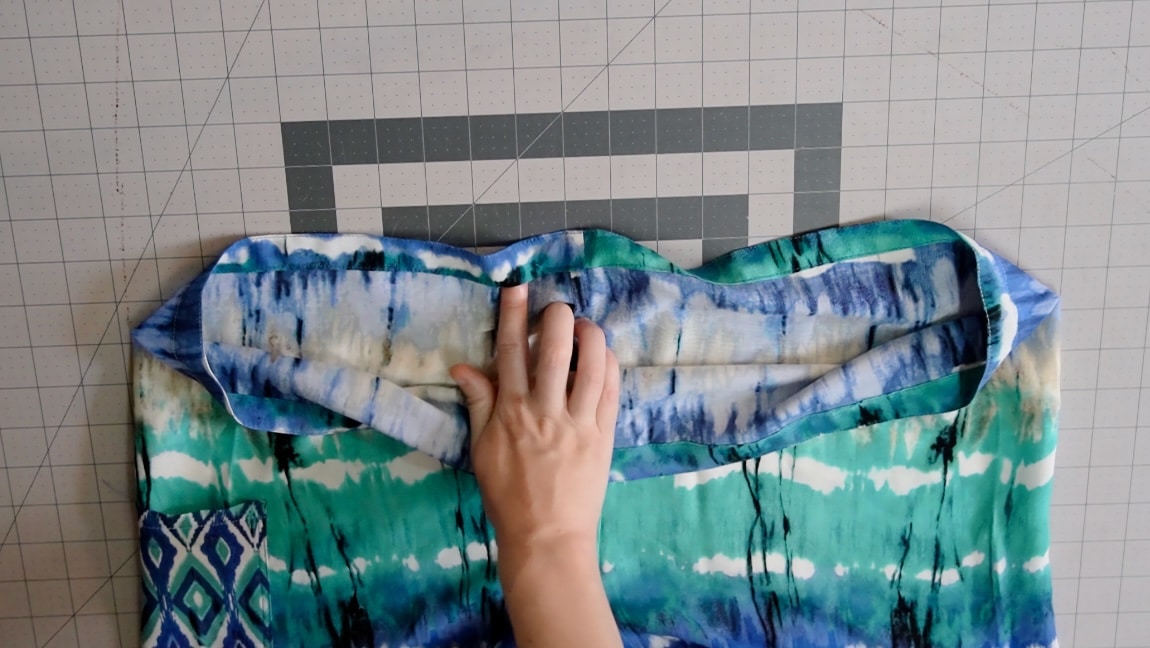
Fold over 1/2 and inch along the top edge. Then fold another 3/4 inch and sew along the bottom to form a casing. You want to leave a small gap in the stitches so you can insert the elastic.
Step 7
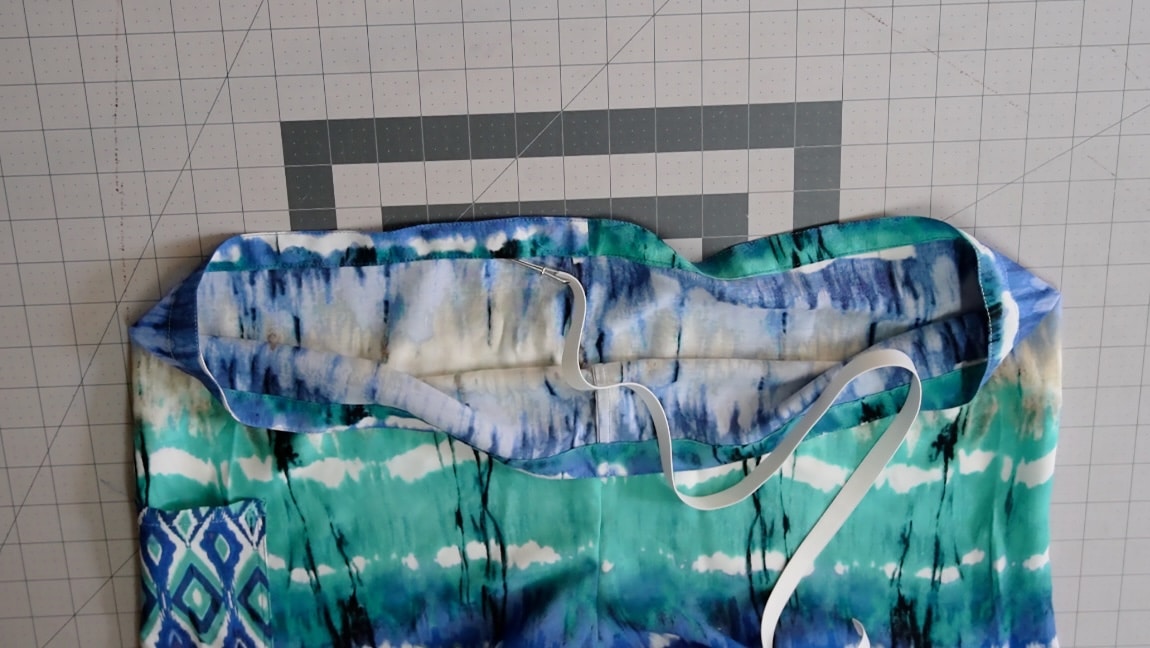
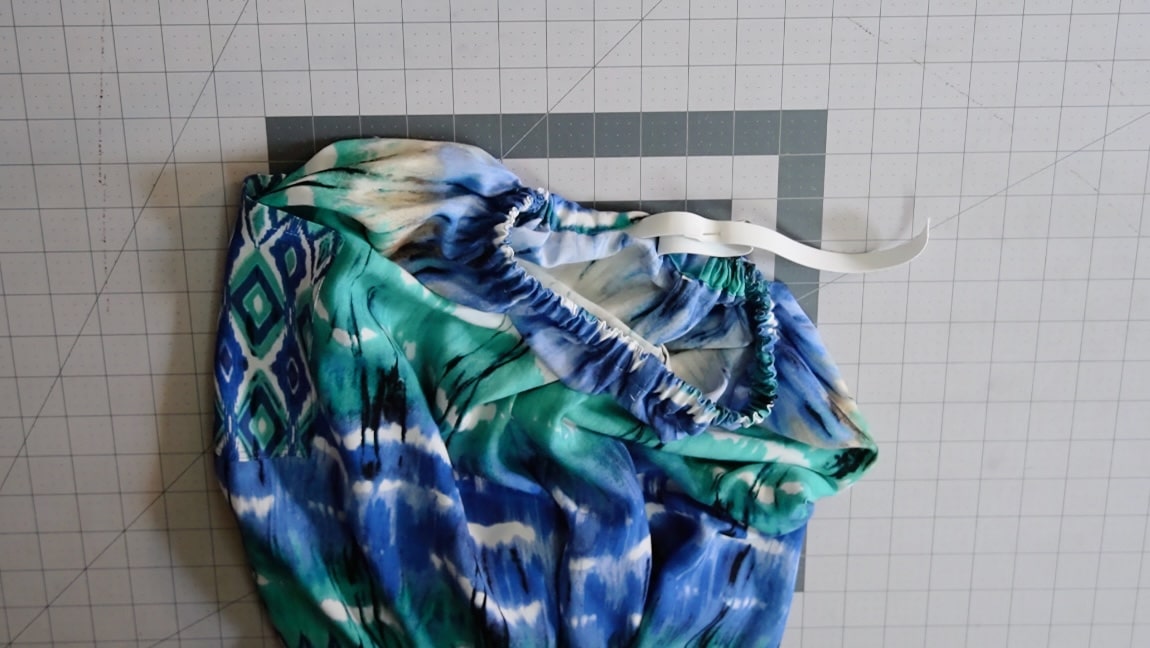
insert the elastic into the casing
Cut a piece of 1/2″ elastic that is the size of you waist. Then insert it through the casing. Make sure the elastic isn’t twisted and sew it into a loop. Then sew up the gap in the casing.
Step 8
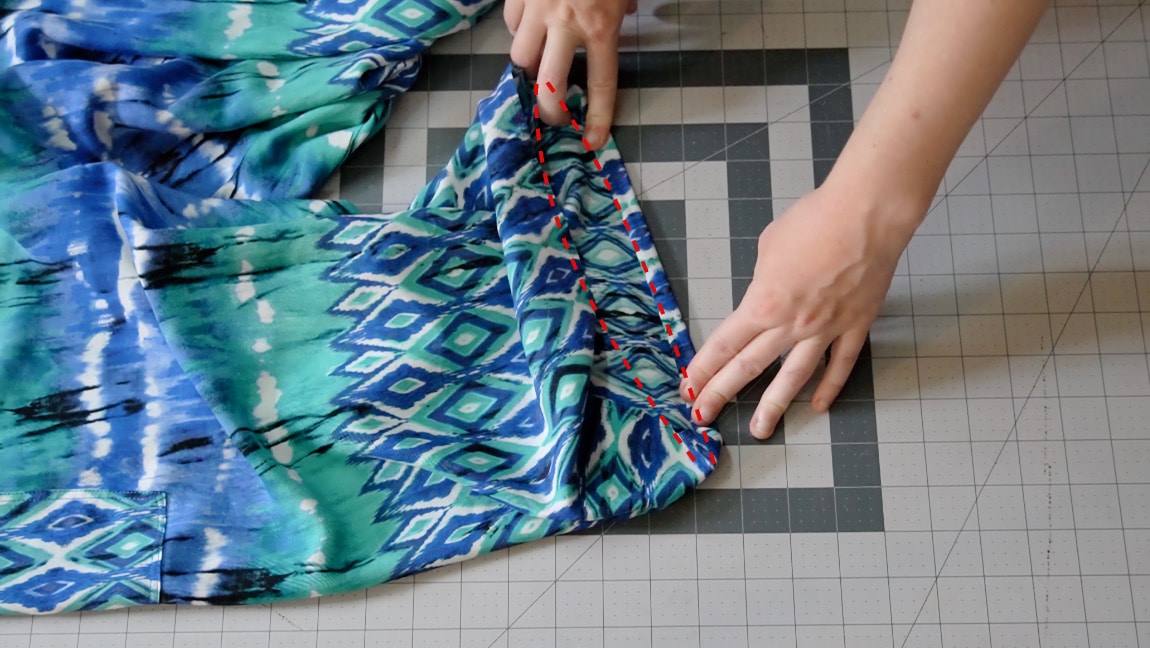
hem the bottom of the pants
Hem the bottom edge of both pant legs.
Finished!