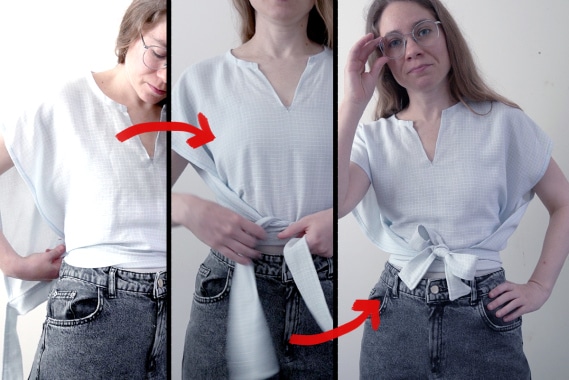
Tutorial: Wrap Tie Shirt with 1 Yard or Less
This tutorial will walk you through how to turn one yard of fabric into a cute wrap top. The shirt will be more-or-less shaped like a rectangle with ties to wrap in around the front and back of your body. I’ll show you how to make a basic neckline pattern, but feel free to play around and make whatever shaped neckline you want with this top. Super cute and super simple.
This page contains affiliate links. As an Amazon Associate, I earn a small commission from qualifying purchases. That being said, I encourage you to use your local sewing shop whenever possible, or to look for supplies second hand.
Supplies Needed:
Step 1

Measure your neck and shoulder
Measure the hollow in your throat, around you neck, and back to the same point. For your shoulders, measure from the base of your neck to the ball of your shoulder.

Step 2
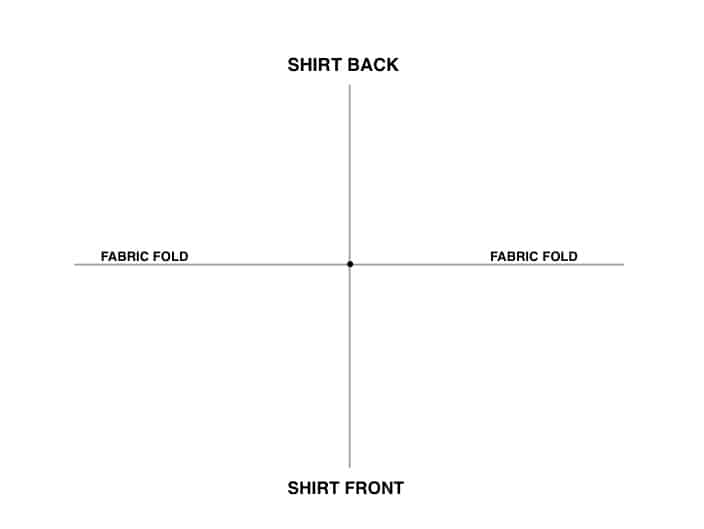
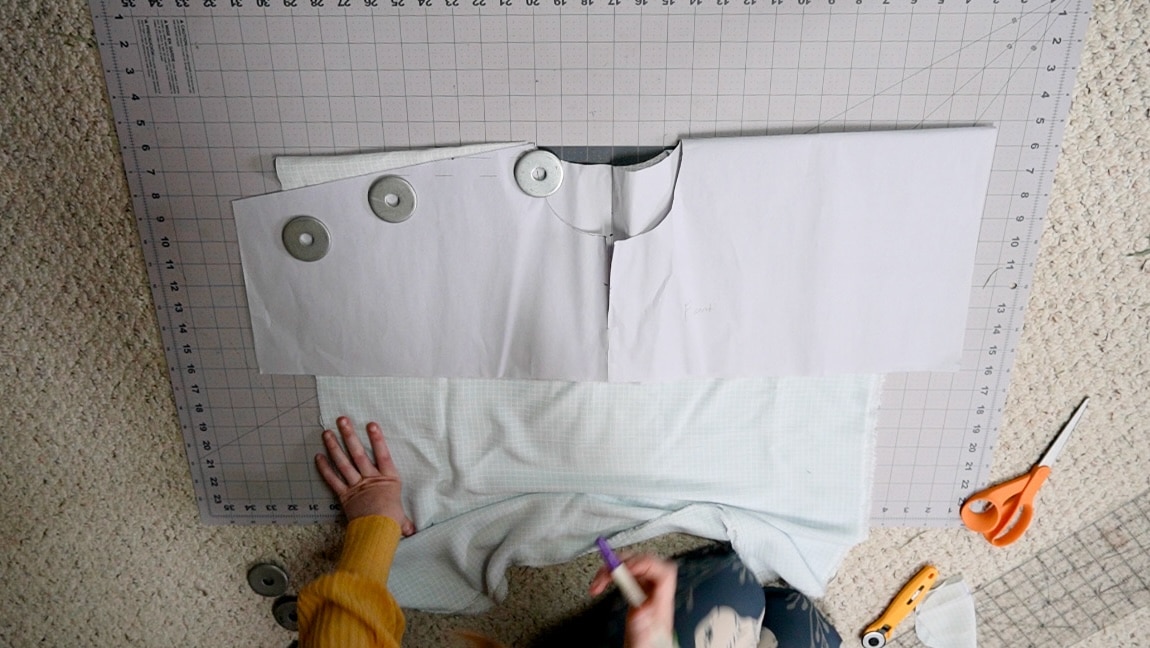
create your neck hole pattern (part 1)
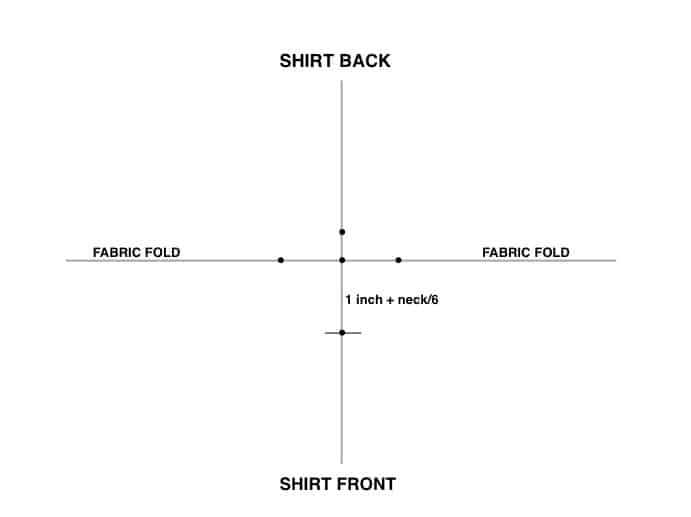
Make a grid for your neck hole.
Step 3
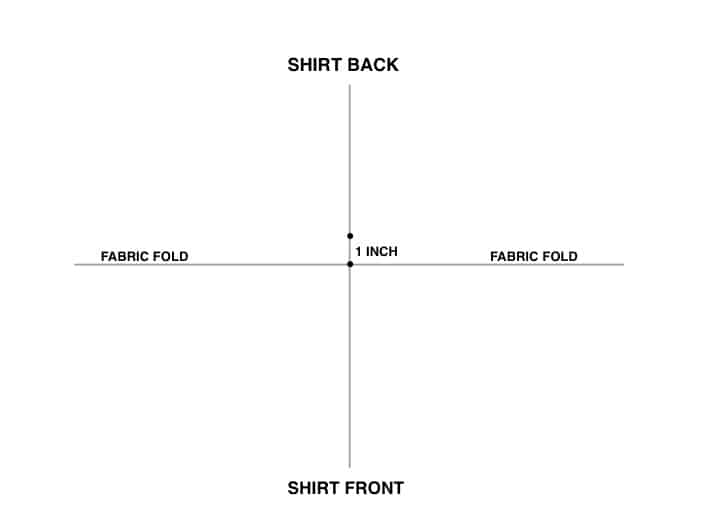
create your neck hole pattern (part 2)
Make a point 1 inch back for you back neckline.
Step 4
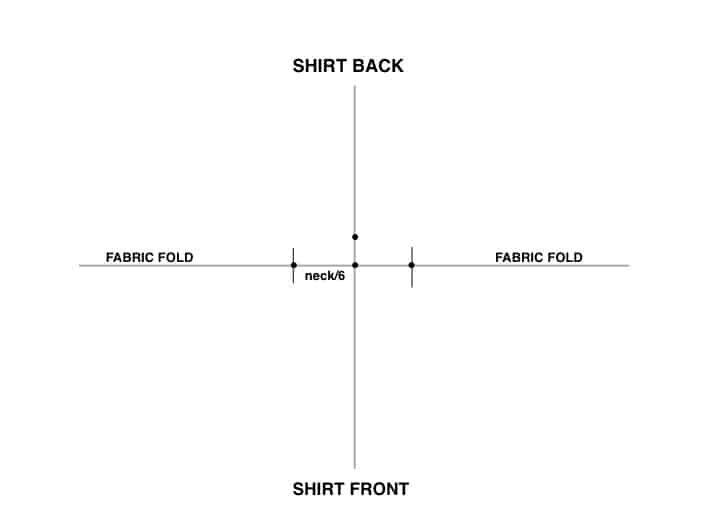
create your neck hole pattern (part 3)
divide your neck measurement by 6 and make a point on both sides
Step 5
create your neck hole pattern (part 4)
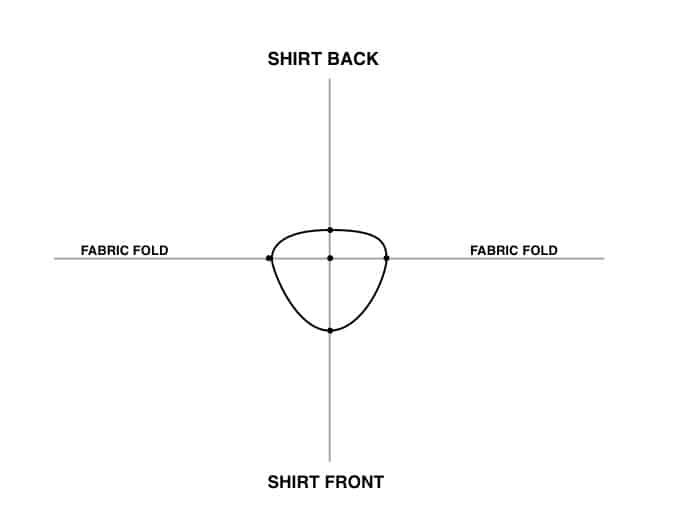
add 1 inch to the side measurement and make a point on the front.
Then connect all of these point. If you have them available, French curve rulers are very helpful for getting a nice smooth curve around the neckline, but you can also draw the lines in by hand.
Step 6
create a shoulder slope
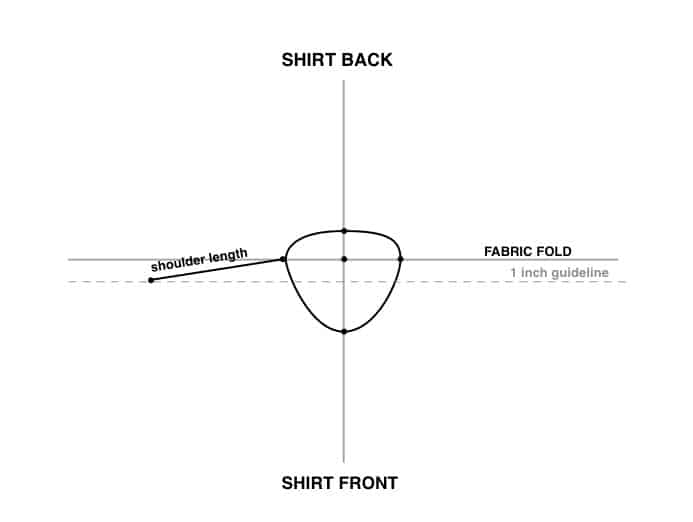
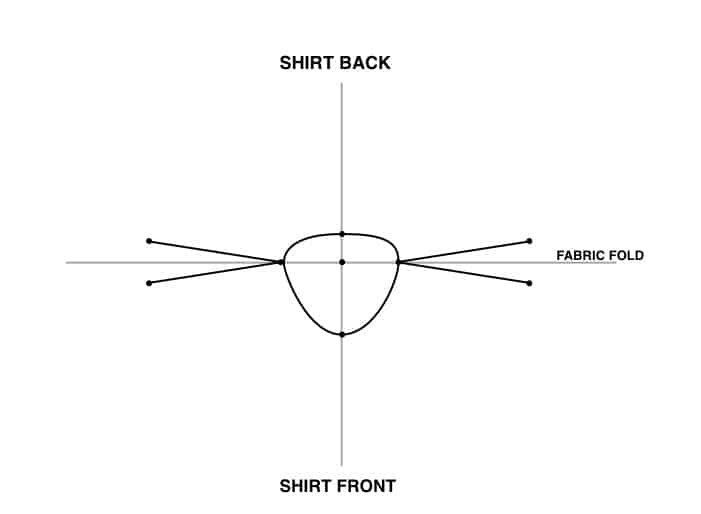
Draw a guideline 1 inch down from the fabric fold line. Make a dot on the guideline a shoulder length from the side of the neck. This will give you a sloped shoulder.
Repeat this for the other sides of the grid. These act as the legs of two shoulder darts that we’ll sew together in step 12.
Step 7
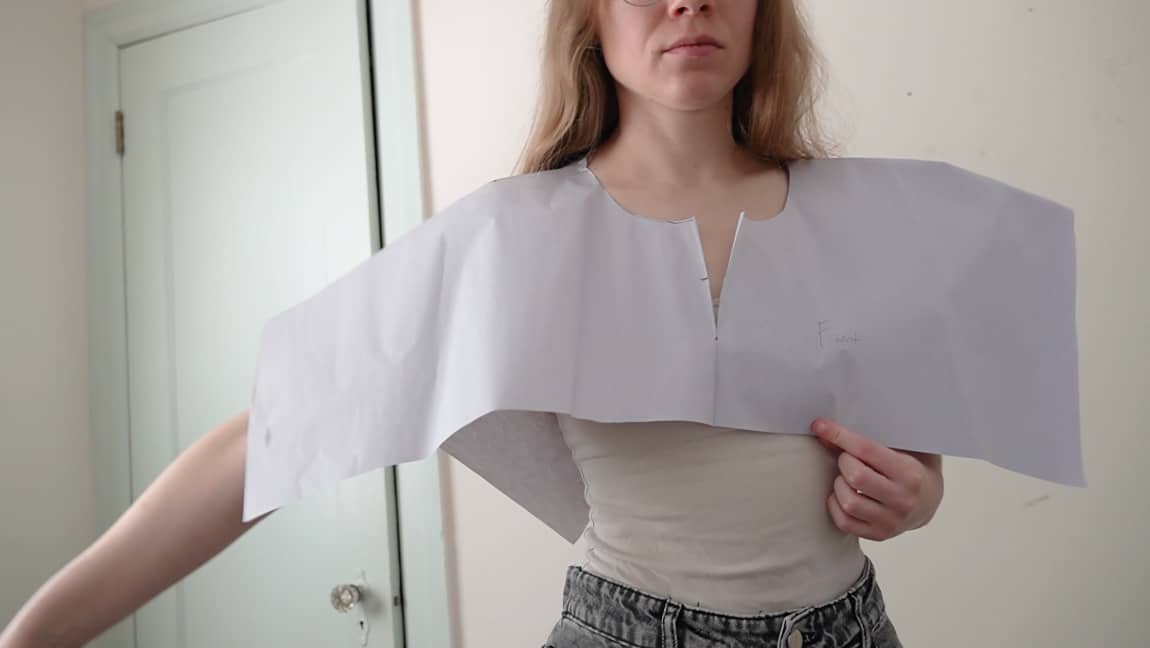
Make a test pattern and cut the front slit
Make a slit on the center from of the pattern. To make sure it will fit over your head, make a test pattern with paper. If you can’t fit it over your head cut a deeper slit or widen the sides of the neck.
Step 8
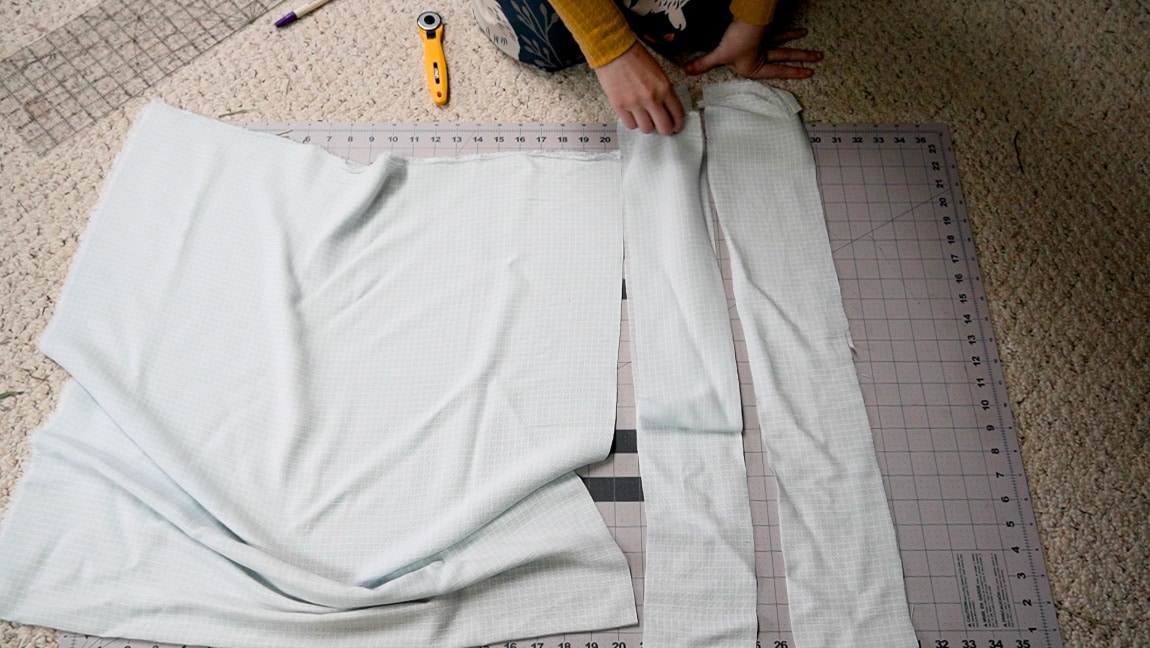
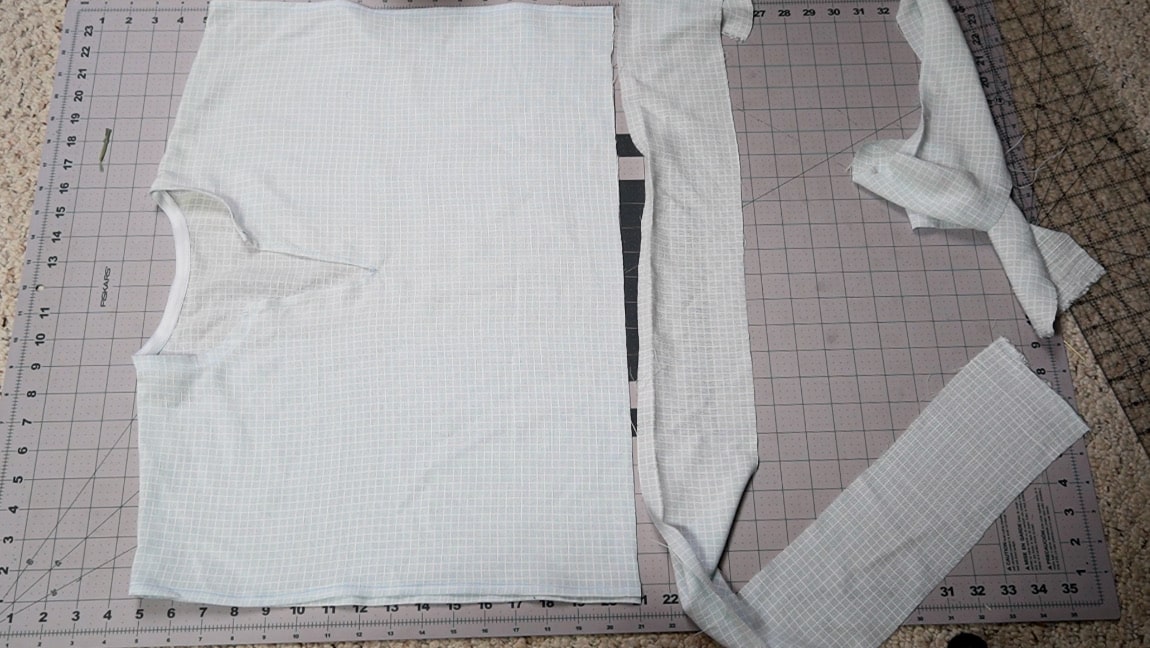
Cut 2 long fabric strips
Cut 2 strips that are the entire width of fabric (60″) that are 4 inches wide
Step 9
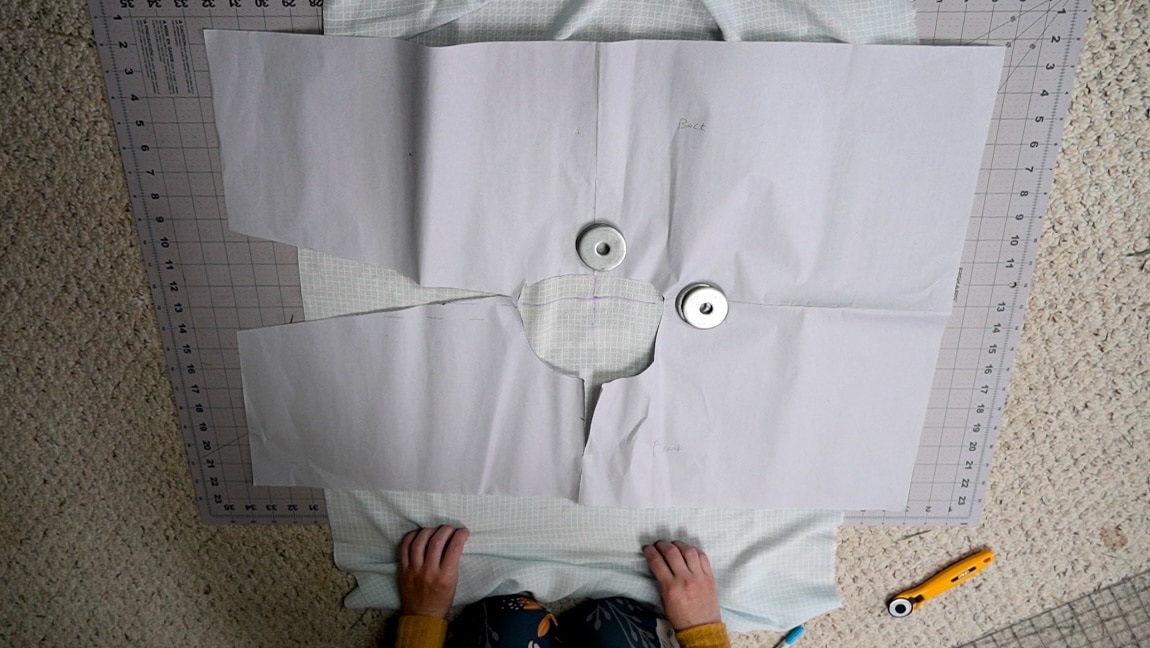
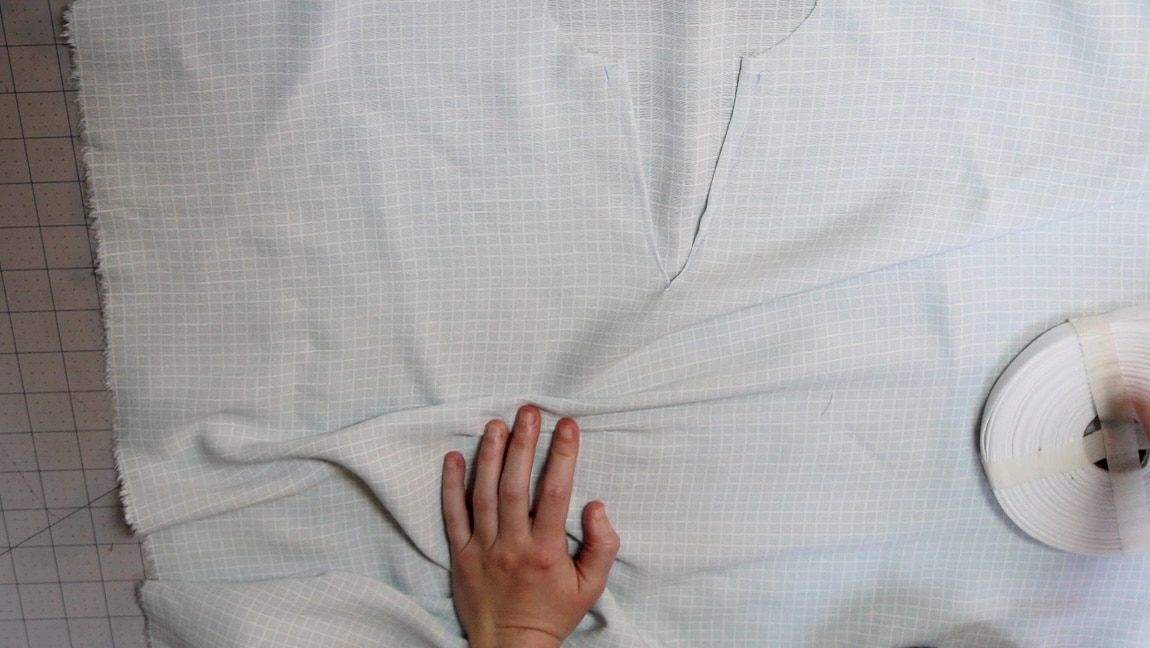
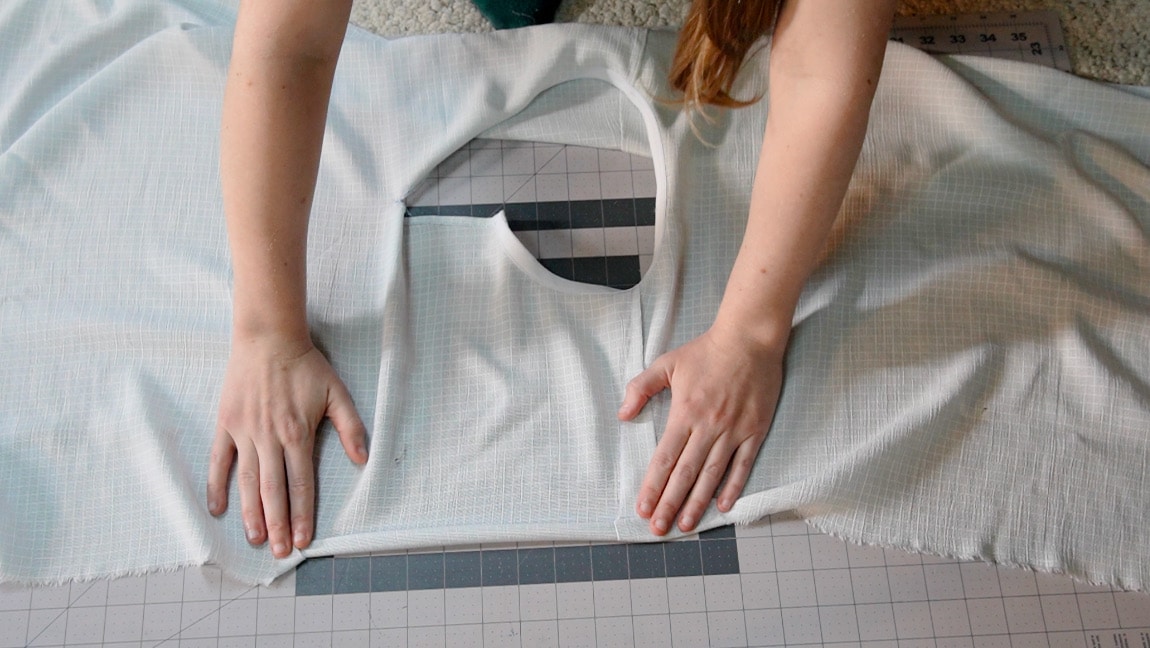
cut your neck hole
draw a grid with erasable pen or chalk at the center of your fabric and line up your paper pattern. Then cut the neckhole.
Step 10
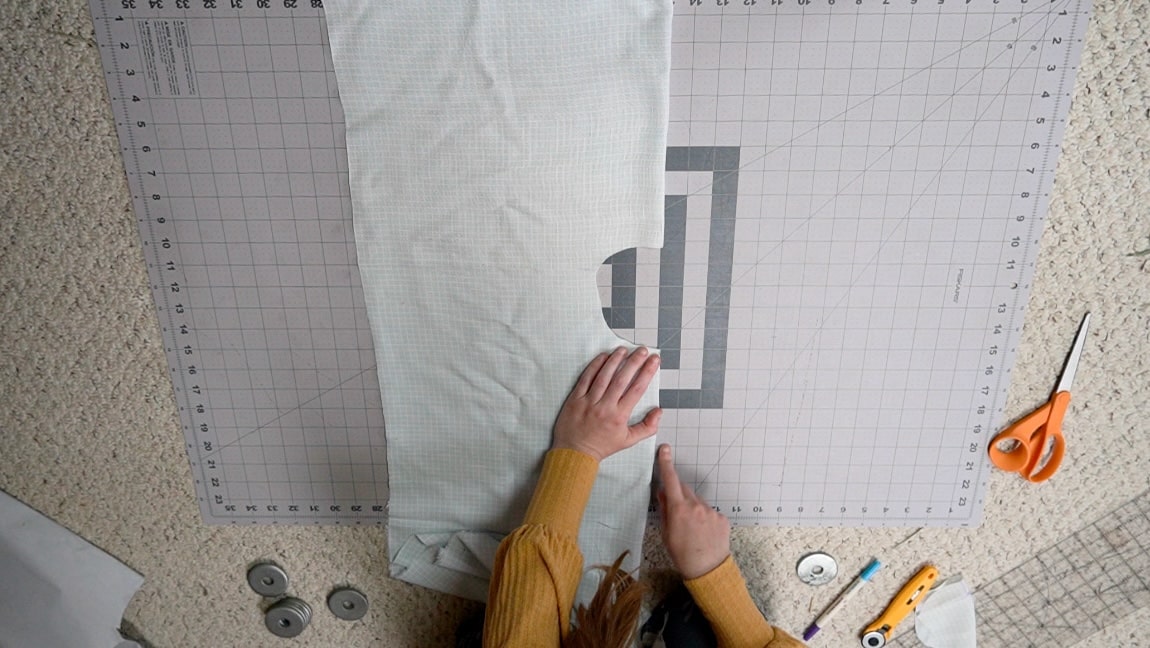
cut your slit
Cut a slit in the front side of the fabric based on your mocked up pattern.

Step 11

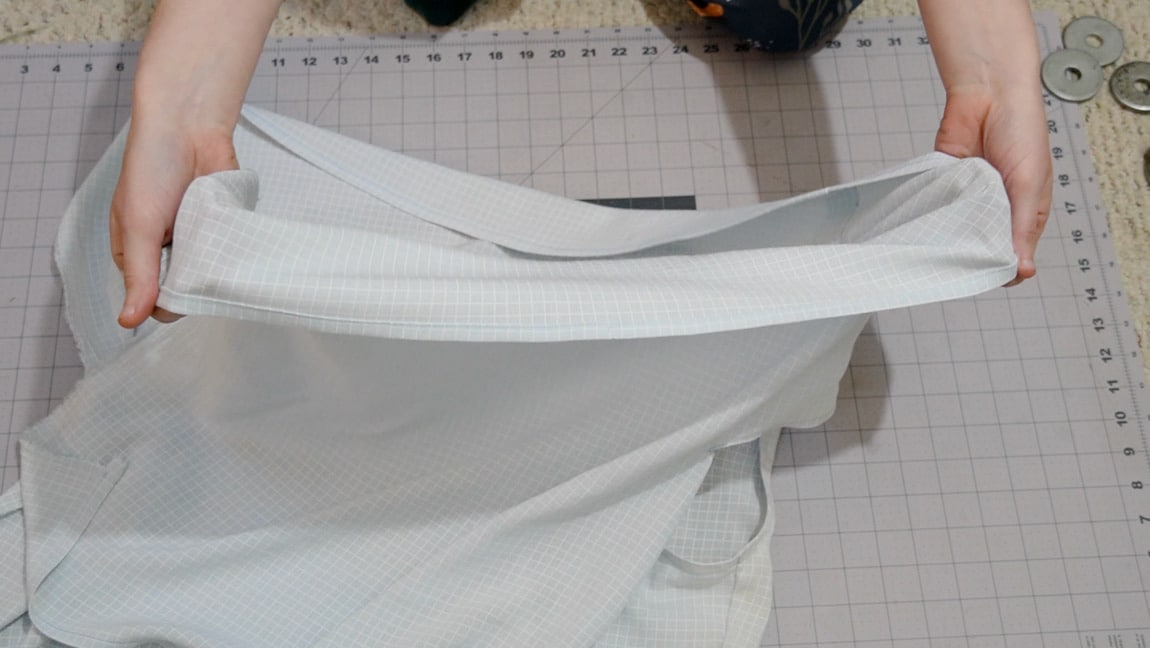
hem your slit
Double fold hem the slit on both sides. It can be helpful to put a bar tack at the bottom of the slit or a dab of fray check.
Step 12
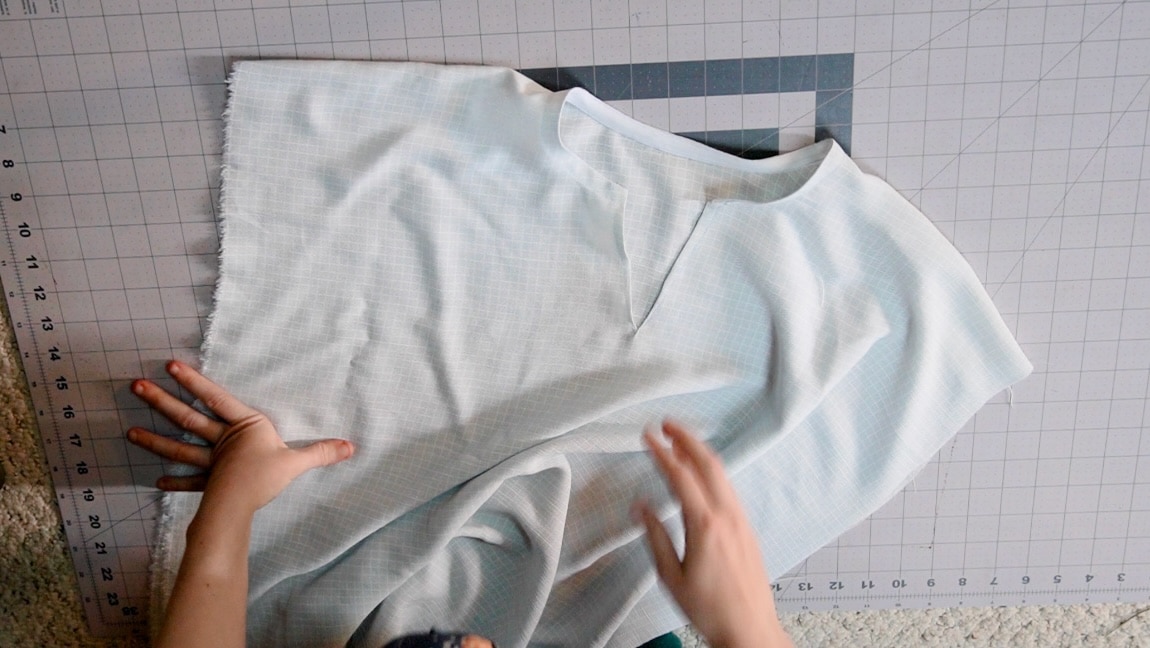
sew your shoulder darts
Draw your shoulder slope in place on the front and back of the shirt, then sew them together like darts.

Step 13
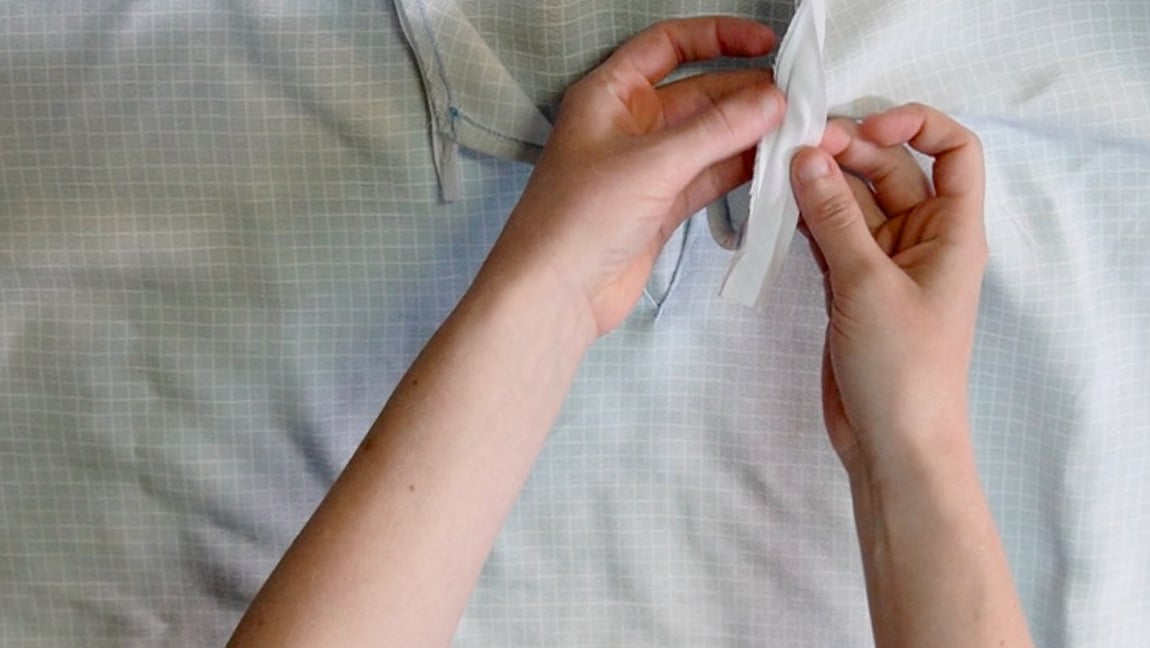
finish the neckline with bias tape
Use single fold bias tape to finish the neckline. Sew the bias tape to the right side of the shirt, then press it to the reverse side and sew it in place like a narrow facing.
Step 14
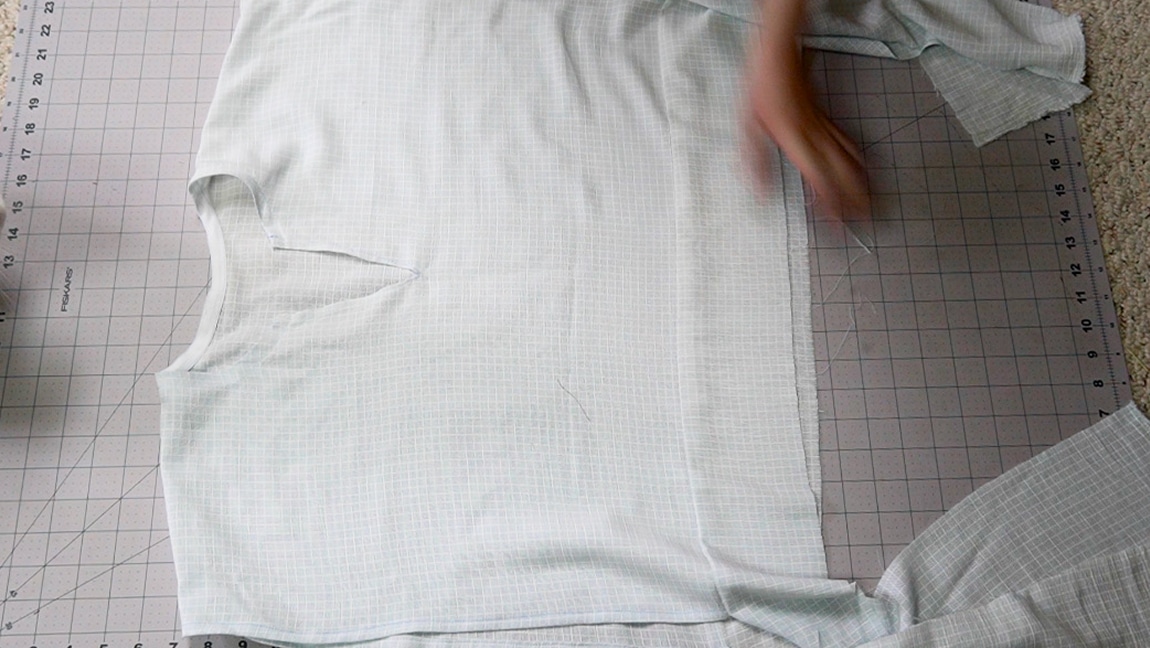
hem the sides of the shirt
Make a narrow hem on both sides of the shirt.
Step 15


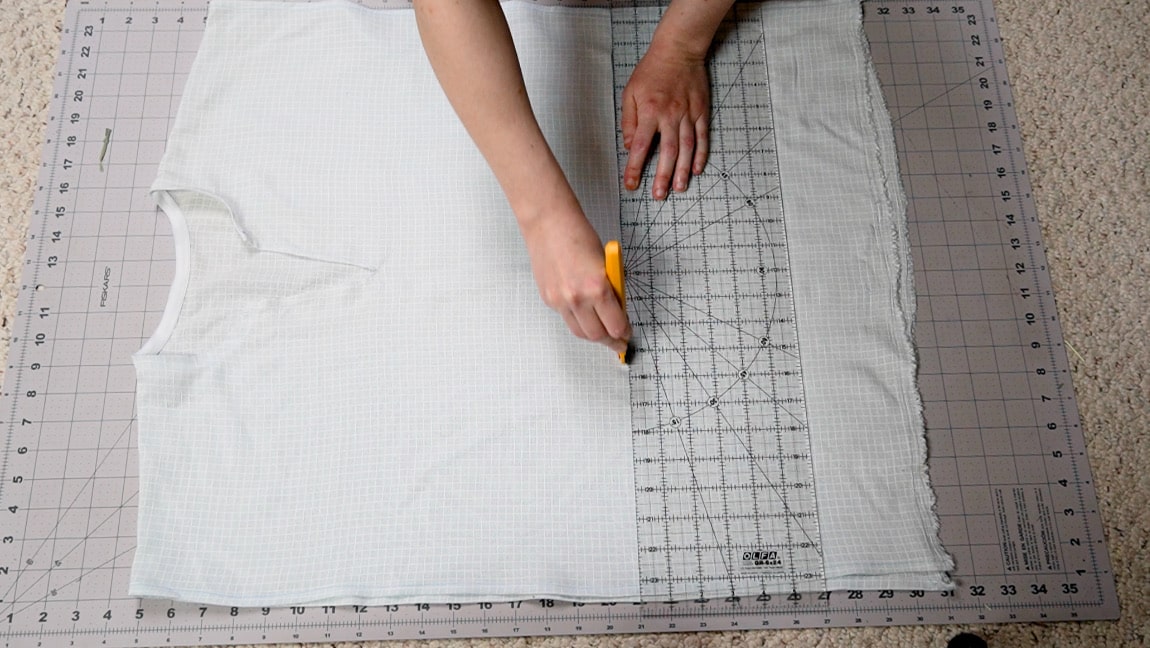
Try the shirt on and cut it to the desired length
Try on your shirt and see where waist length is. Measure it, and cut off any excess fabric.
Step 16
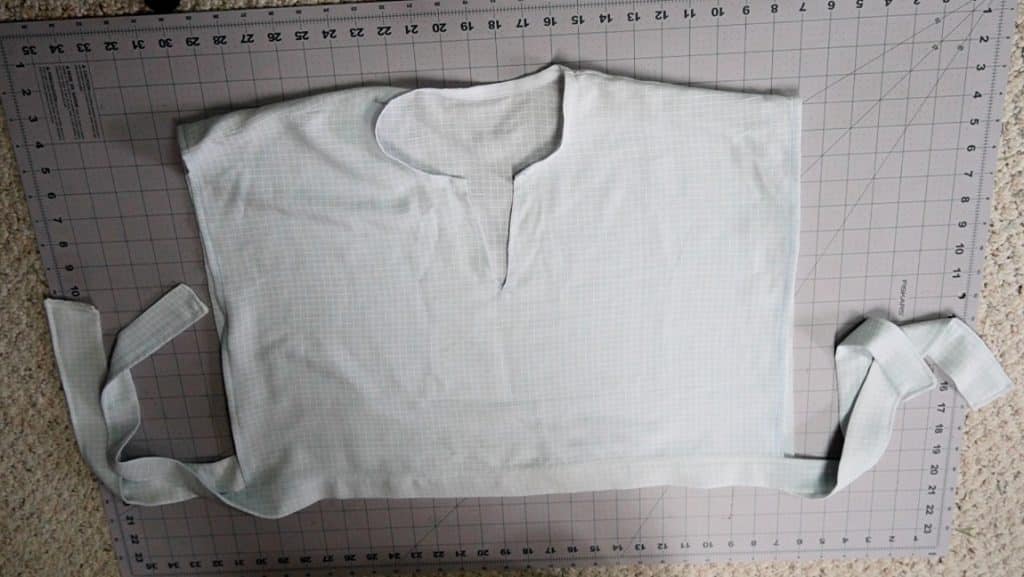
sew the wrap strips of fabric
with right sides together, sew the strips of fabric from step 8 to the bottom of the shirt.
Step 17
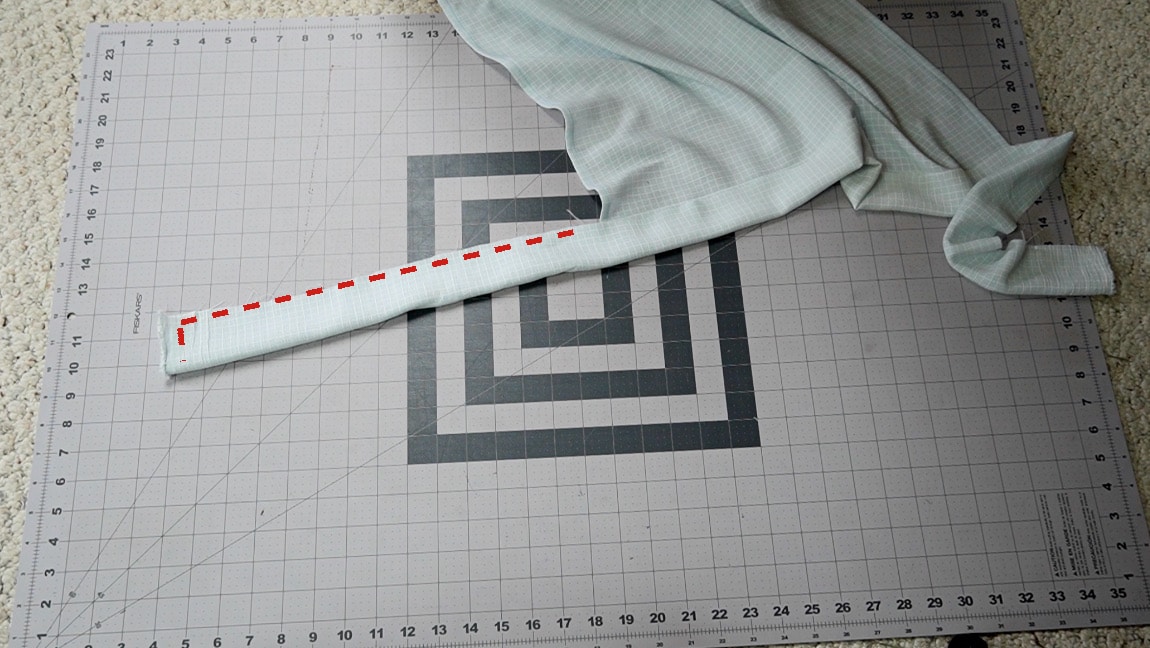
fold the wrap ties in half
Fold the ties in half with right sides together and sew along the edge until you get to the shirt side
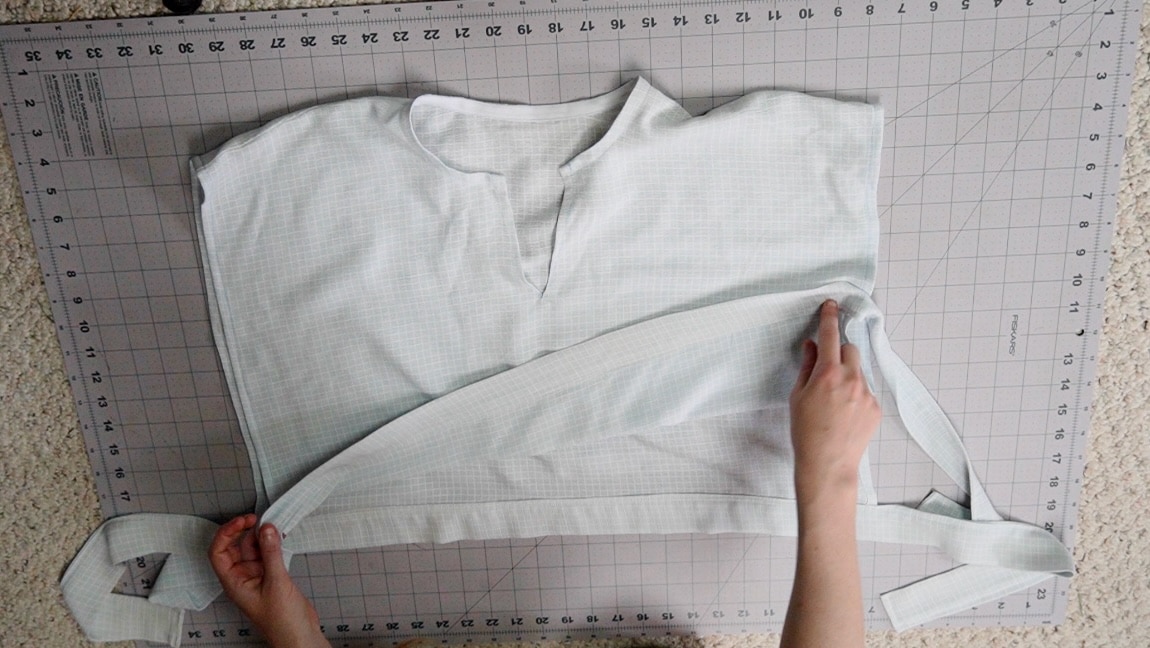
Step 18
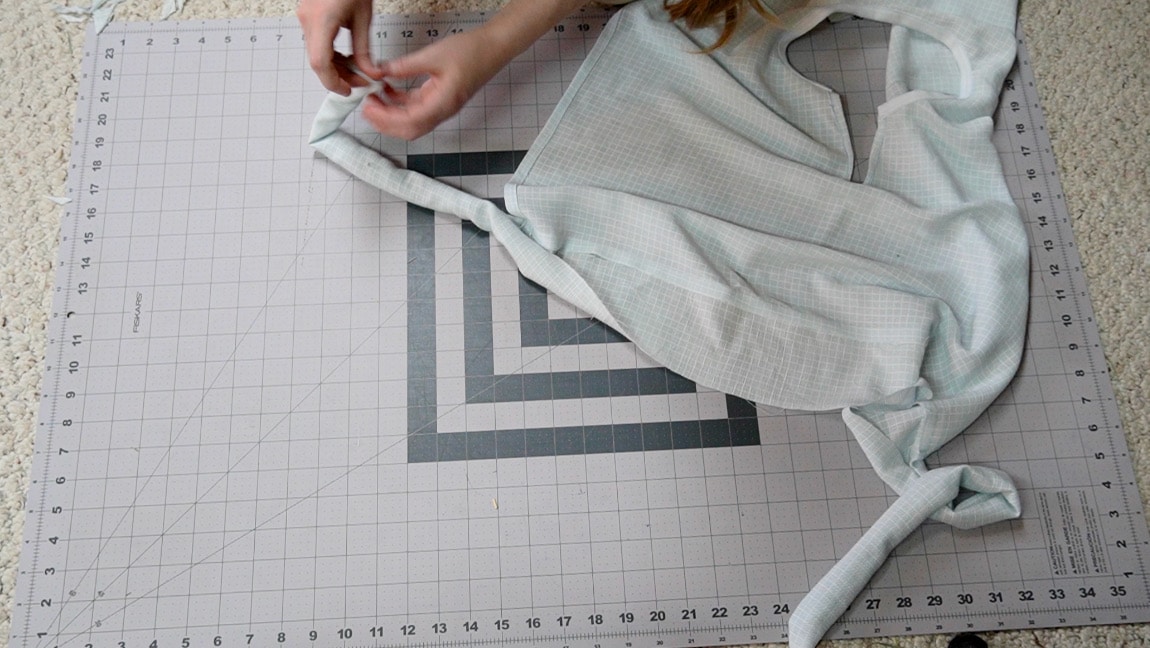
turn wrap ties to the right side
Step 19
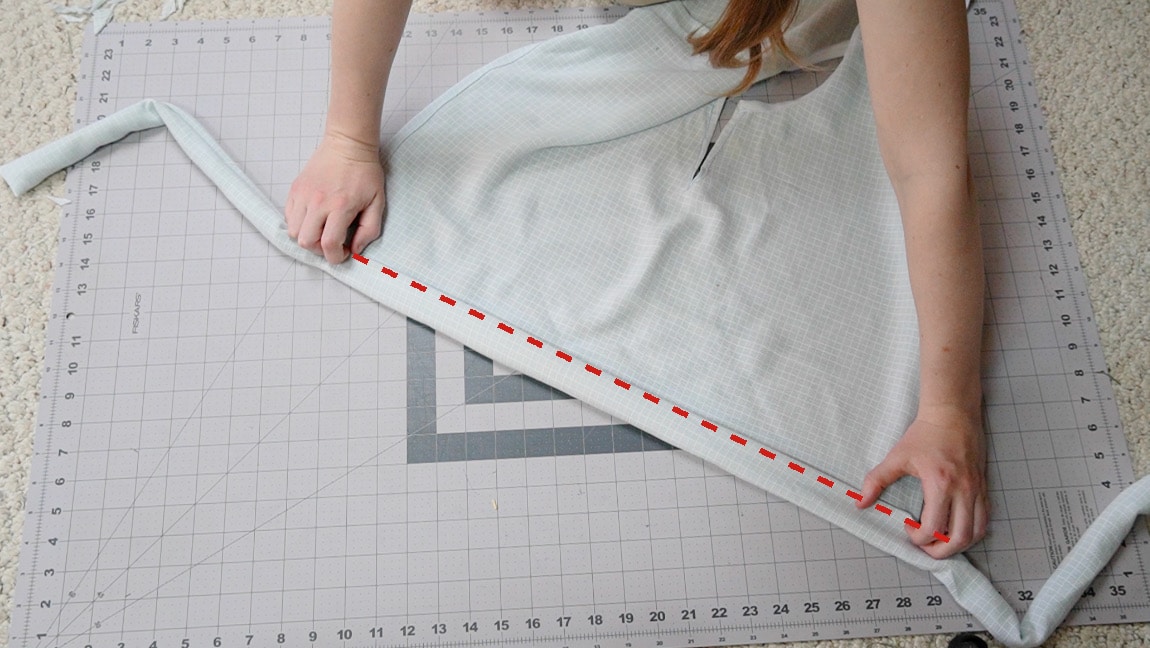
sew the reverse side of the wrap ties
Fold the rest of the wrap over the reverse side of the shirt, covering the fabric edges.
Finished!
To wear the shirt, tie the front around the back. Then tie the back of the shirt around in front of you.


