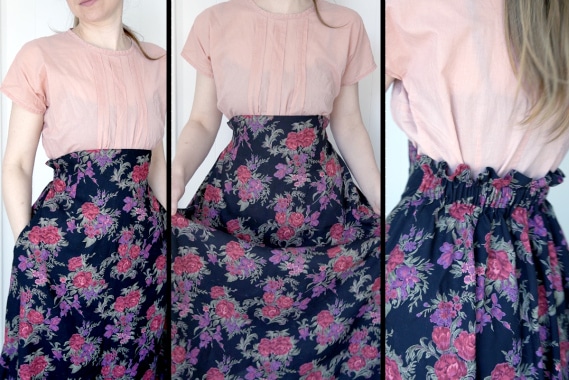
Tutorial: Empire Waist Skirt With an Elastic Back
This tutorial will show you how to use your own measurements to create an empire-waist skirt that has an elastic back. This is my first time making a fitted clothing sewing pattern, so at this point I don’t know to create the pattern in different sizes. Instead, I’ll walk you through the process so you can create the same pattern based on your unique body size.
This page contains affiliate links. As an Amazon Associate, I earn a small commission from qualifying purchases. That being said, I encourage you to use your local sewing shop whenever possible, or to look for supplies second hand.
Supplies Needed:
This is a 1-page pocket pattern you can print out and use if you want pockets in your skirt.
(all of my patterns include 1/2″ seam allowance)

How to Make your pattern:
First, take your measurements:
You also need the length between your measurements:
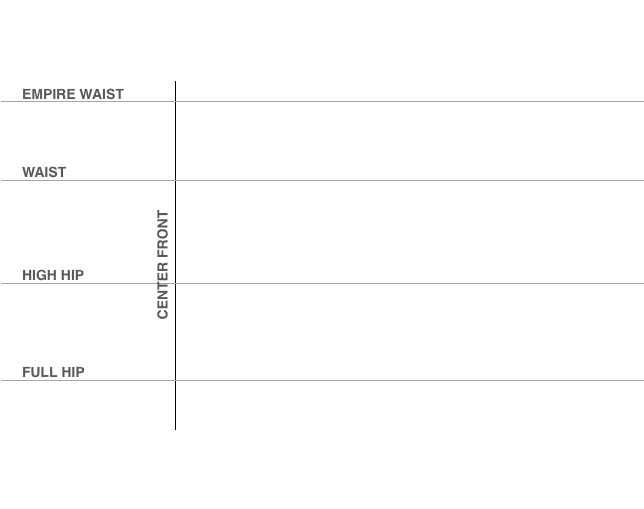
Make your grid. Use your length measurements from above to draw horizontal lines spaced for the empire waist, waist, high hip, and full hip. Then draw a straight line down for your center front.

Add your waist measurement + 1 inch. Then, in the center of the waist, add two dots one inch apart
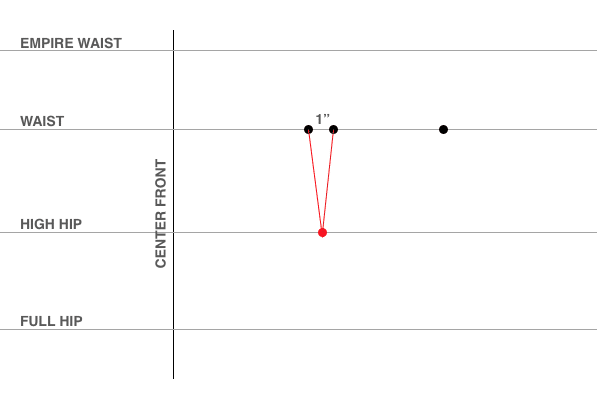
Make your waist dart. Make a dot at the high hip line centered underneath the waist dots. Then draw your dart legs.
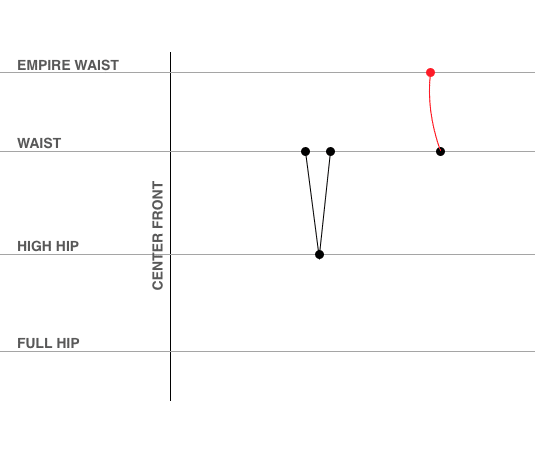
Add your empire measurement + 1 inch. Add the dot for your empire measurement and draw a curved line up from the waist dot.
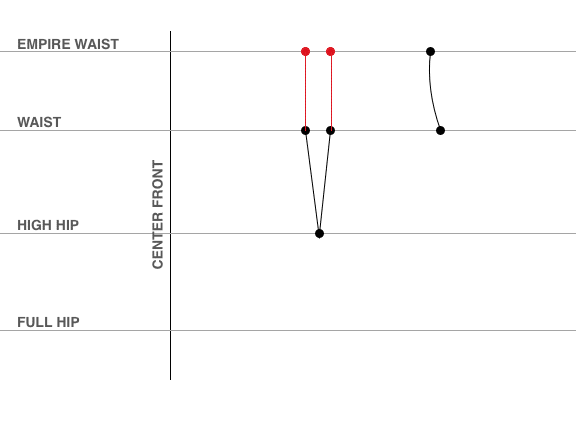
Draw straight lines up from the waist dart legs.
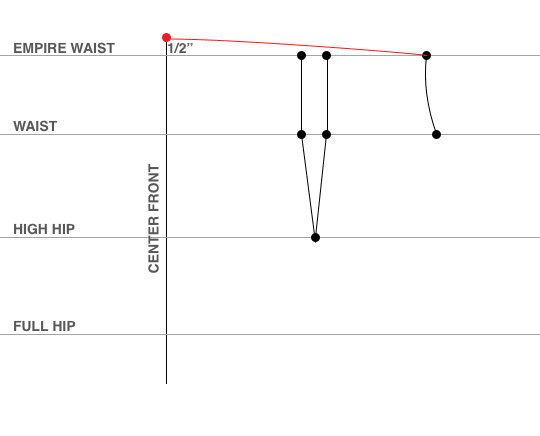
Add a center front dot 1/2″ up. Draw a curved line from the empire side measurement dot.

Add a dot for your high hp and your full hip. Connect the waist to the high hip with a straight line.
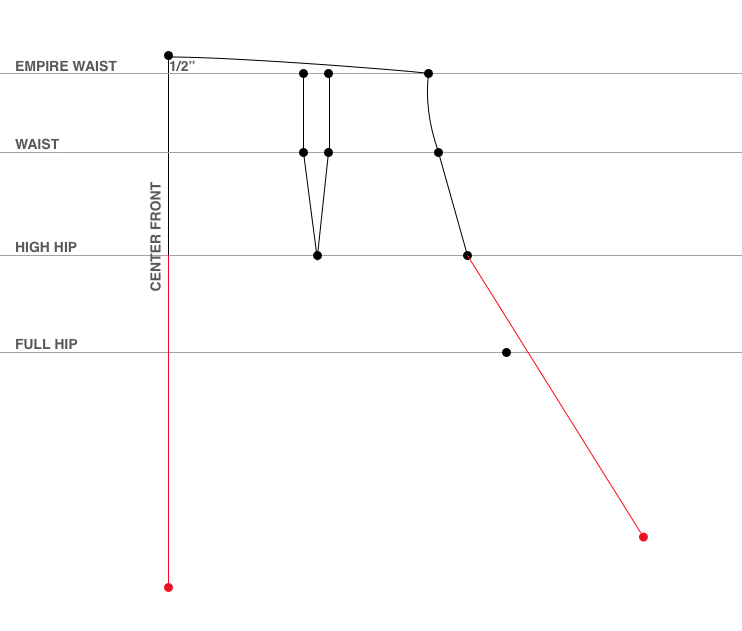
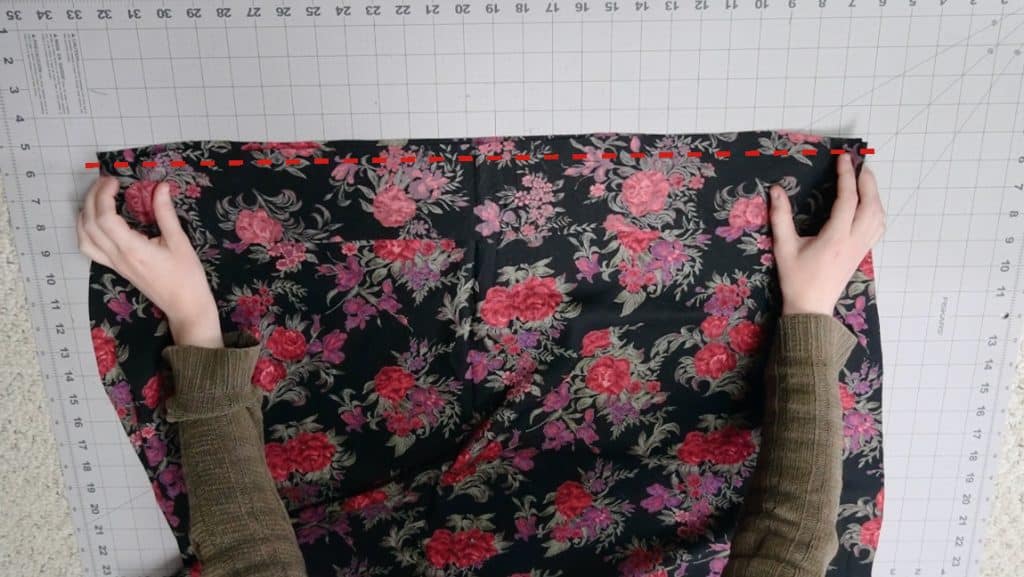
Draw the length of your skirt. Make a line from the high hip down to however long you want your skirt to be. Then draw a line that same length of the high hip dot on the side. This line must be drawn at an angle that is wider than the full hip measurement.

Draw the bottom of the skirt.
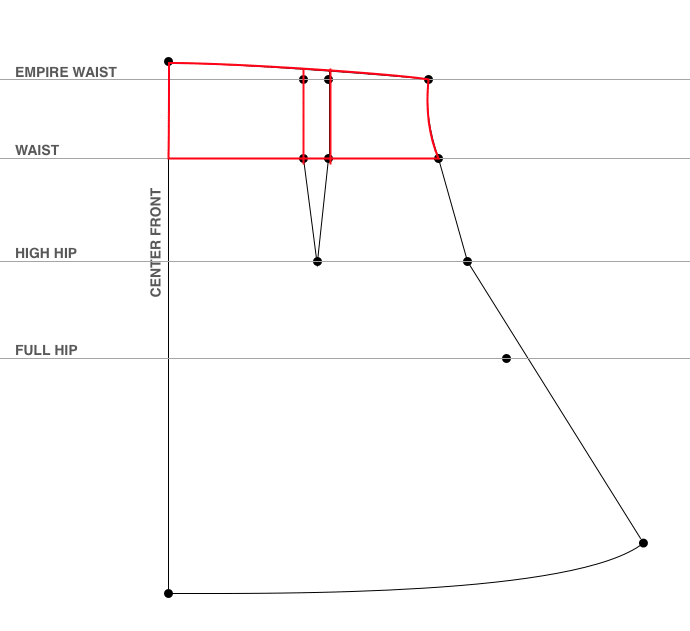
Trace the top section for the facing.
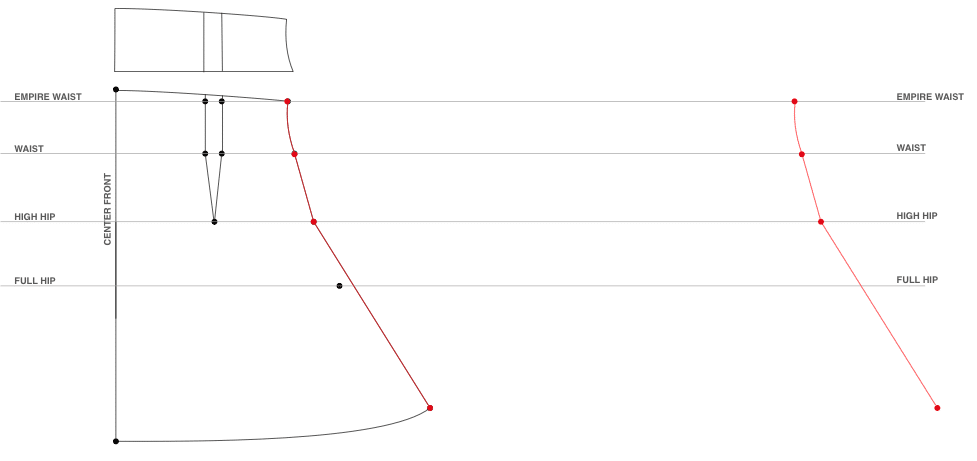
Copy the side front to use for the side back.
Make a straight line that is twice the waist length. Connect that line to the empire waist and draw the bottom of the skirt.
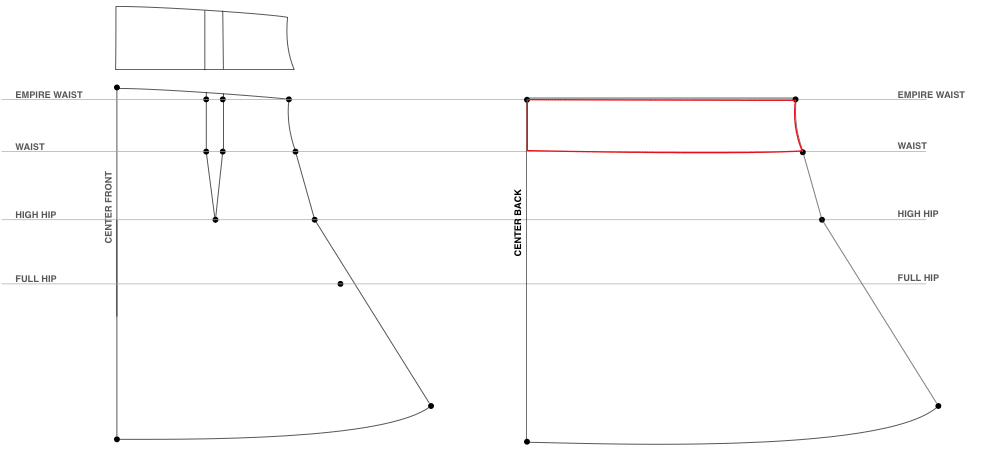
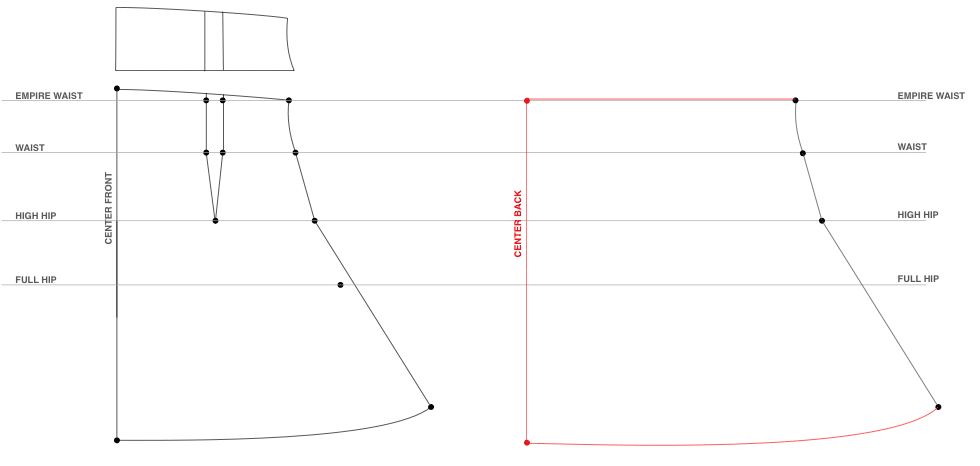
Copy the top to use as a waistband and casing.

Draw a line down the center for a stitch line.
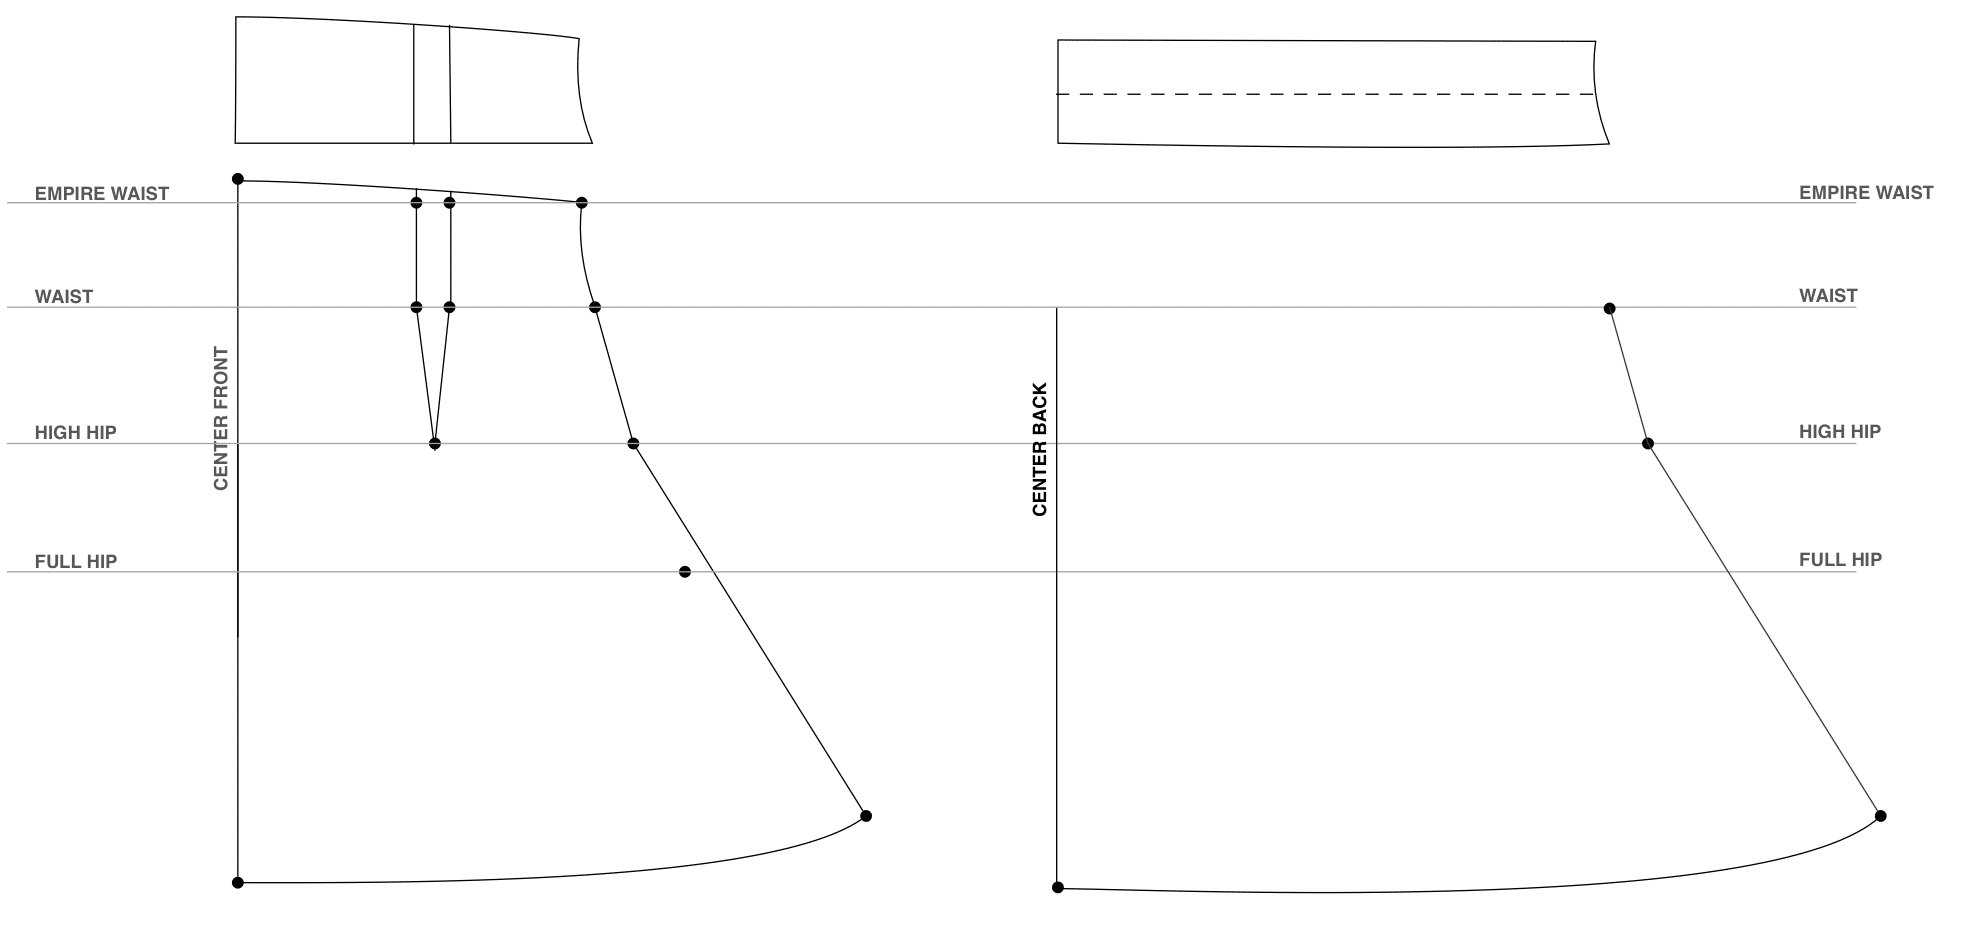
Finished pattern pieces. All of the pieces can be cut on the fold, you will need two of the back waistband, and the front facing will require interfacing.
Don’t forget to add seam allowance to all of your pattern pieces!
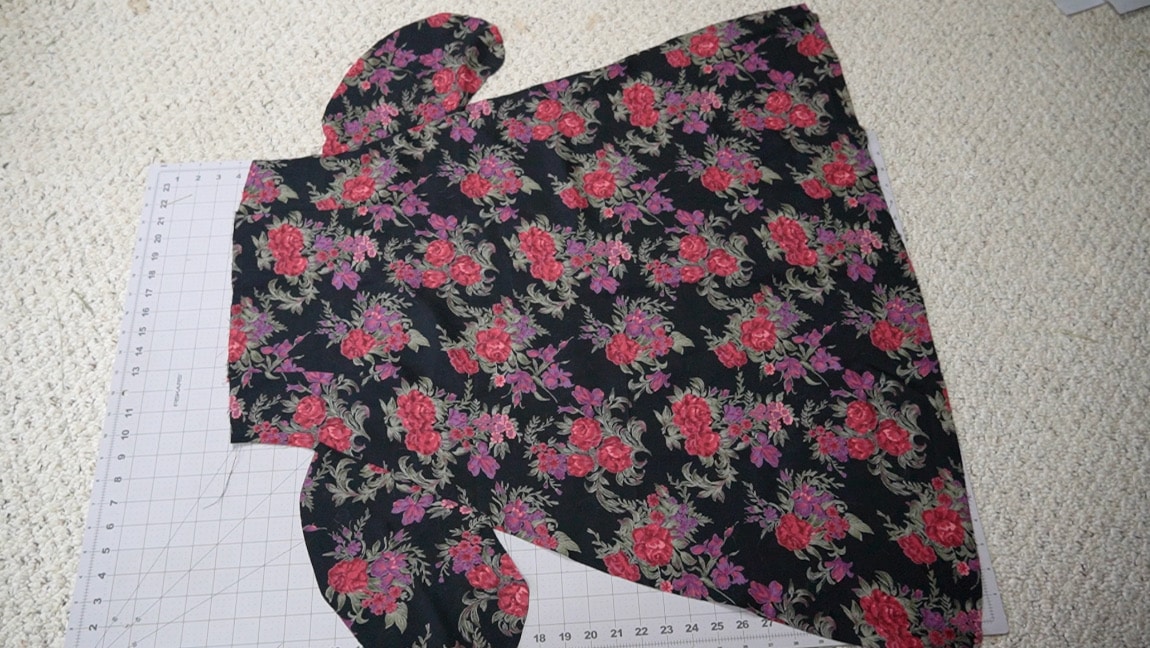
Step 1

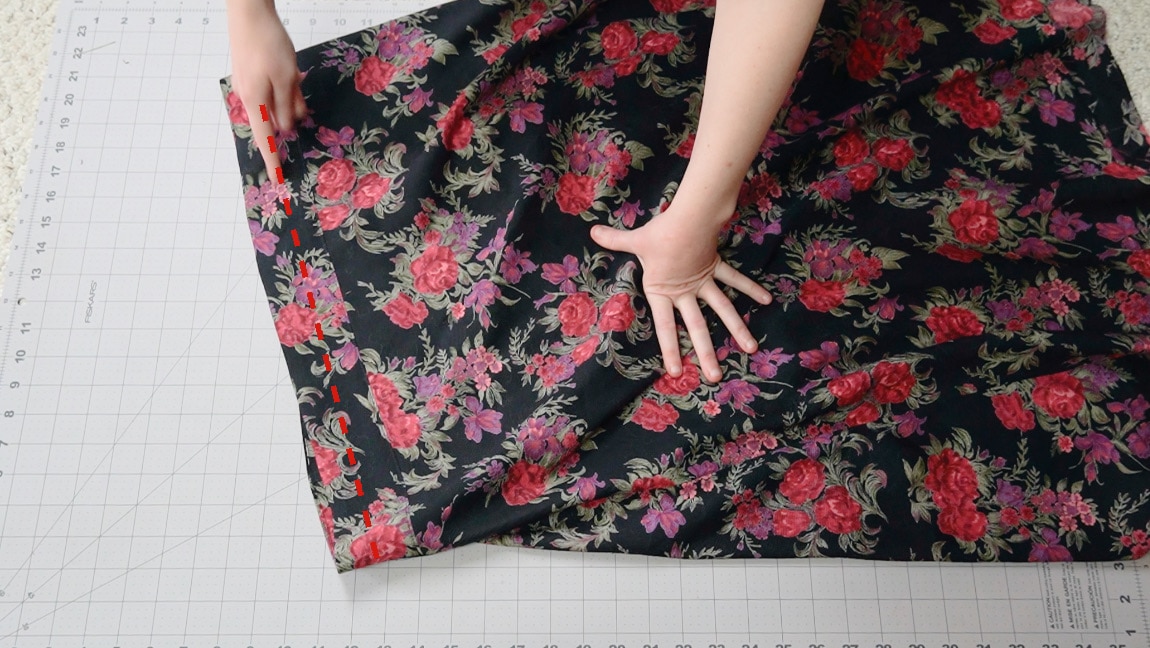
Sew your front darts
Step 2
sew the waist band to the top of the back skirt
With right sides together sew one of the back waistband pieces to the back.
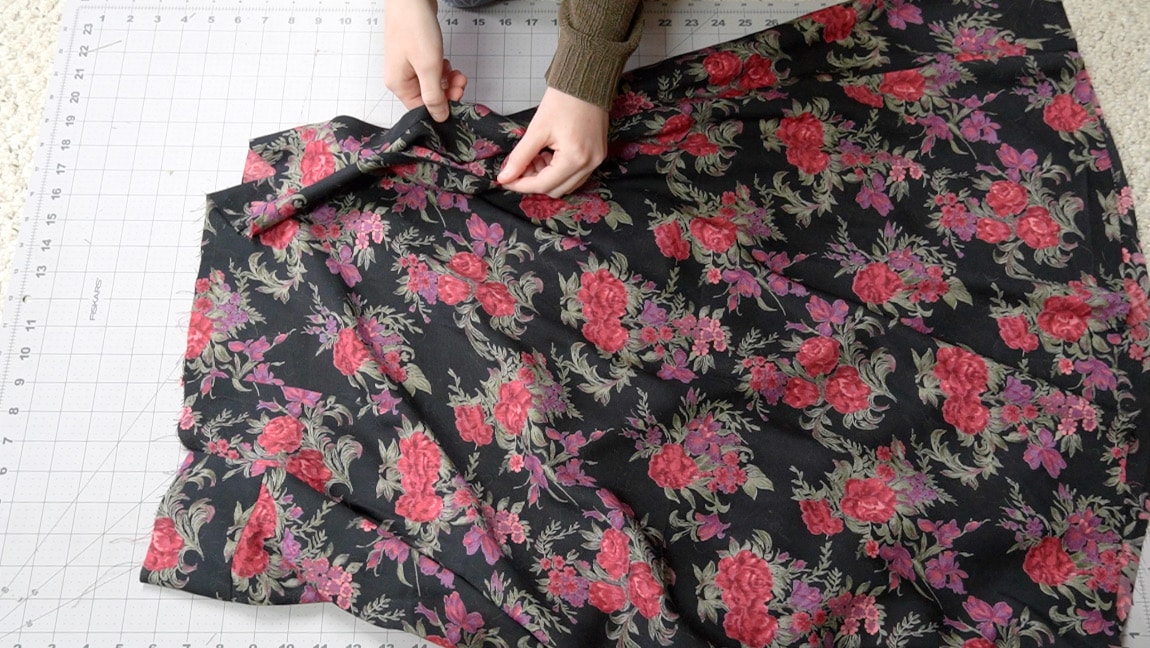
Step 3

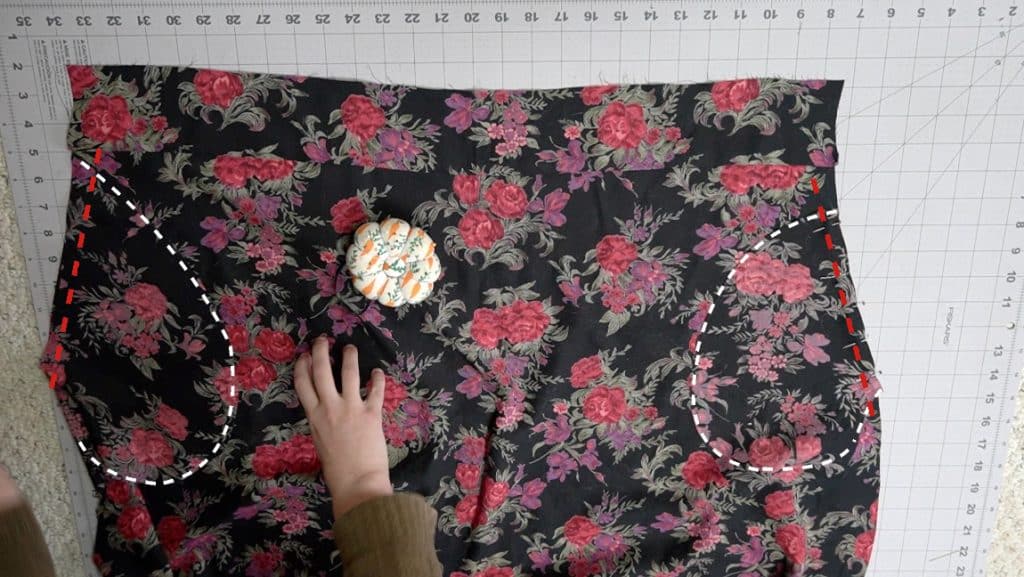
sew the pockets to the front and back
Sew the pockets to the front and back just under the waistline. Make sure their location matches on the front and back pieces.
Step 4
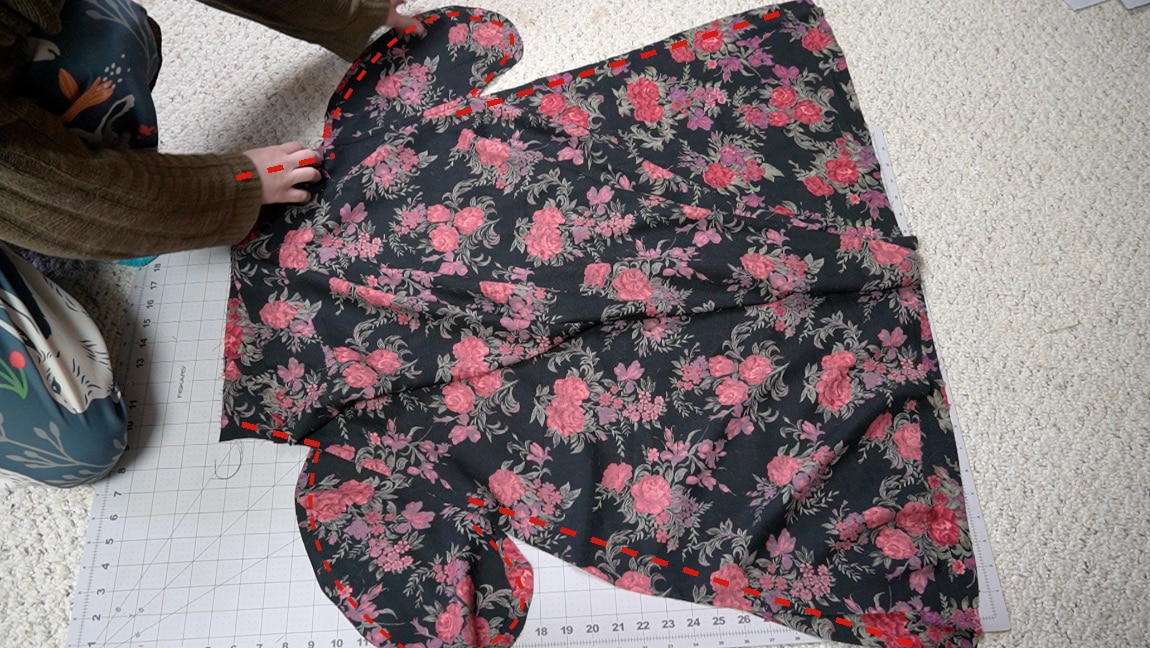
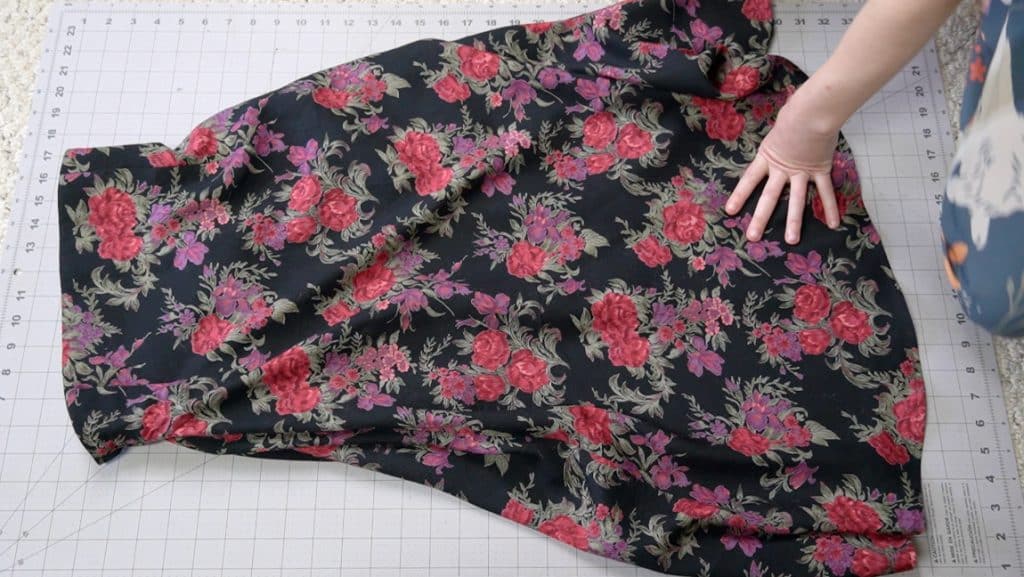
sew the front and back together
Sew the front and back pieces together. Then sew around the pocket pieces on both sides to sew them together as well. Press the pockets toward the front.
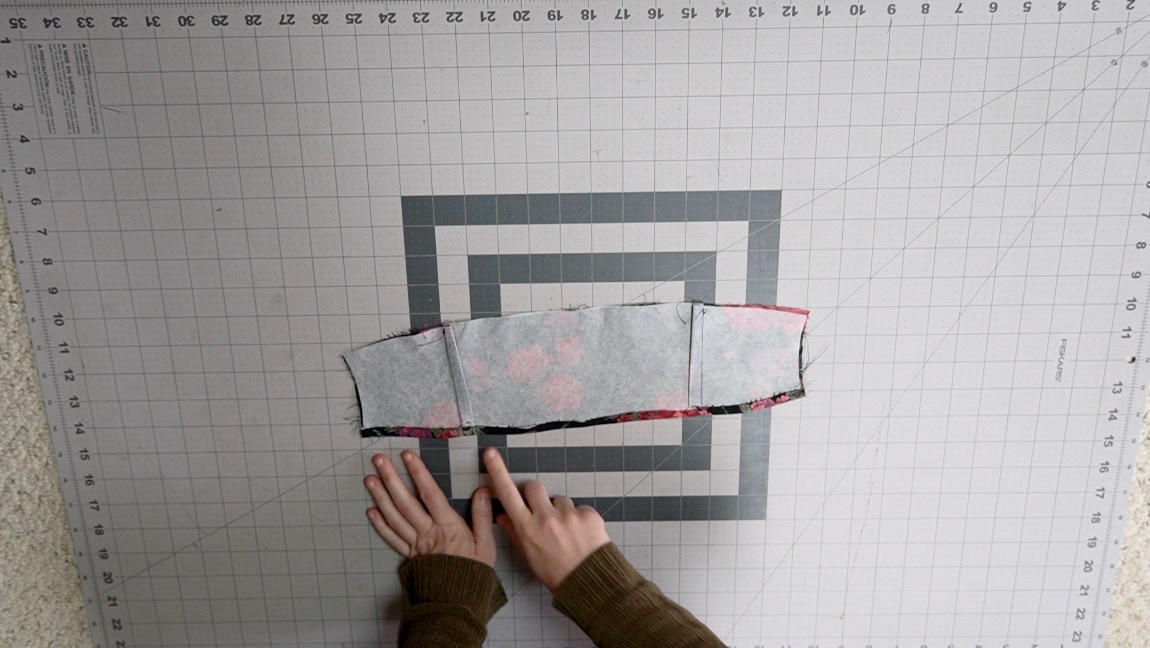
Step 5

add interfacing to the front facing and sew the darts
Add interfacing to the front facing piece. Then sew the darts straight down.
Step 6
fold under the bottom of the front facing and back waistband
Fold over the bottom seam allowance of the front facing and the remaining back waistband piece
Step 7
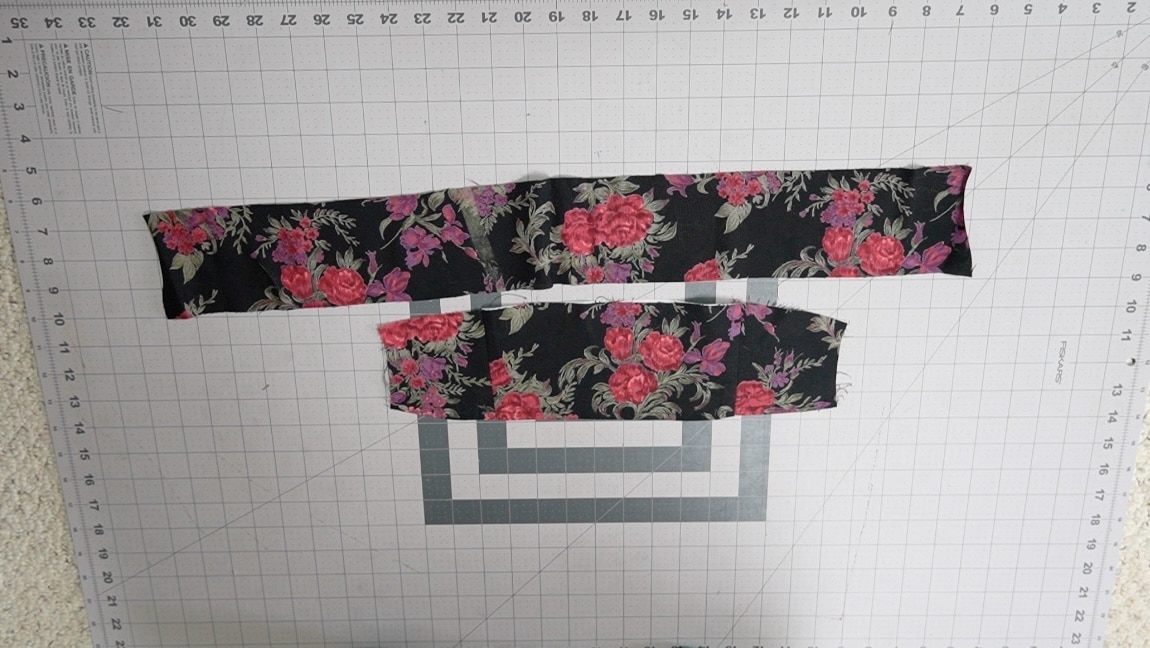
sew the front and back facing together
sew the the front and back together into a loop. Leave a gap in the stitching so you can insert the elastic later.
Step 8
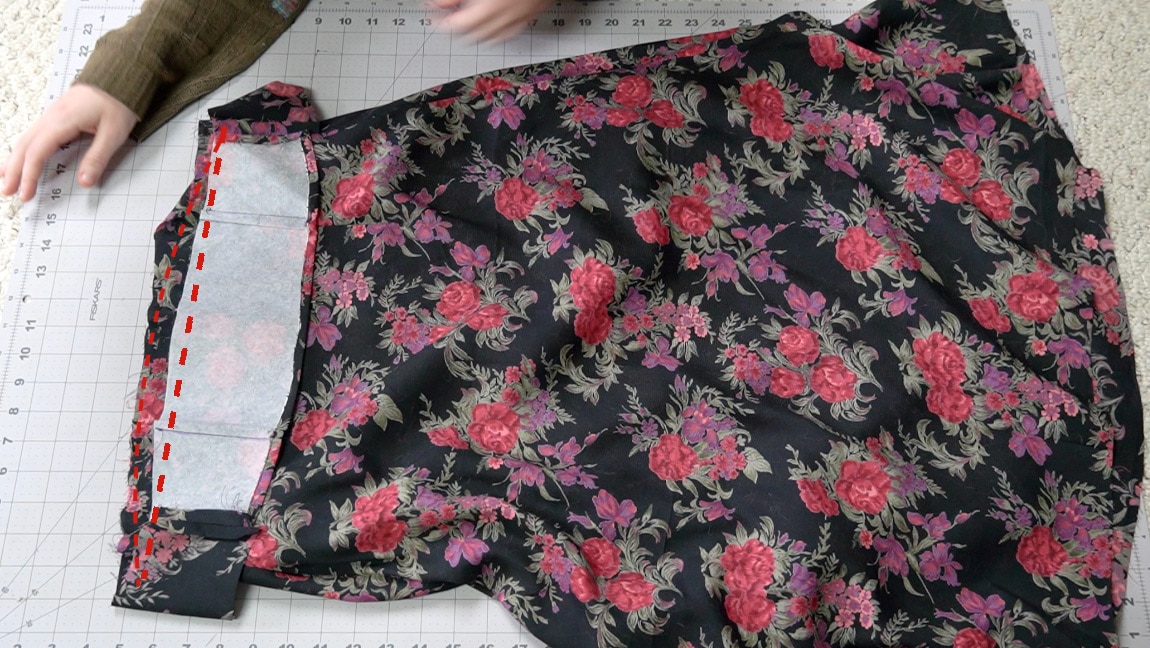
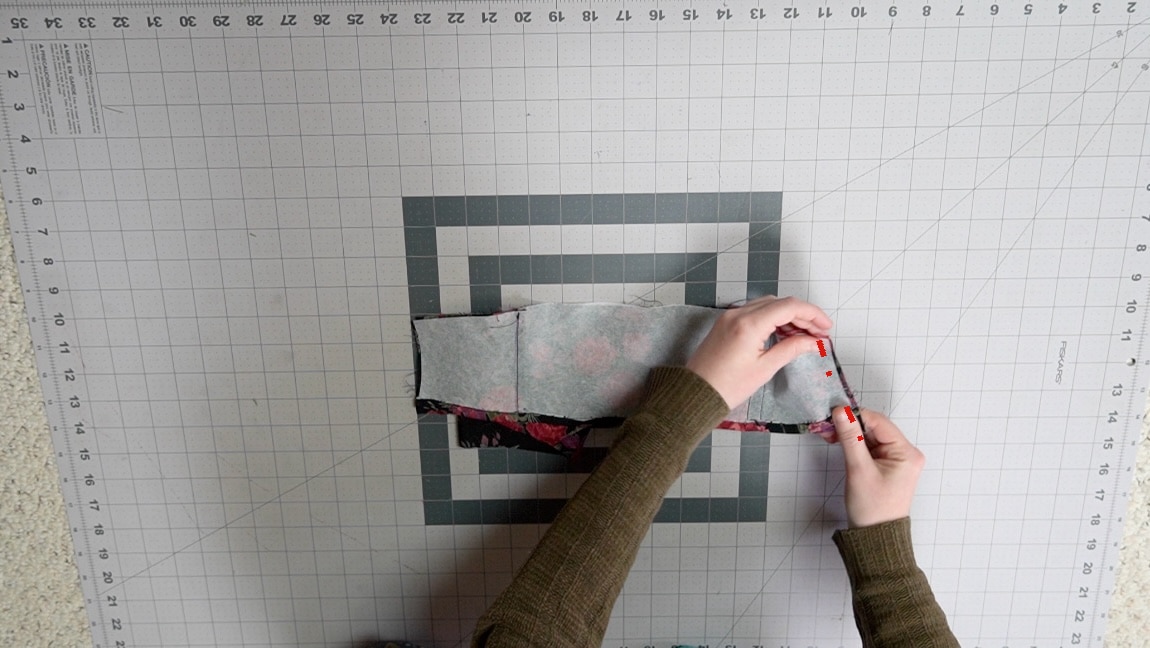
sew the facing to the skirt
Line up the seams and sew the facing around the top of the skirt.
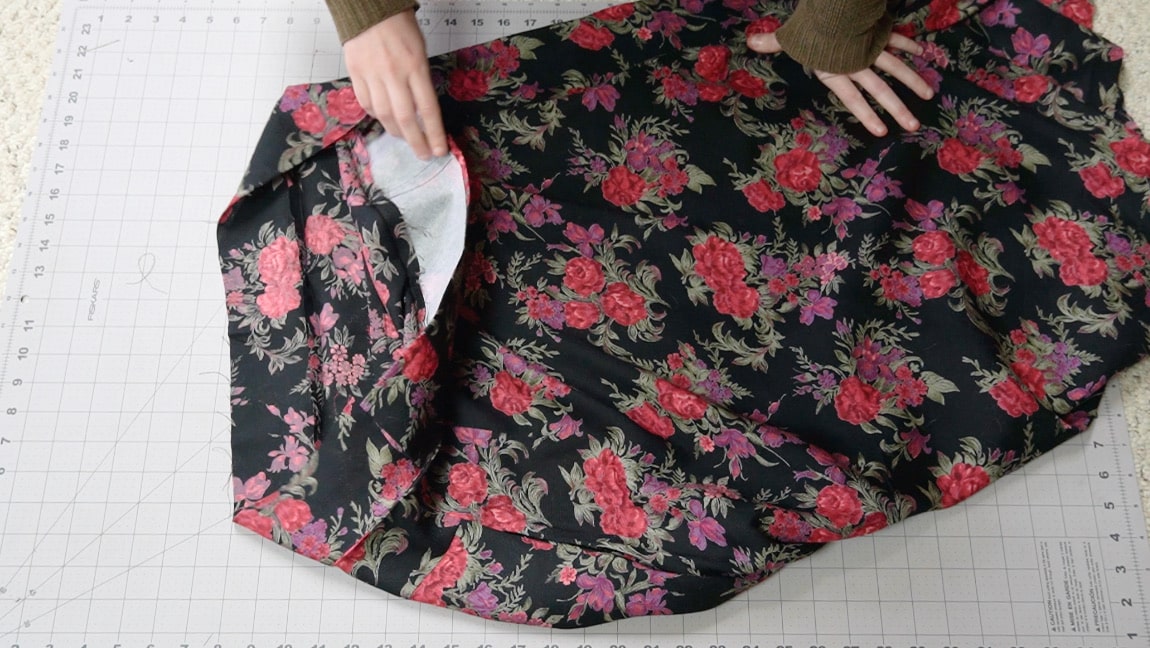
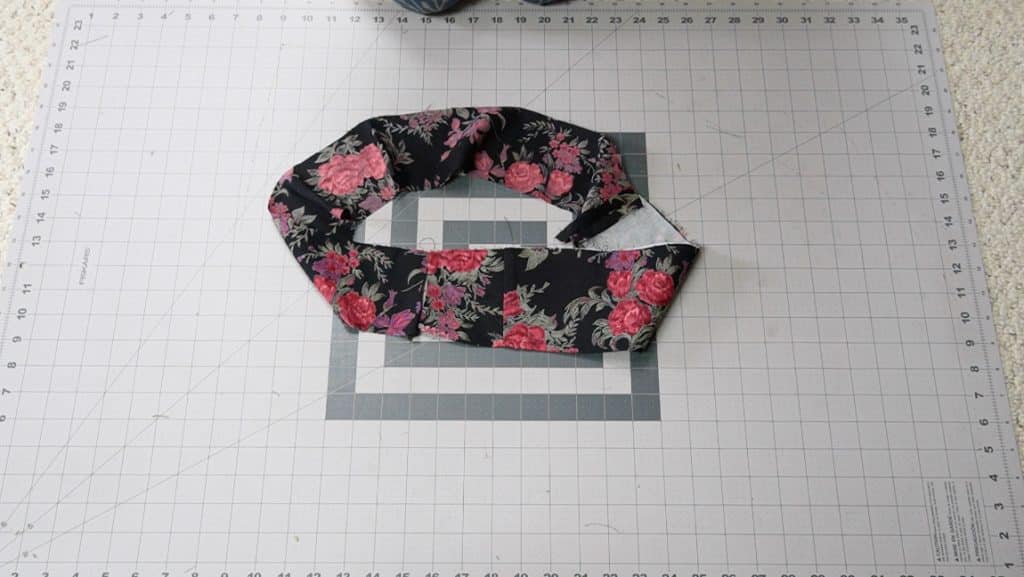
Step 9
press the facing to the back and sew the back facing
Press the facing to the reverse side of the skirt and sew the back waistband facing down by topstitching or ditch stitching.
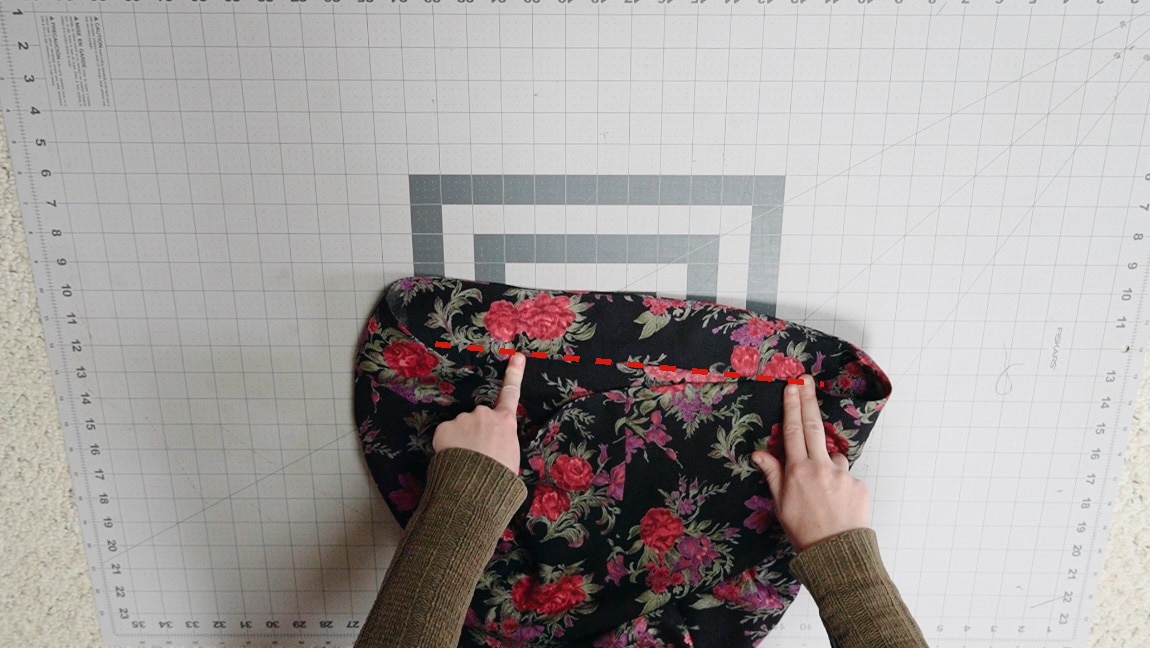
Step 10
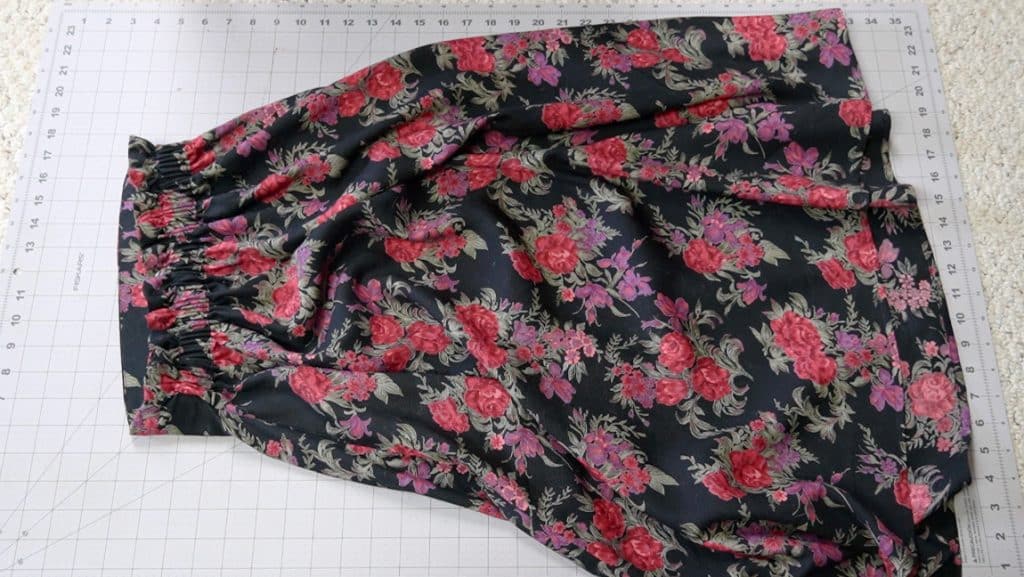
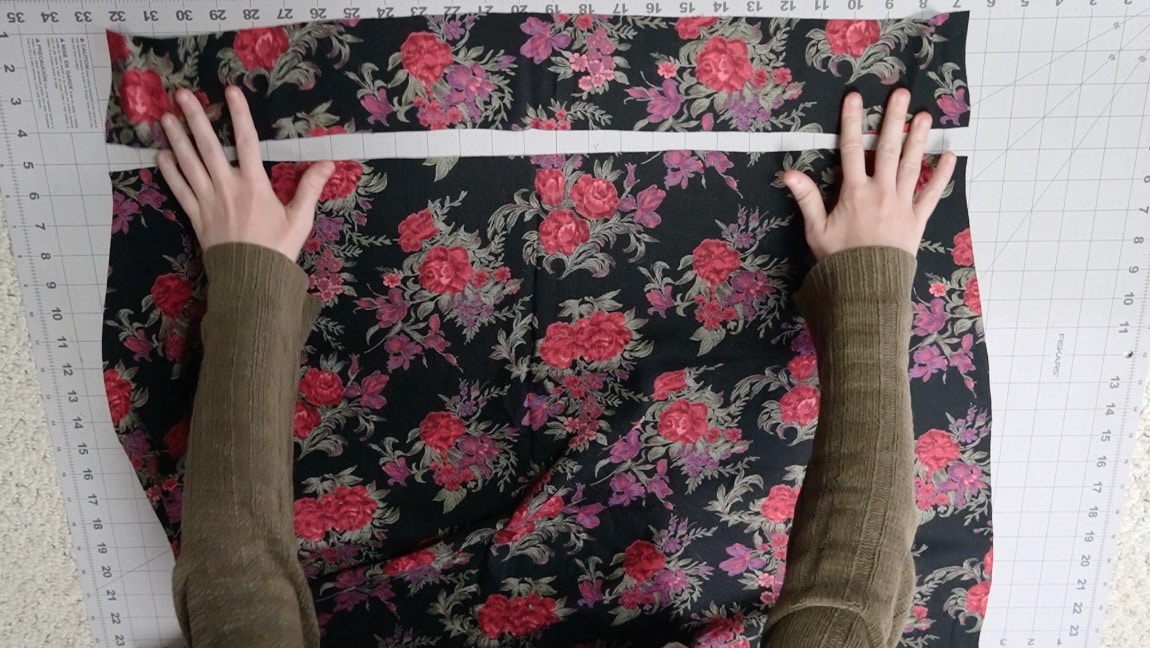
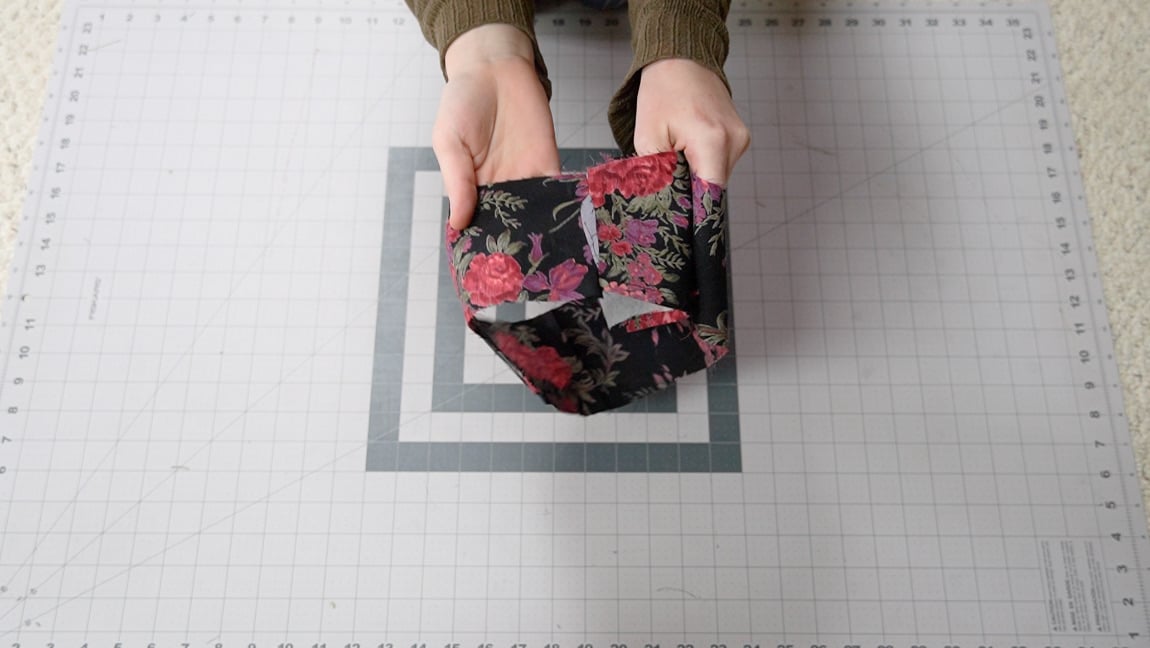
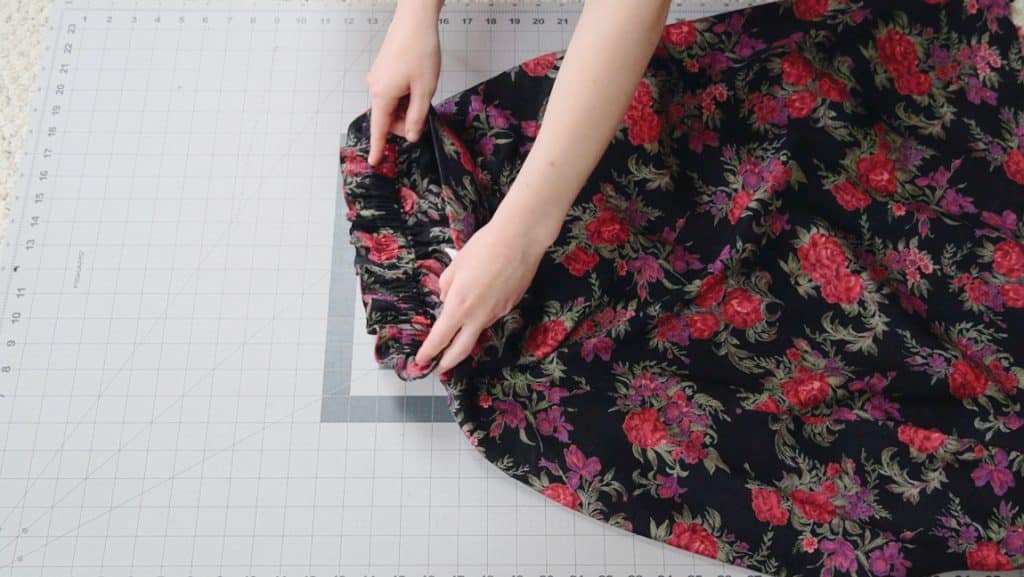
Sew a stitch line across the back waistband
Sew a line of stitches across the back waistband to create an elastic casing.
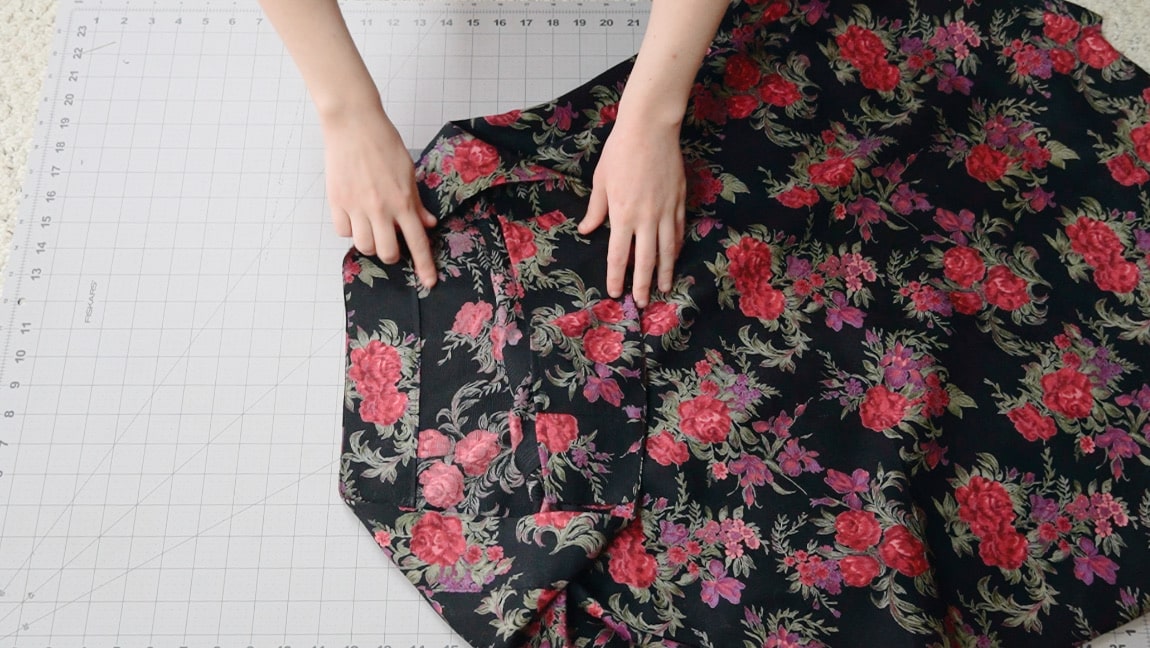
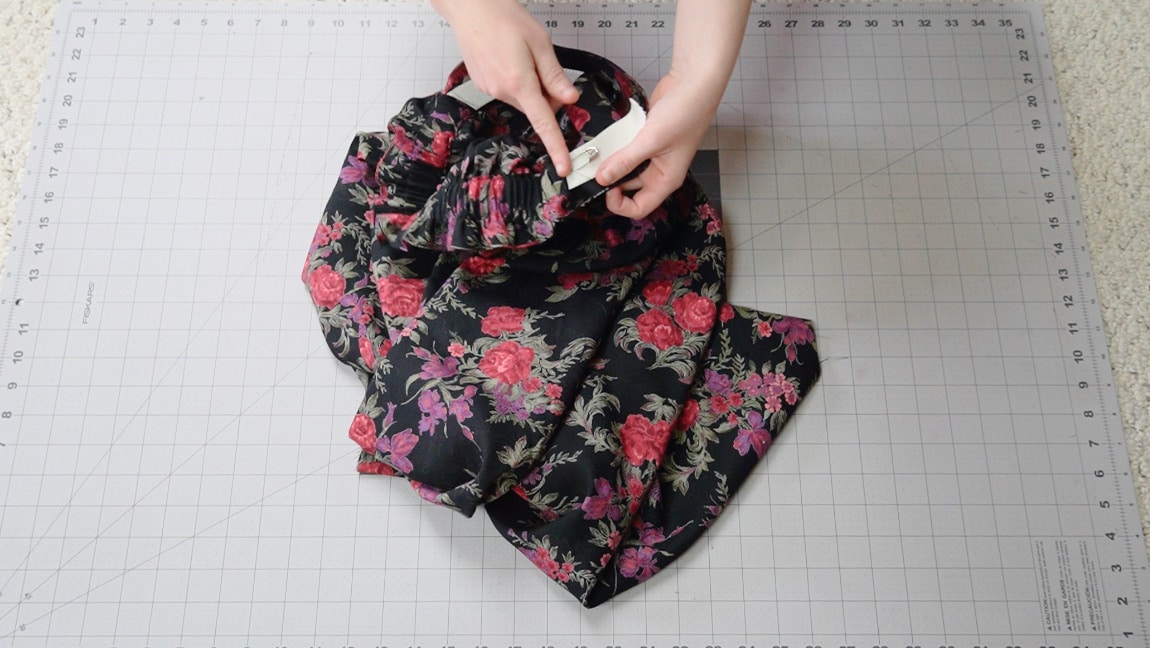
Step 11

add elastic to the waistband
Cut a piece of elastic that is approximately half the length of your waist. Insert elastic into the lower casing. Try on the skirt and pull the elastic until it feels comfortable. Then stitch it in place on the side seams and tuck any excess elastic under the front facing.
Step 12
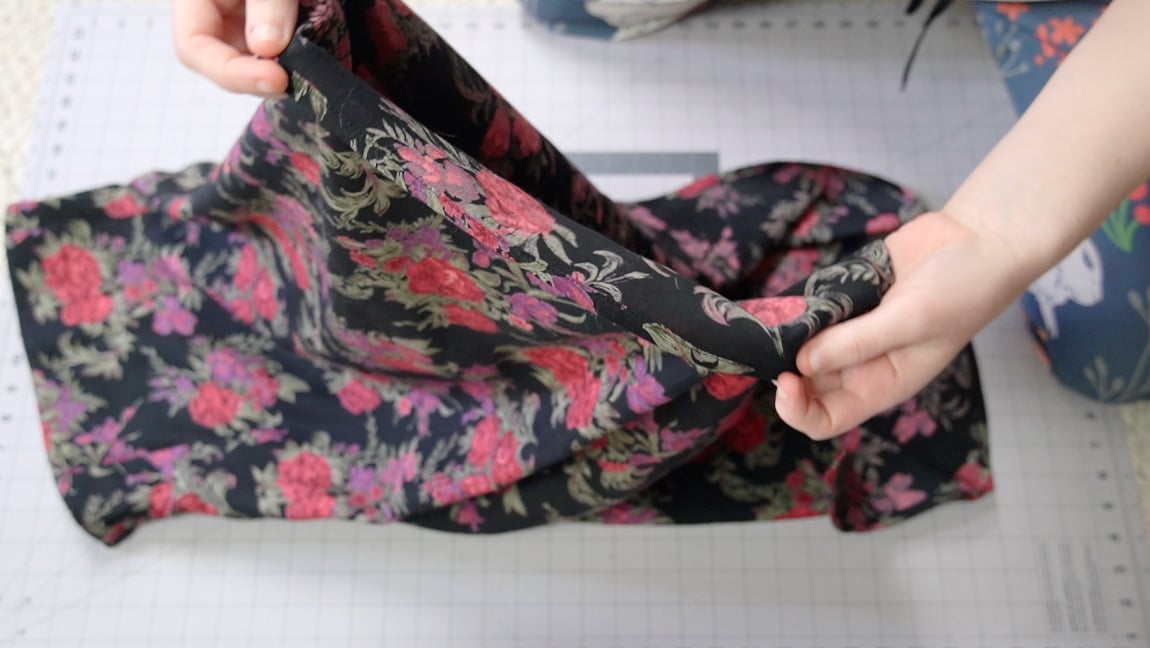
hem the bottom of the skirt
Finished!