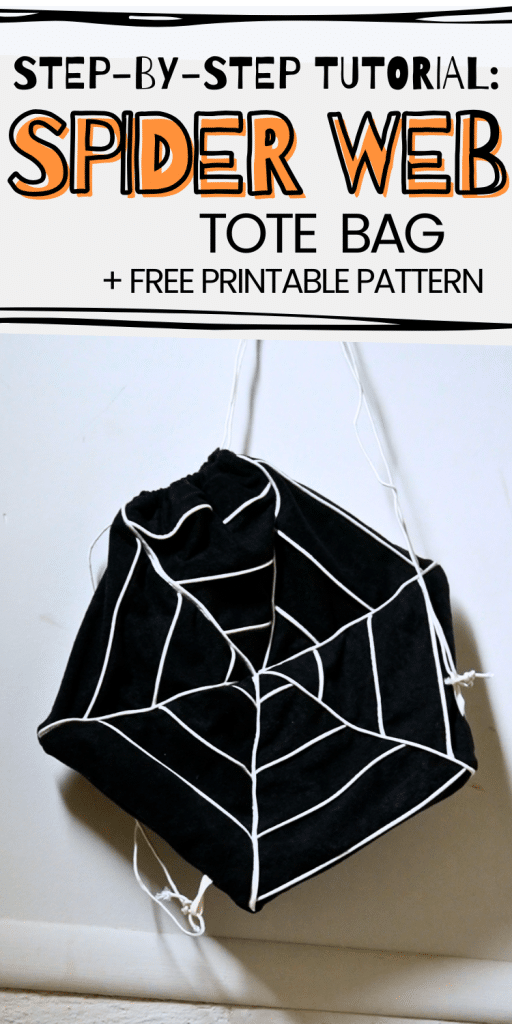
Tutorial: Spiderweb Drawstring Tote Bag
This tutorial will walk you through how to make a spooky spiderweb tote bag using black fabric and white piping. It’s the perfect chance to practice your sewing skills with piping while also making a cool Halloween-themed tote bag to show off. You can acess the free pattern below and follow along with the step-by-step instructions.

Supplies Needed:
(all of my patterns include 1/2″ seam allowance)

Step 1


Add white piping between 5 layers of web strips
Layout 5 web strips and sew the piping between each of the layers. You’ll want to use a piping or zipper foot with your machine.

Step 2


Cut out 6 triangles
Try to make sure the piping is at different intervals for each of the triangles so they don’t match up exactly when the triangles are laid out next to each other. This gives it a more spiderweb-like effect.

Step 3

Add the piping between the triangles in groups of 3
Lay out your triangles in 2 groups of 3 and sew them together adding more piping between each of the layers.

Step 4


sew the two sides of the hexagon together adding piping to the center
Lay out the piping in the center and sew the two groups of triangles together to for a spiderweb hexagon.

Step 5

Repeat steps 1-4 for the other side of the bag
Step 6

make a Narrow hem on both sides of the casing pieces
Step 7

fold the casing in half lengthwise
Step 8

sew the casing to the top of the bag
Sew through all layers, then press the casing up, away from the bag.
Step 9

baste small loops of string or ribbon to the bottom sides of the bag
Step 10

Sew the front and back of the bag together
With right sides together sew the front and back of the bag, pivoting at each of the corners.
Step 11

clip all of the corners
Step 12

turn the bag to the right side and insert the drawstring
You need two pieces of string and they both need to go all the way around, through both casings. One string you’ll insert through the left side, thread it all the way around so it comes back out the left. The other will start on the right side and go all the way around so it comes back out the right.
Then you want to tie each string around the tabs that were sewn in earlier.

Finished!