Tutorial: Fun Christmas Scarf Using Quilting Cotton
Have scraps left over from your other projects? You can use them to create a festive scarf for the holidays this year. This tutorial will show you have to create a fleece lined cotton scarf using leftover scraps of quilting cotton.
Supplies Needed:
Step 1
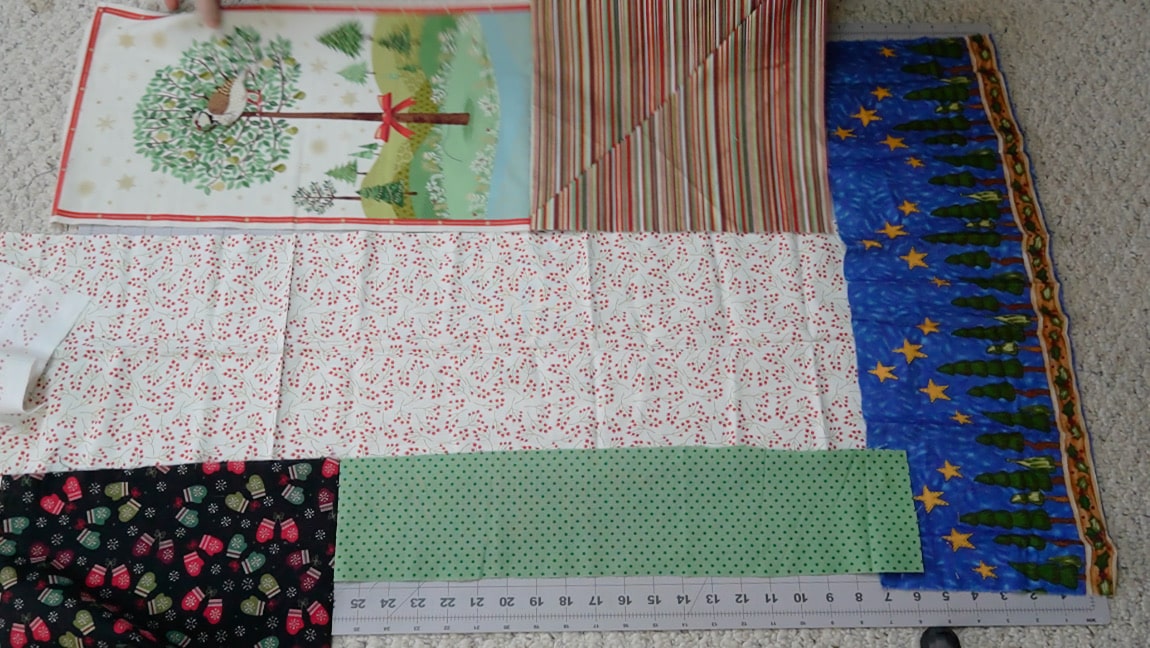
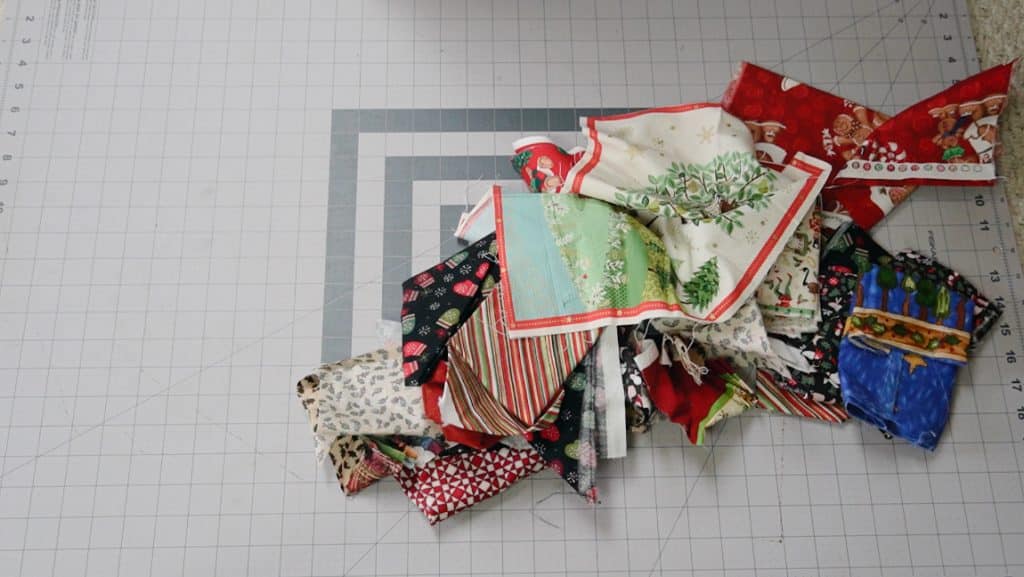
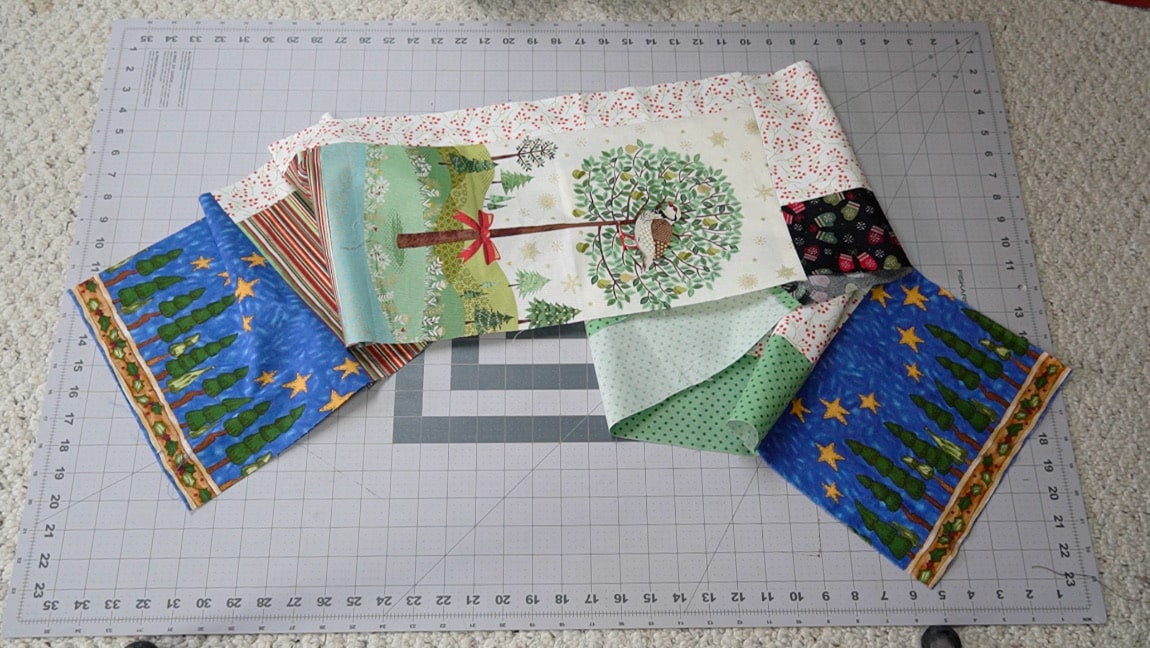
Arrange you scraps of cotton
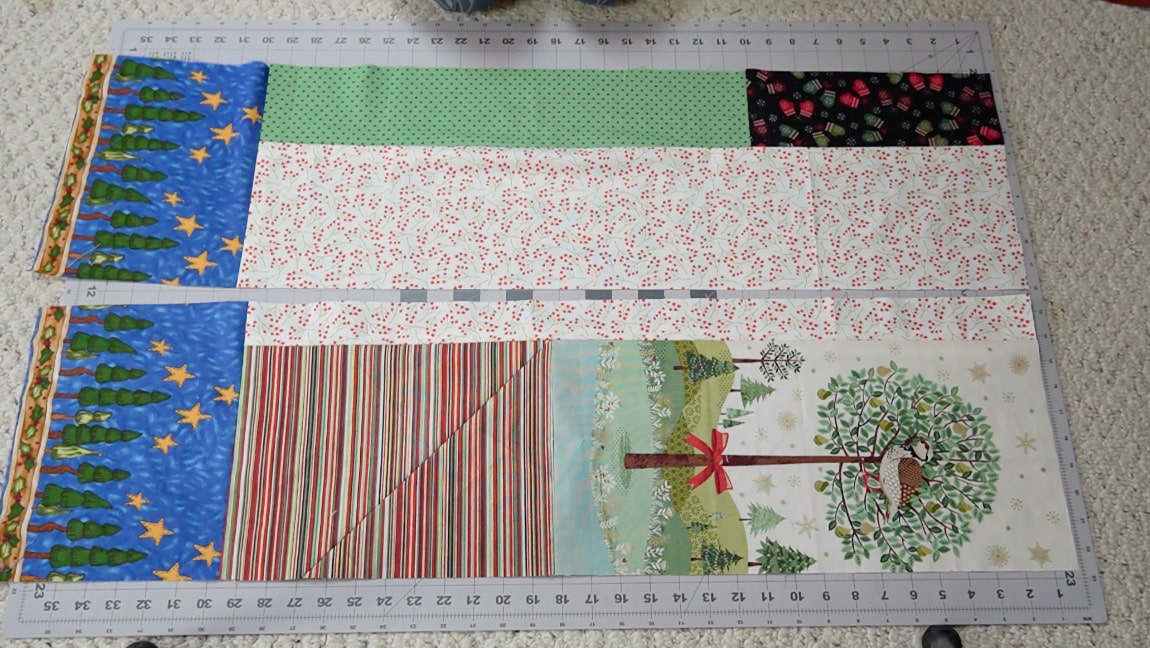
Start by laying out your fabric scraps to create a swatch of fabric that you can use to cut out the pieces of the scarf. The goal is to make it as long as half the scarf and twice as wide. So if you want to create a final scarf that is approximately 60″X10″, you’ll want this patch of fabric to be at least 30″X20″.
I also recommend cutting your fabric pieces into squares and rectangles, especially if this is your first time making a scrap project. They are the easiest shapes to work with. Also, remember to overlap the fabric pieces when making your design to account for seam allowance.
Step 2
sew the fabric pieces together
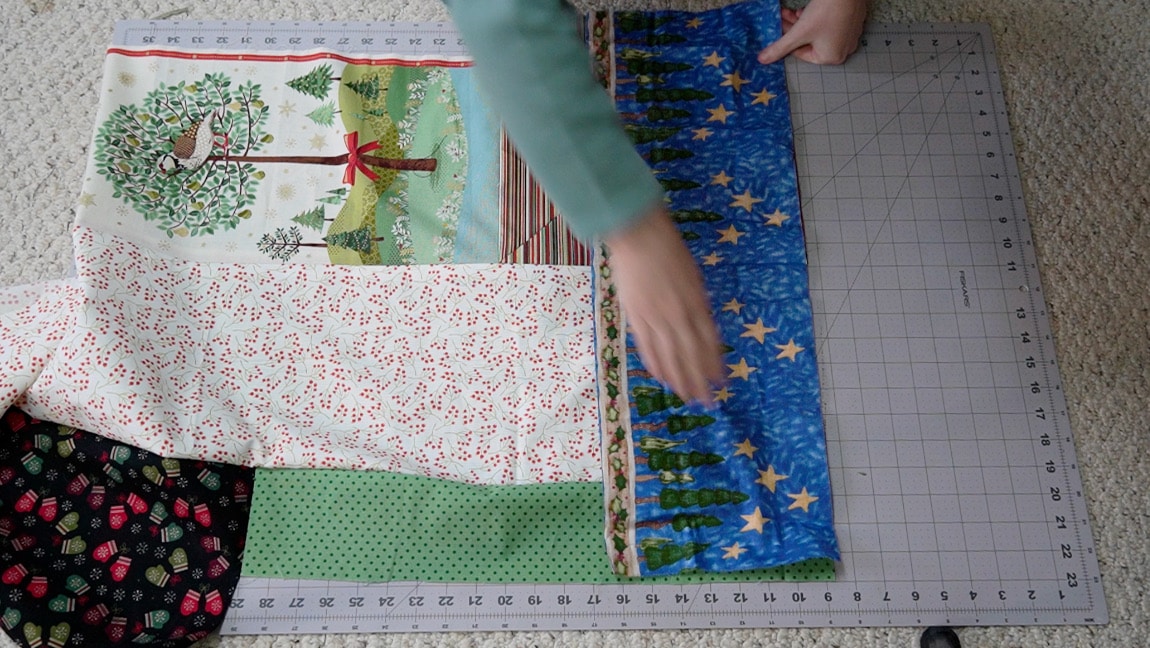
One-by-one sew each of the scrap pieces together. It’s easiest to do this in sections. Sew together smaller chunks of the scarf and then sew each chunk together to create the long length of the scarf. It’s okay if the pieces aren’t completely even along the edges, we’ll trim everything in the next step.
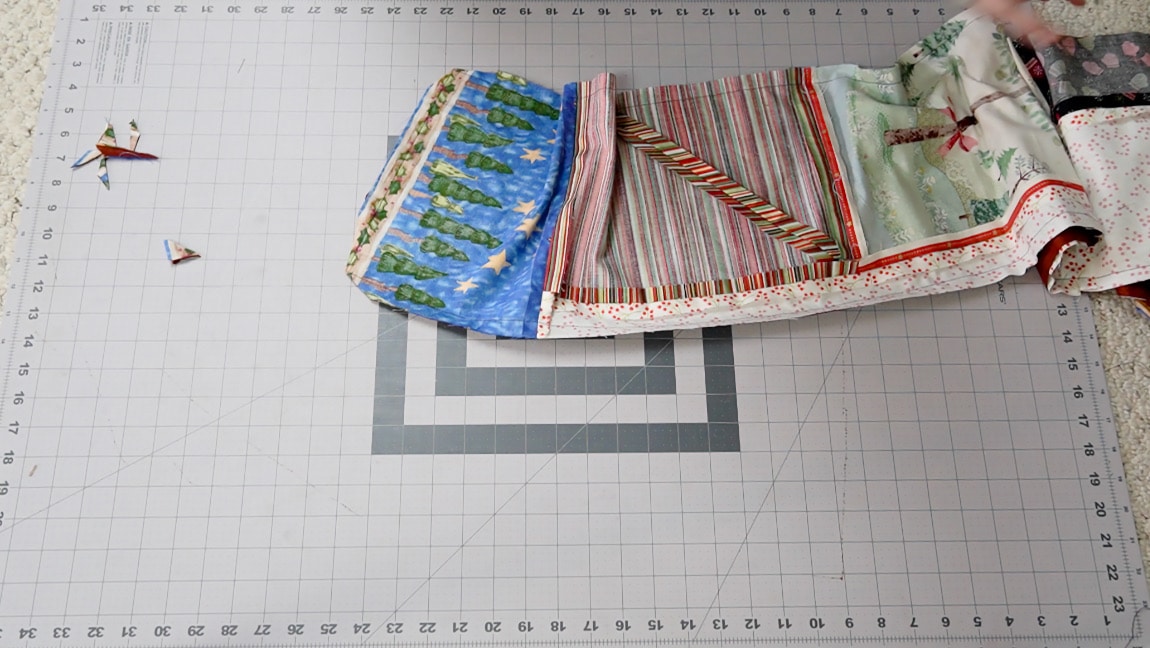
Step 3
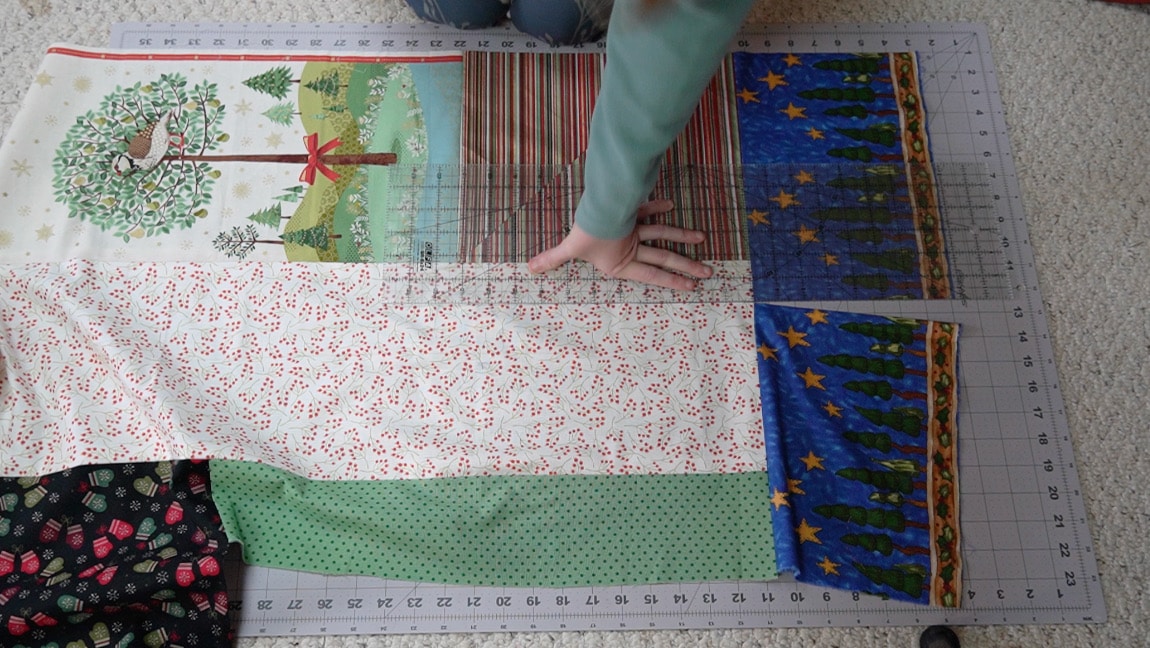
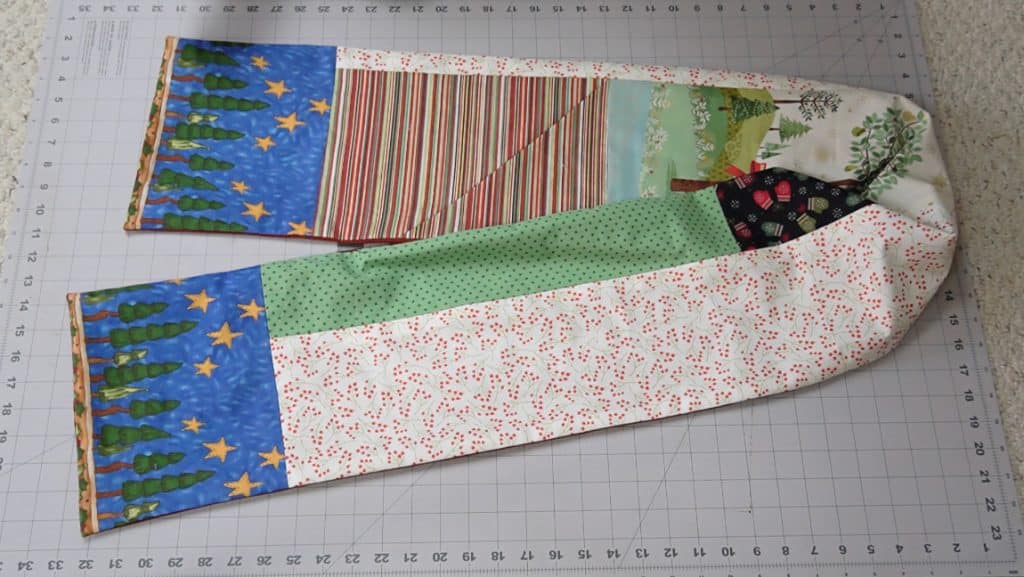
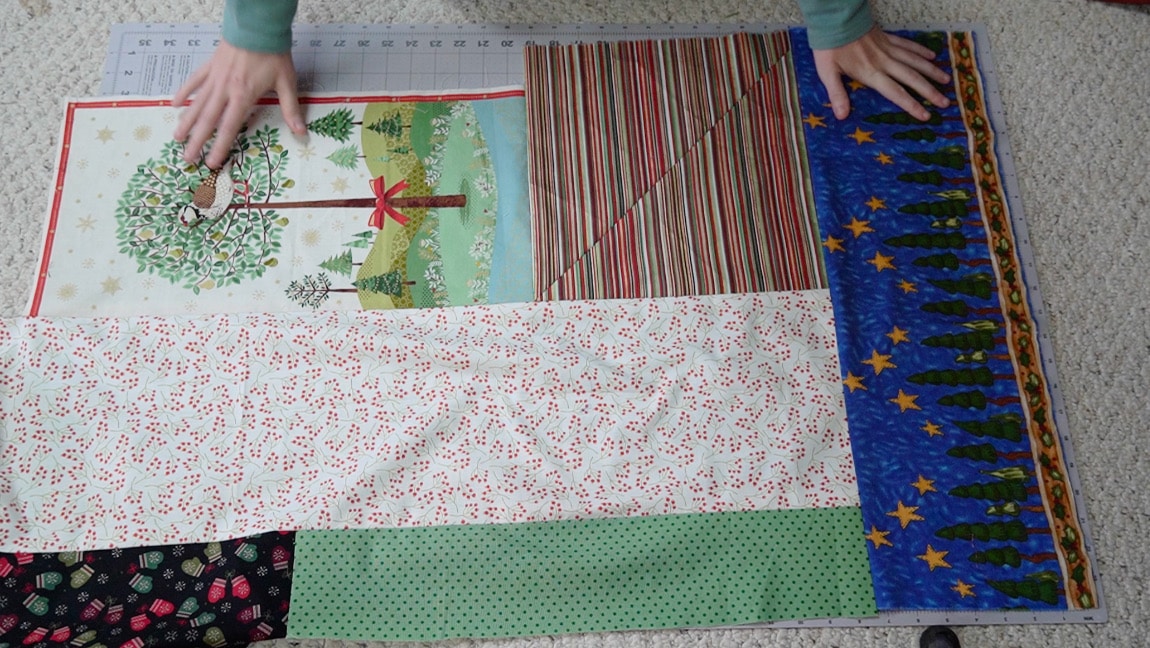
Cut two long rectangles for your scarf
Cut two rectangles from the scrap collage that will make up the length of your scarf. Each long rectangle will be half of the final length of your scar. If you’re going with my measurements, this means you cut two rectangles that are 10″X30″
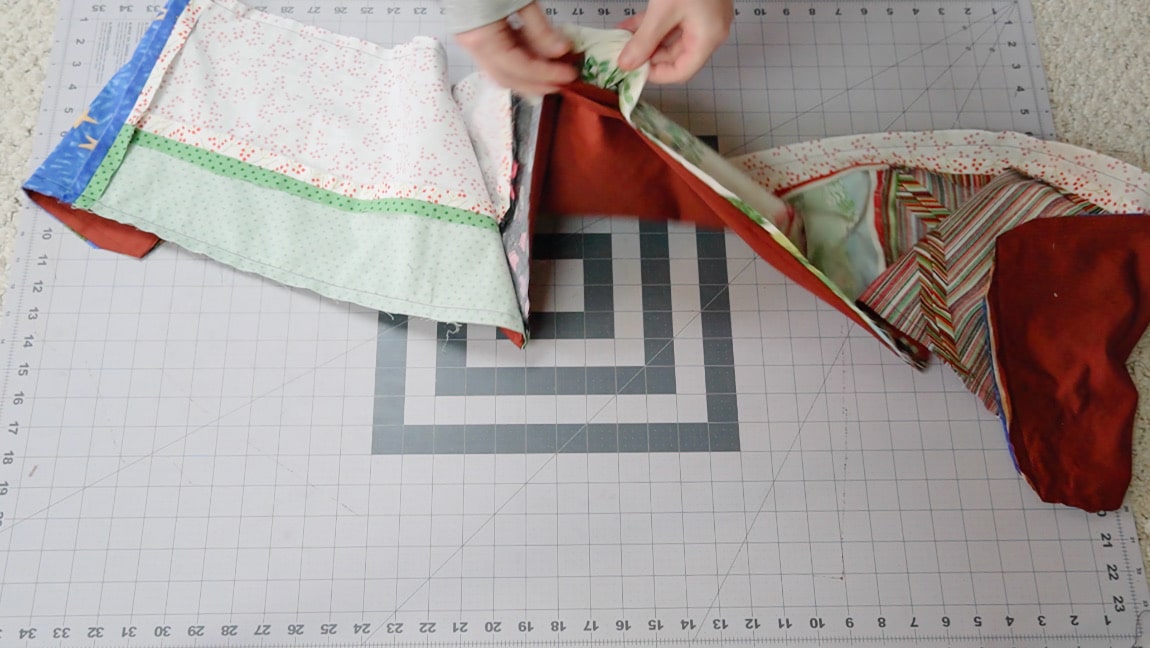
Step 4
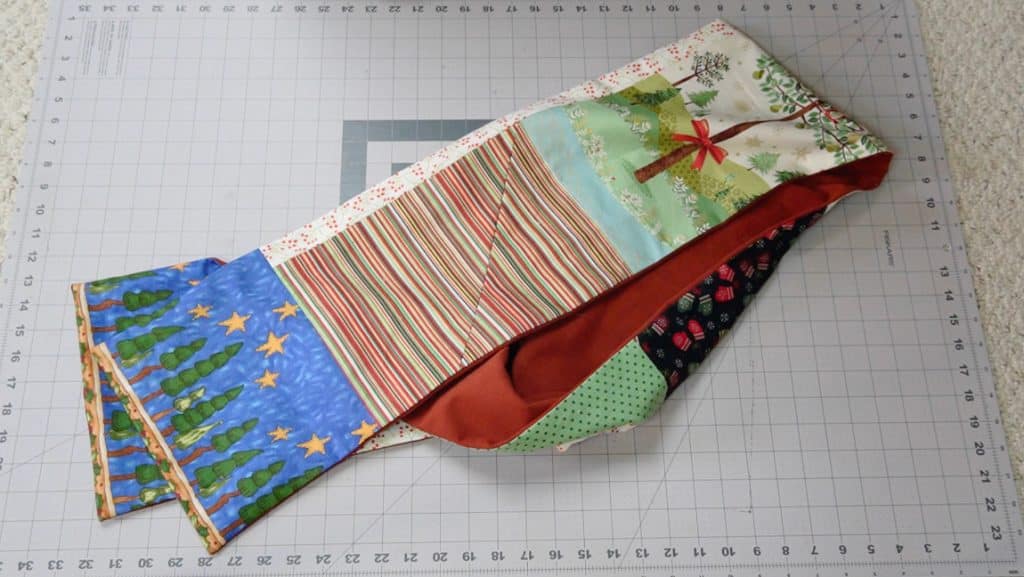
sew the two sides of the scarf together
With right sides together, sew the scarf sides together along one of the narrow edges.
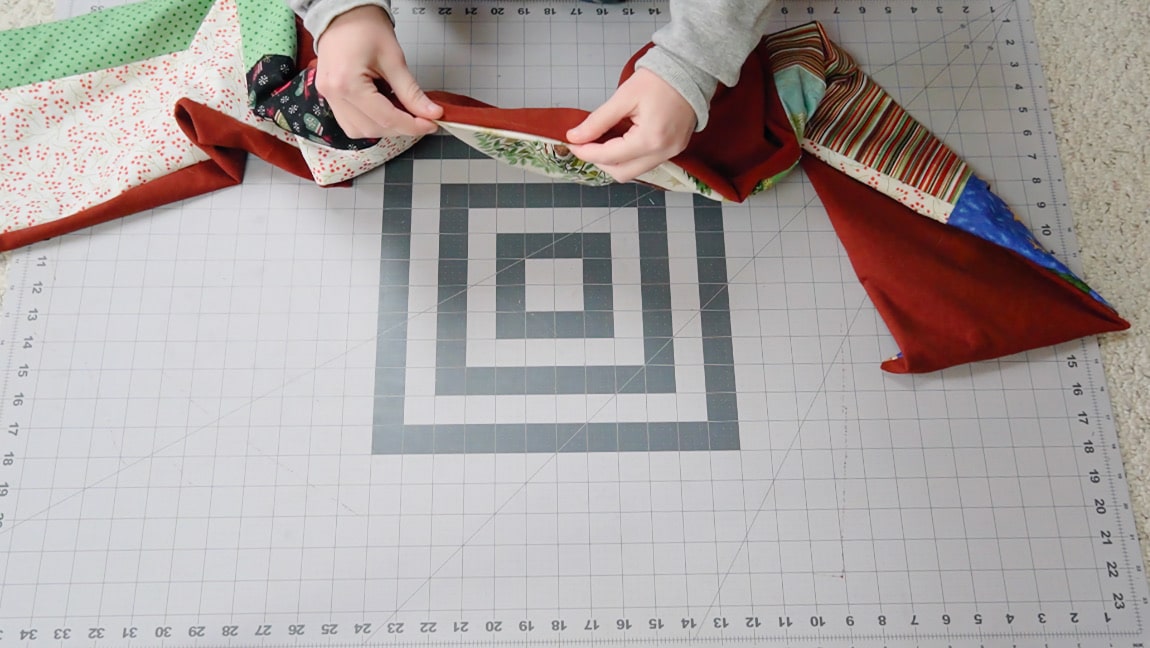
Step 5
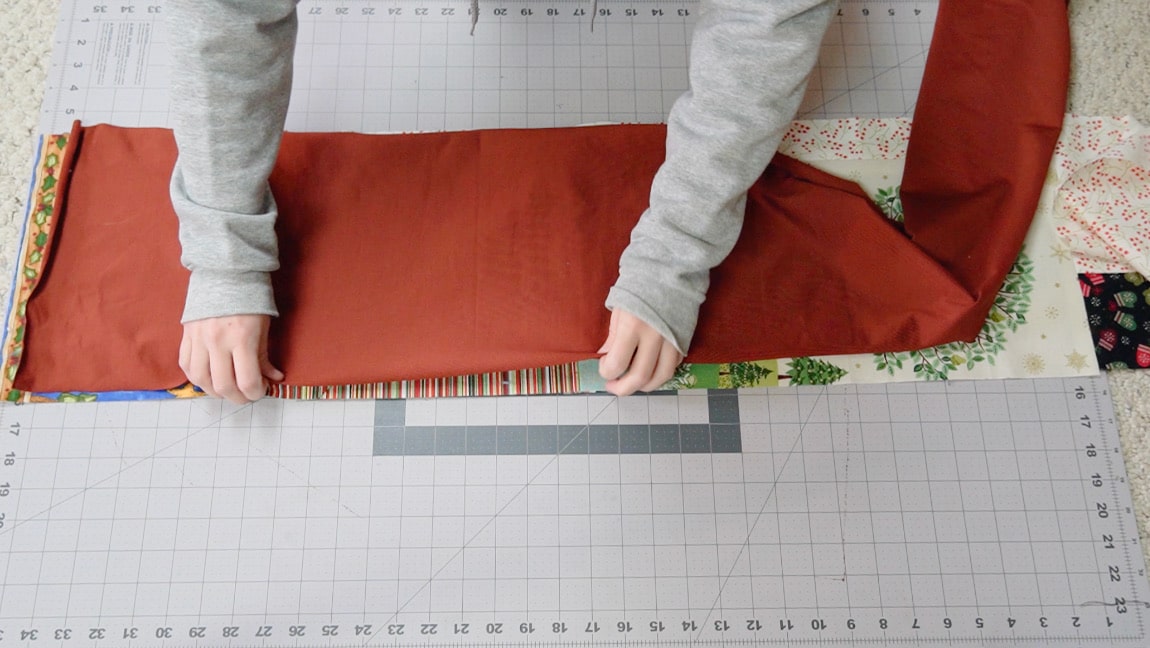
cut out a fleece rectangle and sew it around the perimeter
Use the measurements of your scarf to cut out a piece of fleece that matches it (note: you can also cut out two pieces of fleece and sew them together in the center just like you did with the scrap side of the scarf). Sew the fleece and scrap layers with right sides together. Leave a 3-inch gap in the stitches so you can turn it to the right side later.
Step 6
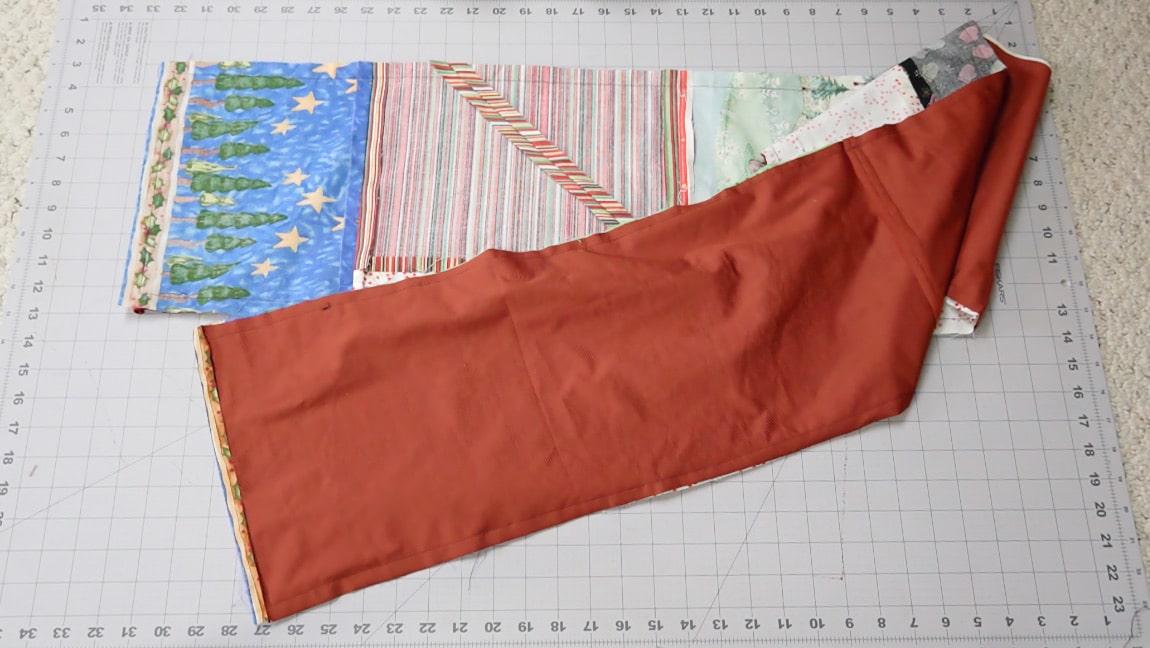
Clip the corners and turn the scarf to the right side
Cut the corners close to the stitching and turn the scarf to the right side through the gap in the stitches.
Step 7
sew up the gap
After turning the scarf to the right sides, sew up the gap and press the scarf flat.
Finished!