Tutorial: How to Make an Adjustable Elastic-Back Belt
This is probably my favorite belt to make. Not only is it really quite easy, but the elastic back makes the belt completely adjustable too! So choose some fancy fabric scraps and what ever color elastic you want to put together this quick and easy belt.
Check out more DIY belt tutorials
This page contains affiliate links. As an Amazon Associate, I earn a small commission from qualifying purchases. That being said, I encourage you to use your local sewing shop whenever possible, or to look for supplies second hand.
Supplies Needed:
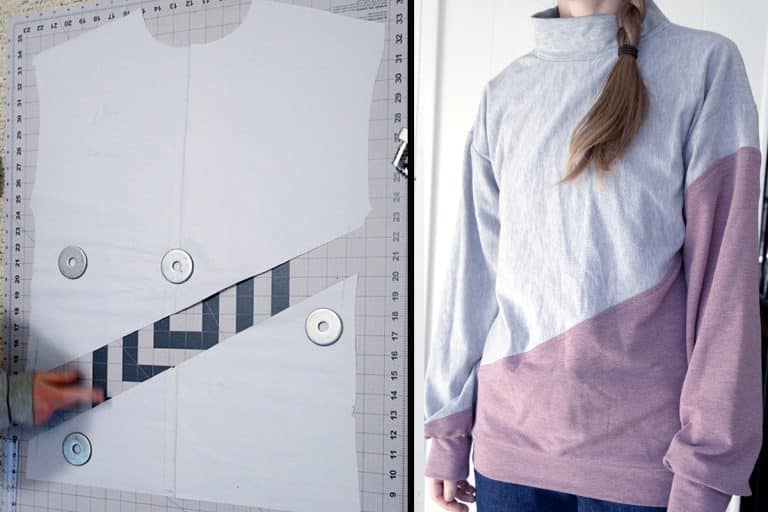
Step 1

make your pattern and cut your fabric pieces
You want to cut 2 of the rounded longer pieces and 2 of the rectangular short ones.
Step 2

cut your interfacing
Likewise, cut two interfacing long pieces, and two shorter rectangles
Step 3

apply interfacing to the fabric
Fuse the interfacing to the back of each belt piece.
Step 4

sew fabric pieces together
Sew the matching pieces together leaving one end open. On the open ends, fold the fabric to the inside before stitching.
Step 5

clip and trim curves and corners
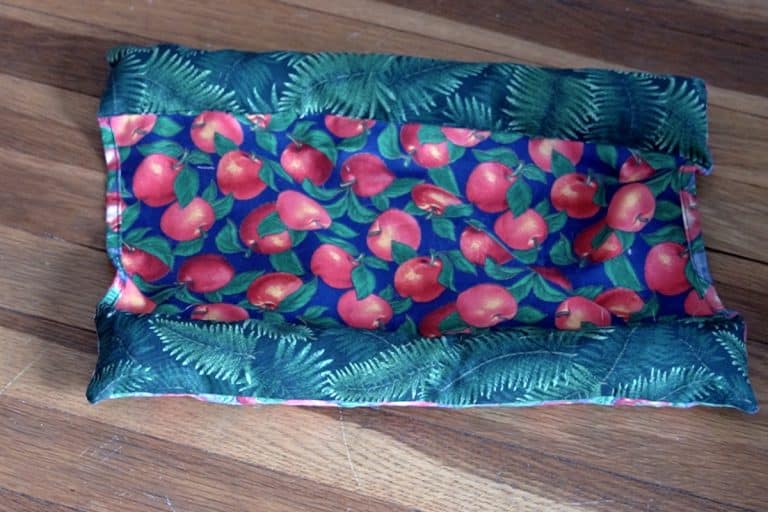
Step 6

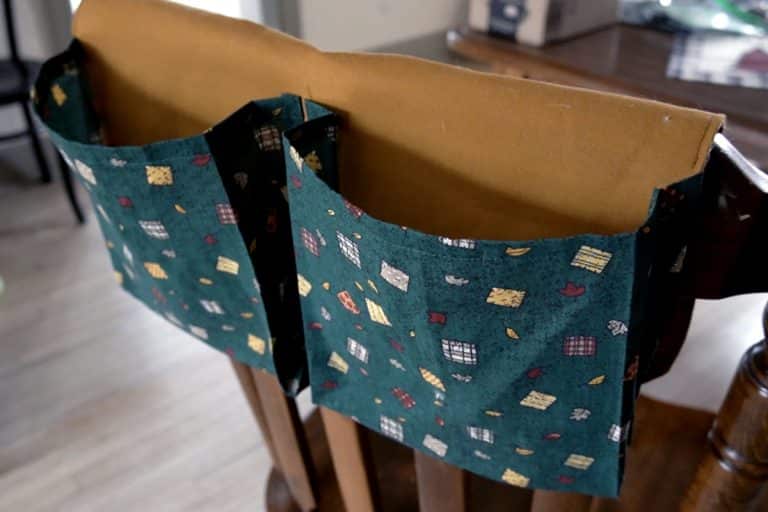
turn to right side and press belt pieces
Step 7

cut elastic to fit around your back
You want to make the piece short enough that it will slightly stretch as you’re wearing the belt, but won’t feel like it’s squeezing you.
Step 8

insert elastic into the ends of the belt pieces and sew in place
Insert the elastic into the open sides of the belt pieces then edgestitch the elastic in place. To further reinforce the elastic, I recommend sewing a box X as well.
As shown below, start by making a horizontal line going right, then straight down, then back to the left. Now go on the diagonal, then back down going over the first set of stitches, and then diagonal the other way.

Step 9

add buckle to shorter belt piece
Now all you have to do is add the buckle. The one I’m using is a vintage military-style buckle that you can clip on, but you can sew your belt to what ever king of buckle you like.
Finished!