Tutorial: How to Make a Carrot Pillow with Fabric Scraps
Get ready for a fun spring and Easter season with this super simple carrot pillow. I will teach you how to use up some leftover scraps of fabric to create a truly unique throw pillow that you can use to add some color to your home decor without buying any extra fabric. Access the carrot pattern below (for free) and follow along with the step-by-step tutorial!
This page contains affiliate links. As an Amazon Associate, I earn a small commission from qualifying purchases. That being said, I encourage you to use your local sewing shop whenever possible, or to look for supplies second hand.
Supplies Needed:
(all of my patterns include 1/2″ seam allowance)

Step 1

Arrange Your Orange Fabric Scraps
Collect orange fabric scraps from your recent sewing projects. Start playing around with the scraps and lay them out in a collage. The overall shape of the scrap layout doesn’t matter right now, but it should be big enough for your pillow pattern to to fit on top of.
Once you’re satisfied with the scrap layout, cut straight edges on all of your fabric pieces where they will be sewn together. Also, be sure to keep in mind that there will be some overlap of the pieces due to seam allowance.
Step 2

Sew Your Orange scraps together
One by one sew your scrap pieces together. I usually start with smaller pieces and then add on any larger pieces.
Step 3

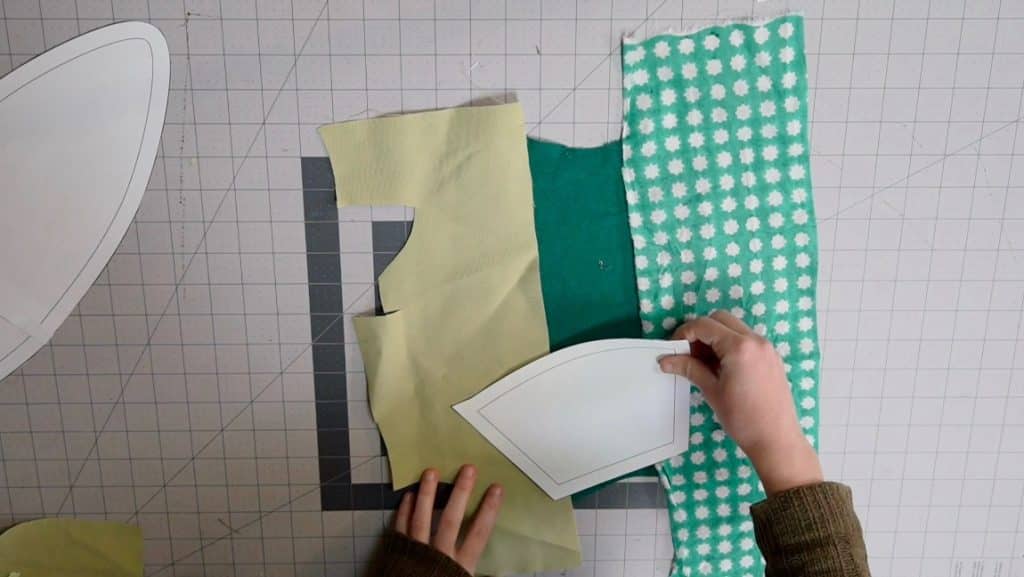
Cut out the carrot pillow pattern from your scraps
Place your pattern piece on top of your scrap layout and cut it out. Cut two so that you have one for both sides of the pillow

Step 4
Repeat steps 1-3 for the carrot top
Arrange the green scraps, sew them together, and cut out the pieces for the top of the carrot.

Step 5

sew the carrot to the carrot top
With right sides together, sew your carrot to your carrot top.

Step 6

sew the two carrot pillow sides together
With right sides together, sew around the perimeter of the carrot. Leave a small gap in the top so you can flip it to the right side.


Step 7

Clip corners and Curves
Clip very close to the stitching on all corners, and clip the curved tip of the carrot.


Step 8

Turn the pillow right side out
Use a long pointy tool (I used a loop turner) to help get all the edges turned out. You can also press the pillow seam flat at this point.
Step 9

Stuff the pillow
You can use what ever you want to stuff your pillow. I like to use leftover fabric scraps that are too small to use for anything else as my pillow stuffing, but this does make the final pillow a little more lumpy than it otherwise would be. So, if you don’t like that, you can always use poly-fill or another type of pillow stuffing material.
Step 10

sew up the gap
Hand sew the gap closed.
Finished!