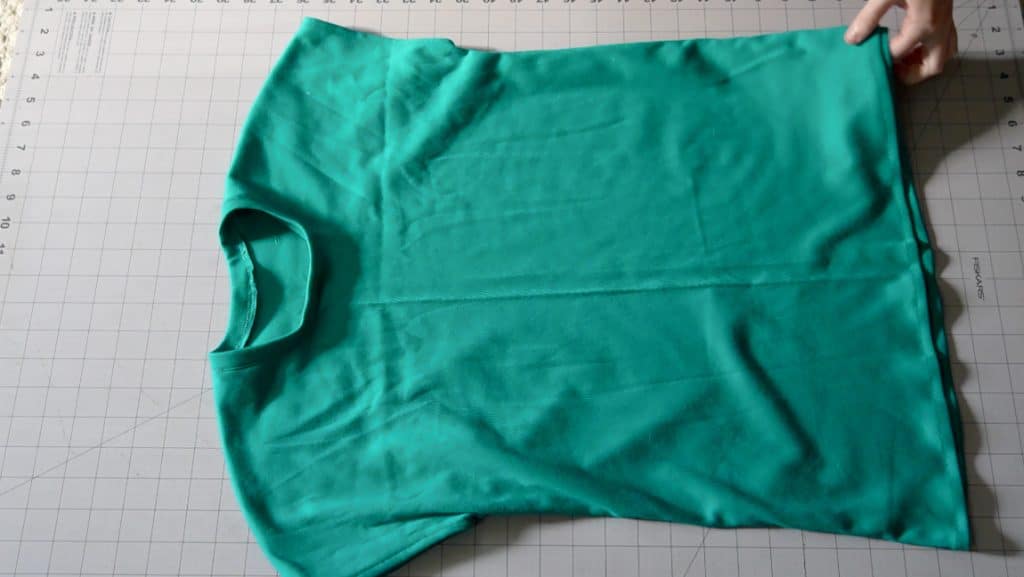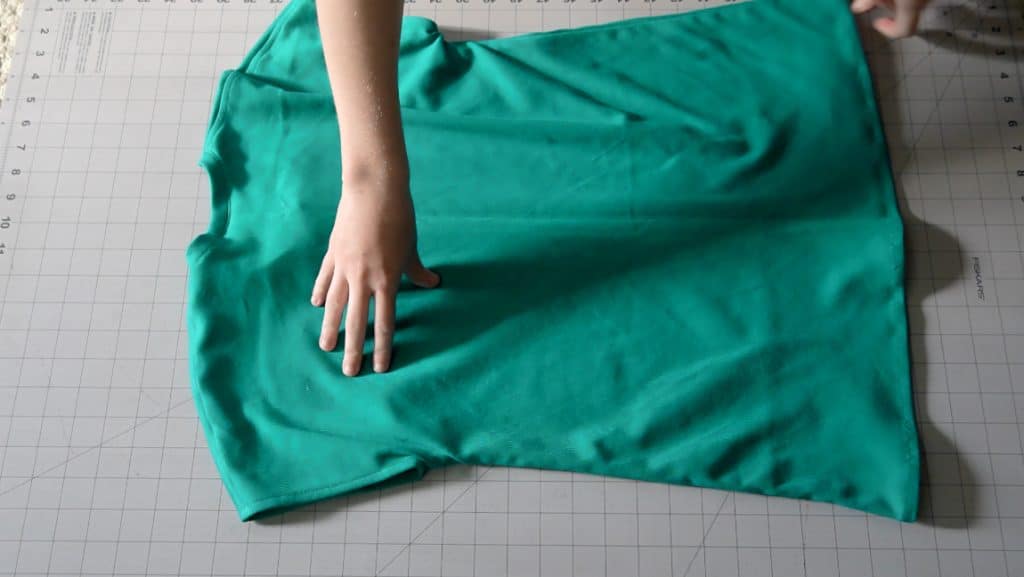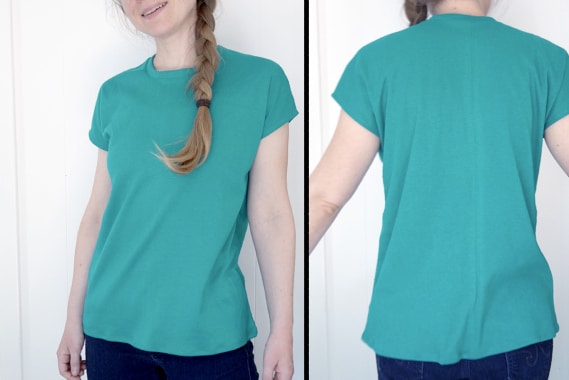
Tutorial: Easy Basic No-Sleeve T-shirt (pattern and sewing tutorial)
If you’re ready to start making your own custom sewing patterns, a basic T-shirt is a great place to start. Because sleeves are one of the most difficult parts of pattern-making, this beginner tutorial leaves that part out by combining a dropped sleeve to the bodice. I’ll walk you through step-by-step how to create your pattern using your own body measurements, and then how to sew everything together. (it’s way easier than you think!)
Note: When sewing with knit fabrics, you’ll want to use a zigzag or lightning bolt stitch. Using one of these stitches allow the thread to stretch with the fabric. If you use a straight stitch and then try to stretch the fabric, the thread will snap.

Supplies Needed:
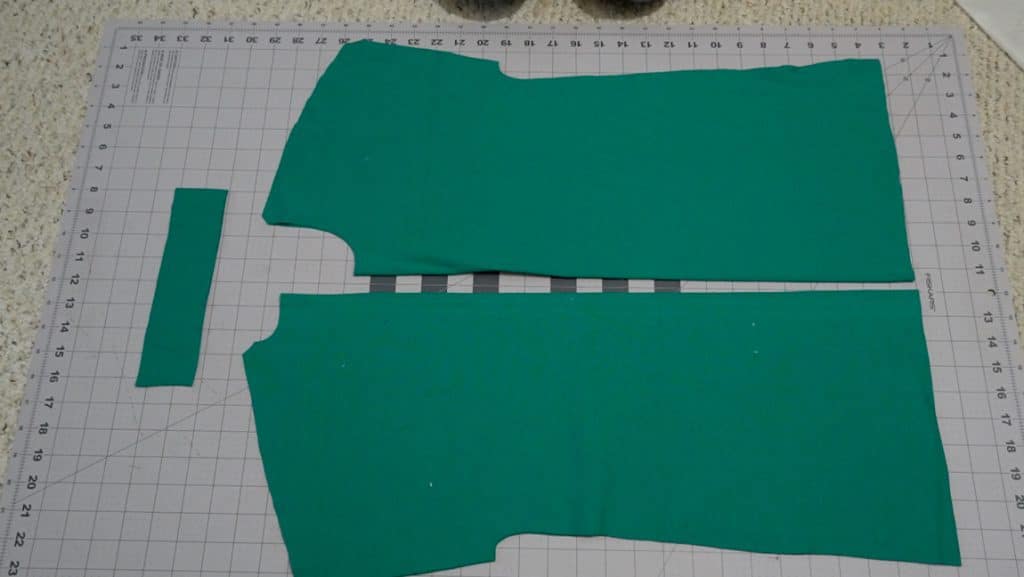
T-shirt Pattern PIeces
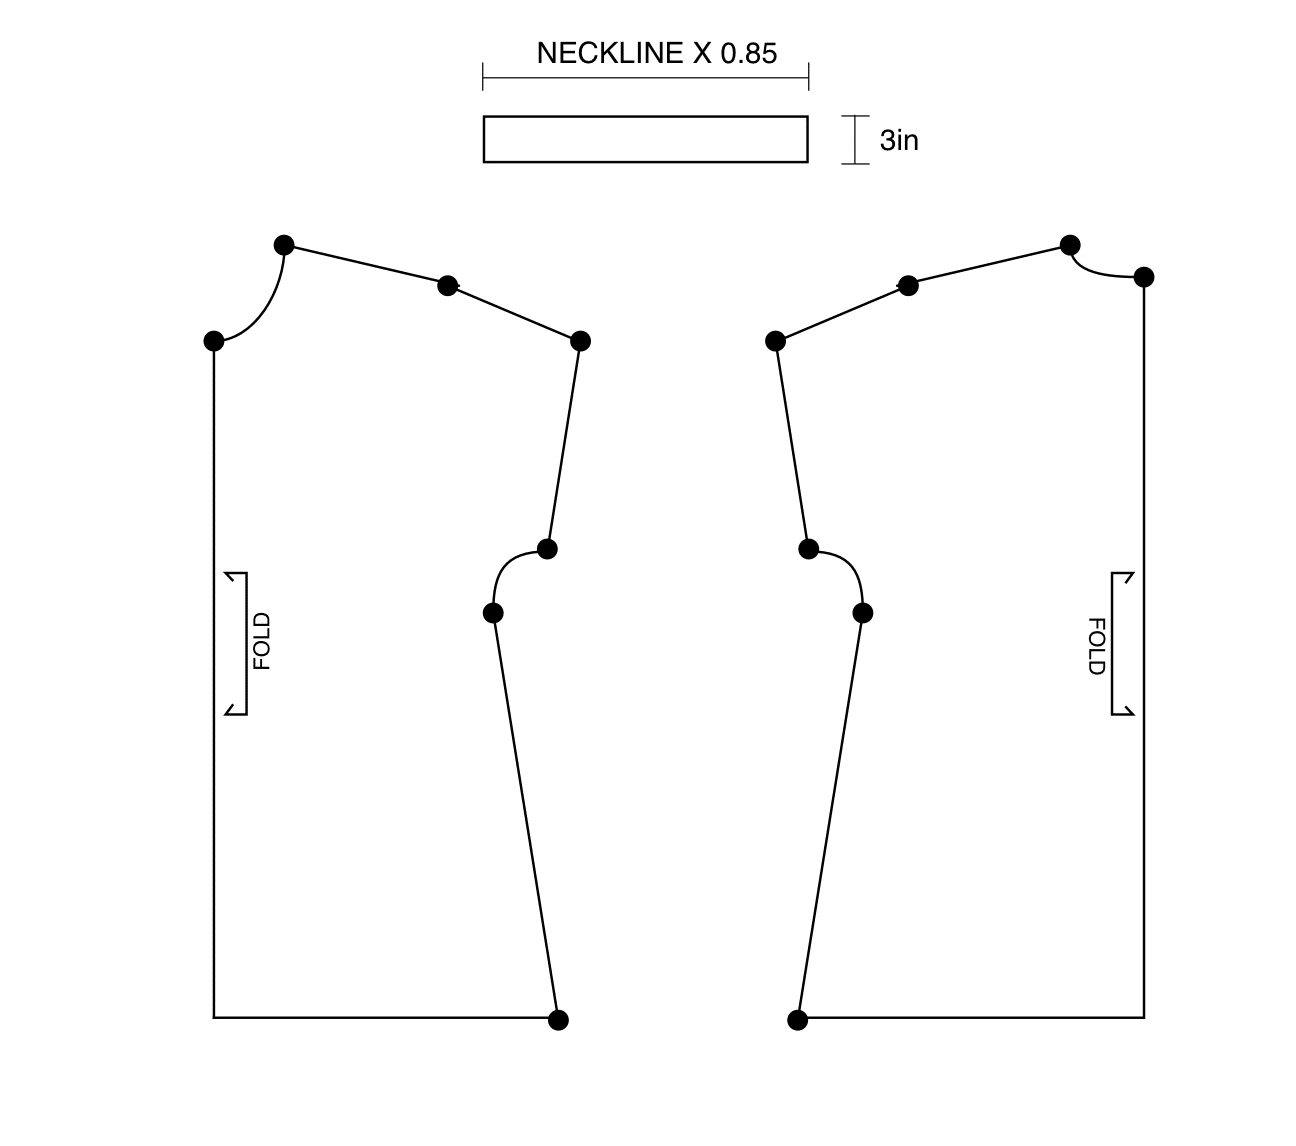
How to Make your pattern:
First, take your measurements:
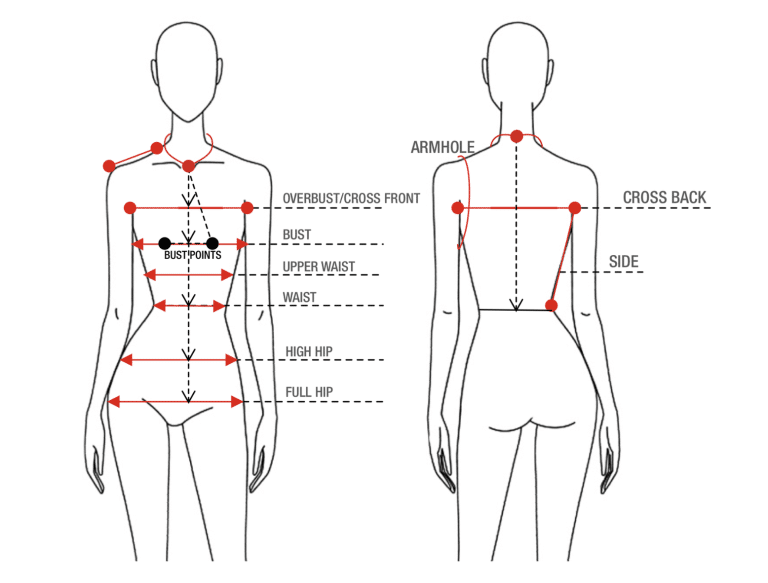
You also need the length between your measurements:
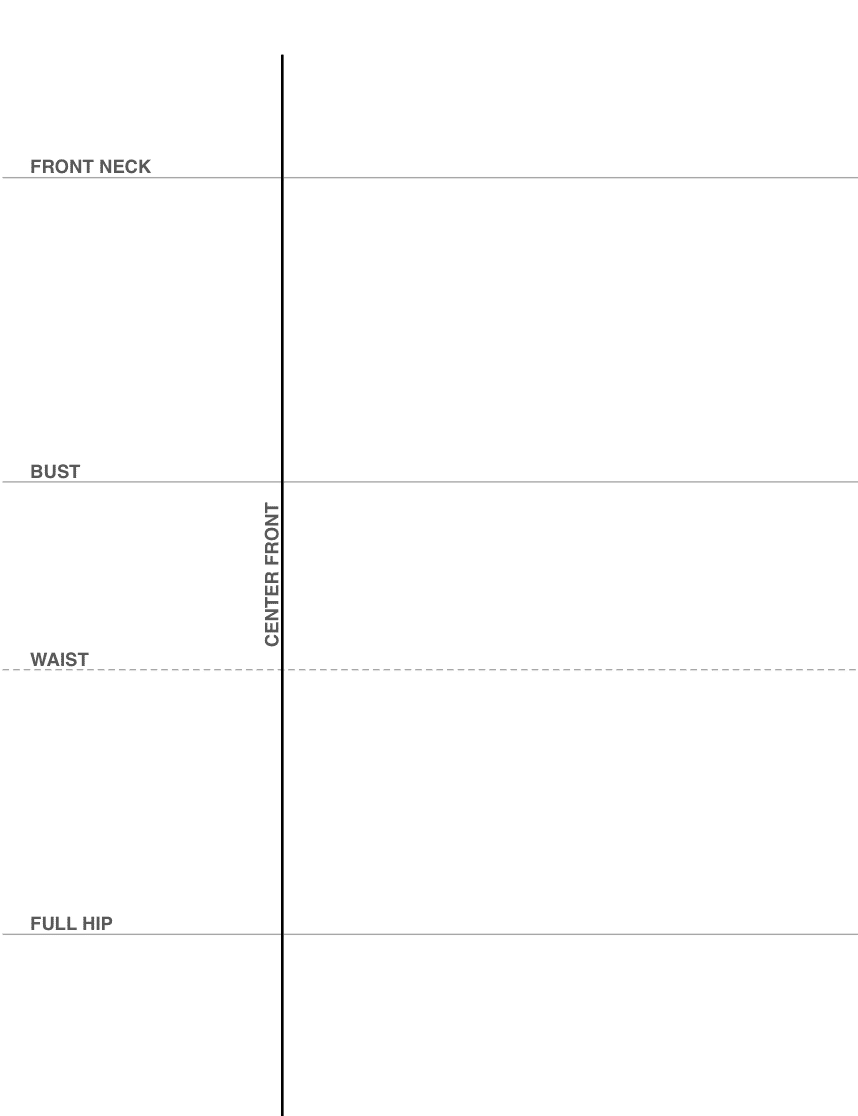
Make your grid. Use your length measurements from above to draw horizontal lines spaced for the neck, bust , waist, and full hip. Then draw a straight line down for your center front.
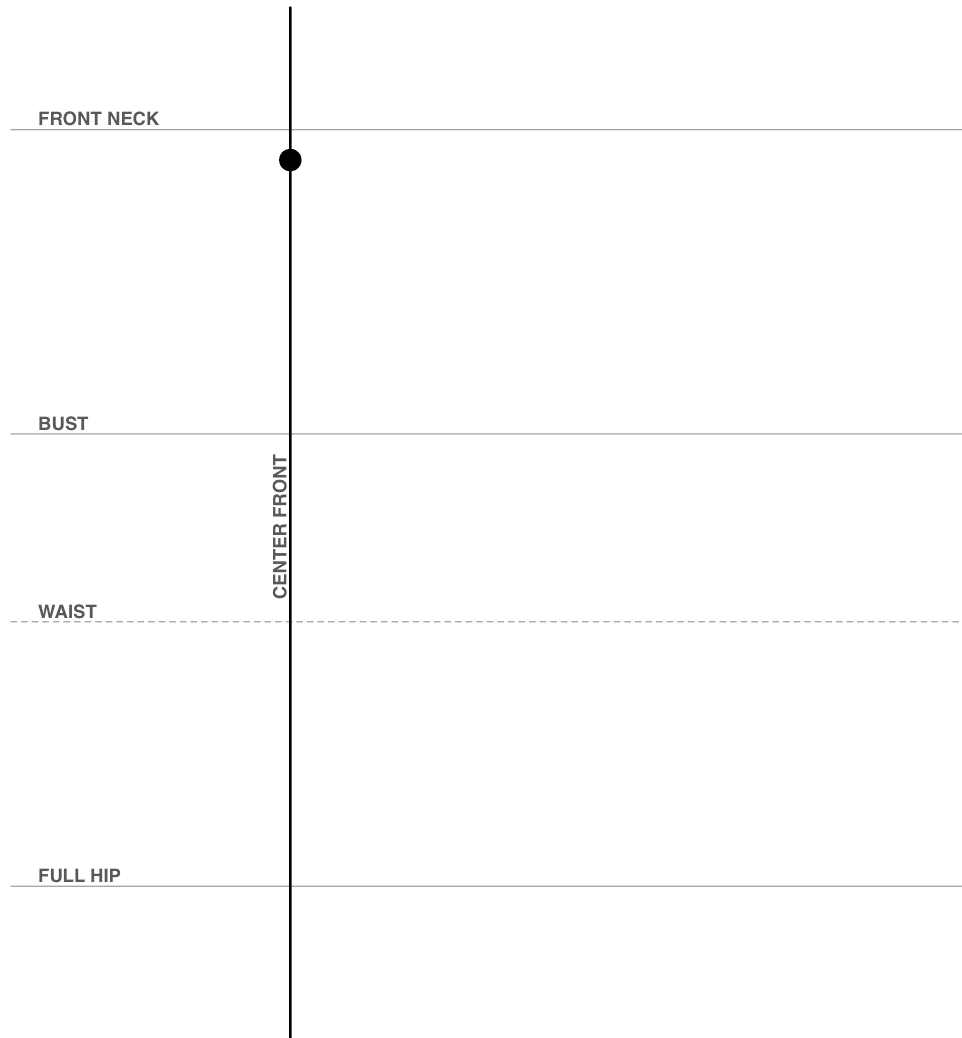
Add your front neckline point 1″ below the neck gridline.
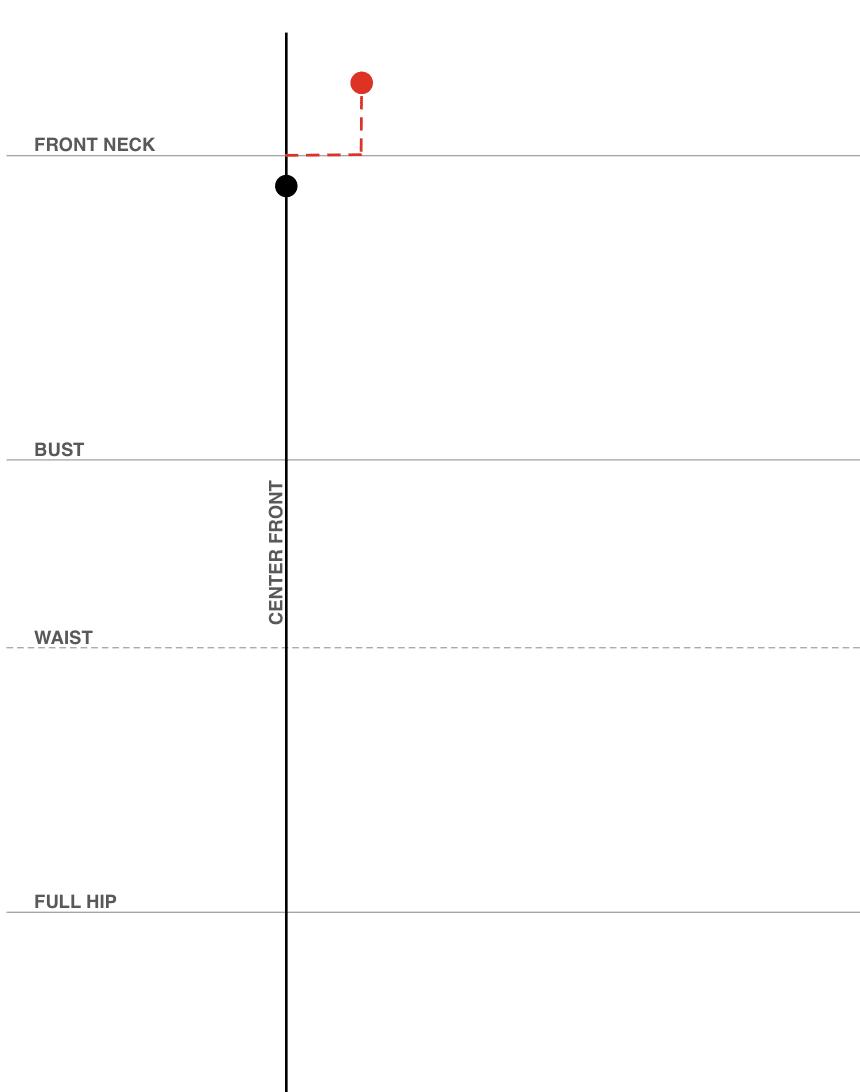
Use the Neck calculation above to go side and up from the center neck gridline.
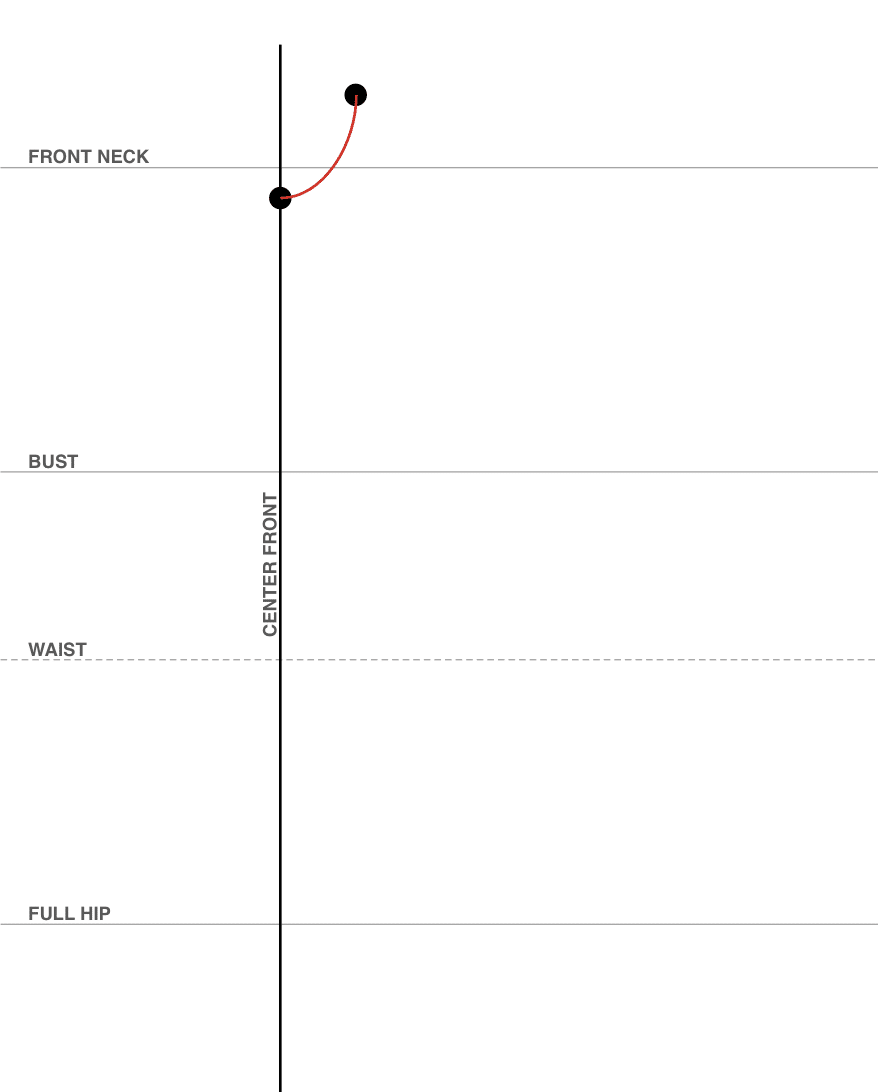
Draw the neckline curve. This doesn’t have to be perfect, just try to get it flat at the center seam.
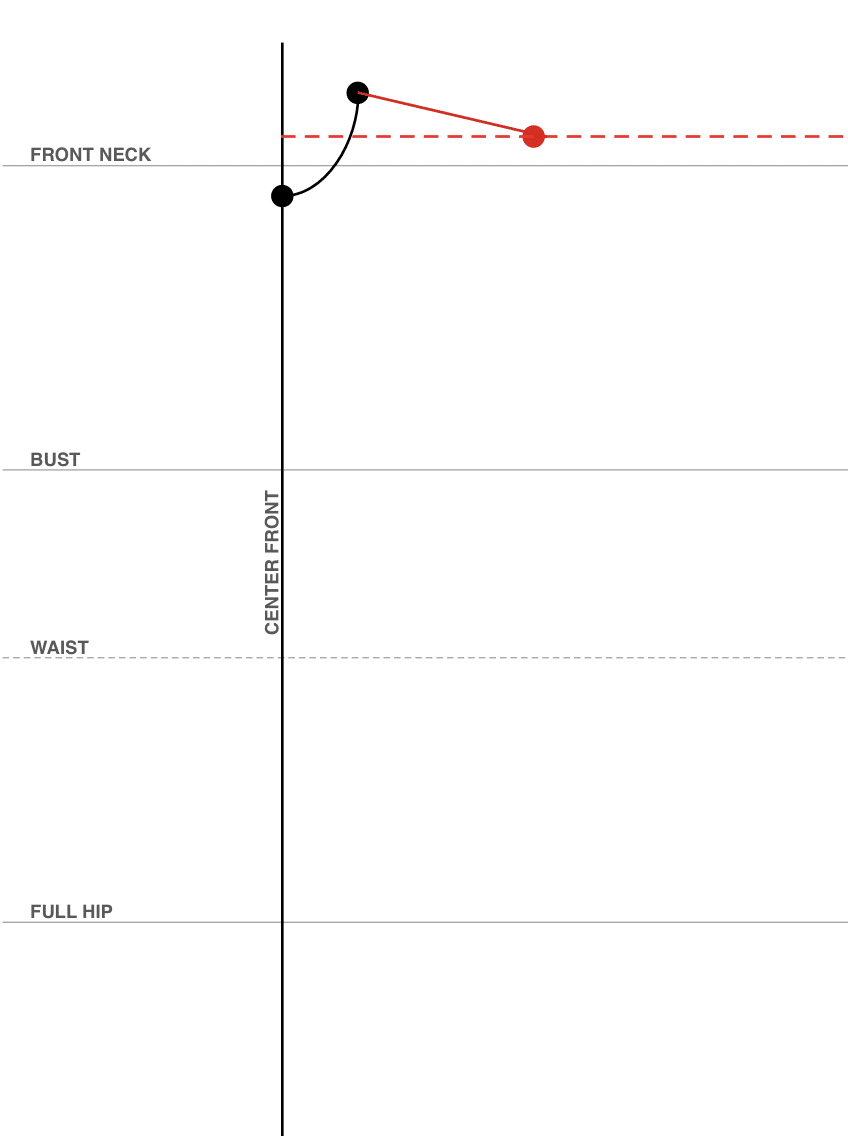
Draw a horizontal guideline 1in below the shoulder point. Then use your shoulder measurement and draw your shoulder line to the point where it meets the guideline.
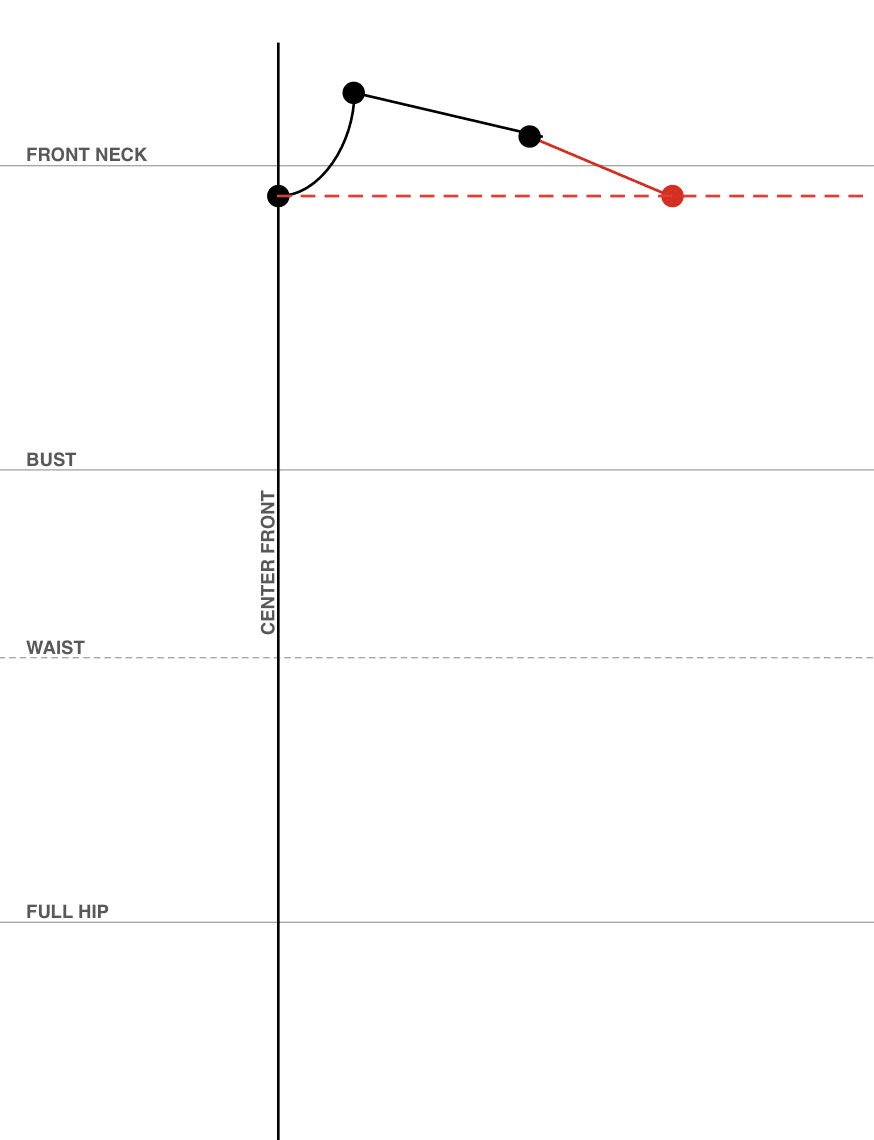
Add another guideline 1in below the front neck gridline. Draw a 4″ line to that guideline to make the sleeve.
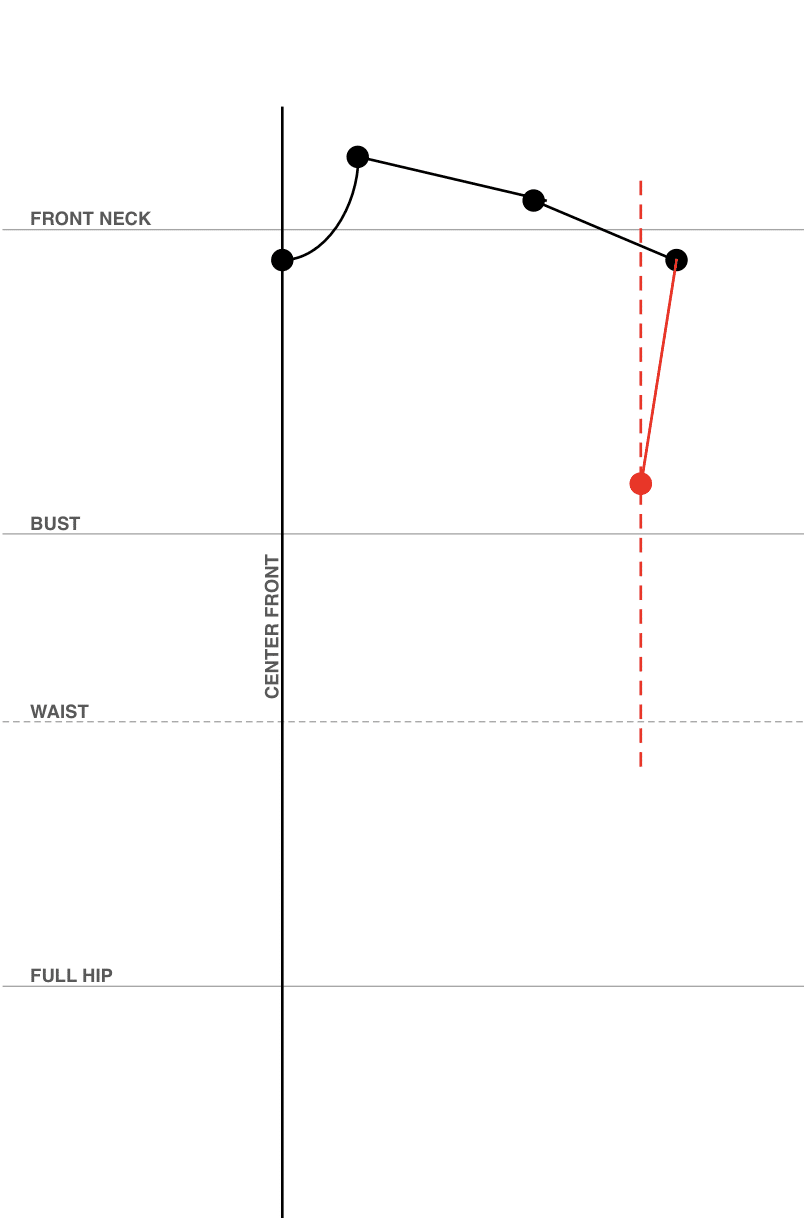
Now draw a vertical guideline 1in inside the last point. Use your bicep calculation to draw your sleeve line.
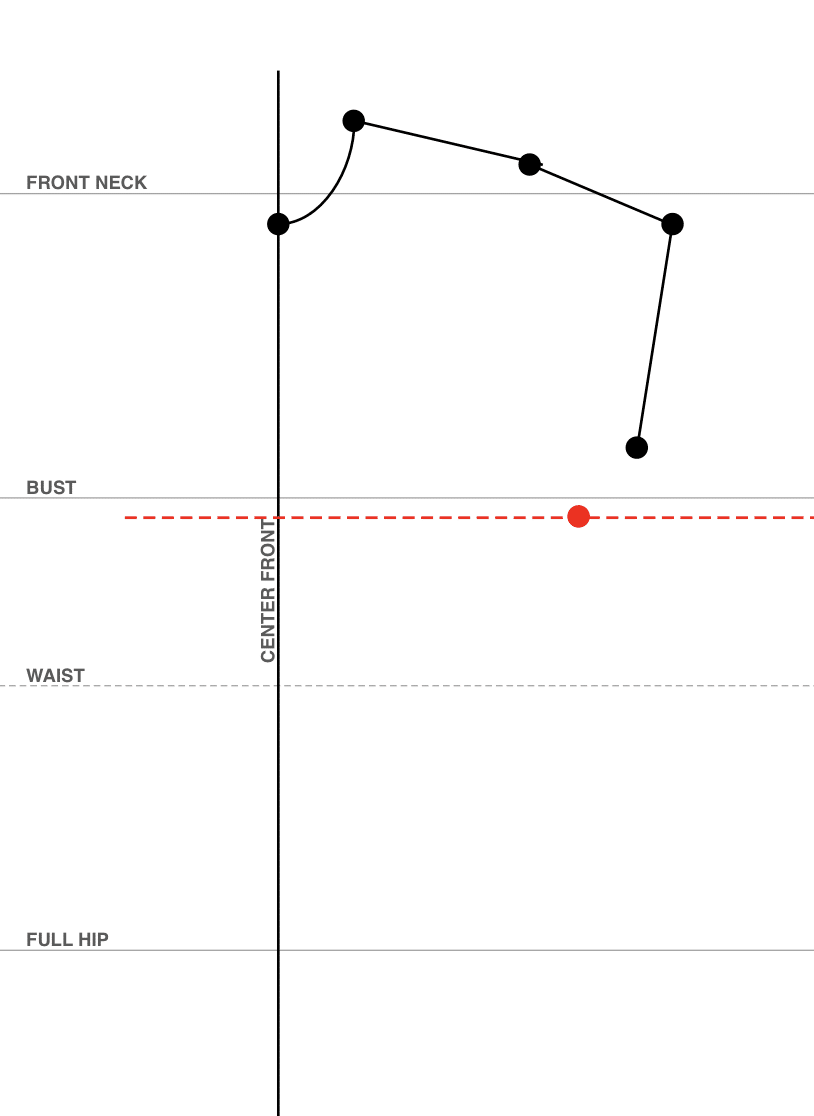
Make another horizontal guideline 1/2 inch below the but gridline. Use your bust calculation to draw your bust point.
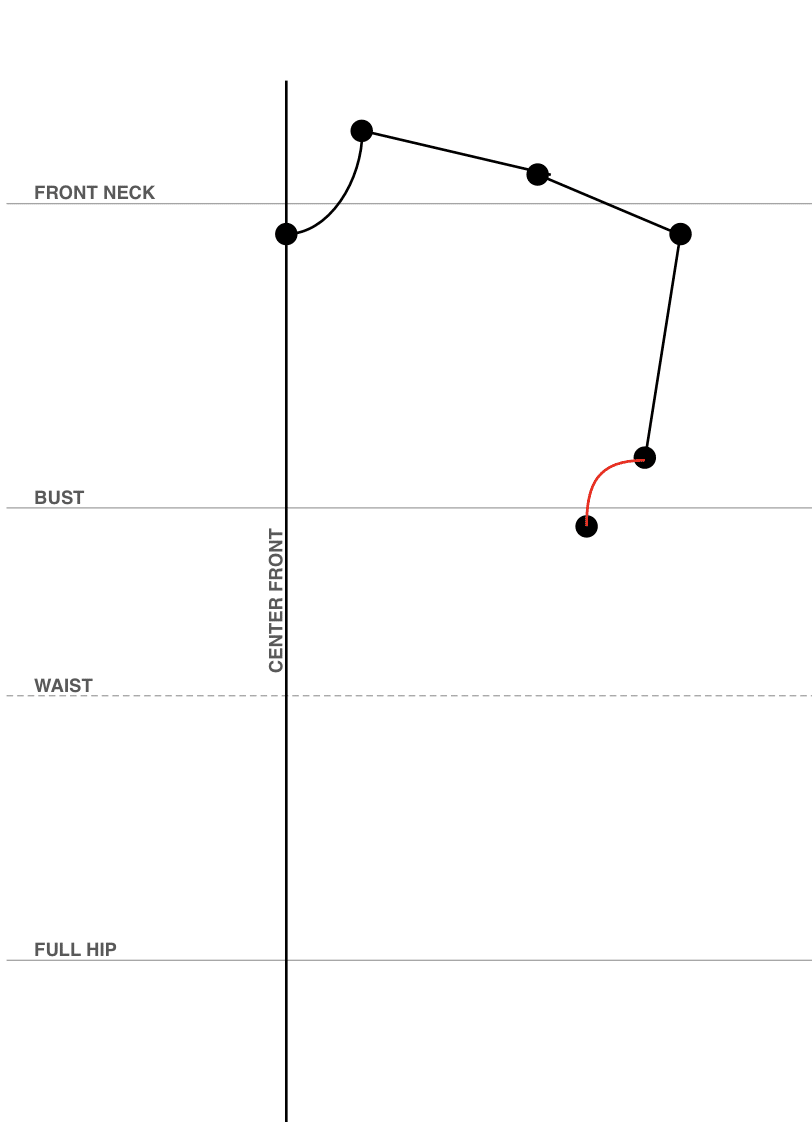
Connect the sleeve to the bust point. Don’t worry if the curve isn’t perfect as long as it generally looks like the diagram.
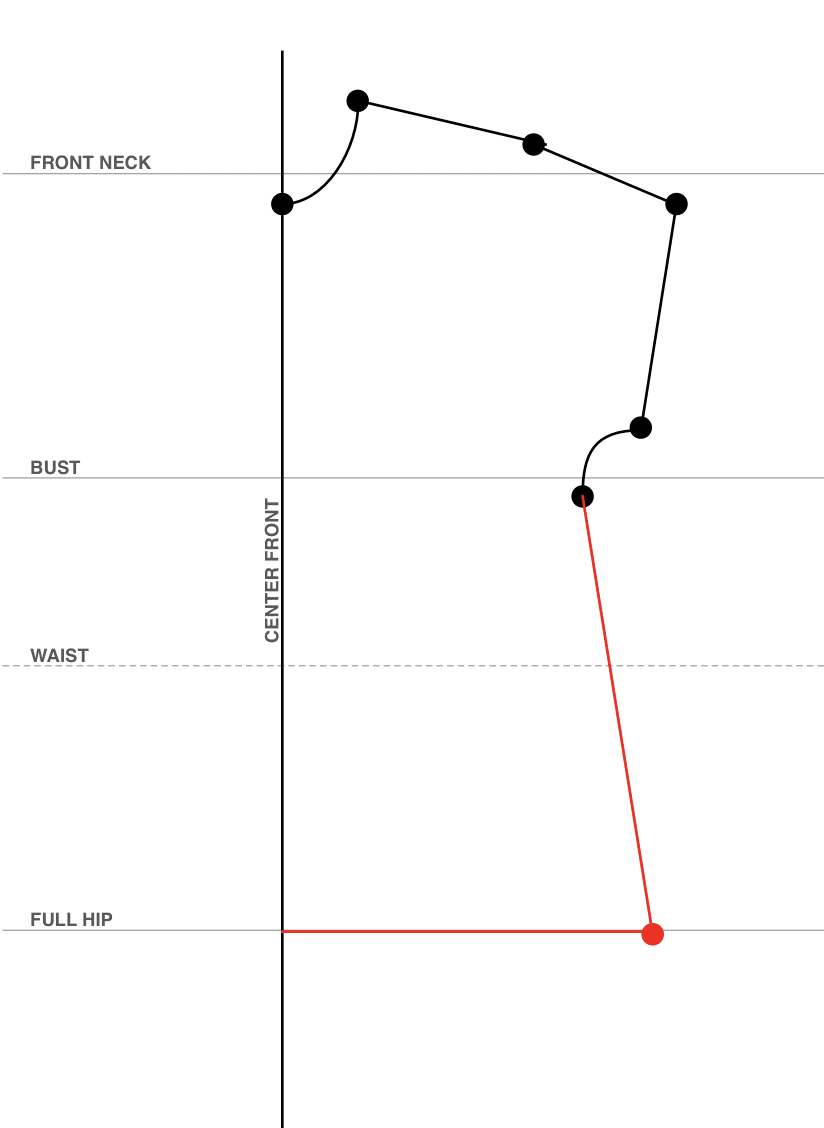
Add the hip point and draw your side and bottom seam. Use your hip calculation above to draw the hip point then connect the dots.
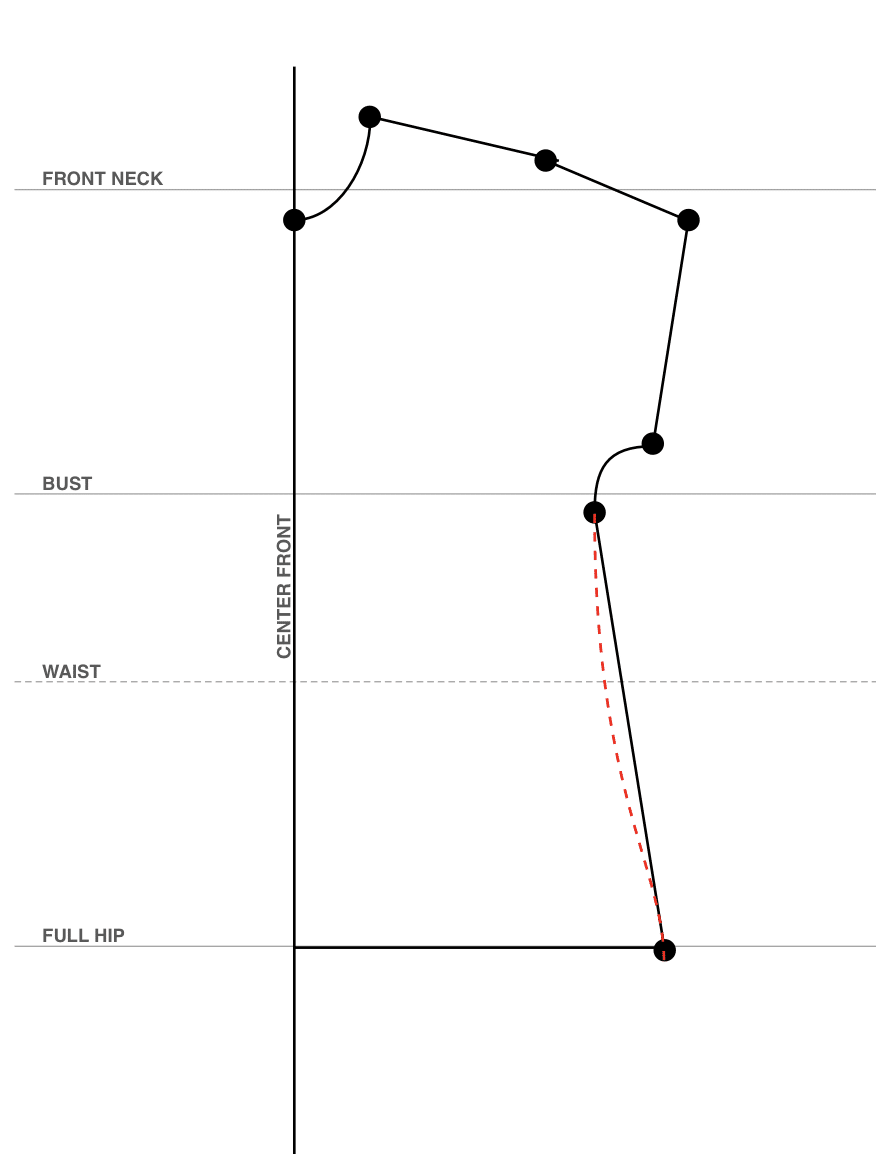
Note: If you want, you can curve the side seam in at the waist to create a more fitted T-shirt pattern.
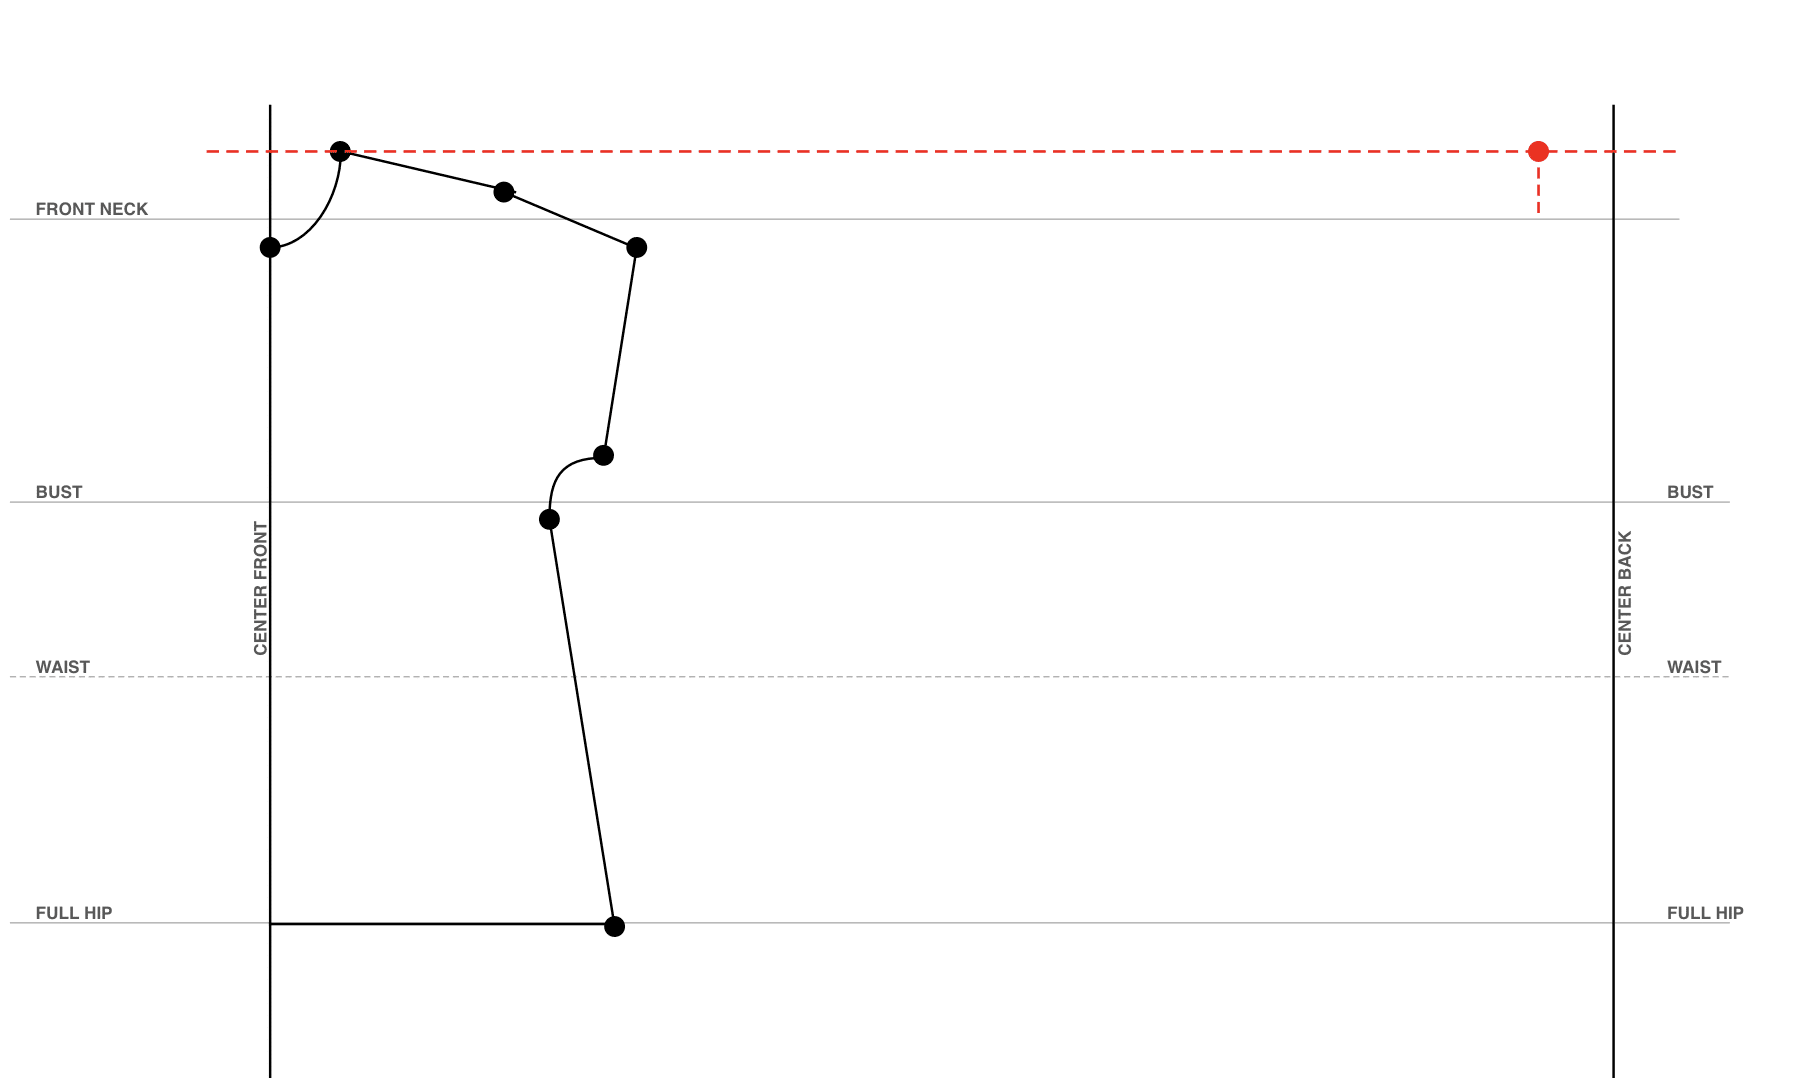
Make a point for the back that is neck distance in and up from the center back seam. It should line up with the front shoulder point.
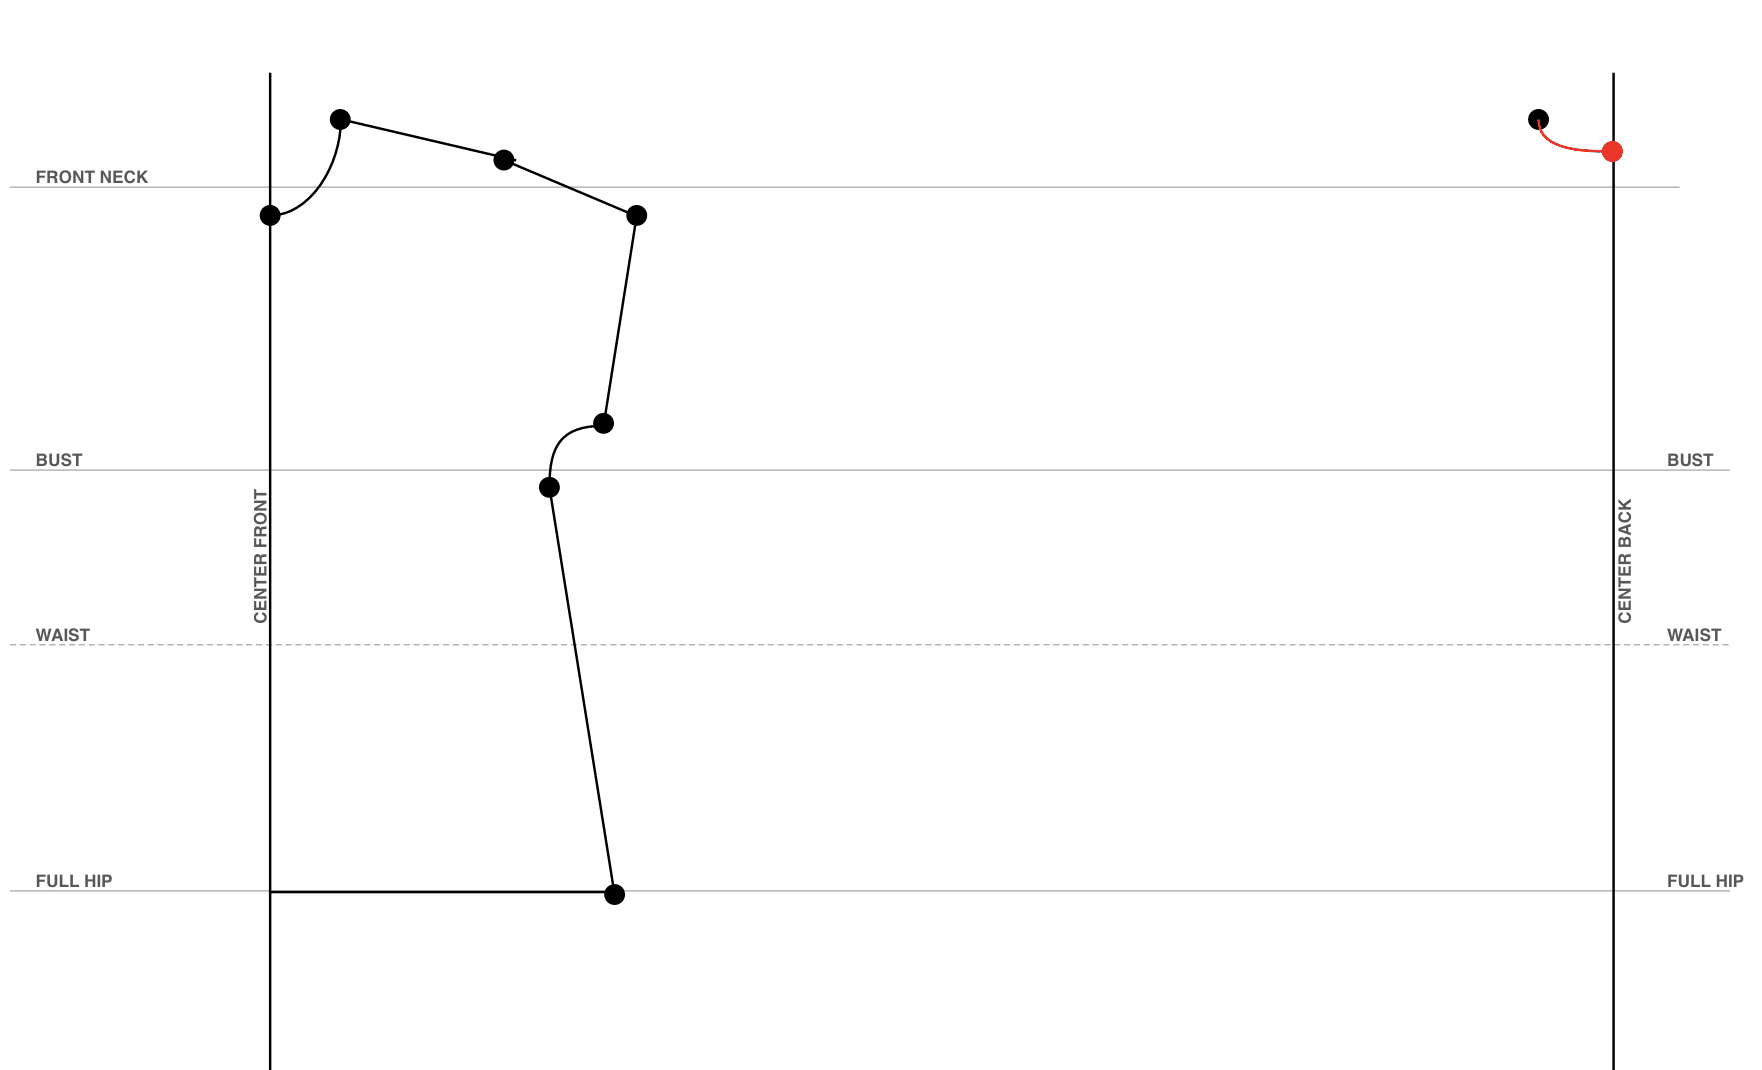
Draw the back center point 1 inch below the shoulder. Then connect the dots.
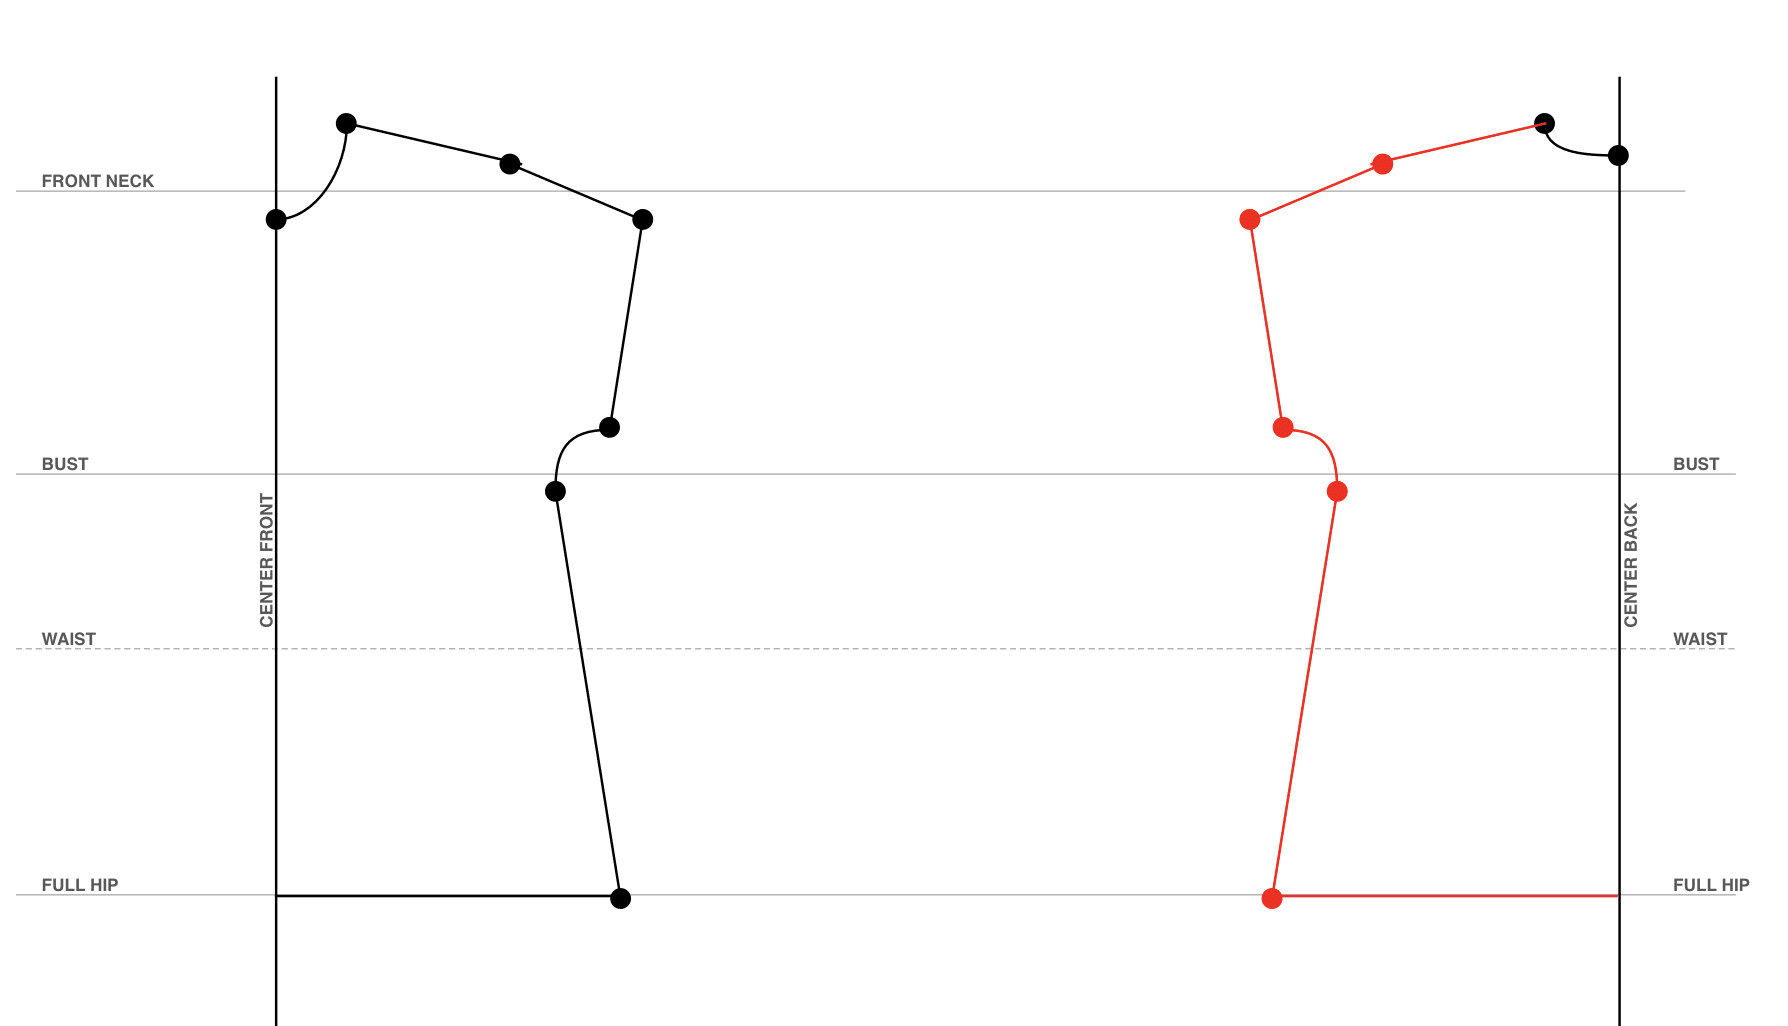
Copy the sleeve and side seam from the front of the T-shirt pattern.
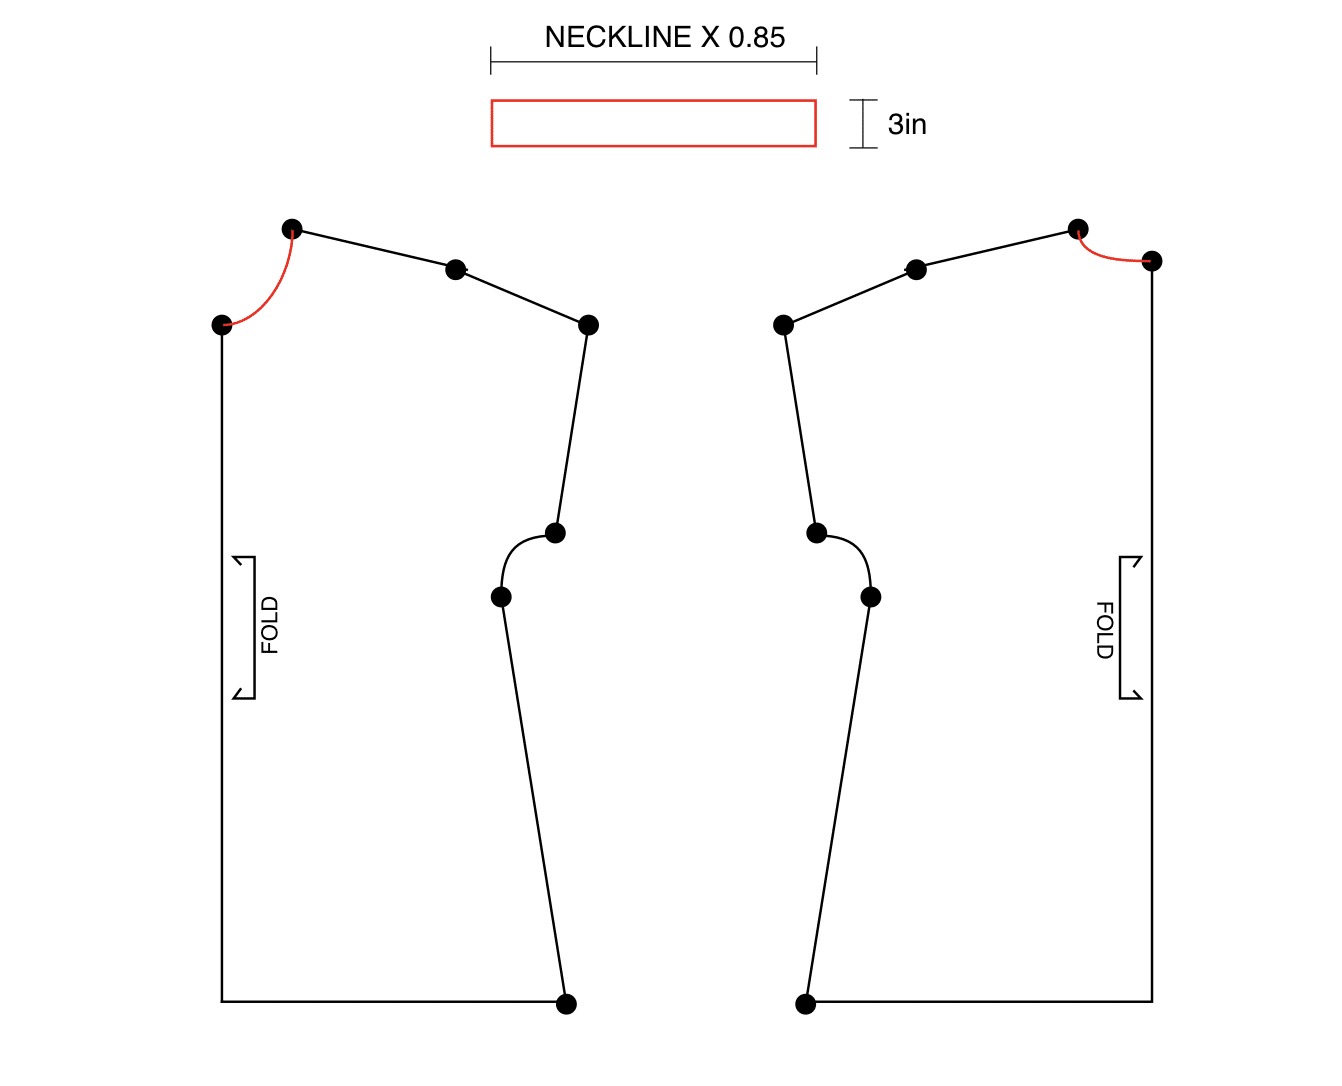
Measure the front and back necklines of you pattern. Create a neckband using that measurement. Then multiply it by 0.85 (round to the nearest 1/4 inch). The width of the neckband is 3 inches (and already includes the seam allowance)
Don’t forget to add seam allowance to your front and back pattern pieces!
When cutting the fabric, you will need to use a stretch knit. You always want to cut it with the stretch going across the body. The neckband needs to stretch along the length.
Step 1
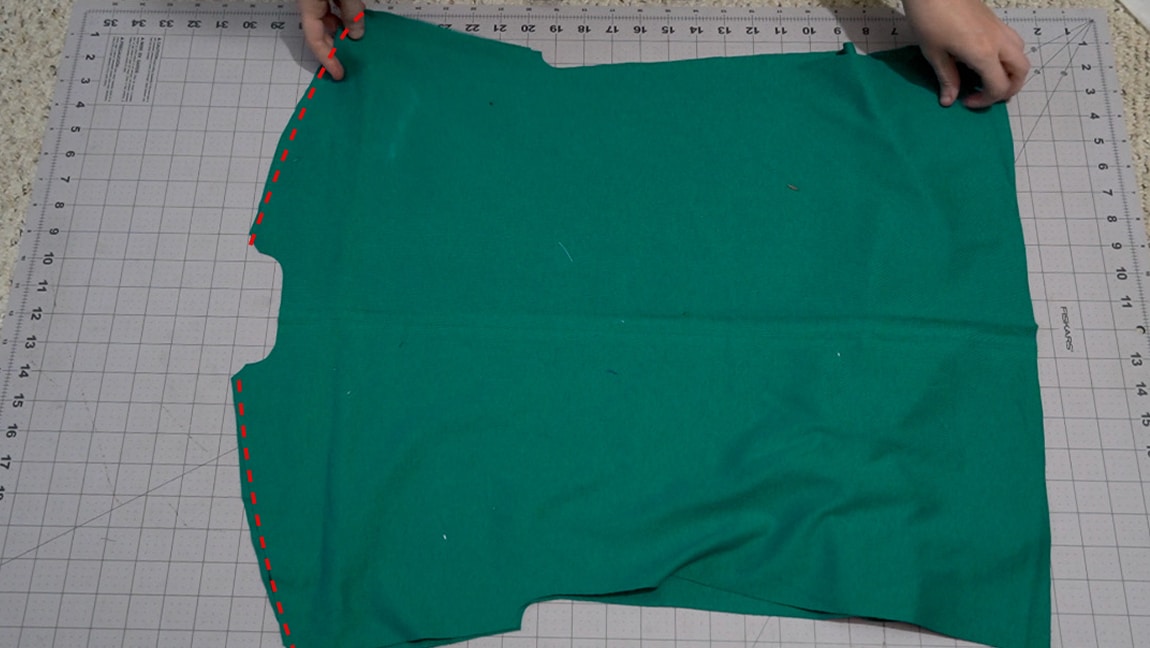
sew the shoulder seam
With right sides together, sew the front and back shoulder seams.
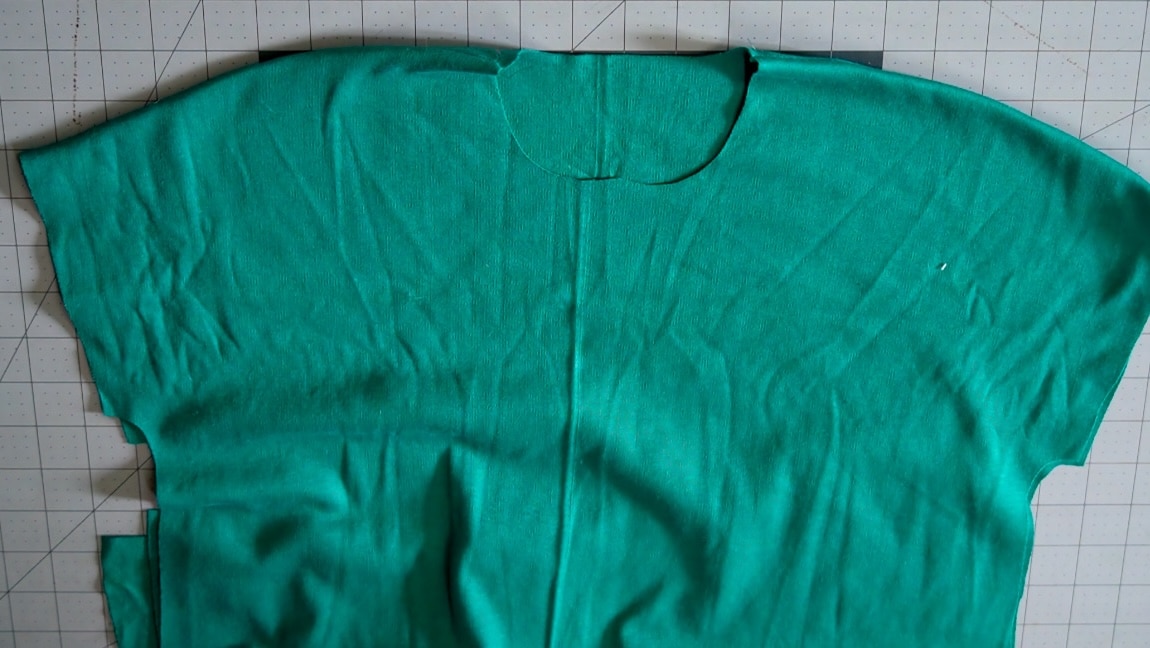
Step 2
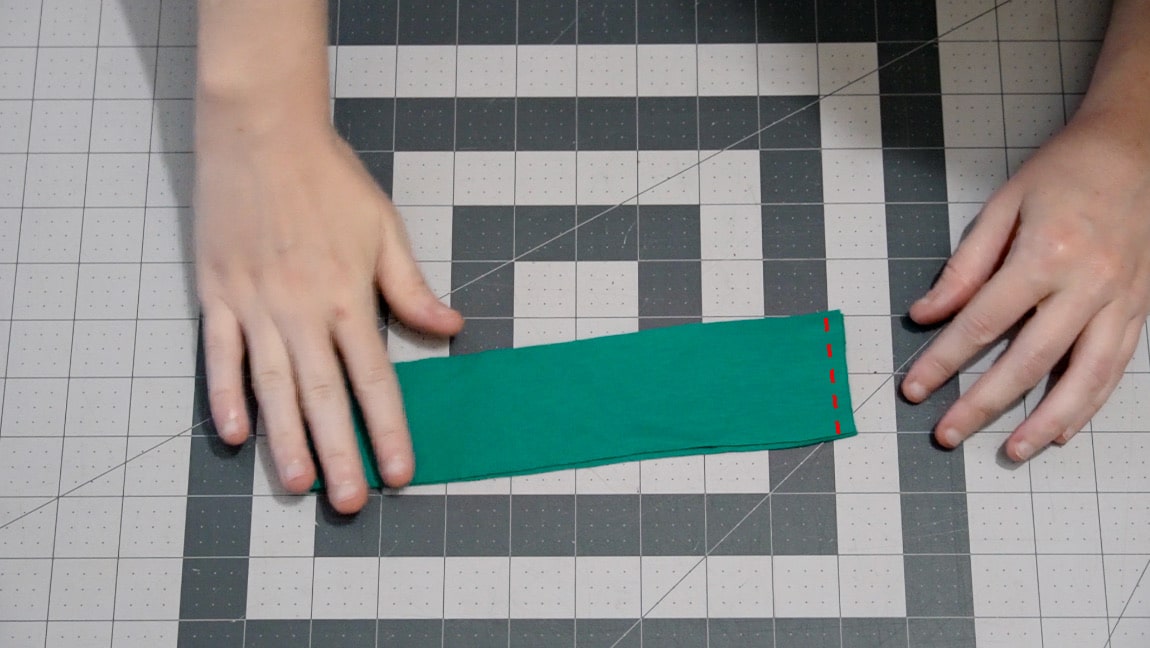
sew the neckband in half
Fold the neckband in half with right sides together, and sew the narrow edge to form a loop.
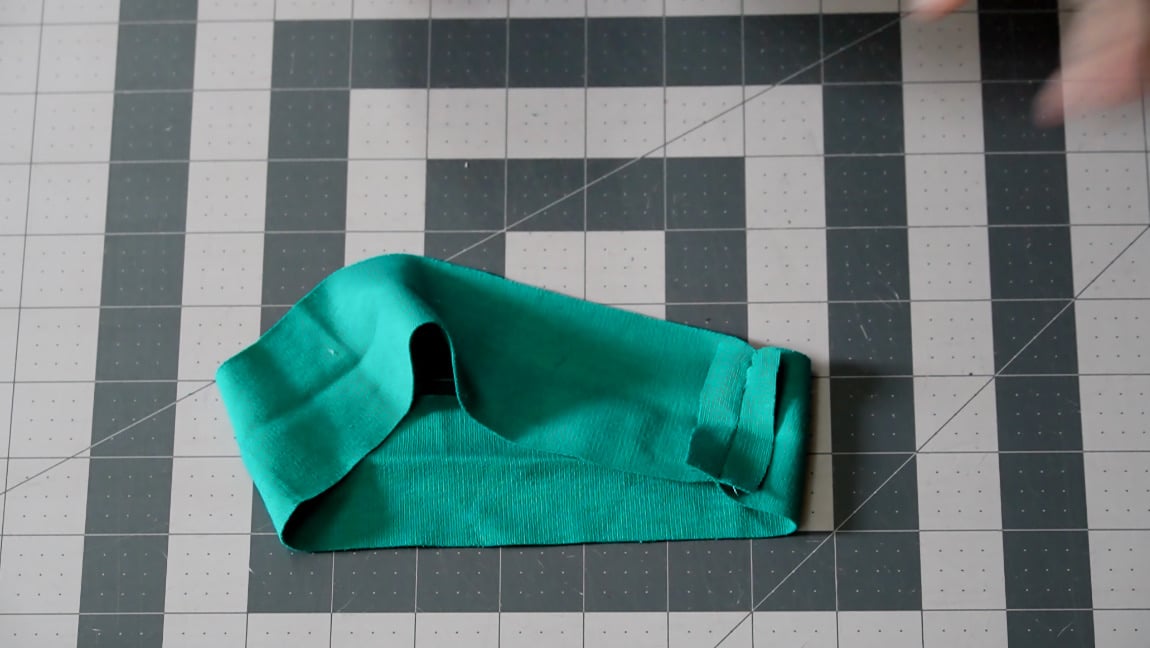
Step 3
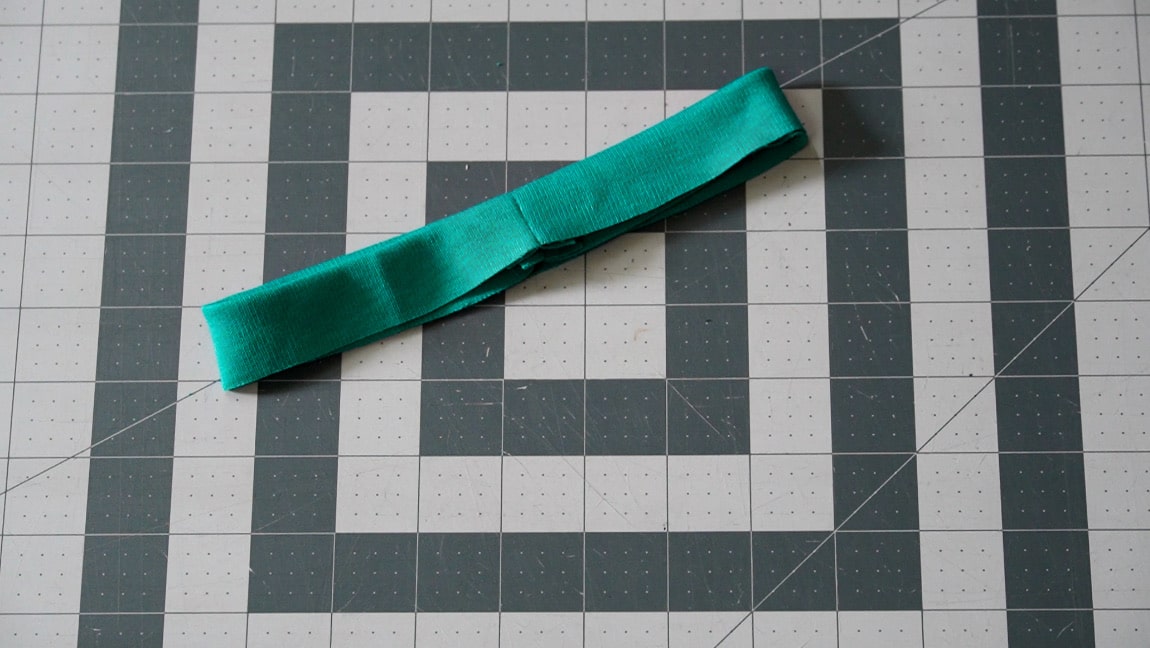
fold the neckband in half
Fold the neckband in half with wrong sides together.
Step 4
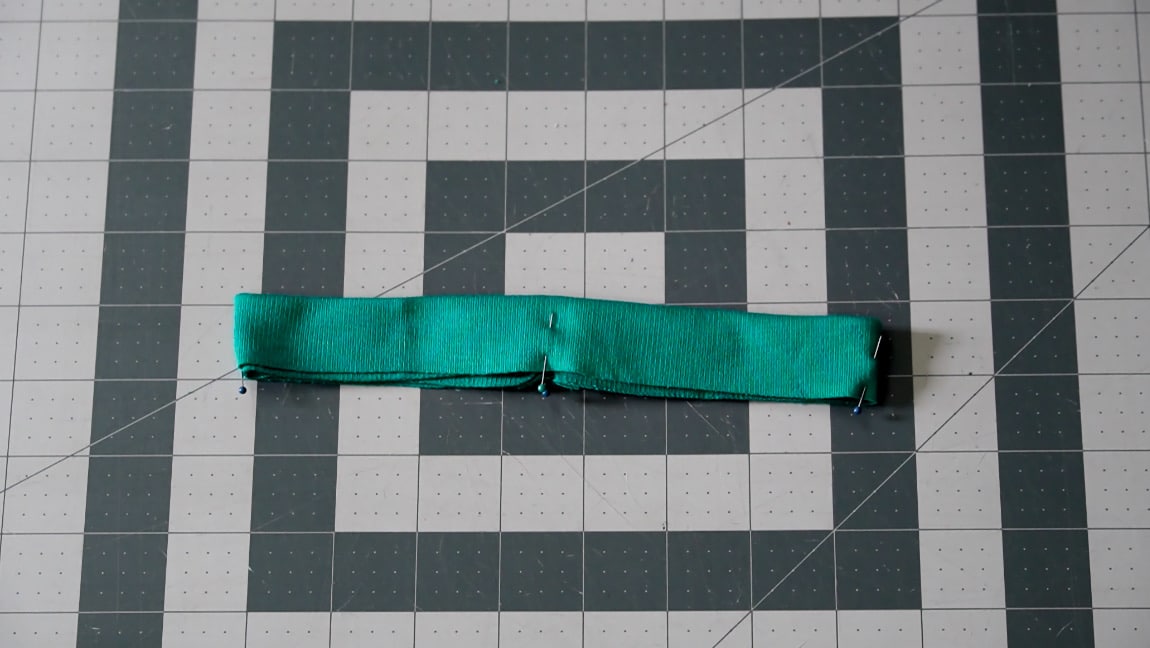
divide the neckband into 4 equal parts
Use pins to divide the neckband into four equal sections.
Step 5
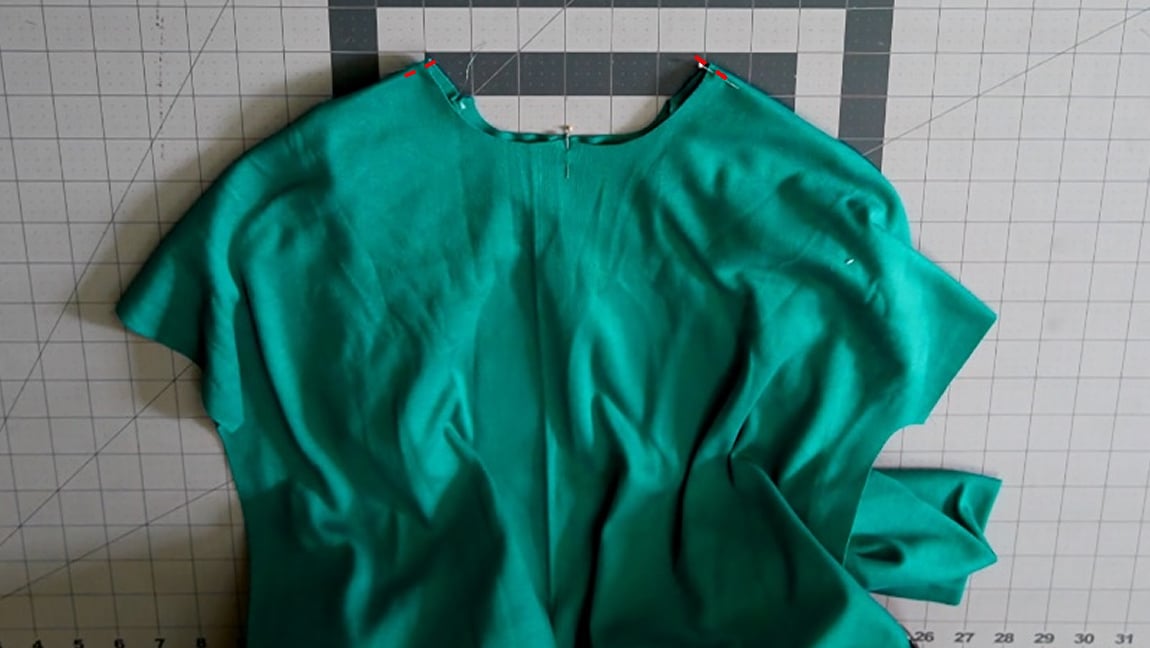
divide the neckline of the shirt into 4 equal parts
You also want to use pins to divide the neckline of the shirt into four equal sections. Use the center front and back for two pins. Then, line up the fabric to find where the center of the sides are. Because the front neckline is longer than the back, the pins should be slightly in front of the shoulder seam.
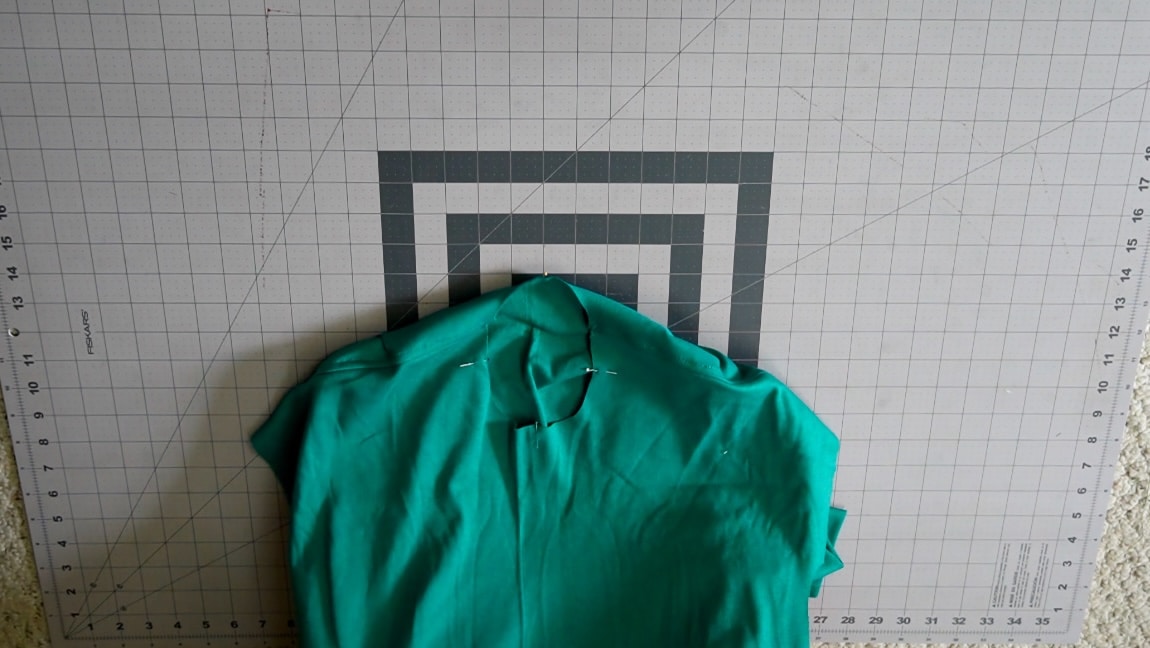
Step 6
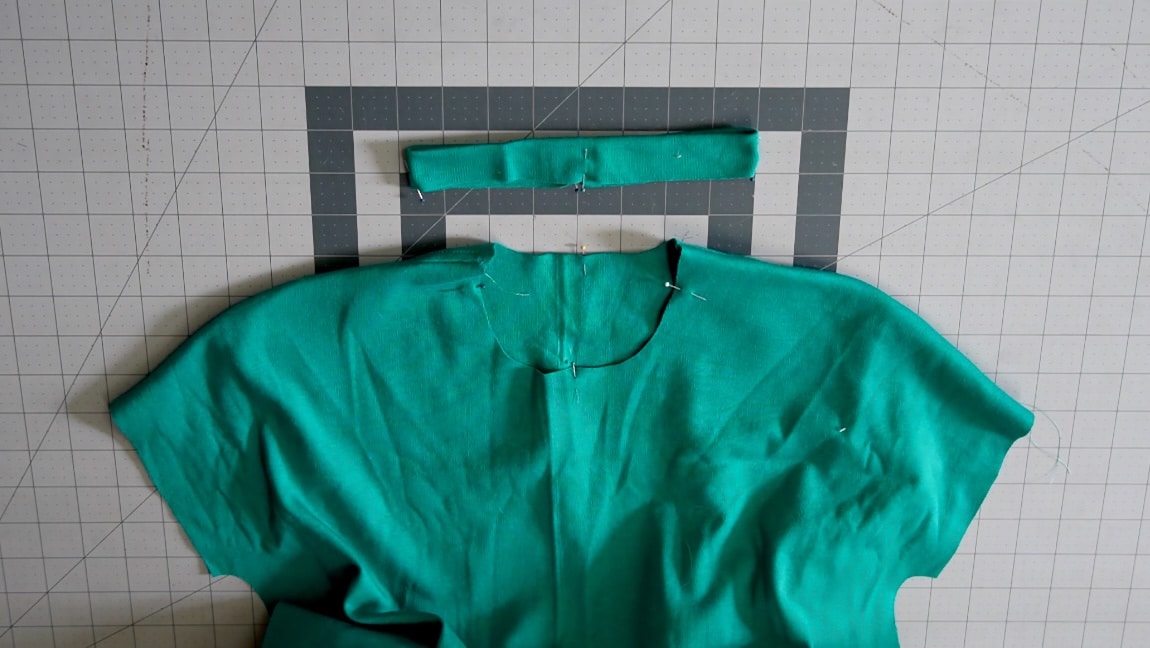
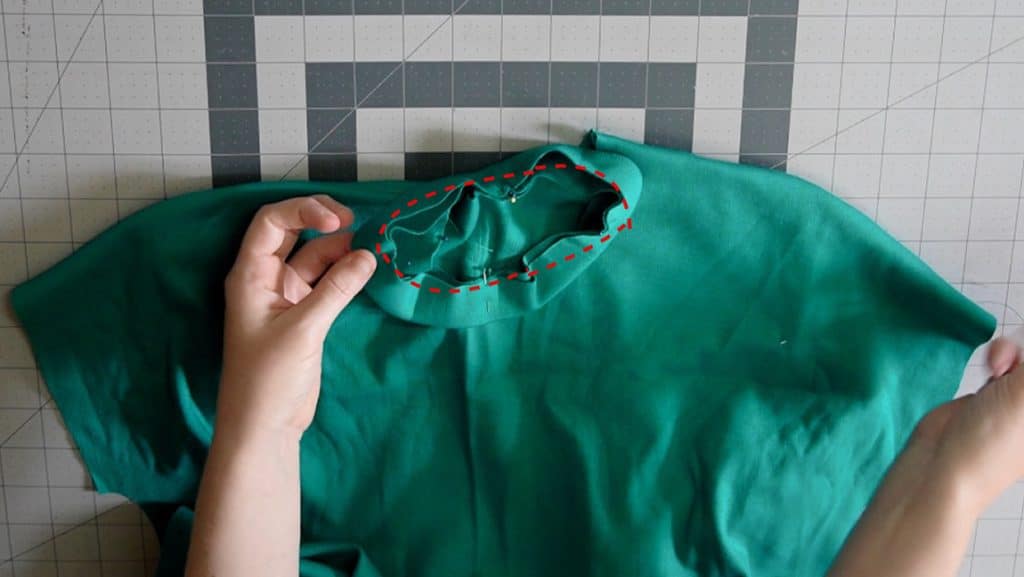
line up the pins on the neckband and shirt and sew, stretching the neckband
Line up the pins on the neckband and the shirt neckline. The band should be shorter than the shirt and you will need to stretch it a bit as you sew it. This helps to keep the neckband from sticking straight up, and instead stays snug against your neck.
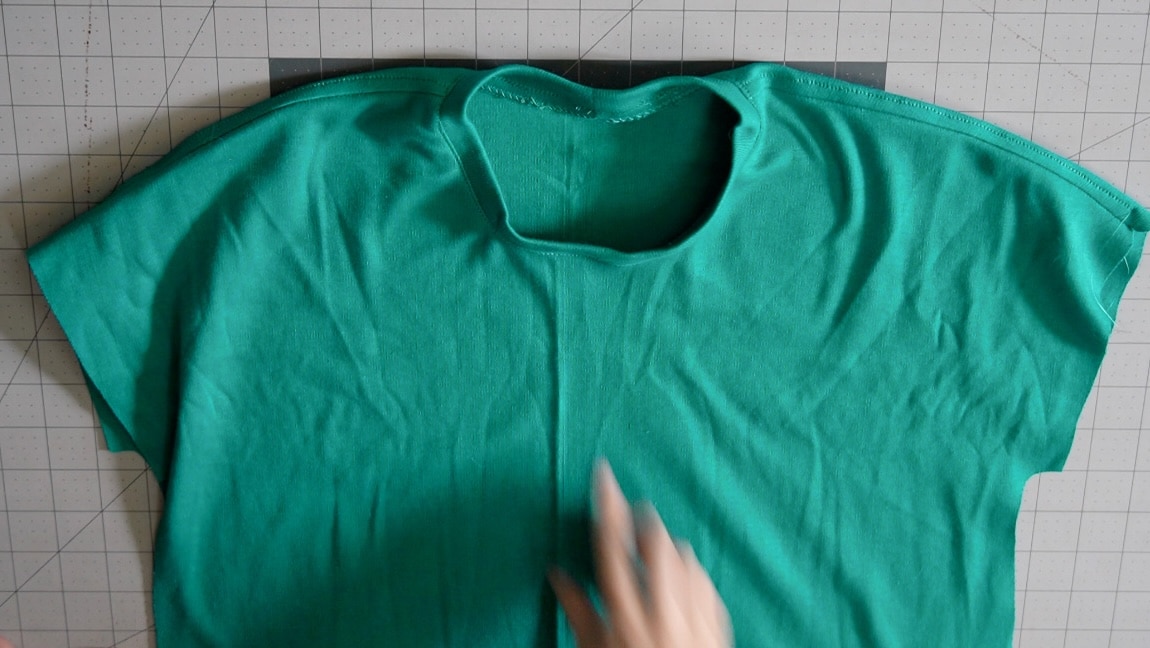
Step 7
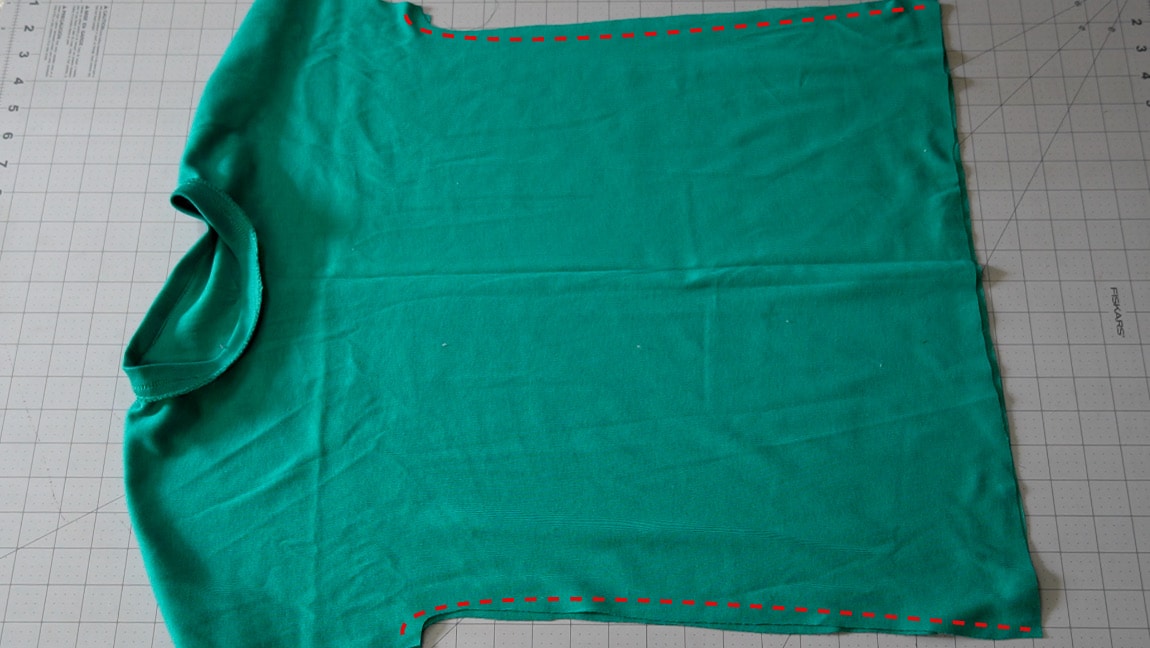
sew the side seams
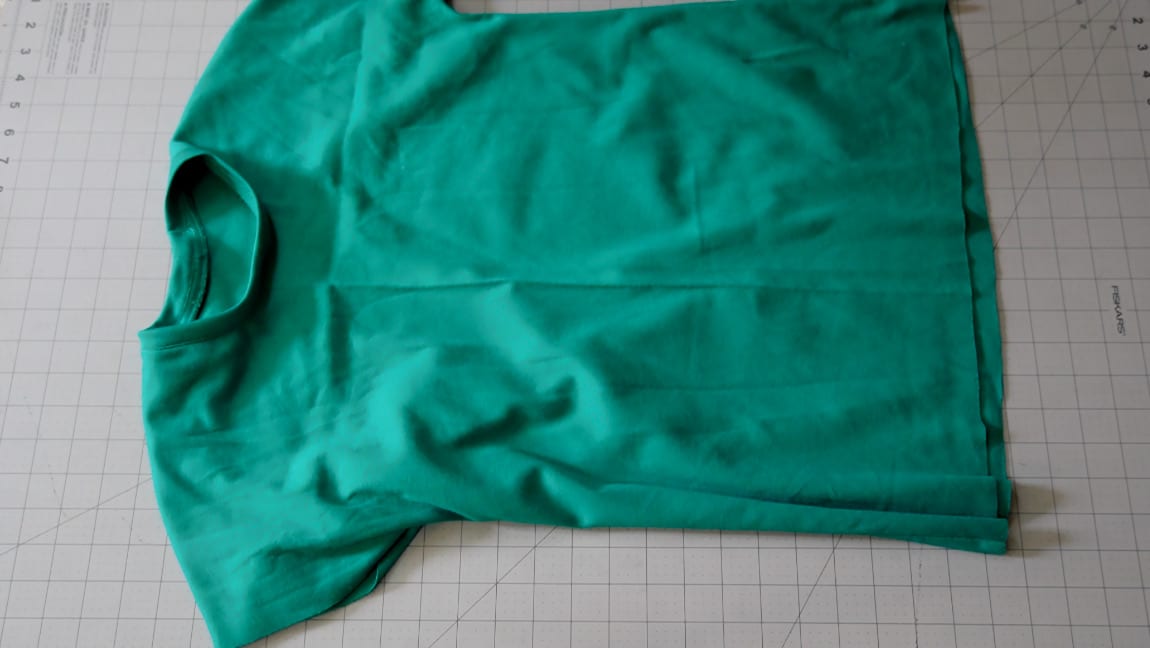
with right sides together, sew the front and back of the T-shirt along the sides.
Step 8
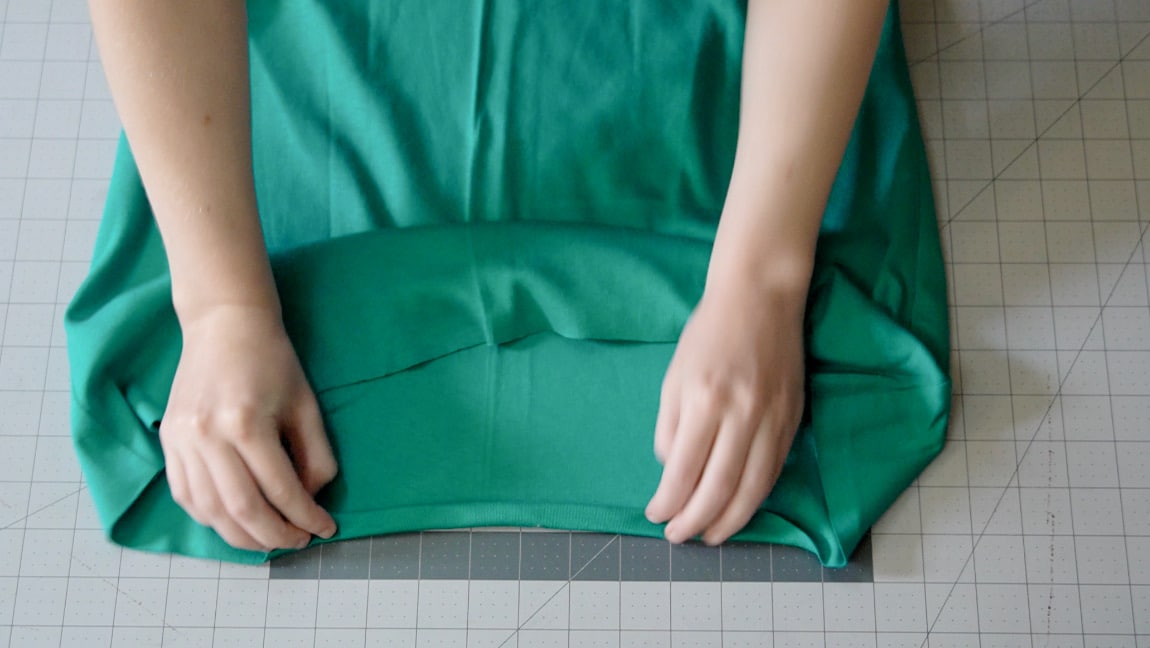
hem the bottom of the shirt and the bottom of the sleeves
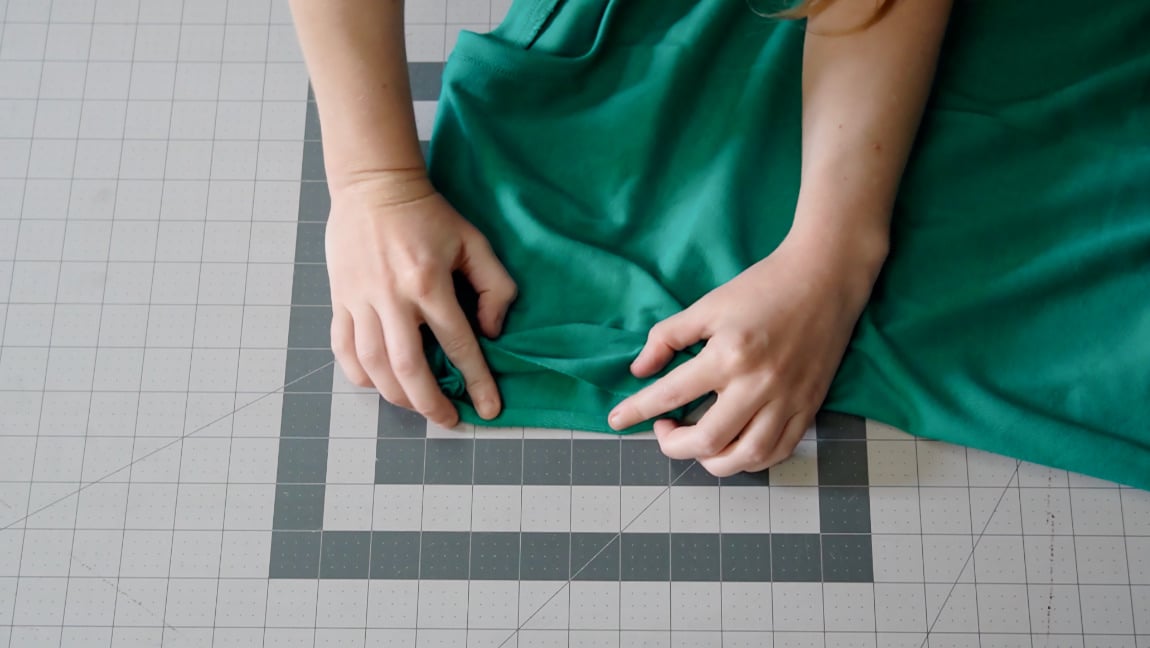
Hem the bottom of the T-shirt and the base of the sleeves. Since knit fabrics don’t fray the way woven fabrics do, you can sew a single turn hem if you want to.
Finished!