Tutorial: How to Make a Drawstring Bag With Scraps
Wondering what to do with all of those little scraps of fabric? Why not make a drawstring tote bag! It’s pretty simple and it’s great for using up small bits of fabric. I’m also including a pattern and instructions for adding a zipper pocket to the front of your tote bag.
This page contains affiliate links. As an Amazon Associate, I earn a small commission from qualifying purchases. That being said, I encourage you to use your local sewing shop whenever possible, or to look for supplies second hand.
Supplies Needed:
Pattern includes:
(all of my patterns include 1/2″ seam allowance)

Step 1
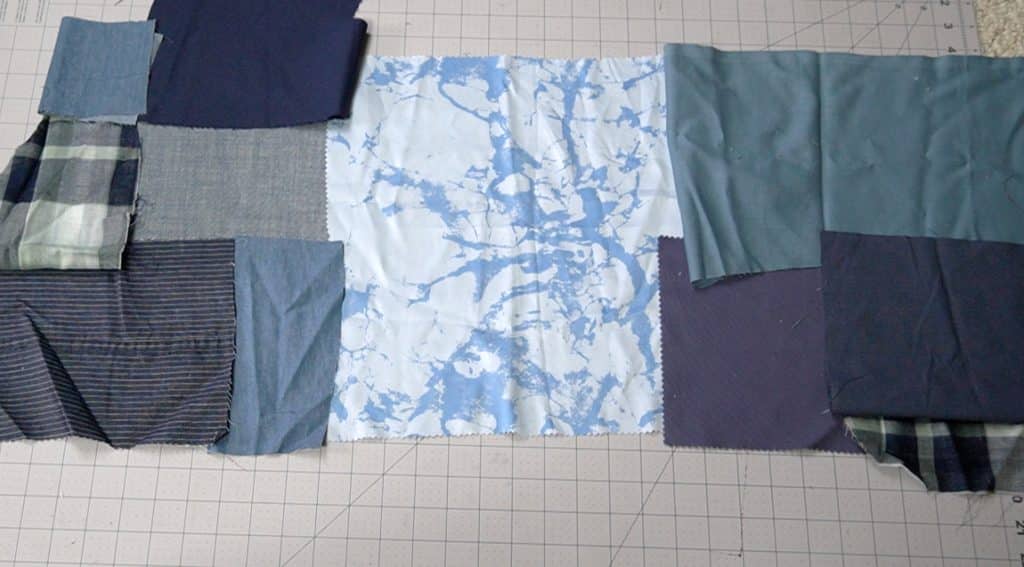
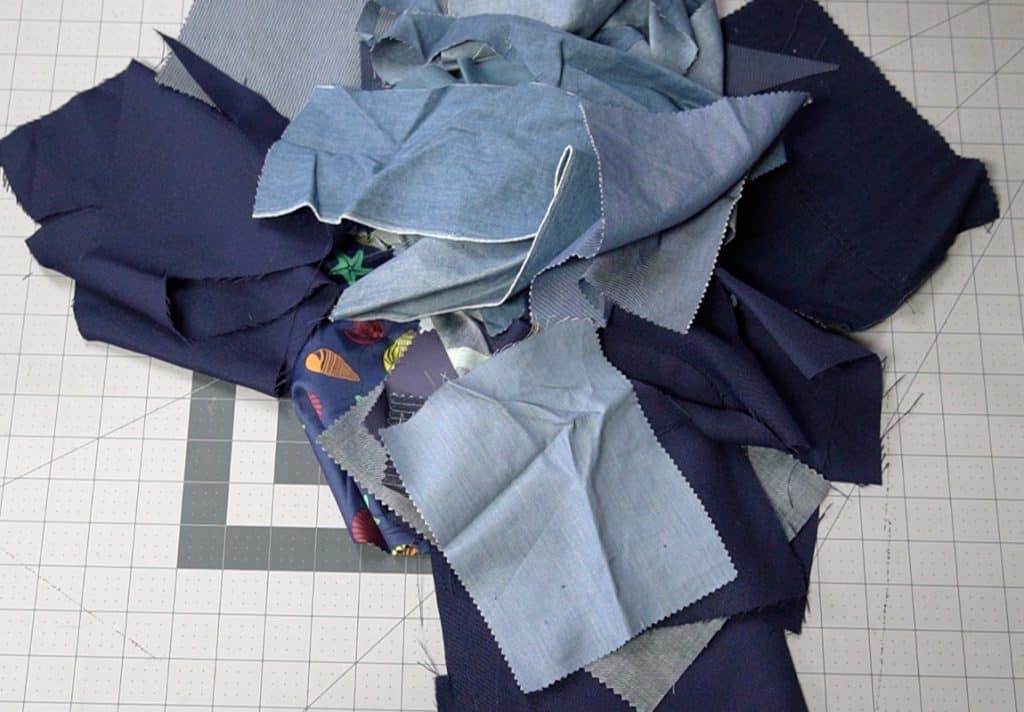
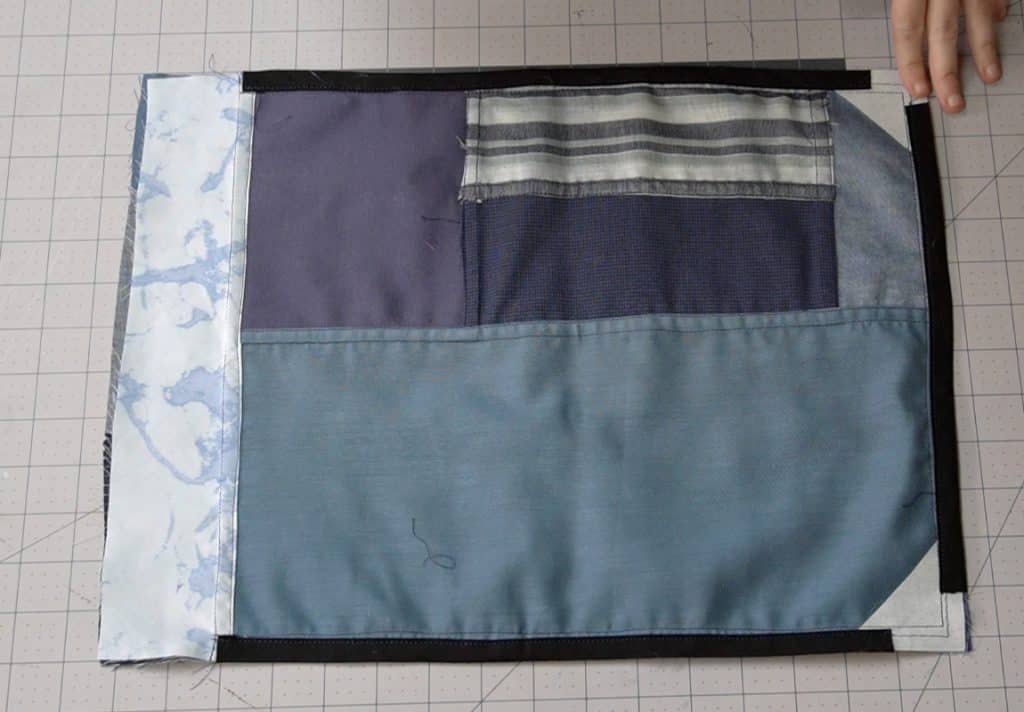
arrange your scraps
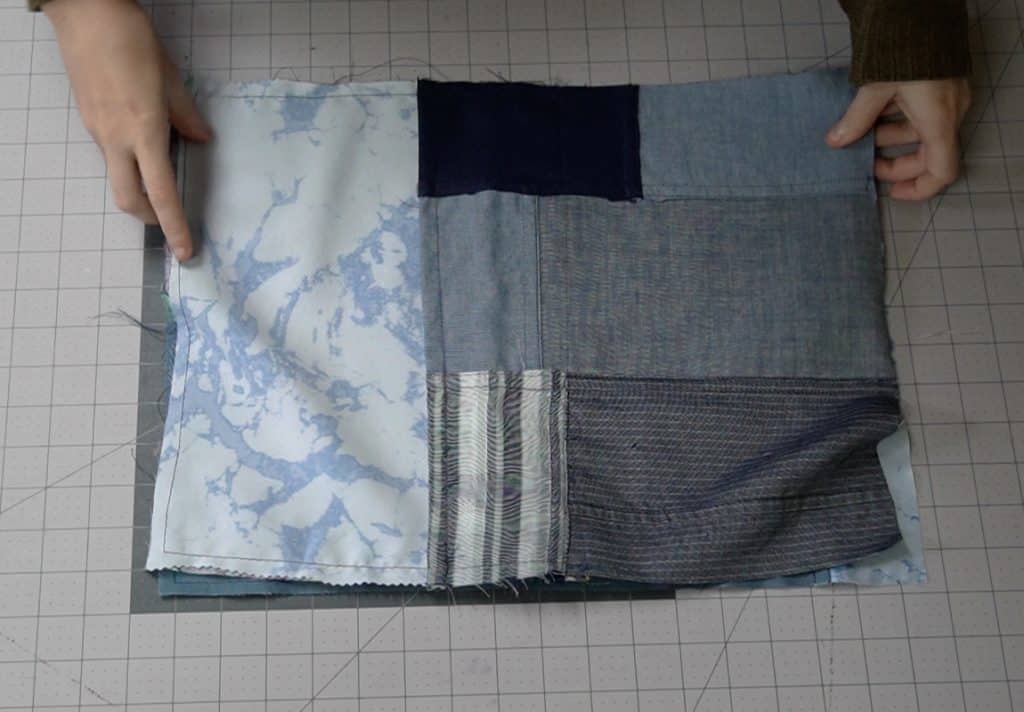
Collect fabric scraps from your recent sewing projects. Start playing around with the scraps and lay them out in a way that is aesthetically pleasing to you. The overall shape of the scrap layout doesn’t matter right now, but it should be big enough for your bag pattern to to fit on top of twice (for the front and back of the bag)
Once you’re satisfied with the scrap layout, cut straight edges on all of your fabric pieces where they will be sewn together. When cutting, be sure to keep in mind that there will be some overlap of the pieces due to seam allowance.
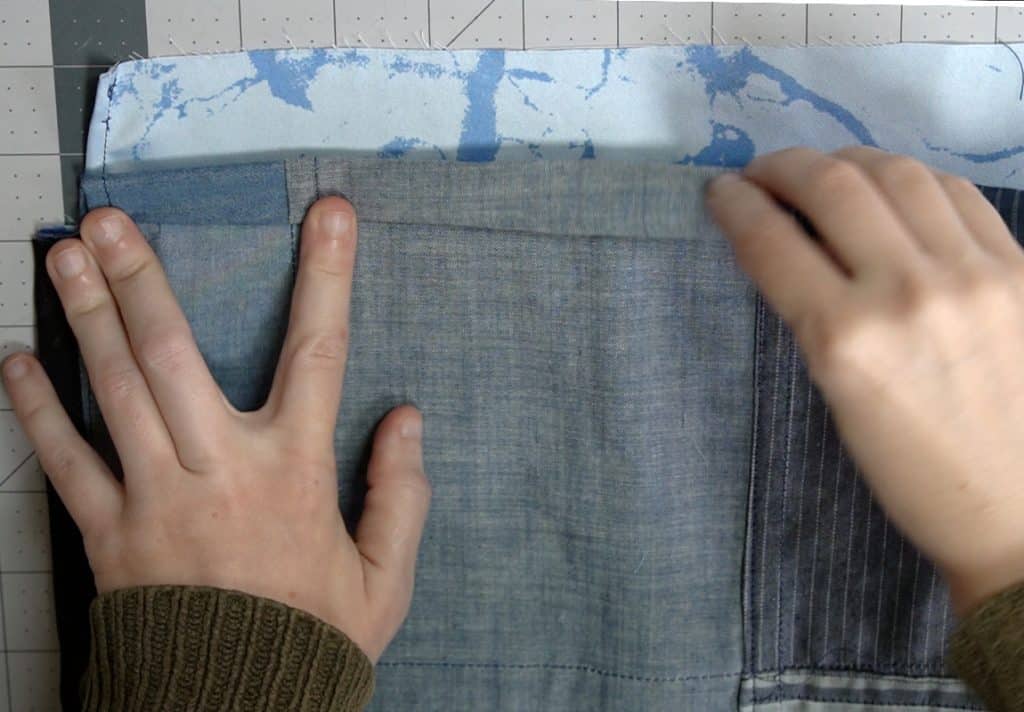
Step 2
sew your scraps together
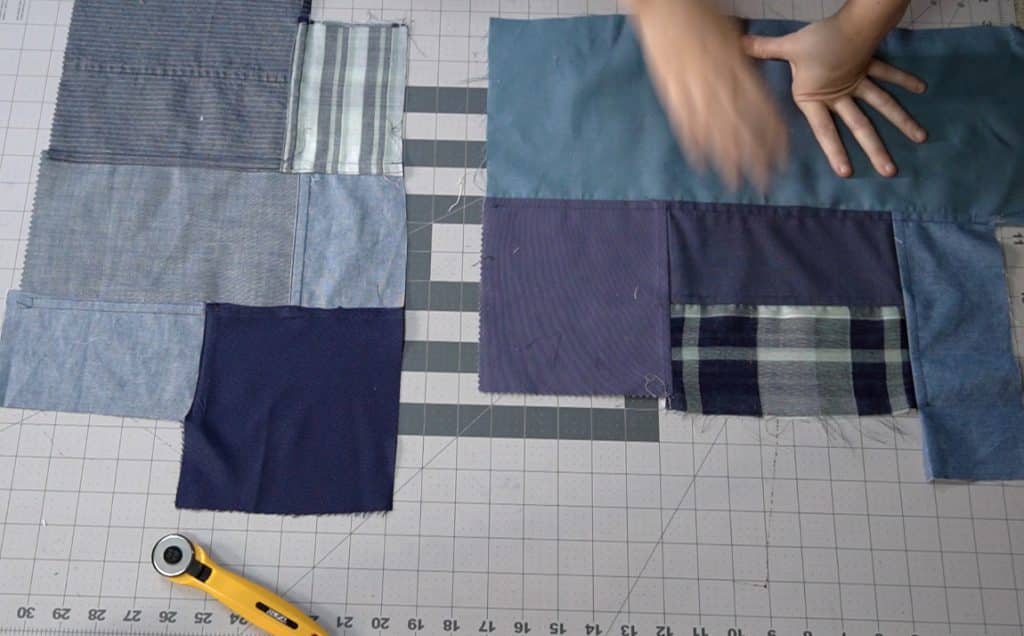
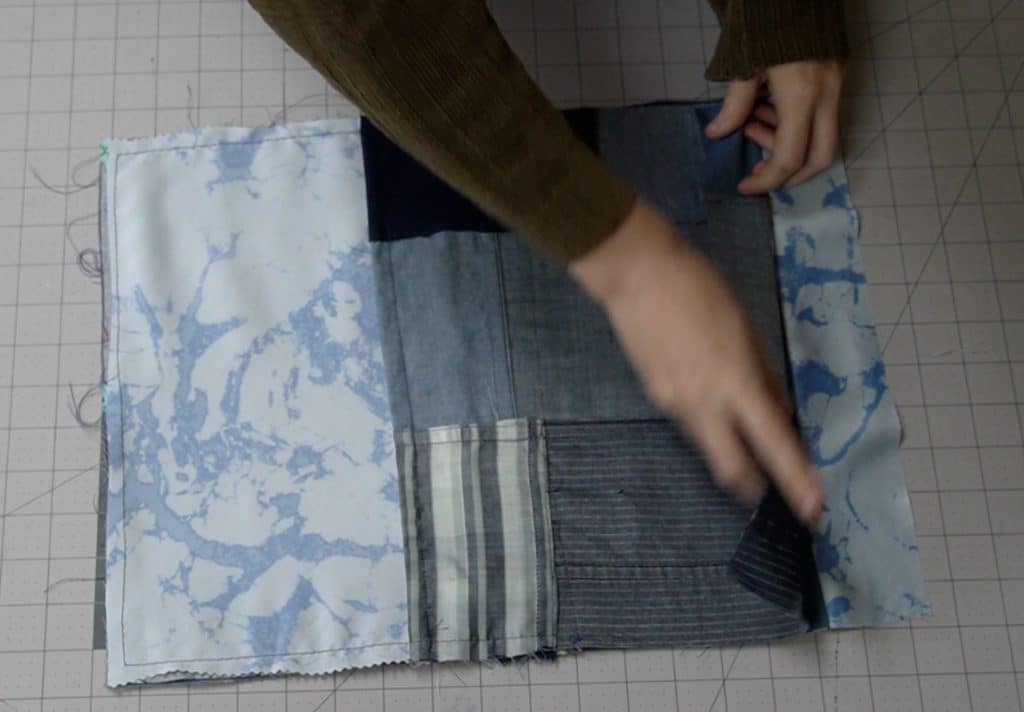
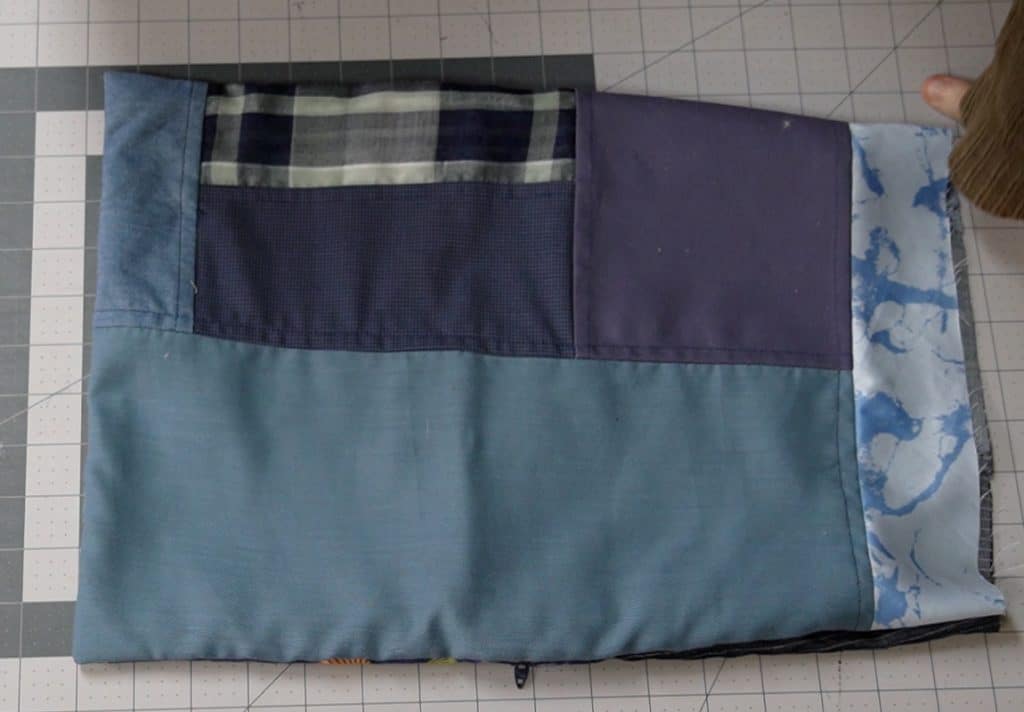
One by one sew your scrap pieces together. I usually start with smaller pieces and then add on the larger pieces.
I also recommend using a fairly sturdy seam allowance, such as felled seams or french seams. This is because each of these seams can be a weak point for the bag as a whole, so using sturdy seam finishes will help you bag last longer even if you use it a lot.

Step 3

cut out the bag front and back
place your pattern on top of the scrap layout and cut out the bag piece twice so that your tote has a front and a back.
Step 4
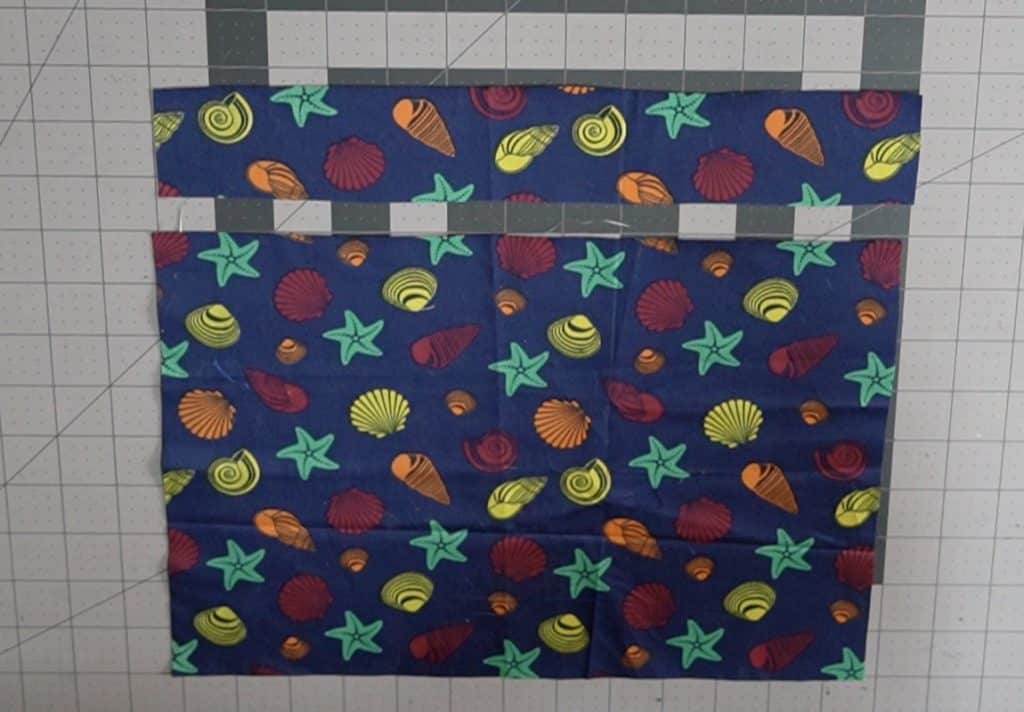
cut out the pocket top and bottom
You can use the same process as above for the zipper pocket, or if you have any remnants big enough (like me), you can just cut out the pocket pieces as usual.
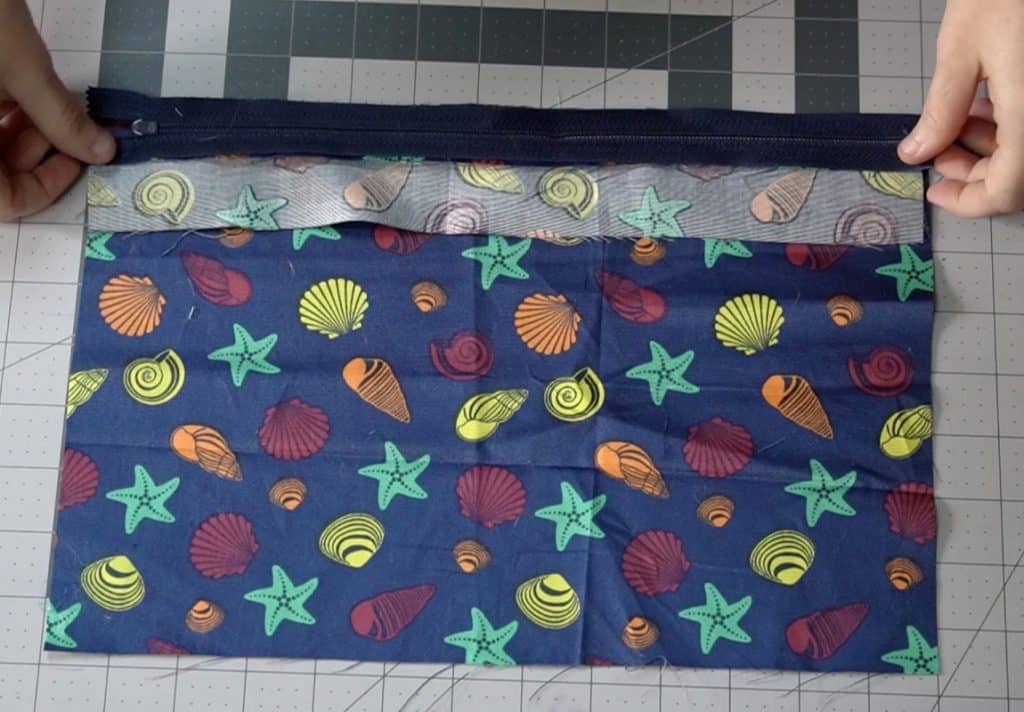
Step 5

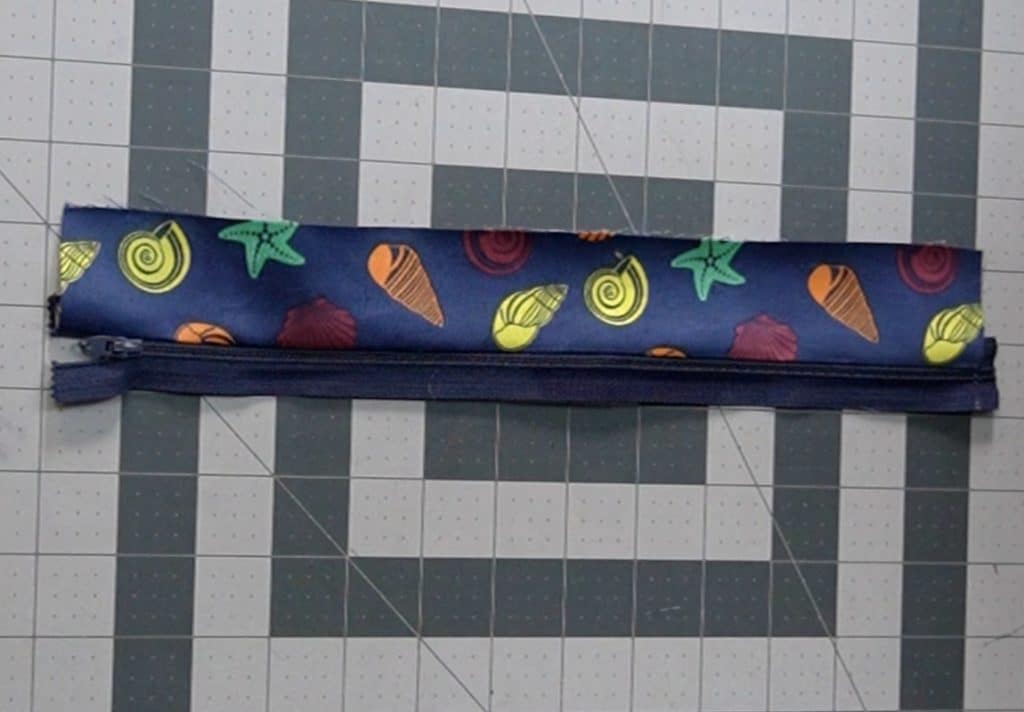
place zipper face down on the pocket top and sew along the edge
After sewing press the fabric away from the zipper teeth.
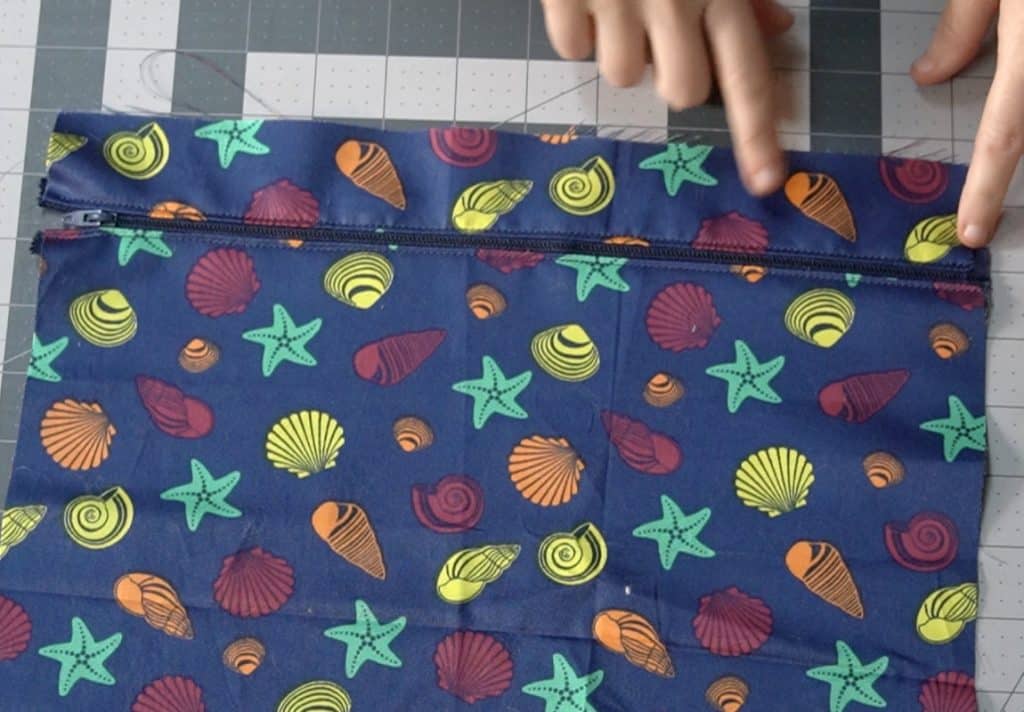
Step 6
place zipper face down on the bottom pocket and sew along the edge
After sewing press the fabric away from the zipper teeth.
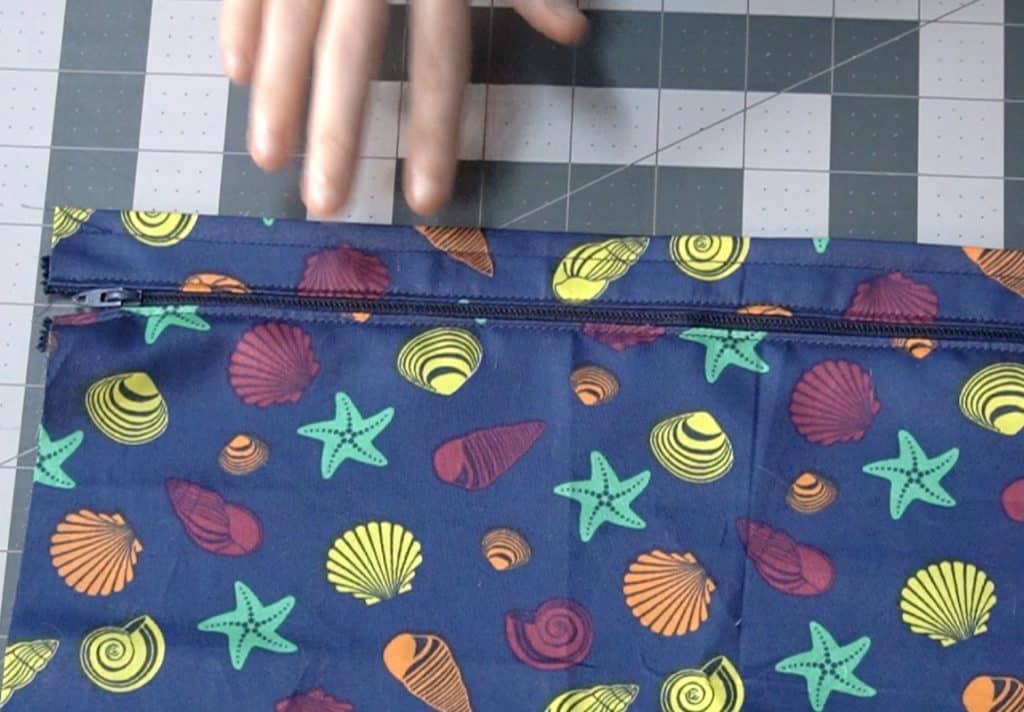
Optional: edgestitch above and below the zipper teeth
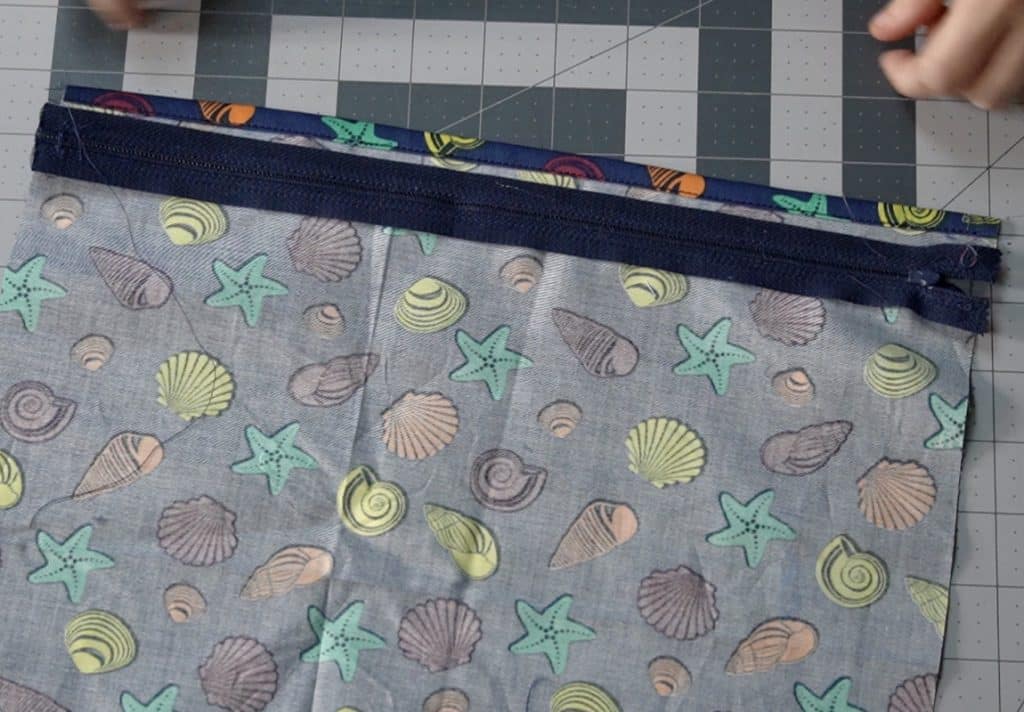
Step 7
hem the upper edge of the top pocket
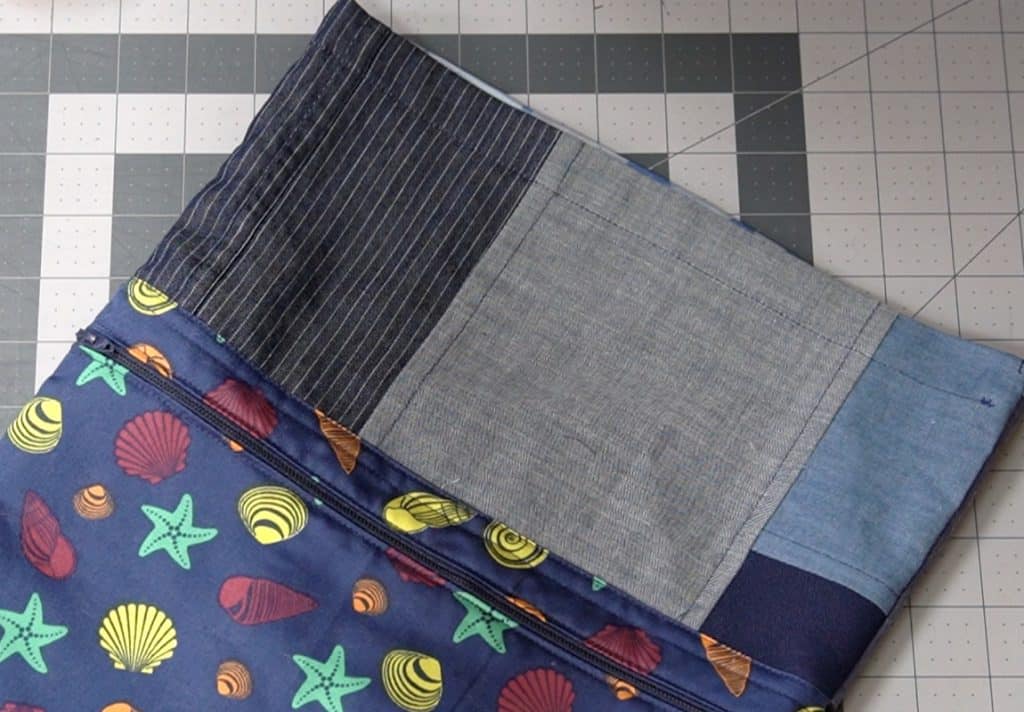
Step 8

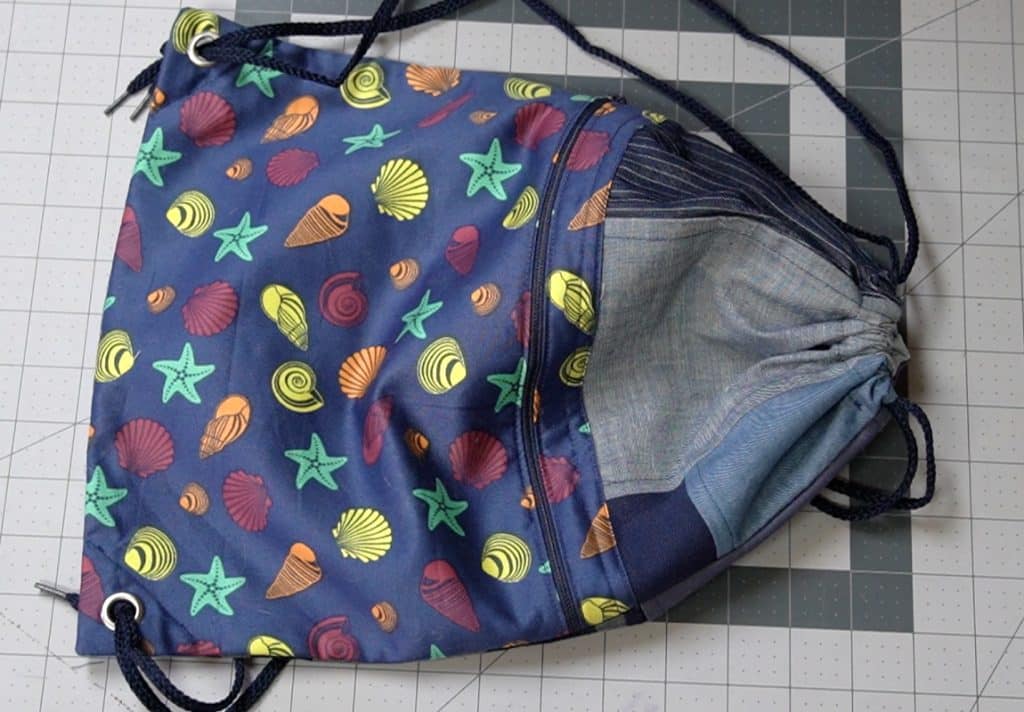
Sew the pocket onto the front bag piece
Step 9
apply interfacing to the bottom corners of the back bag piece
Cut two small triangles of interfacing (what ever medium to heavy interfacing you have on hand), and fuse or baste it to the bottom of the back bag.
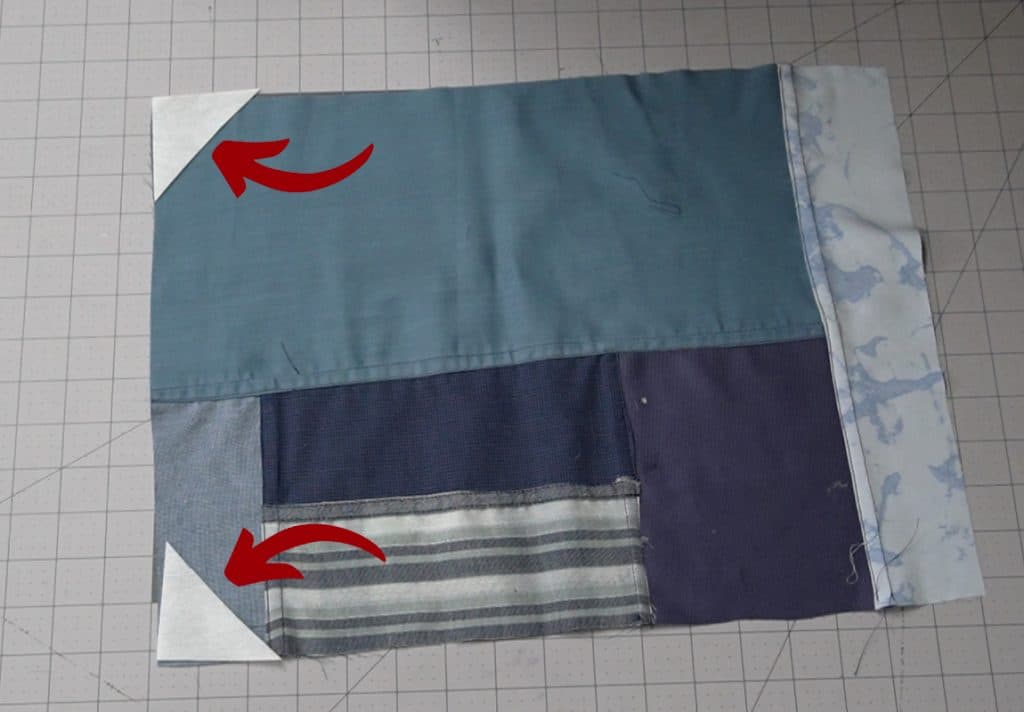
Step 10
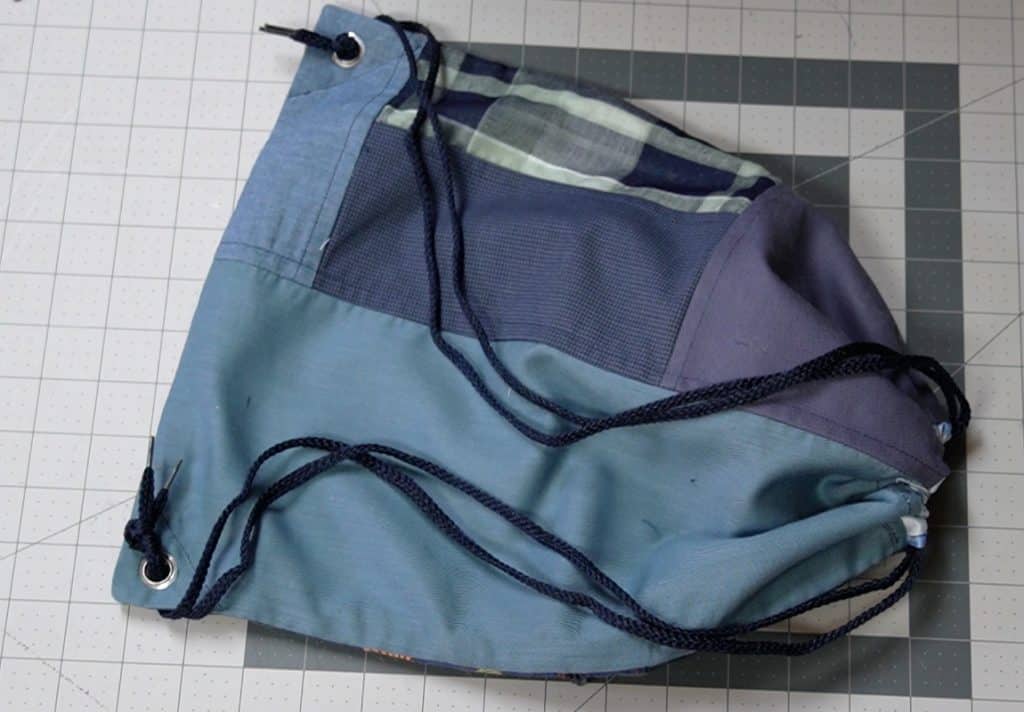
sew the front and back of the bag together
Leave 2 inches of space at the top of the bag un-sewn on each side. This will be used for the drawstring casing in a bit.
Step 11
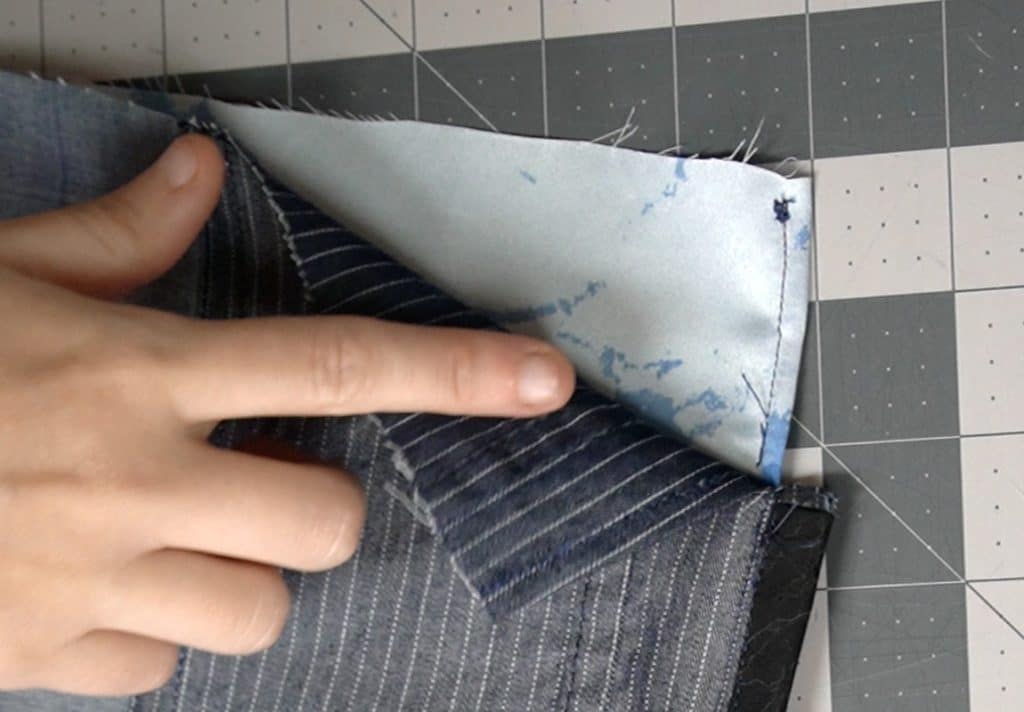
finish seams and turn to right side
You can finish your seams however you like, but since this bag might get some heavy use, I decided to use double fold bias tape for a seam binding. This will make the bag construction more sturdy overall. You don’t have to finish all the way to the corner, since you want to clip the corners before turning the bag to the right side.
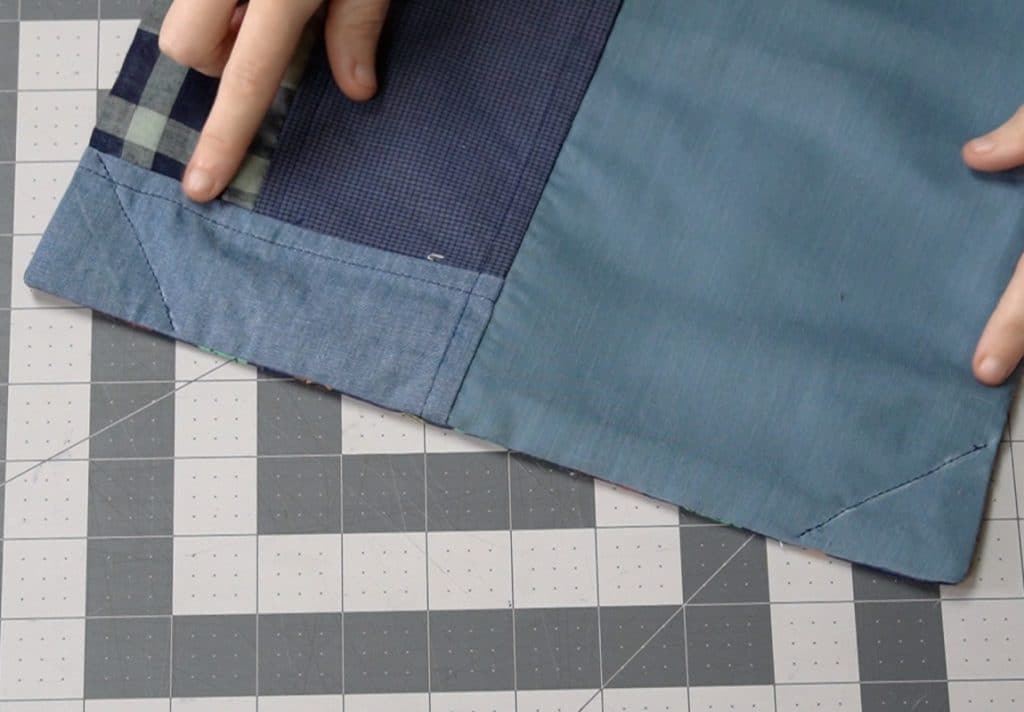
Step 12
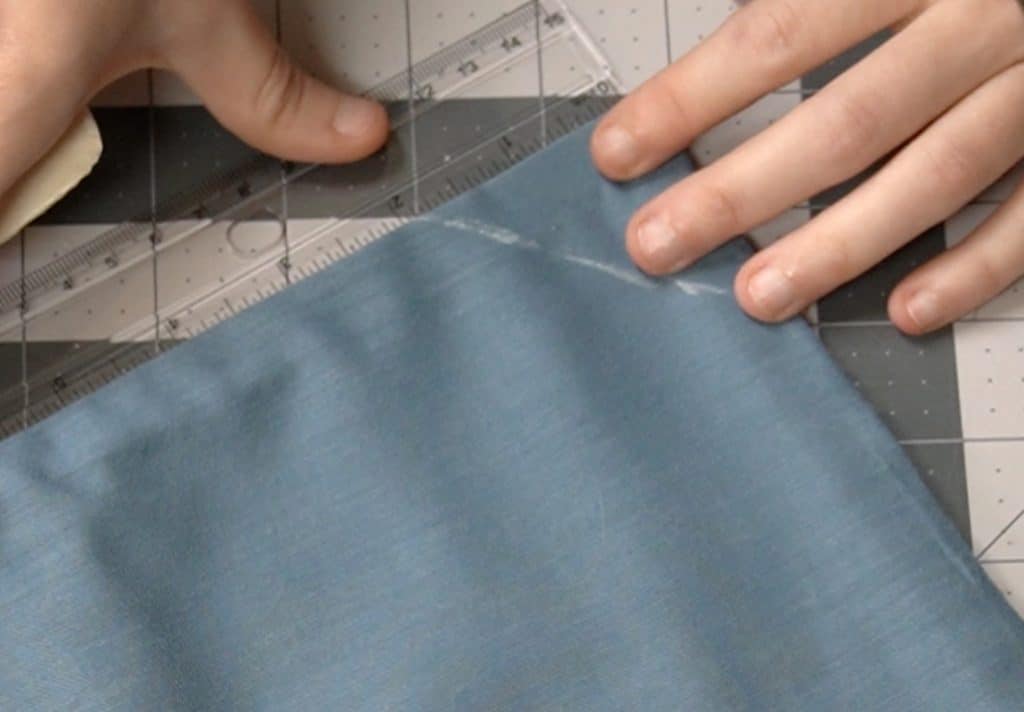
sew a triangle on the bottom corners
Make a line connecting the points that are 2 inches in from the corners and sew them.
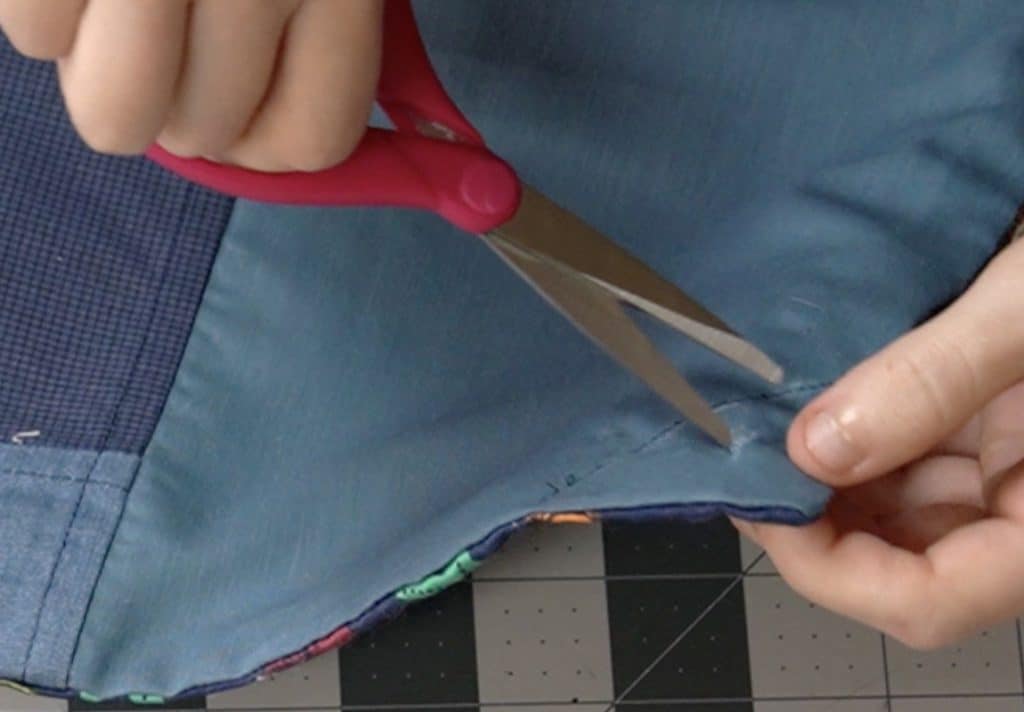
Step 13
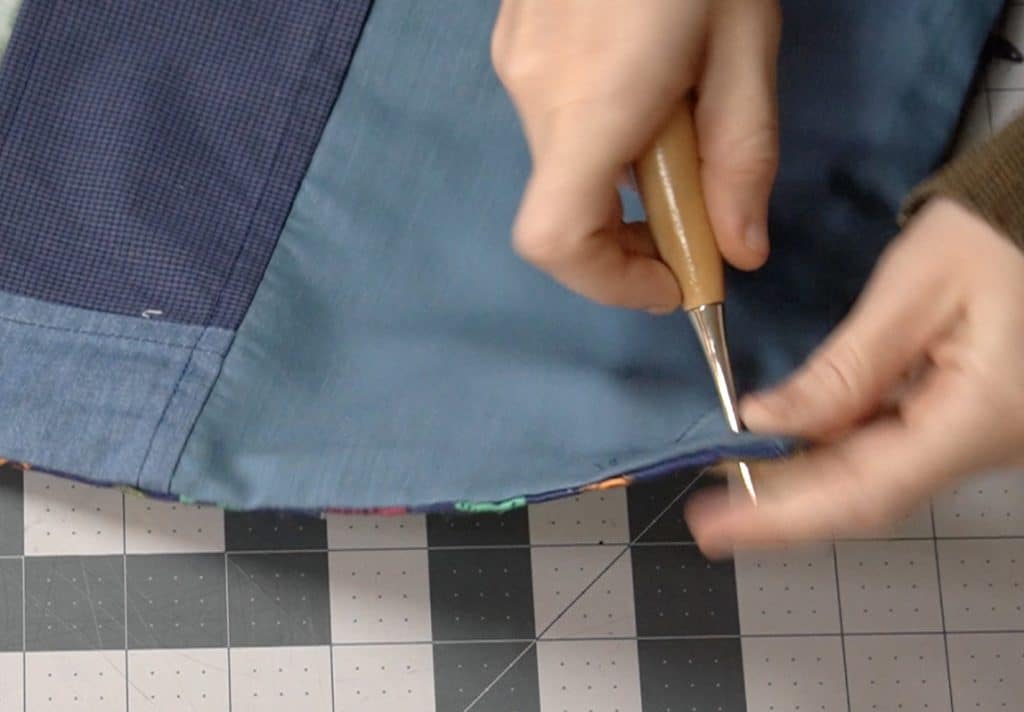
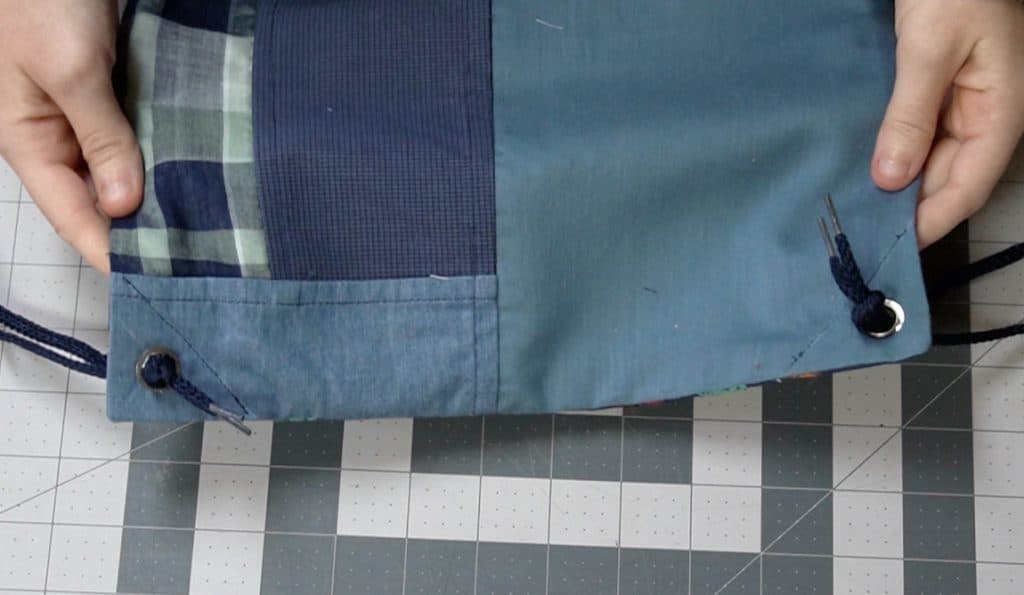
Poke a hole in the bag within the triangle section
I start by using an awl to poke a hole, and then use small scissors to enlarge the whole a little bit.
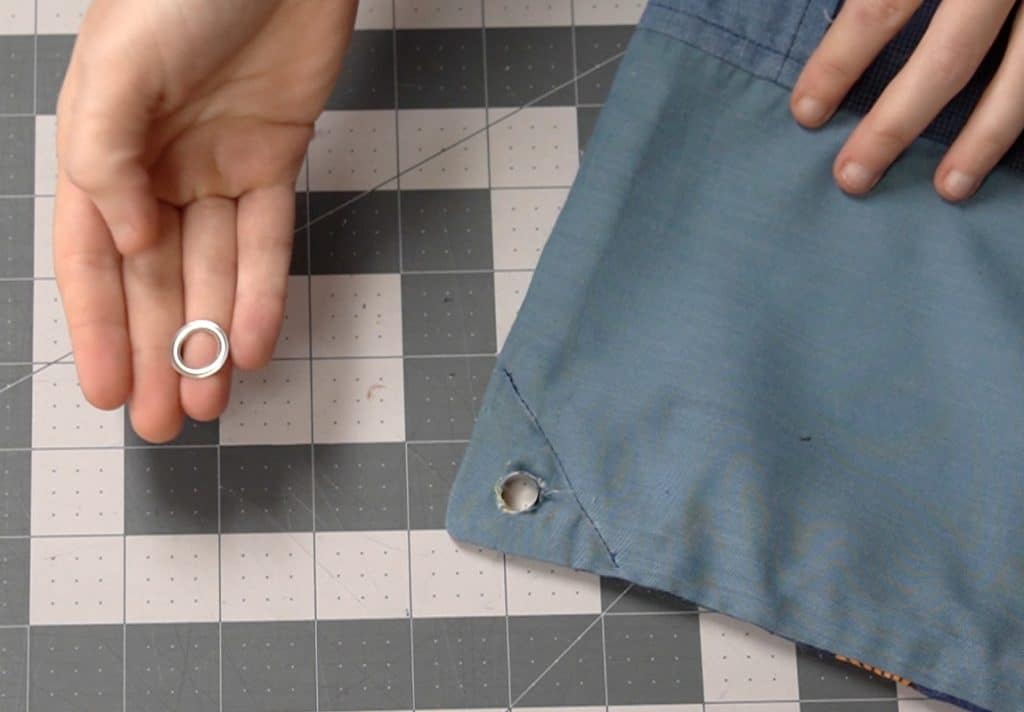
Step 14
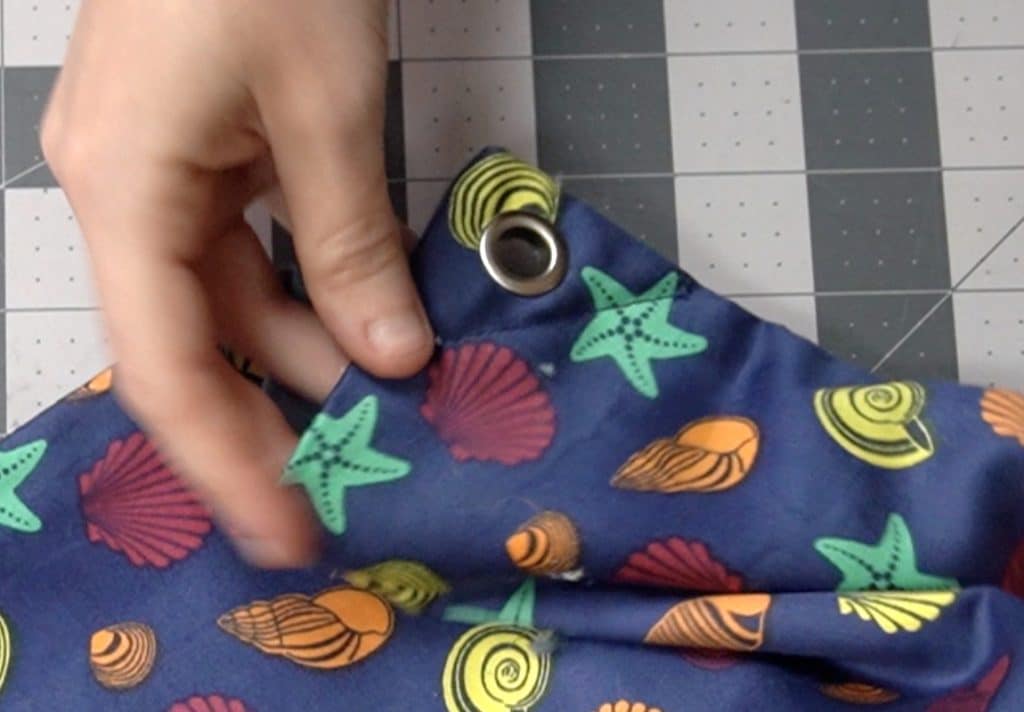
insert a grommet into each hole
Grommets are made with two pieces, the front and the little flat washer piece. Insert the front through the hole, and then place the washer on the back and press the two together.
There are many ways of doing this, but I prefer to use a grommet presser (pictured below). It doesn’t require as much grip strength as other methods that I’ve tried.

Step 15
hem the edges at the top of the bag
Make a narrow hem with the un-sewn edges at the top of the bag.
Step 16
fold over the top to create a casing
On the inside, fold the fabric over to create a tunnel that you can put the string through on both sides of the bag.
Step 17
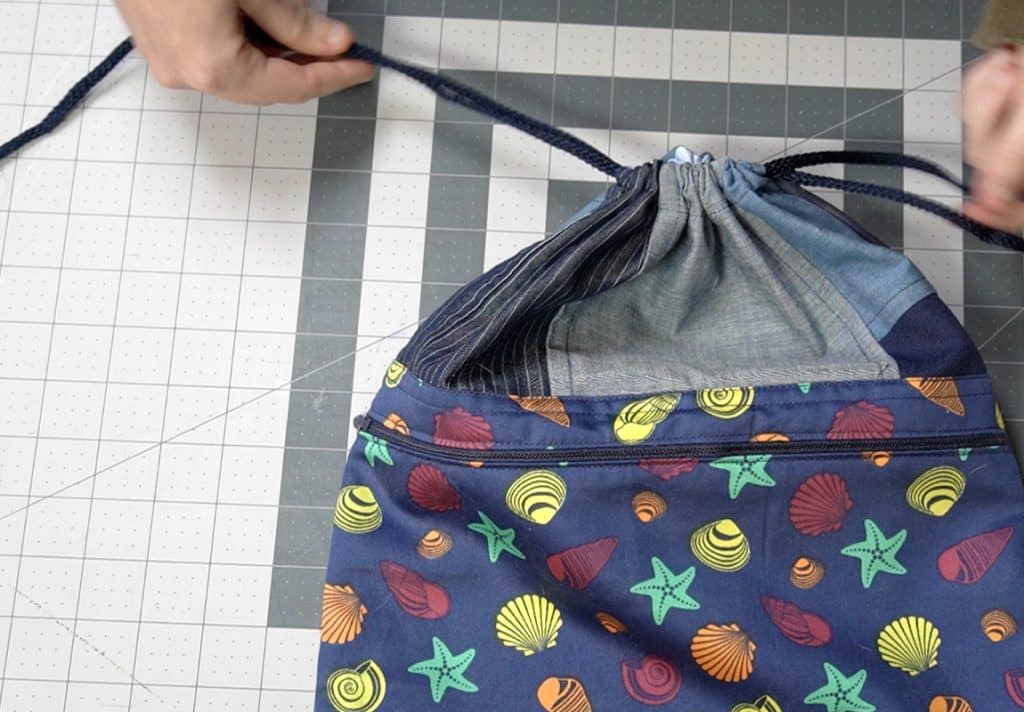
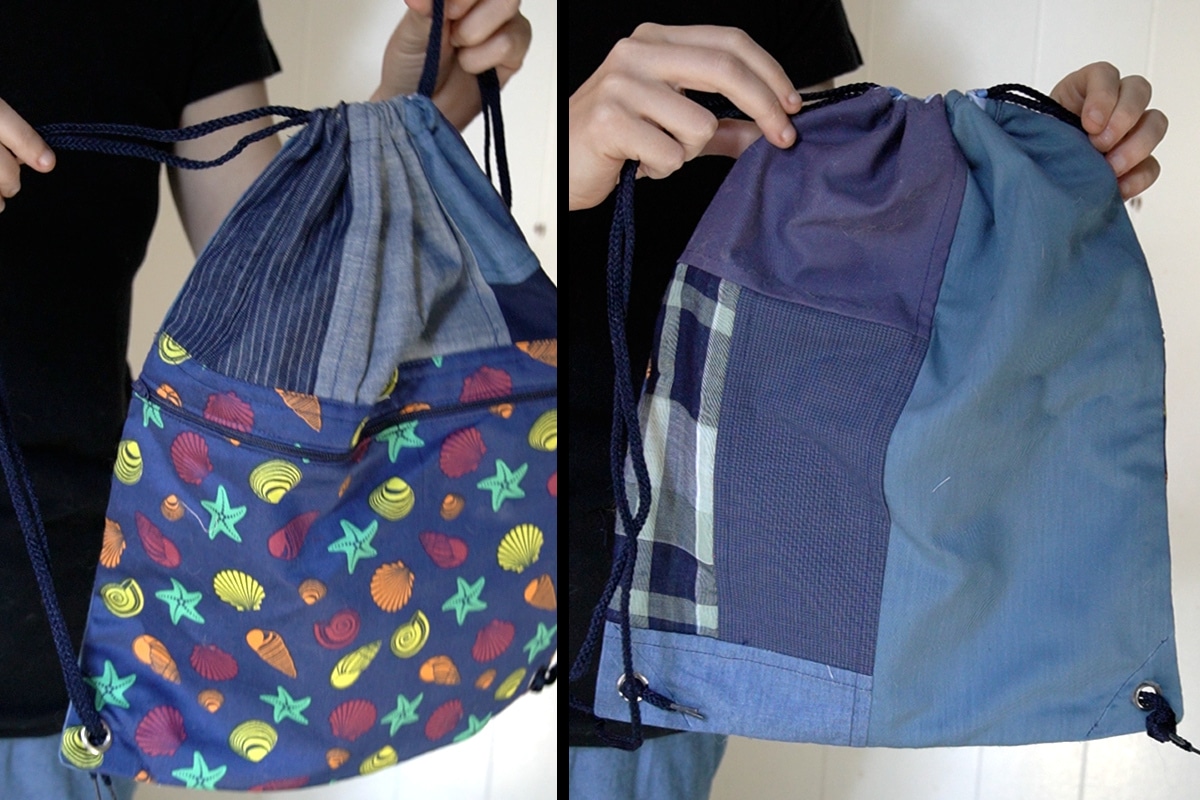
insert the string through the casing and through the grommets
You need two pieces of string and they both need to go all the way around, through both casings. One string you’ll insert through the left side, thread it all the way around so it comes back out the left. The other will start on the right side and go all the way around so it comes back out the right.
Then you want to thread both strings through your grommet holes and tie a big knot to hold them in place.
Finished!