Tutorial: Camisole with Knit Fabric (pattern and sewing tutorial)
Making your own clothes is not as difficult as you think. I’m the kind of person who wears a cami as an undershirt pretty much every day. Of course, that meant I needed to figure out how to sew my own. This tutorial will walk you through how to take your own measurements and create a custom camisole pattern. Then I’ll show you how to sew it all together with a quick step-by-step tutorial.
Note: When sewing with knit fabrics, you’ll want to use a zigzag or lightning bolt stitch. Using one of these stitches allow the thread to stretch with the fabric. If you use a straight stitch and then try to stretch the fabric, the thread will snap.

Supplies Needed:
Camisole Pattern Pieces:
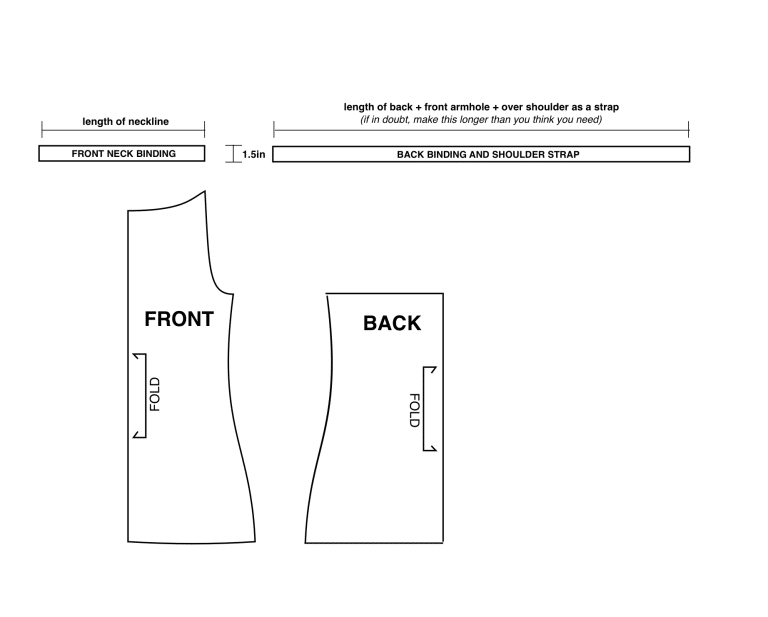
How to Make your pattern:
First, take your measurements:
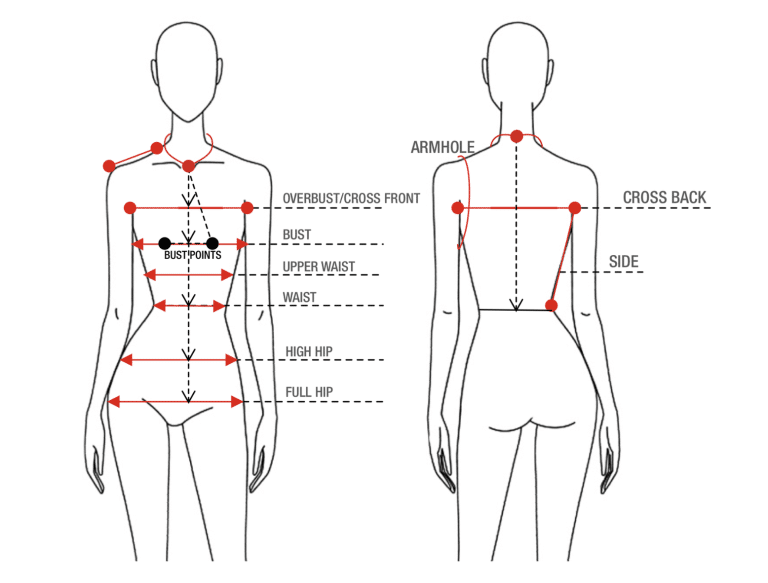
You also need the length between your measurements:

Make your grid. Use your length measurements from above to draw horizontal lines spaced for the cross front, bust, waist, and full hip. Then draw a straight line down for your center front.
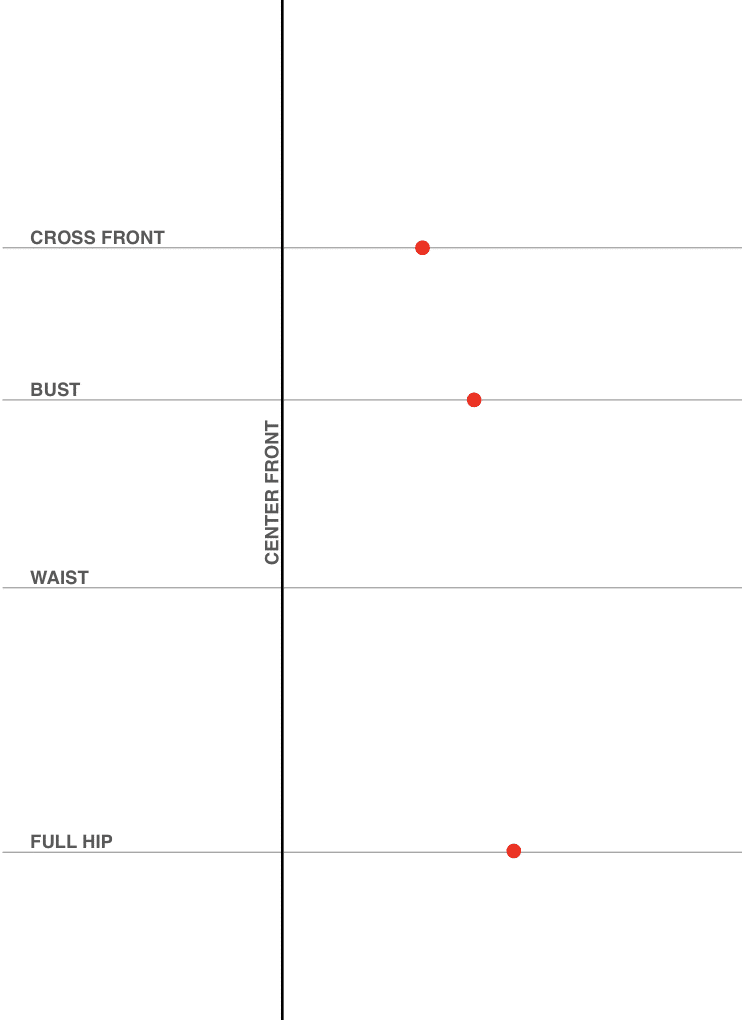
Add dots for your cross front, bust, and full hip. Use the measurements that you calculated above.
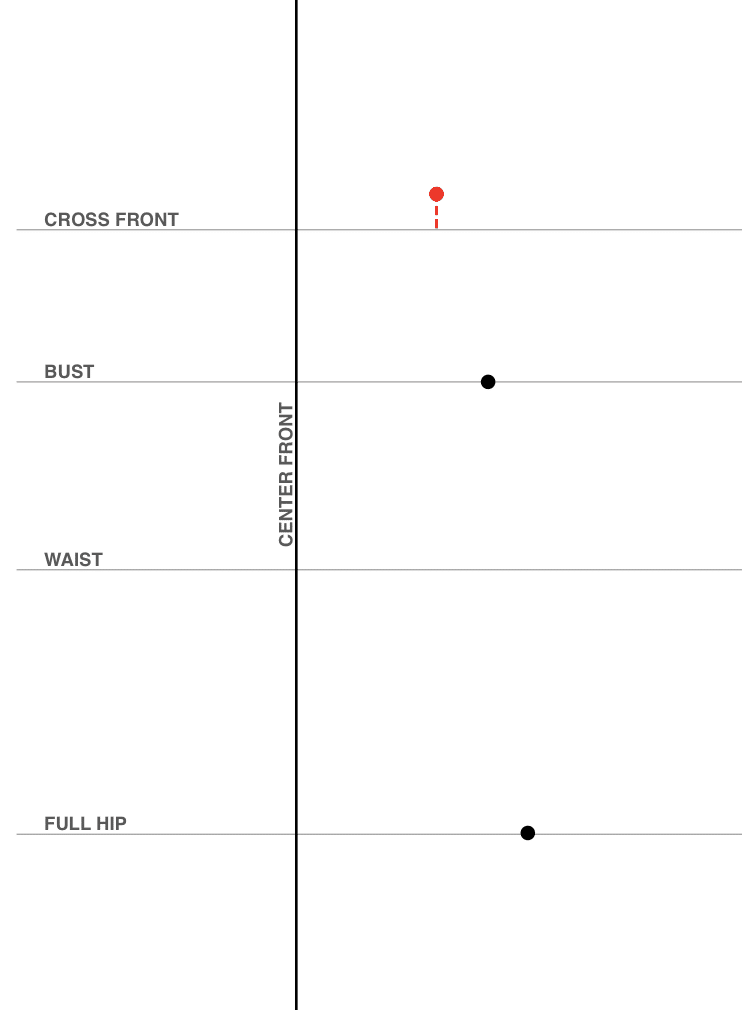
Draw a vertical line up 1 inch from the cross front. Replace the cross front dot here to make a peak on the front pattern piece.
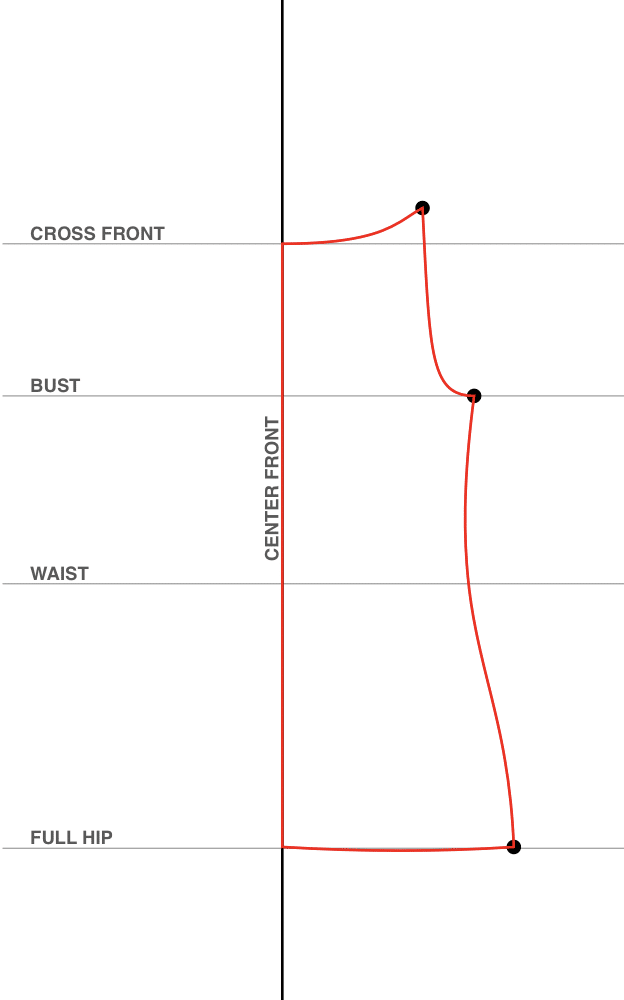
Connect your dots. Curve the neckline from center cross front to the dot and create the armhole down to the bust (don’t worry too much about the shape of the armhole, as long as it’s a similar curve to the diagram).
You can also curve the side seam in at the waist to make the cami as snug as you want it.
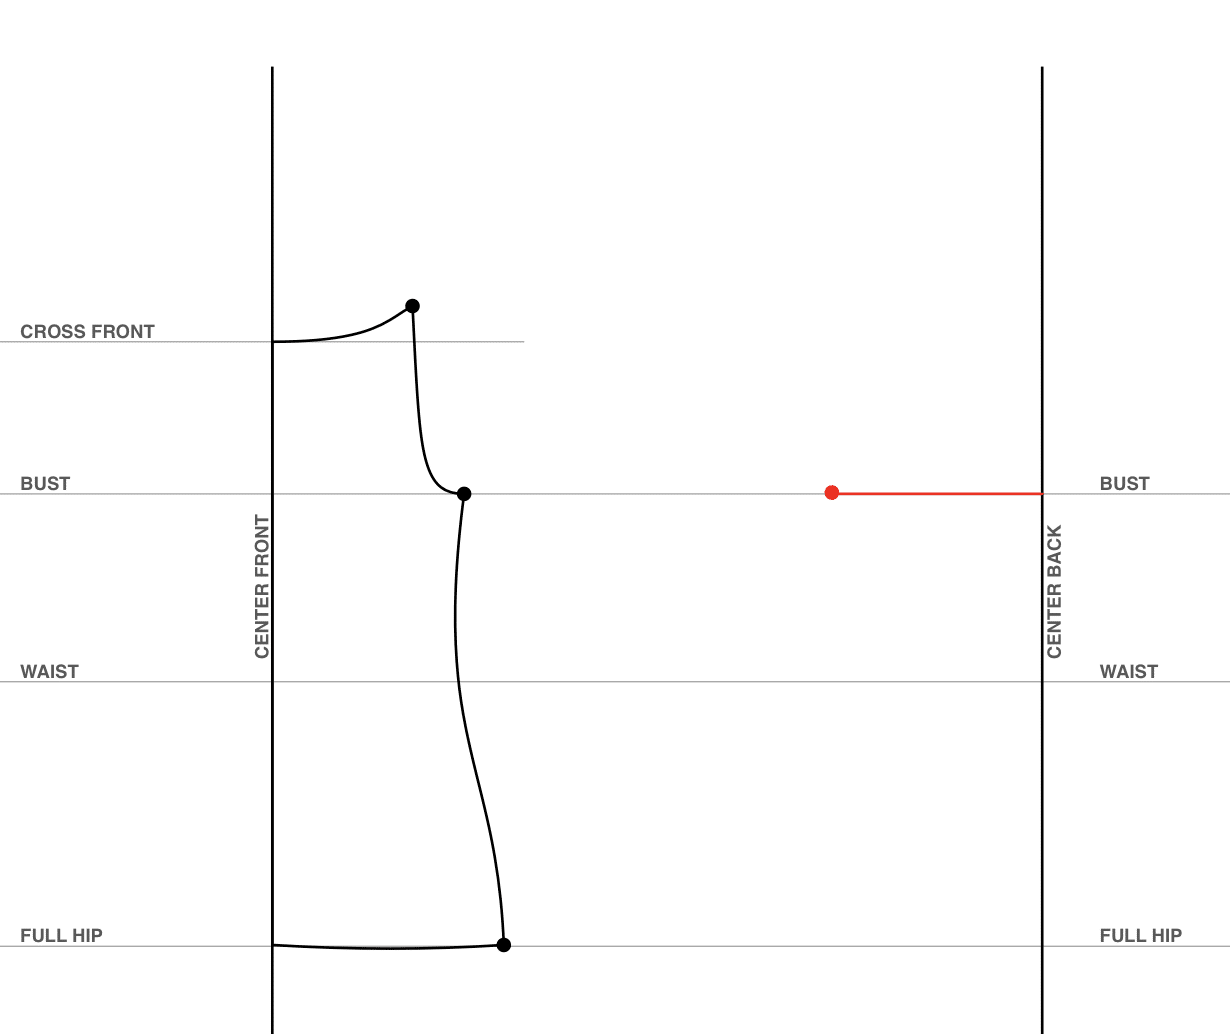
Draw a straight line for the back bust. Use the same measurement you calculated for the front.
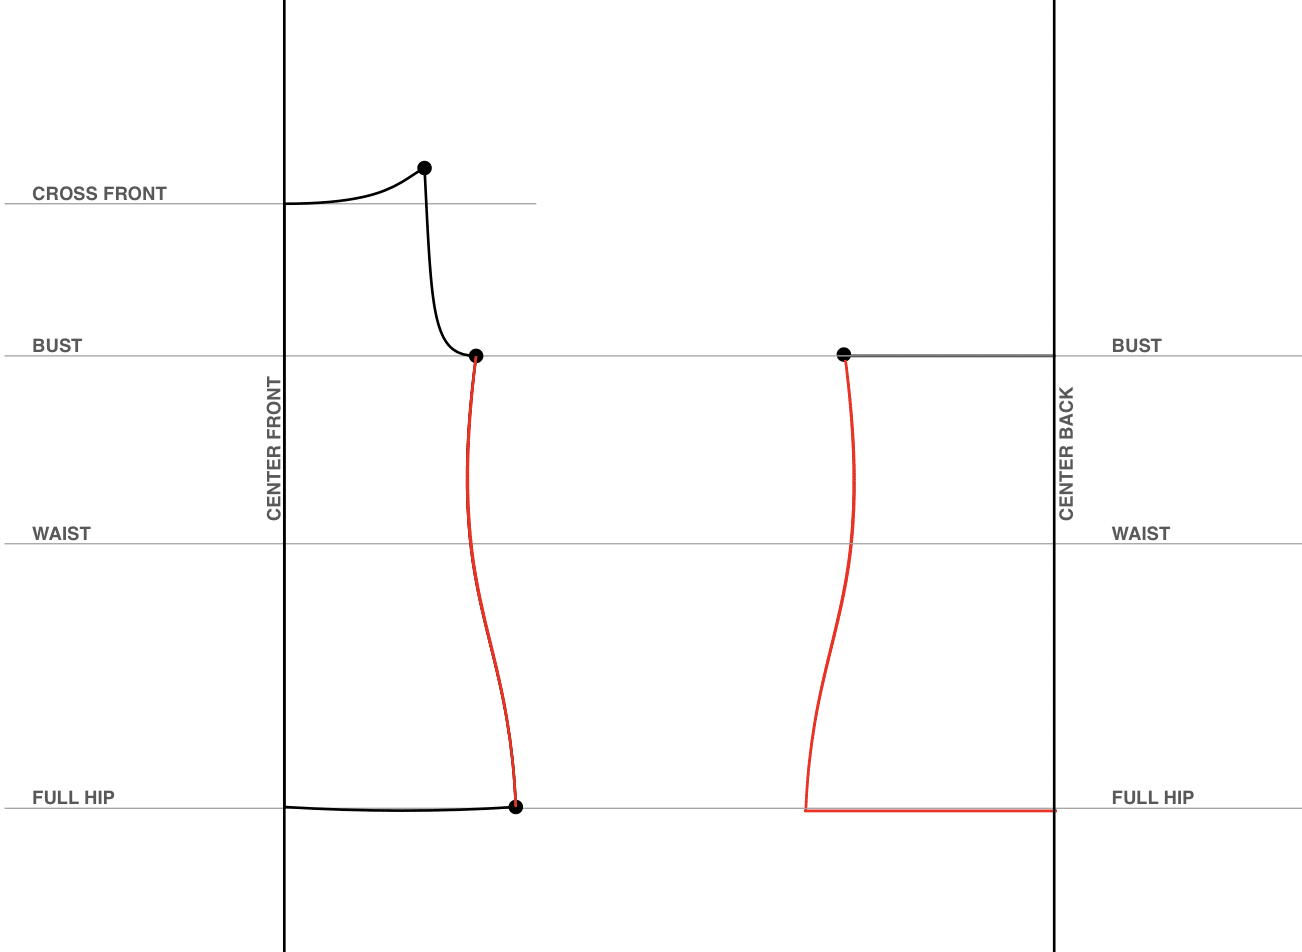
Add the side seam. Copy the same side seam from the front pattern piece (you can trace it directly from the front)
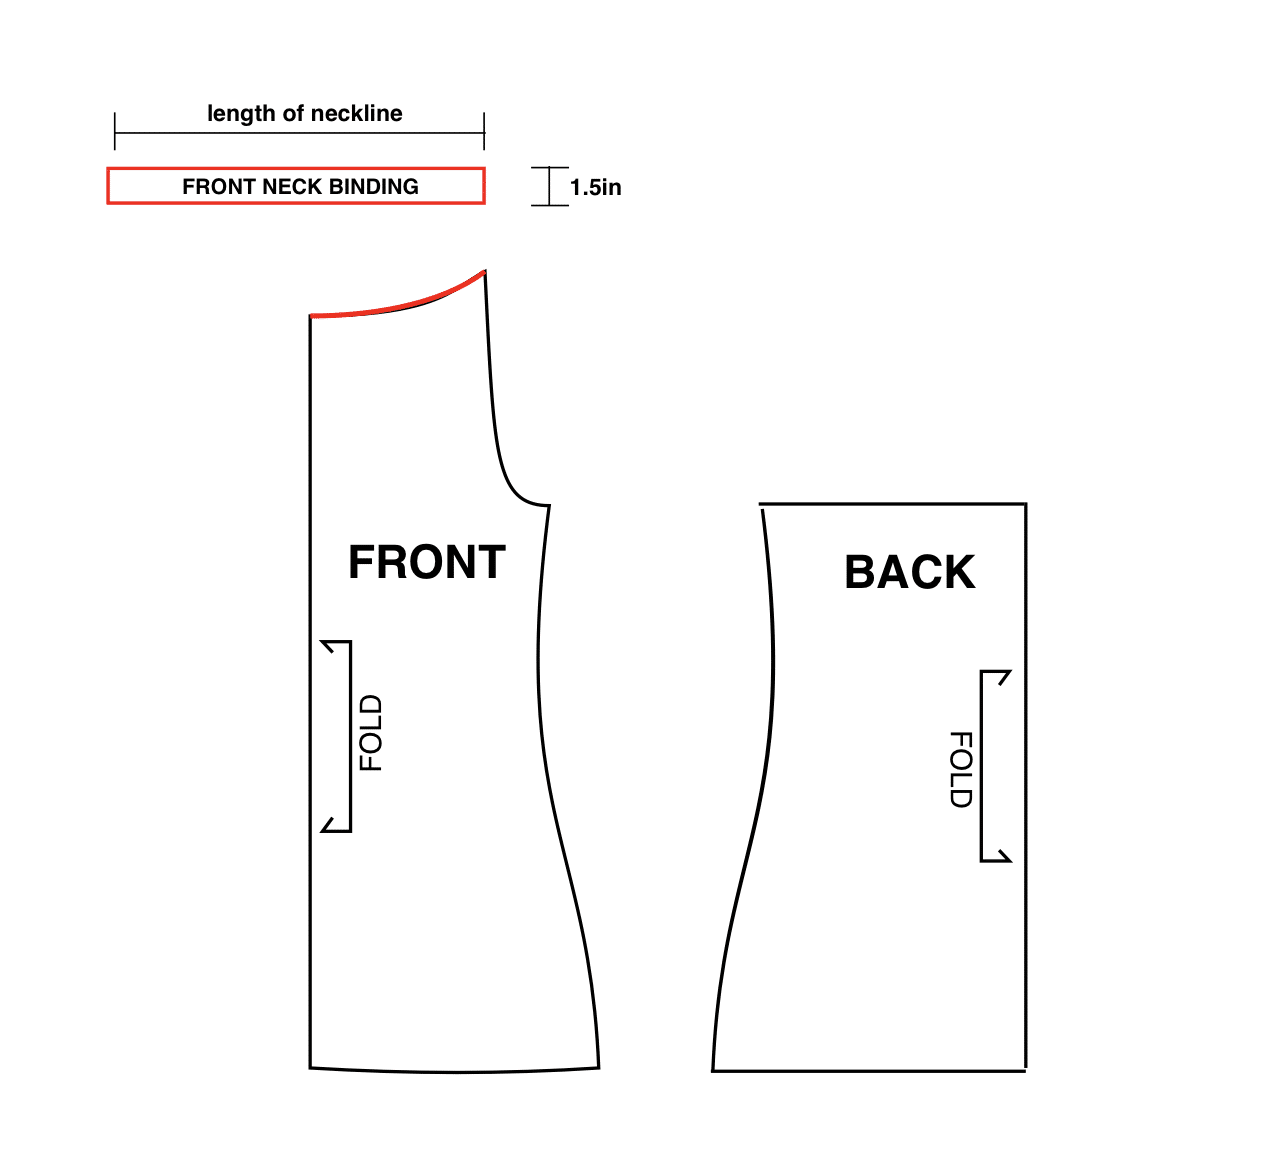
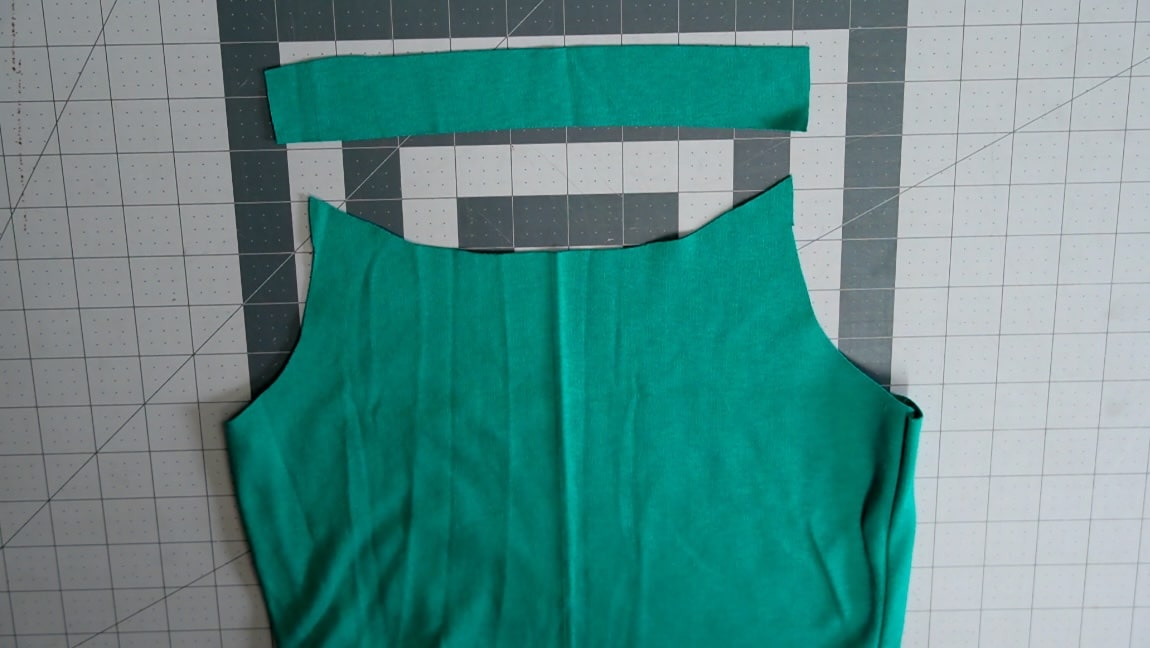
Create the neck binding. measure the cross front neck (in red). Create a rectangle using this length with a 1.5in width (the binding width already includes seam allowance)
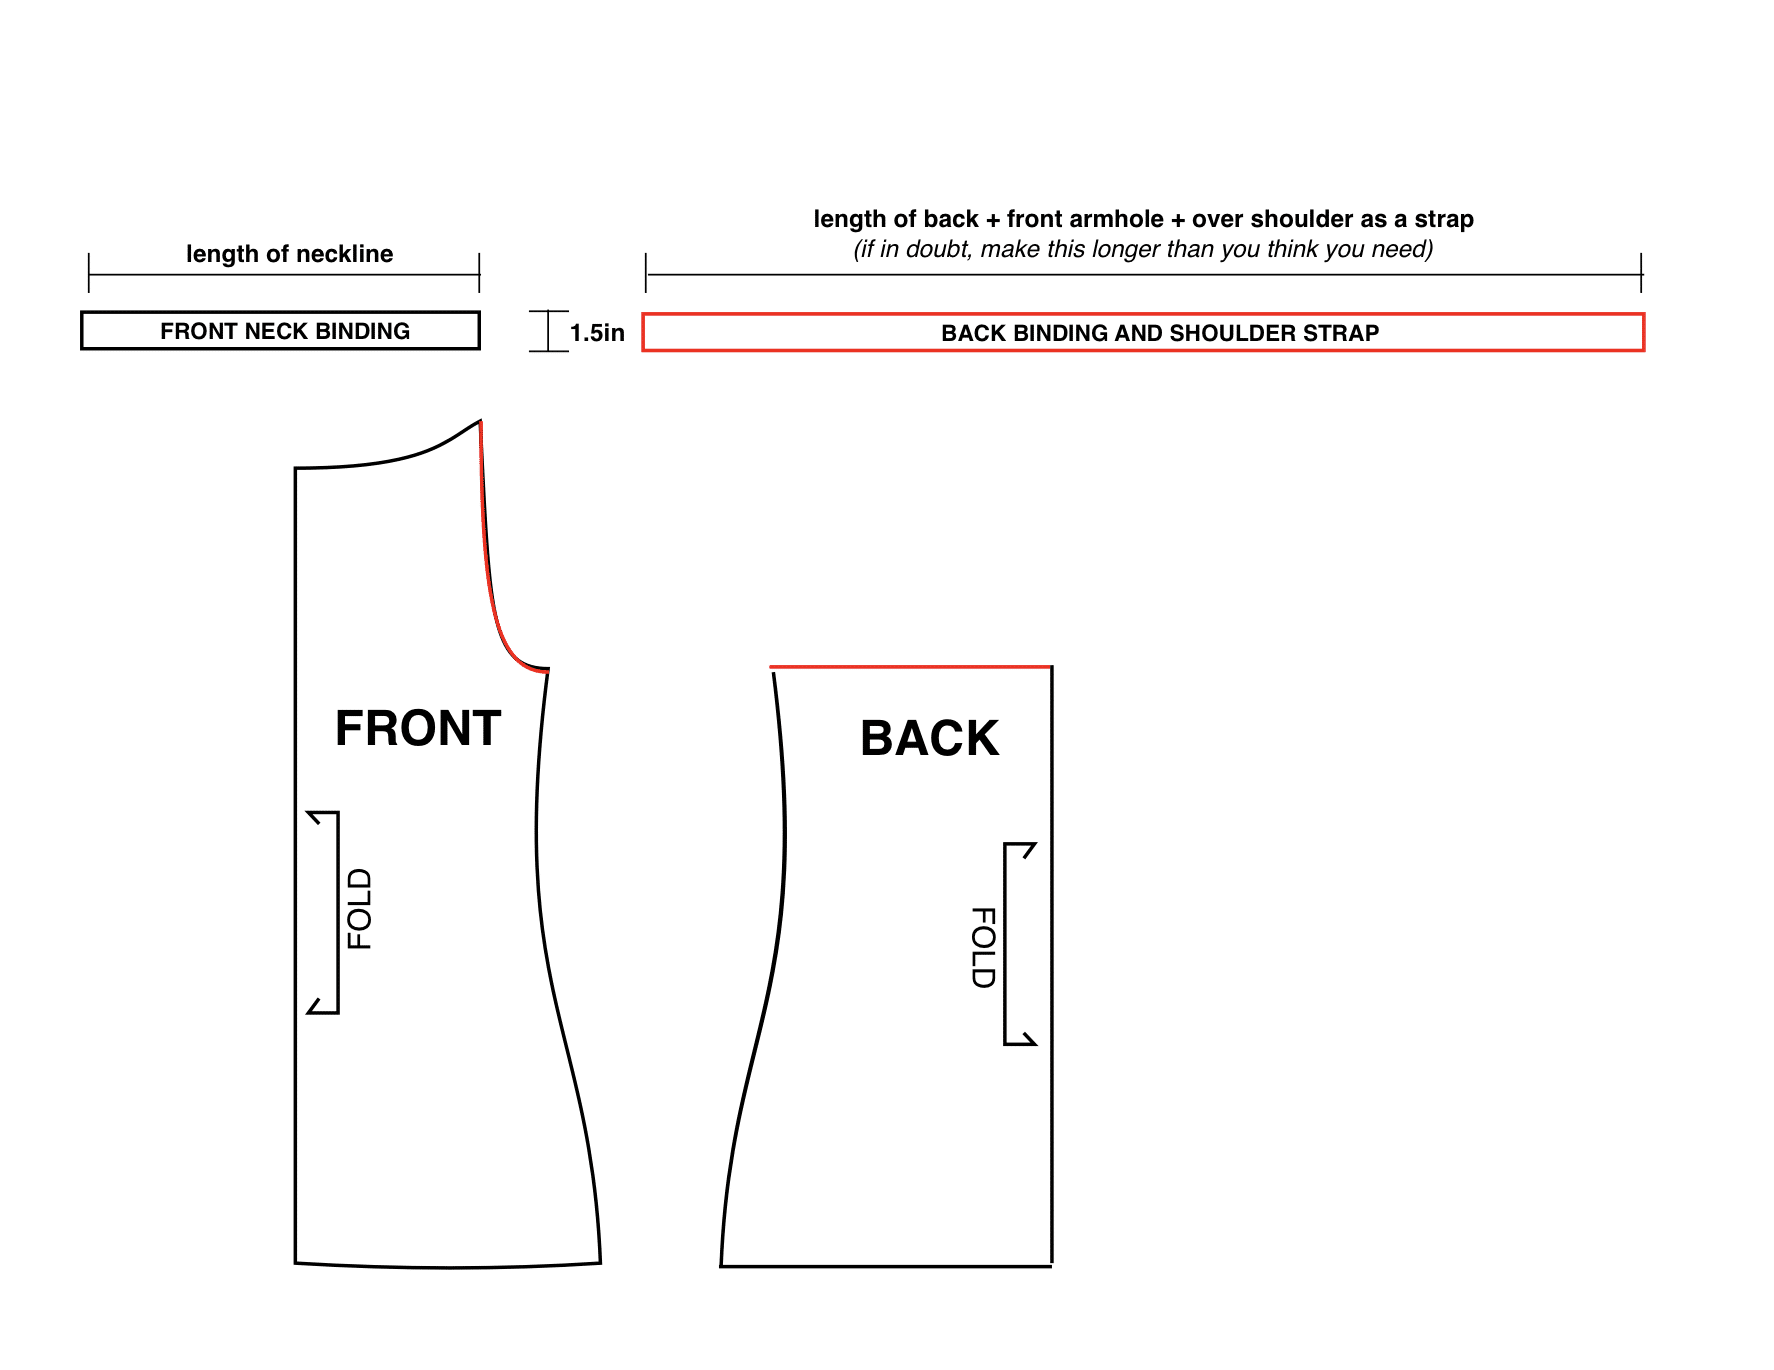
Create the back binding and shoulder strap. Measure the back and front armhole. Add that to the strap length you measured earlier (multiplies by 2). Create another rectangle using this length and 1.5in width. (when in doubt, make the binding longer than you think you need)
Don’t forget to add seam allowance to your front and back pattern pieces!
When cutting the fabric, you will need to use a stretch knit. You always want to cut it with the stretch going across the body. The bindings need to stretch along the length.
Step 1
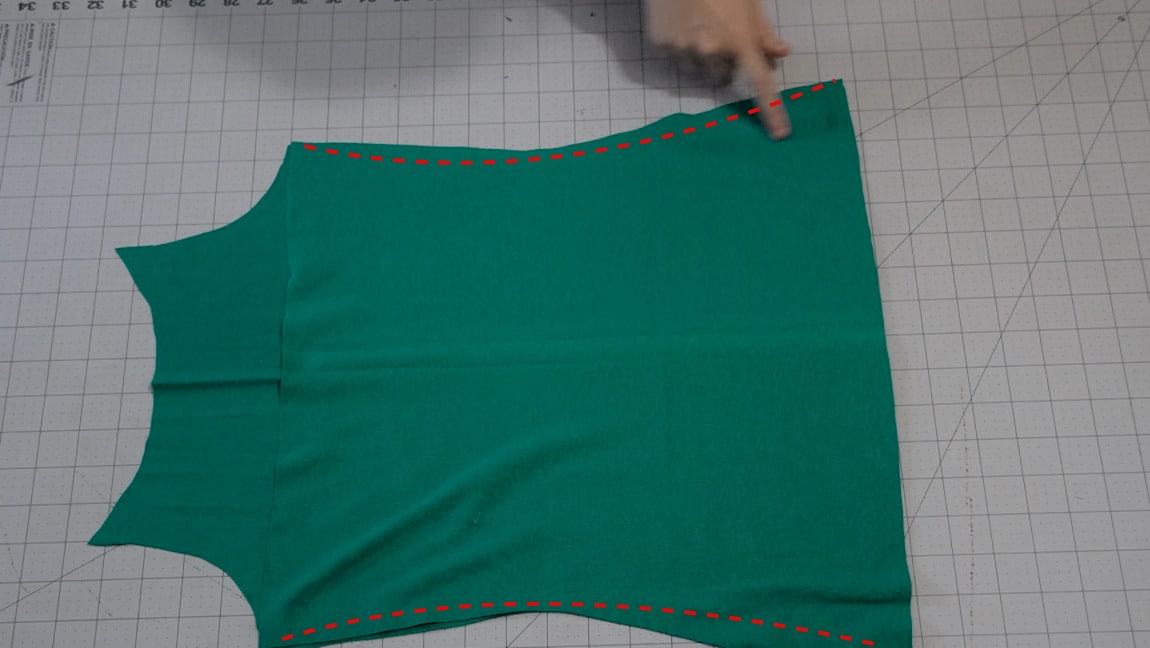
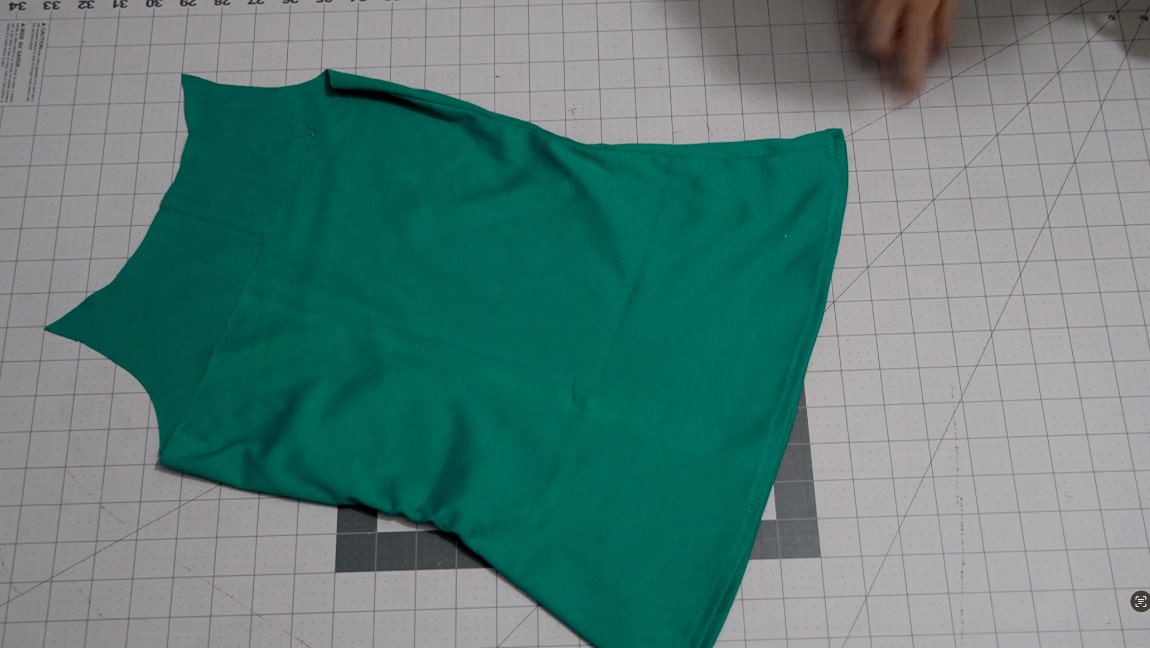
sew the front and back together on the sides
with right sides together, sew the front and back of the cami along the sides.
Step 2
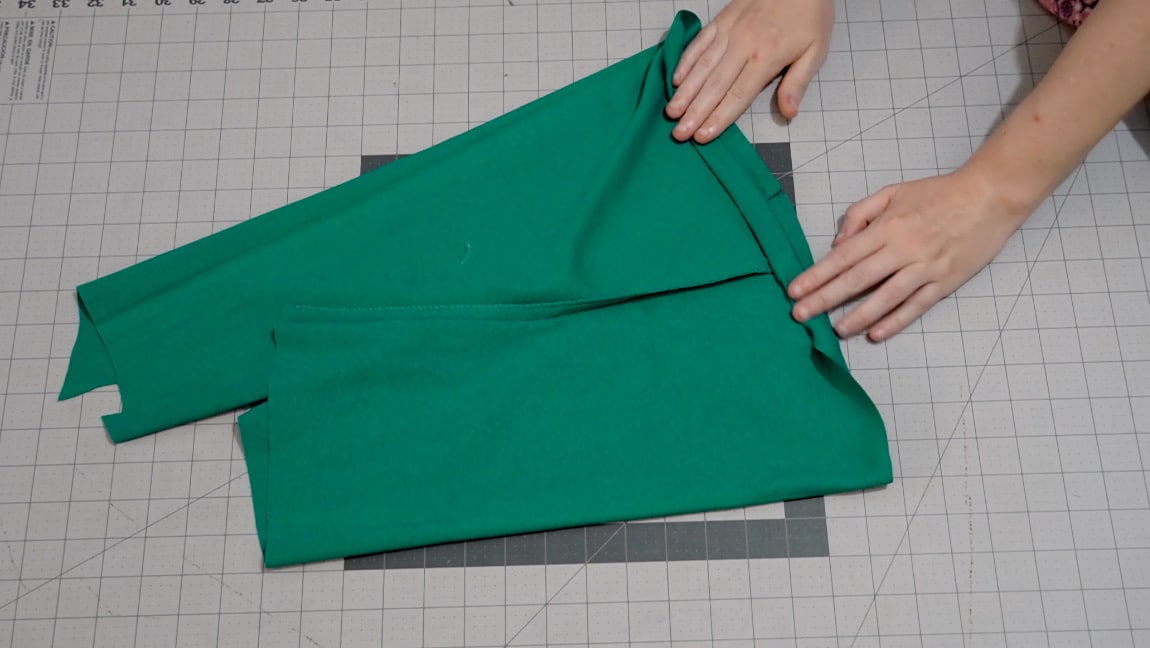
hem the bottom of the cami
Hem the bottom of the cami. Since knit fabrics don’t fray the way woven fabrics do, you can sew a single turn hem if you want to.
Step 3
sew the front neck binding
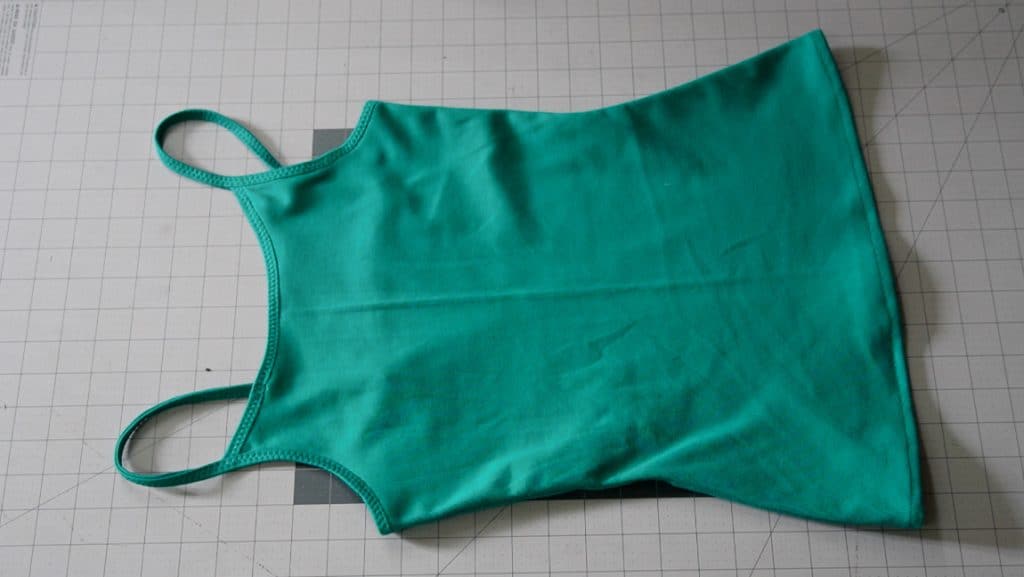
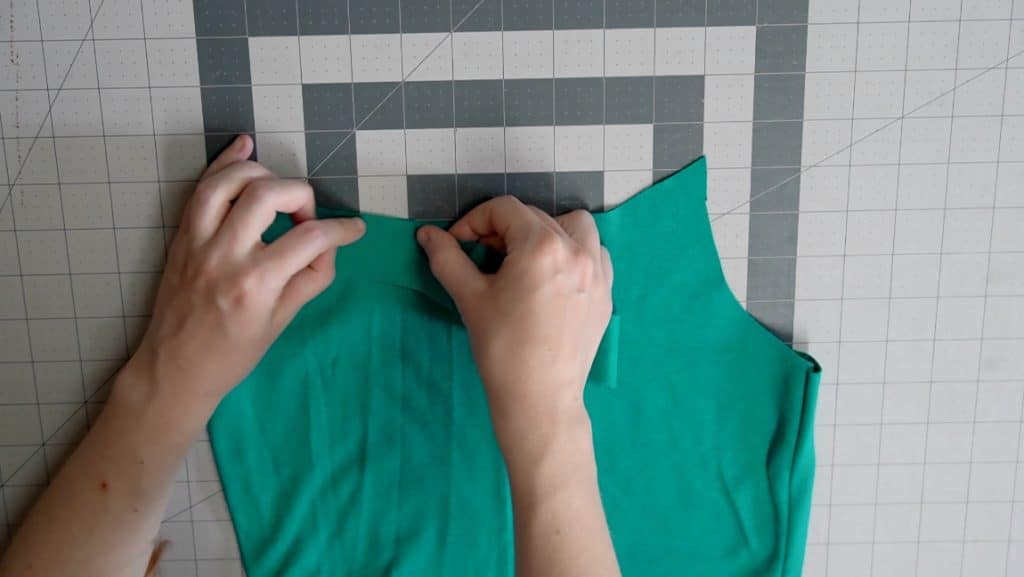
using a zigzag or lightning bolt stitch, sew the front neck binding to the cami with right sides together. While you do this, you want to stretch the neck binding along the front. This helps to keep the neckline from gaping open, keeping it tight against your body. This also means you will have a little bit of extra fabric hanging off of the edge. After you sew it, trim this excess off.
Step 4
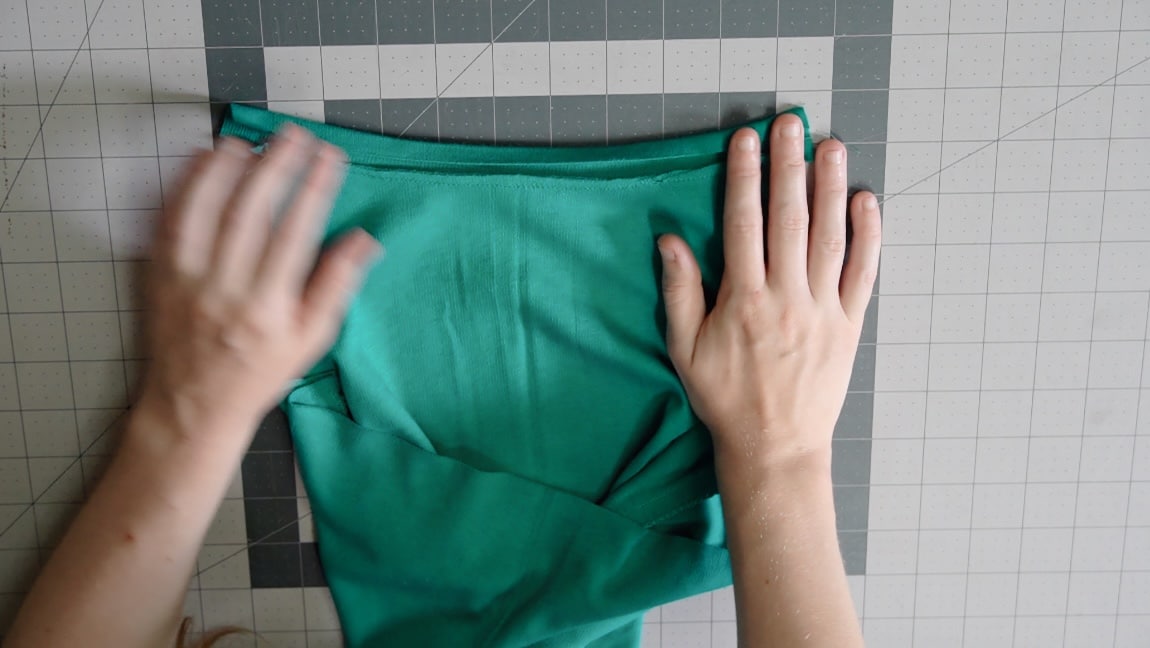
fold the binding over to the back of the cami
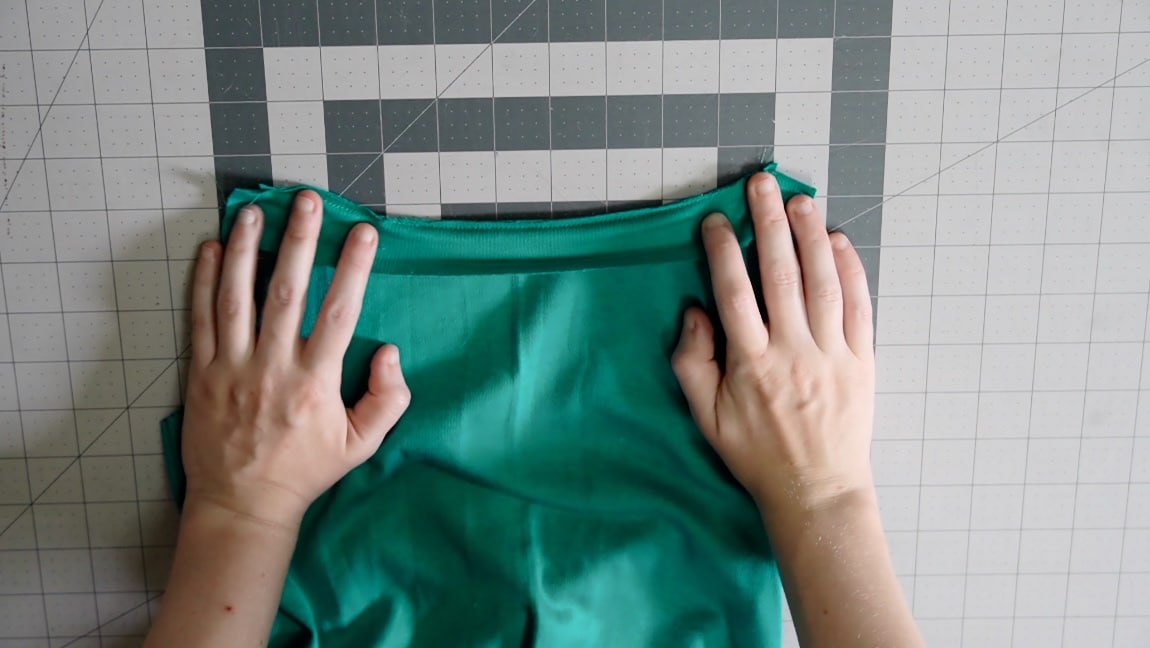
Similar to bias tape, you want to fold the neck binding in quarters and then over the top, encasing the raw edges of the neckline.
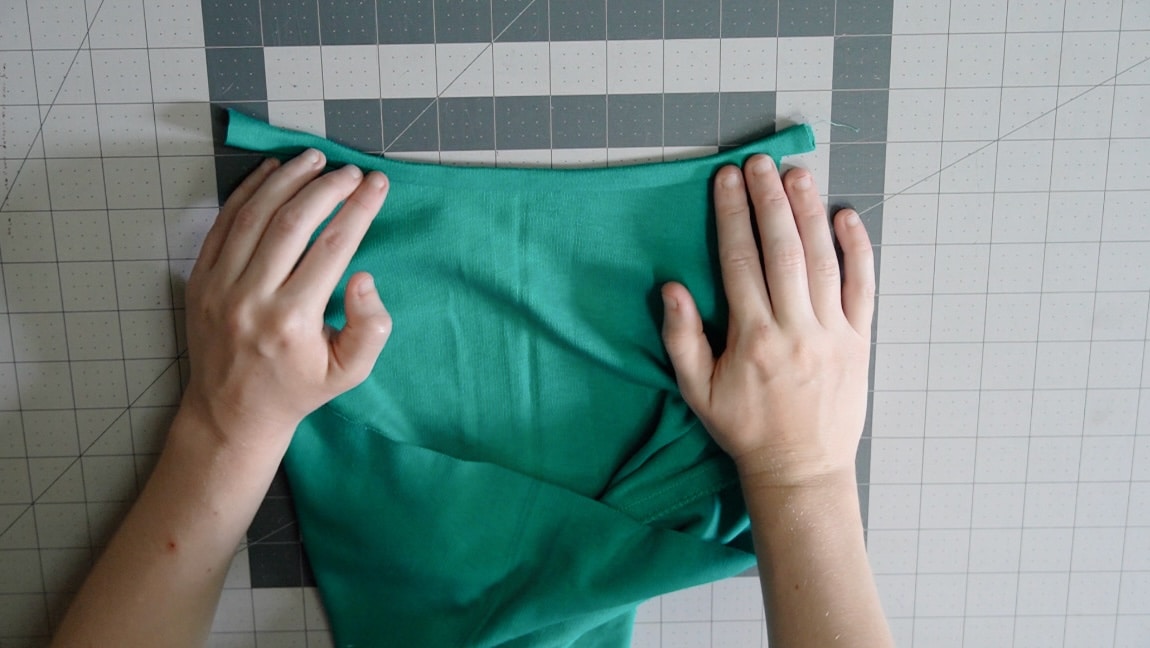
Step 5
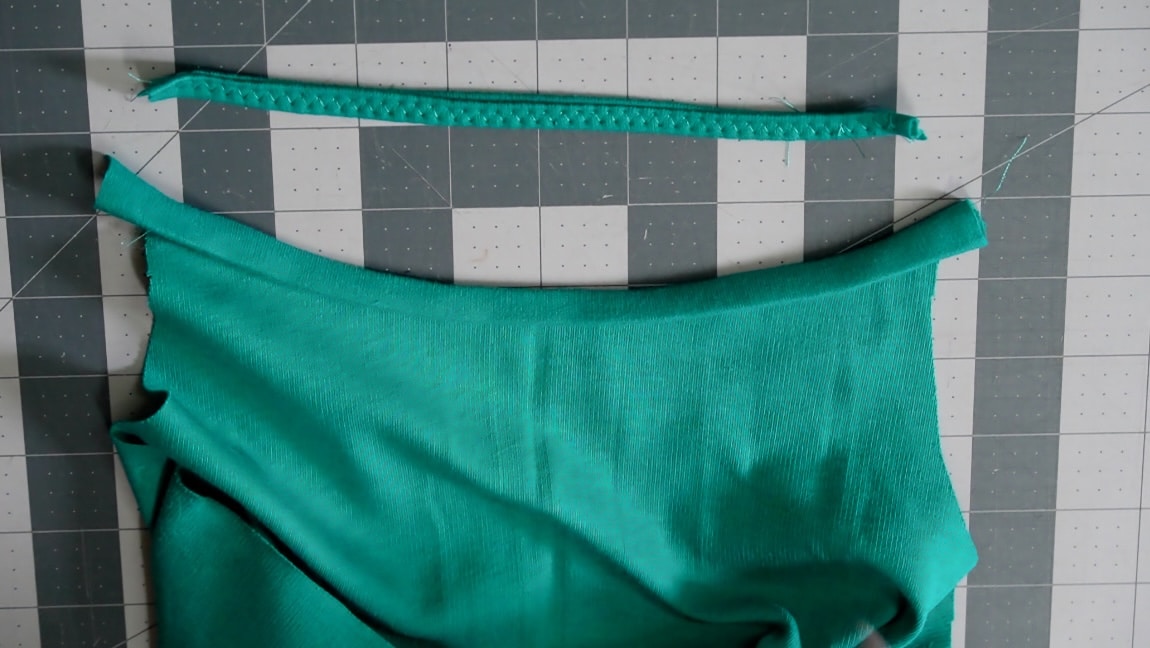
use a wide zigzag stitch to sew the binding in place
Now comes the tricky bit. To keep this part stretchy, you need to use a zigzag stitch, which will be visible on the front of the front. To make it look neat, I like to use a wide zigzag stitch that spans the whole width of the binding. I recommend practicing this on a bit of scrap fabric first, to get your machine settings right. Also, if you don’t care if it looks neat, you can do a normal zigzag or lightning bolt stitch to sew the back of the neck binding.
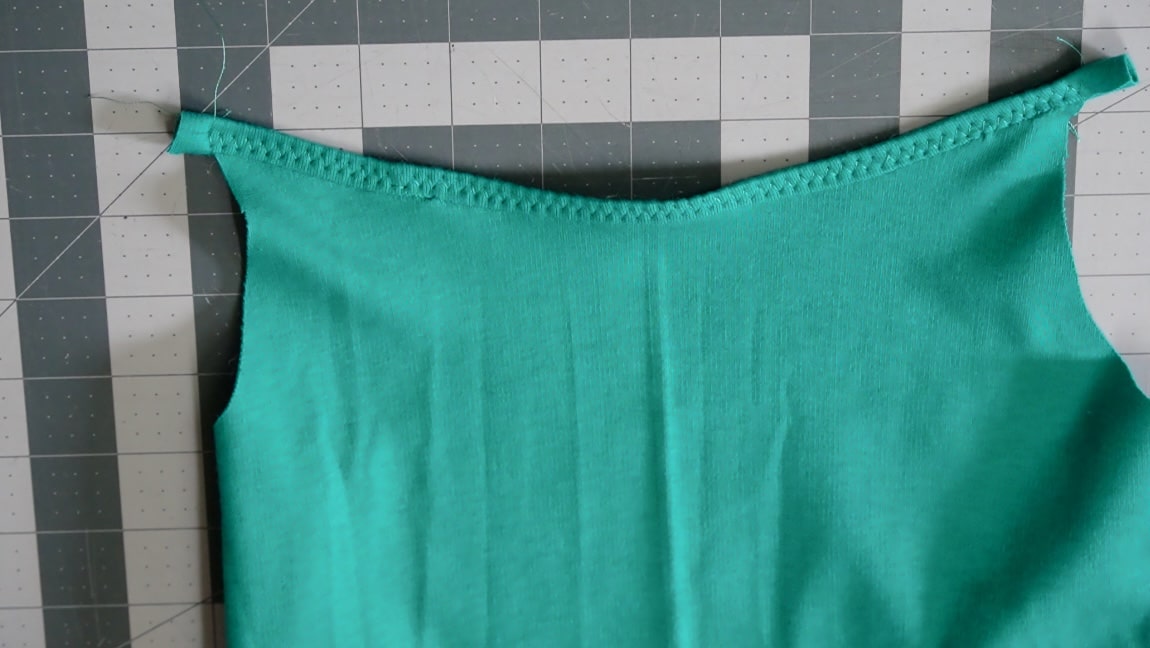
Step 6
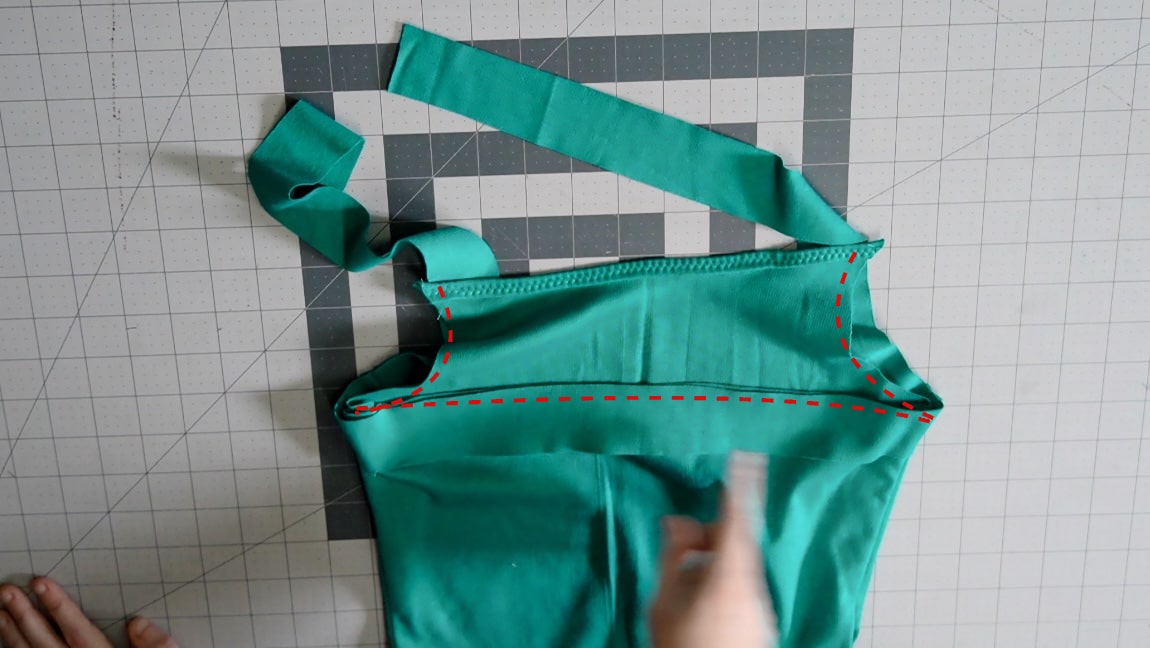
sew the back binding around the back and front armhole
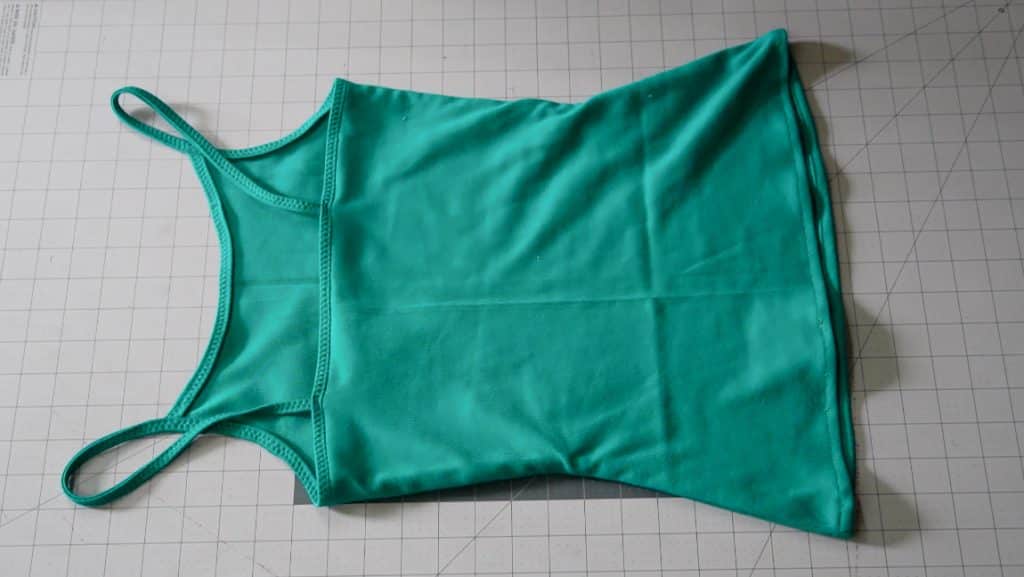
The same as you did for the front, sew the back and armhole binding. Make sure the center of the binding is on the center of the back and slightly stretch it as you sew it around the armhole. Make sure there is ample binding left extending from the edges, since this will turn into the straps.
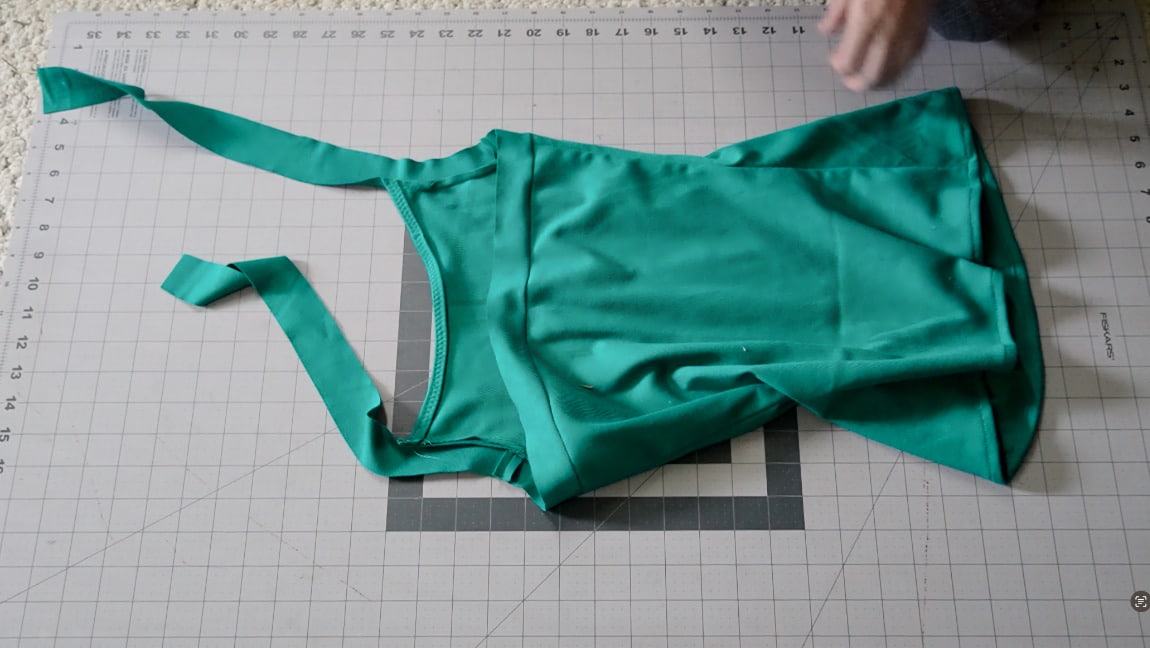
Step 7
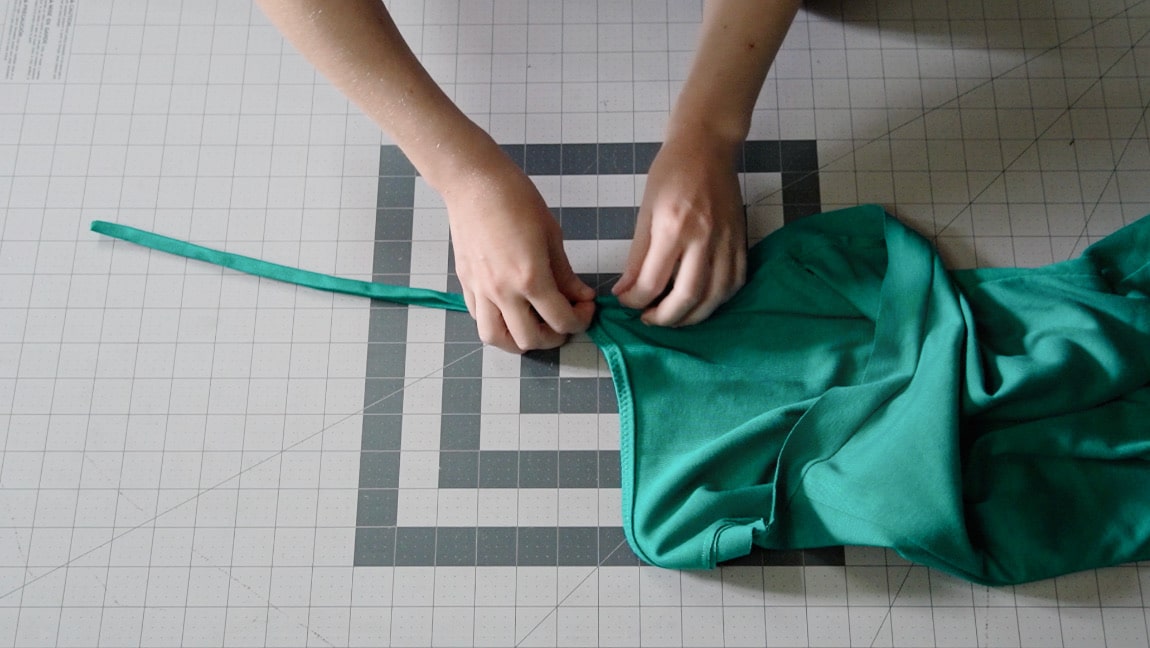
fold the binding over the raw edges and continue folding to form a narrow strap
Just as in the front, you want to turn the binding over the raw edges of the fabric just list bias tape. You will continue doing this all the way along the extended fabric as well, so that it’s folded in quarters to form a narrow strap.
Step 8
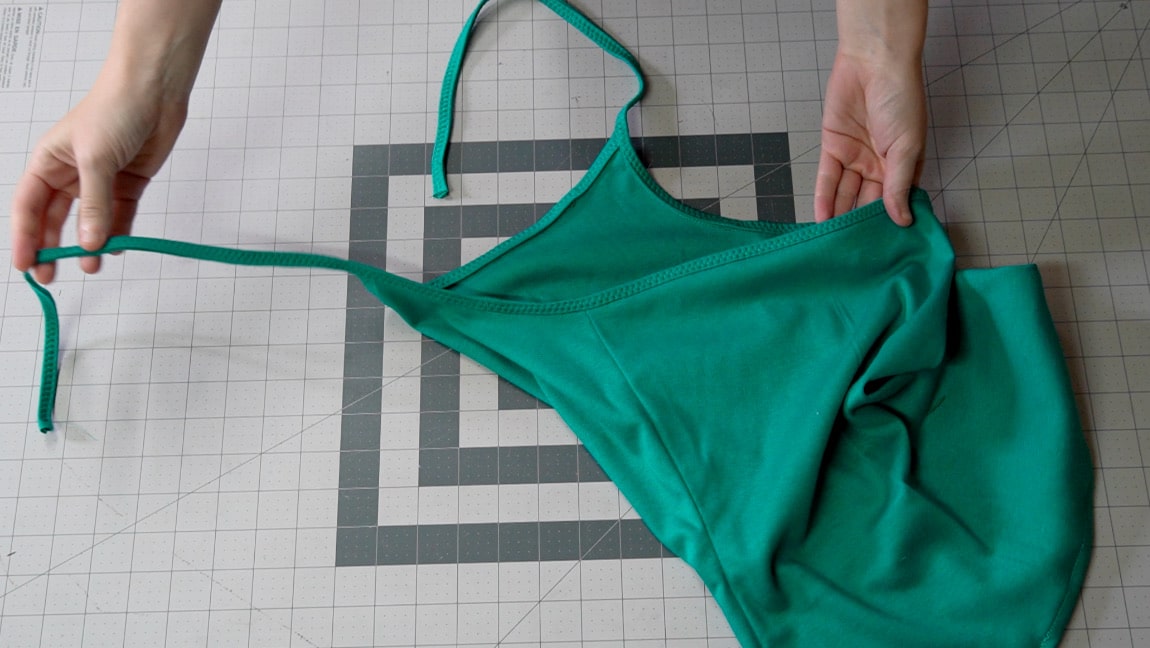
Use a wide zigzag stitch over the entire strap and back binding
Use the same zigzag technique you did for the front to sew together the binding all the way around both straps and the back of the cami.
Step 9
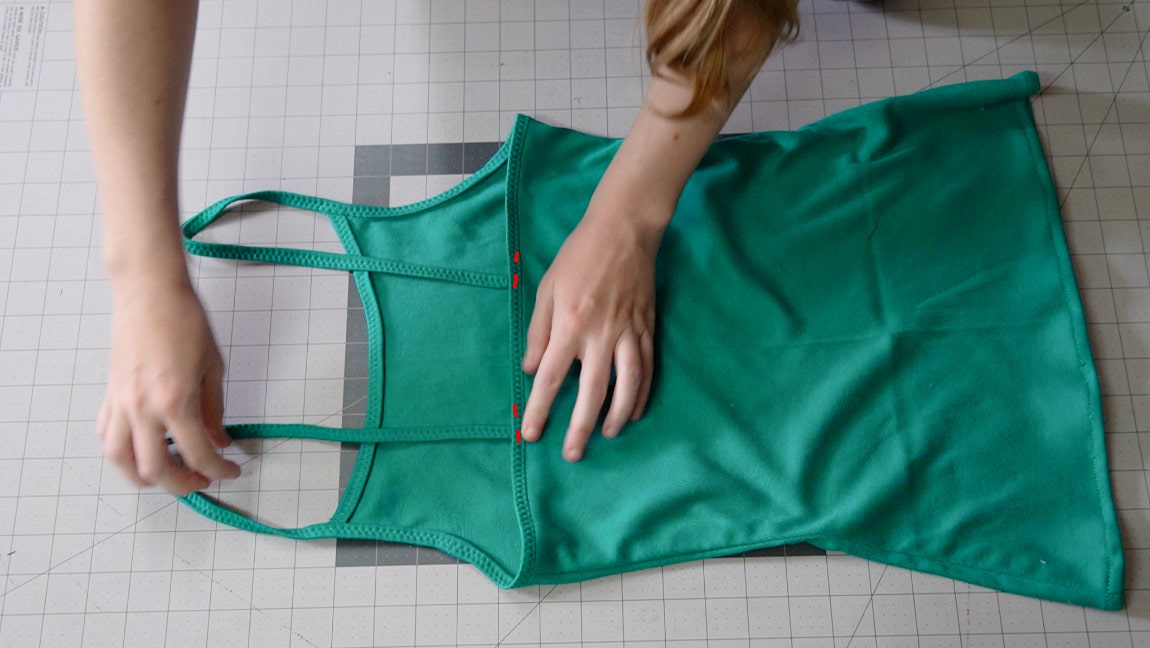
sew the straps to the back of the cami
Fold the straps over to the back and sew them in place 2-3 inches from the center back. I recommend basting them in place, trying the cami on and adjusting the length of the straps until it’s comfortable. To make the straps secure, use a bartack stitch, then trim any excess strap.
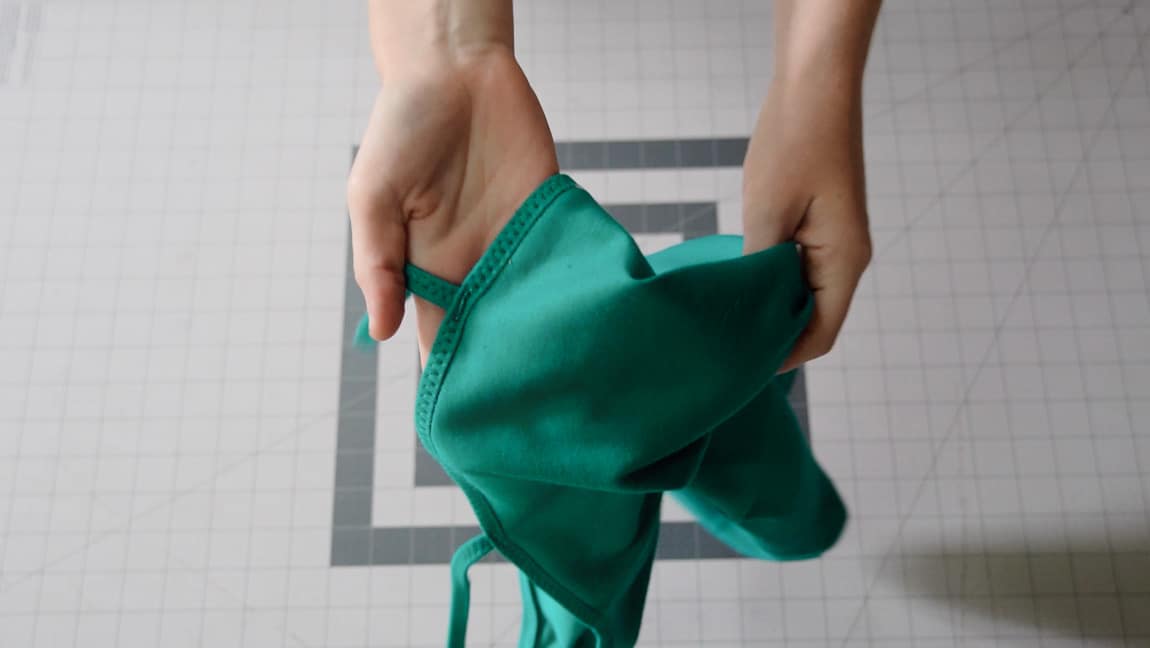
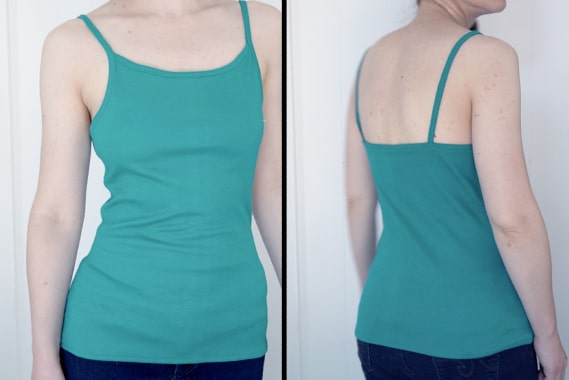
Finished!