Tutorial: Convertible Tote and Backpack with Two-Tone Remnants
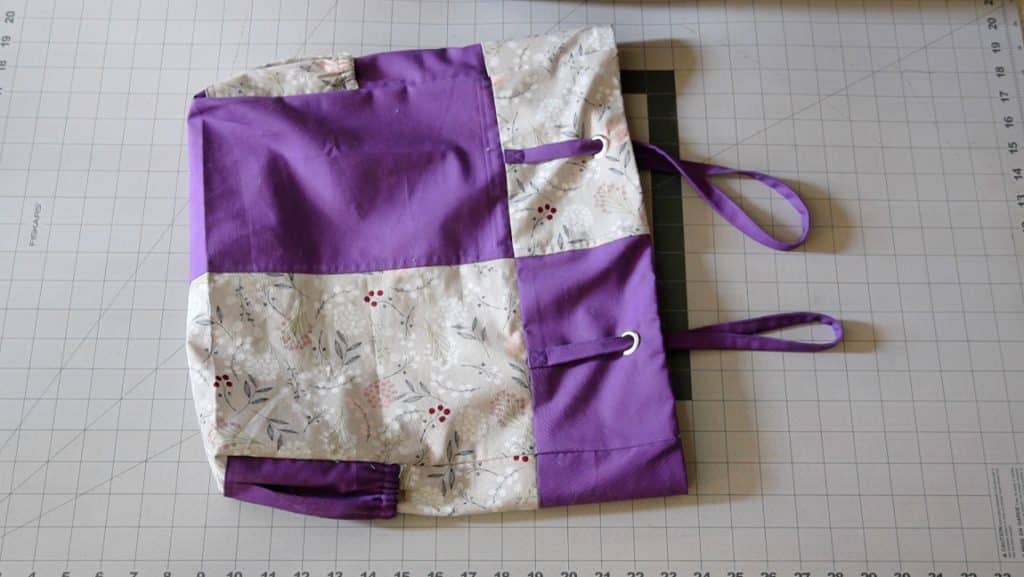
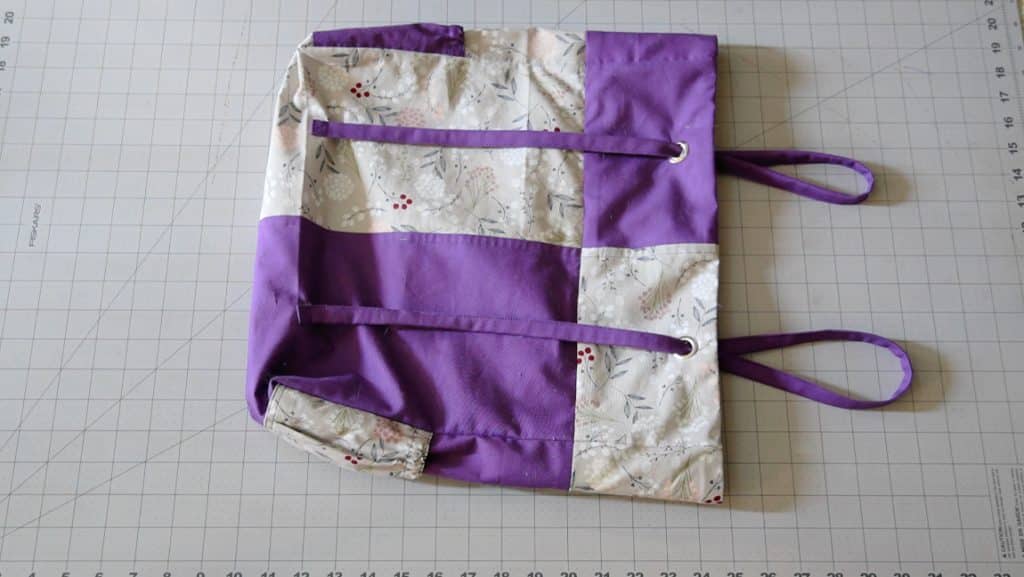
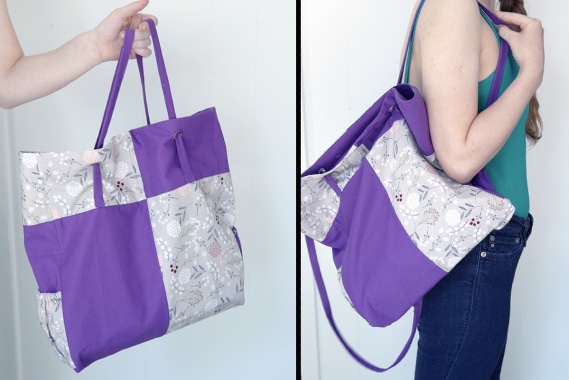
To date, this is the favorite of all the patterns that I’ve made. It’s a tote bag, but the handles are laced through grommets so that it can also be turned into a cool backpack. I also made it using two contrasting fabric remnants that I had, so not only is it a cool design, but it’s also great for using up leftover fabric from other sewing projects. Print out the free pattern below and follow along with the step-by-step tutorial.
This page contains affiliate links. As an Amazon Associate, I earn a small commission from qualifying purchases. That being said, I encourage you to use your local sewing shop whenever possible, or to look for supplies second hand.
Supplies Needed:
(all of my patterns include 1/2″ seam allowance)
Step 1
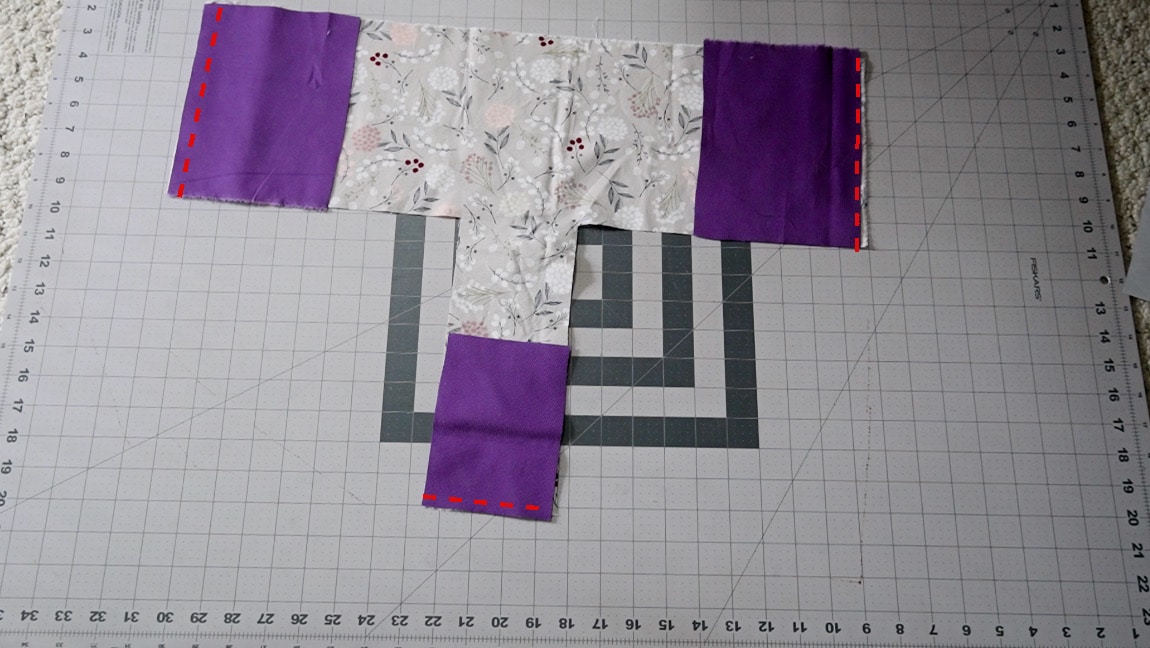
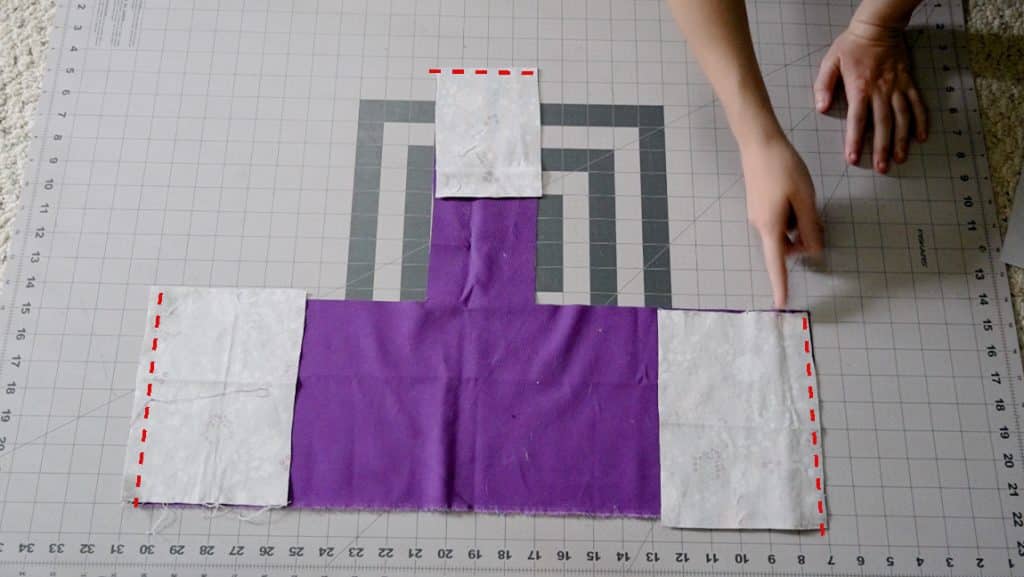
sew the top band and side top band pieces to the bag
alternating colors, sew the top band and side to band pieces together with right sides together. Press the seam allowance up toward the top of the bag.
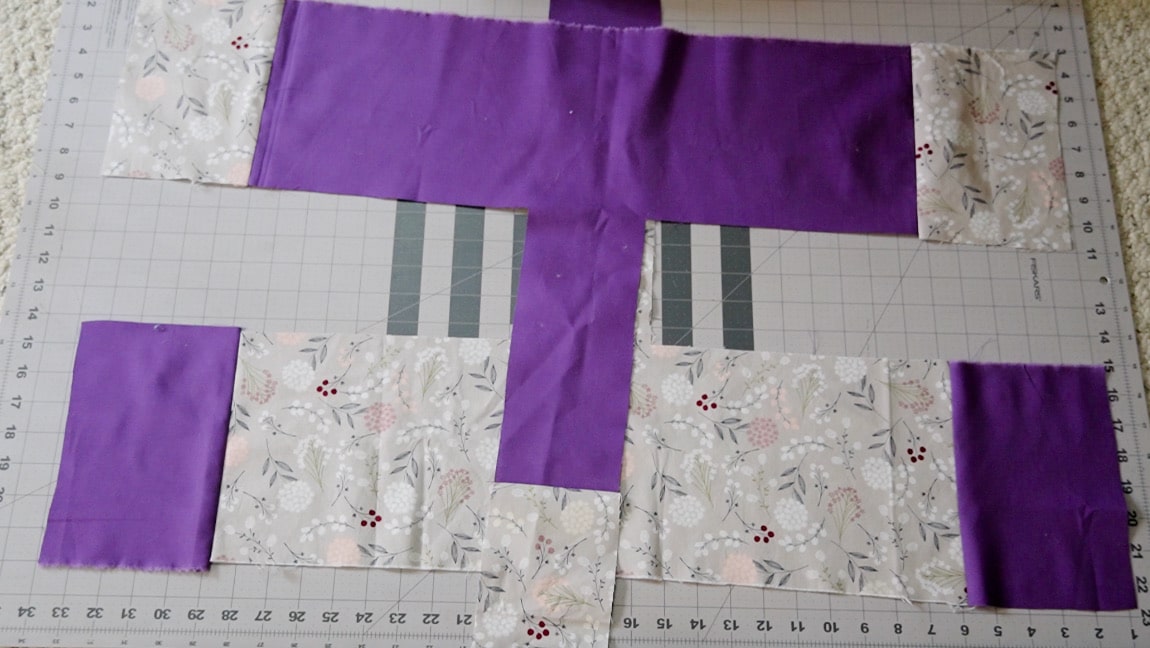
Step 2
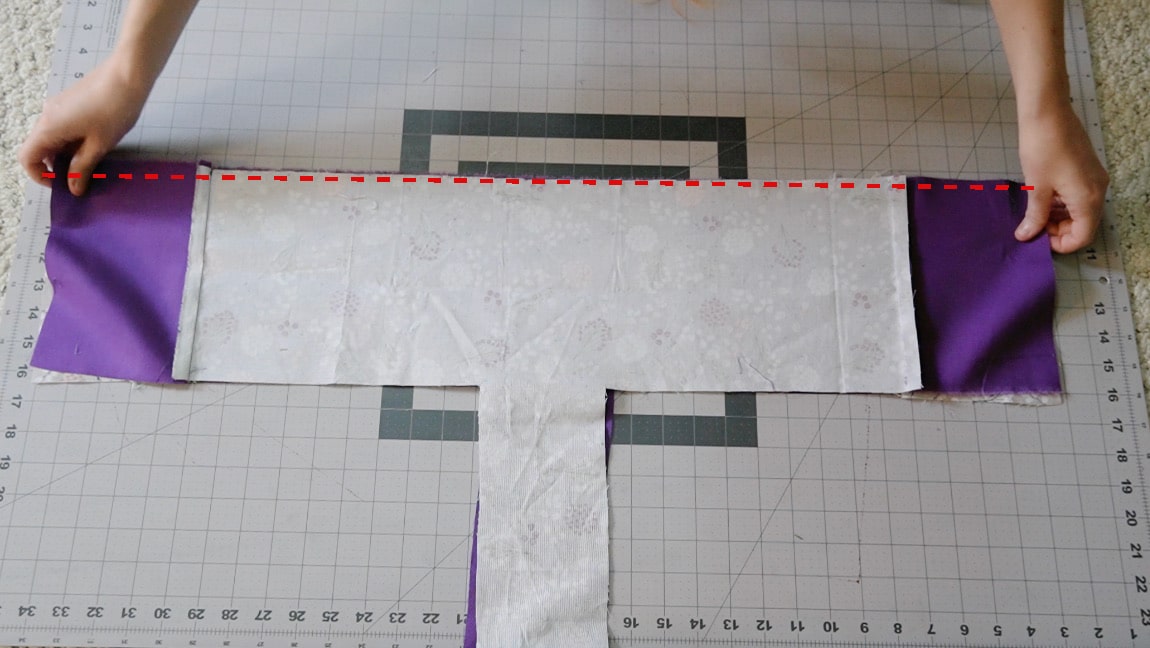
sew the bag halves together
with right sides together, sew the left and right bag along the center seam. Line up the seams with alternating colors.
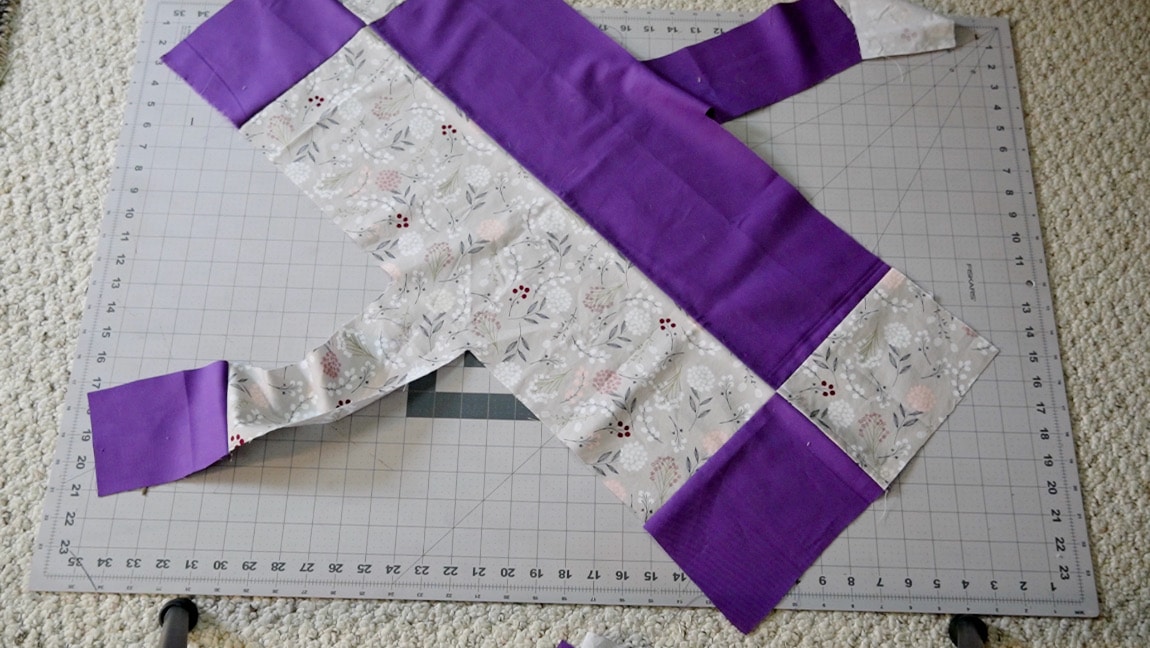
Step 3
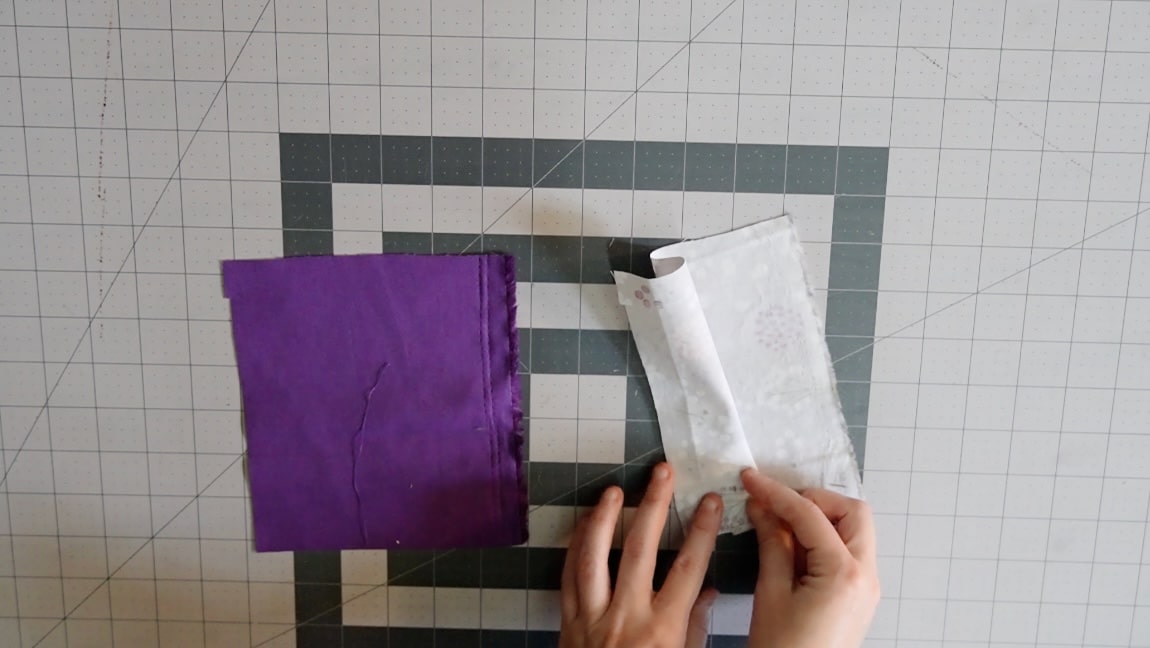
fold the pleat on the side pockets and baste it in place
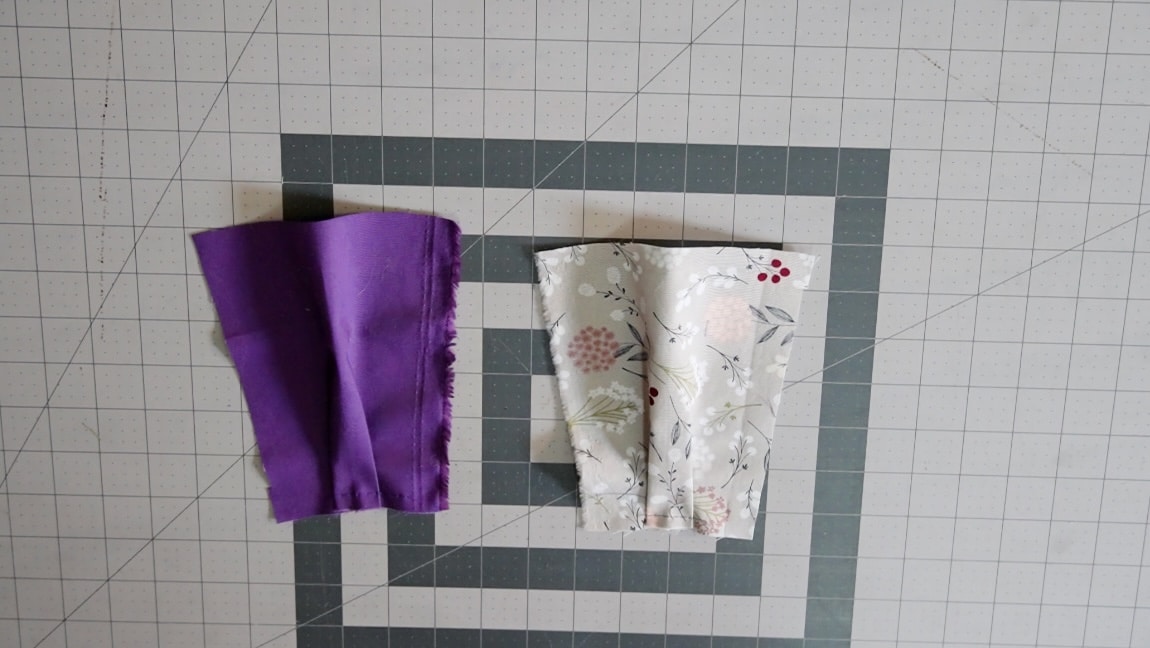
Fold the pleats at the bottom of the side pocket pieces. Press them and baste them in place.
Step 4
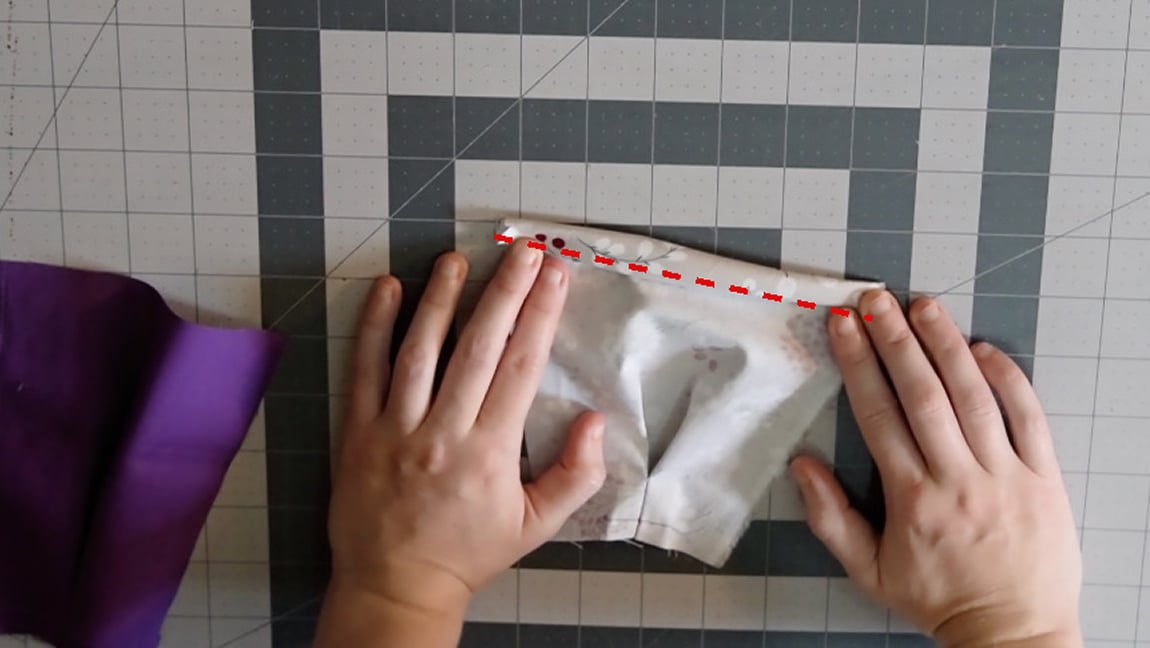
fold over the upper edge of the side pockets to form a casing
Fold over 1/4″ and then another 1/2″ to form a casing at the top of the side pockets.
Step 5
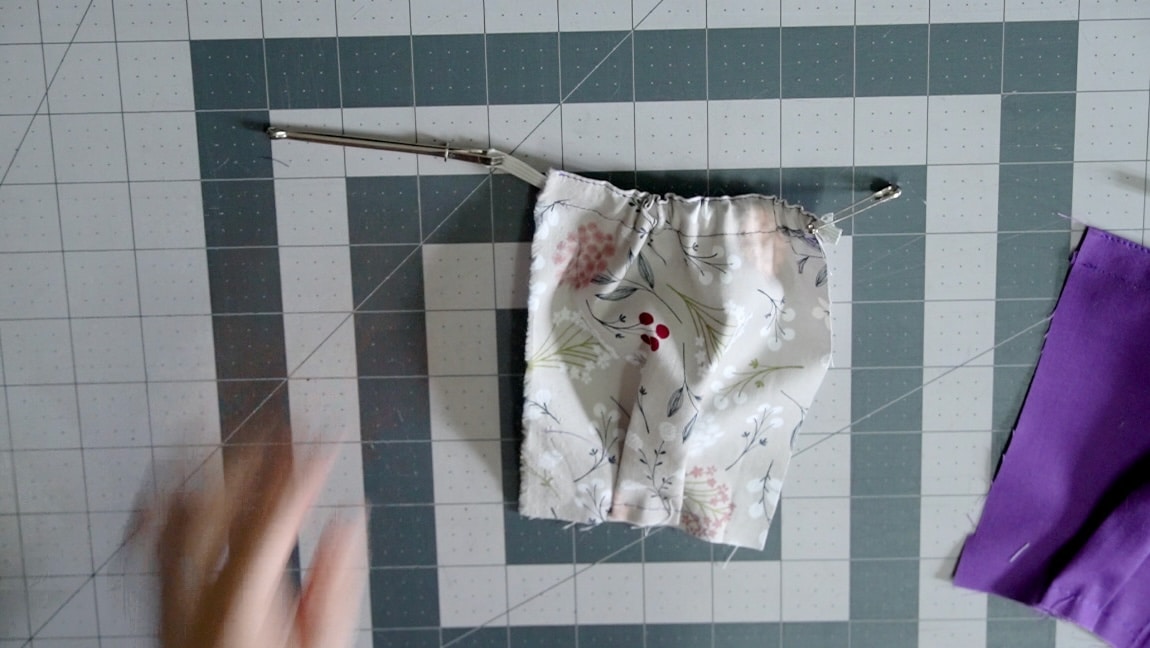
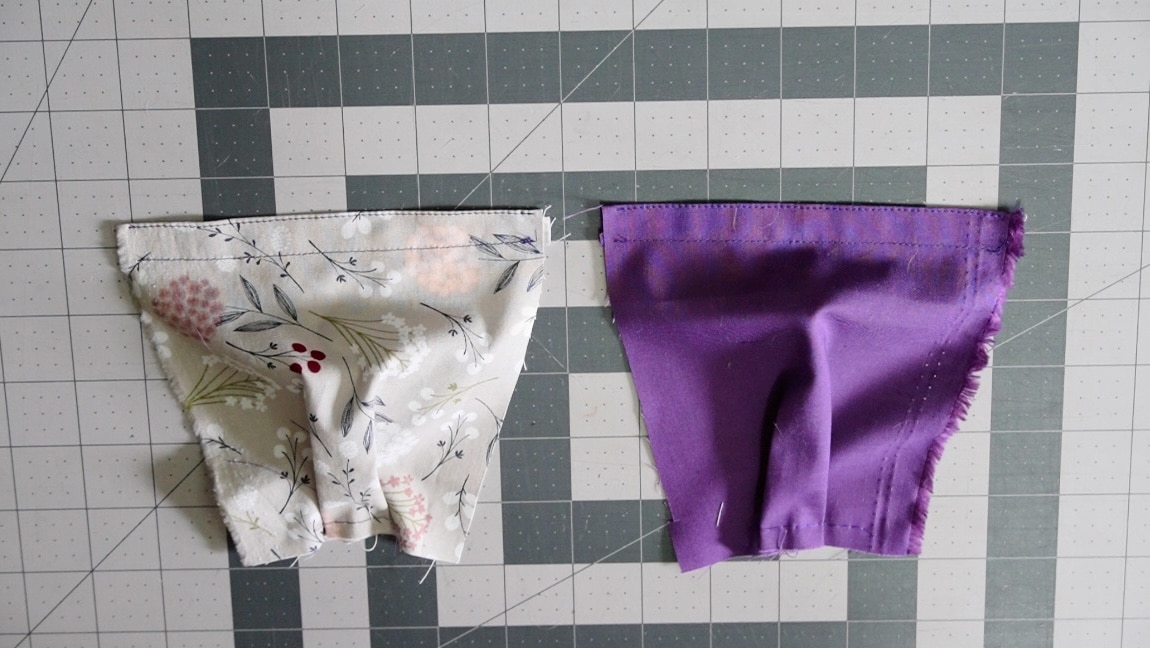
insert elastic into the casings
cut two 4.5″ pieces of elastic and insert them through the casing. Baste the elastic in place along the edges,
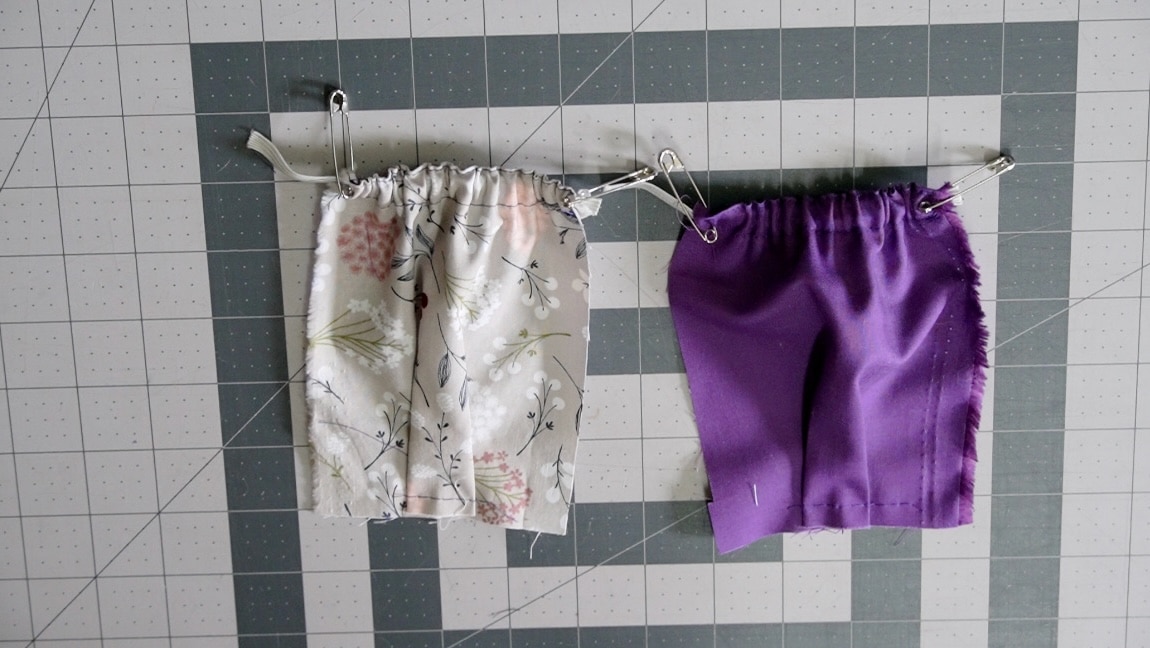
Step 6
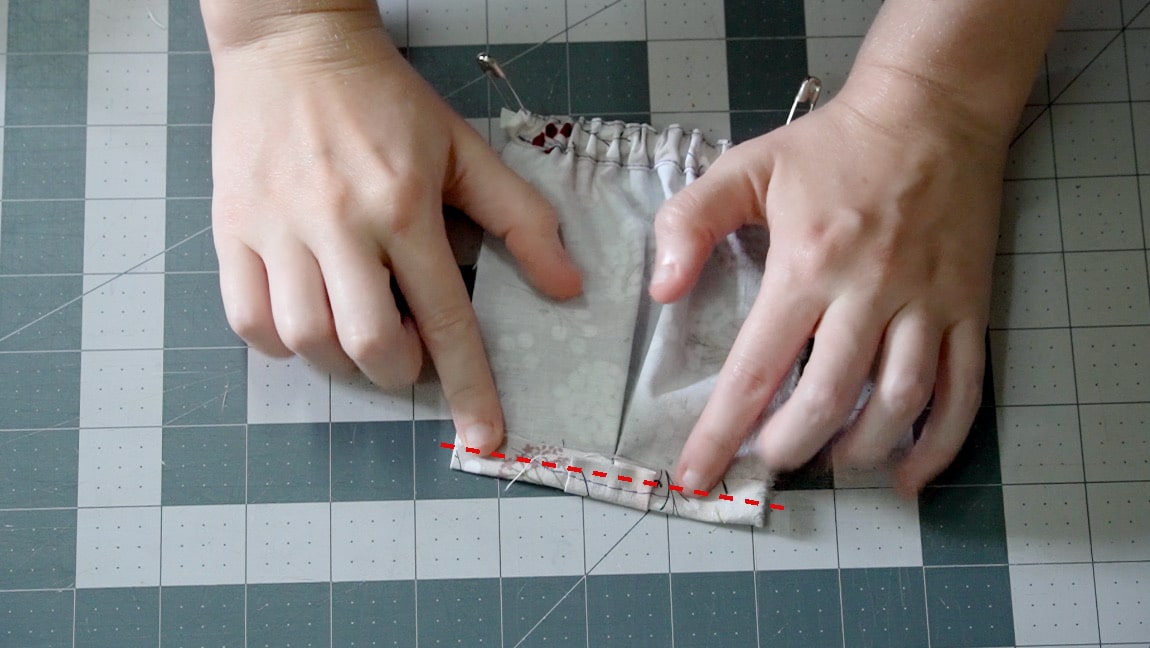
fold over the bottom of the side pockets
Fold over 1/2 inch at the bottom of the side pockets and press and baste in place.
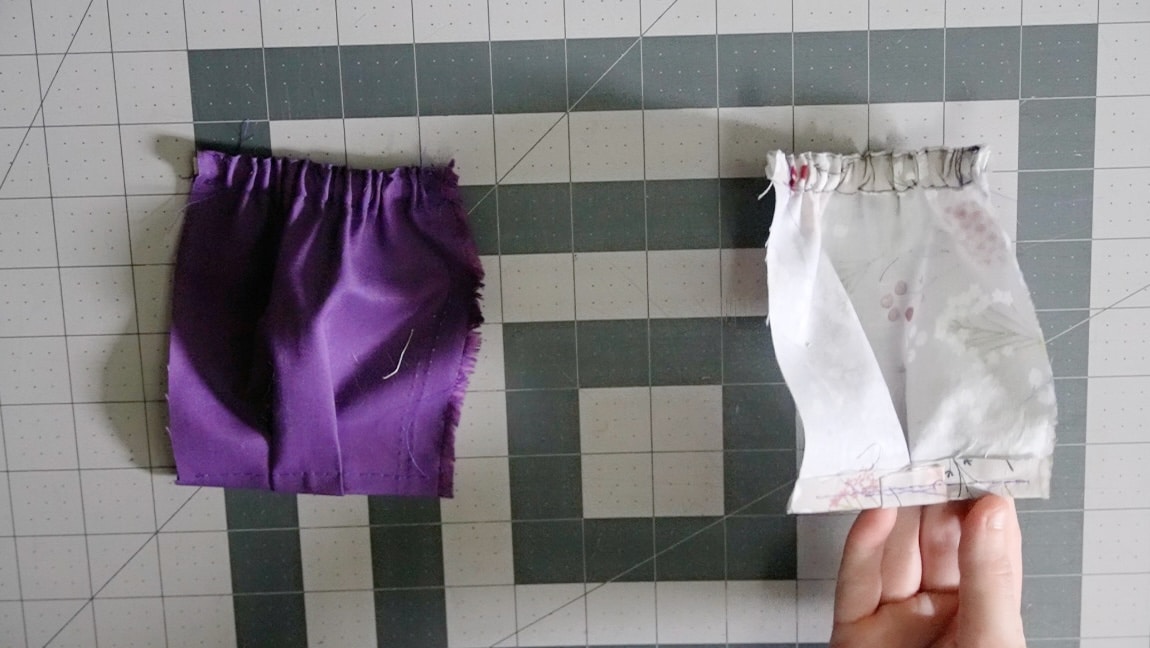
Step 7
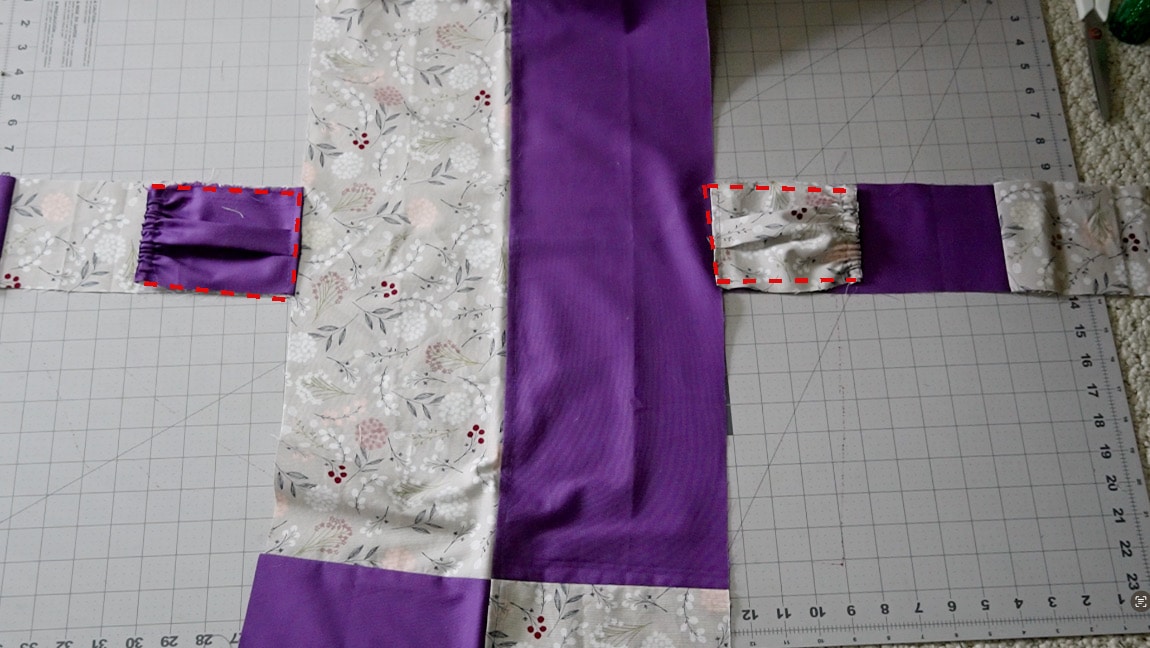
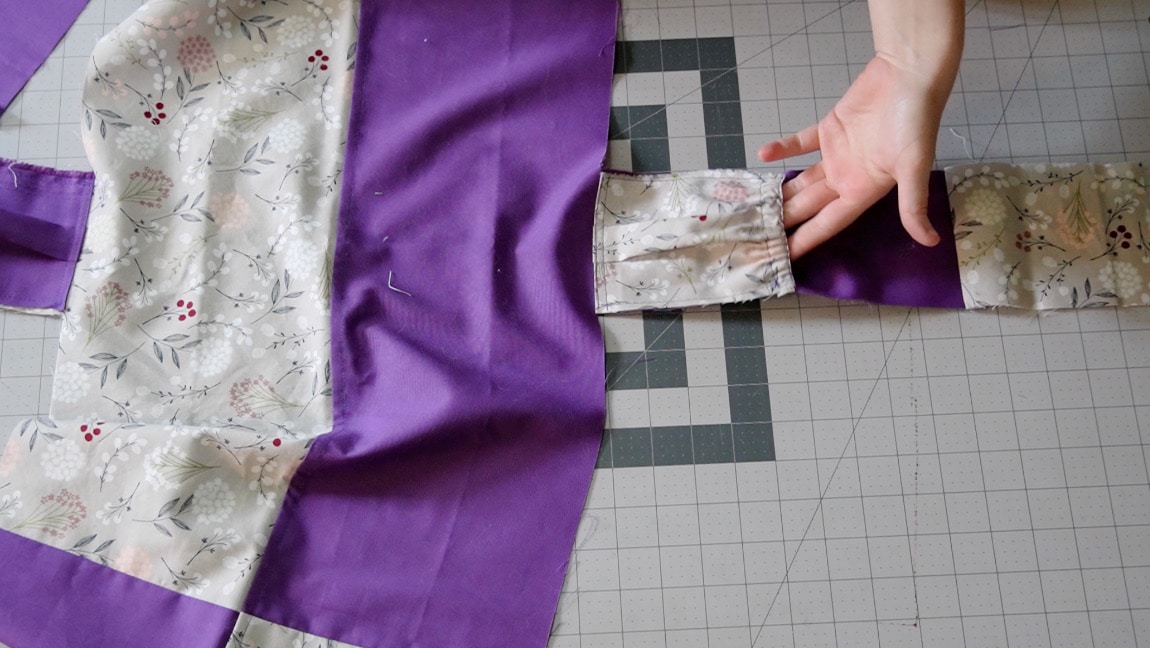
sew the side pockets to the side bag
sew the pockets along the sides and bottom face up on the side bag. Line of the side of the pockets with the side fabric, and the base of the pockets with the base of the bag.
Step 8
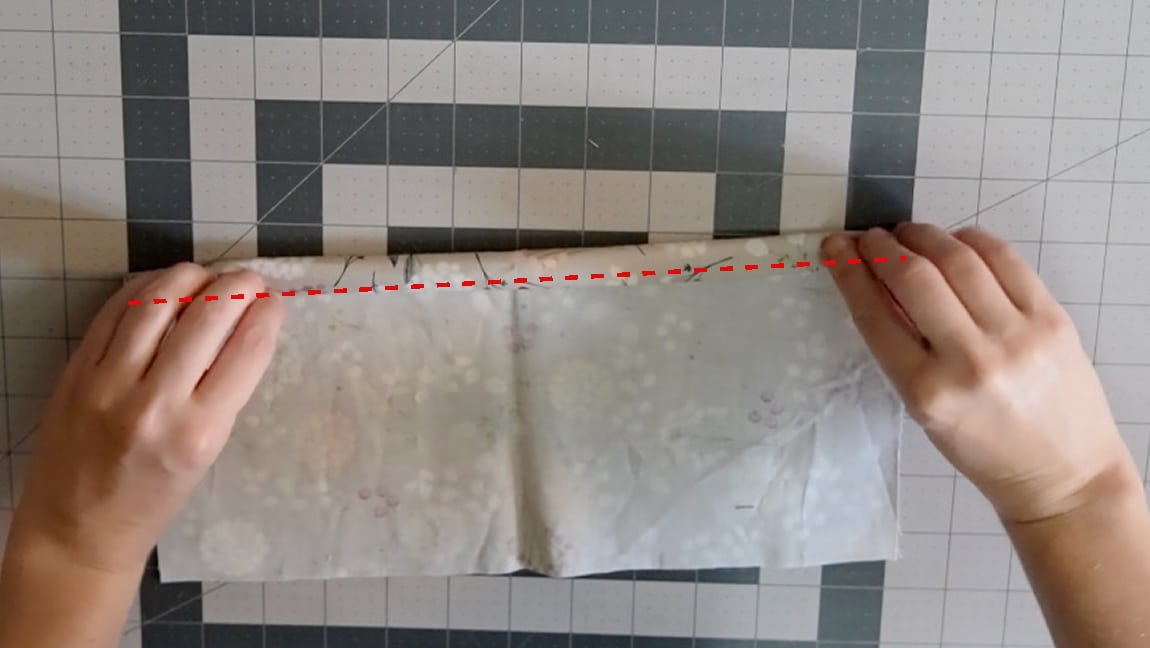
hem the upper edge of one inner pocket piece
Make a 1/2 inch hem on the upper edge of one of the pocket pieces.
Step 9
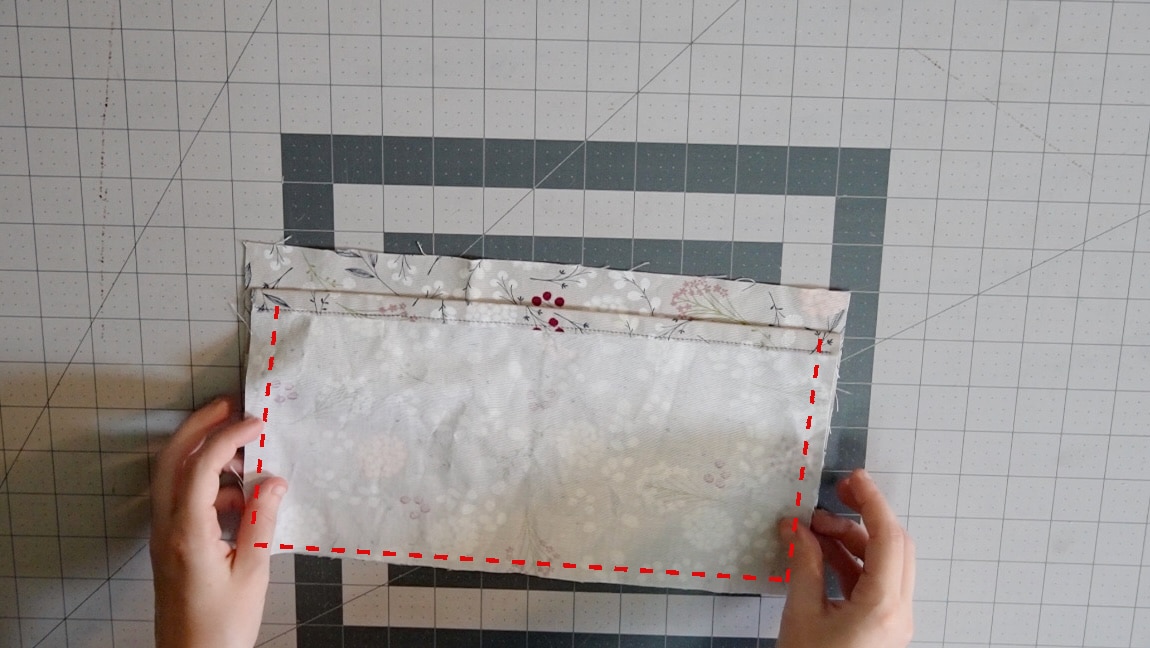
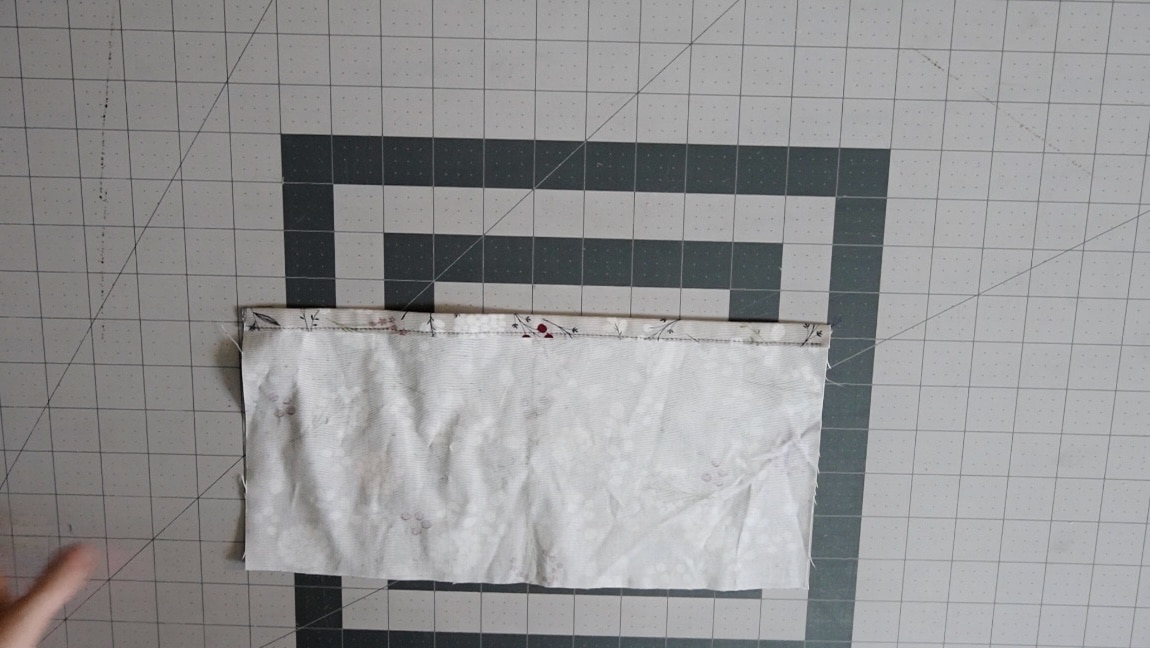
sew the two pocket pieces together
sew the two pocket pieces along the sides and bottom with right sides together.
Step 10
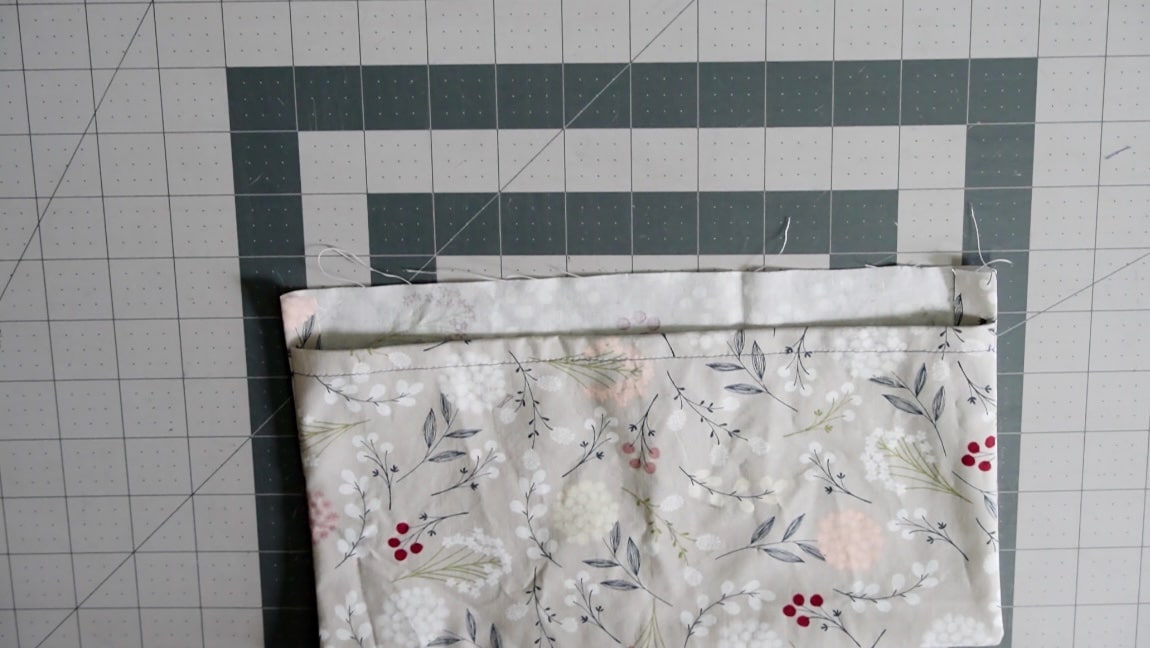
turn the pocket to the right side
clip the corners and turn the pocket to the right side.
Step 11
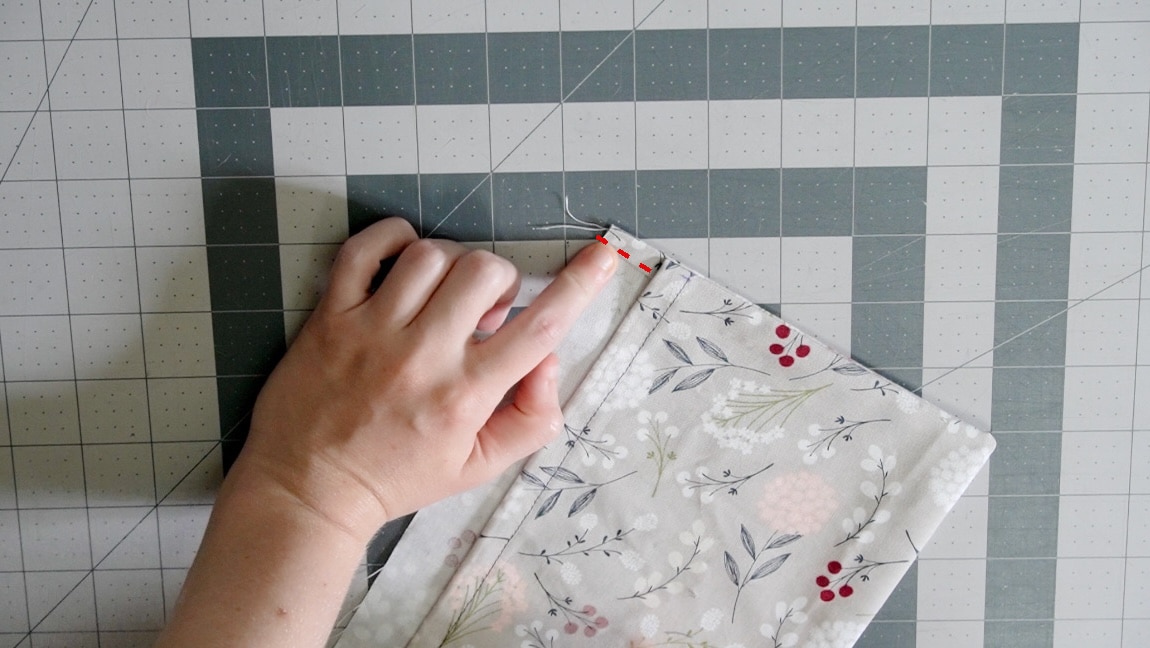
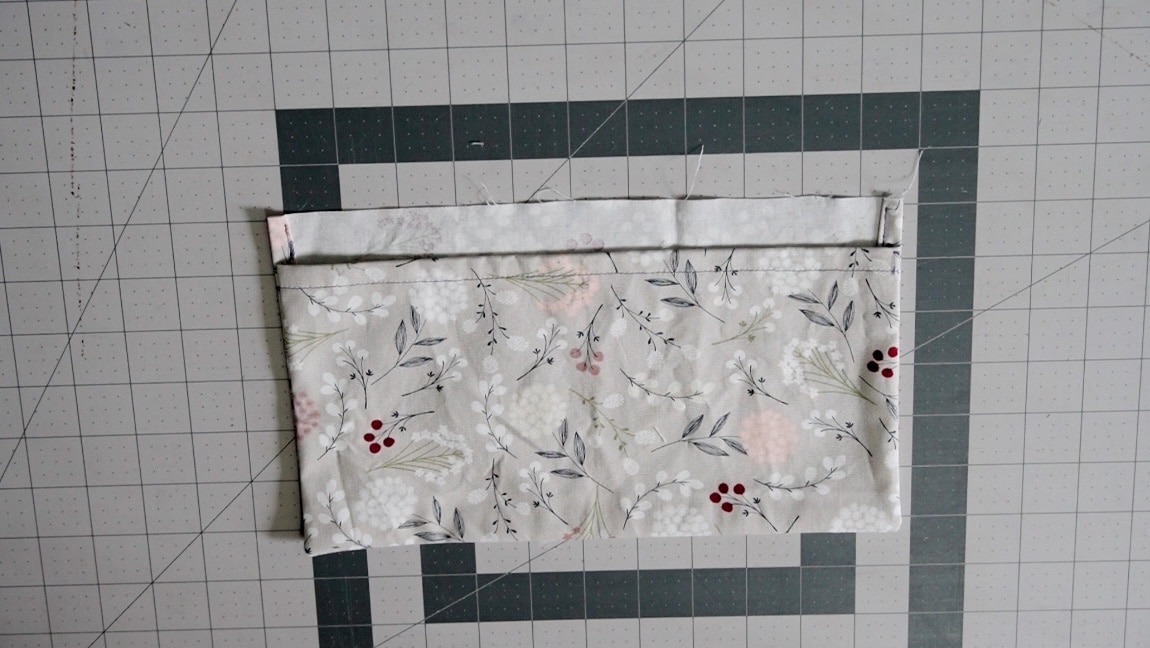
hem the seam allowance on the upper edge of the pocket
there is a bit of fabric left over on the seam of the un-hemmed bag piece. Fold over the raw edge and sew it like a hem.
Step 12
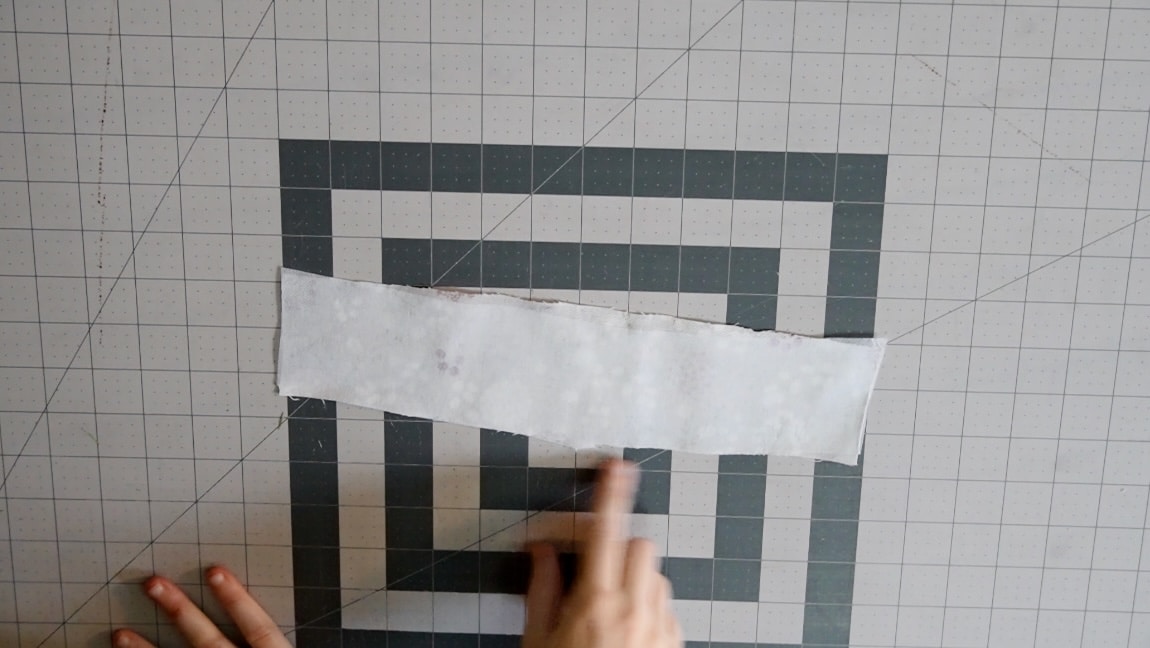
apply interfacing to one flap piece
Step 13
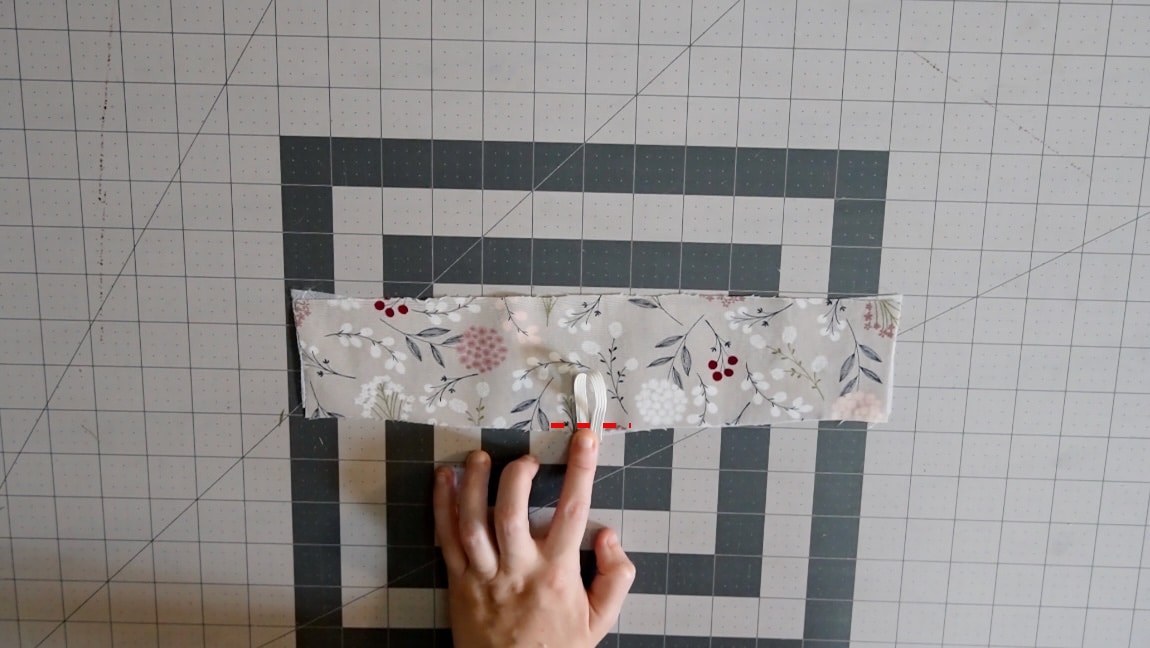
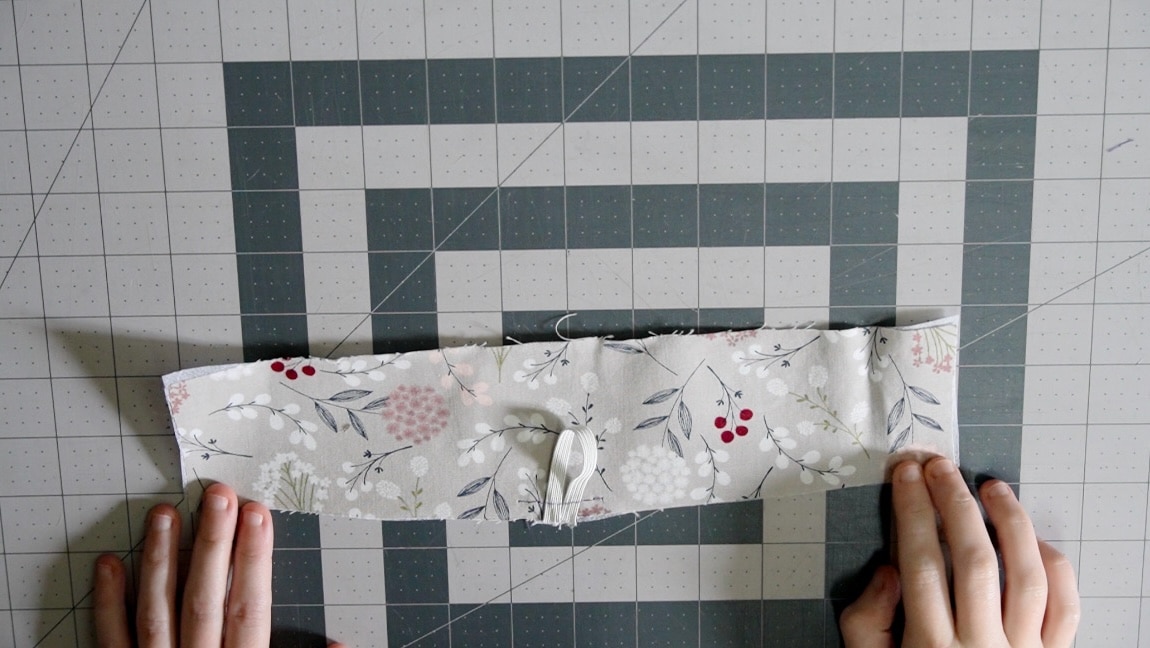
sew a loop of elastic to the flap
cut a 3 inch piece of elastic and baste it in a loop to the point of one of the flap pieces
Step 14
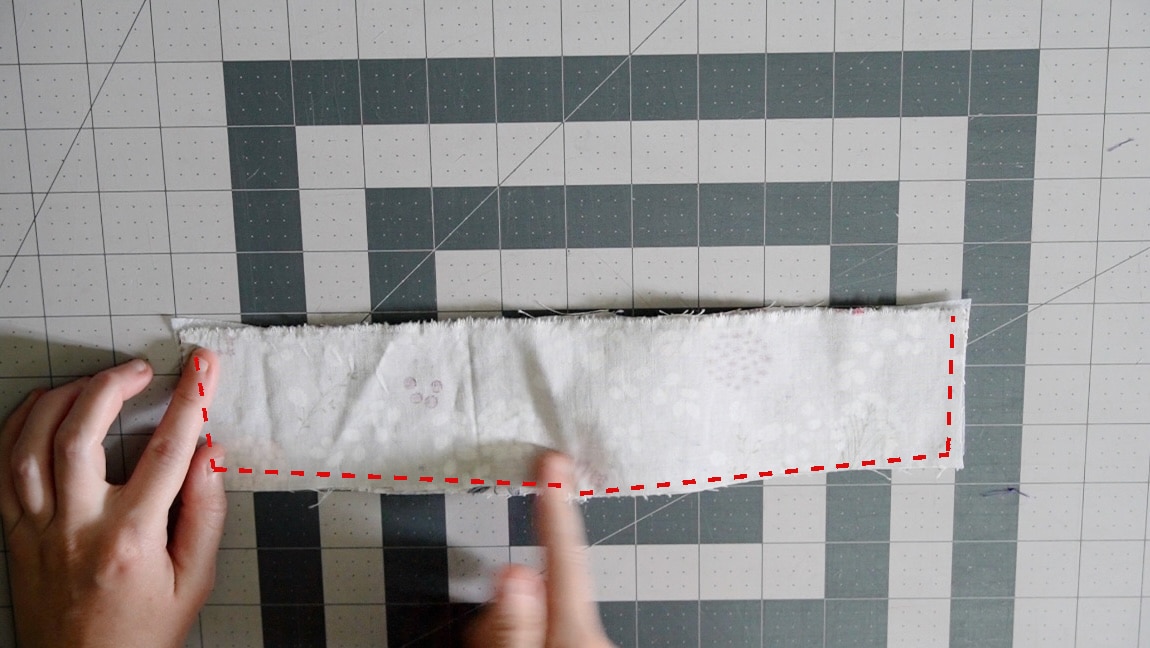
sew the two flap pieces together
with right sides together and sandwiching the elastic, sew the two flap pieces together. Leave the top unsewn.
Step 15
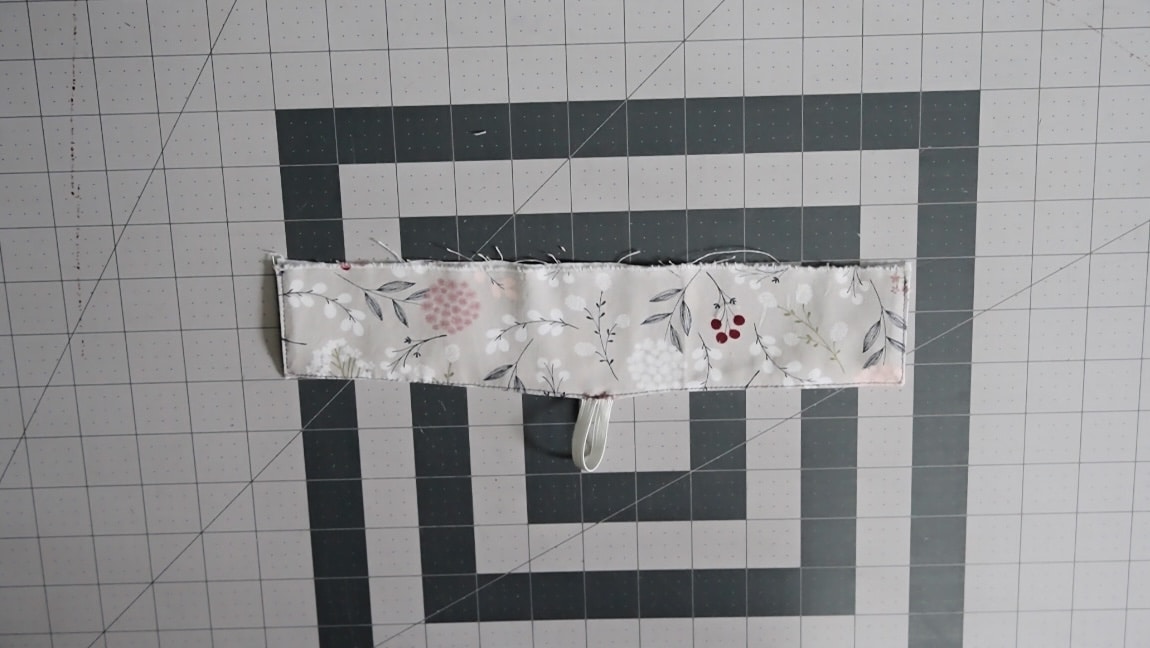
turn the flap to the right side
clip the corners and turn the flap to the right side. Press it flat.
Step 16
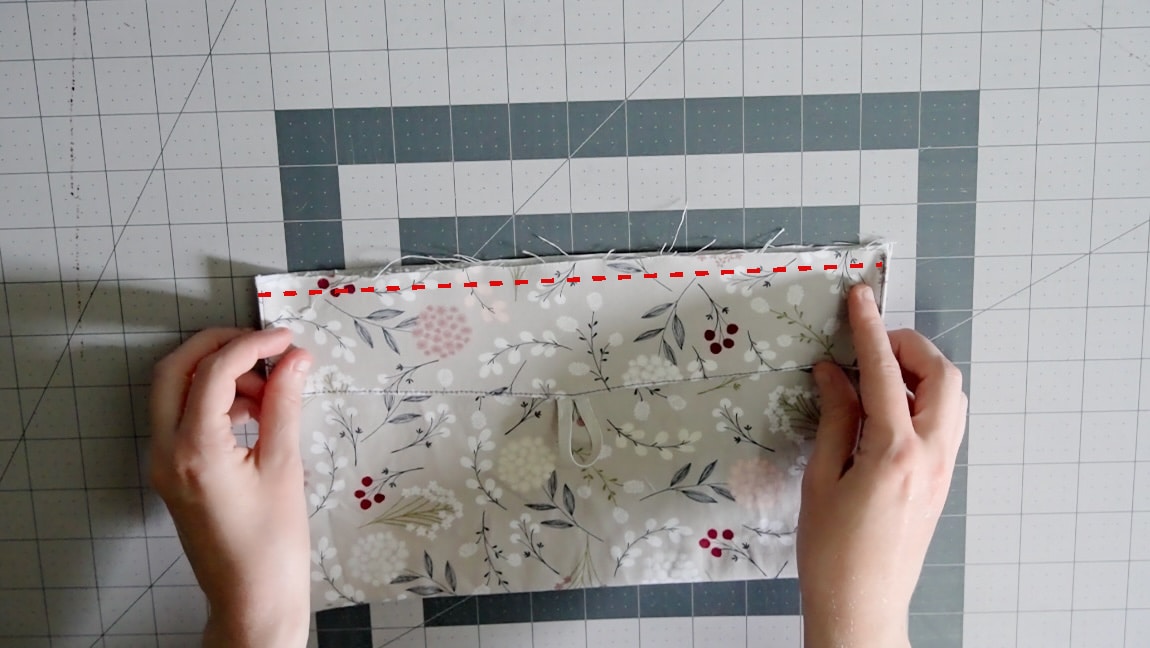
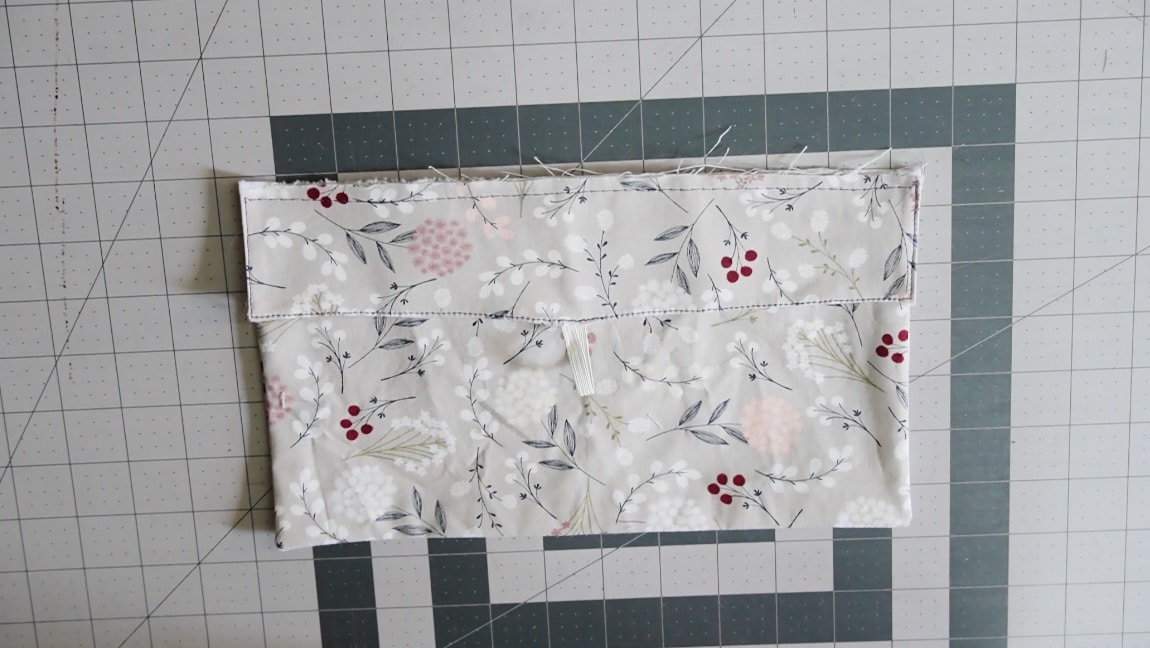
baste the upper edge of the inner pocket and flap together
baste the upper raw edge of the flap to the upper raw edge of the pocket.
Step 17
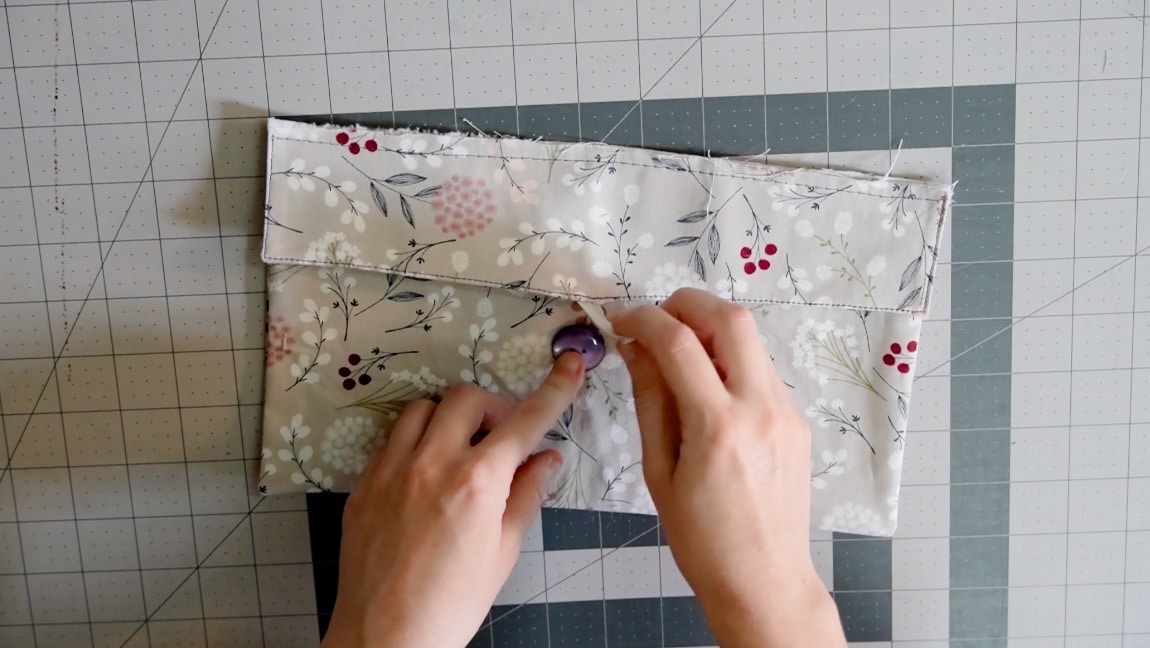
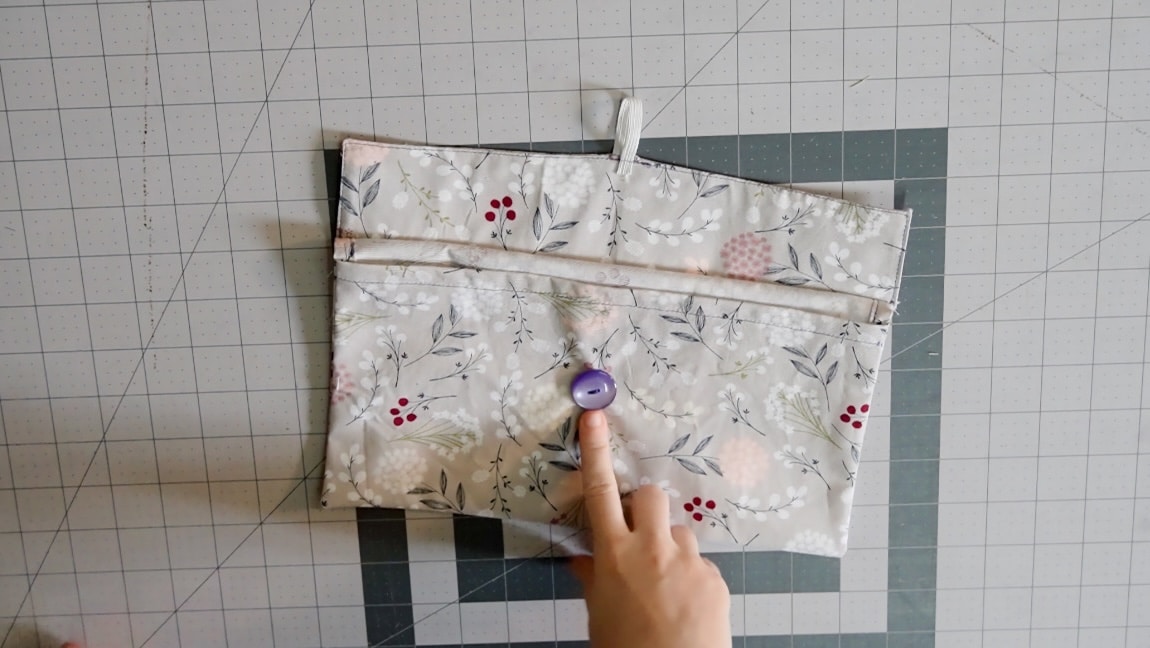
sew the button
using the elastic loop as a guide, hand sew a button to the pocket.
Step 18
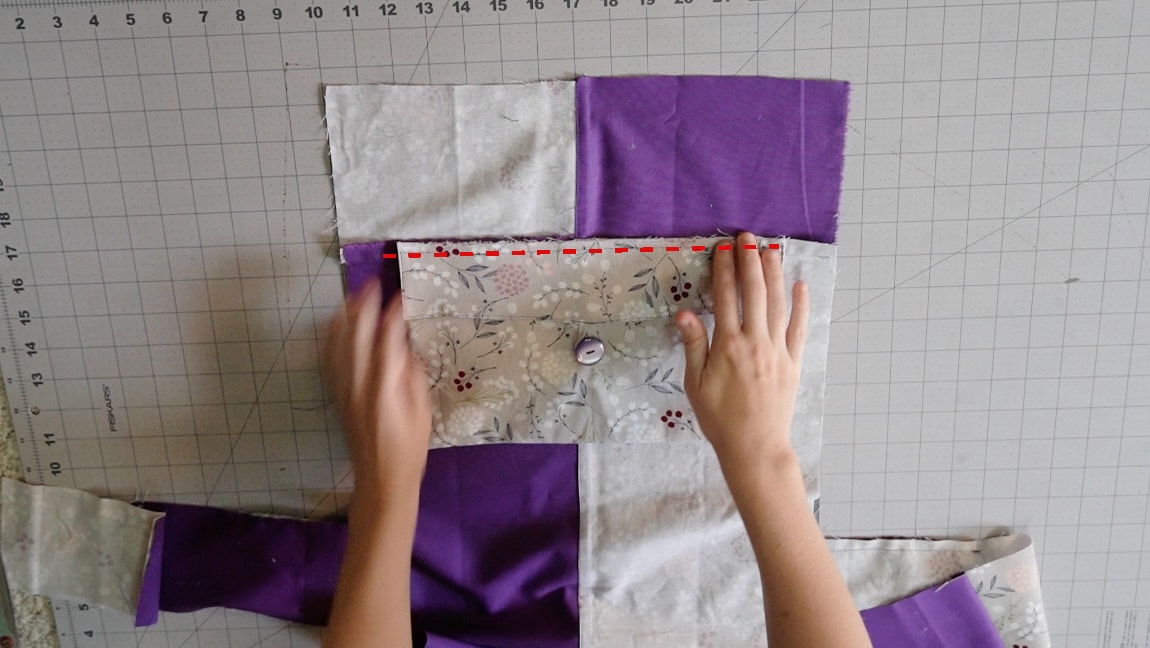
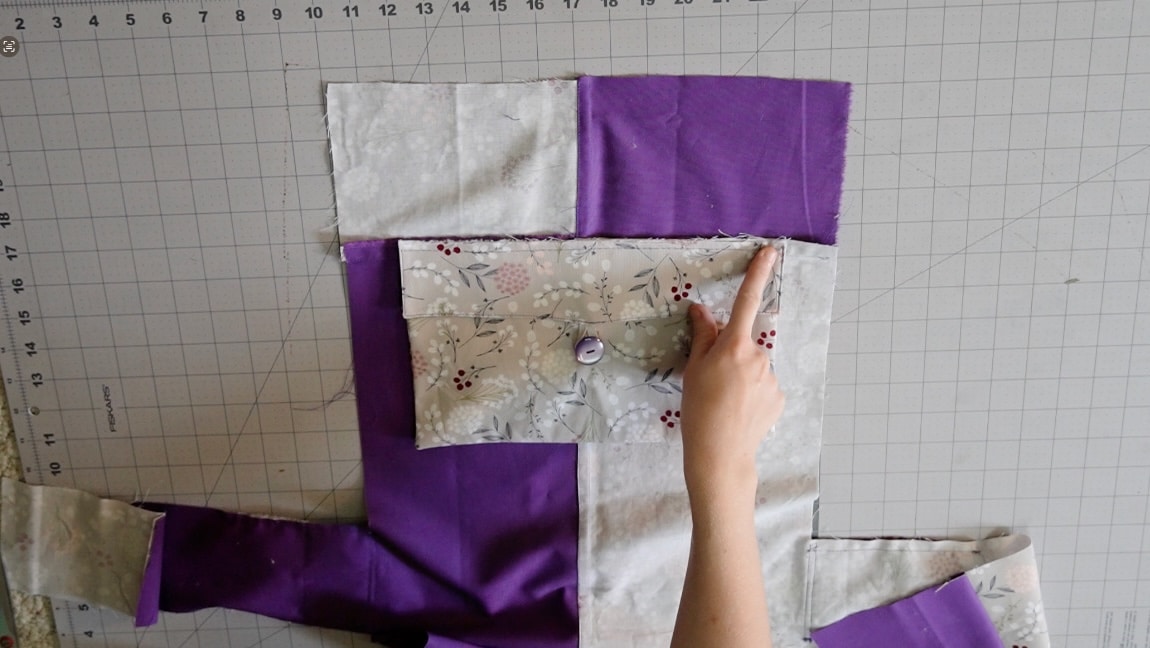
baste the pocket to the seam allowance of the bag
Inside the bag, baste the pocket to the seam allowance between the bag and top bag pieces.
Step 19
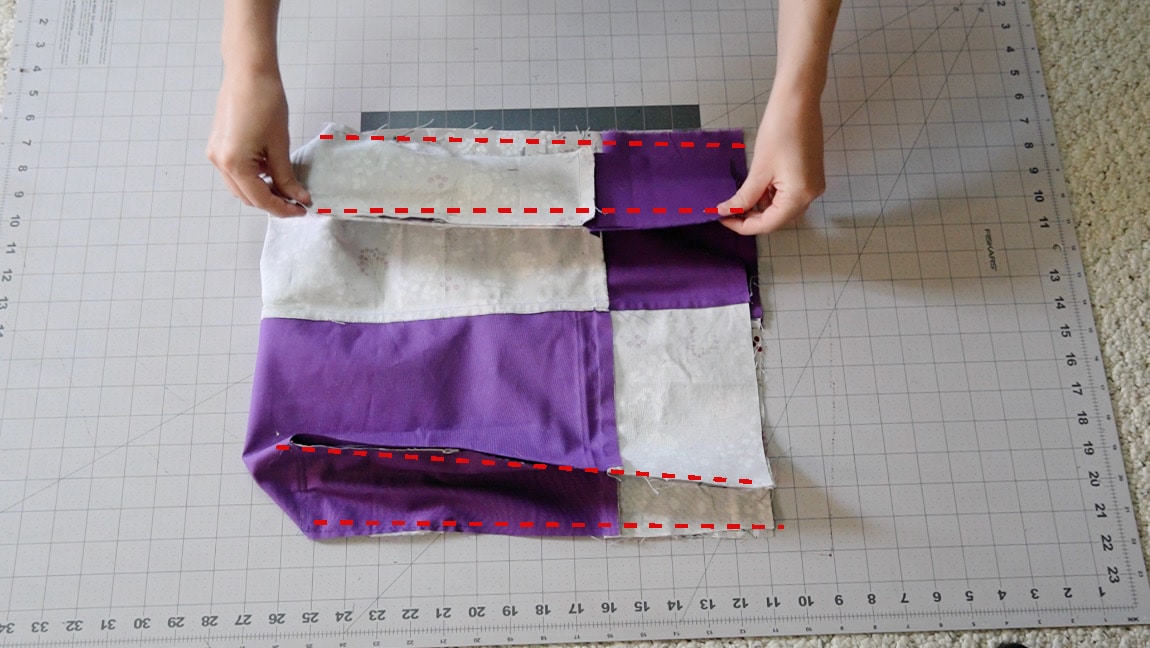
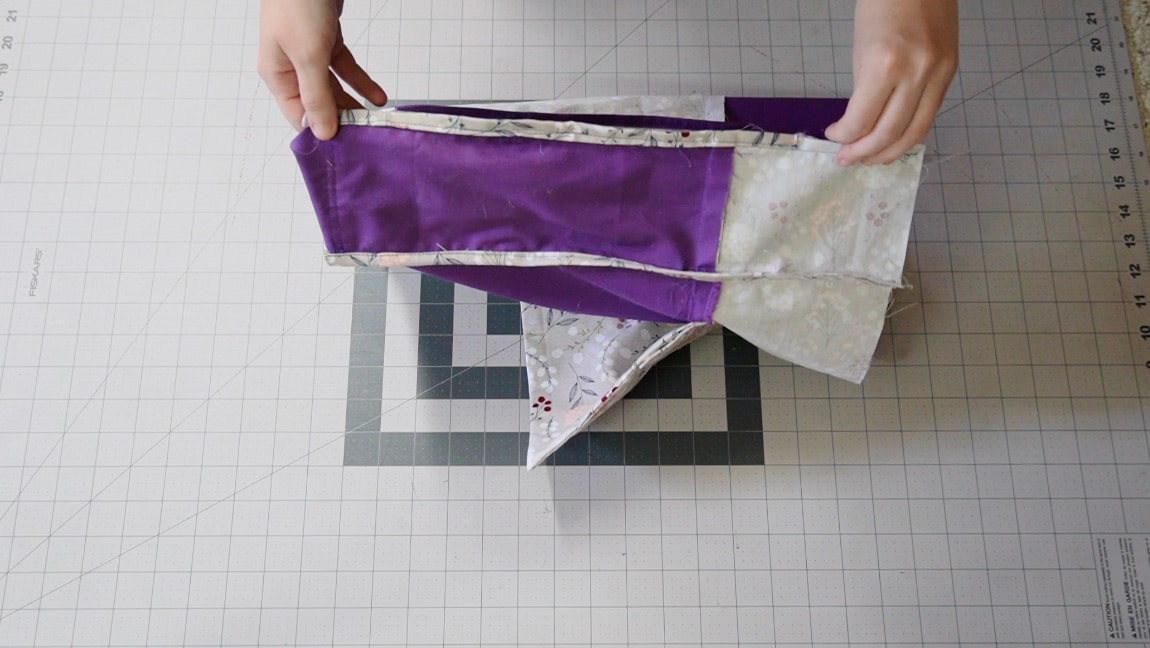
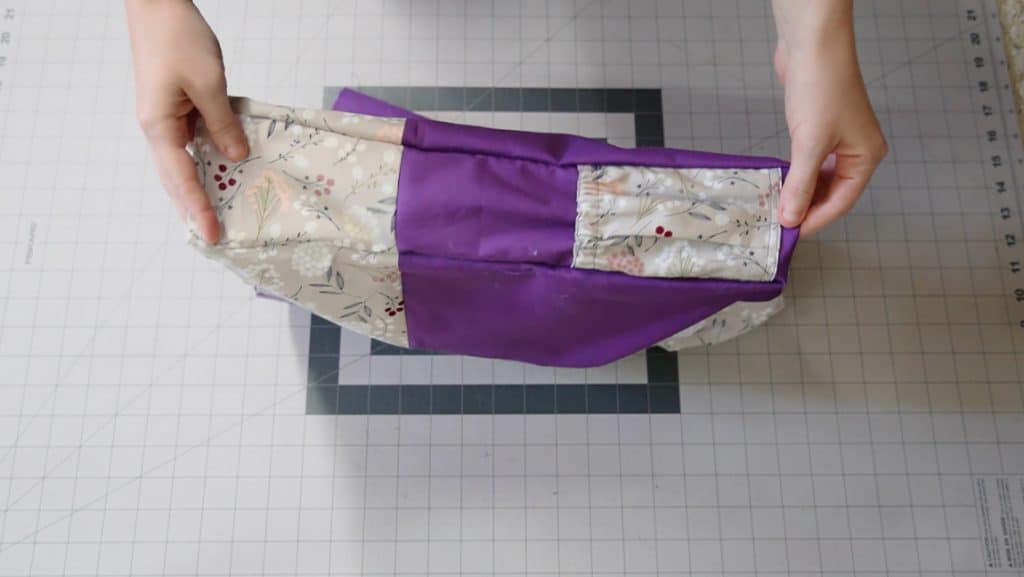
sew the sides of the bag
Fold the sides of the bag up, lining up the fabric seams, and sew the sides of the bag. Then turn the bag to the right side and press the creases into the base.
Step 20
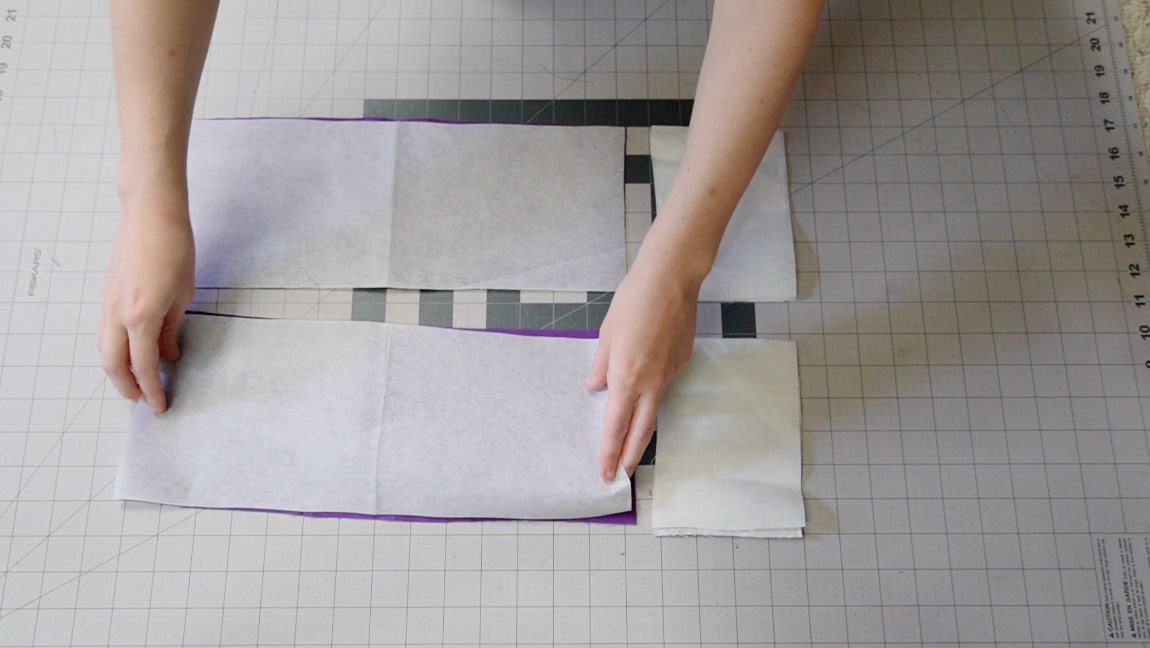
apply interfacing to the bag facing pieces
Step 21
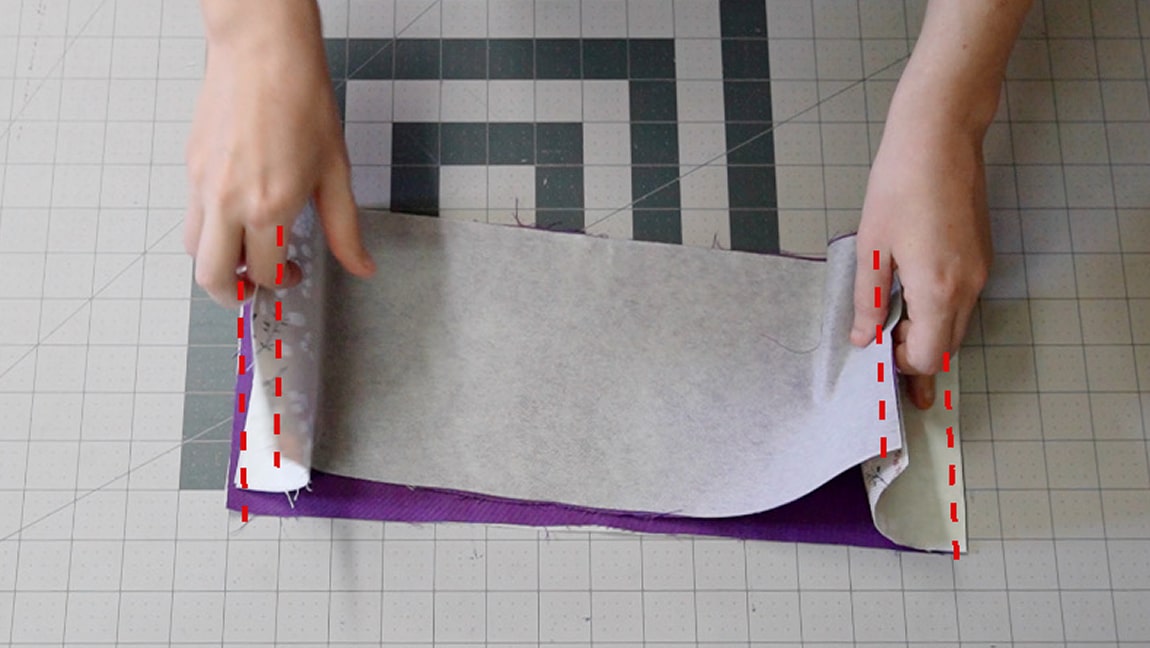
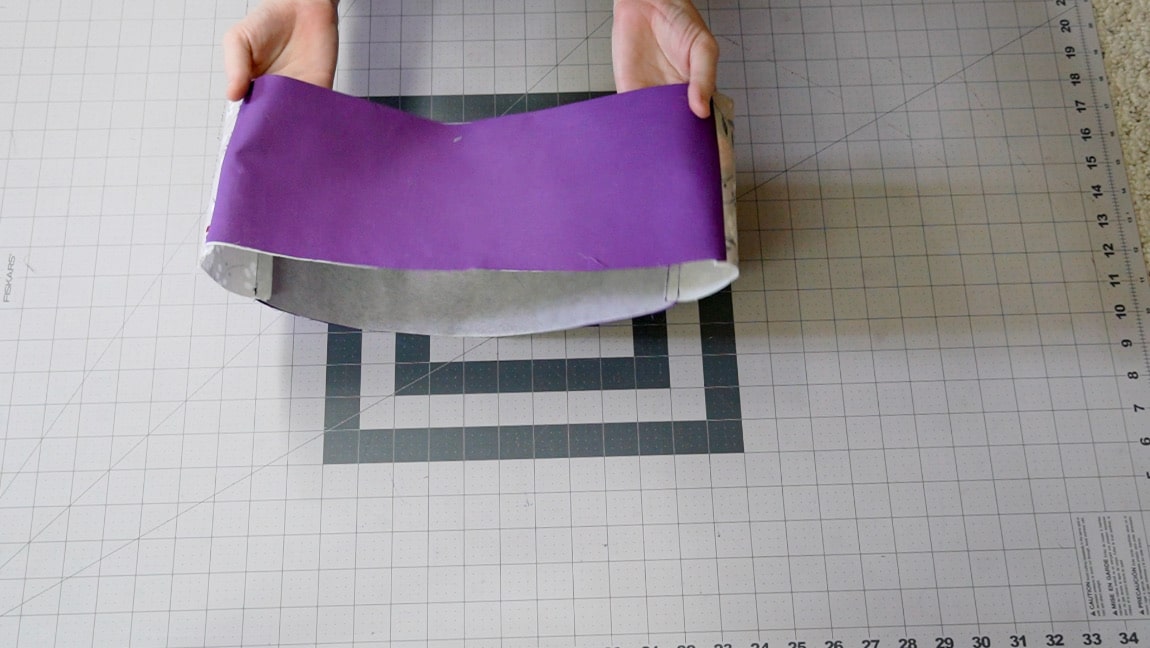
sew the facing together
with right sides together, sew the top facing together along the sides to form a loop.
Step 22
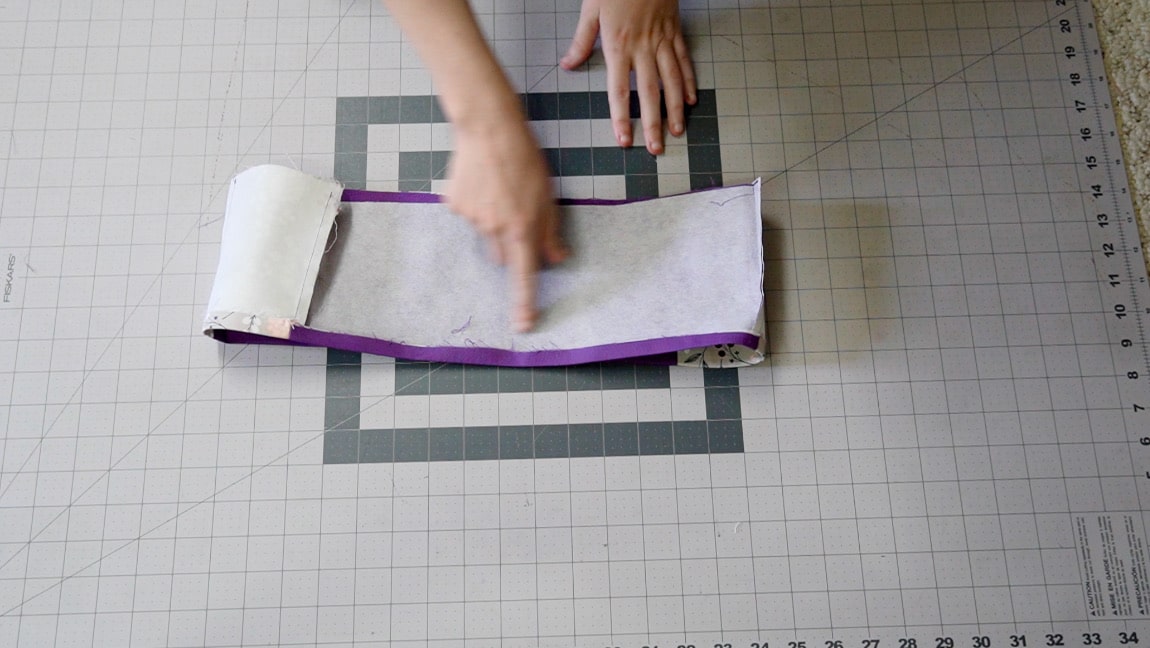
fold over the lower edge of the facing
Press up the seam allowance at the bottom of the facing.
Step 23
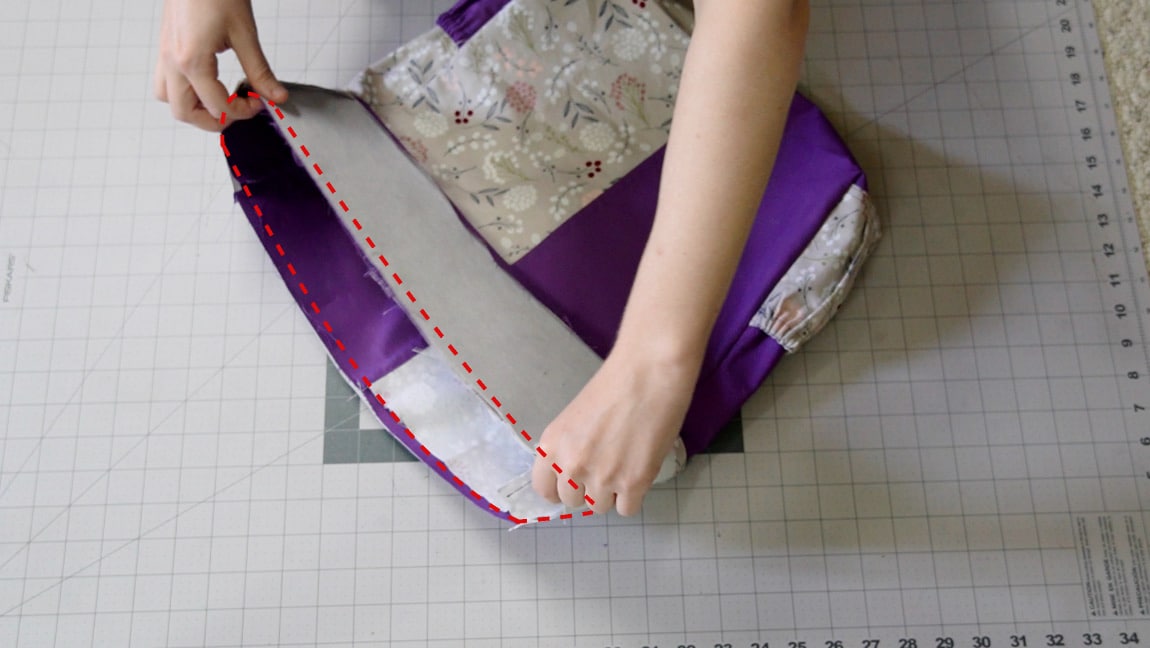
sew the facing to the upper edge of the bag
sew the facing to the top of the bag with right sides together.
Step 24
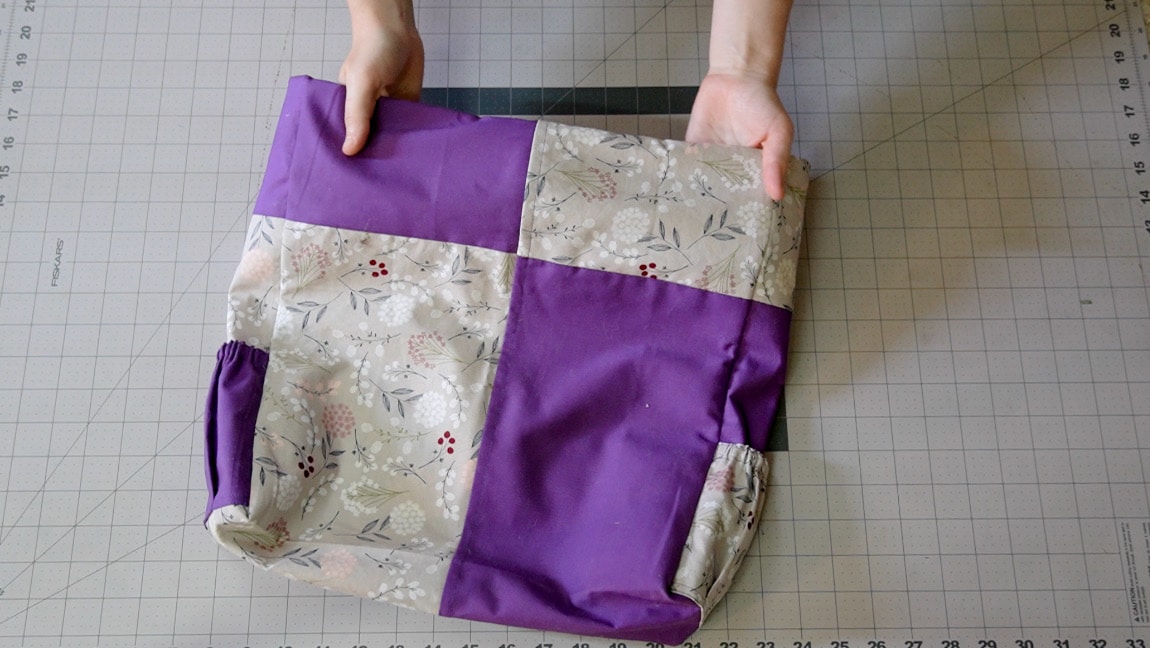
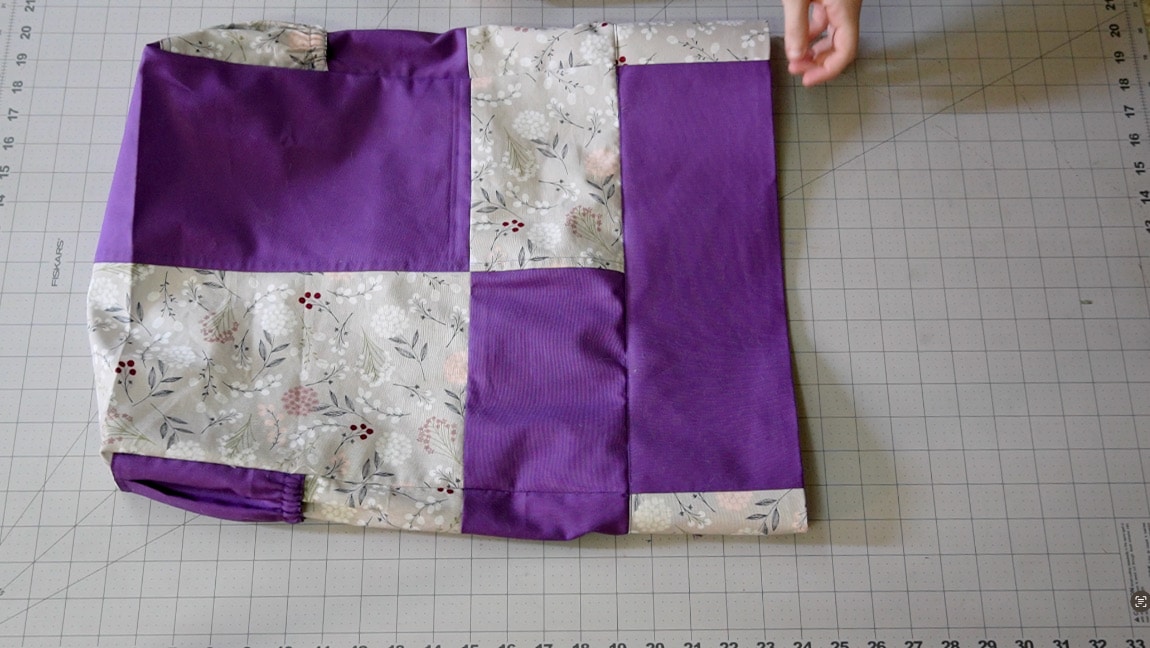
turn the facing to the reverse side of the bag and sew it in place
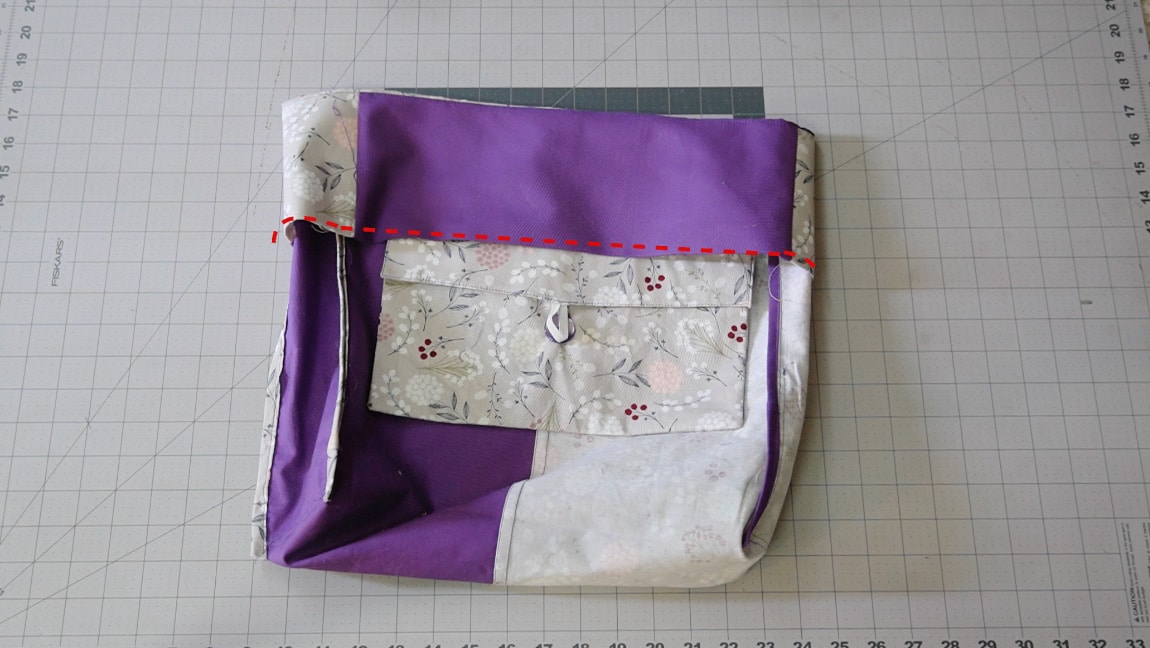
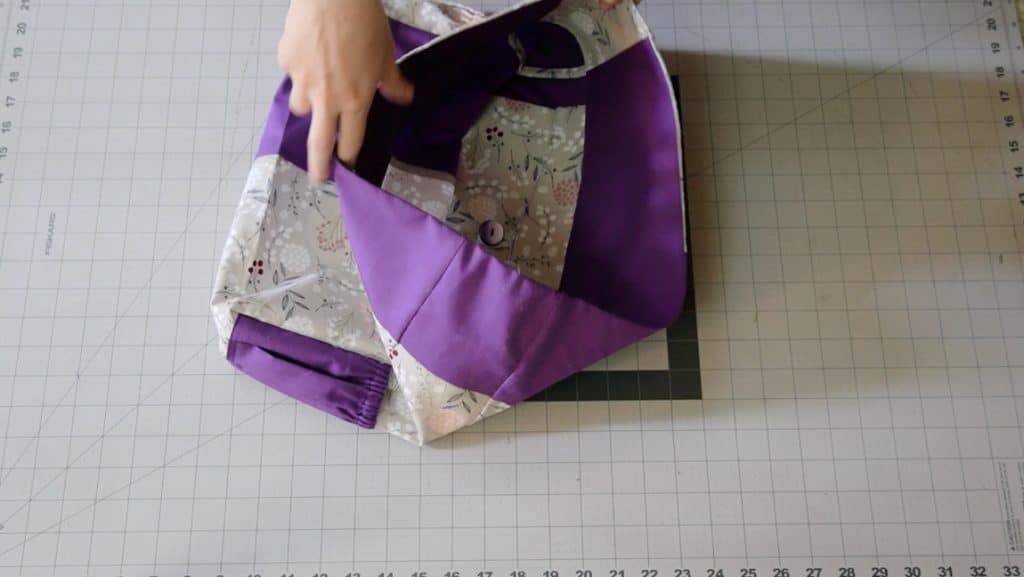
turn the facing over to the inside and sew it along the base. It should cover the raw edges of the pocket and the seam between the bag and top bag pieces.
Step 25
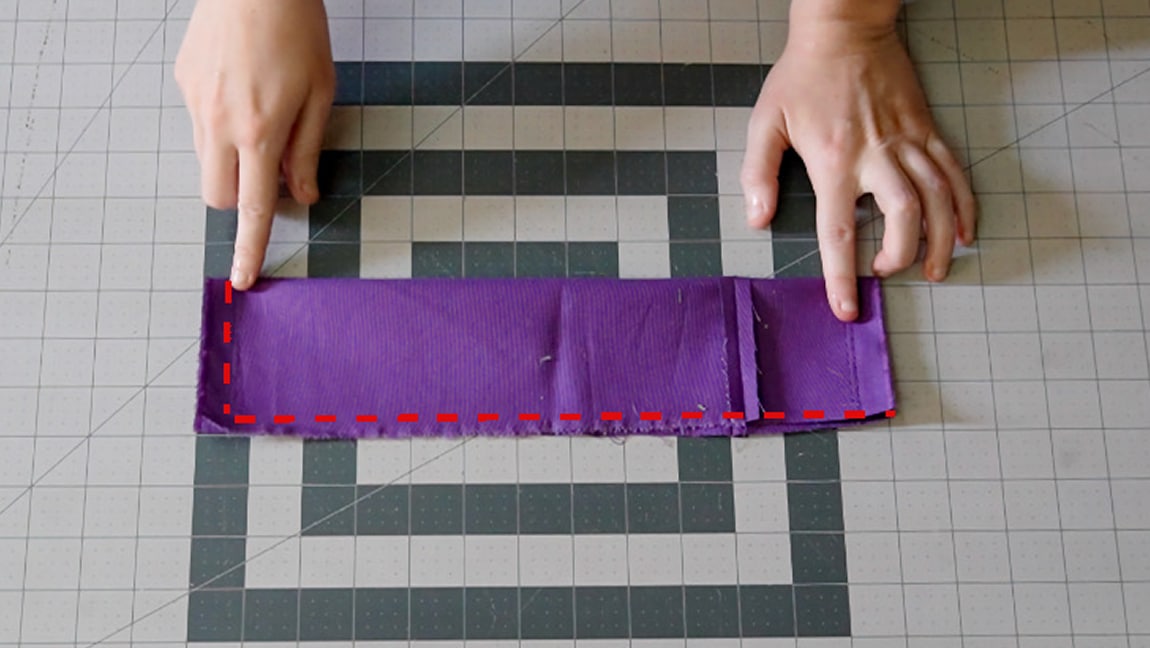
fold the base insert in half and sew it along two sides
with right sides together, fold the base insert in half and sew along one short side and the long side.
Step 26
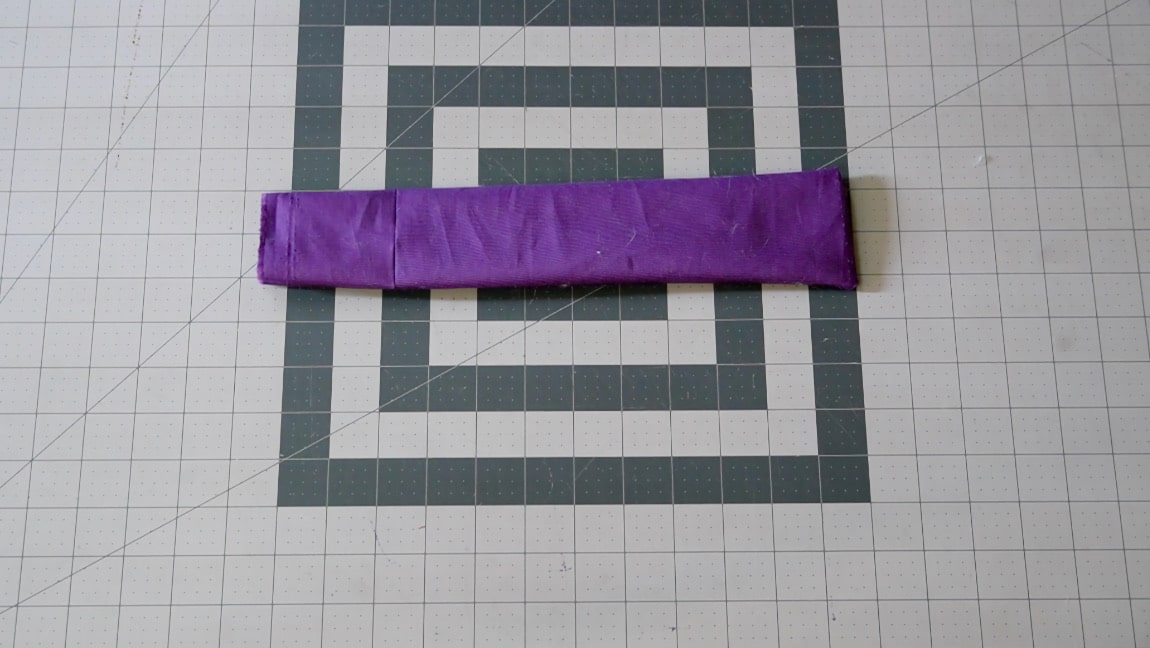
turn the base insert to the right side
clip the corners and turn the base to the right side.
Step 27
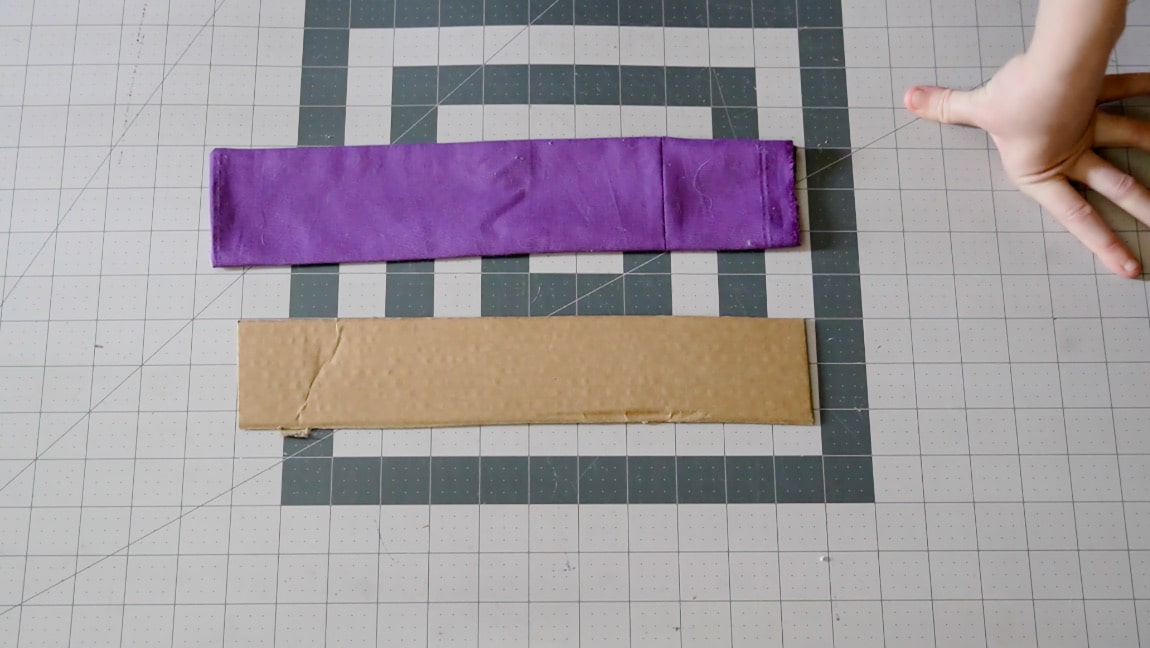
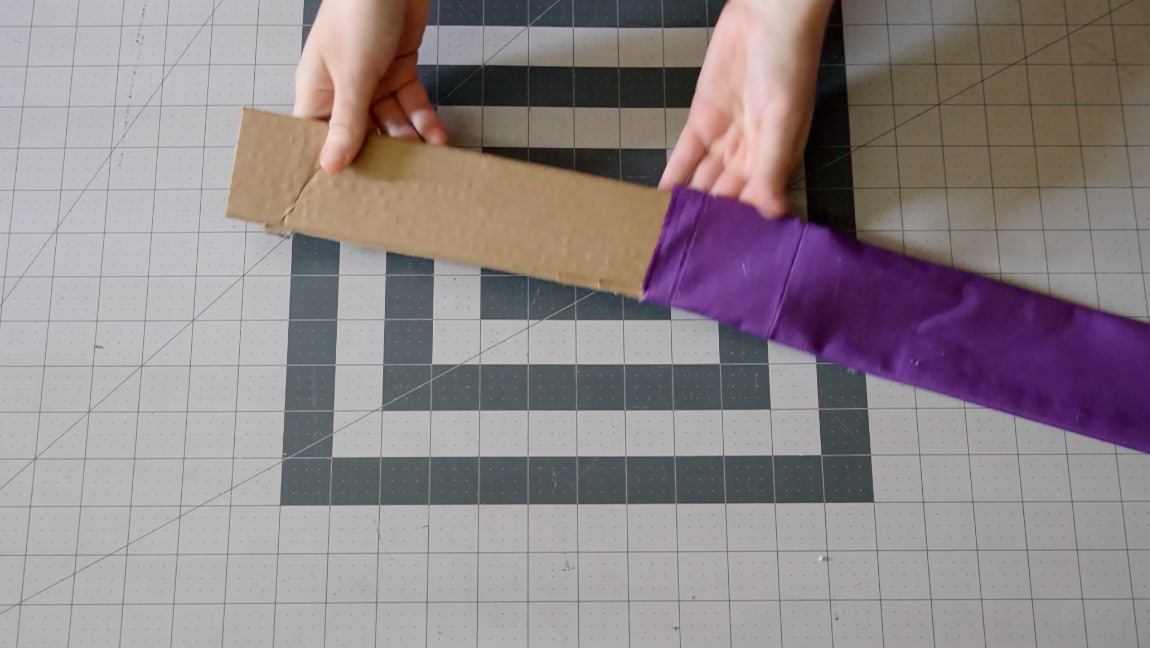
insert cardboard into the base
Step 28
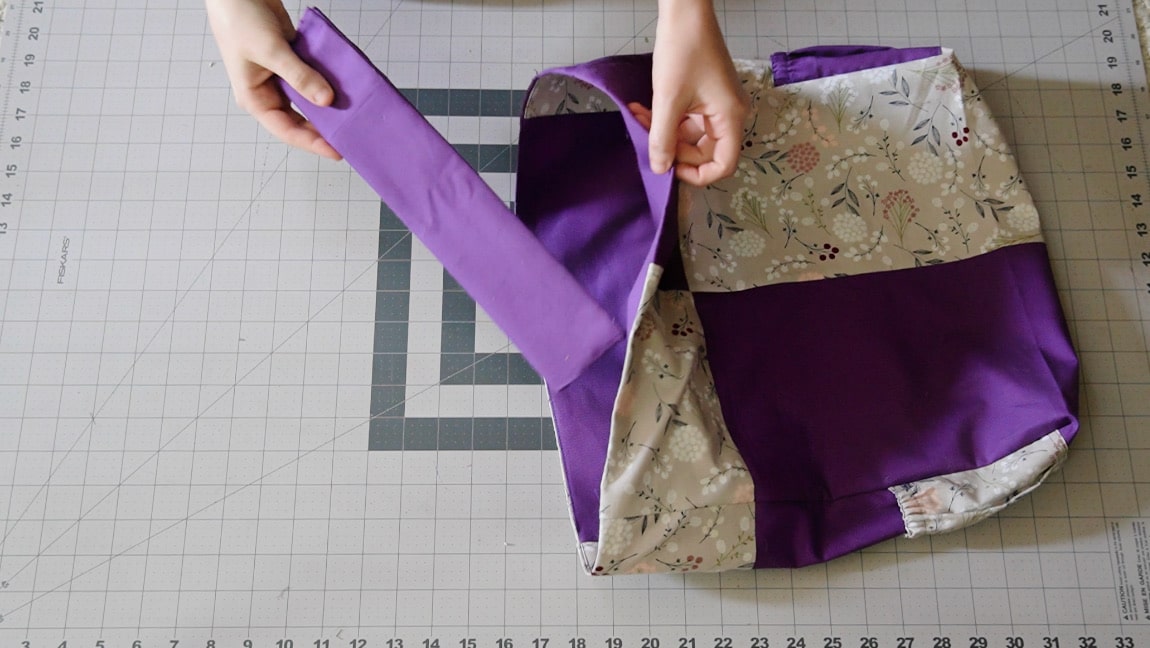
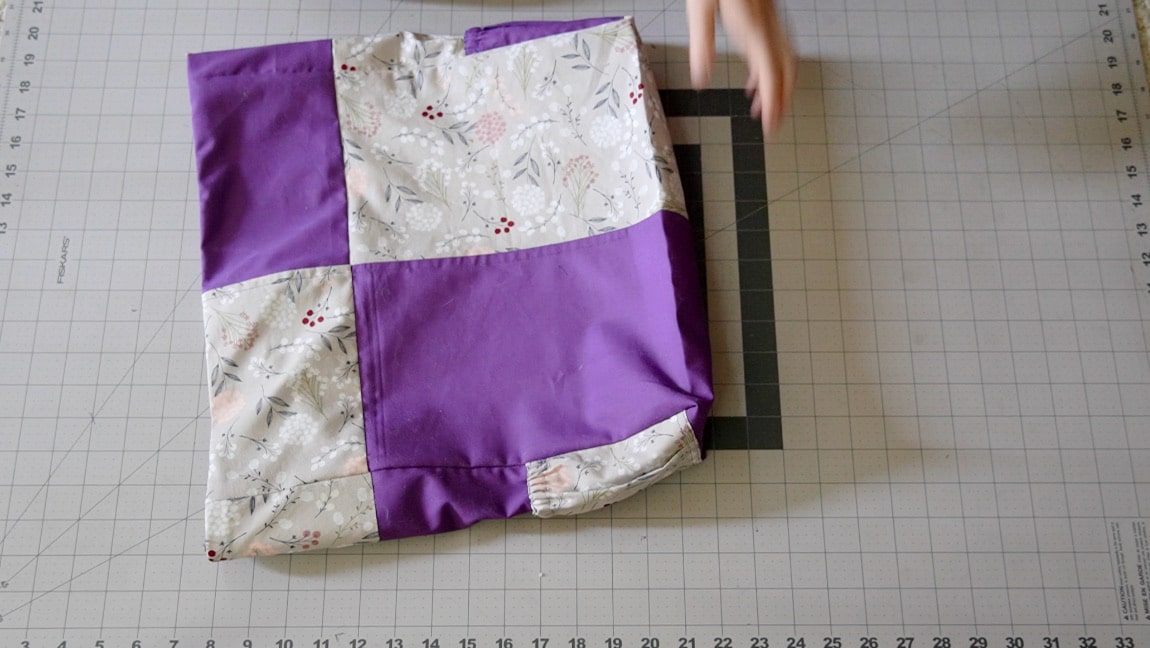
insert the base to the bottom of the bag
Step 29
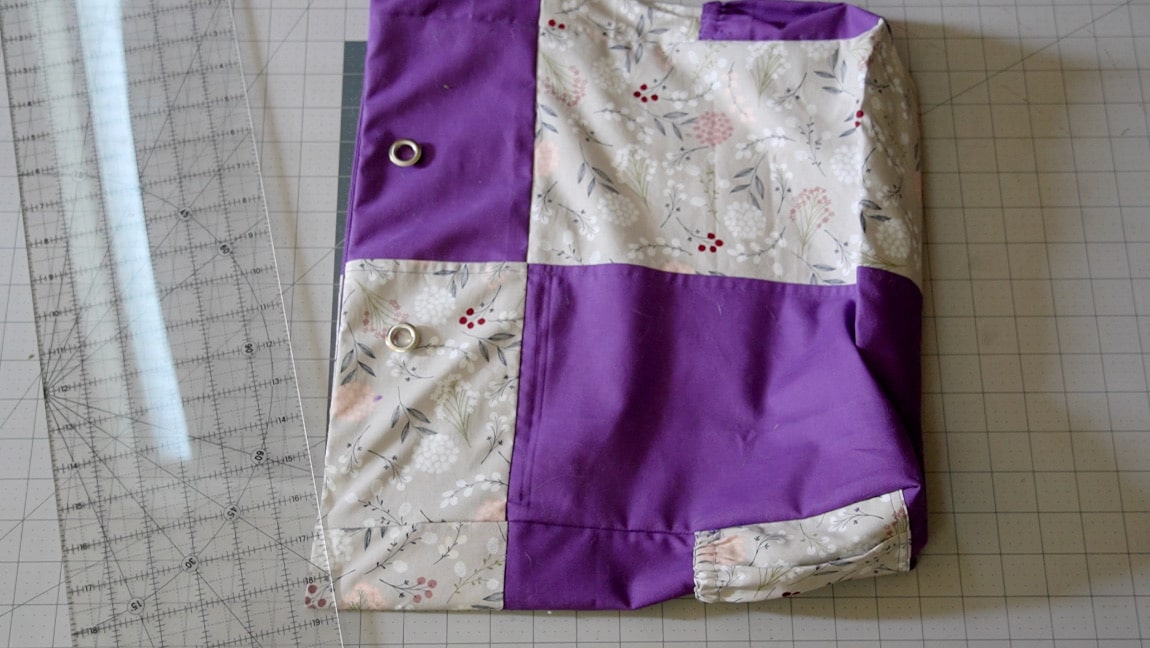
mark the placement for the grommets
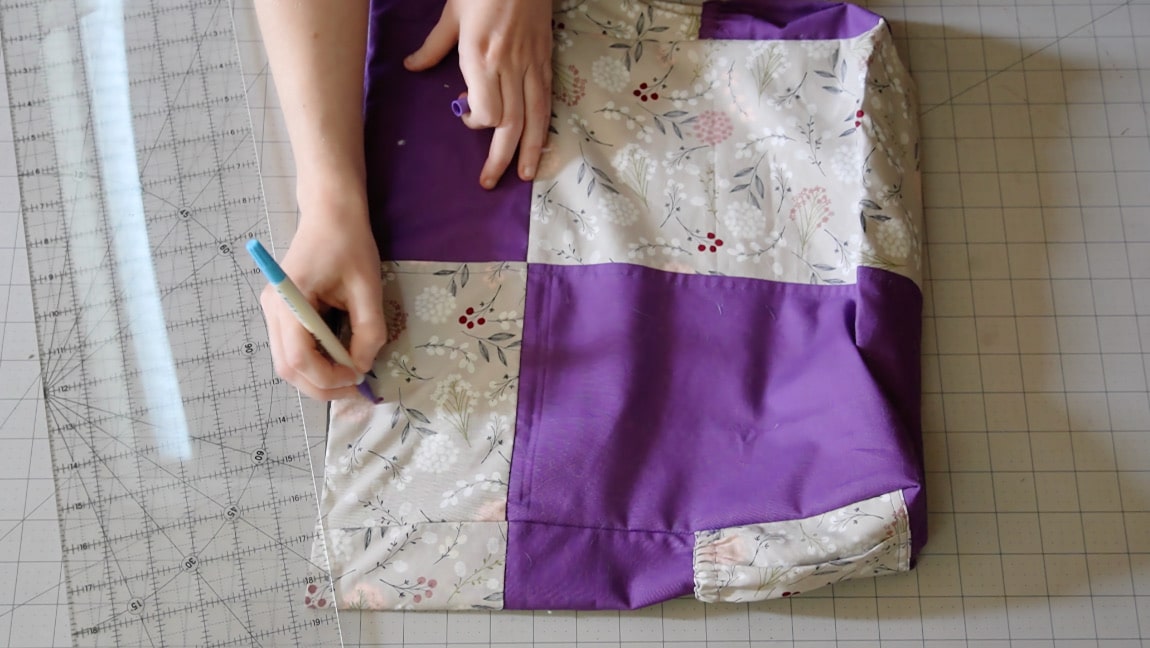
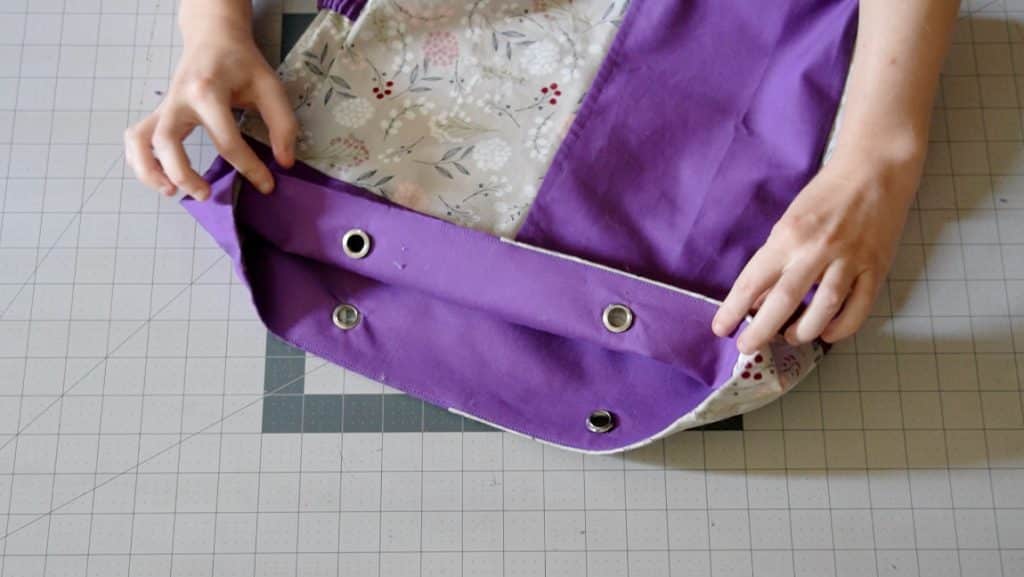
Find the center of each bag half and mark your holes for the grommets 1.5″ from the top. There should be four grommets total.
Step 30
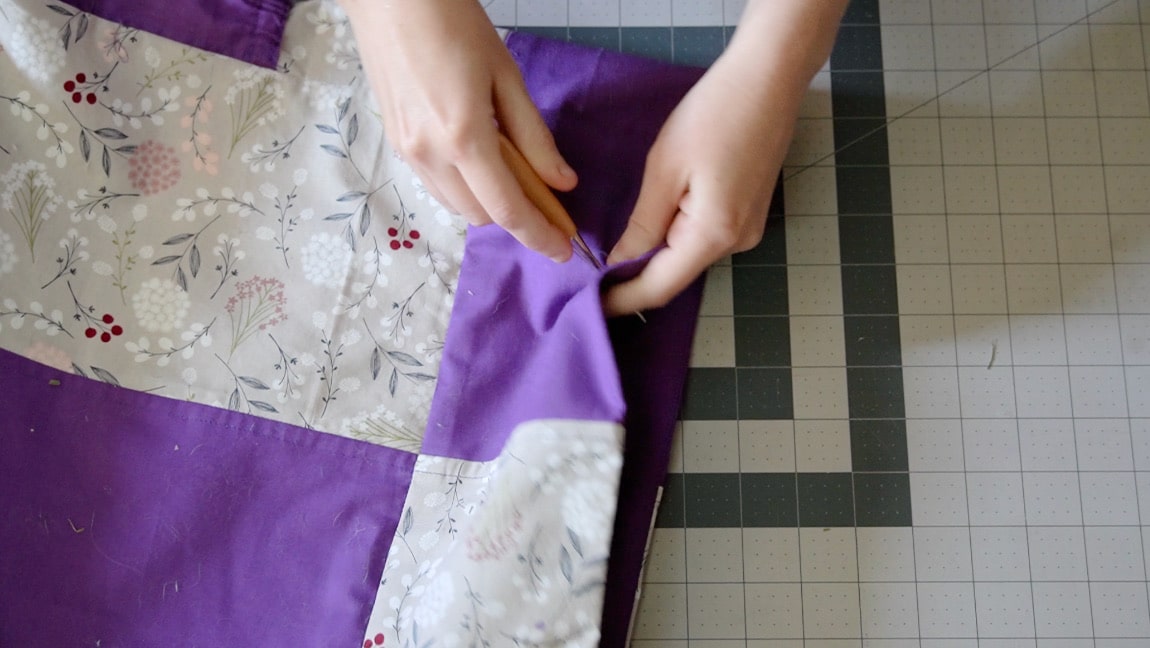
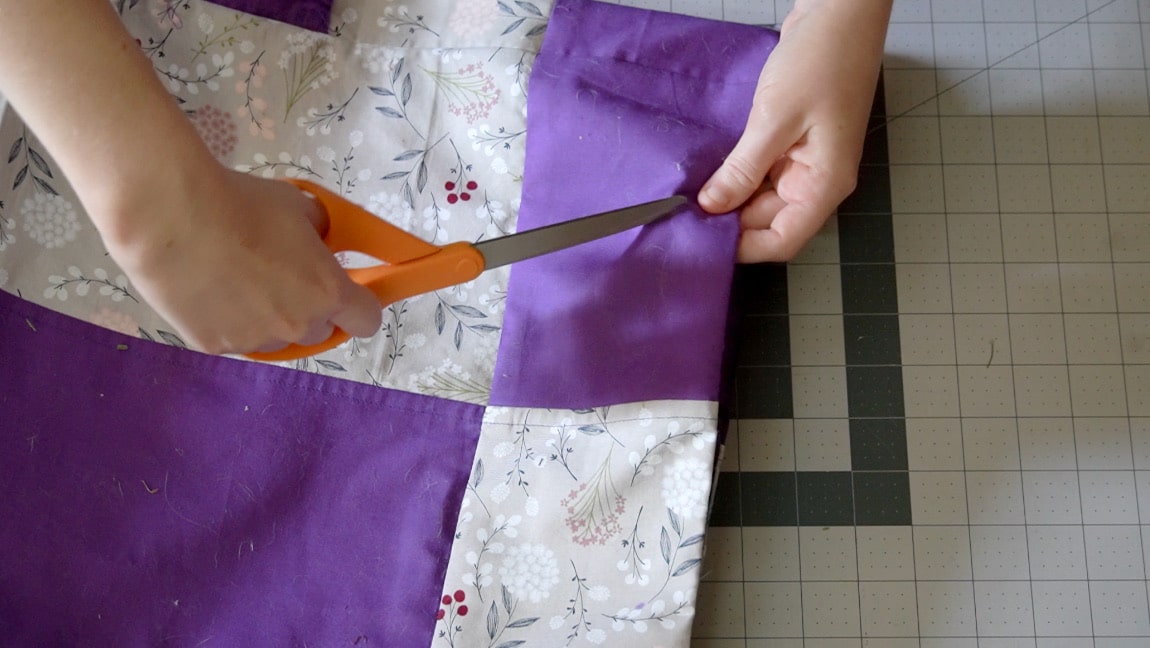
cut holes for the grommets
cut the holes until the grommet fits through. Because these are a large size grommet, I usually have to poke a hole, and then use scissors to make it larger before the grommet will fit.
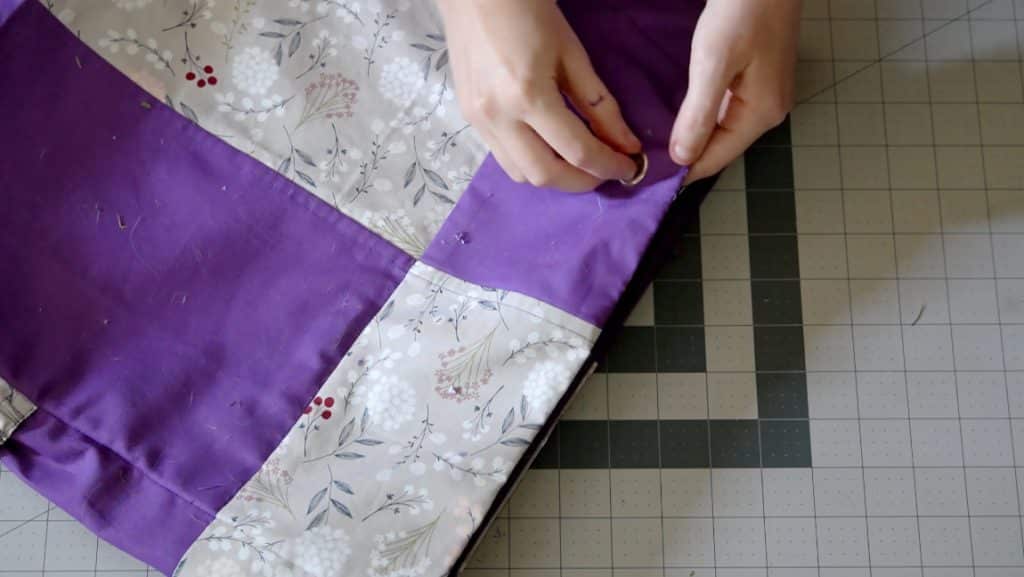
Step 31
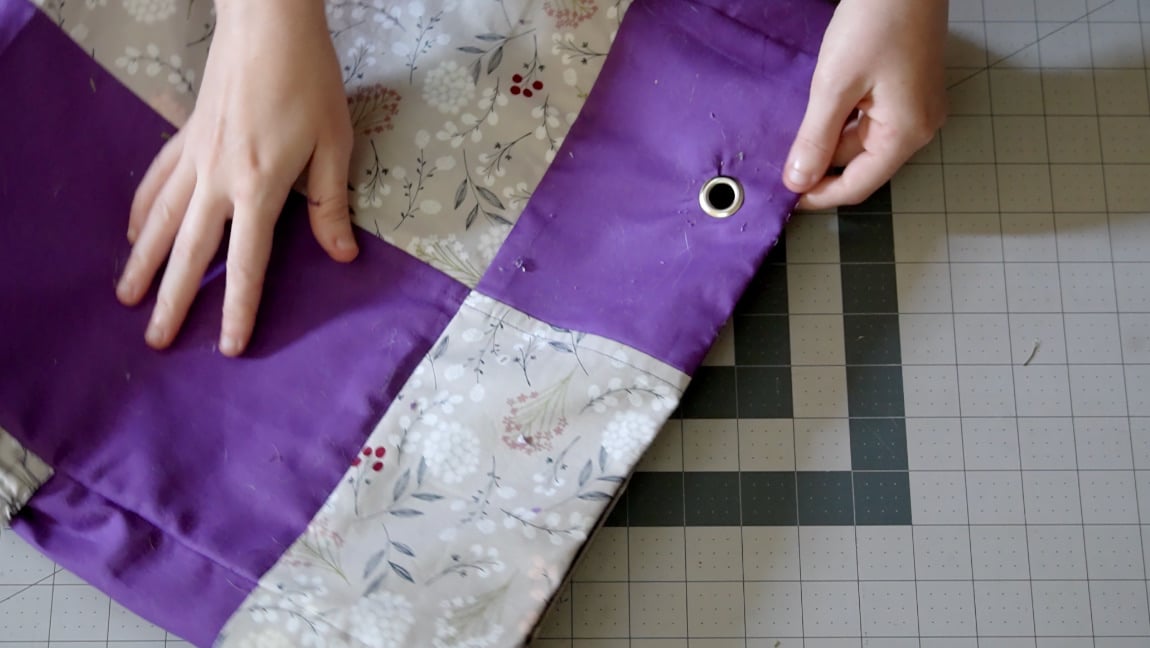
press the grommets in place
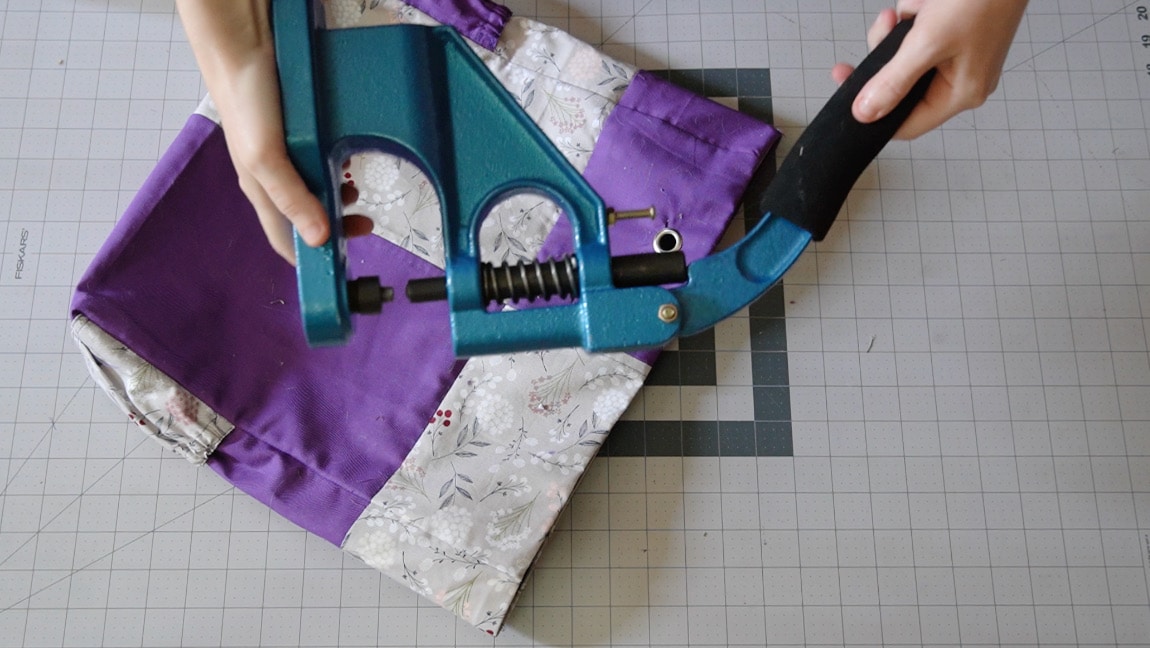
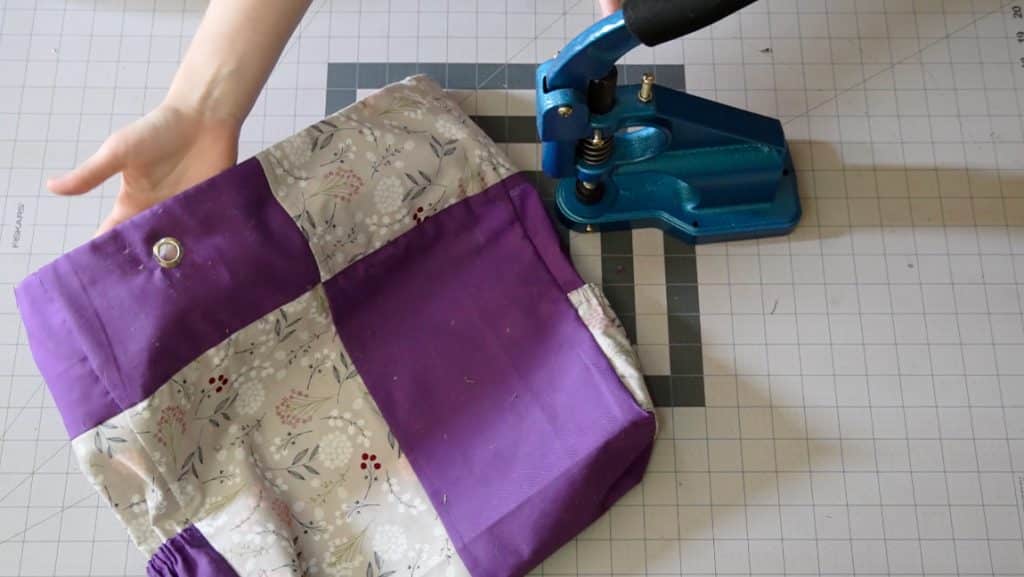
Place the flat washer on the back of the grommet, sandwiching the fabric. Then press it in place. There are many ways to do this, but I highly recommend using a grommet presser. I have really weak grip strength, and this makes the process so much easier. Repeat this process for all 4 grommets.
Step 32
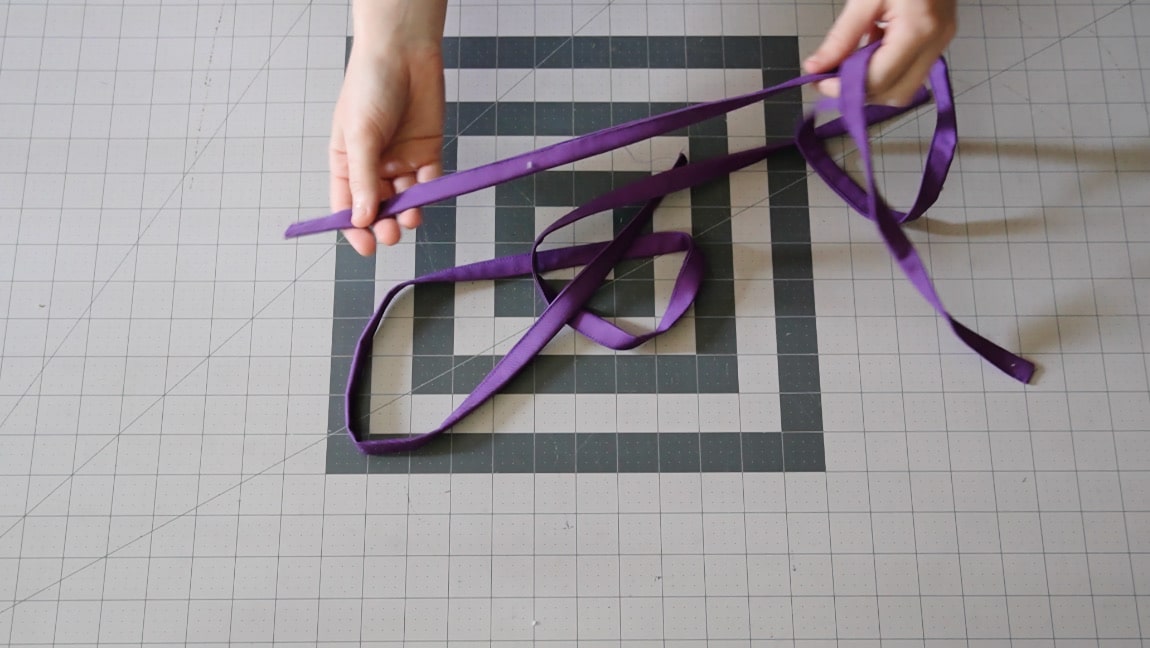
fold the straps in quarters and sew them closed
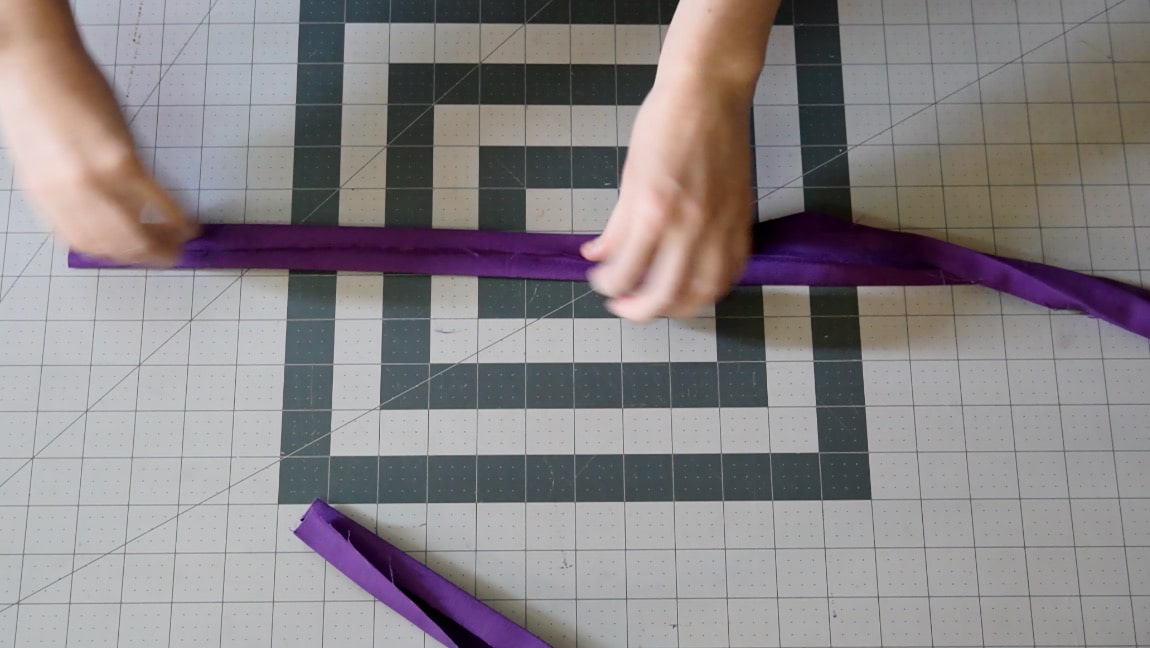
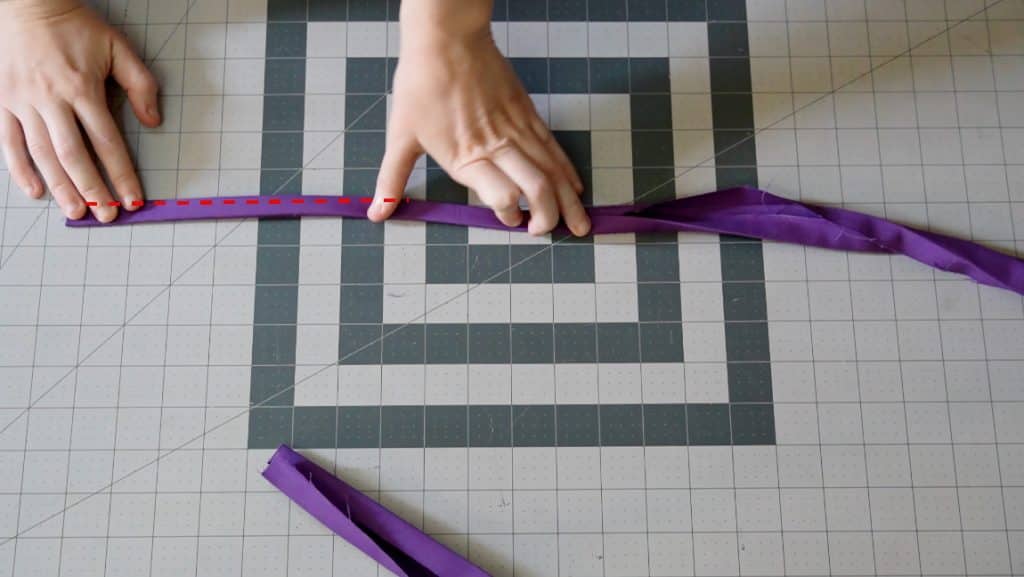
Similar to bias tape (or belt carriers), fold the straps in quarters and then in half. Sew it closed along the open edge.
Step 33
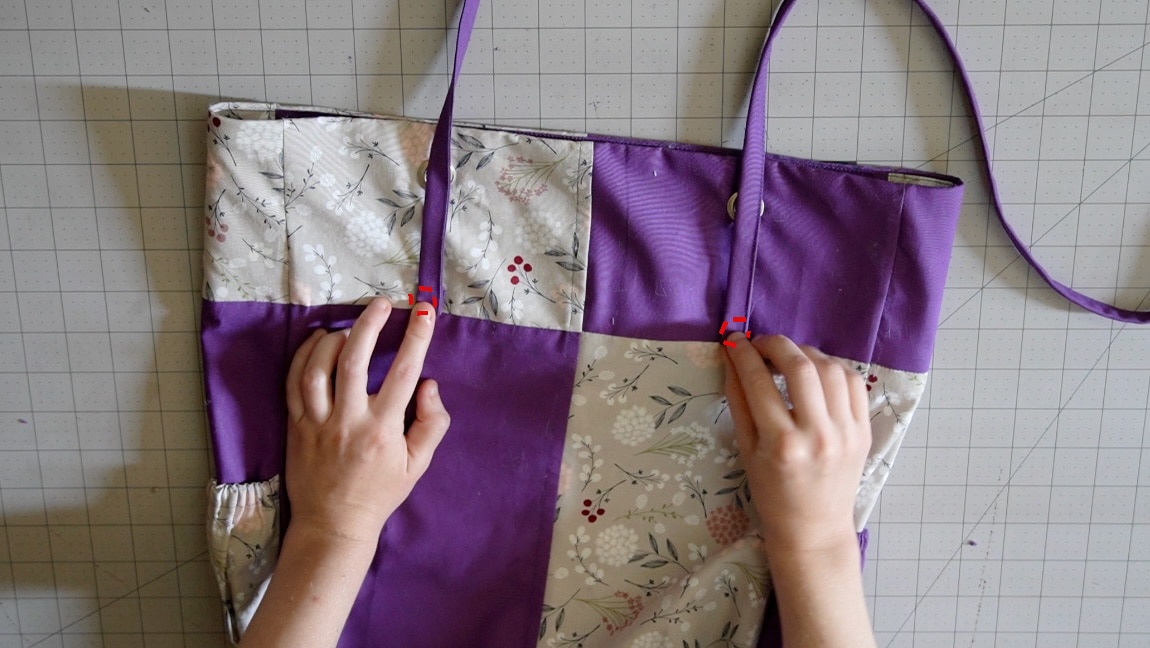
sew the straps underneath the grommets of the front of the bag
Fold over the tip of the strap to hide the raw edge, and sew the straps on the front (whichever side of the bag you want to make the front) just above the upper band seam. I recommend using a box stitch (sewing in a square and then making an X through the square) so that the straps are securely sewn on.
Step 34
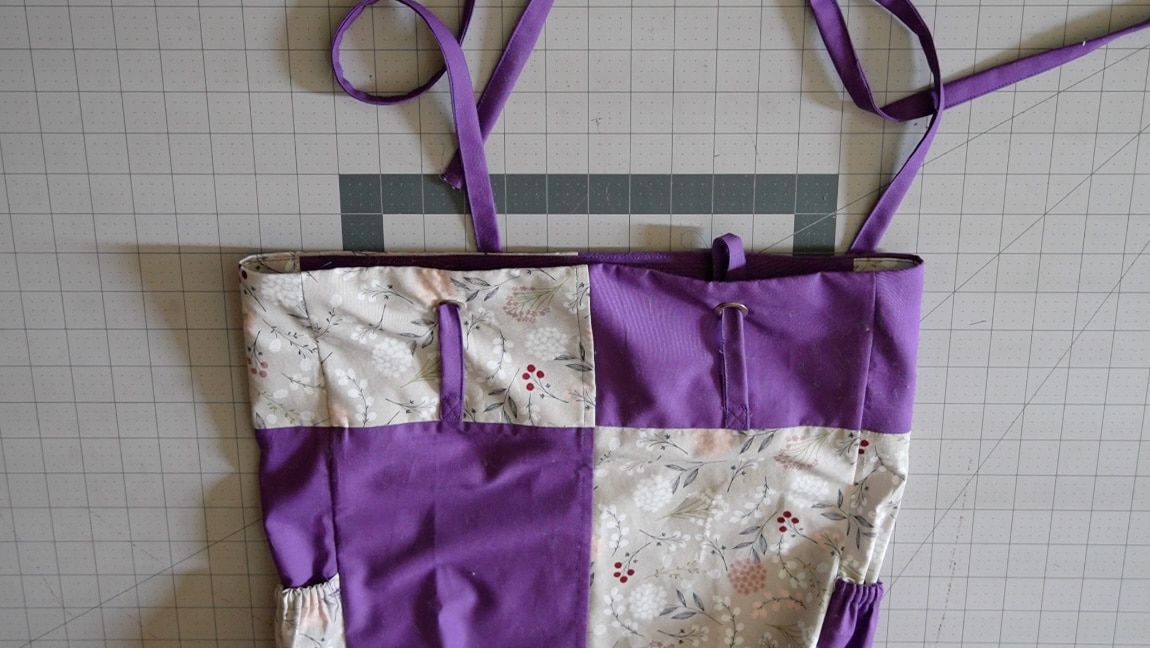
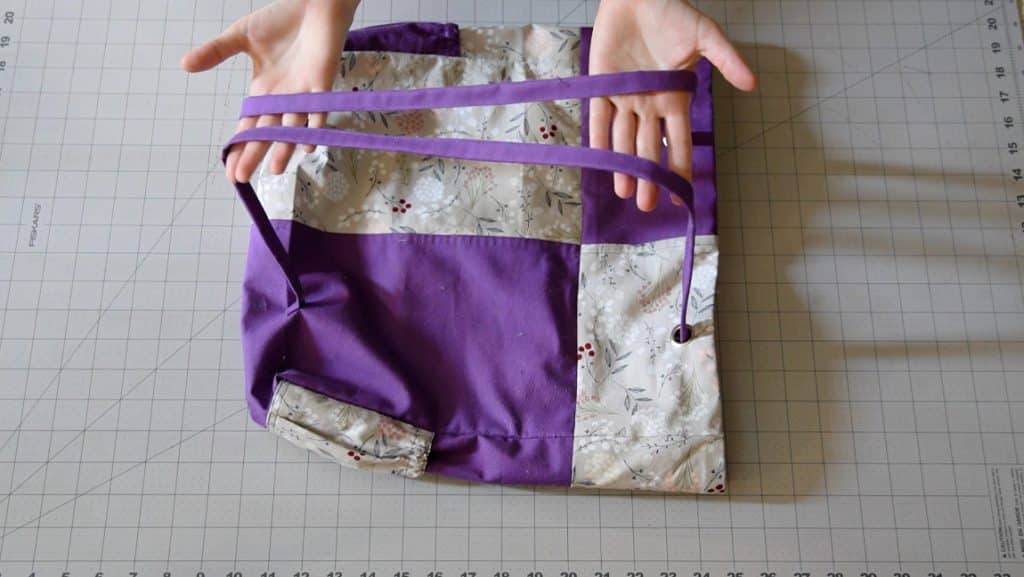
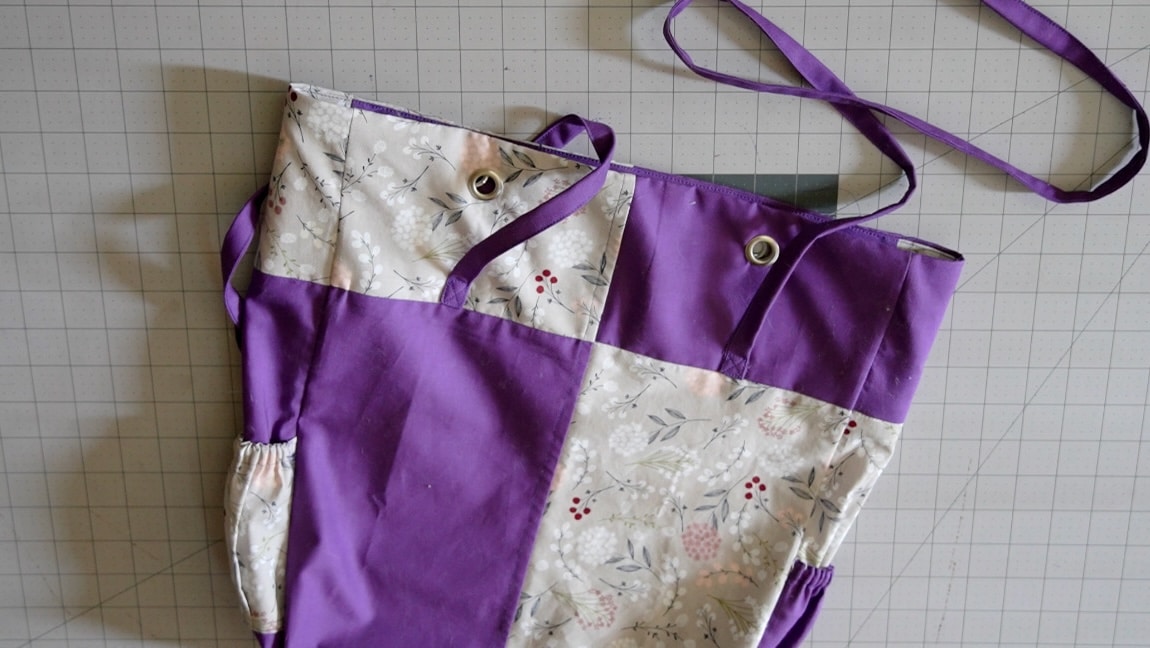
insert the straps through both sets of grommets
Step 35
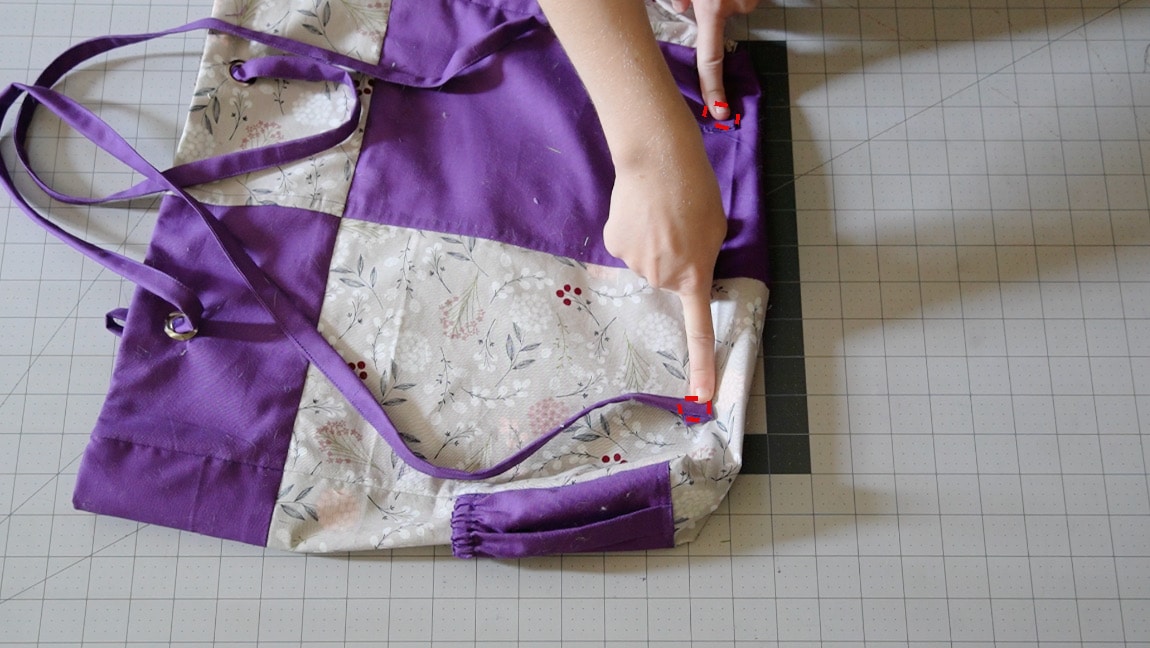
sew the straps to the base of the back of the bag
Just like before, fold over the tips of the straps to hide the raw edges and sew them with a box stitch to the base of the bag. Be sure the straps aren’t tangled before you sew them in place.
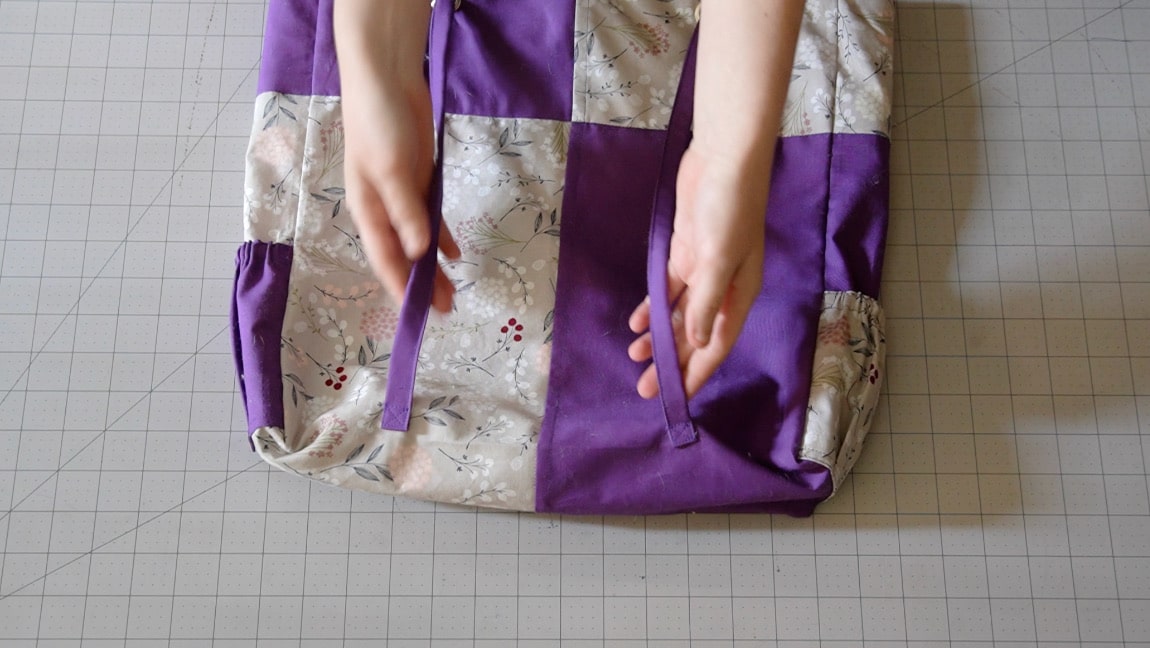
Finished!
Now you can carry your tote bag with the handle, or slide them through the grommets and use it as a backpack instead.