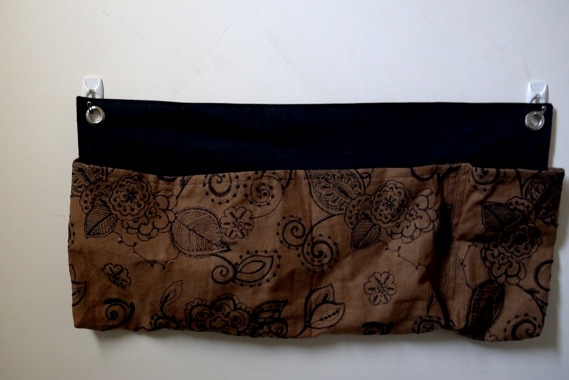
Tutorial: DIY 2-pocket Hanging Organizer
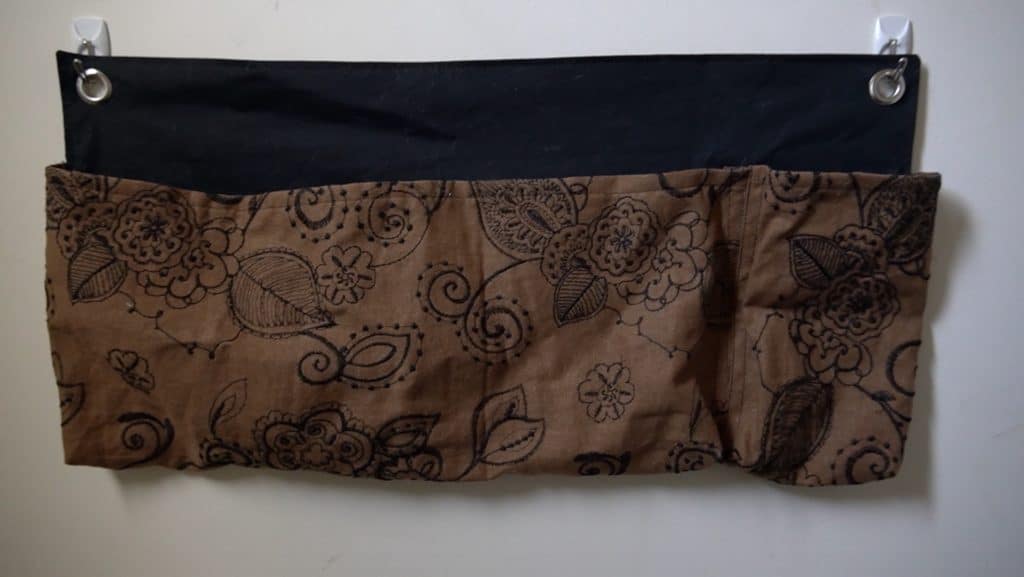
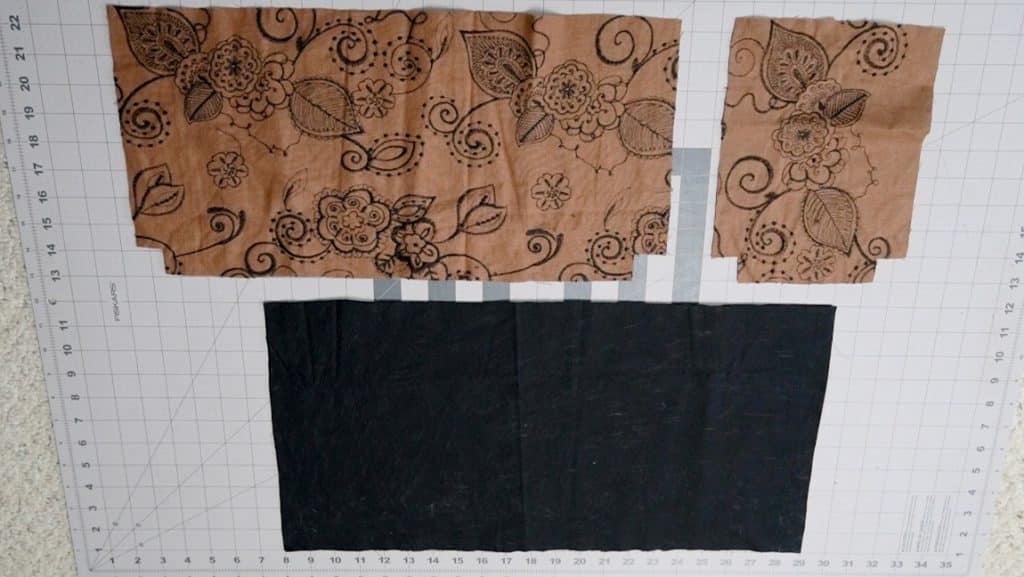
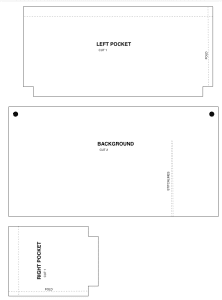
This simple tutorial will show you how to make a two-pocket hanging organizer. I use this to store my external computer keyboard and mouse when I’m not using them, but you can use this for whatever organizational needs you have. It has one big pocket and one little pocket. You can print out the pattern for this by using the button below and then follow along with the step-by-step tutorial.
This page contains affiliate links. As an Amazon Associate, I earn a small commission from qualifying purchases. That being said, I encourage you to use your local sewing shop whenever possible, or to look for supplies second hand.
Supplies Needed:
(all of my patterns include 1/2″ seam allowance)
Step 1
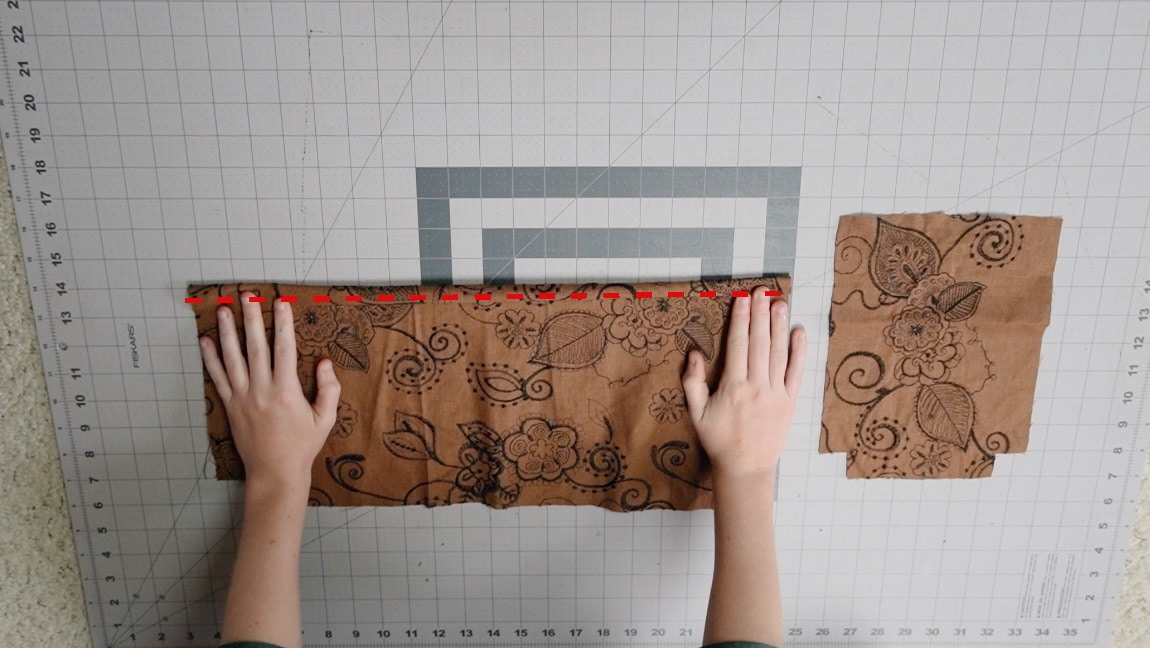
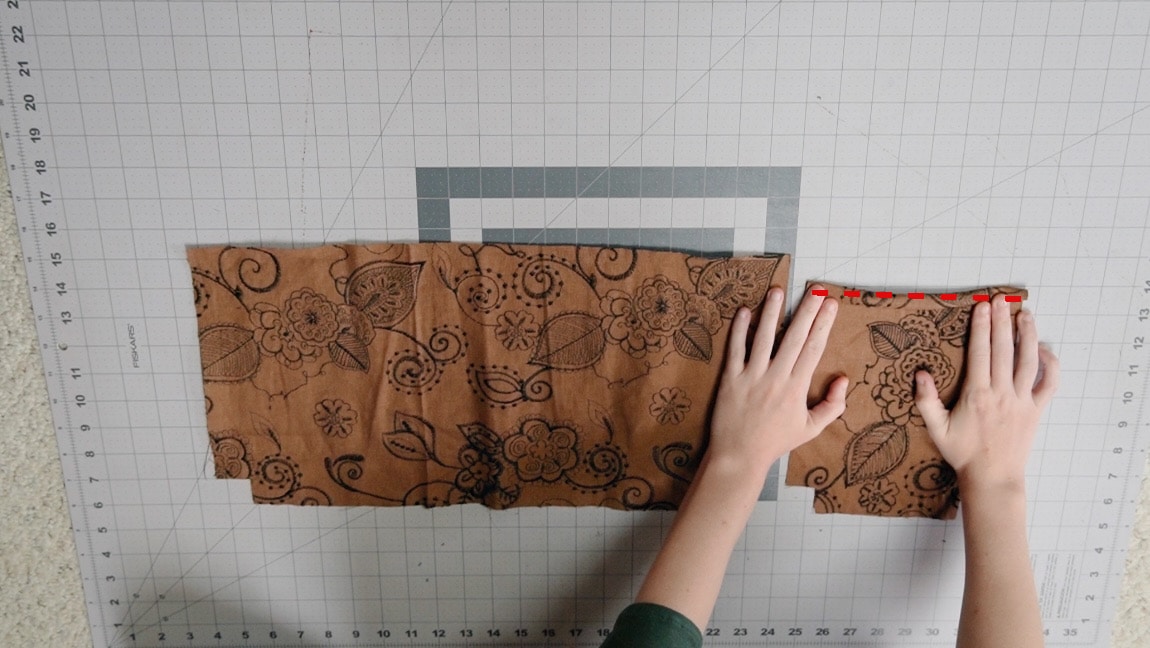
hem the top of the pockets
Turn the top of the pocket pieces over 1/2 inch and then another 1/2 inch to hem the top.
Step 2
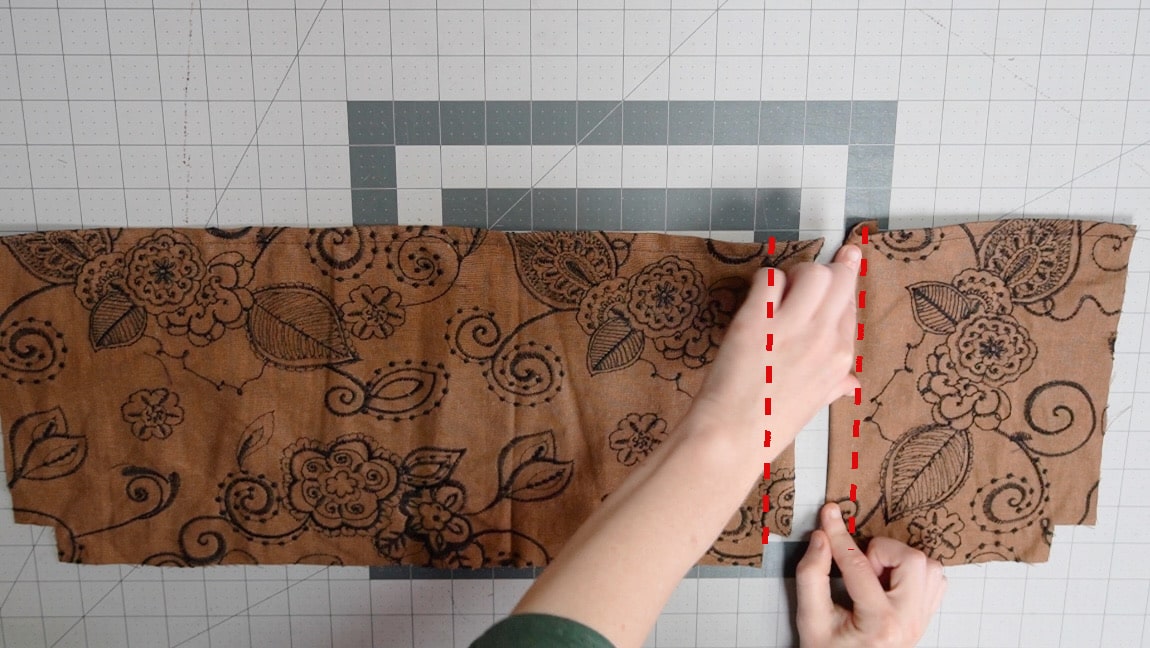
press under the seam allowance on the inner side
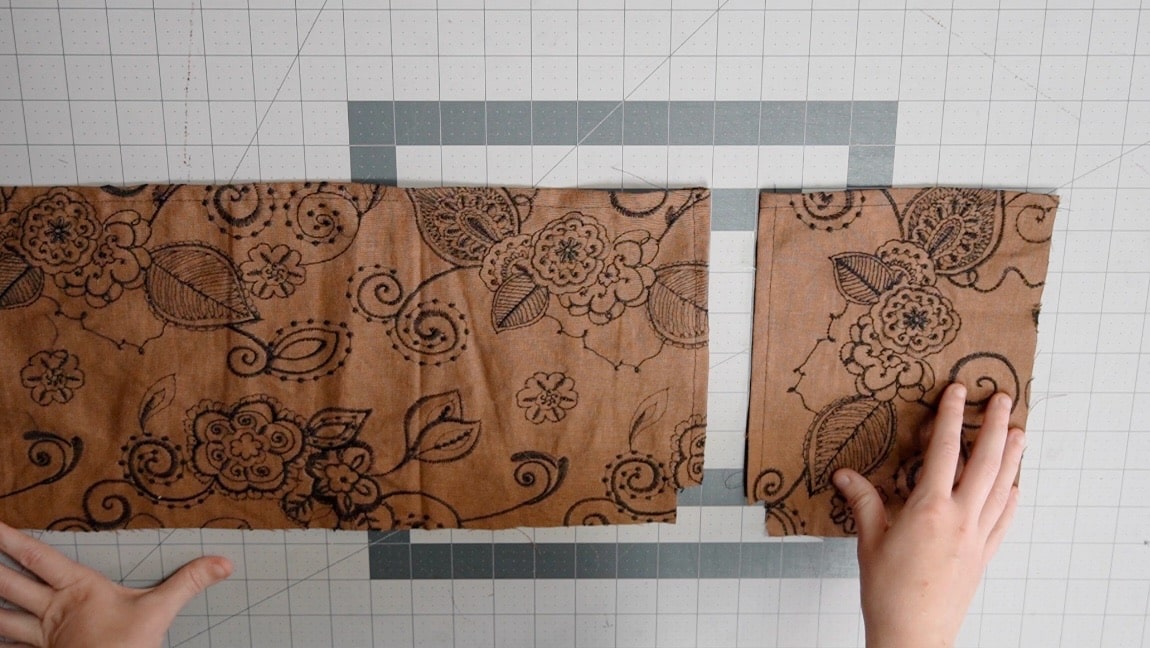
Fold over 1/2 inch on the right side of the large pocket and the left side of the small pocket and baste them in place
Step 3
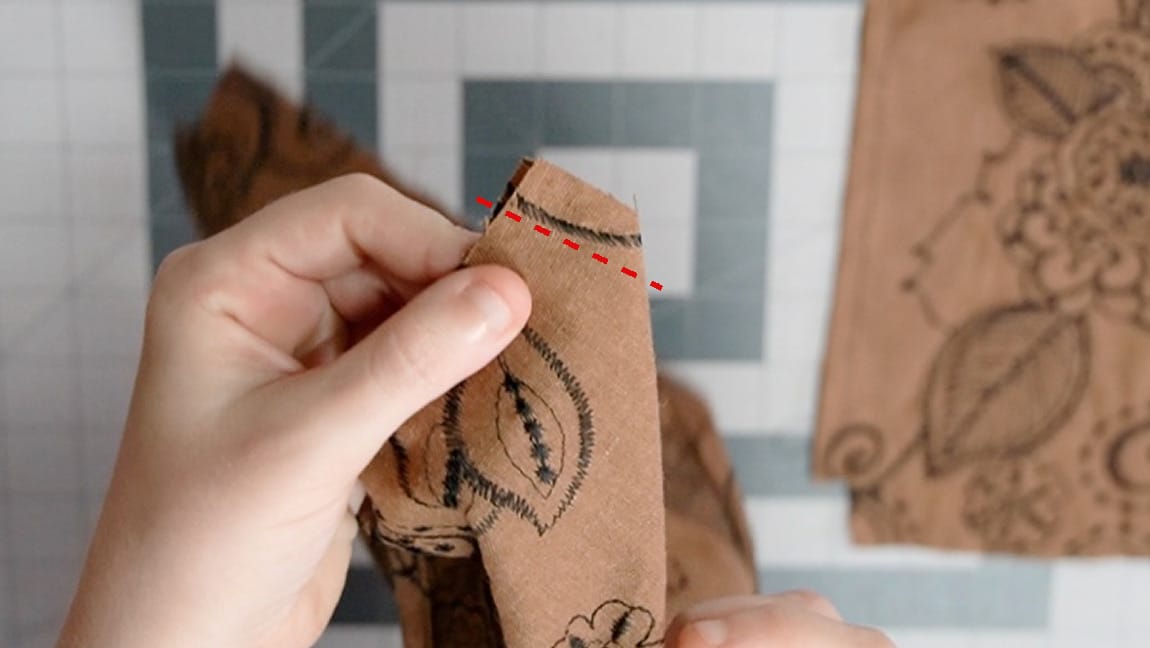
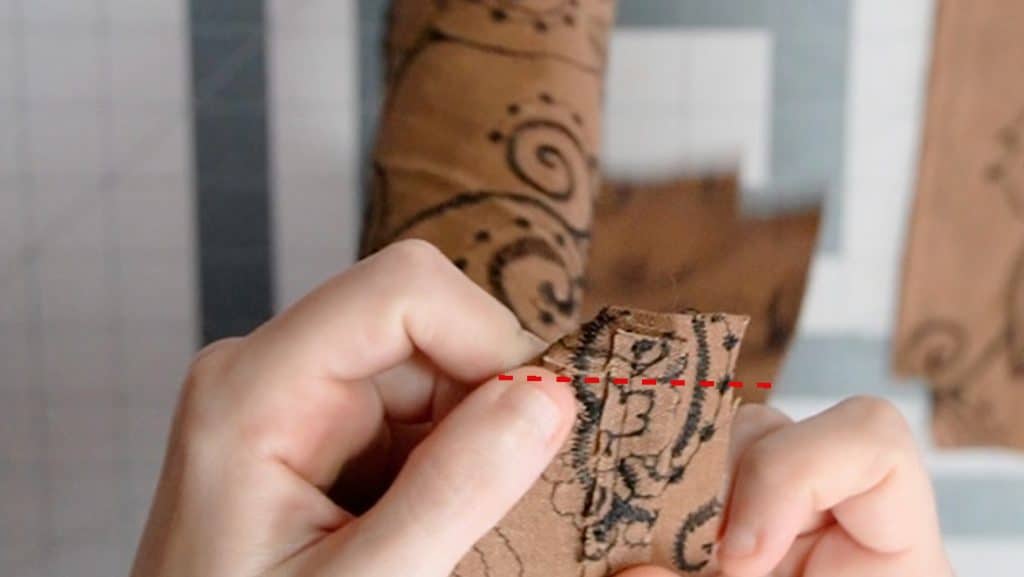
sew the pocket corners
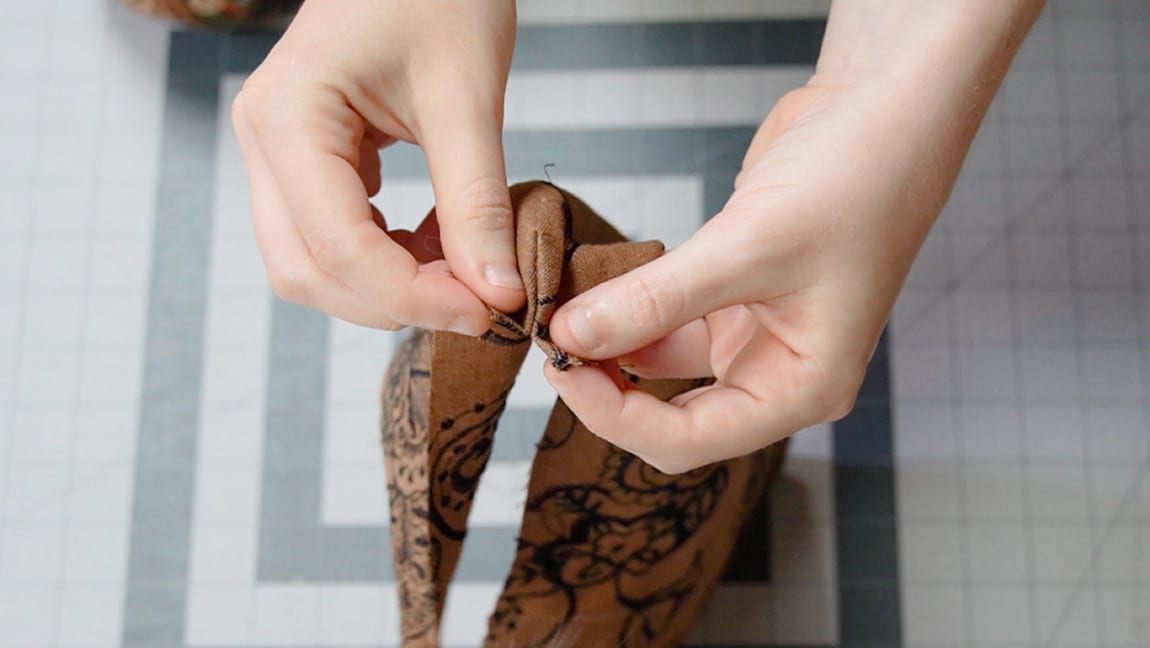
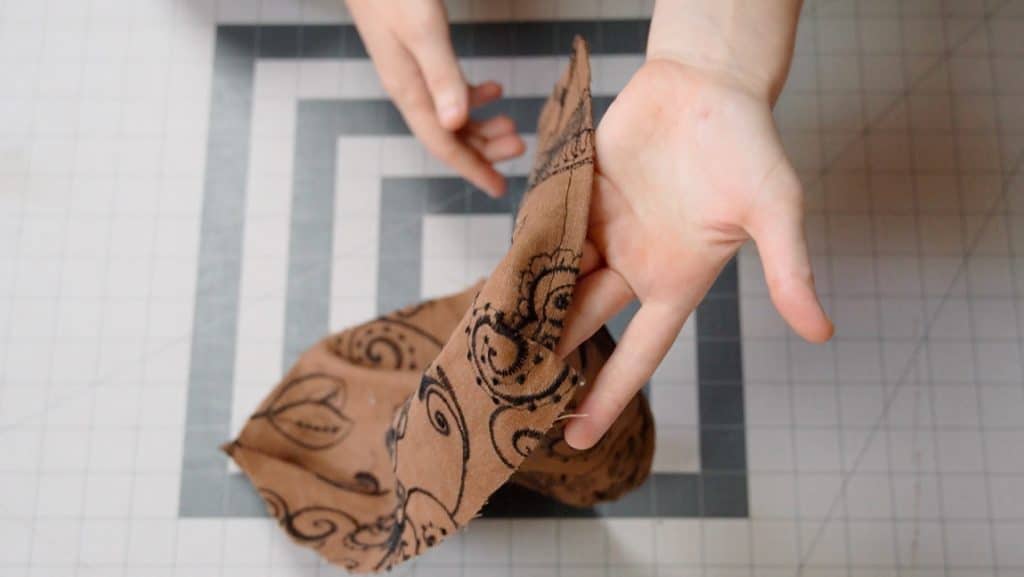
Fold the corners with right sides together and sew. Leave the half inch seam allowance unsewn. The seam allowance will be 1/2 inch shorter on the inner sides because you folded that over in the previous step.
Once sewn, turn out the corners to the right side.
Step 4
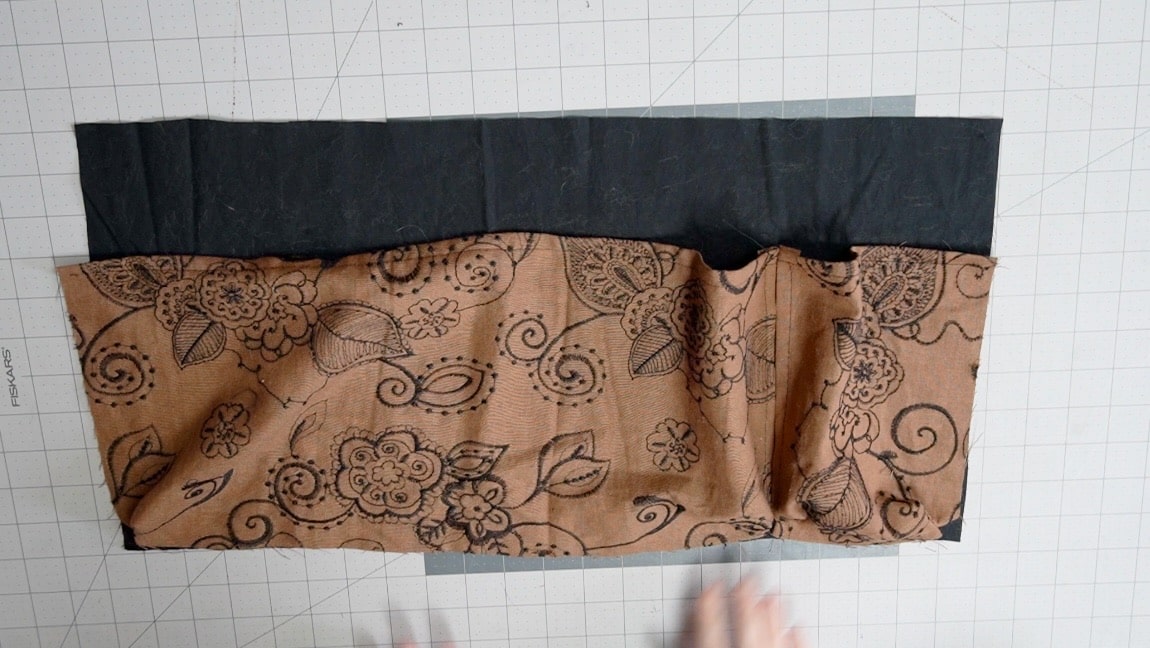
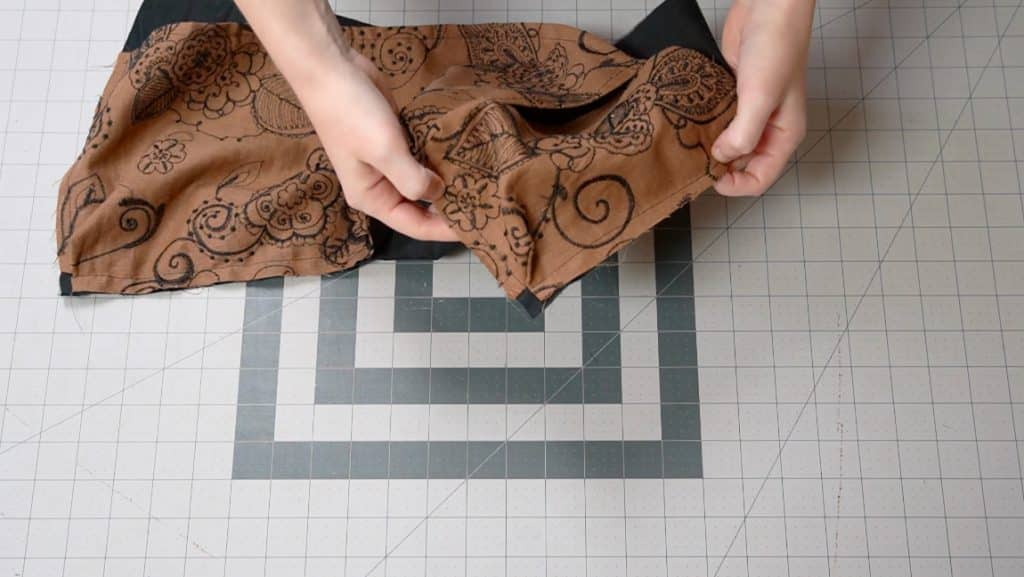
sew the pockets to the background
sew the pockets to the back around the bottom and sides. At the corners, spread the seam allowance of the pockets around the point like you see in the picture.
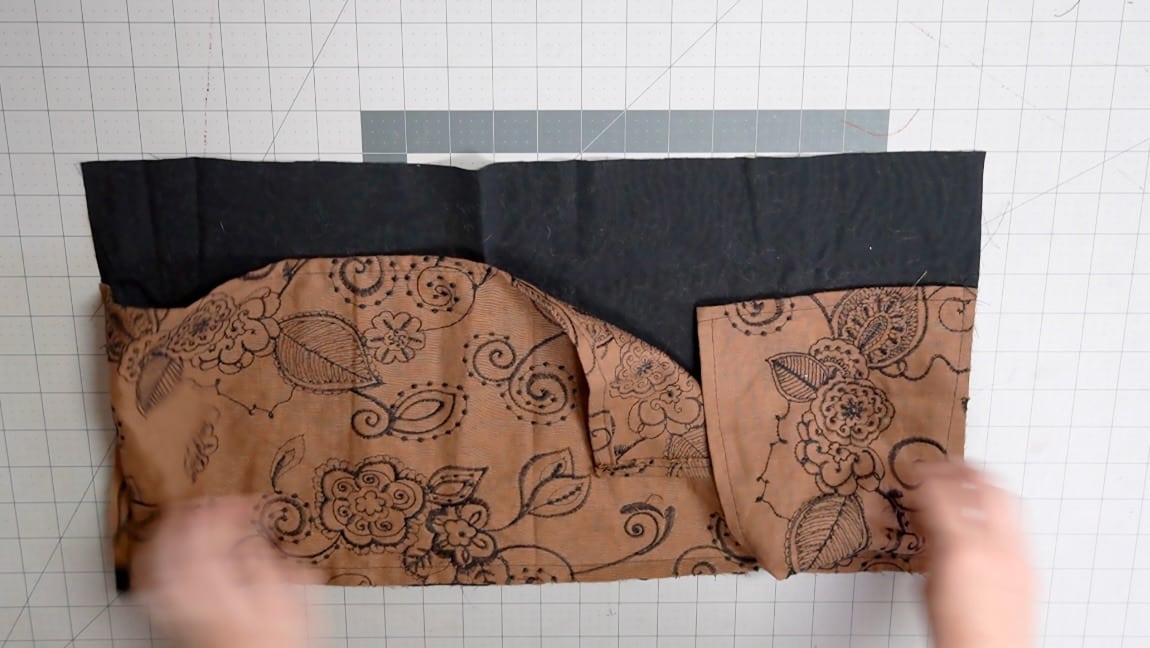
Step 5
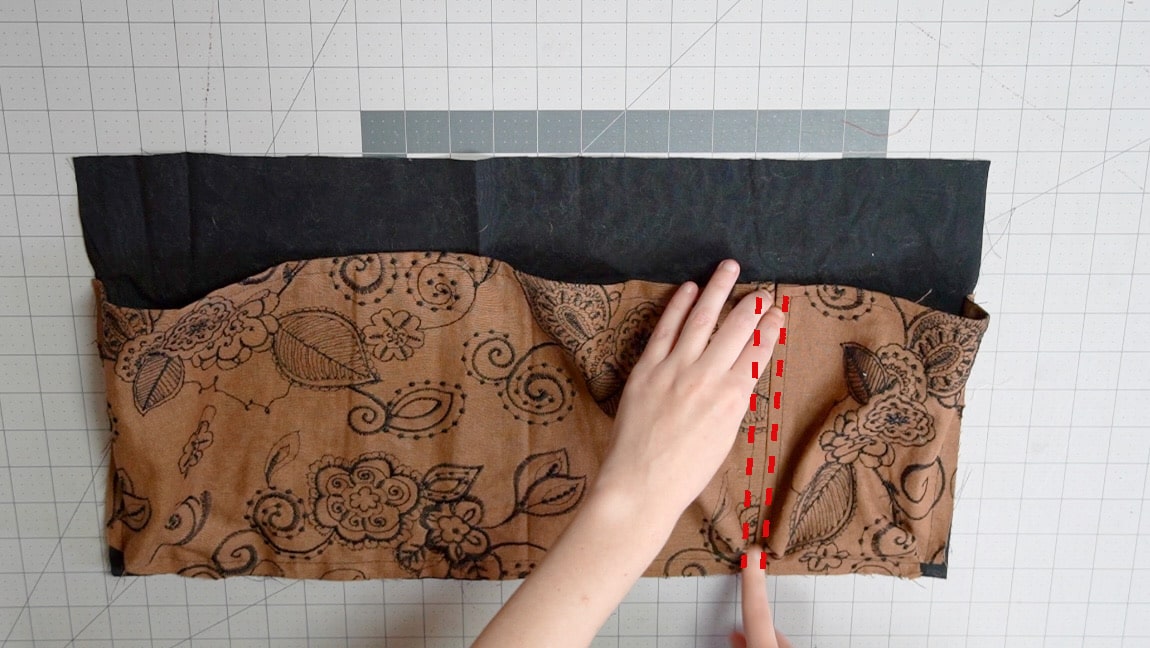
sew the inner sides of the pockets
topstitch the inner edge of the pockets. You can remove the basting stitches now if you want to.
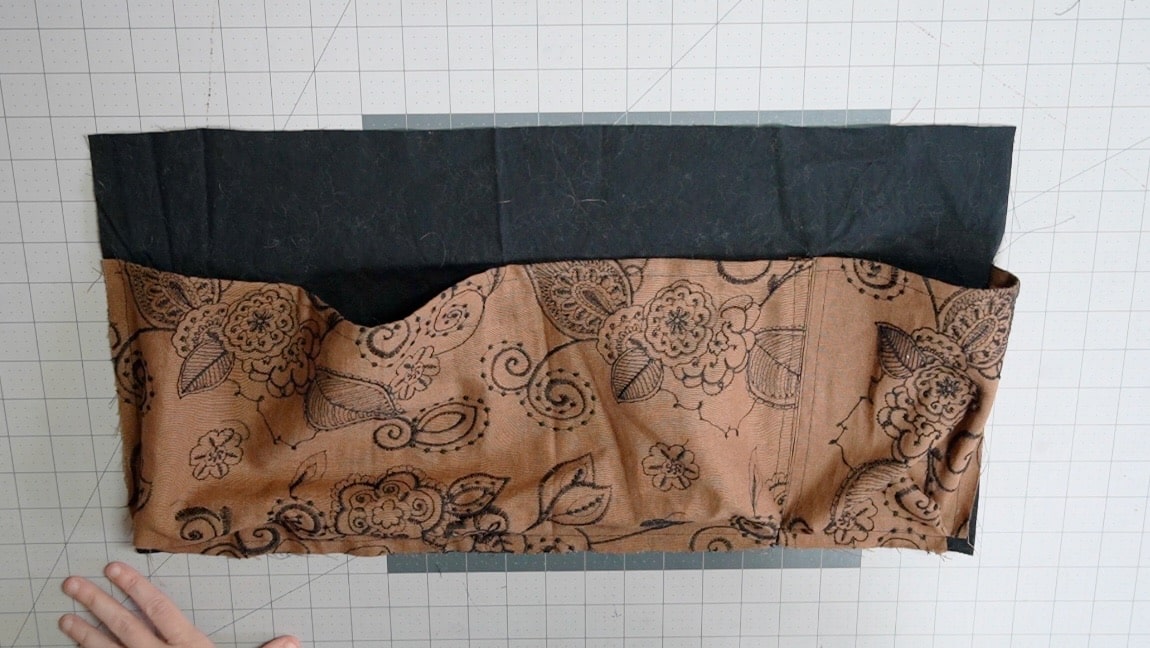
Step 6
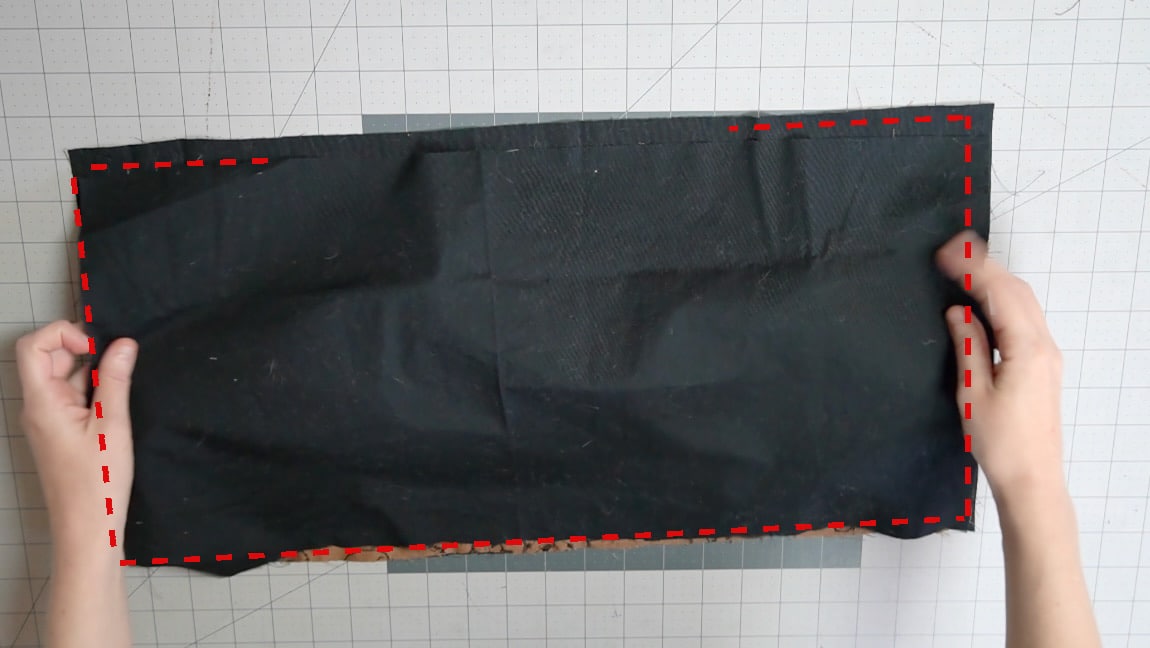
sew the backing
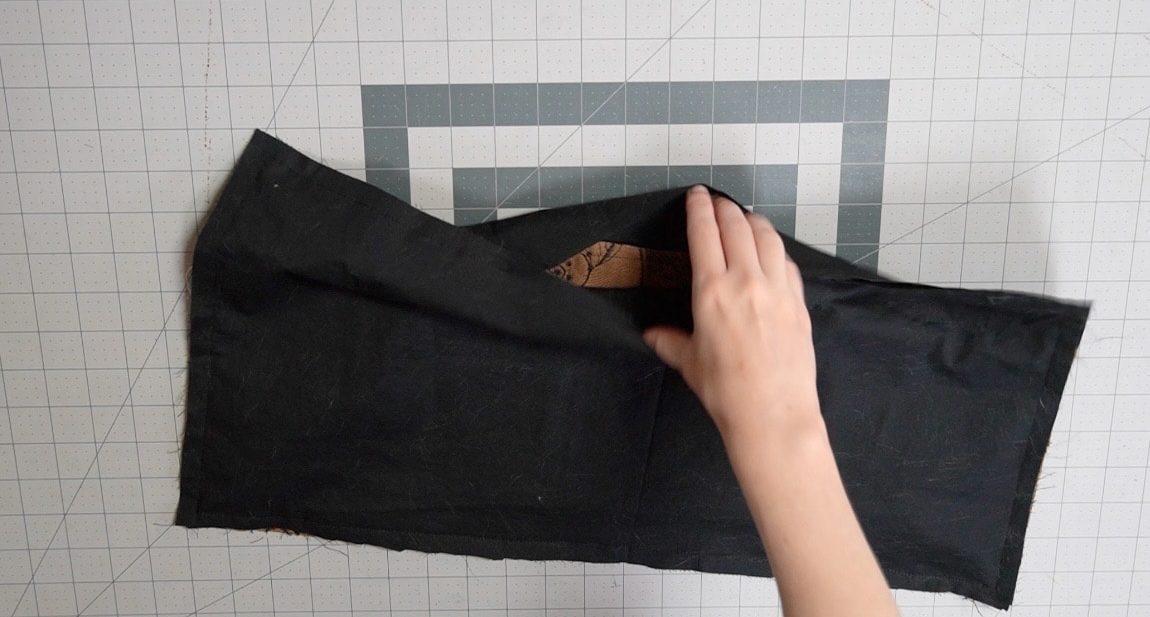
with right sides together, sew the backing to the pockets. Leave a gap in the top for turning to the right side.
Step 7
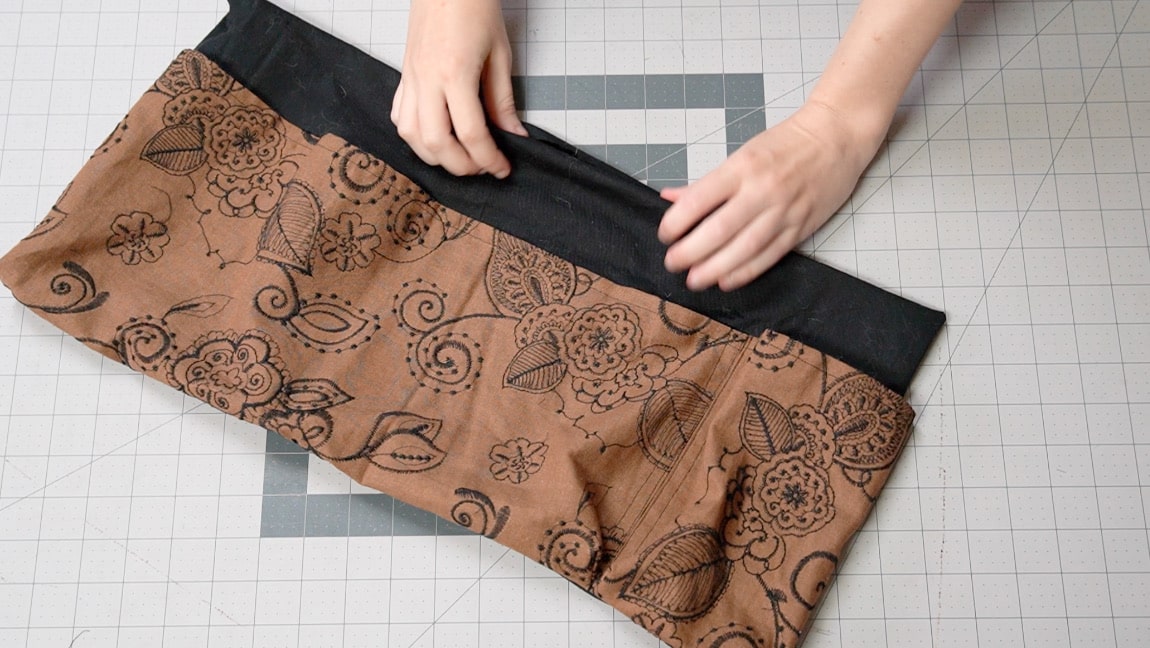
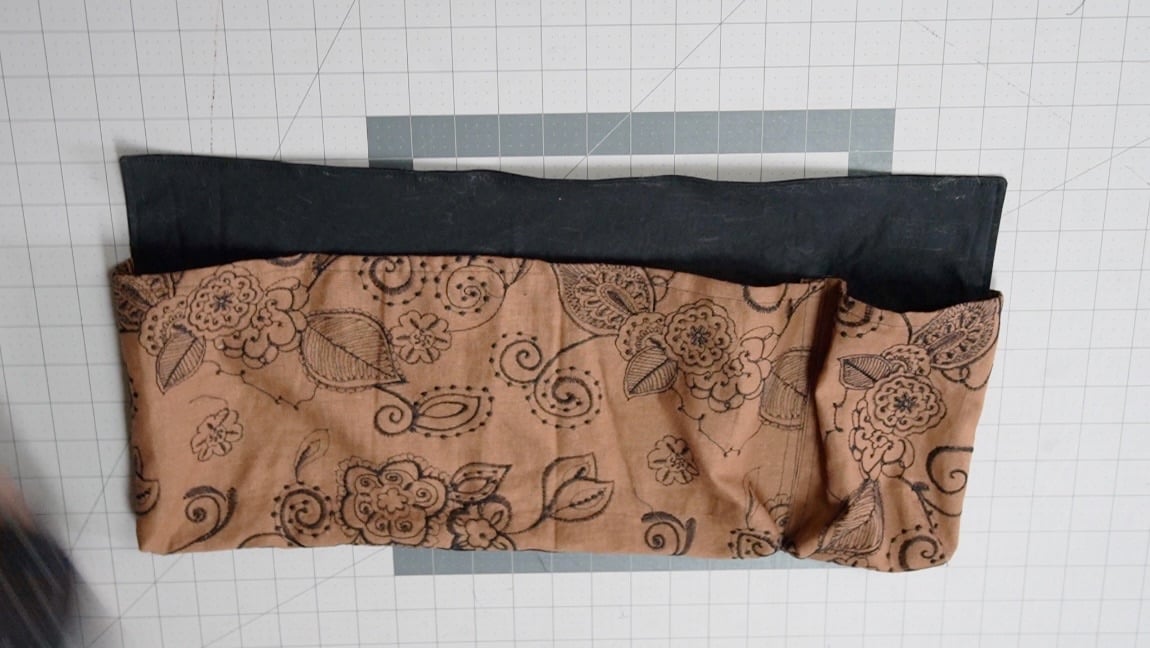
turn the pockets to the right side
Turn the pocket organizer right side out and sew up the gap.
Step 8
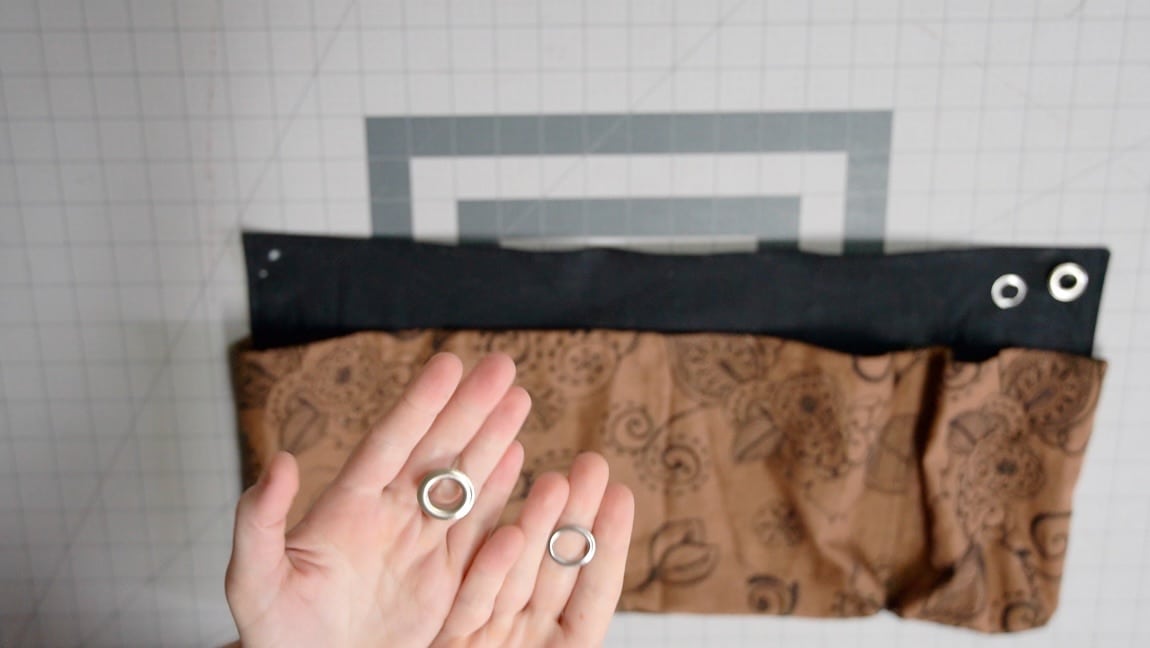
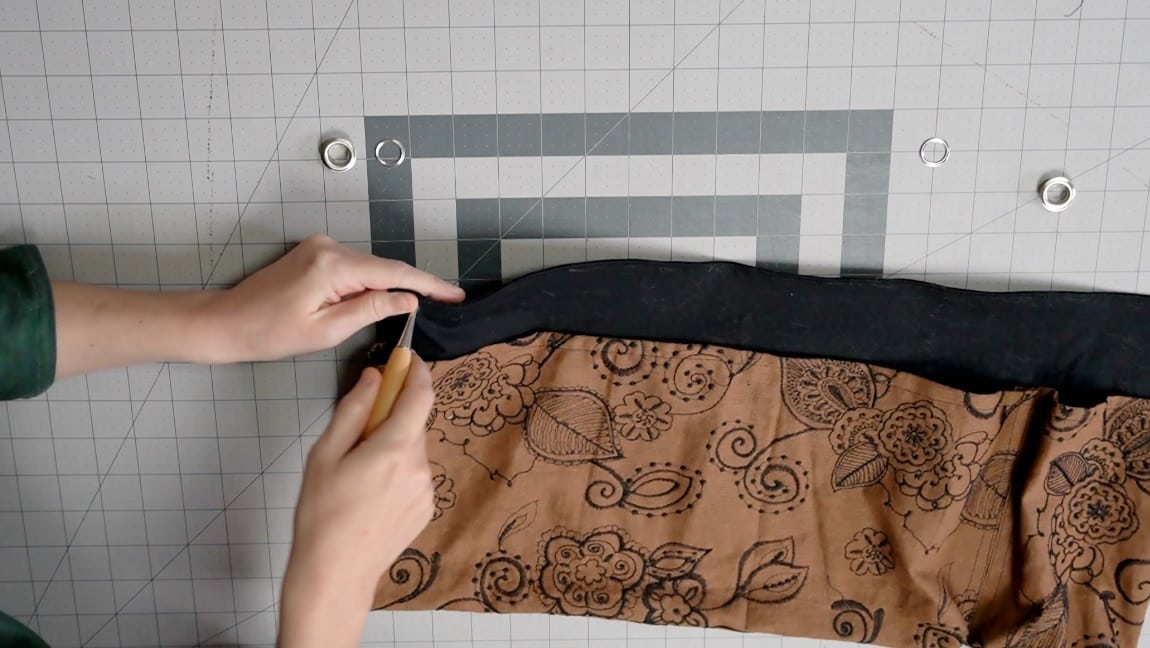
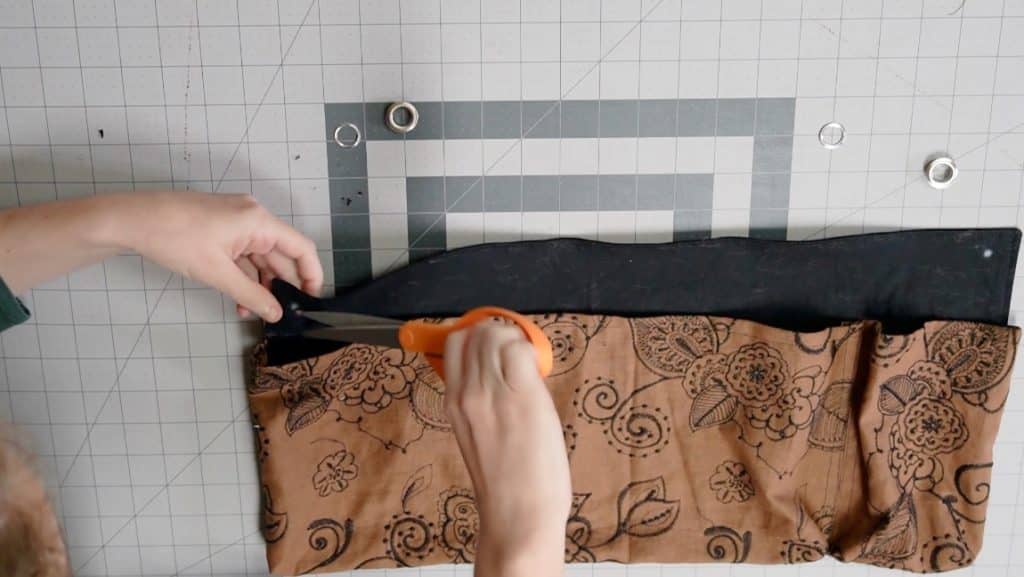
Make holes in the top corners
Poke a hole in the top corners of the pocket organizer that are big enough for the grommets to fit through.
Step 9
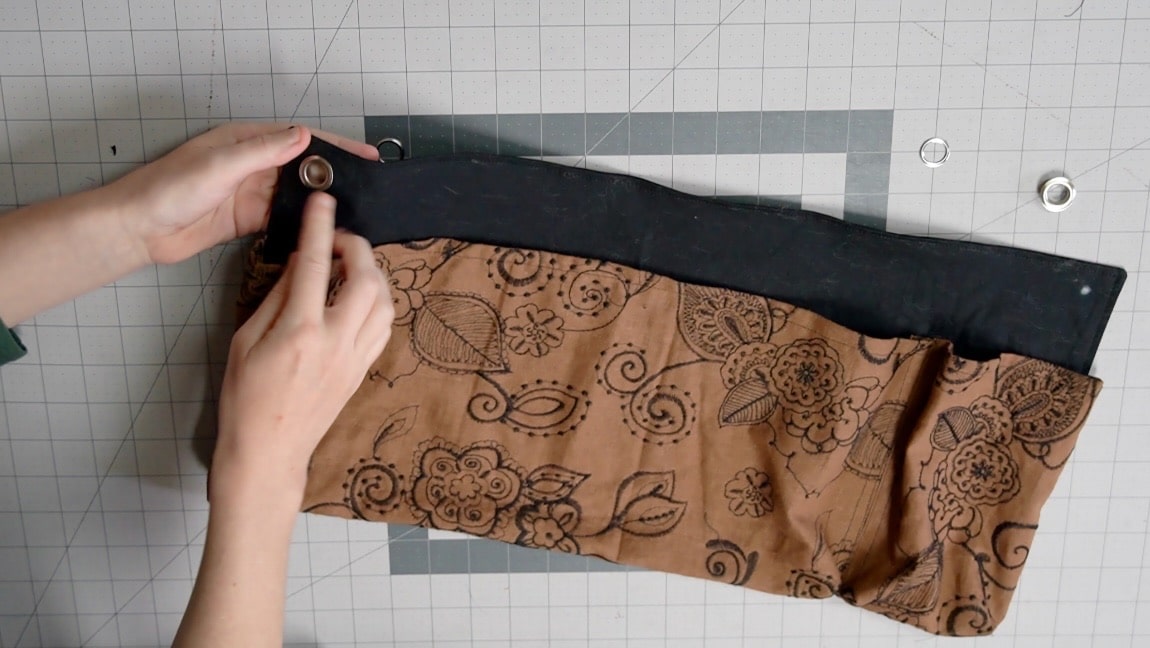
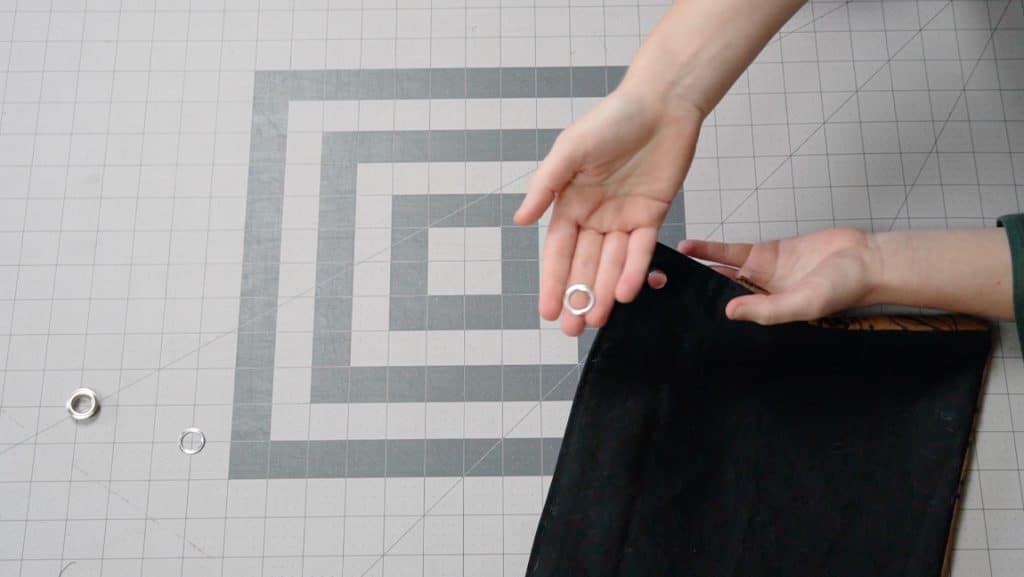
press the grommets in place
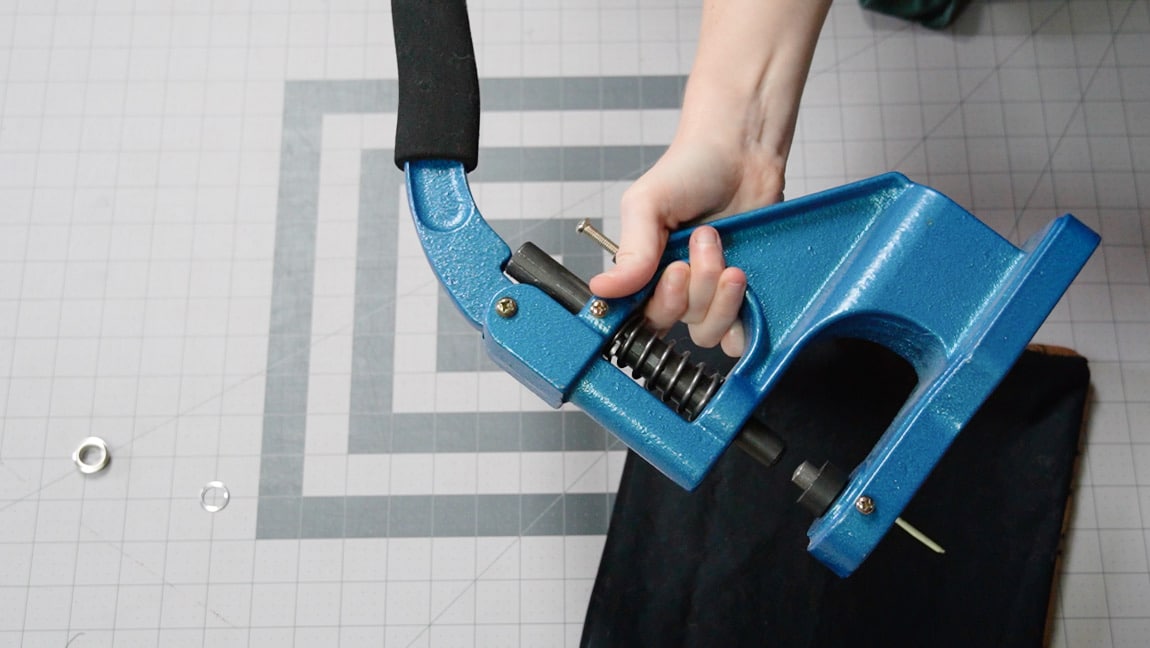
Insert the larger grommet piece through the hole on the front, then place the flat piece around it on the back. Press the two pieces together. There are many methods to do this, but as someone with a weak grip strength, I prefer using a grommet presser and highly recommend this method.
Finished!