Tutorial: How to Make a 3-Color Handkerchief Bag
This cute little handkerchief tote bag is made with three contrast colors and has a handle that ties together. If you have any half yard remnants of fabric, those will be perfect for creating the unique handles of this bag. I’ve also included a free sewing pattern that you can use to print out and follow along my step-by-step tutorial.
This page contains affiliate links. As an Amazon Associate, I earn a small commission from qualifying purchases. That being said, I encourage you to use your local sewing shop whenever possible, or to look for supplies second hand.
Supplies Needed:


Pattern includes:
(all of my patterns include 1/2″ seam allowance)

Step 1


apply interfacing
You can use sew in or fusible interfacing, whichever you prefer.
Step 2

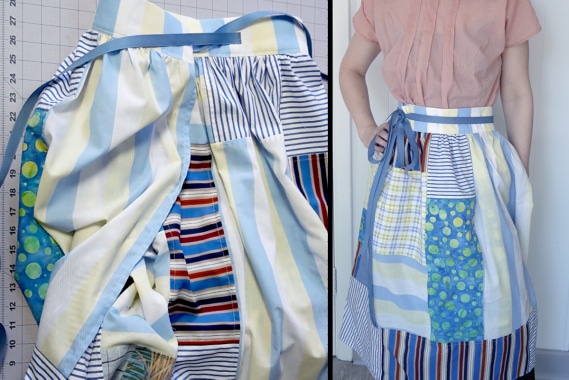
Sew base to bottom perimeter of side piece according to the image above
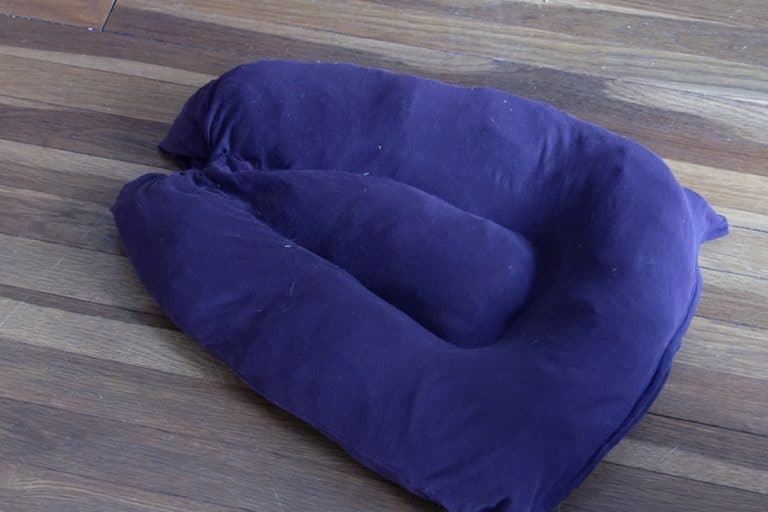
When the bag is finished, each side piece will wrap in half around the side of the bag, with the smaller triangle making up the base (see picture below)

Step 3

repeat step 2 for second side piece
when finished turn to right side and press your seams

Step 4

repeat steps 2 and 3 for the lining


Step 5

place the bag inside the lining (right sides together) and sew the edges of each side
Sew along the edge all the way up and down the handle, coming to a point where the handles join the base. Leave a gap in one handle for turning the to the right side.


Step 6

clip curves and flip to right side

Step 7

edgestitch the handles with matching thread
This will close up the gap and give a neat finish to the edges of the handles.
Step 8

hem one side of the base insert
I’ve included a 1″ hem in the pattern
Step 9

fold in half and sew the side and bottom
Leave the hemmed side open.

Step 10

cut a piece of cardboard to fit in the insert
Keep the hemmed side open because if you ever need to wash the bag, you’ll want to remove the cardboard first.

Step 11

place the cardboard insert into the bottom of the bag

Finished!