Tutorial: How to Make a Simple Coin Purse with Fabric Scraps
I’m always looking for easy small projects that I can make with scraps of fabric. This simple coin purse is what I ended up making. I included the pattern I drew up, and the steps I took to create this cute and simple ducky zip purse.
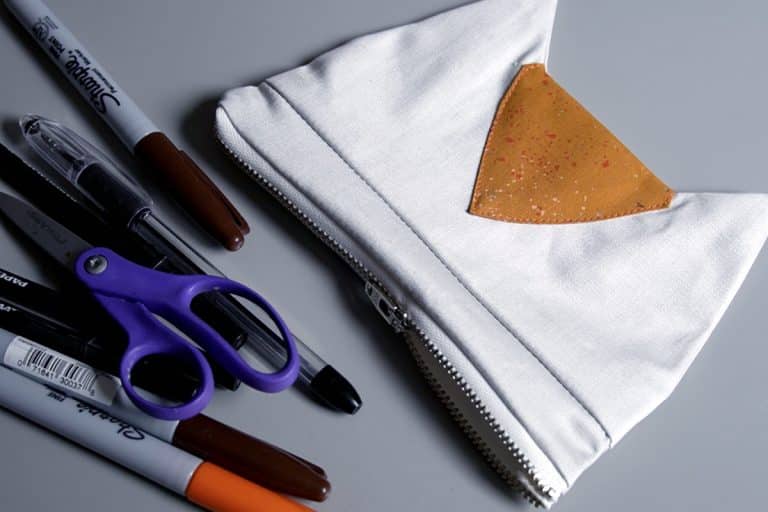
Supplies Needed:

(all of my patterns include 1/2″ seam allowance)

Step 1

Cut out your pieces and apply interfacing to the reverse side of the fabric

Step 2

place zipper face down against one curved side of the fabric and pin
Leave about an inch of zipper free on the closed side of the zip.
Note: In the photos, you can see I have a weird be of fabric sewn to the end of my zipper. This is because my zipper was too long and I needed to cut it. The fabric stops the zipper-pull from falling off, but you can ignore it if you have the correct sized zipper.
Step 3

Repeat for the second side of the fabric and sew both in place

Step 4


Add lining over top of zipper, lining up the edges of the fabric
The teeth of the zipper should be facing in, toward the center, with the edges of the lining and outer bag pieces lined up. Sew the front and back lining to the zipper and bag close to the edge.

Step 5

sew the small sides of the coin pouch, leaving a gap in the lining for turning
With the zipper in the middle, fold the lining on one side, and the outer bag layer on the other to form two semi circles. Sew the sides sides. EXCEPT: Leave one side of the lining open.

Step 6

turn the pouch to the right side through the gap in the lining
After turning, you can sew up the gap. Make sure to keep the outer bag layer from getting stuck in the lining.
Finished!