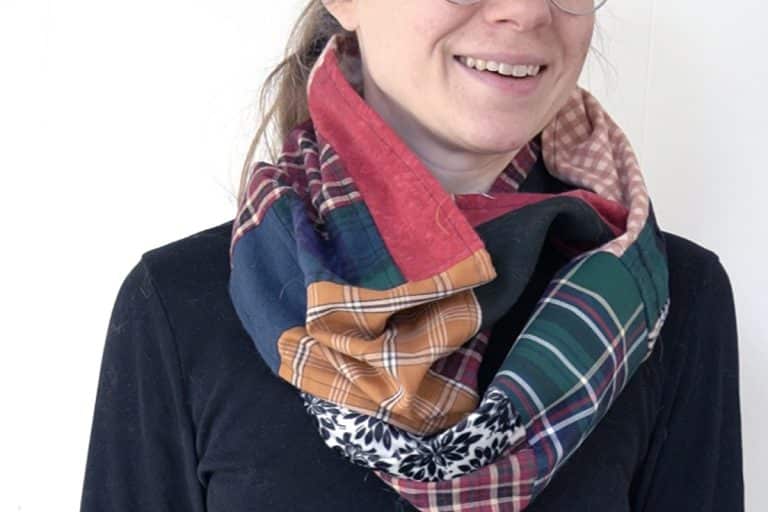
Tutorial: How to Make a Reversible Hooded Scarf
In this tutorial, I will teach you how to make a scarf with a hood attached. It’s also completely reversible, so you can wear a different color depending on the day. I made this pattern so that it will work with 1 yard remnants of fabric that you might find in the bargain bin. It’s a super simple project that you can finish in 1-2 hours even if you are a beginner.
Supplies Needed:

Step 1

Sew the hood part of the scarf
Sew the same-color hood pieces with right sides together down to the dot on the pattern. Press the seams open.

Step 2

Sew the hood and contrast hood together
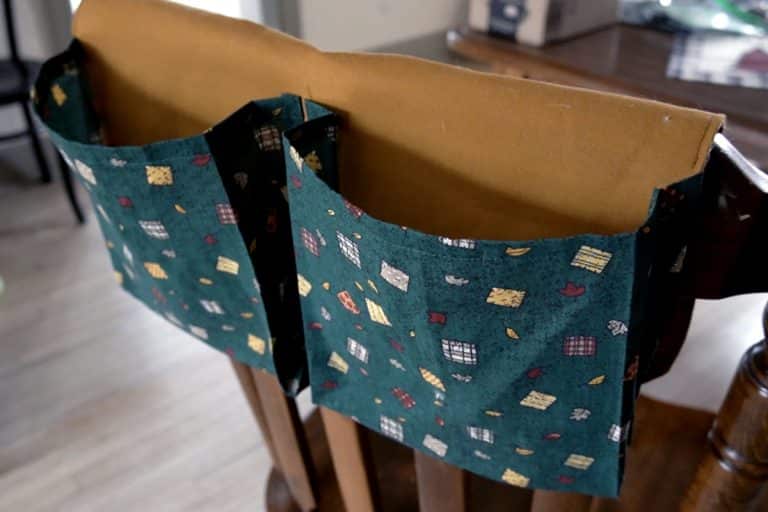
With right sides together, place one hood scarf inside the other. Sew around the perimeter of the scarf. Pivot the needle right at the seam at the back of the hood pieces, and leave a slight gap on one side.


Step 3

Clip the corners
Clip right to the stitching (without cutting the stitches) at the corners at the edge of the scarf and the inner corner at the back of the hood.

Step 4

turn the scarf to the right side
Through the little gap you left, turn the scarf right-side-out and press the seams.
Note: with fleece, you will probably need to use a pressing cloth (or some kind of cotton fabric) between the iron. This will prevent you from accidentally melting the fleece fibers.
Step 5

Top stitch the perimeter of the hood scarf
Using matching thread (one color as top thread and the other color as the bobbin), top stitch all the way around the perimeter of the scarf about 1/4″ in (this will also close up the gap in the scarf). This will keep the edges crisp over time.
Finished!