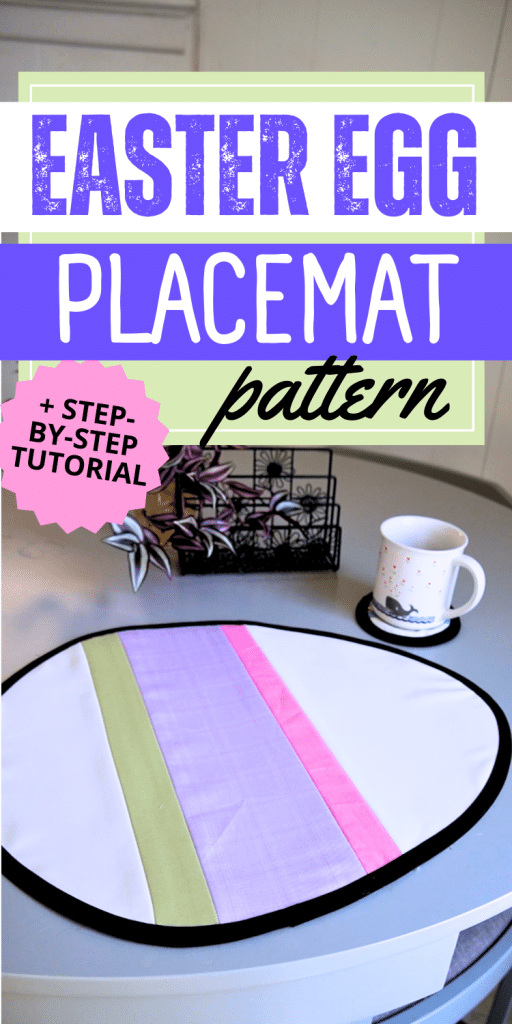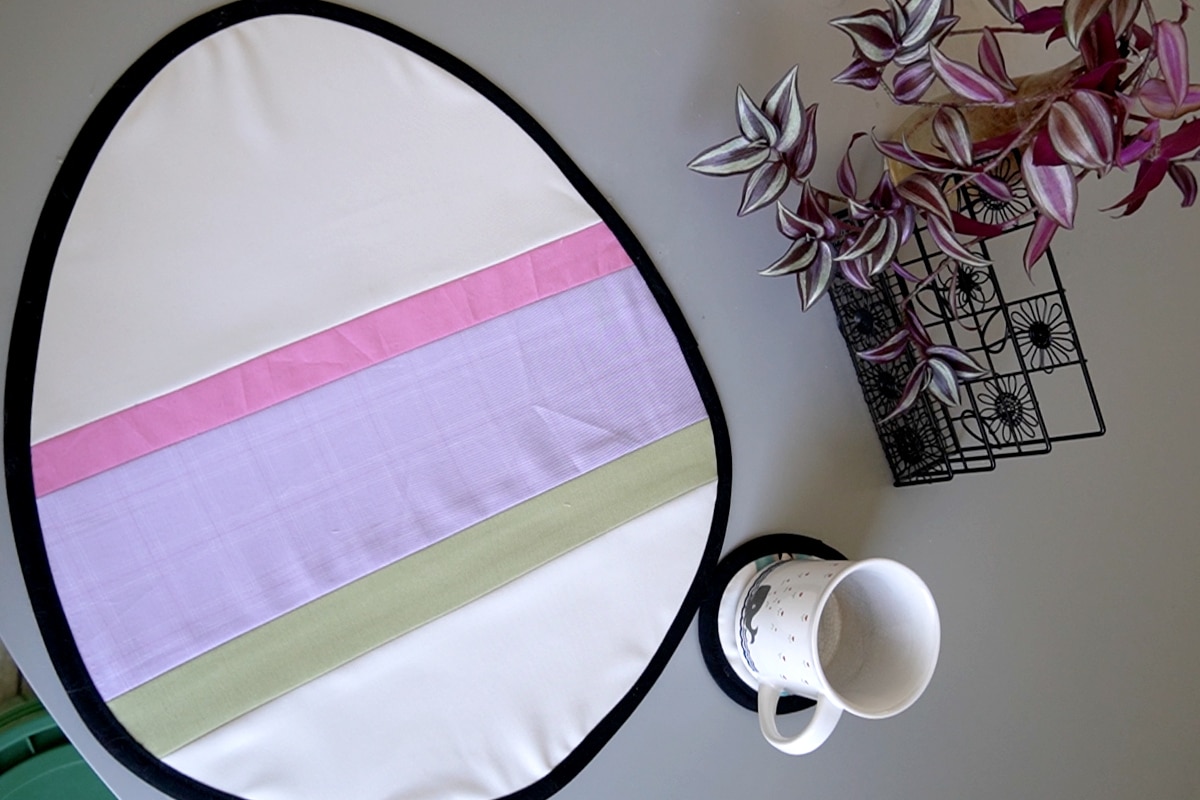
Tutorial: How to Make an Easter Egg Placemat Using Fabric Scraps
This tutorial will walk you through how to create a cute Easter Egg placemat for a touch of fun spring decor. The pattern is made so it can utilize smaller fabric scraps that you have leftover from other sewing projects. Just pick some of your favorite spring colors and get started on this simple Easter egg to decorate your table this season.
This page contains affiliate links. As an Amazon Associate, I earn a small commission from qualifying purchases. That being said, I encourage you to use your local sewing shop whenever possible, or to look for supplies second hand.
Supplies Needed:

ALL PATTERN PIECES INCLUDE 1/2″ SEAM ALLOWANCE
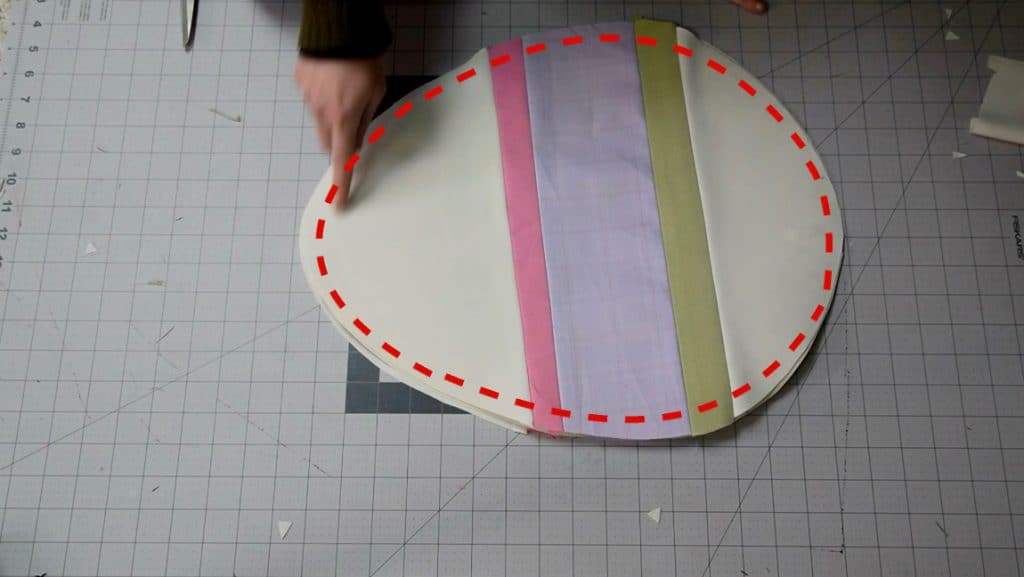
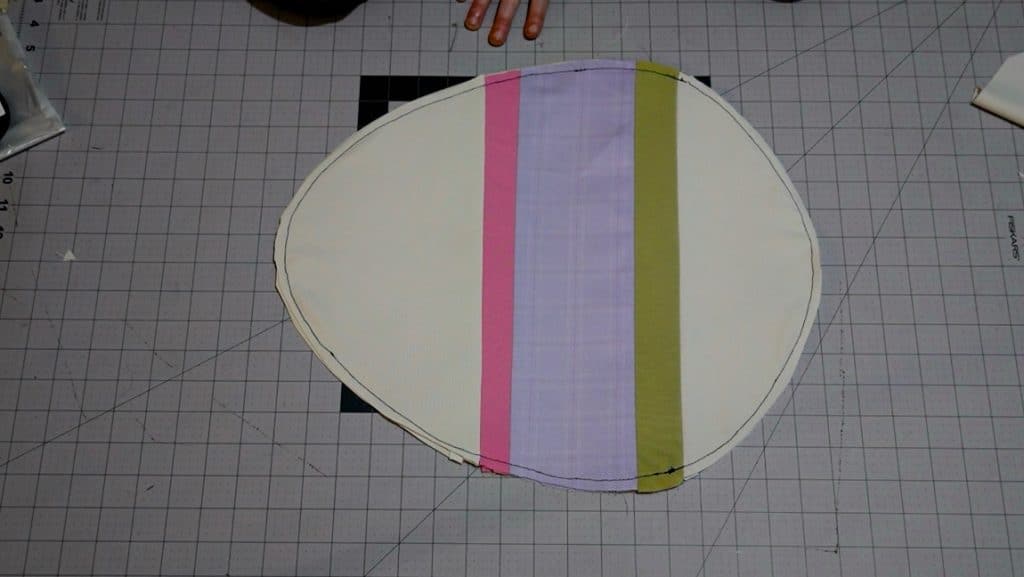
Step 1
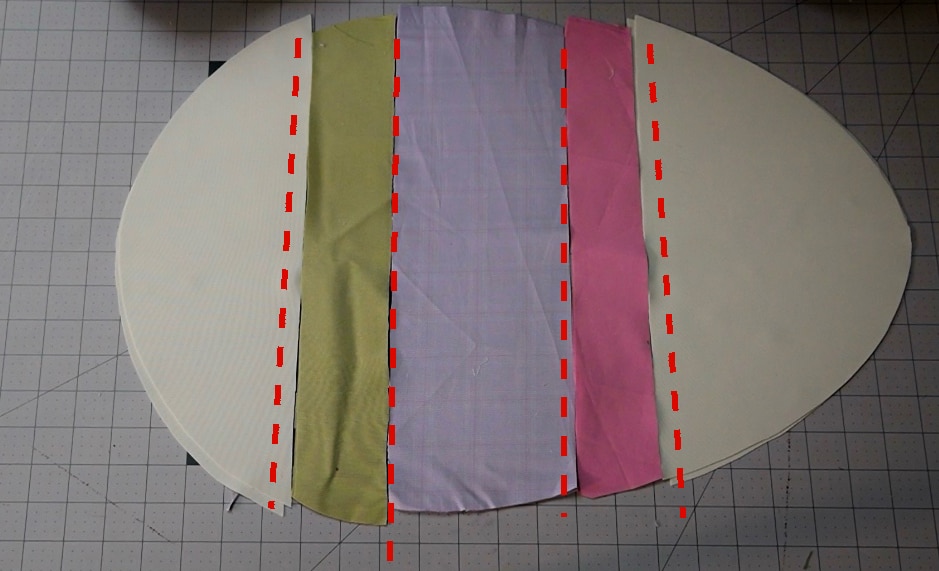
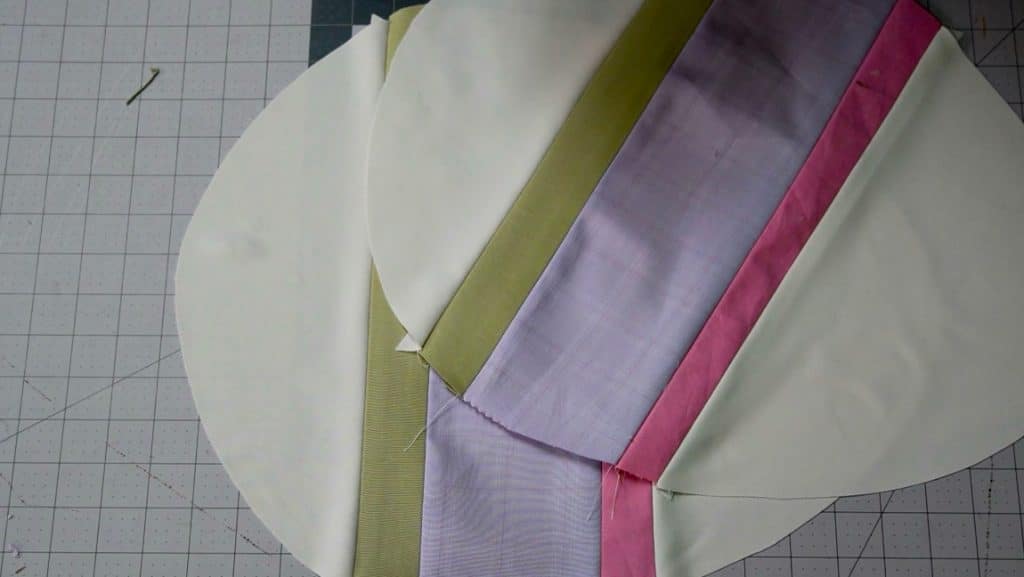
sew the pieces of the egg together
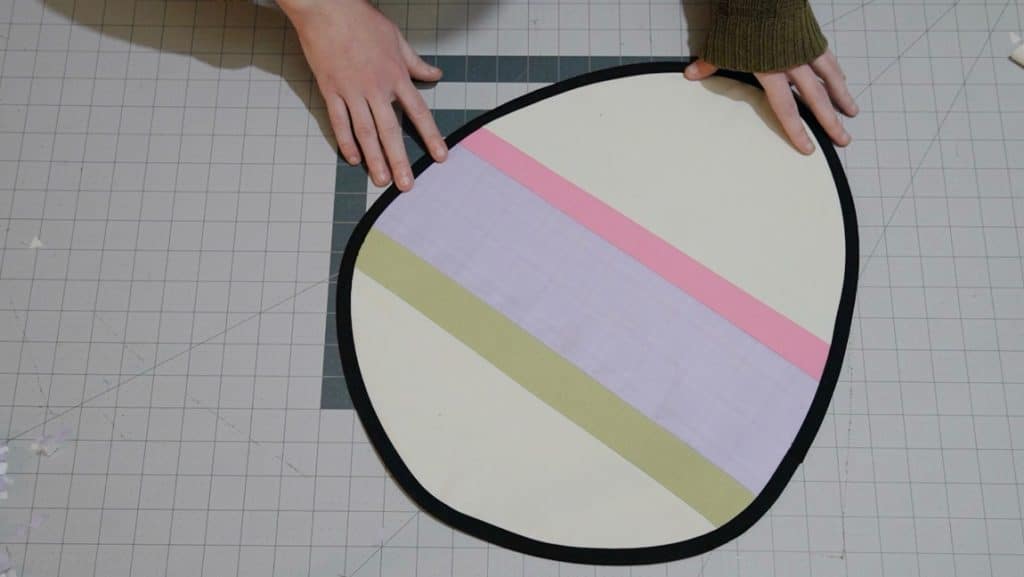
Sew the egg pieces together in order (it can help to line them up first). Repeat for both the front and back of the egg placemat, and then press your seams open. Cut off any tabs that stick out from the side of the placemat.
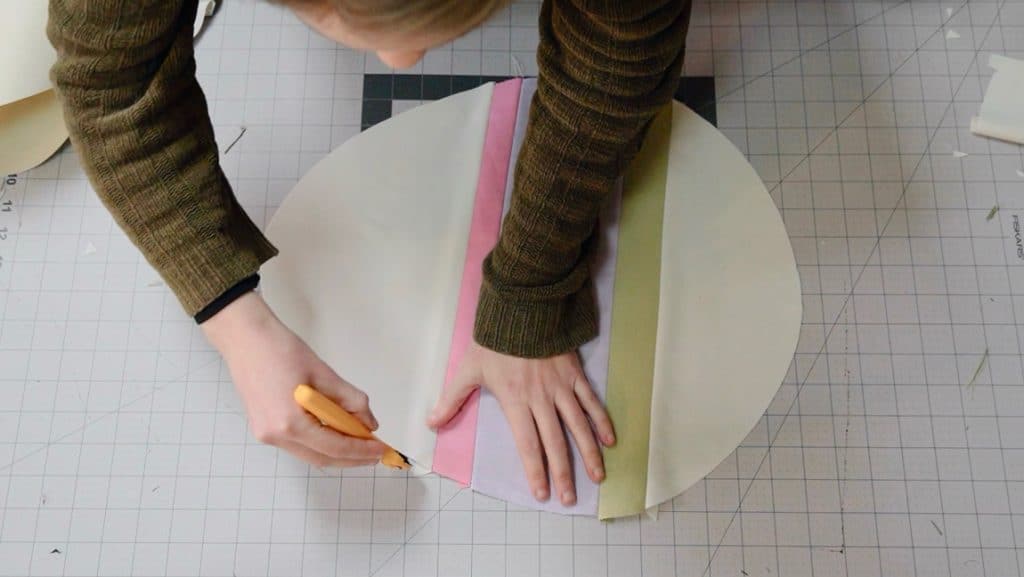
Step 2
Cut out the interfacing
Using your sewn fabric egg as a guide, cut out the heavy weight interfacing.
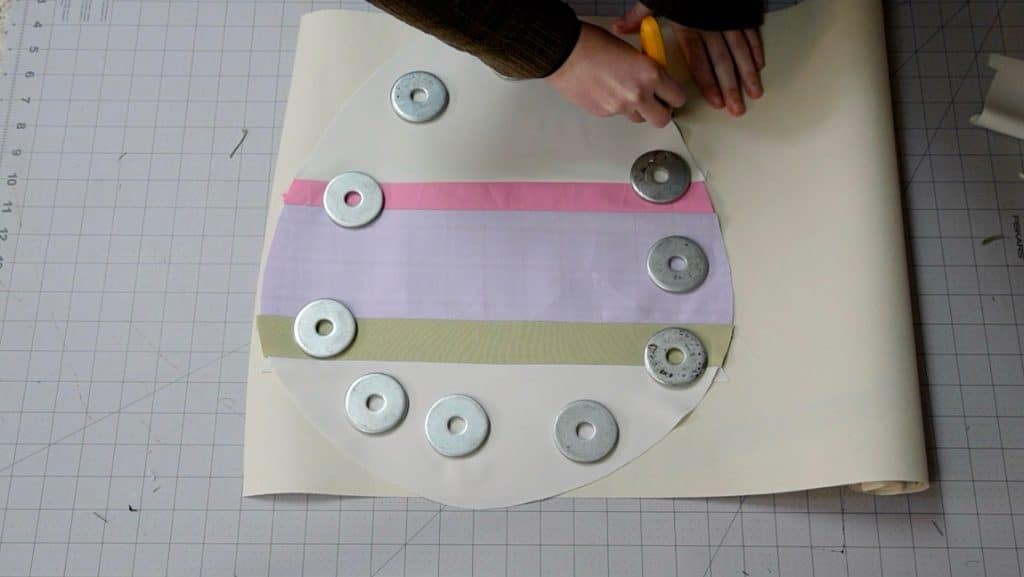
Step 3
apply the interfacing
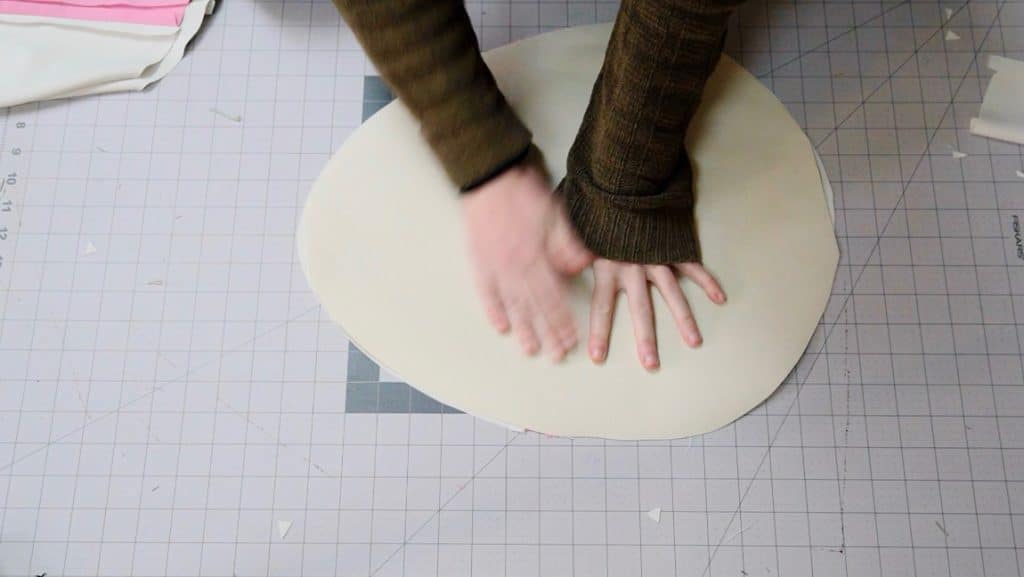
Step 4
sew the front and back placemat together
with wrong sides together, sew around the perimeter of the two egg pieces.
Step 5
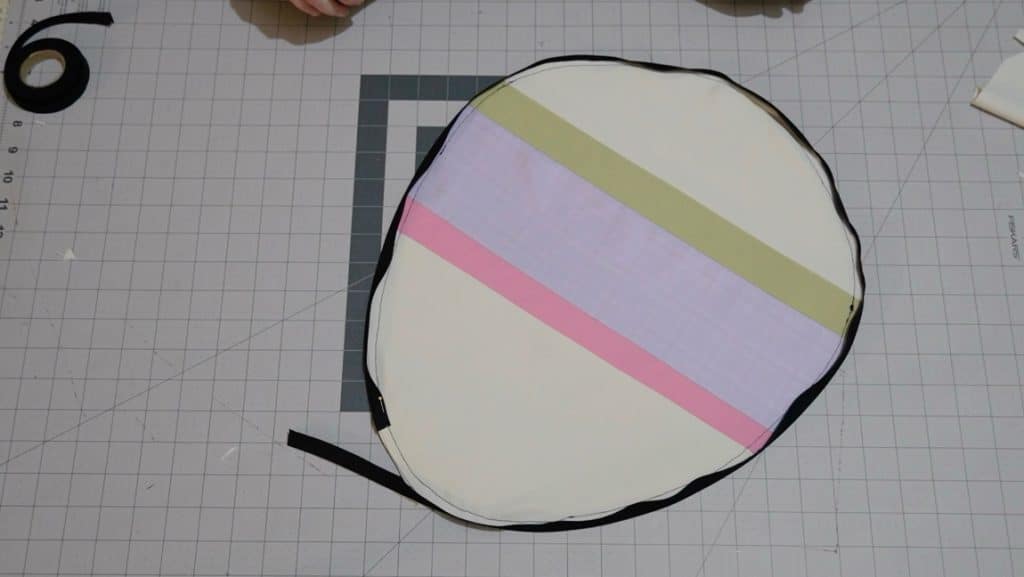
Add double fold bias tape to the outside of the egg
Sew double fold bias tape around the edge of the Easter egg placemat to cover the raw edges.
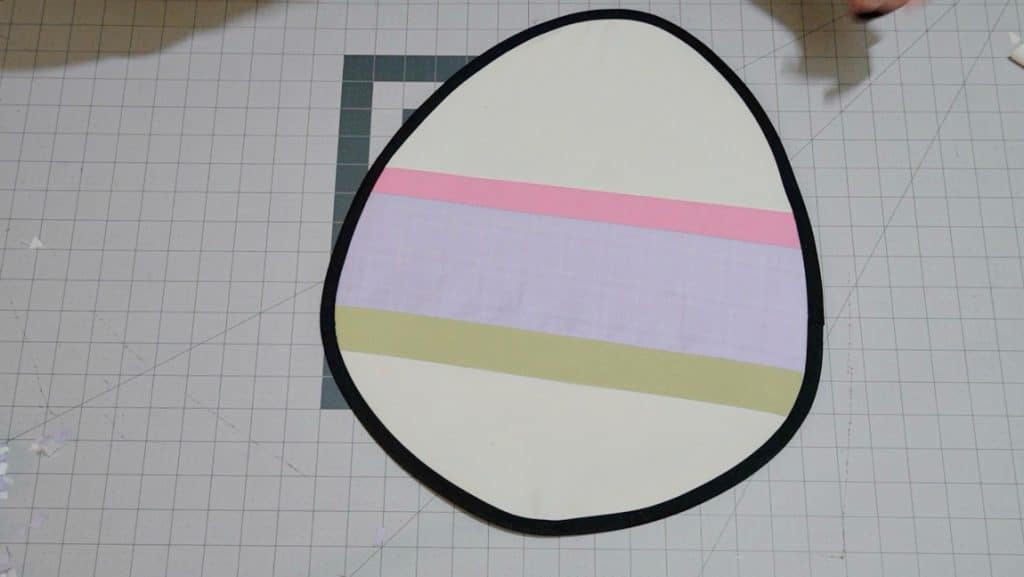
Finished!