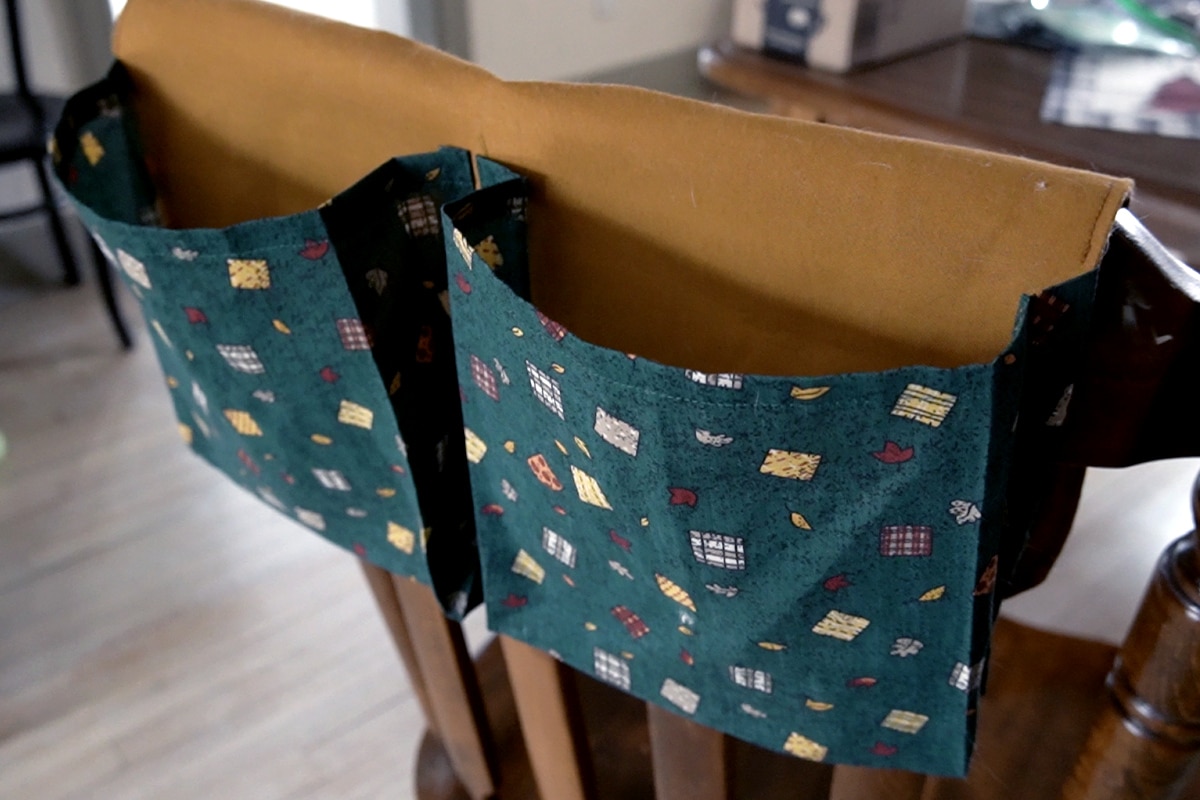
Tutorial: Simple Hanging Pocket Organizer (for beds, kitchens, couches, etc.)
If you ever needed some extra storage, this hanging pocket organizer is the perfect project for you. You can hang it over a door, a chair, a bed frame, or the arm of a sofa and instantly have a little extra organizing space. Simply print out the sewing patten below and get started with the step-by-step tutorial.
This page contains affiliate links. As an Amazon Associate, I earn a small commission from qualifying purchases. That being said, I encourage you to use your local sewing shop whenever possible, or to look for supplies second hand.
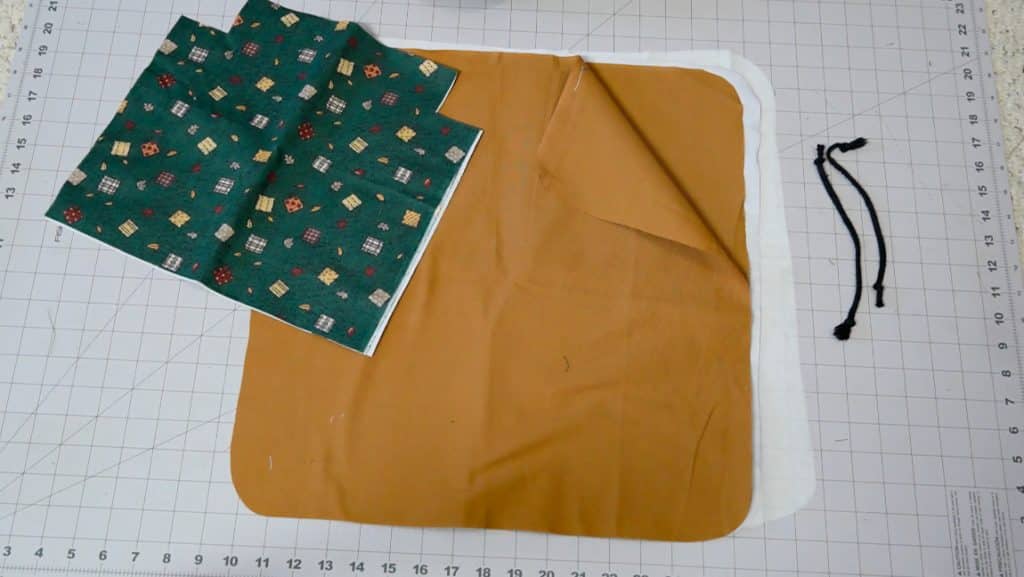
Supplies Needed:
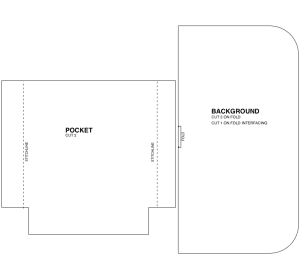
(all of my patterns include 1/2″ seam allowance)
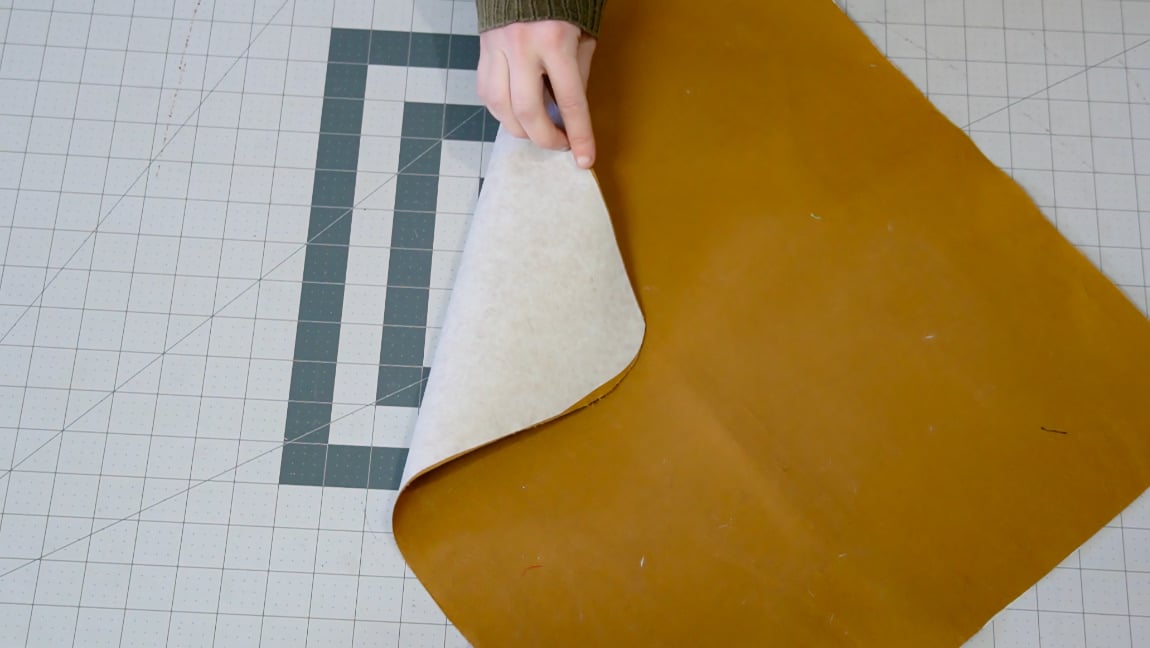
Step 1
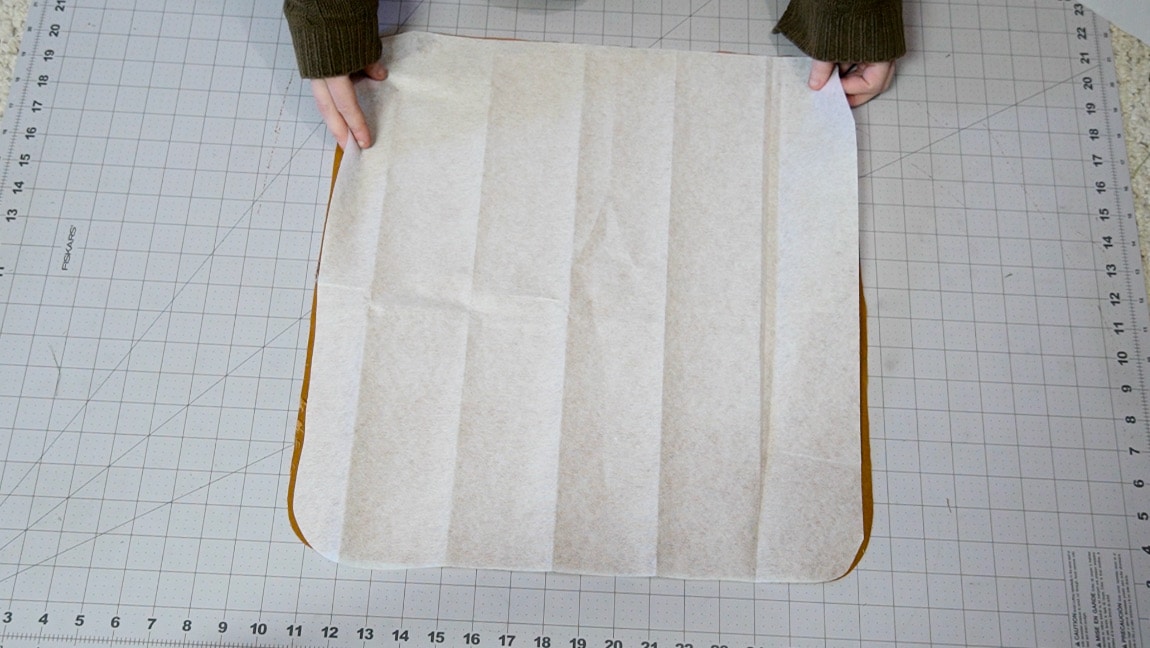
apply interfacing to one background layer
Step 2
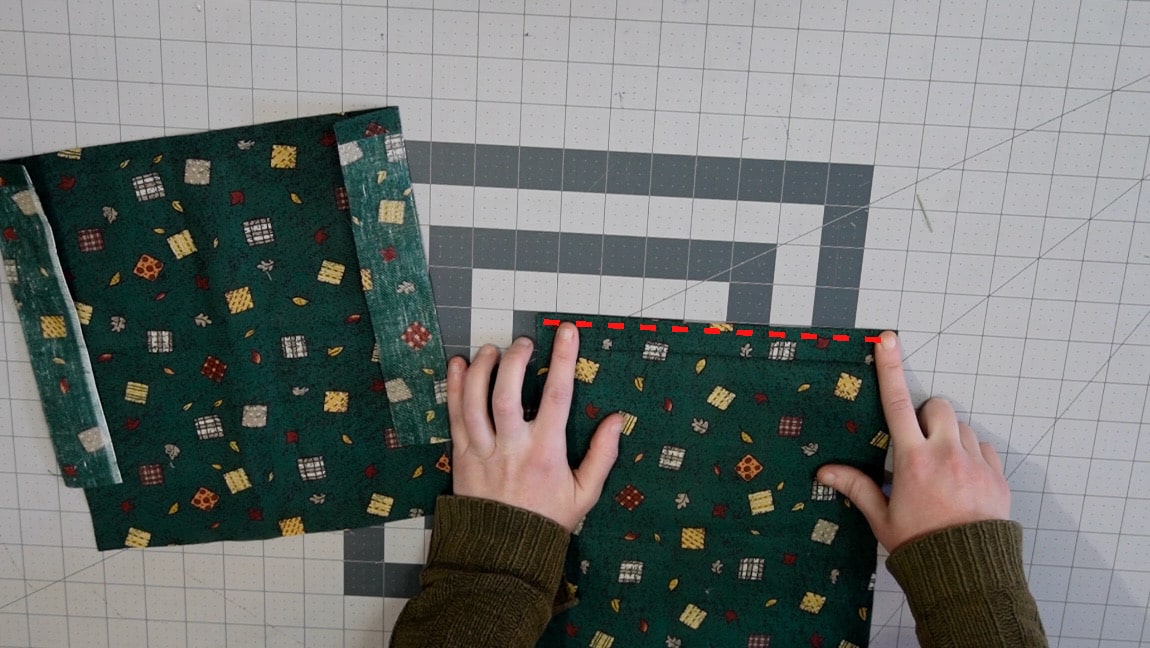
hem the top of the pockets
Make a 1/2 inch double turn hem at the top of both pockets.
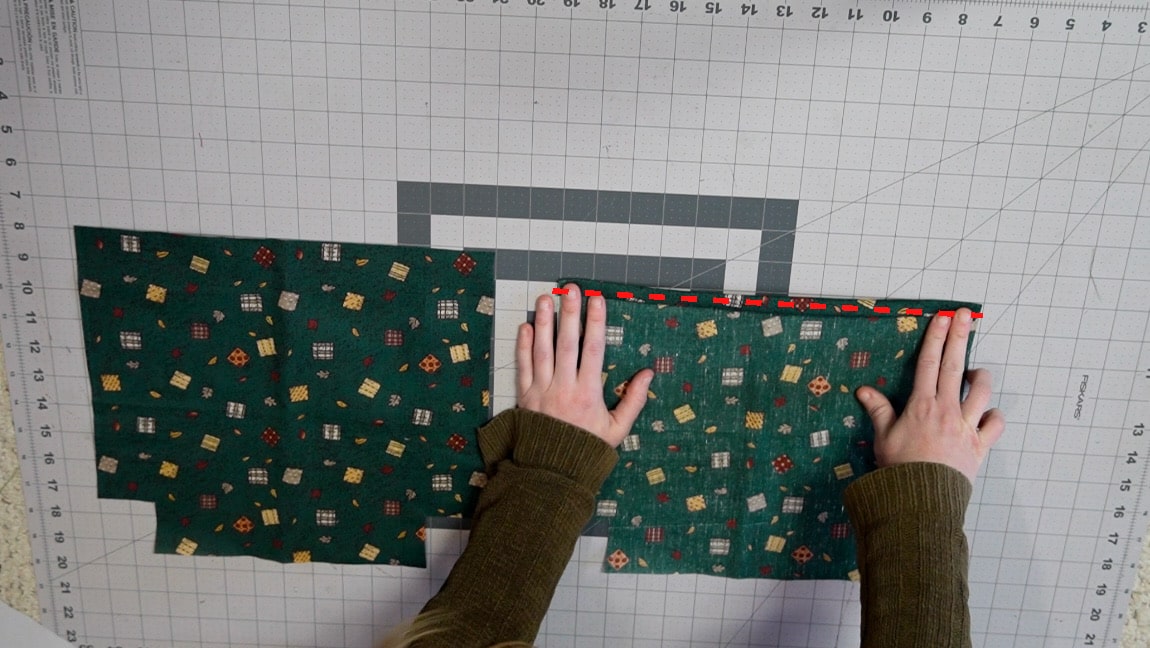
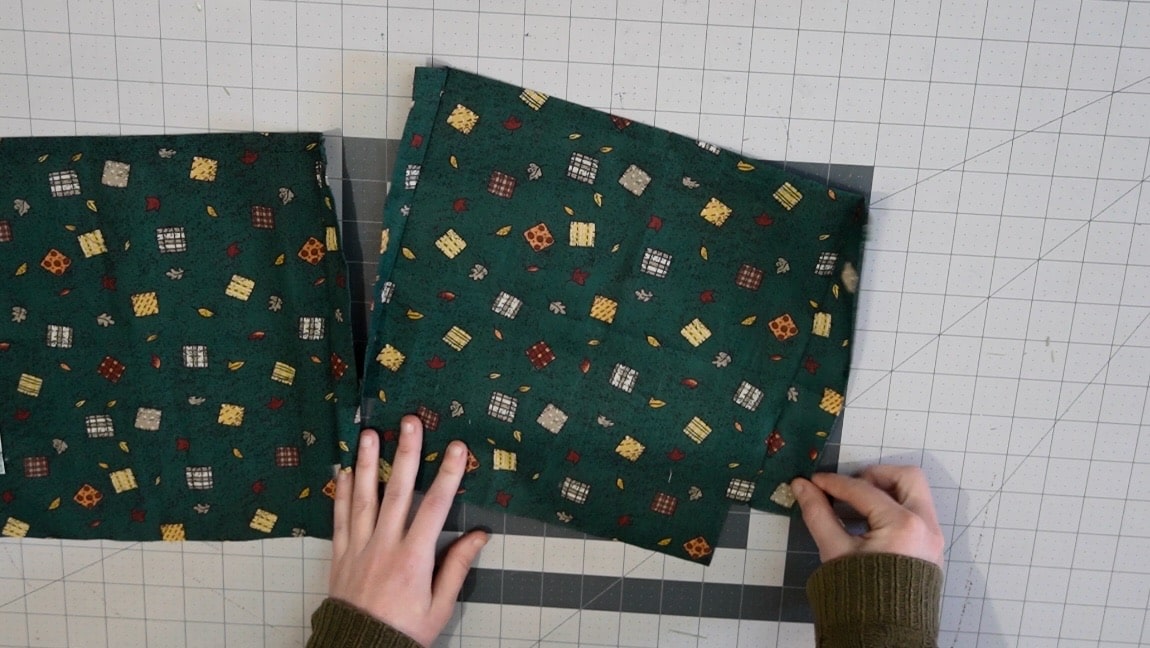
Step 3
Fold over the stitch line and edgestitch
Fold the pockets along the stitch lines with right sides together. Then stitch close to the edge. This will create the indent in the side of the pocket.

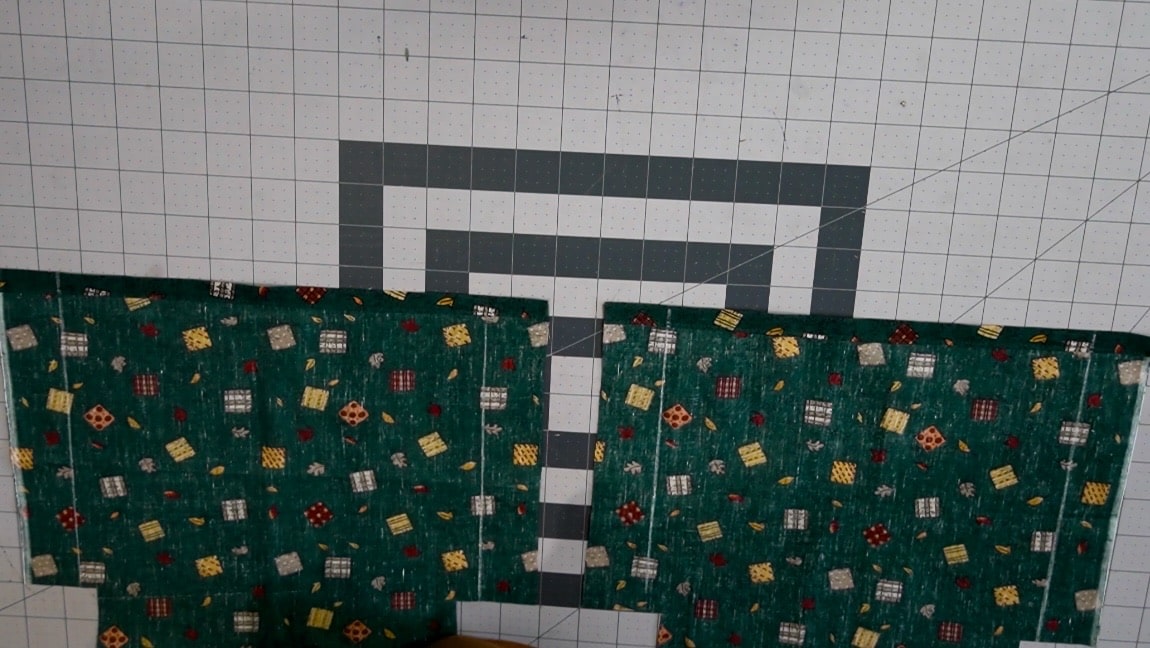
Step 4
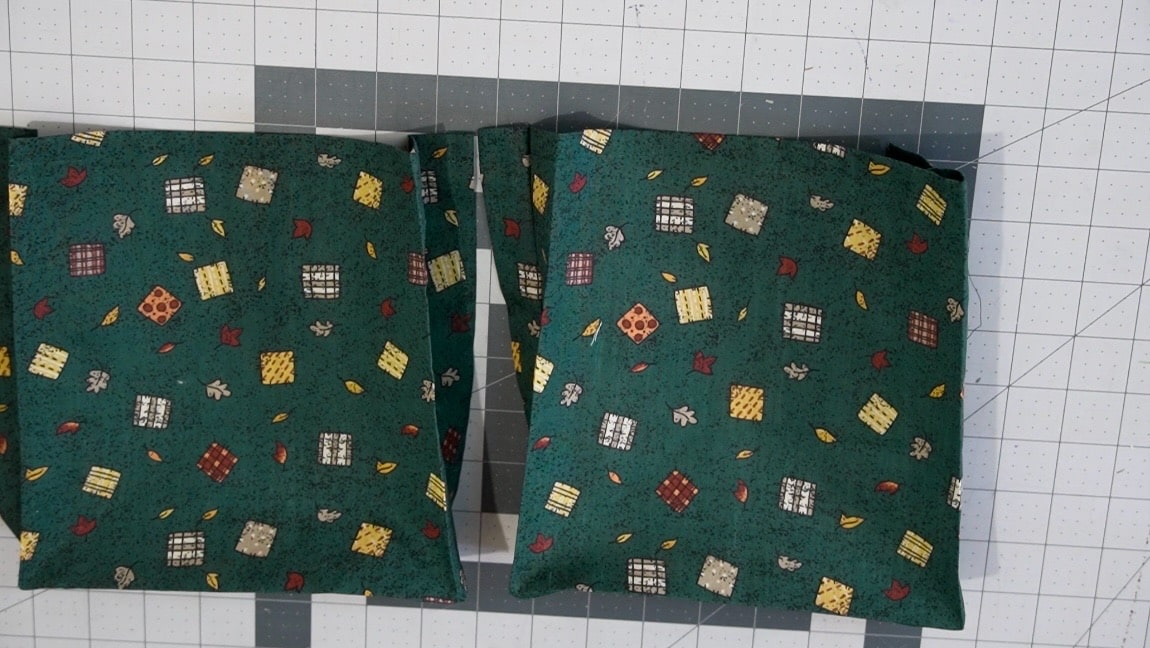
fold over the seam allowance on the inner side of the pockets
Fold over and press the seam allowance on the inner side of both pockets. The pockets should be mirrors of each other, so the press under half an inch on the right side of one pocket, and the left side of the other pocket.
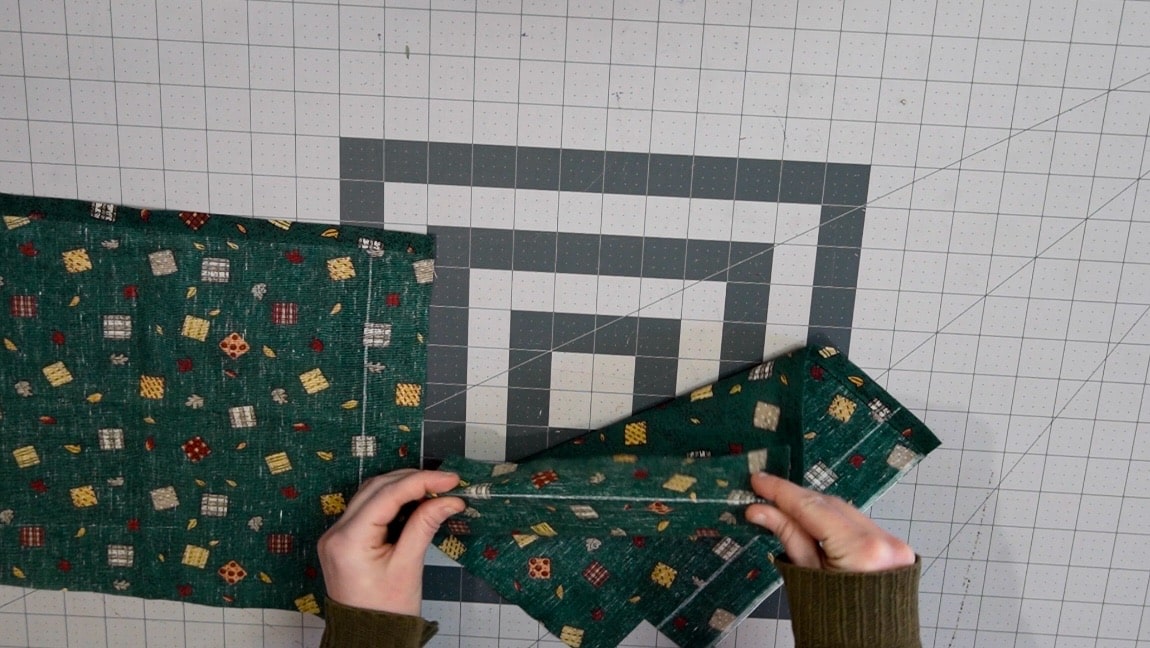
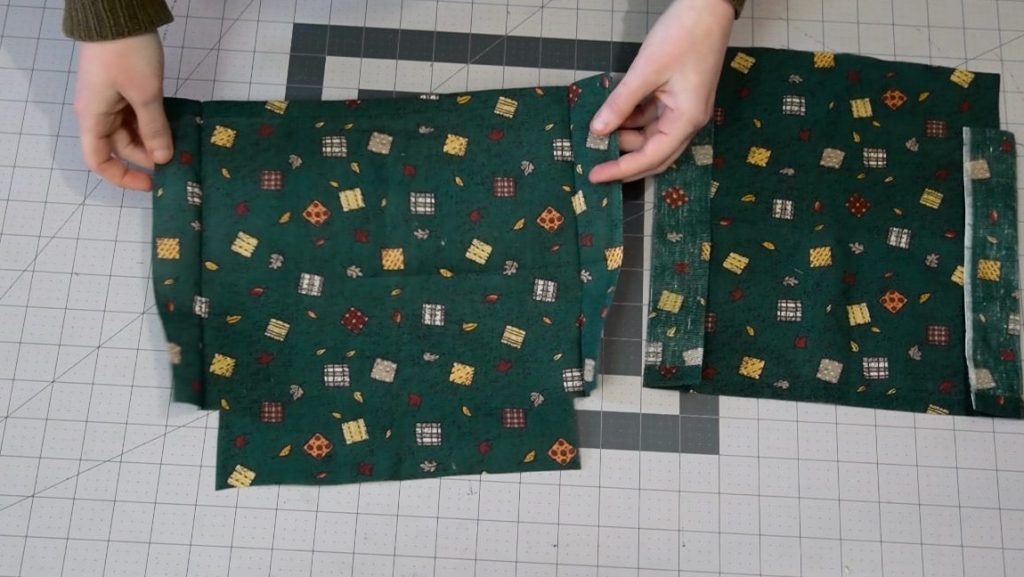
Step 5
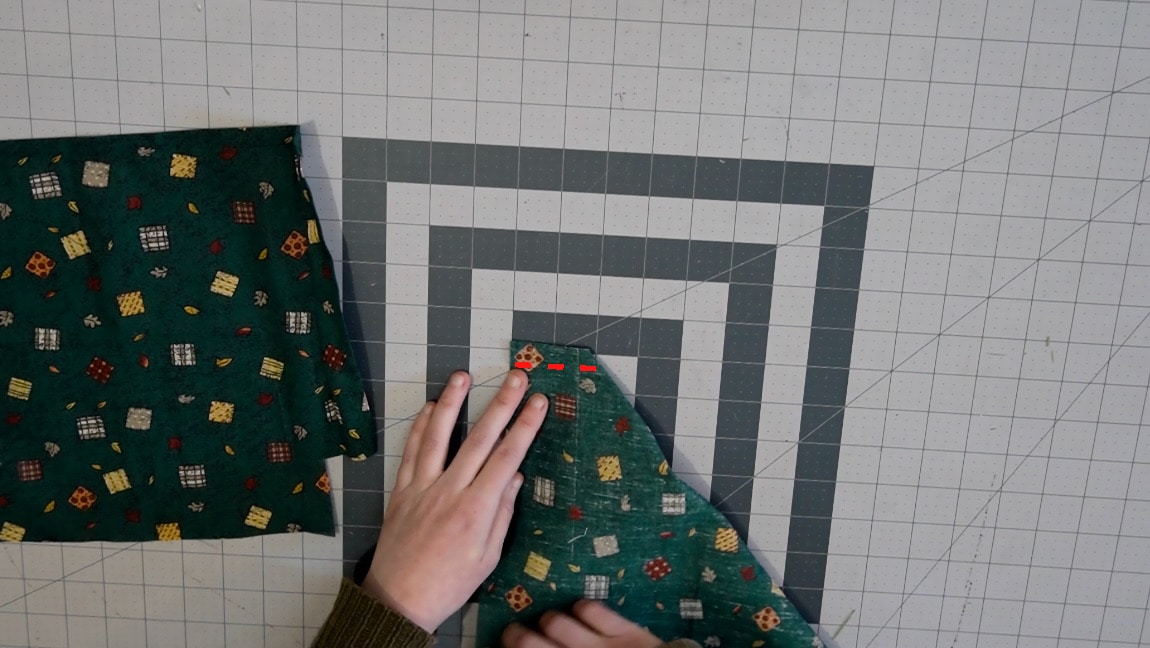
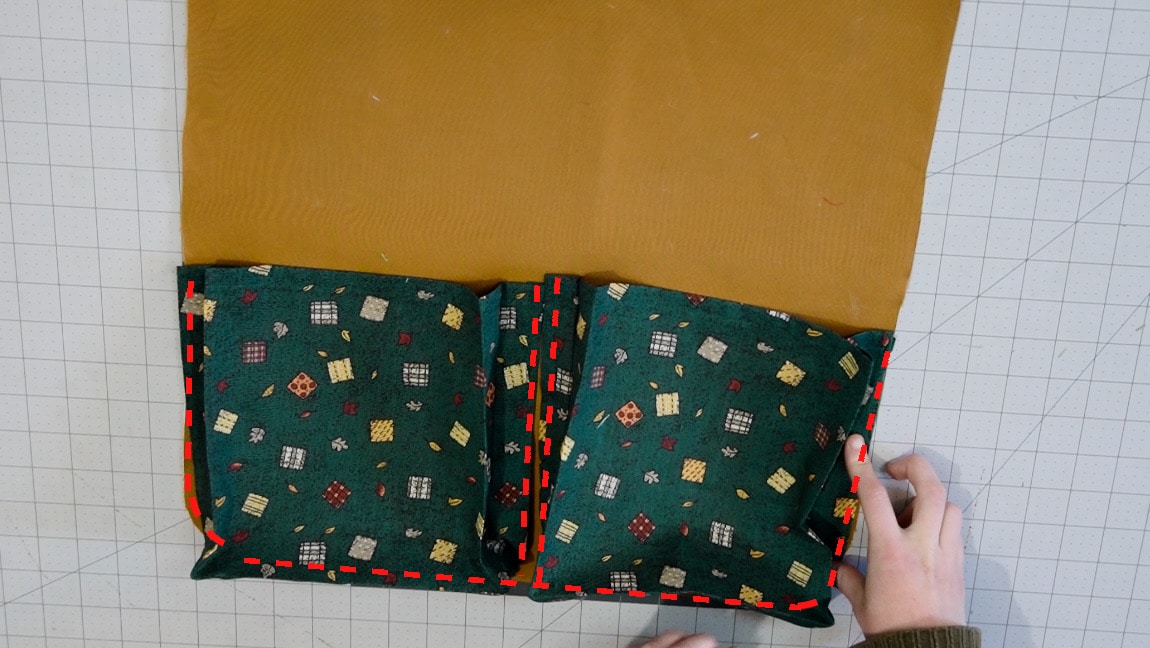
sew the corners of the pockets
Fold the corners of both pockets together and sew 1/2″ from the side. The inner sides that you folded in the previous step with be shorter than the base by 1/2″
After sewing the corners, you can press the creases into the side of the pockets to give it a crisper look if you want to.
Step 6
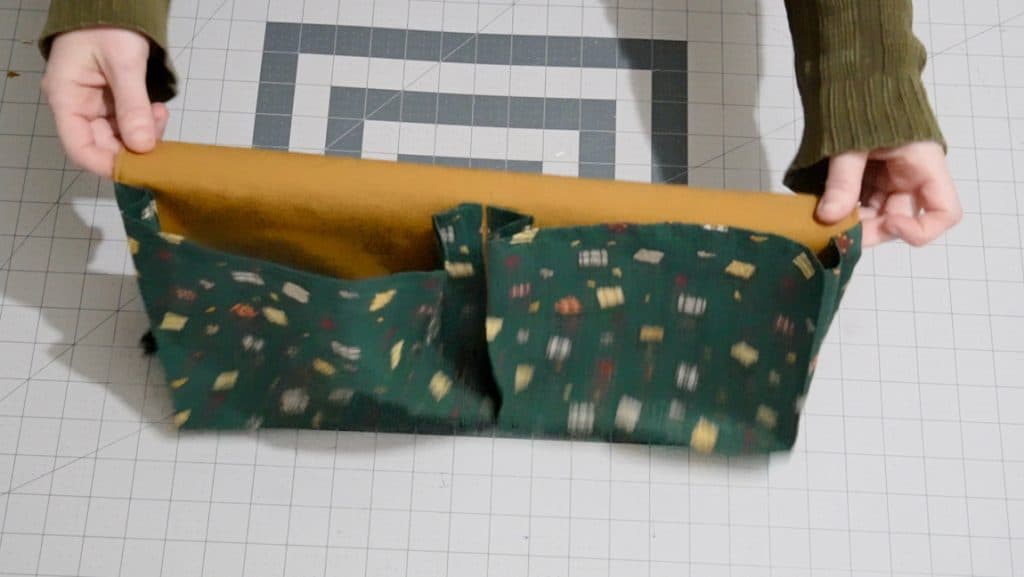
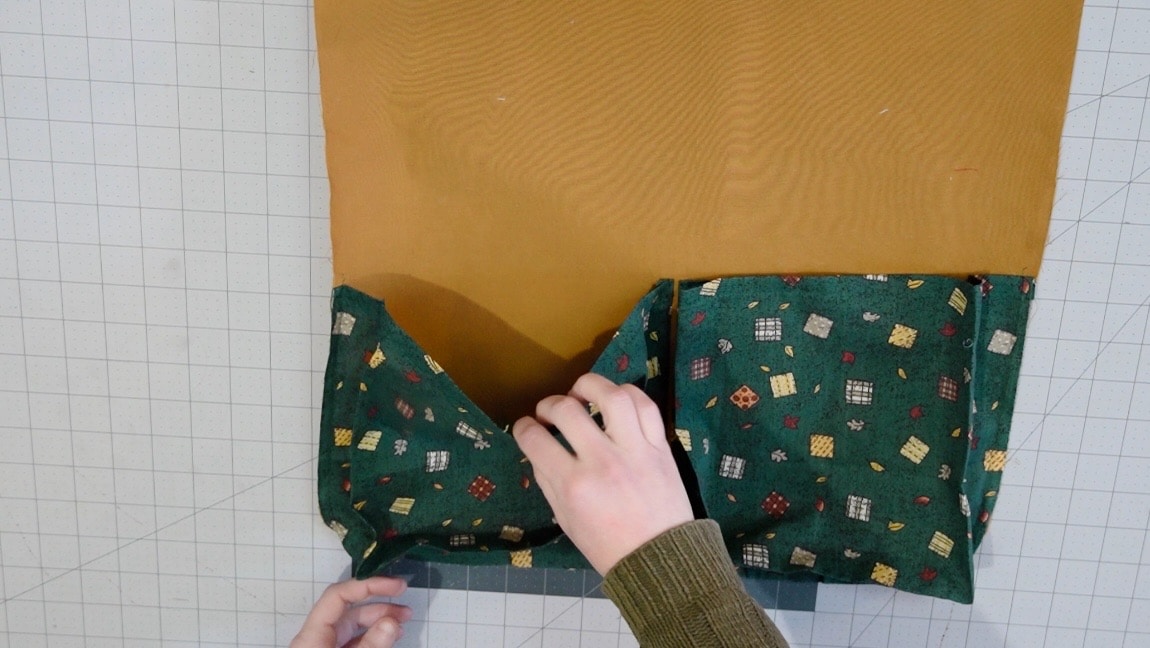
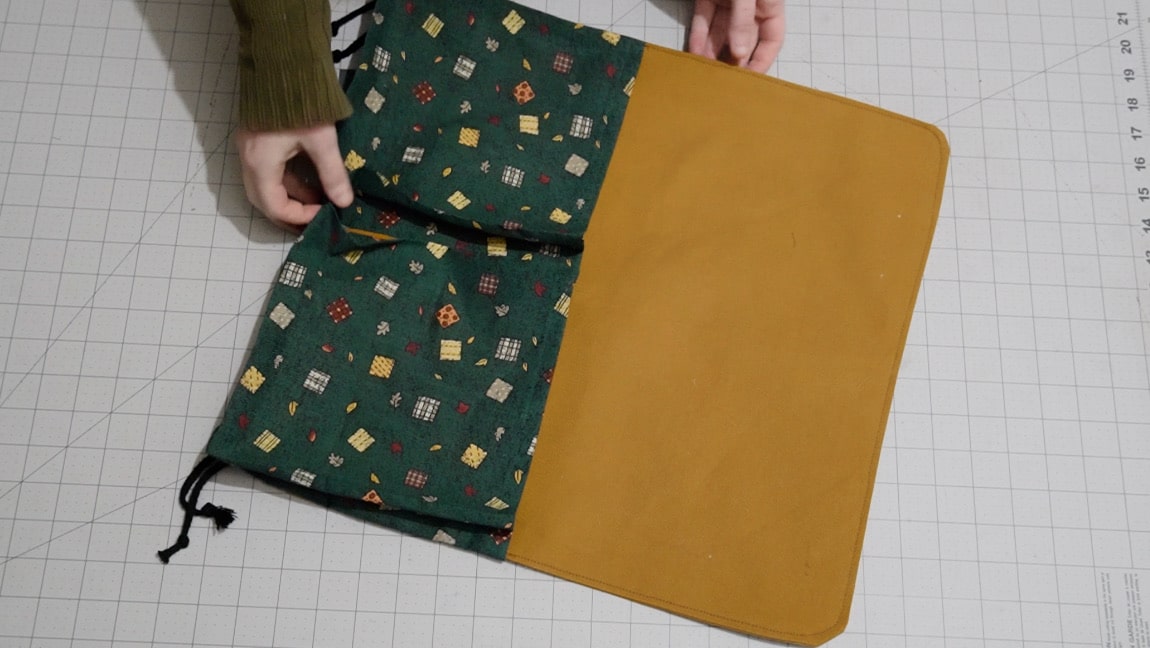
sew the pockets to the background
Place the pockets on the background with the folded edges at the center and sew these to the background close to the edge. Flatten the seam allowance of the other sides of the pockets so that they line up with the background edges and baste them in place.
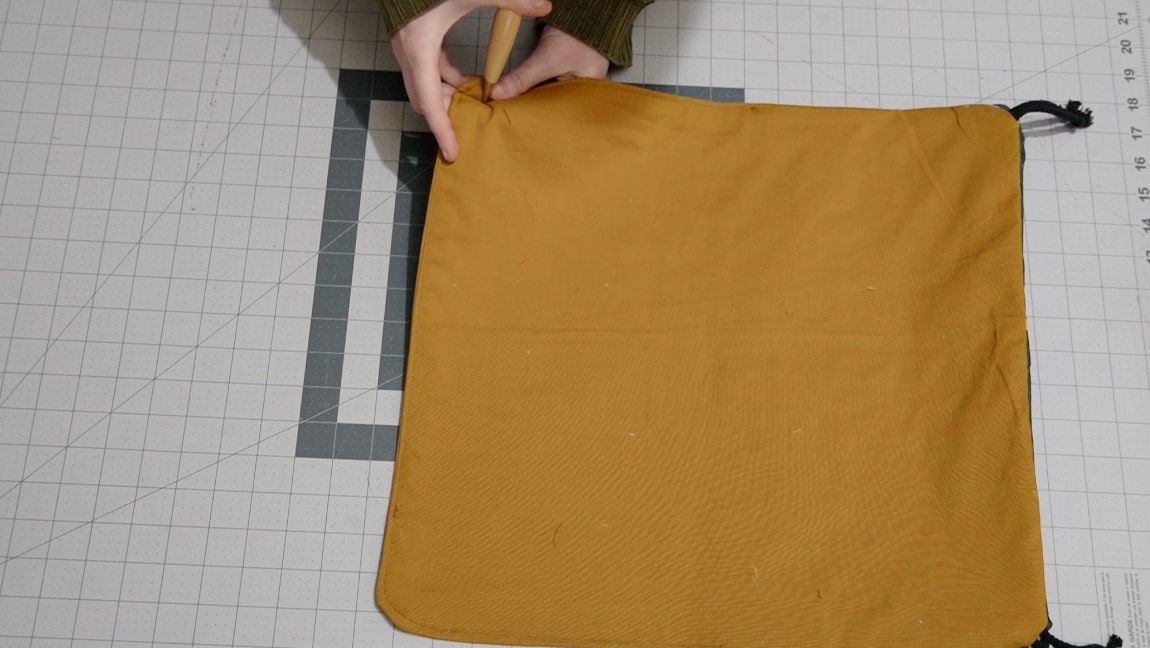
Step 7
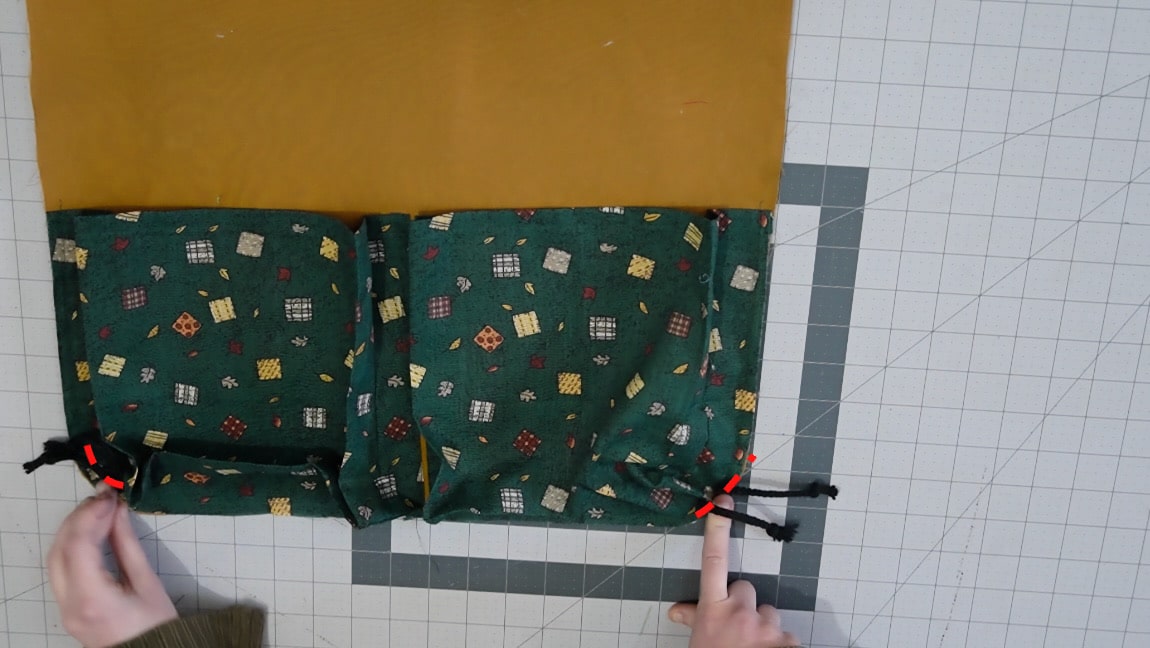
baste the ties to the corners
Fold your string in half and baste them on both corners of the pockets.
Step 8
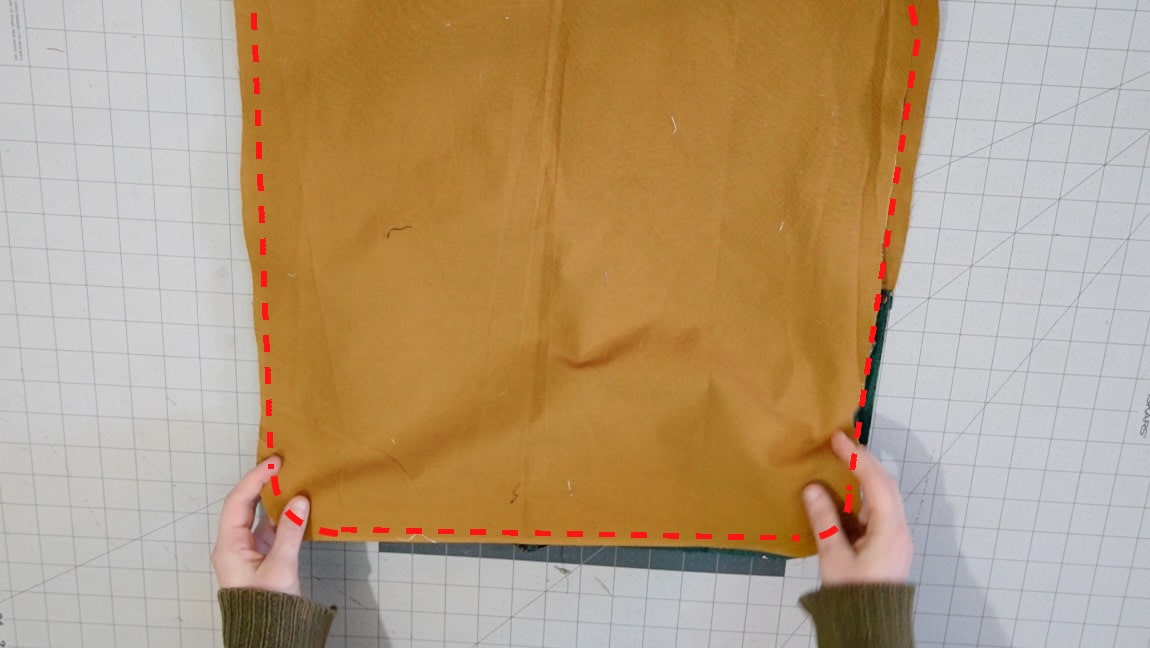
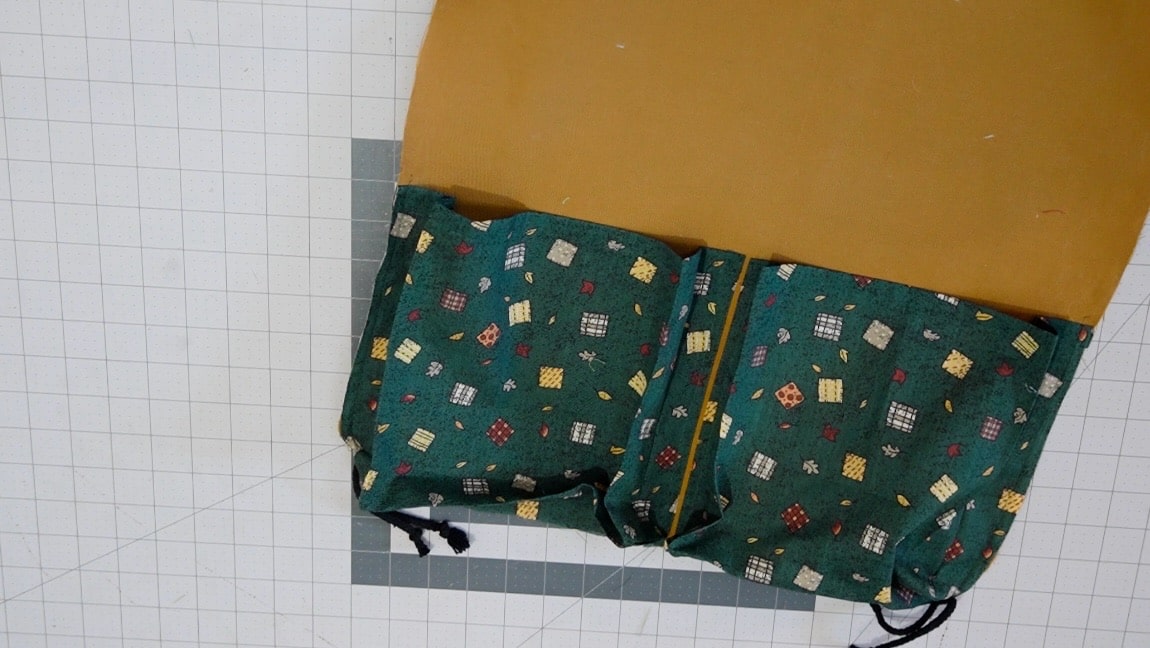
sew the background lining layer
Sandwich the pockets with the other background piece, and sew through all layers around the perimeter. Leave a gap in the stitches in the back so you can turn it to the right side.
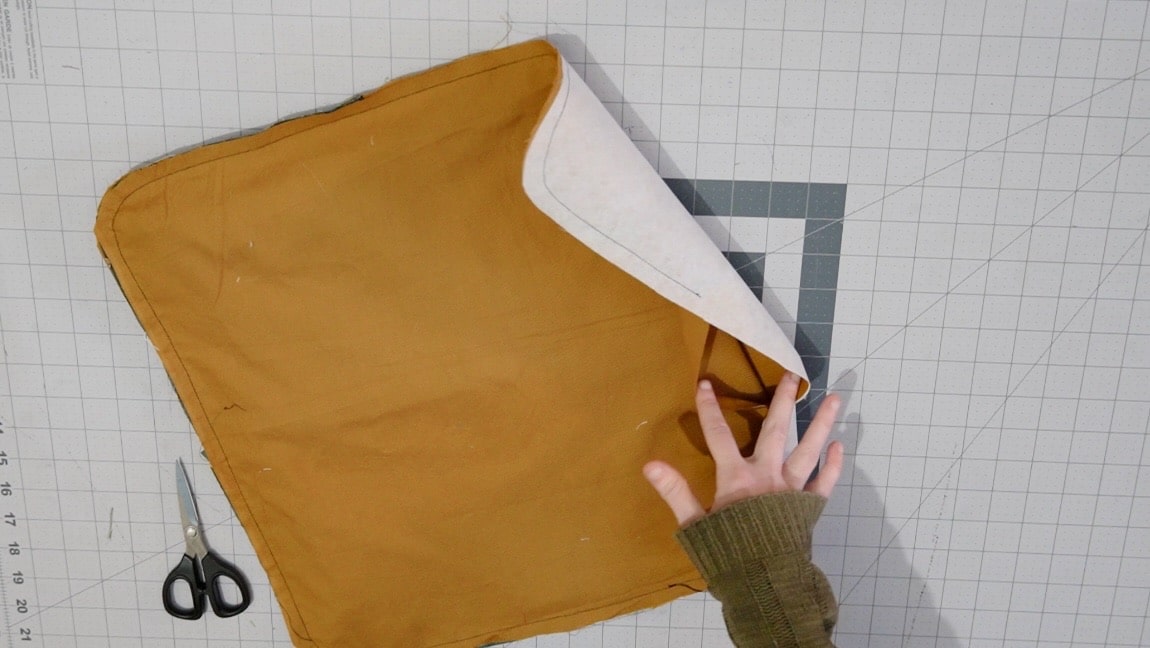
Step 9
turn to the right side and sew the gap
Turn it to the right side through the gap and top stitch to sew the gap and make the edge nice and neat.
Step 10
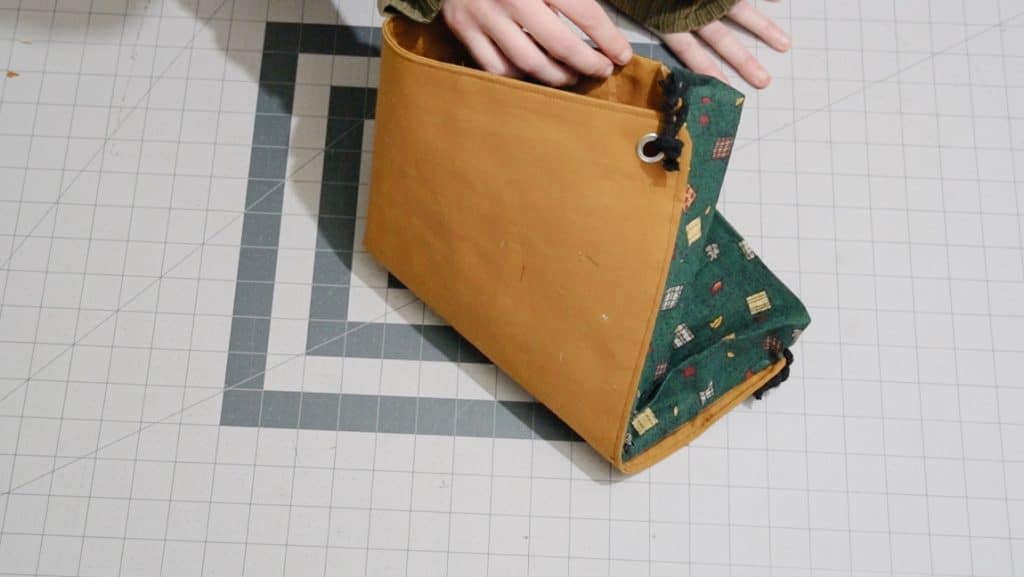
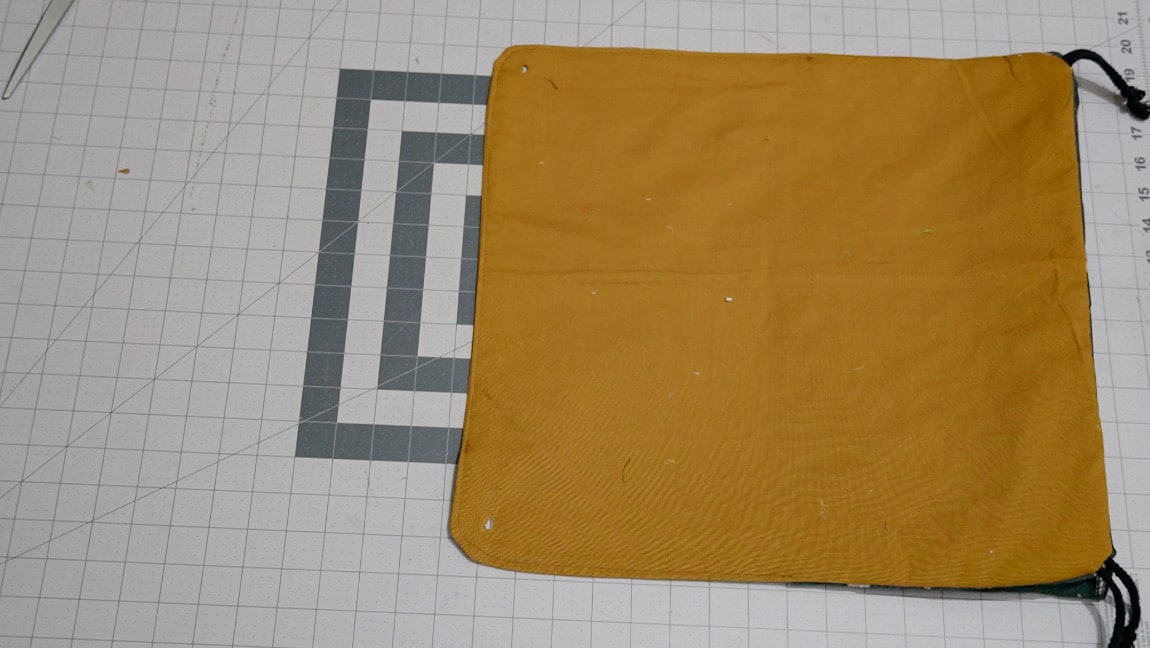
Poke a hole in both back corners
Using an awl (or sharp, pointy tool) to poke a hole in the back corners on the opposite sides of the pockets.
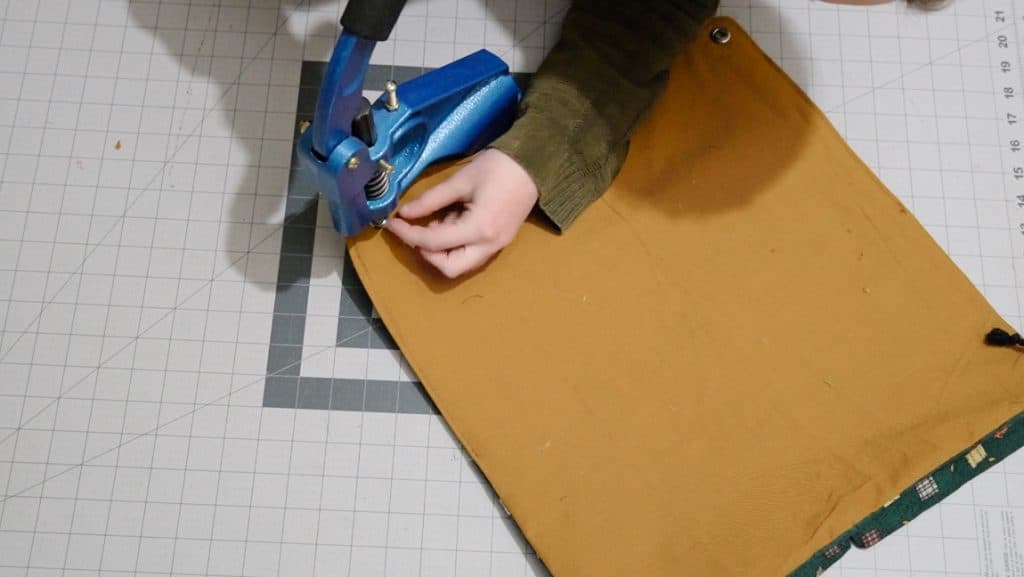
Step 11
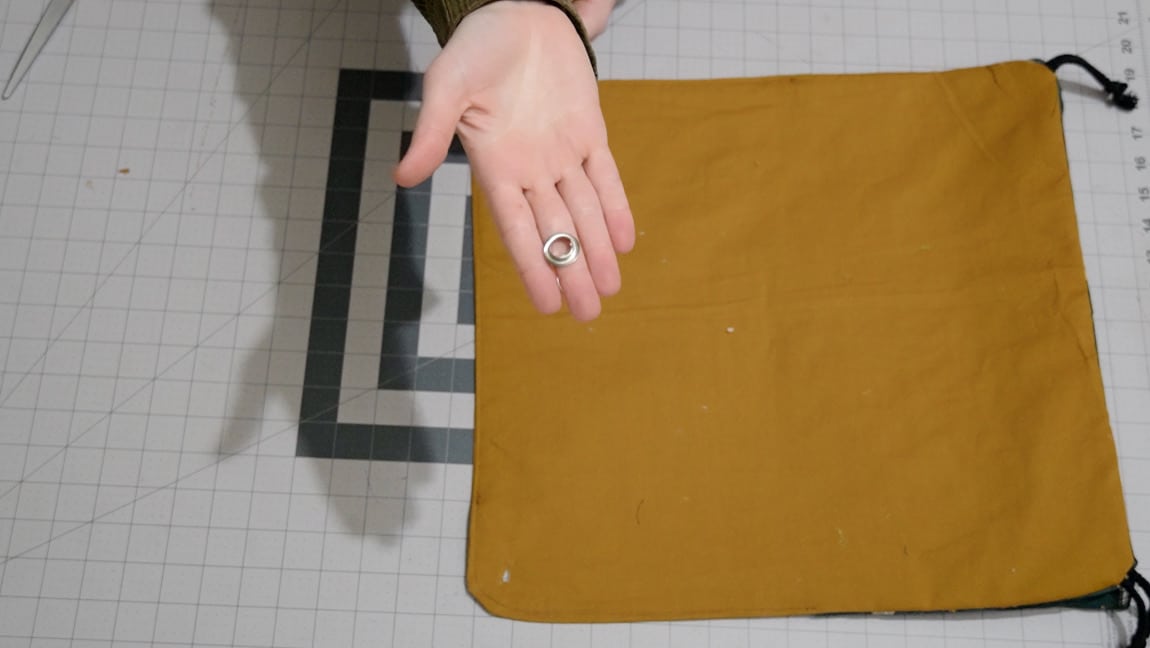
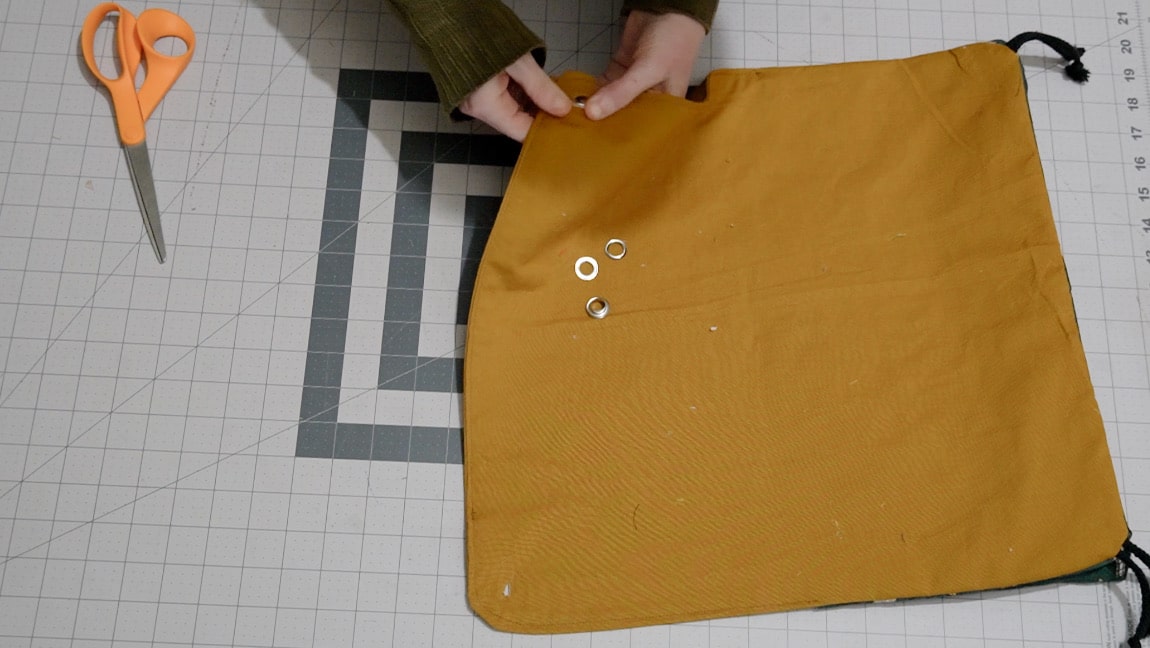
add the grommets
Grommets come in two pieces. There are many ways to add grommets to projects, but this is what I find to be easiest:
- Place the larger piece through the hole.
- Place the flat washer around the first piece, sandwiching the fabric.
- Use a grommet press to press the two sides together
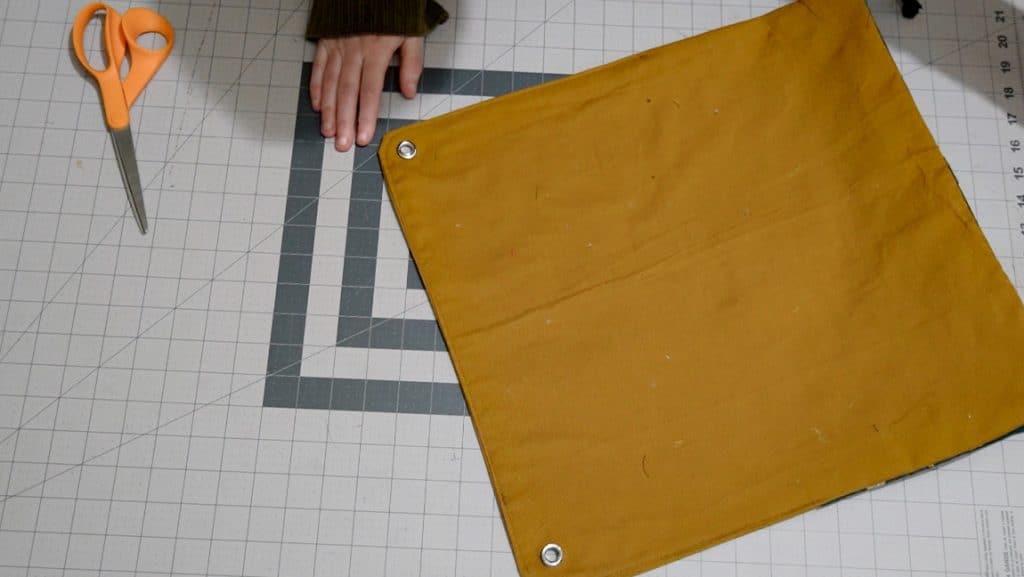

Finished!