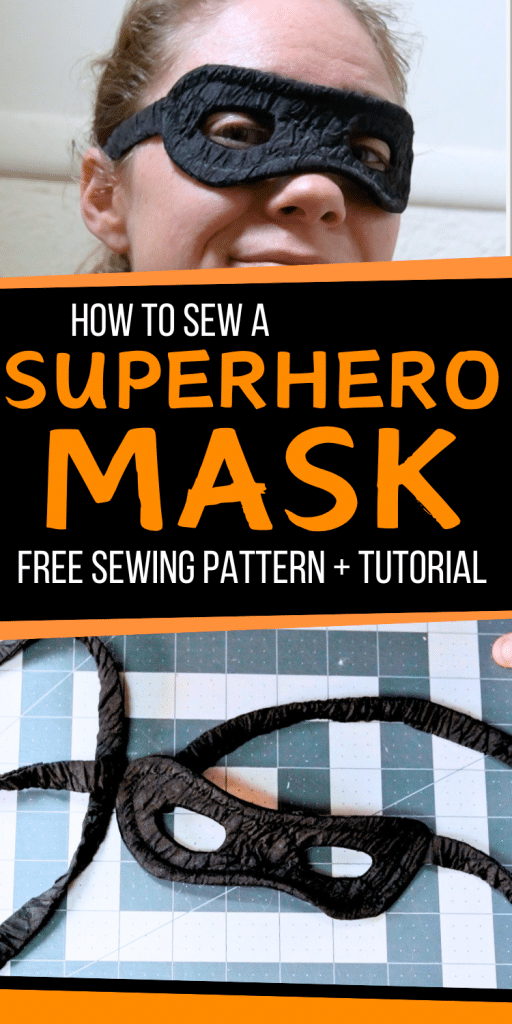
Tutorial: Superhero Eye Mask With Fabric
This fabric superhero eyemask is perfect for Halloween costumes for any number of superheroes to protect your secret identity. The pattern below will work best for pre-teens or adults with small heads (like me). You can scale the size of the mask up or down as needed to fit your face size. You can also replace the strap with ribbon or string if you prefer. If your ready to get started, just acess the free pattern and follow along with the step-by-step.
This page contains affiliate links. As an Amazon Associate, I earn a small commission from qualifying purchases. That being said, I encourage you to use your local sewing shop whenever possible, or to look for supplies second hand.
Supplies Needed:

(all of my patterns include 1/2″ seam allowance)

Step 1

apply interfacing to the back of the mask

Step 2

Pin the mask to the Mask back
With right sides together, pin the mask front to the mask back pieces. The back is still two separate pieces for now. Draw in the eyeholes from the pattern (note: you may need to slightly adjust the exact location of the eyeholes depending on how wide your eyes are on your face)

Step 3

sew the front and back together around the eyeholes

Step 4

cut out the eye holes
Cut as close as you can to the stitching and clip the curves.
Step 5

Turn the lining through the holes to the back
This is why the back is two separate pieces. Flip both back pieces through the eye holes so that now you have the mask with wrong sides together.

Step 6

Sew the center seam of the back pieces

Step 7

baste the front and back together
Line up the front and back of the mask and baste them together around the edge.

Step 8

fold the strap in half
With right sides together, fold the strap in half and sew down the length and one short side.

Step 9

turn the strap to the right side and press
It can help to use a loop turner to get the strap turned.

Step 10

baste the strap to the sides of the mask
Using an awl (or sharp, pointy tool) poke a hole in the belt about 1.5 inches in from the end (or at the edge of the belting inside so that the hole does NOT go through the belting). Make sure it is centered along the width belt.

Step 11

finish the edges of the mask with single fold bias tape
Start by sewing the bias tape to the mask with right sides together.

Step 12

flip the bias tape to the back and topstitch
Press the bias tape to the back of the mask, covering the raw edges. then topstitch all around the edge to sew it in place.

Finished!