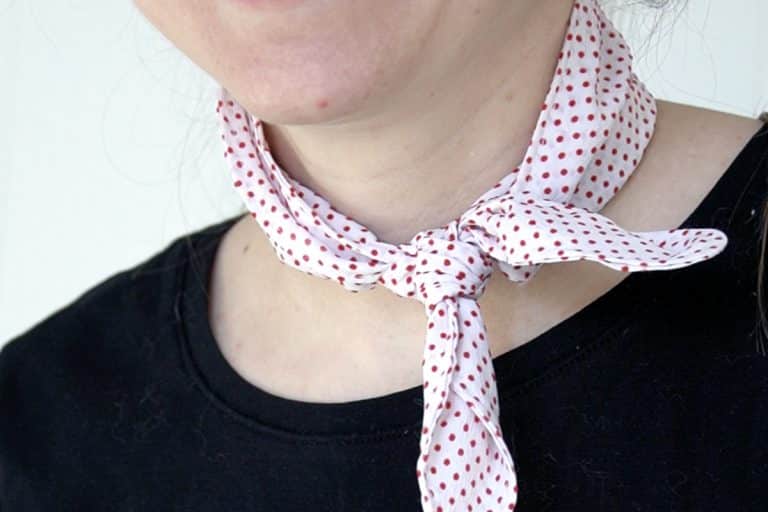
Tutorial: How to Make a Lightweight Summer Infinity Scarf
This is a quick step-by-step tutorial that teaches you how to make a lightweight infinity scarf. I designed this pattern to use only 1/4 yard of fabric (60″ width), so if you have any leftover from another project, this is the perfect scarf to make. I’ll also walk you through how to do a French seam finish do make your finished scarf neater and more durable overall.
I recommend using a microtex needle when sewing lightweight fabric. You also may want to invest in a straight stitch place, since this can keep the fabric from puckering or being pulled under the needle when you’re trying to sew. (Learn more about sewing with lightweight fabric)

This page contains affiliate links. As an Amazon Associate, I earn a small commission from qualifying purchases. That being said, I encourage you to use your local sewing shop whenever possible, or to look for supplies second hand.
Supplies Needed:

Step 1

sew the end with a narrow seam allowance
Because this is lightweight fabric, we’re going to make a French seam. This takes longer to sew, but it will make your final scarf neater and more durable.
Start by fold the scarf in half and sewing the short ends with wrong sides together. You want to sew a narrow seam of 2/8 inch (or 1/4 in).

Step 2

Trim the seam
Trim the seam allowance so it’s just about 1/8 inch. Be careful not to cut any of the stitches.
Step 3

Flip the fabric around the seam so you have right sides together
When you flip the fabric around, you’ll see that you now have the edge of the fabric enclosed inside the seam, so there are no raw edges visible. Press before sewing.
Now sew with a narrow 3/8 inch seam. After you sew it, press the seam toward whichever side you want. The scarf will now be a fully connected circle.
Congratulations! You’ve now sewn your first French seam.


Step 4

hem the scarf
Now all that’s left to do is hem the edges of the scarf. Make a narrow hem all the way along the edges to keep it from fraying over time.

Finished!