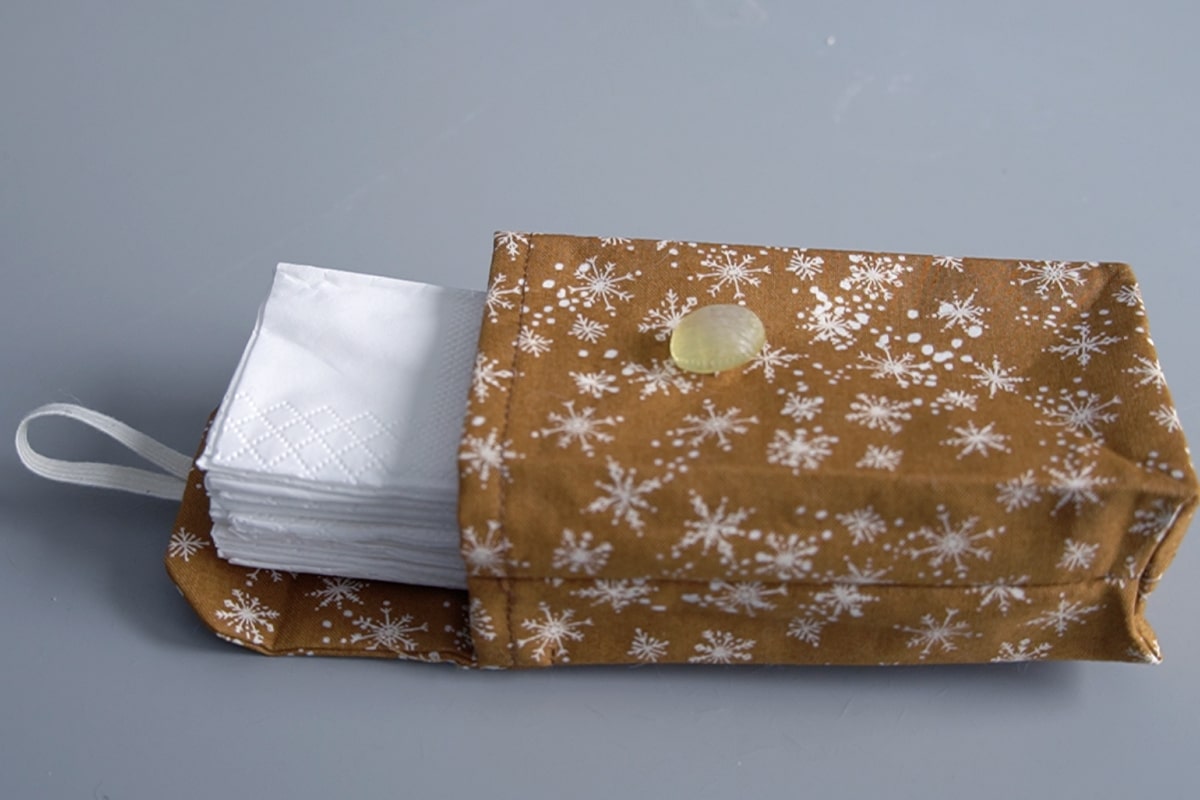
Tutorial: Travel Tissue Pouch
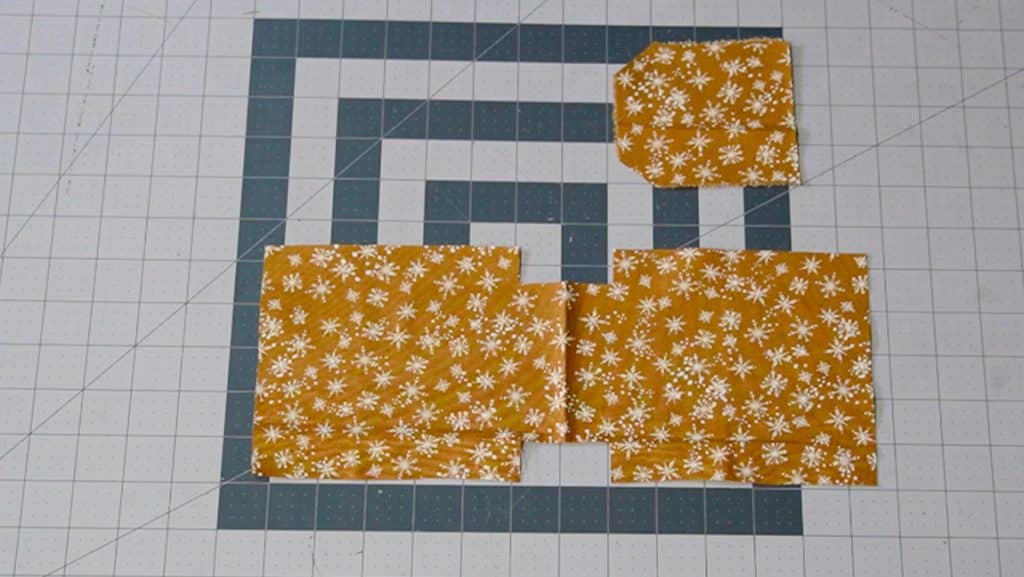
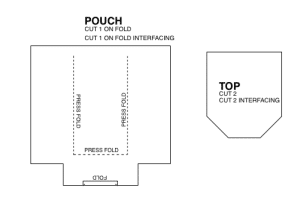
This tutorial will walk you through how to make a small travel sized pouch that you can use for tissues, chapstick, or other small items. You only need a scrap of fabric that is at least 15X10 inches and a bit of interfacing. Print the pattern below and get started with the step-by-step instructions.
This page contains affiliate links. As an Amazon Associate, I earn a small commission from qualifying purchases. That being said, I encourage you to use your local sewing shop whenever possible, or to look for supplies second hand.
Supplies Needed:
(all of my patterns include 1/2″ seam allowance)
Step 1
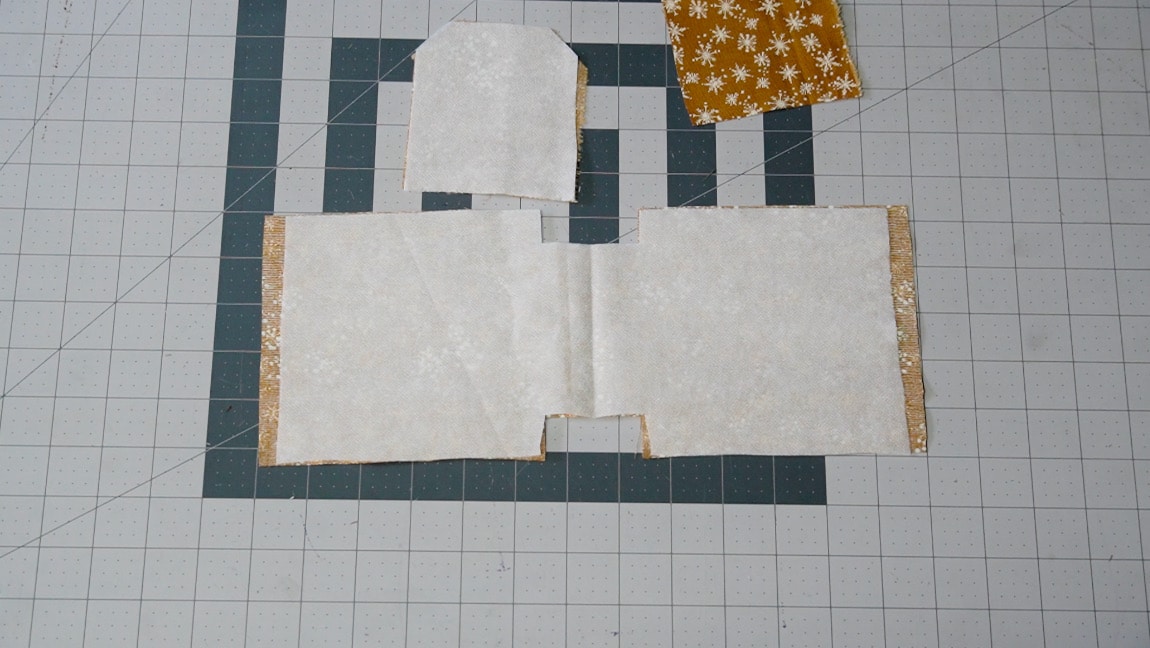
Apply interfacing to the pouch and top
Step 2
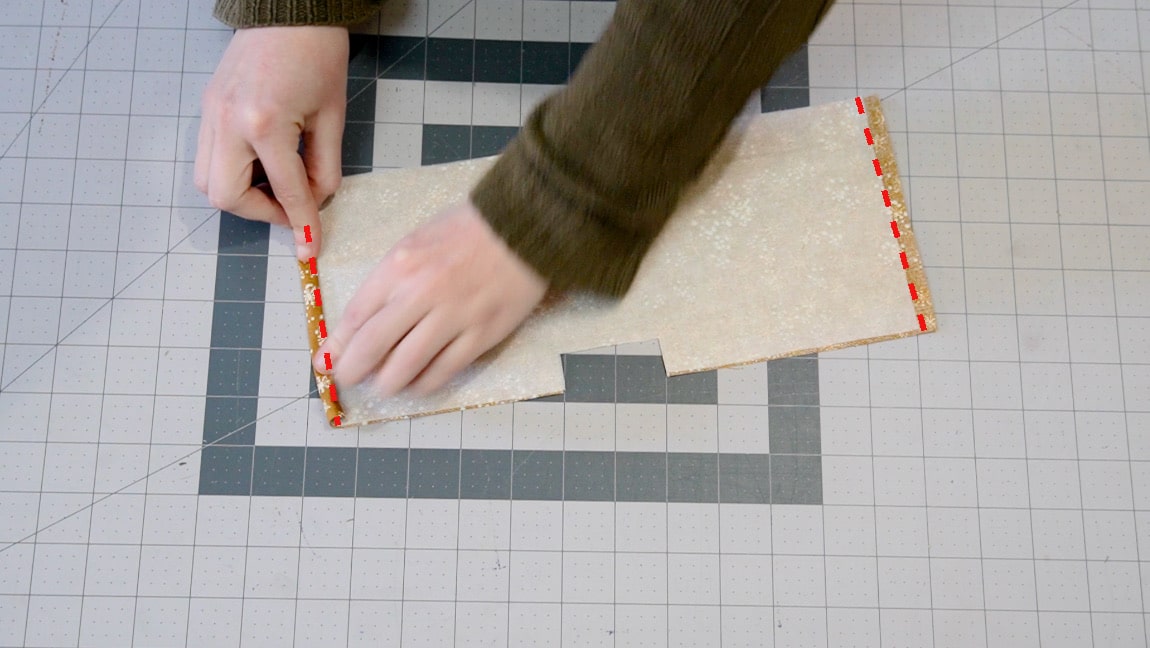
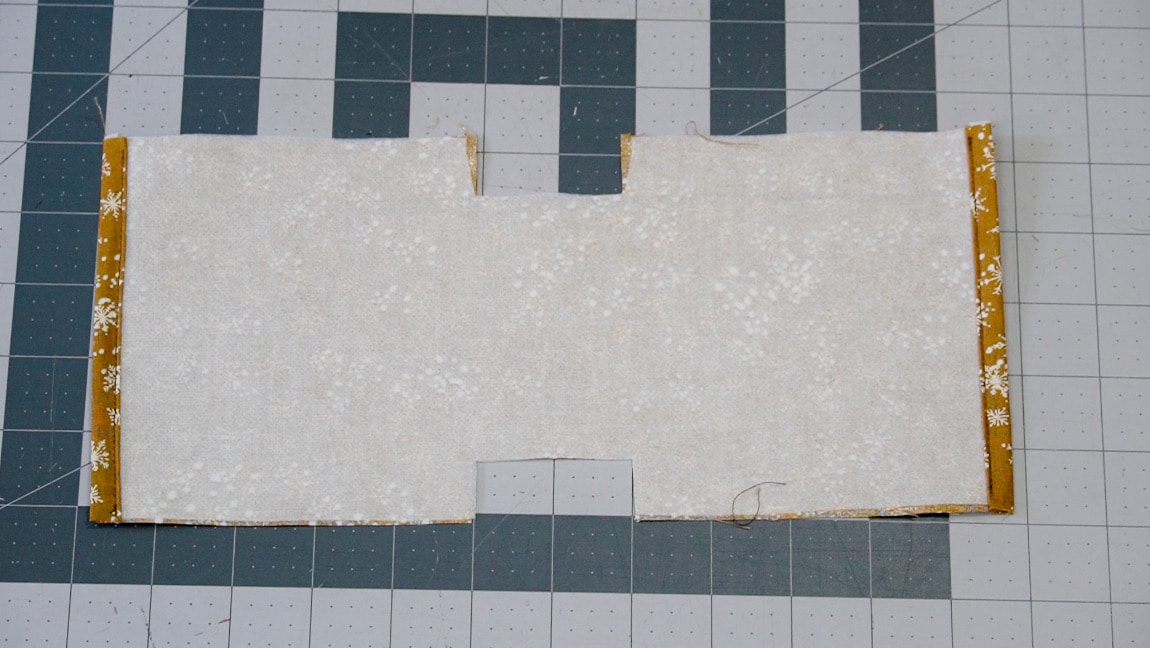
Hem both sides of the pouch
Make a double turn hem on both sides of the tissue pouch
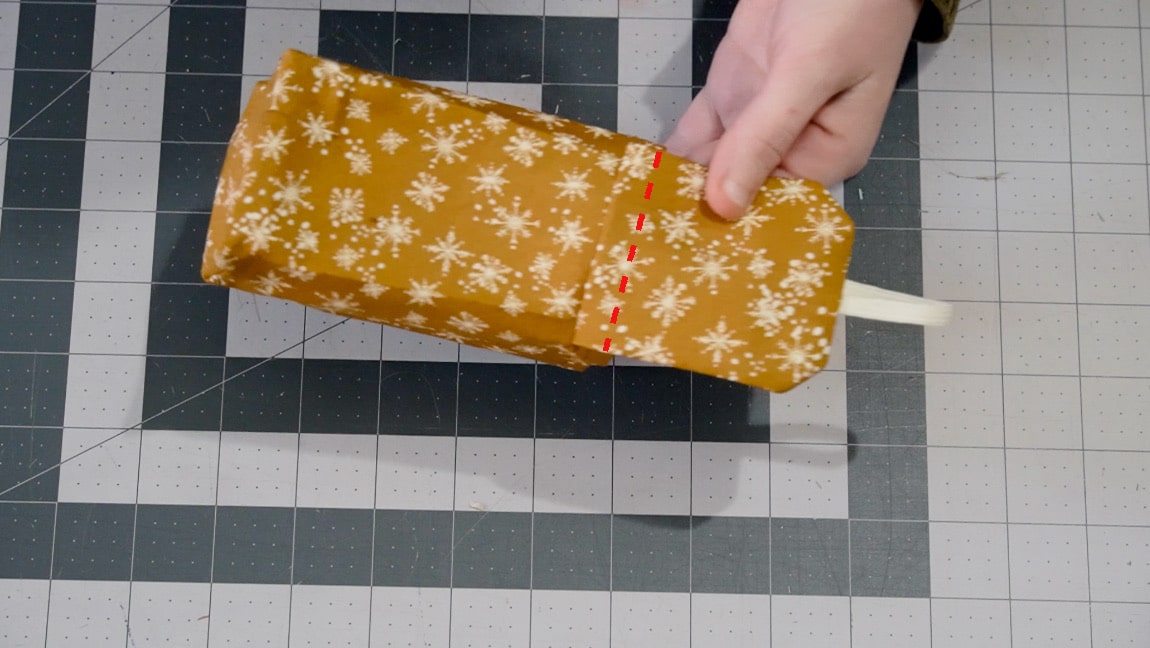
Step 3
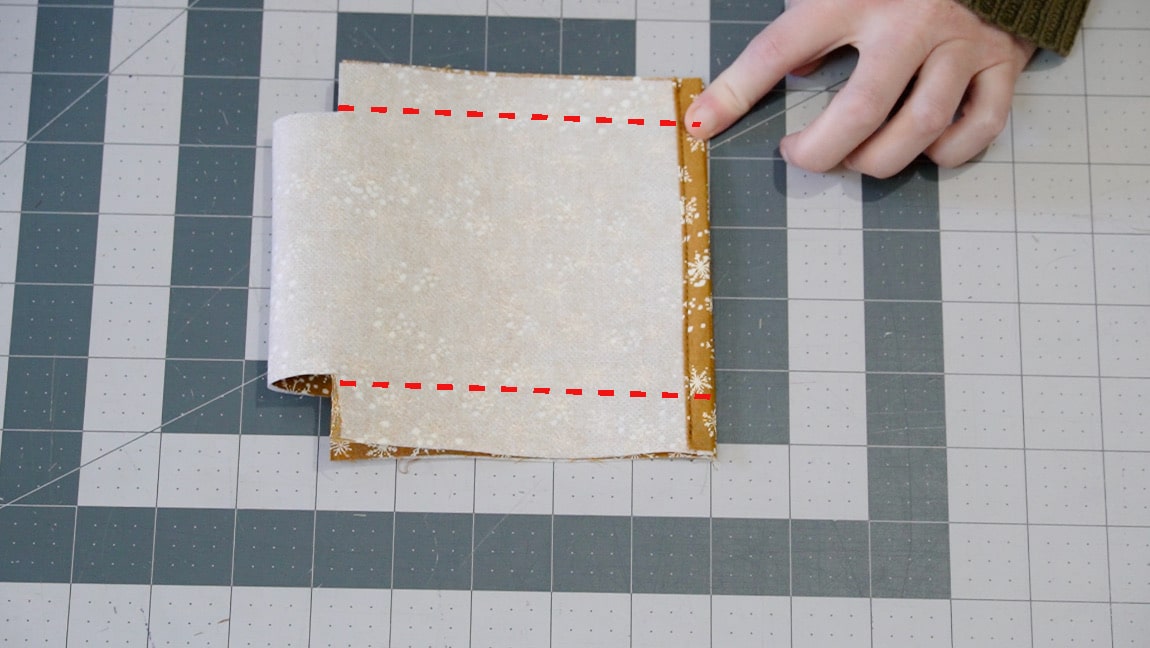
Fold the pouch in half and sew the sides
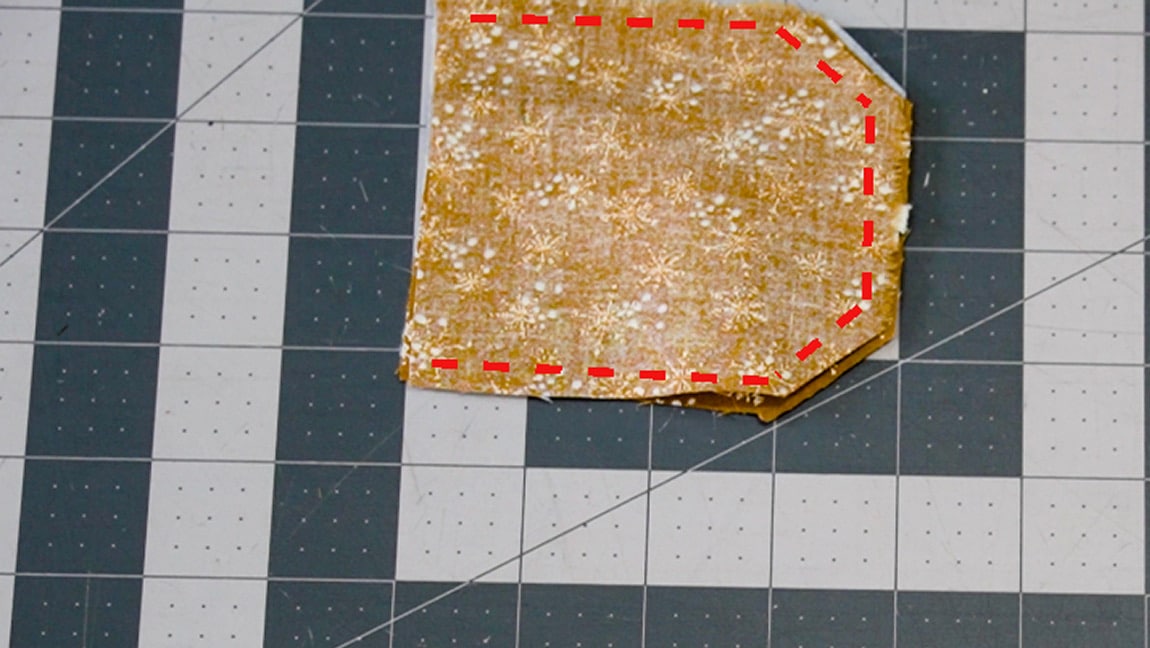
Fold the pouch in half with right sides together then sew up the sides. Note: the dotted line on the image above is not an accurate representation of the stitch line. Use 1/2″ seam allowance with this pattern.
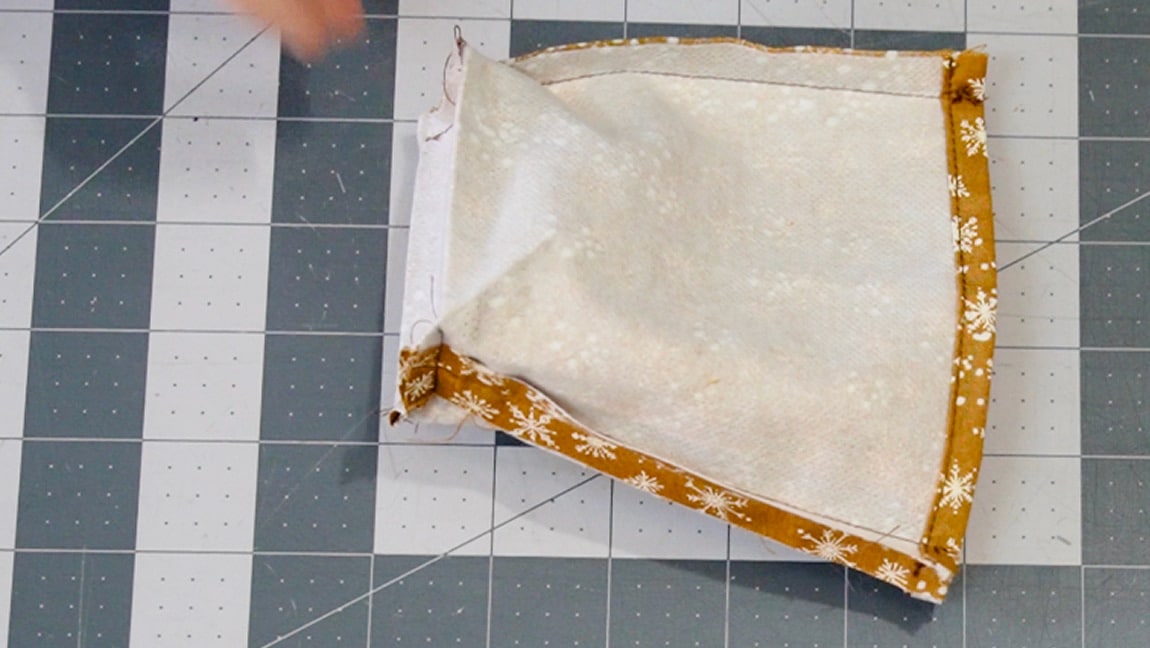
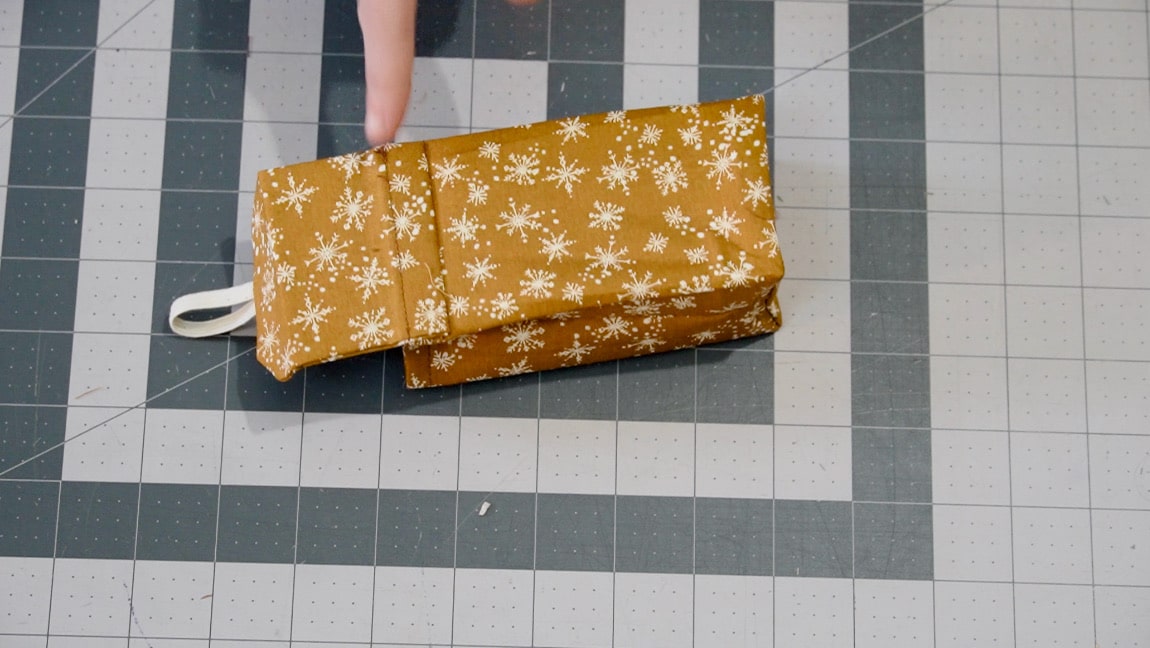
Step 4
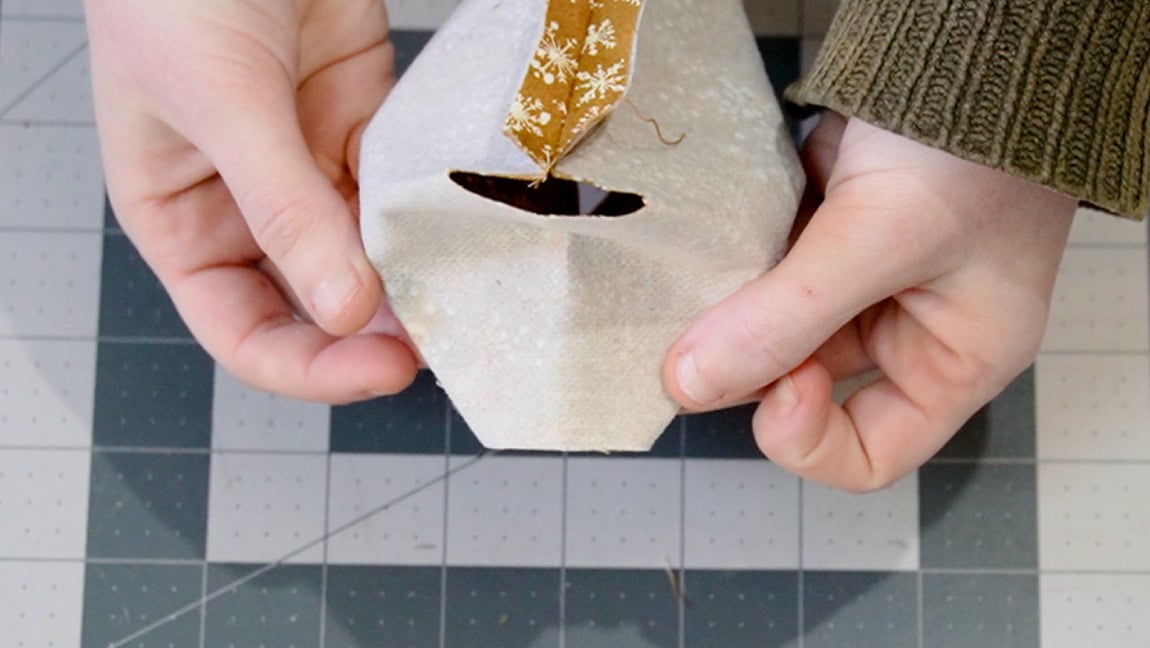
Fold the corners and sew the gap closed
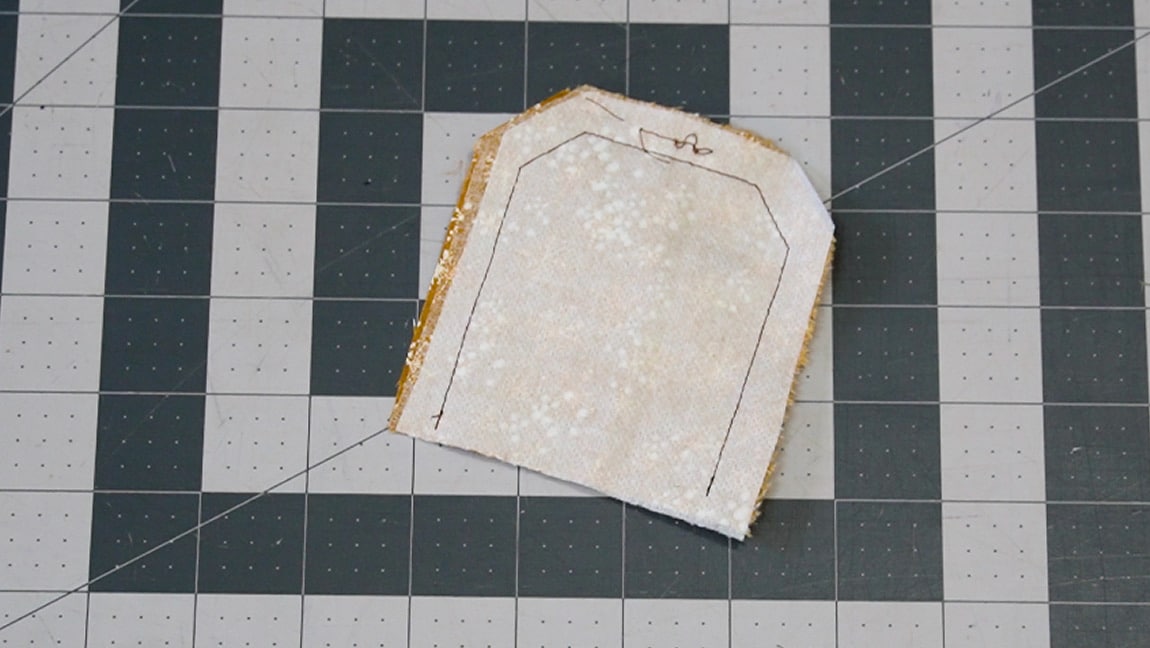
With right sides together, fold the corners together and sew 1/2″ from the edge. Think of this kind of like a dart, it’s being used to create a 3-dimensional shape with the fabric.

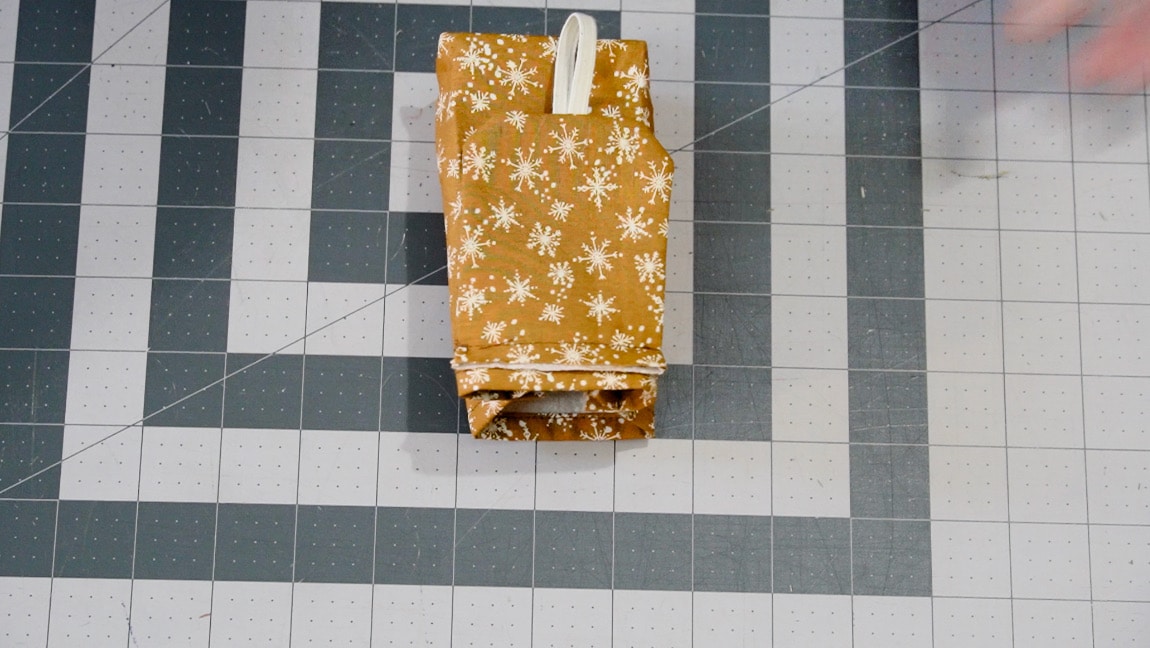
Step 5
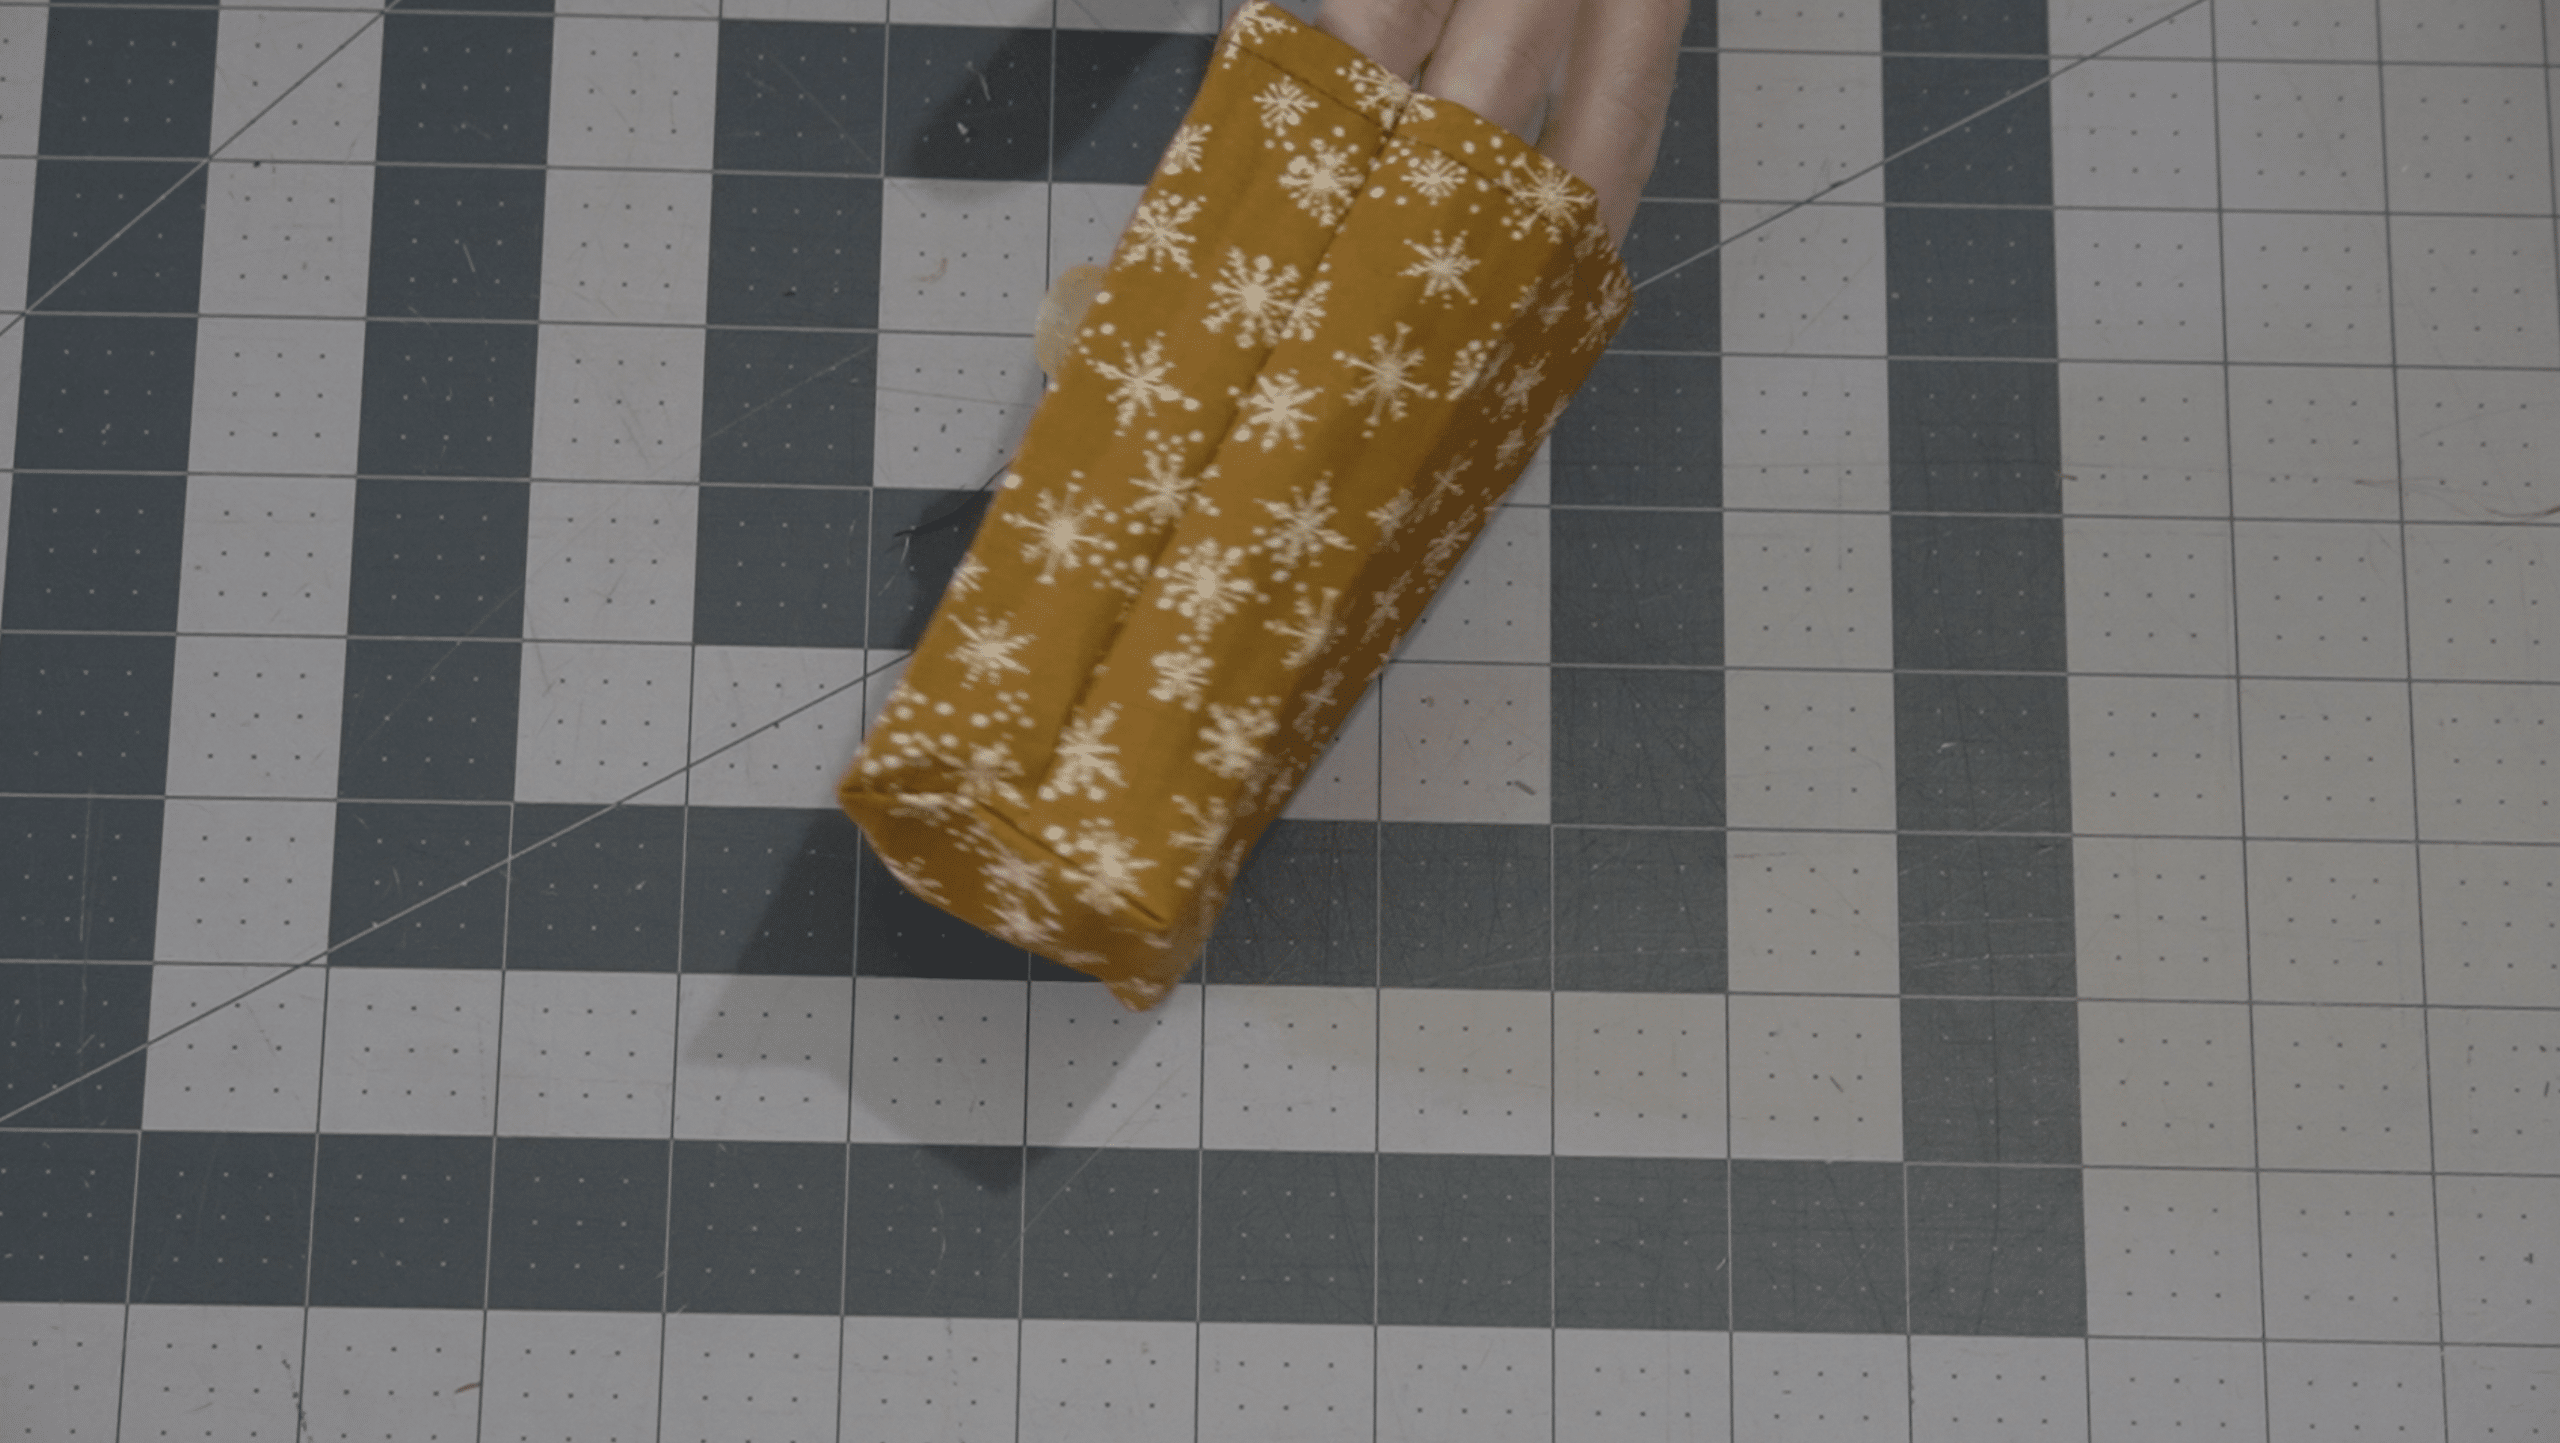
press the creases into the sides and bottom of the pouch
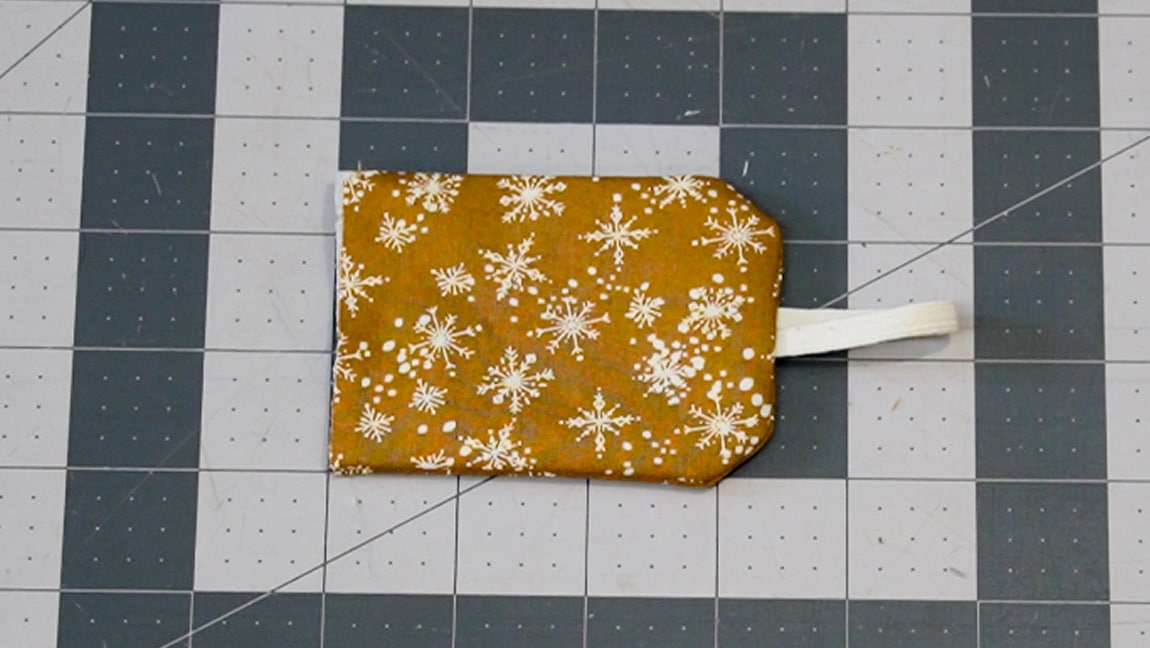
Turn the pouch to the right side. Then using you iron, press creases into the base and sides to create the rectangle shape.
Step 6
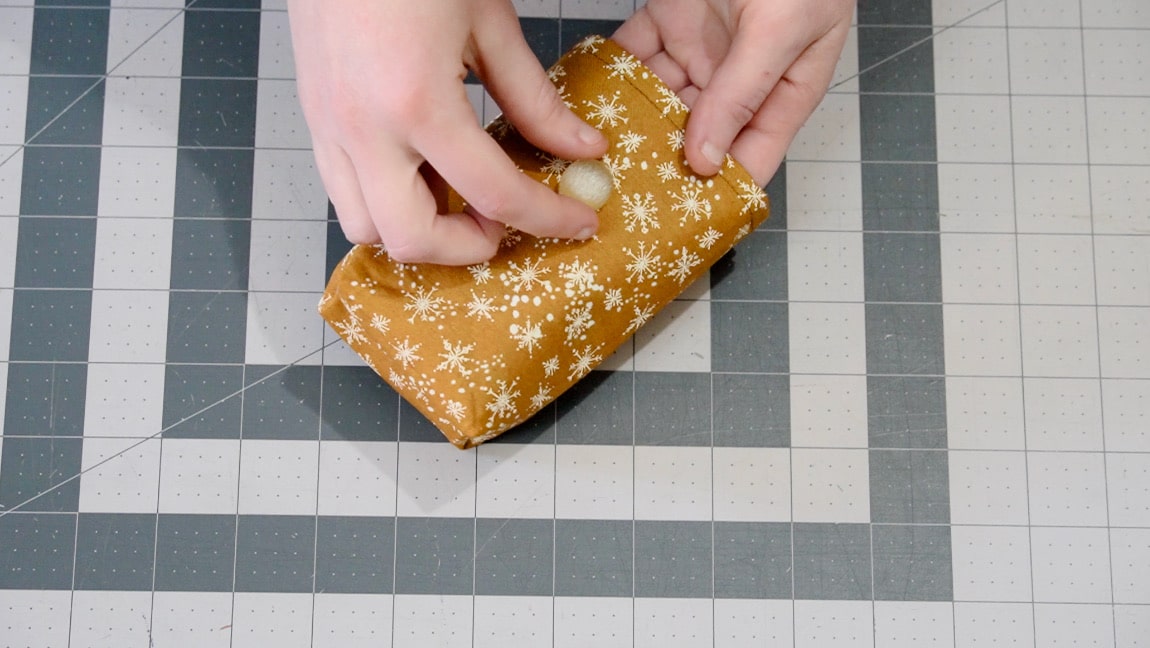
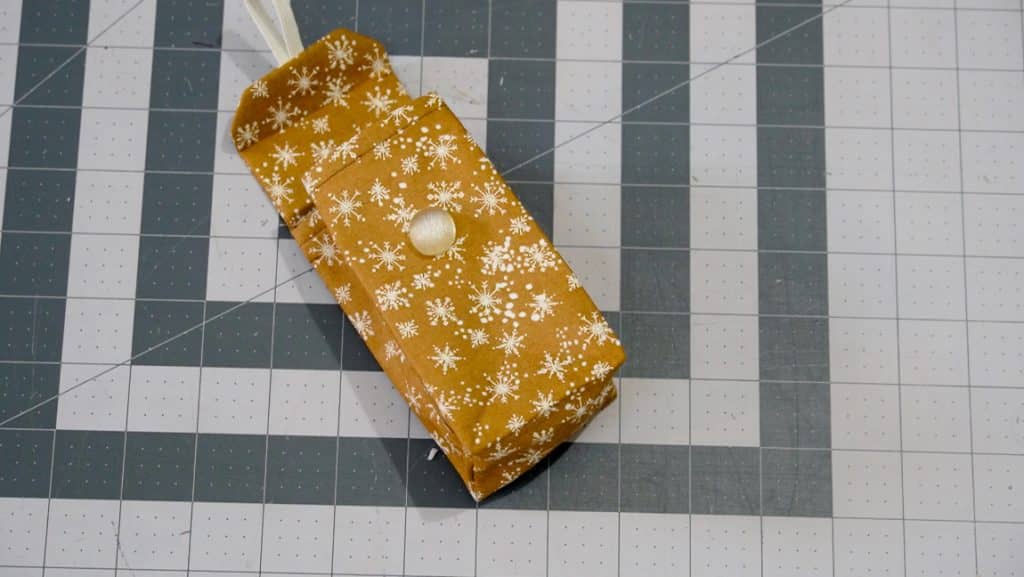
hand sew the button to the pouch
Position the button about 1.5 inches down on the front of the pouch and sew it in place.
Step 7
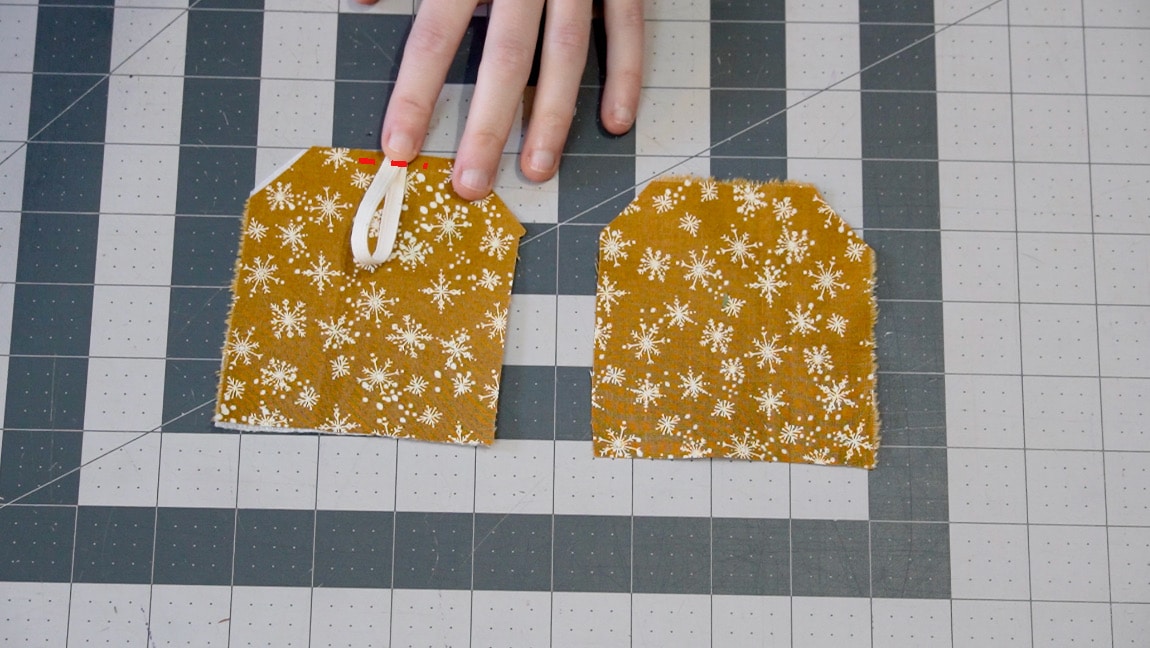
baste elastic to one side of the top
Fold your little piece of elastic in half and baste it to one of your top pieces (it should be about 4″ long, but slightly shorter is fine too, whatever you have on hand).
Step 8
sew the top pieces together
Sandwich the elastic and sew the two top pieces with right sides together. Leave the flat side unsewn.
Step 9
turn the top to the right side
Turn the top to the right side through the unsewn side.
Step 10
sew the top to the back of the pouch
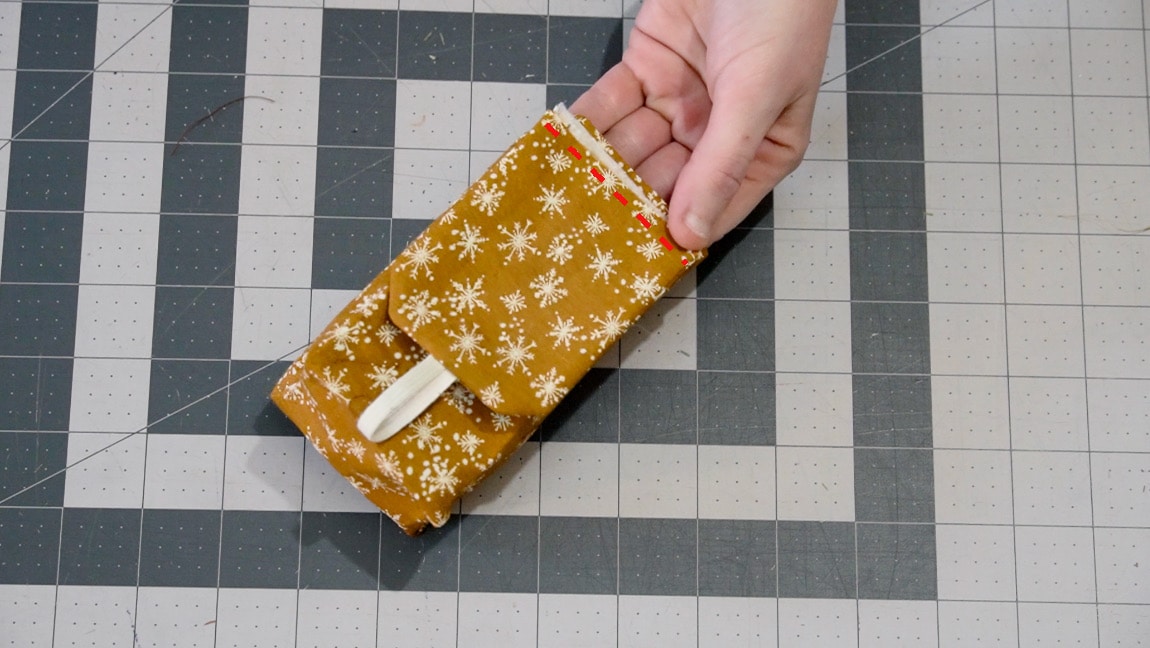
Sew the lid to the top back of the pouch. Line up the raw edges of the lid so they are just slightly below the hemmed edge of the pouch.
Step 11
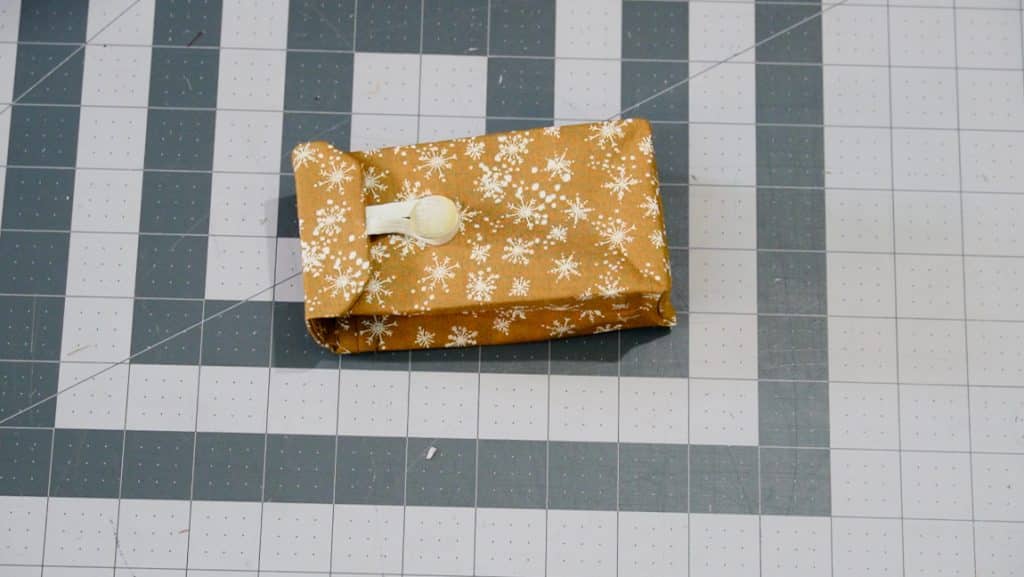
flip the top and sew the seam close to the edge
Flip the lid over the sewn seam and make another line of stitches close to the edge of the pouch. This will enclose the raw edges of the lid.
Finished!