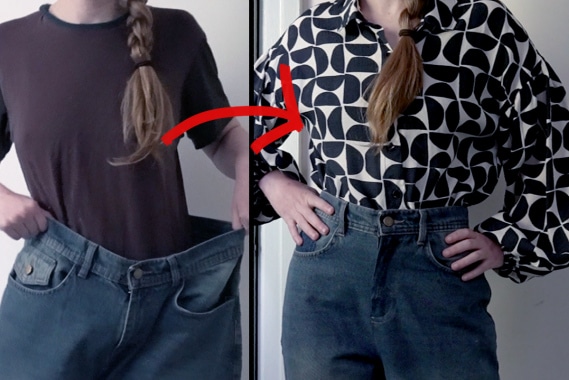
Tutorial: Upcycle old Maternity Jeans into New Jeans
Learn how to upcycle your old maternity jeans into a new pair of jeans that will fit you today. You’ll need to deconstruct your pants by opening the seams and taking off all the pieces, cutting your new center seam, and then reconstructing your pants.
Supplies Needed:
Step 1
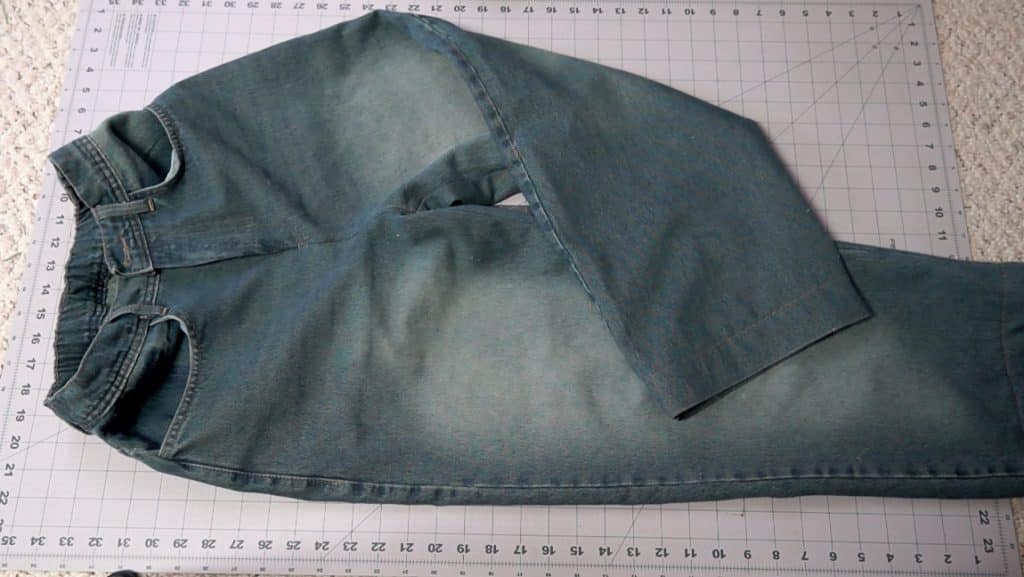
Deconstruct your pants
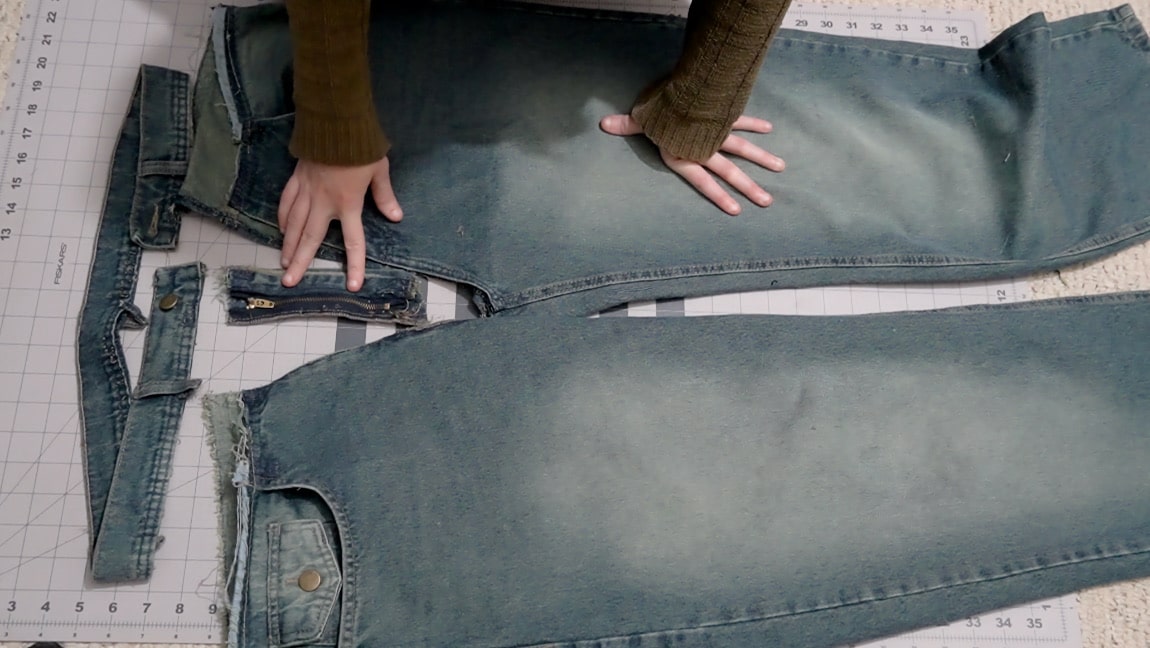
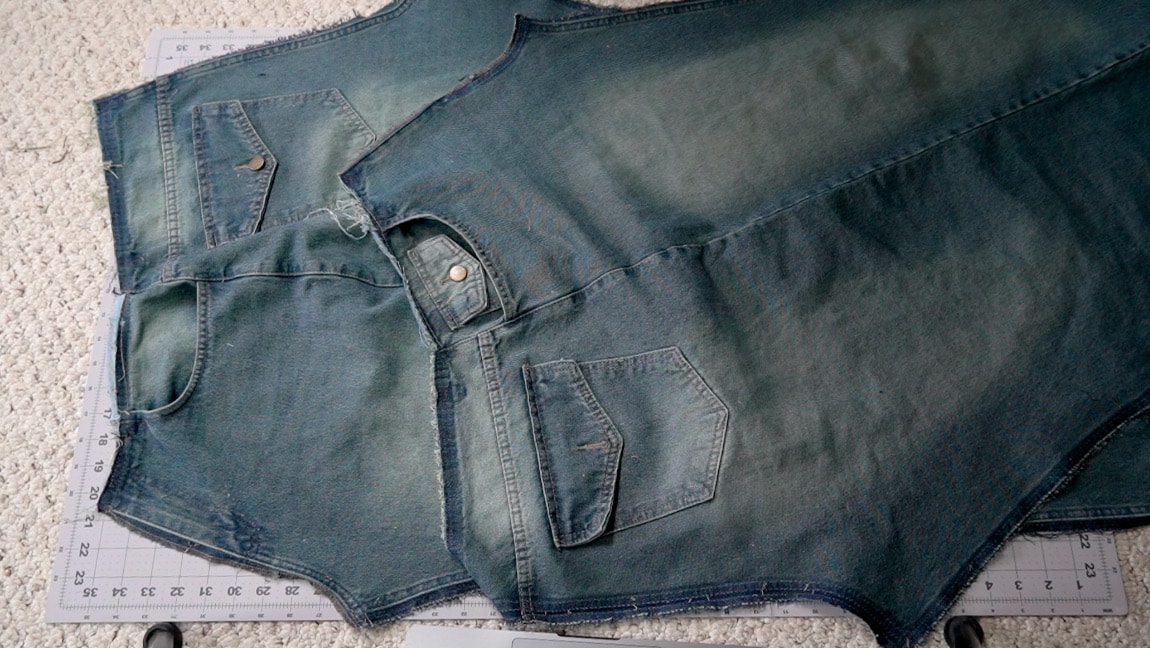
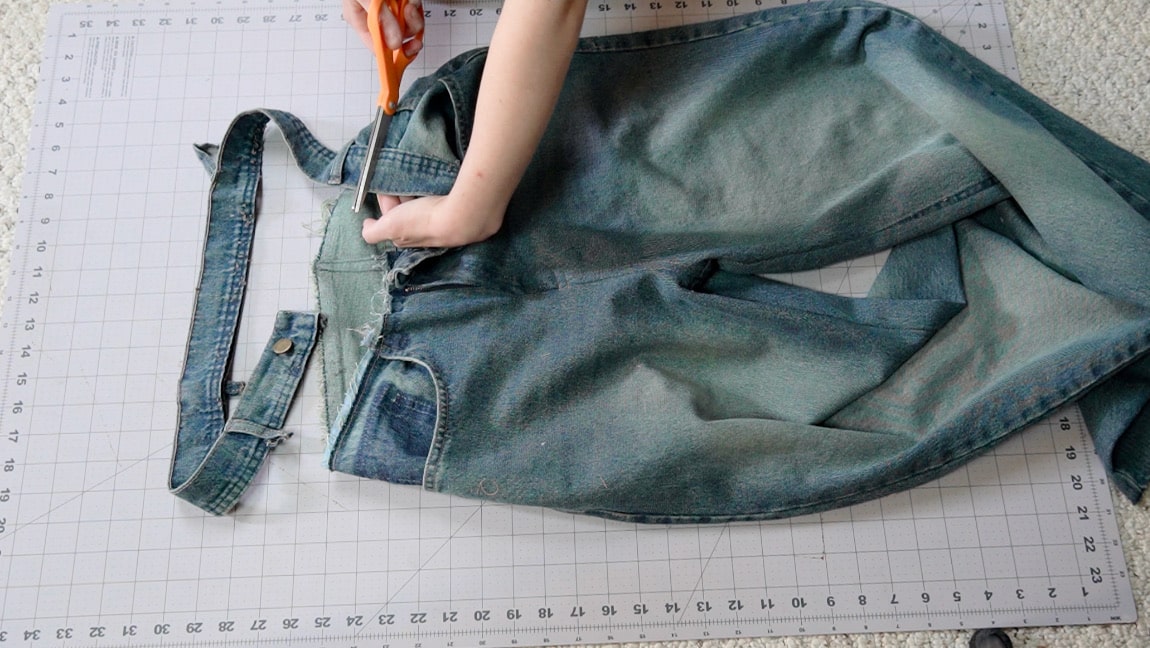
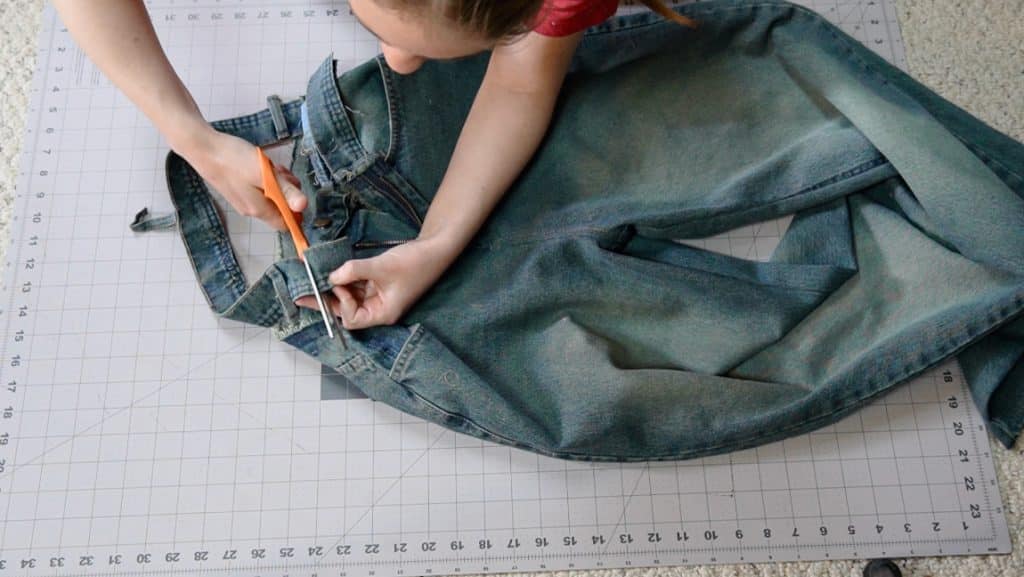
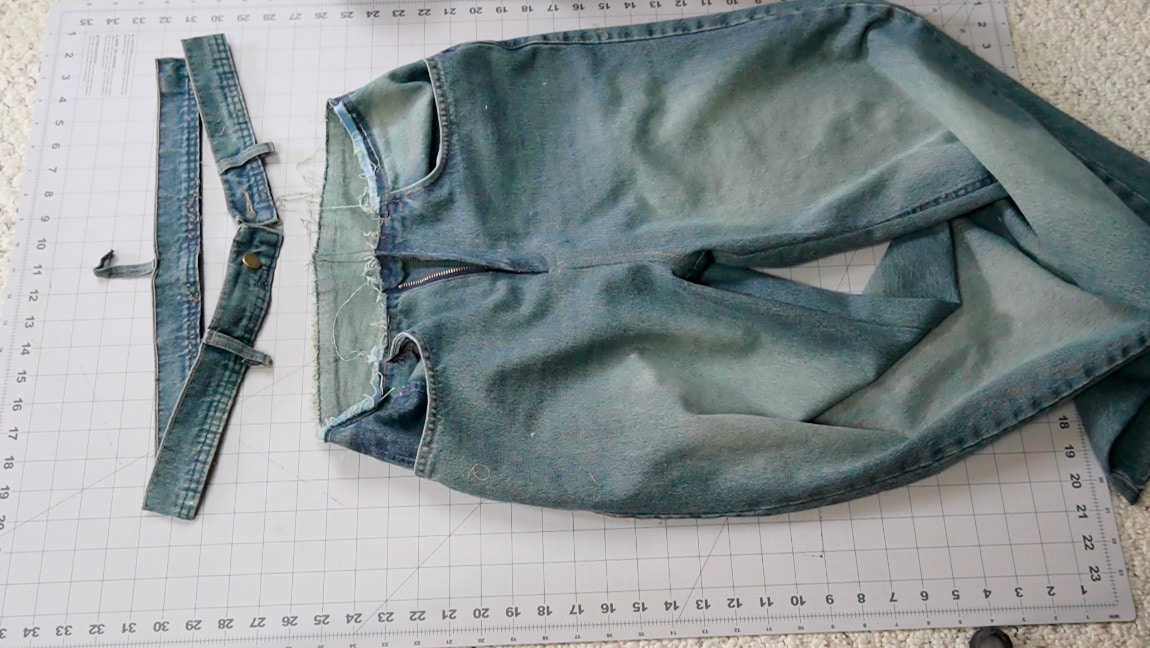
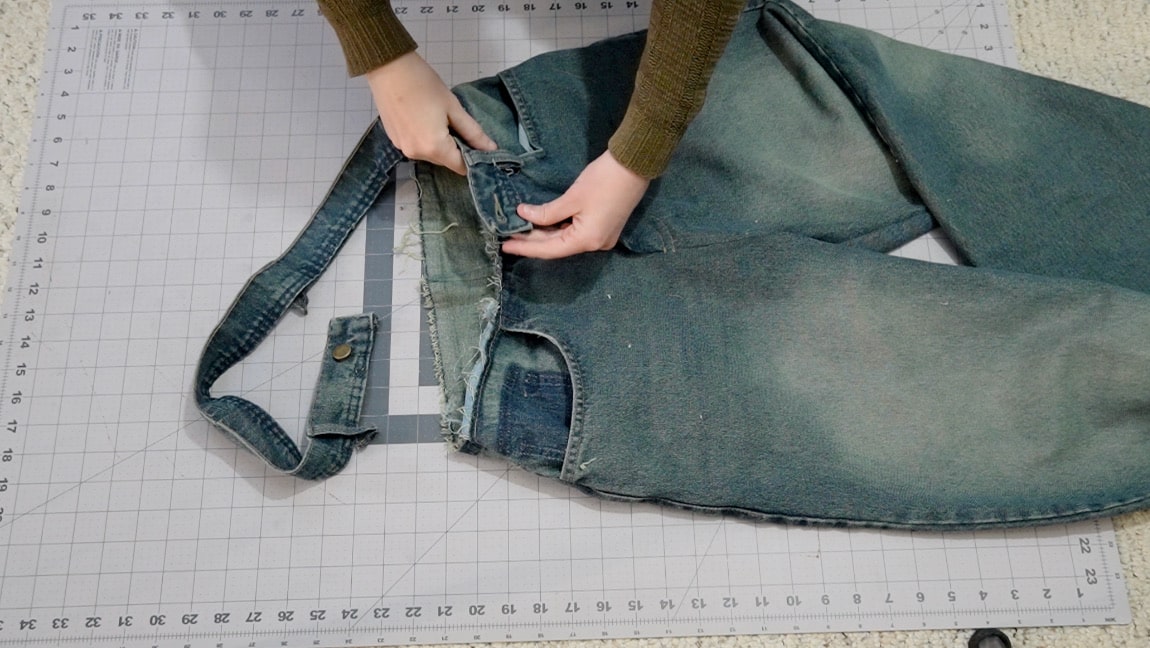
Use a seam ripper to carefully deconstruct your jeans. Take of the waistband, the fly zipper, and open up the inseam of your pants (leave the outside seam intact). Then press the resulting jean pieces flat.
Note: if you’ve never sewn a fly zipper before, pay attention to how it’s constructed while you’re taking it off. Take pictures if you need to, so you can sew it back on the pants in step 5.
Step 2
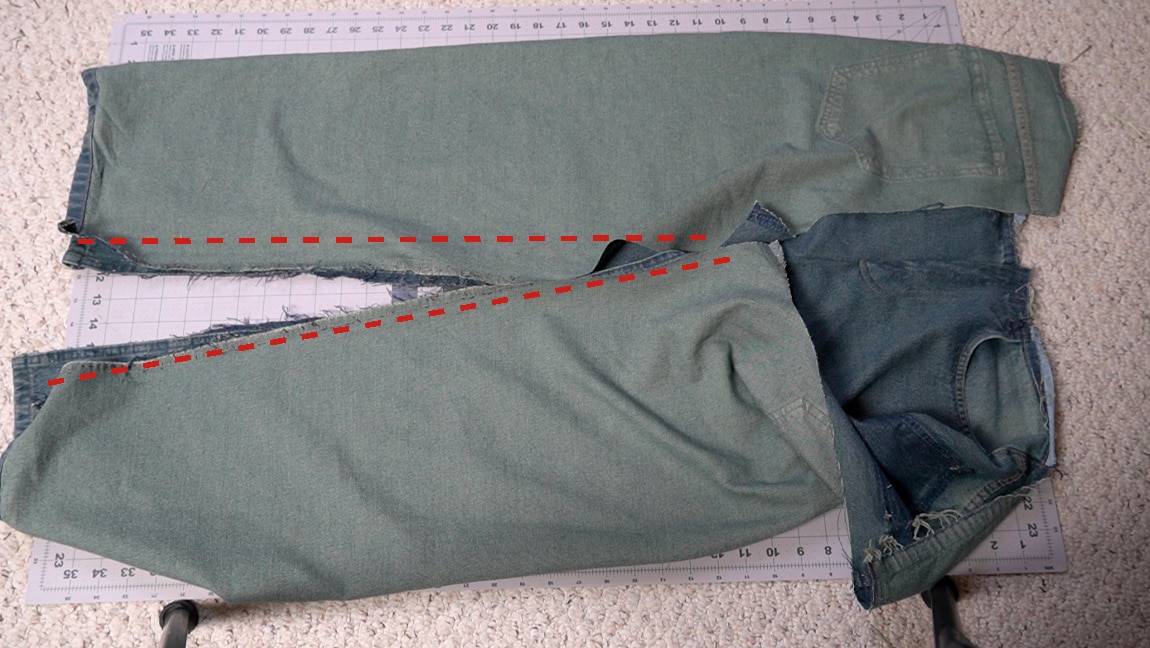
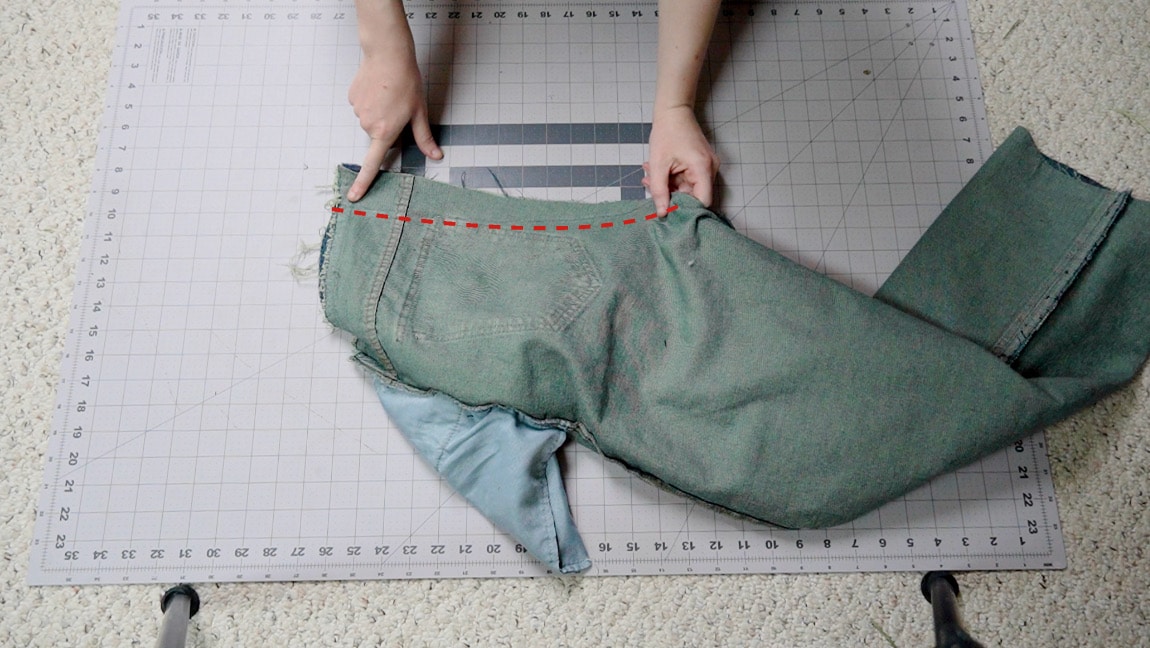
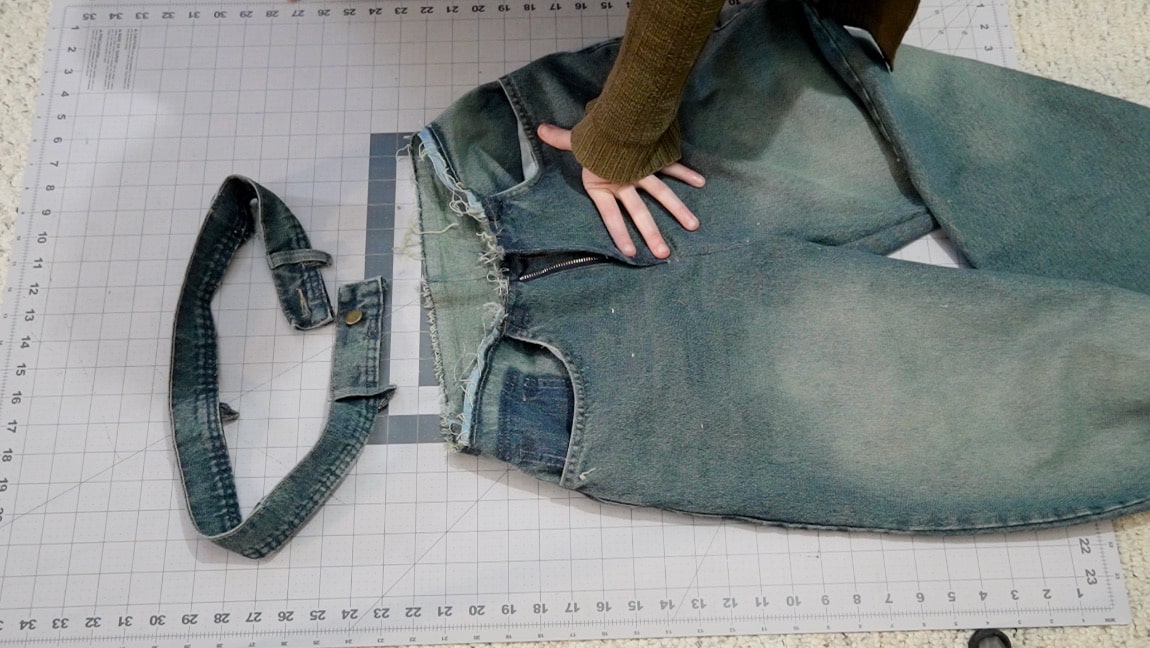
cut a new crotch seam
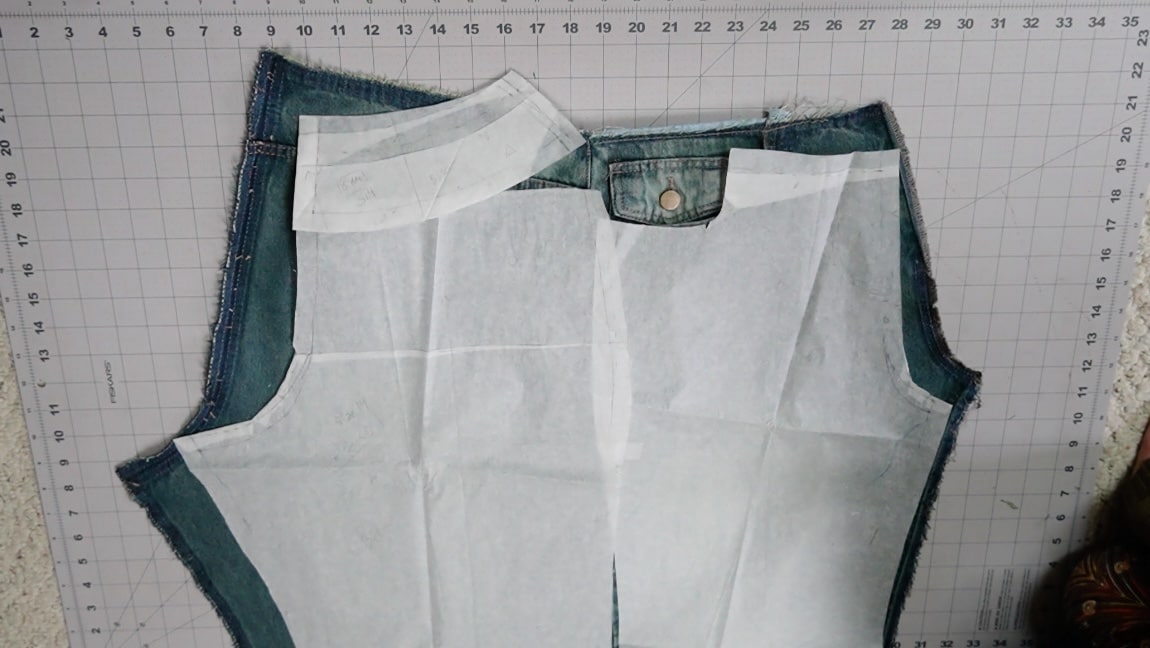
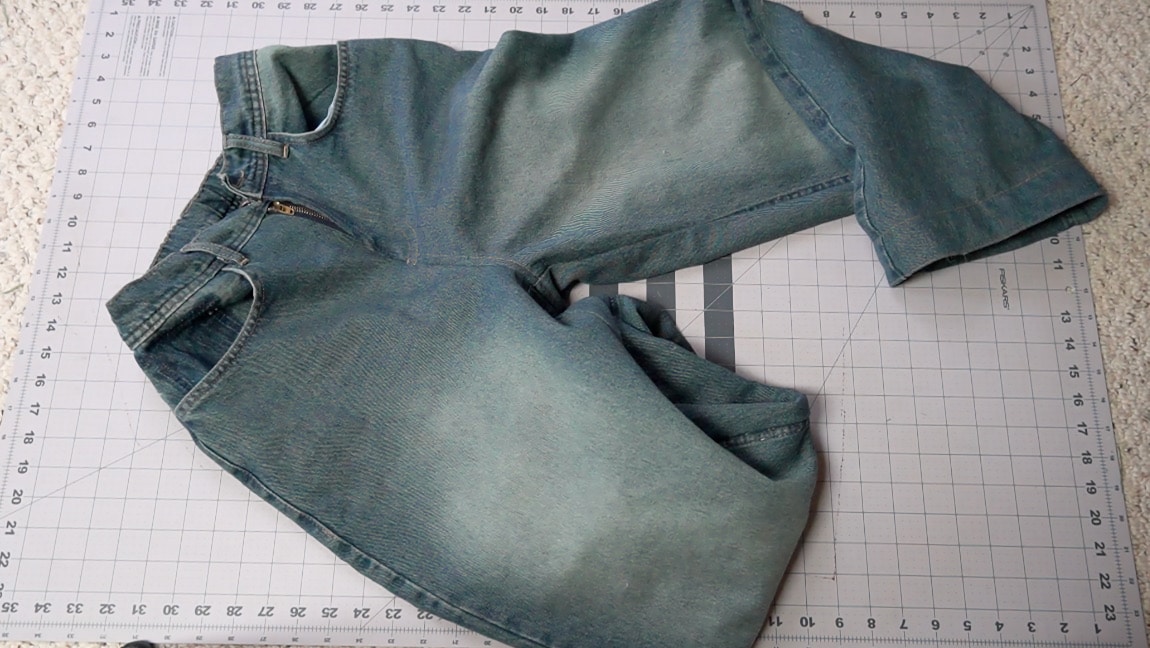
Line up your front and back pattern pieces (I just taped them together at the notch on the side of the pattern) and cut a new front and back crotch seam (we’ll fine tune this seam in step 8, so don’t worry about making it perfect).

Step 3

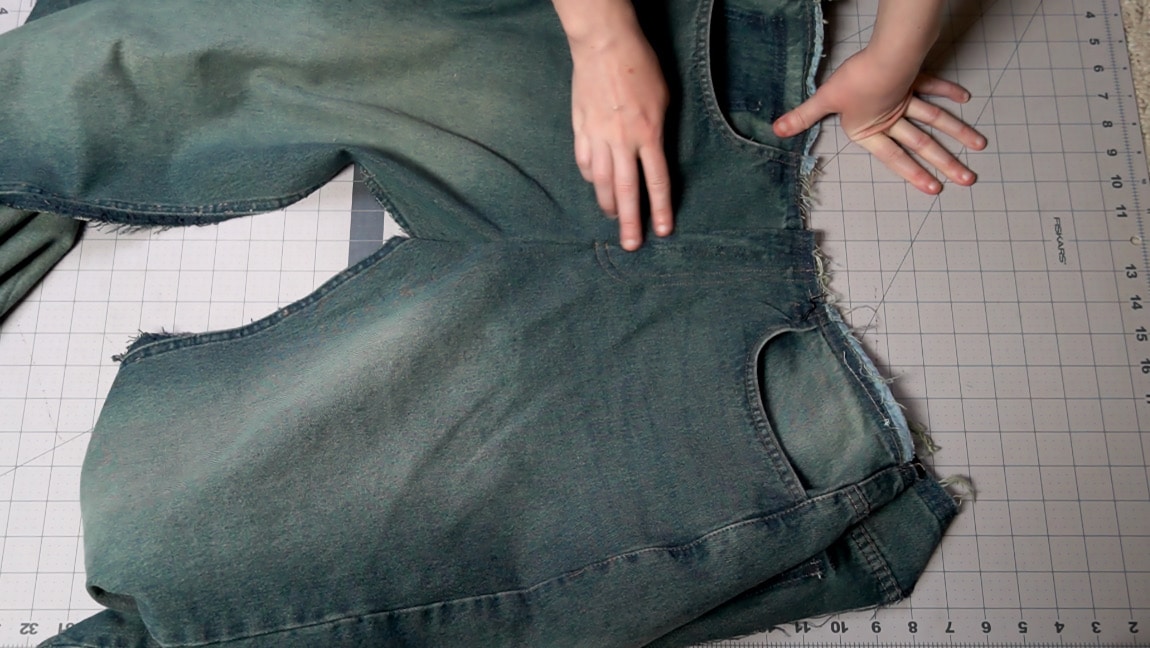
copy the new crotch seam to the other pant leg
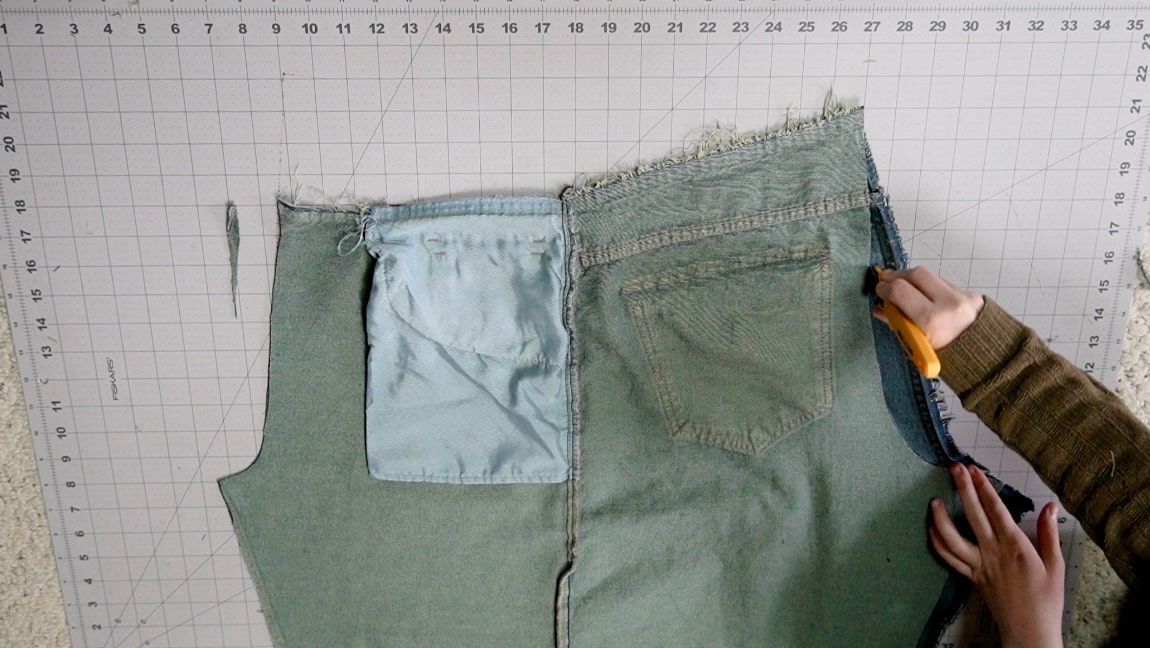
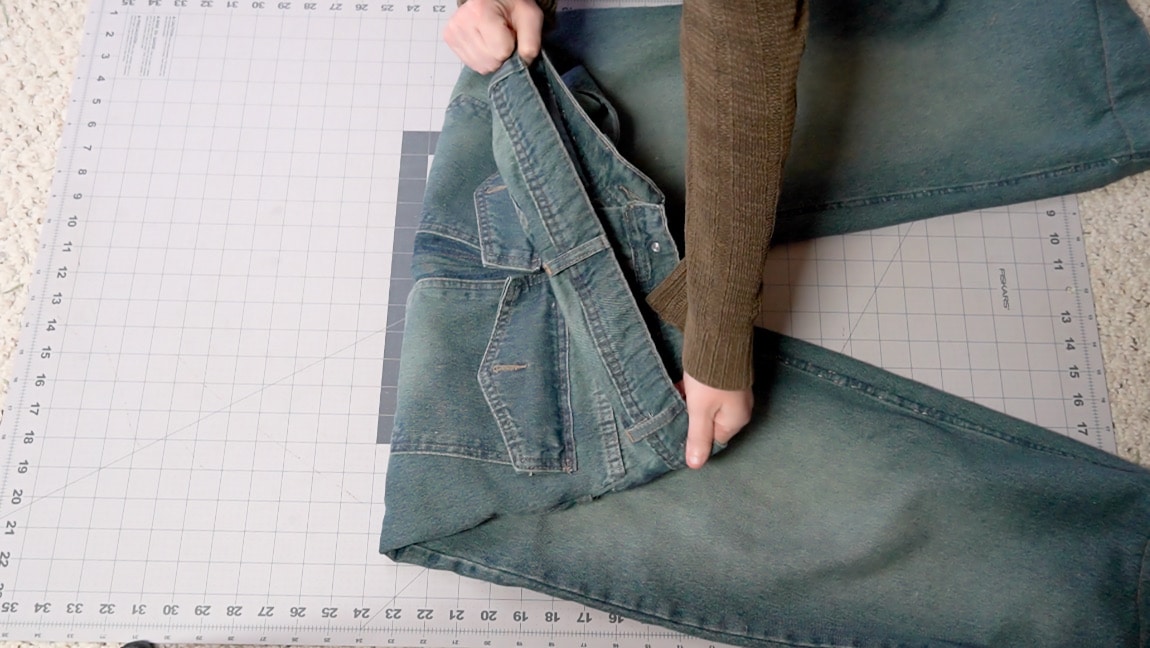
Place your cut pant leg on top of your second pant leg and copy the new crotch seam.
Step 4
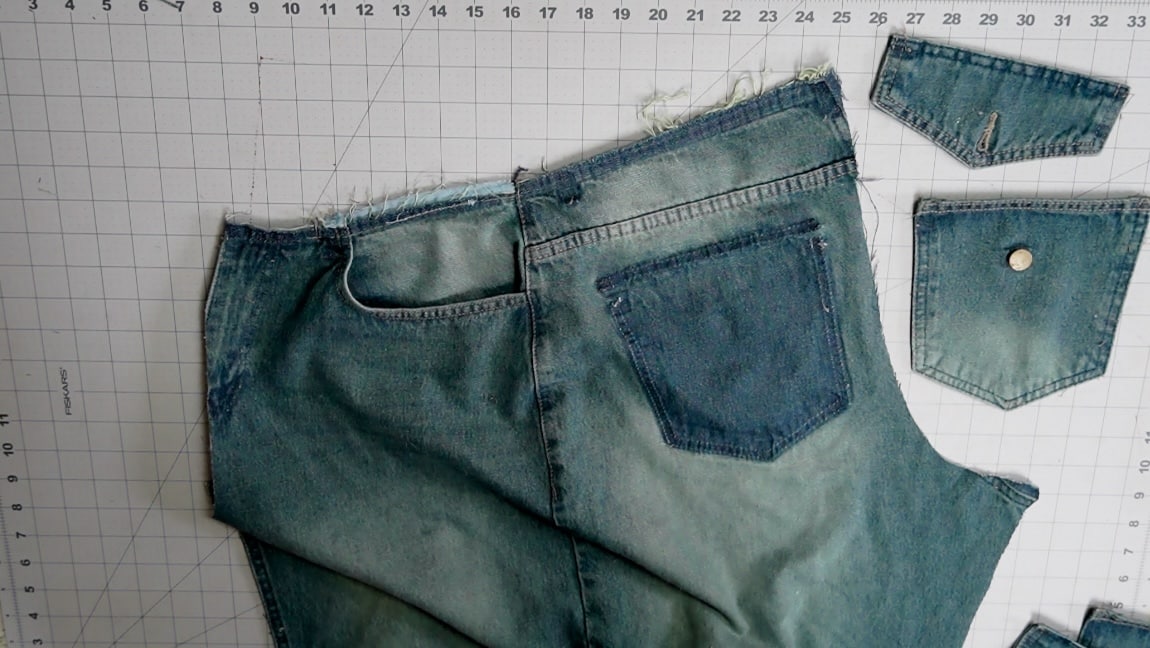
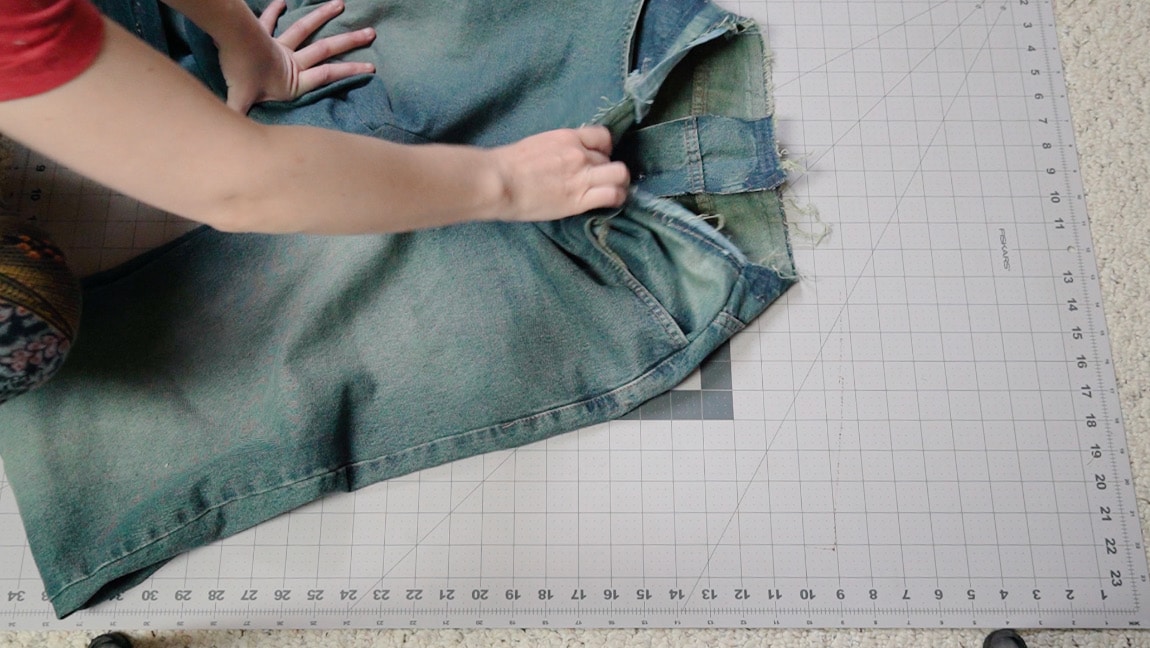
take of the pocket too
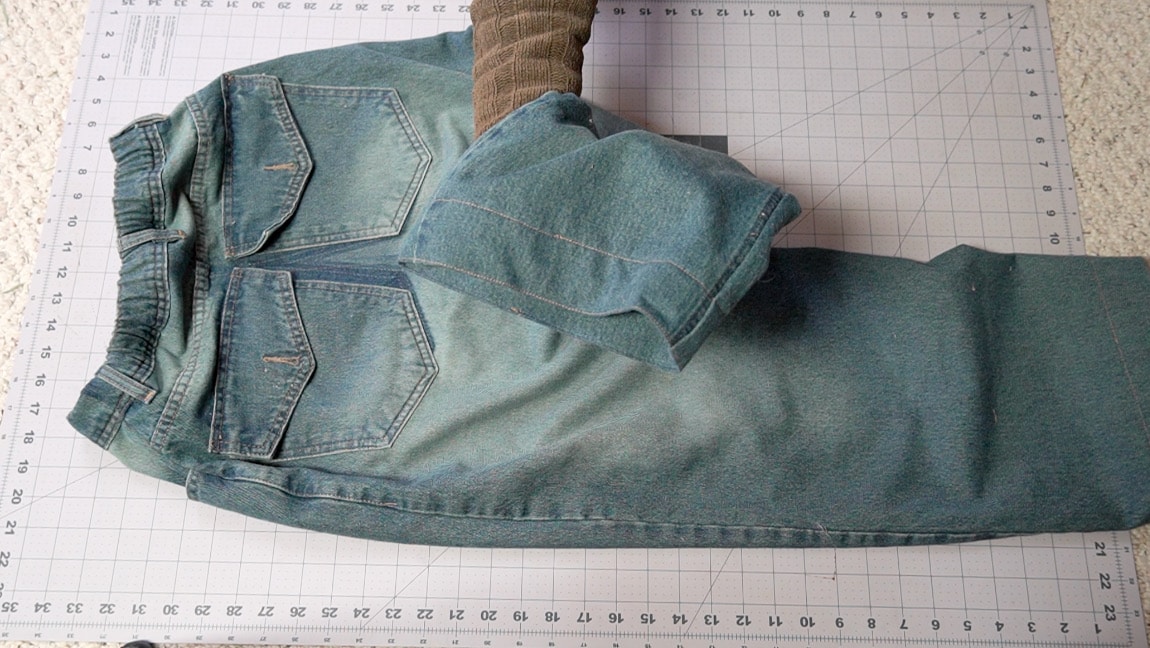
I forgot to take the pocket off earlier, so I’m removing it now. But you can take this off in the first step too.
Step 5
resew the fly zipper
Sew the zipper back onto the center front seam.
Step 6
sew the jean legs
With right sides together, sew the inseam of both pant legs.
Step 7
bring in the sides
Bring in the waist measurement a little on the sides. With right sides together, I stitched 1/2″ into each side seam to make it 2 inches smaller at the waist.
Step 8
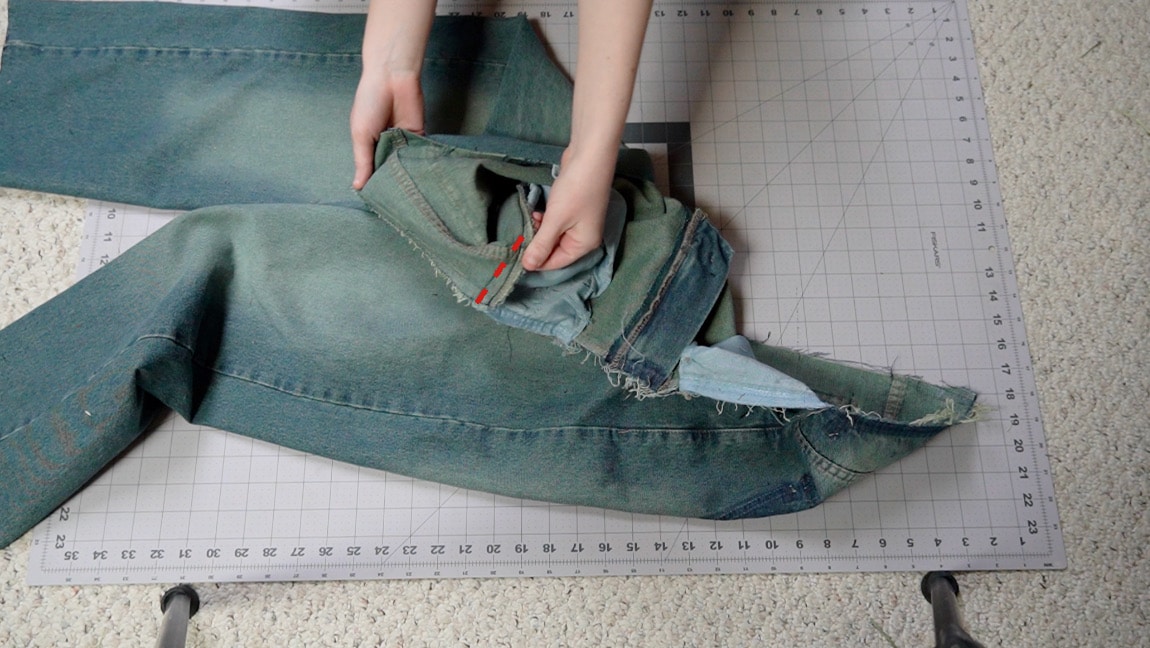
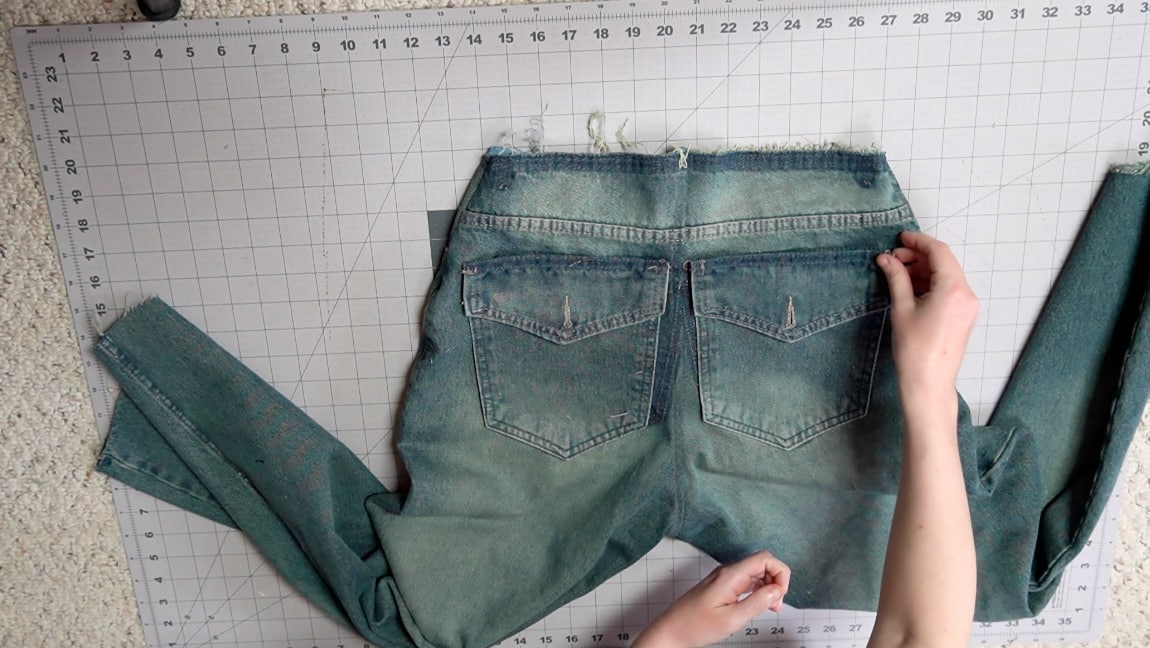
sew the crotch seam
With right sides together, put one pant leg inside the other and sew up the crotch seam. At this point, it will still probably be too big. Try the pants on and pinch out as much of the seam as you need to. Then restitch until you are happy with the result. Note: it’s okay if its still a little too big. you can choose to add elastic to the waistband in step 13.
Step 9
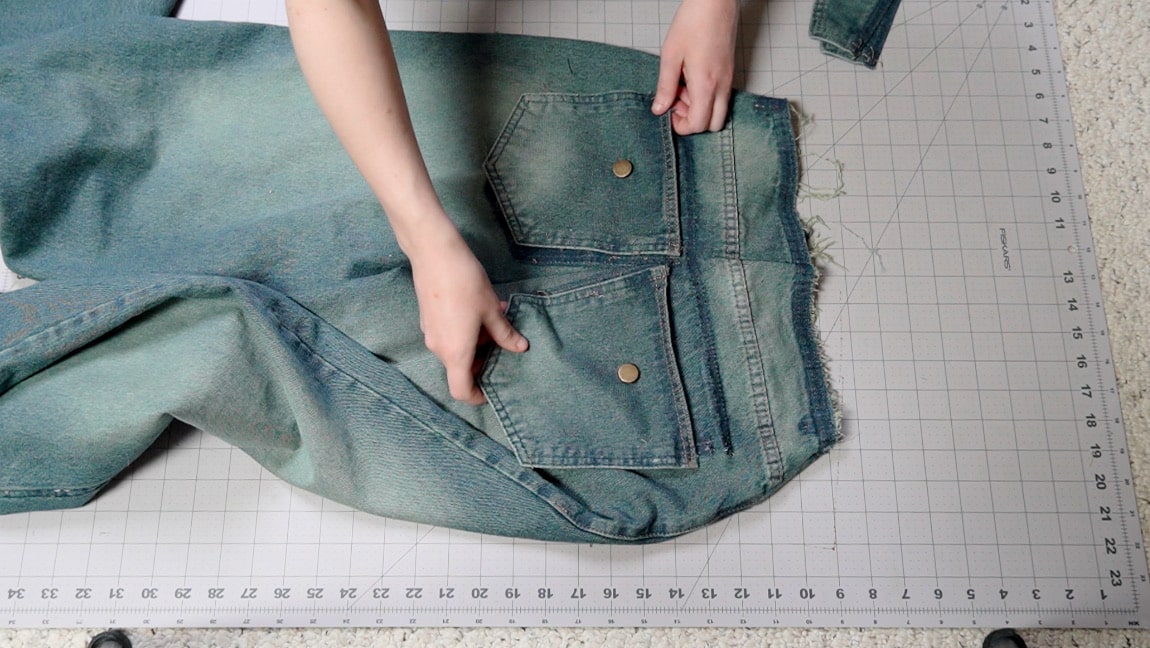
replace the pockets
Once your happy with how the back seam looks, resew the back pockets.
Step 10

cut the waistband
Line up the waistband with the front left of the pants until you get to the center seam. Then add another half an inch for seam allowance and cut the waistband. Repeat the process for the front right of the pants, and then for the back of the pants. You should now have three pieces of waistband that will line up with the side seams your your new pants.
Step 11

sew the waistband pieces together
Unpick the stitches on the fold of the waistband to open up the pieces. Then sew them together with right sides together to create your new waistband.
Step 12
sew the waistband to the jeans
fold your waistband around the upper edge of the jeans and topstitch it in place.
Step 13
Optional: add elastic
I like to make pants that are slightly adjustable, so I’ve started adding elastic to the back waistband whenever possible. If you want to do this, leave a small gap in the stitches at both sides of the back waistband and add elastic into the casing. Try on the jeans and pull the elastic until it fits comfortably around your waist, then sew it in place.
Step 14
optional: re-hem the jeans
If the waist of your jeans is sitting at a different point now, you may want to re-hem the jeans.
Finished!