Tutorial: Basic Tank Top (how to pattern and sew)
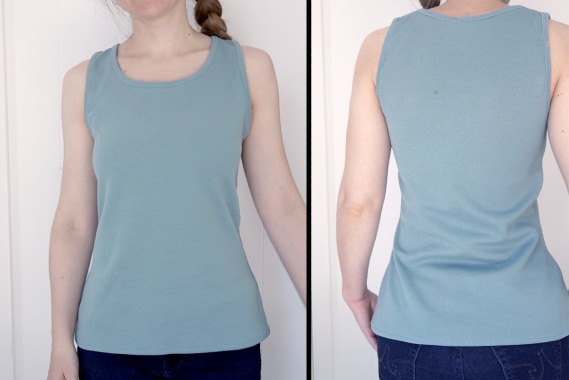
This tutorial will walk you through how to make a sewing pattern for a basic tank top based on your own personal measurements. This is nothing fancy, it’s just a great way to get started gaining some confidence as you start making your own sewing patterns. Follow the steps below to make your pattern, then get started with the step-by-step sewing tutorial.
Note: When sewing with knit fabrics, you’ll want to use a zigzag or lightning bolt stitch. Using one of these stitches allow the thread to stretch with the fabric. If you use a straight stitch and then try to stretch the fabric, the thread will snap.

Supplies Needed:
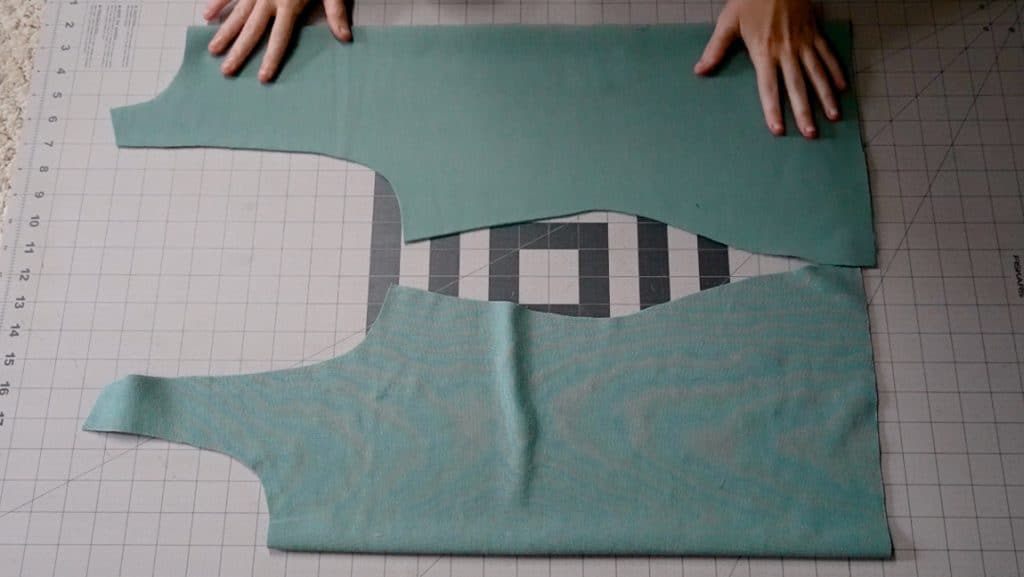
Tank top pattern pieces:
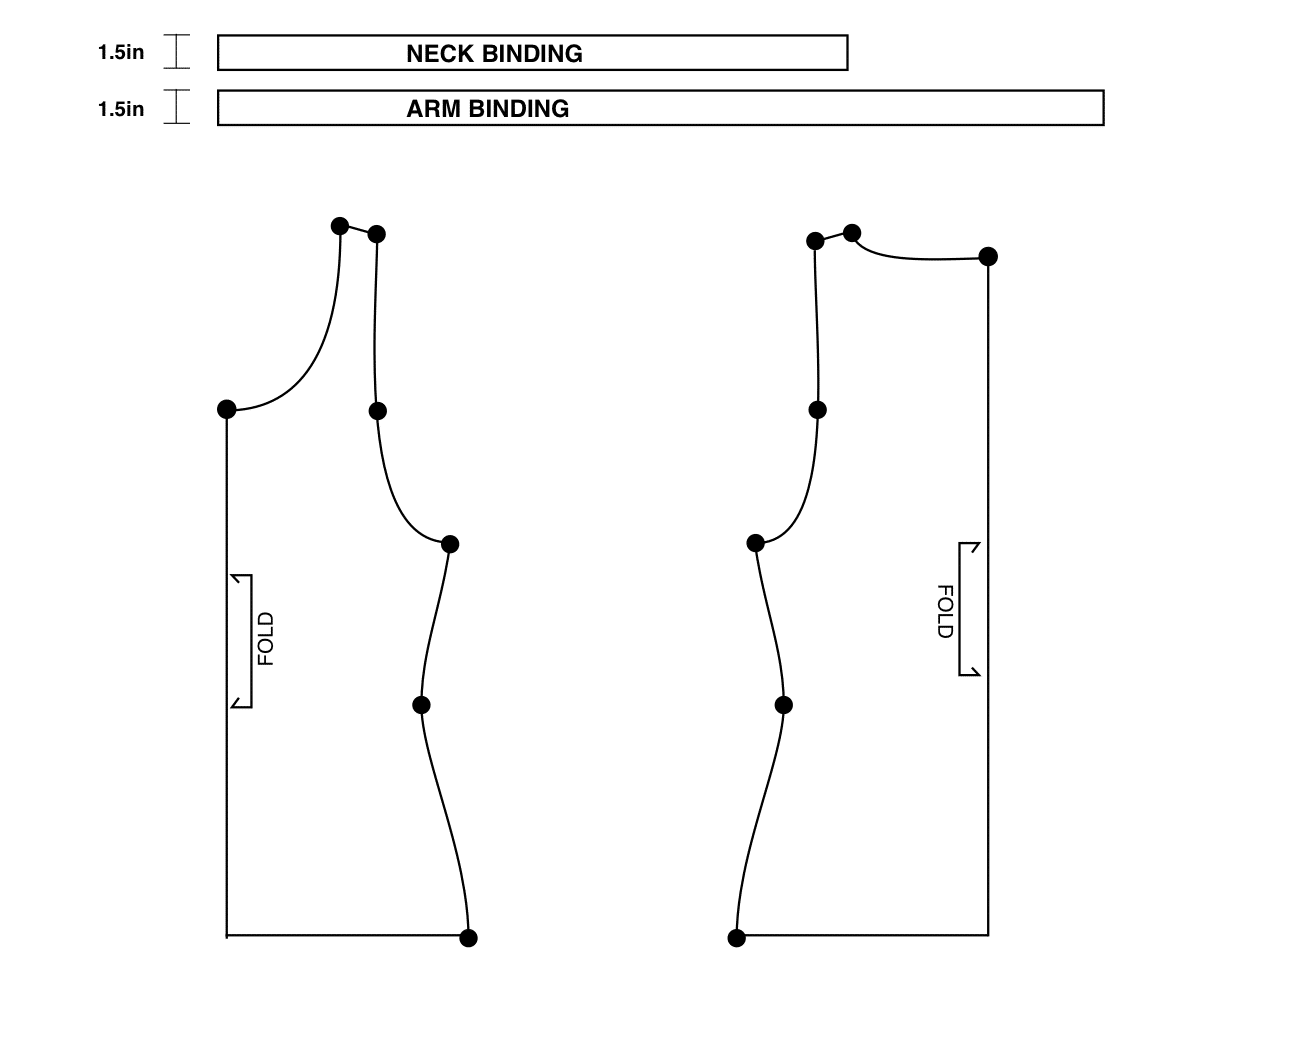
How to Make your pattern:
First, take your measurements:
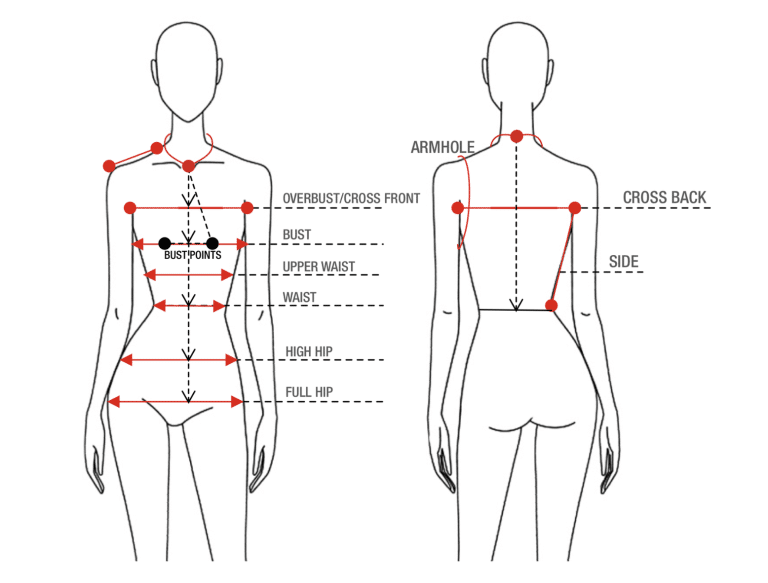
You also need the length between your measurements:
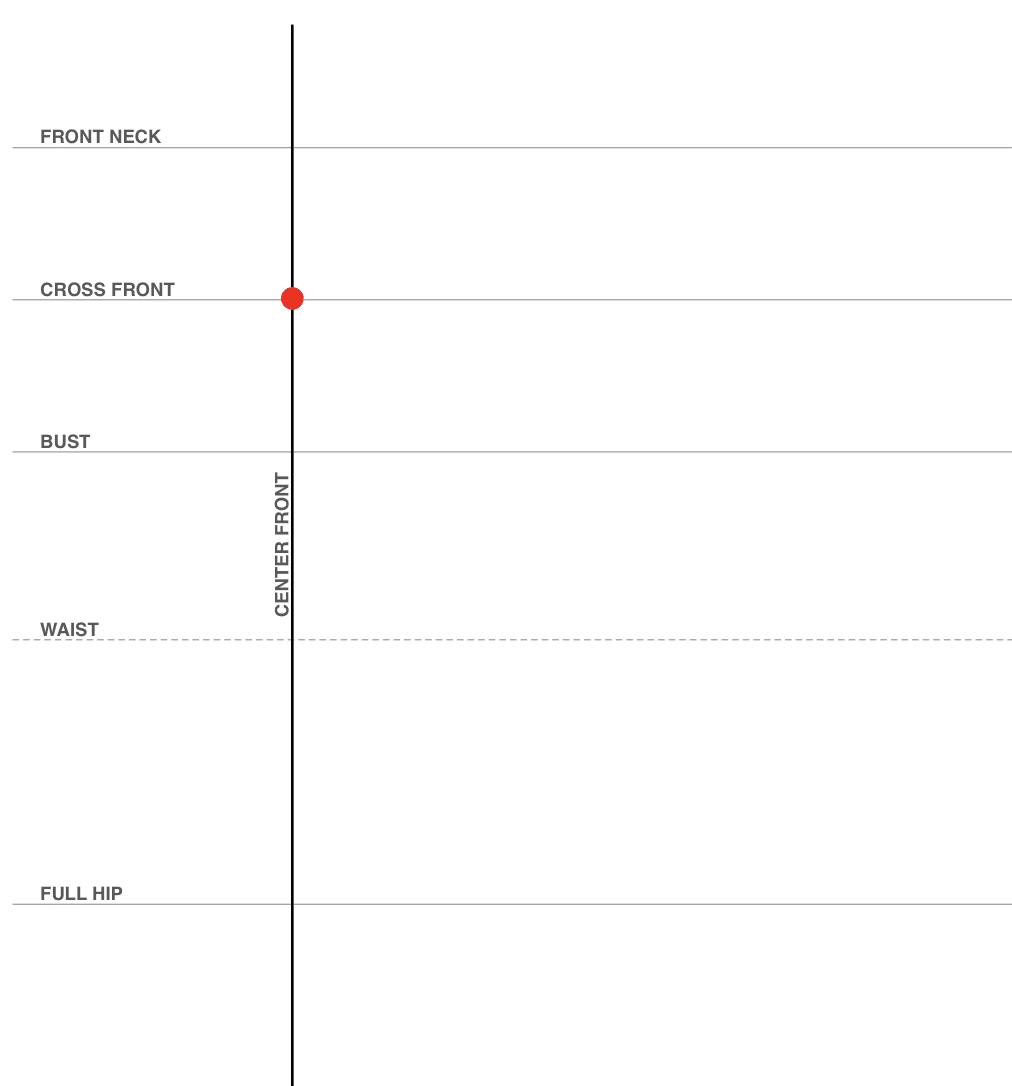
Create a dot at cross front for your center neckline.
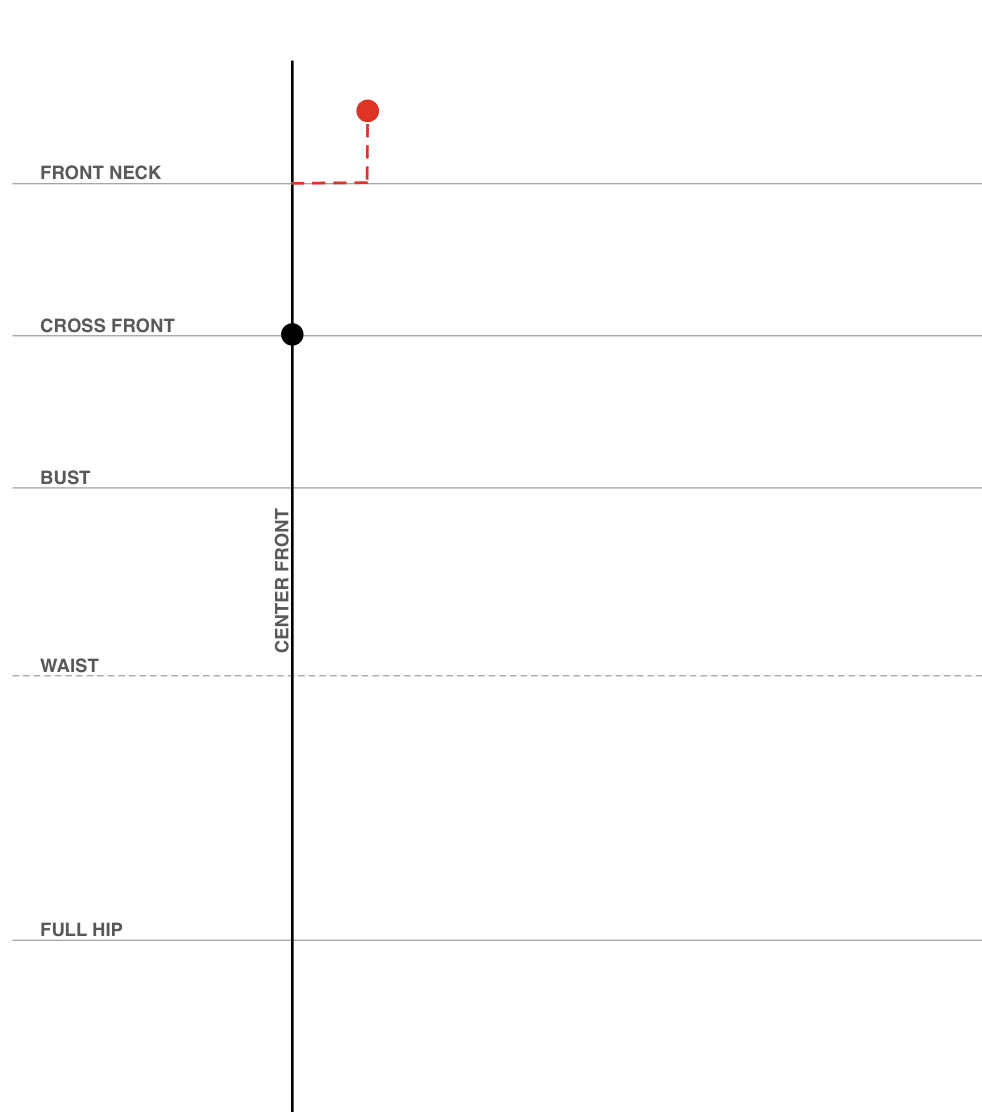
Use the Neck calculation above to go side and up from the center neck gridline.
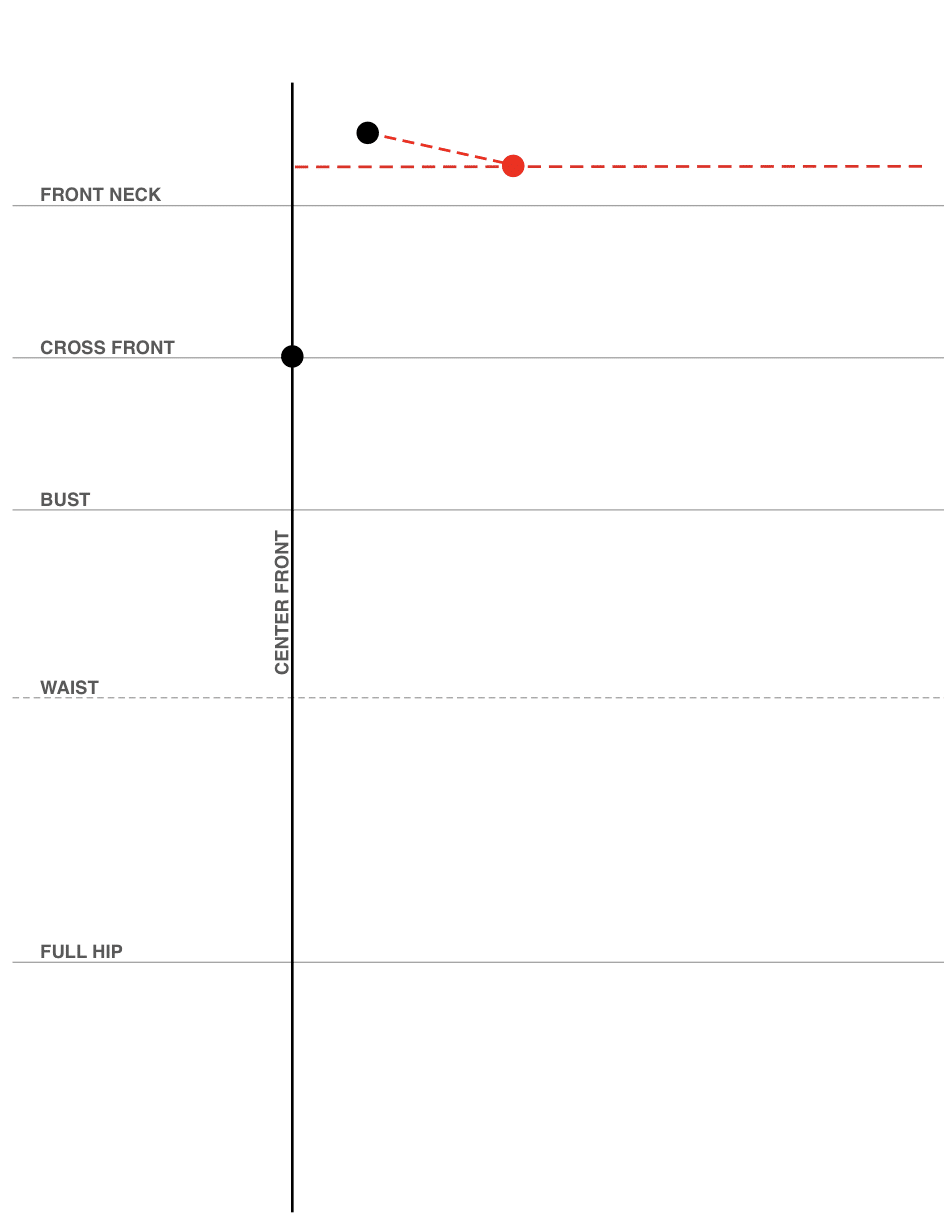
Draw a horizontal guideline 1in below the shoulder point. Then use your shoulder measurement and draw your a shoulder guideline.
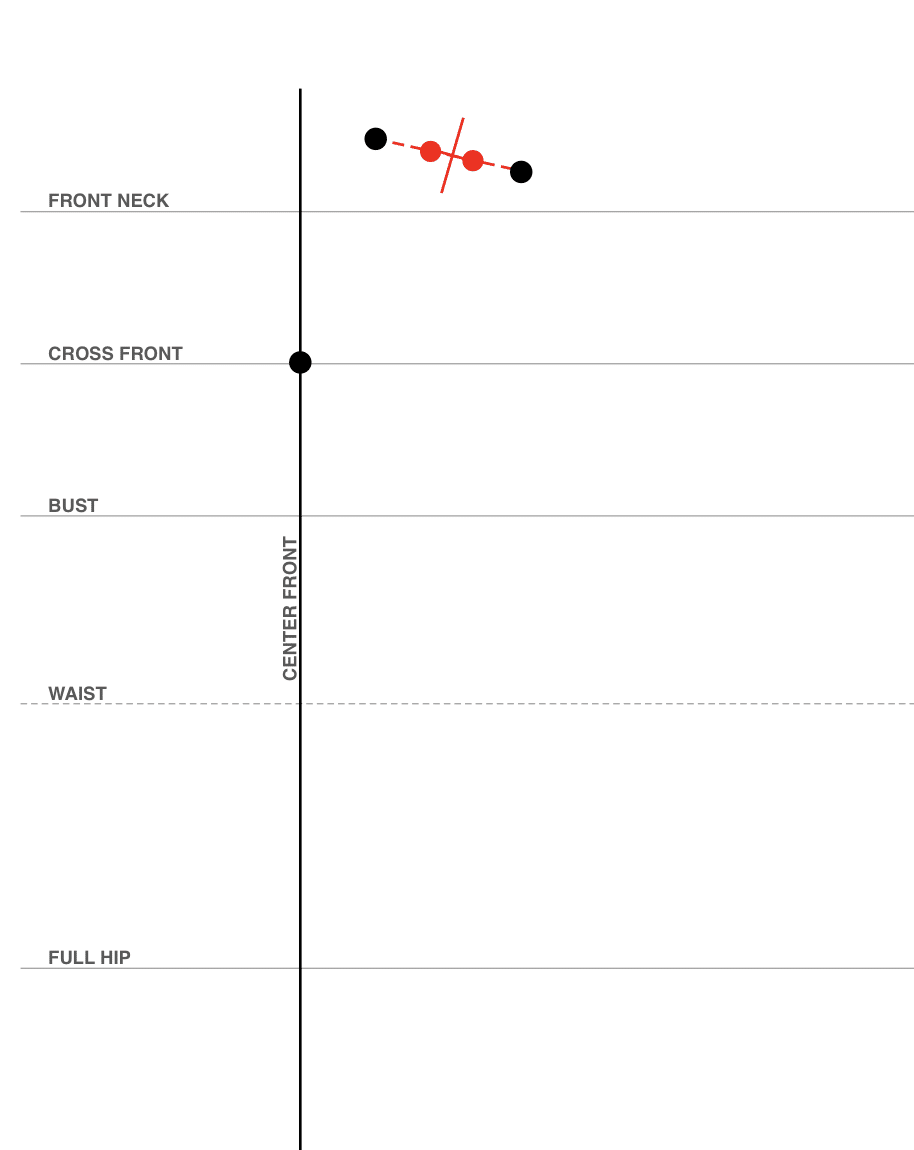
Find the center of the shoulder, and draw a point 1/2 inch on both sides.
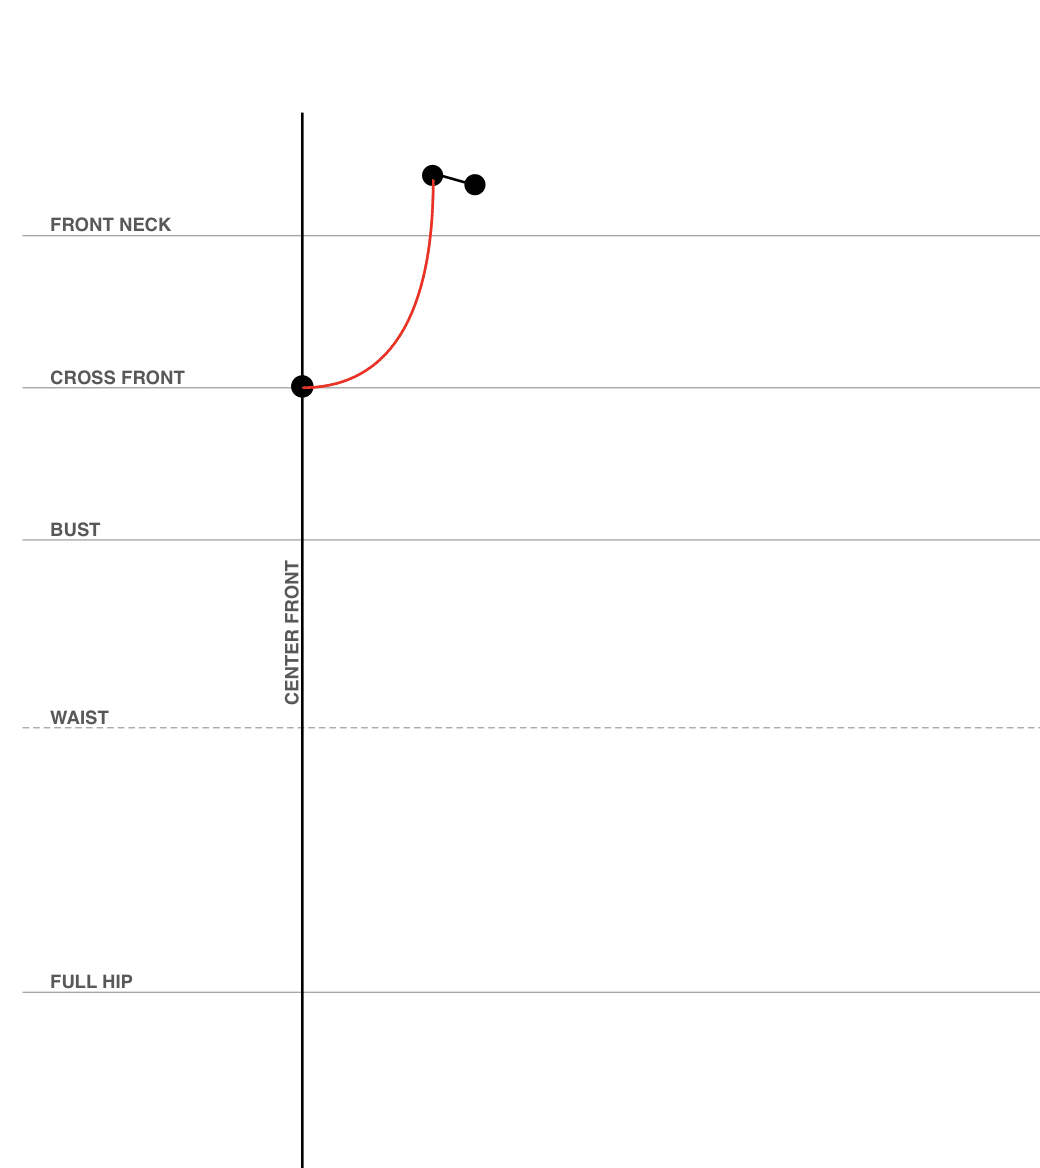
Draw you neckline from center front to the shoulder point. Don’t worry if the curve is perfect, just try to make is flat at the center point.
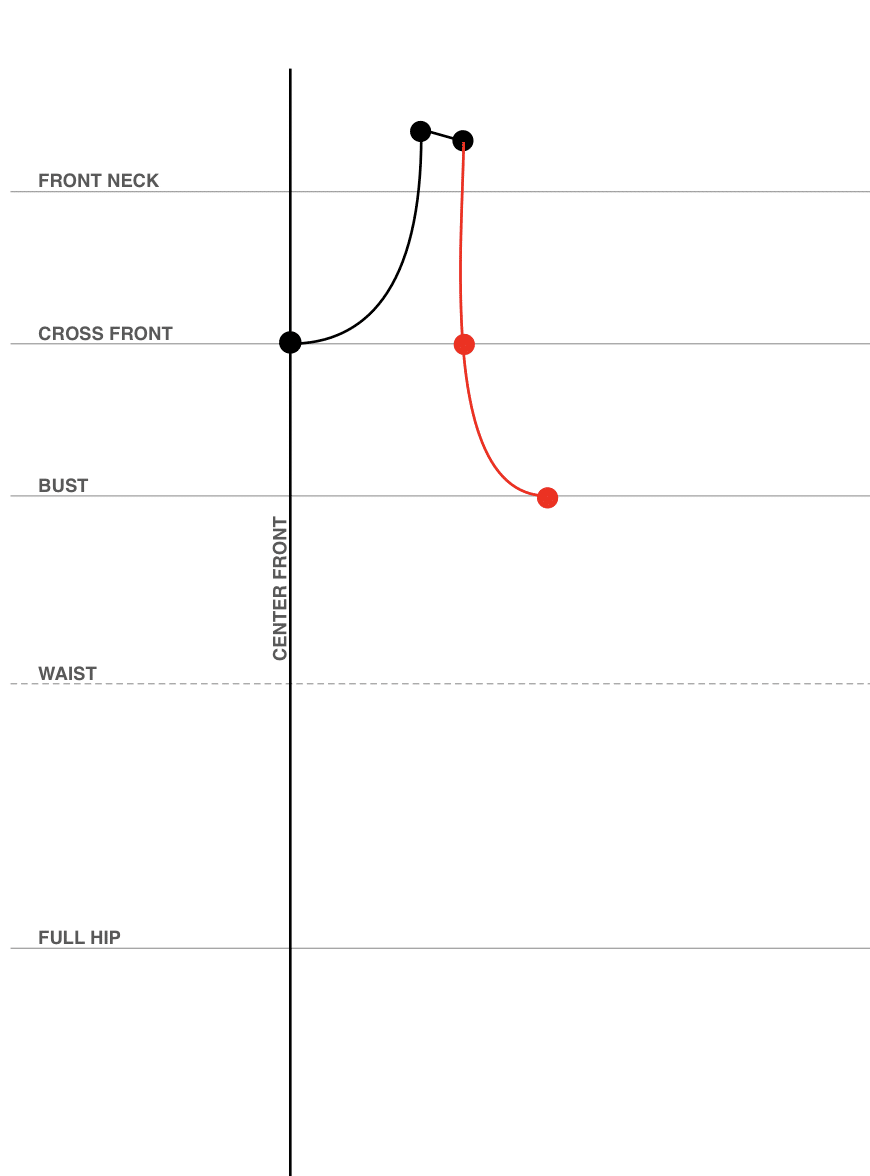
Add your cross front and bust points using you calculations above. Then draw the armhole curve from the shoulder seam. If you can’t get a smooth curve through all the points, it’s okay if you miss the cross front point.
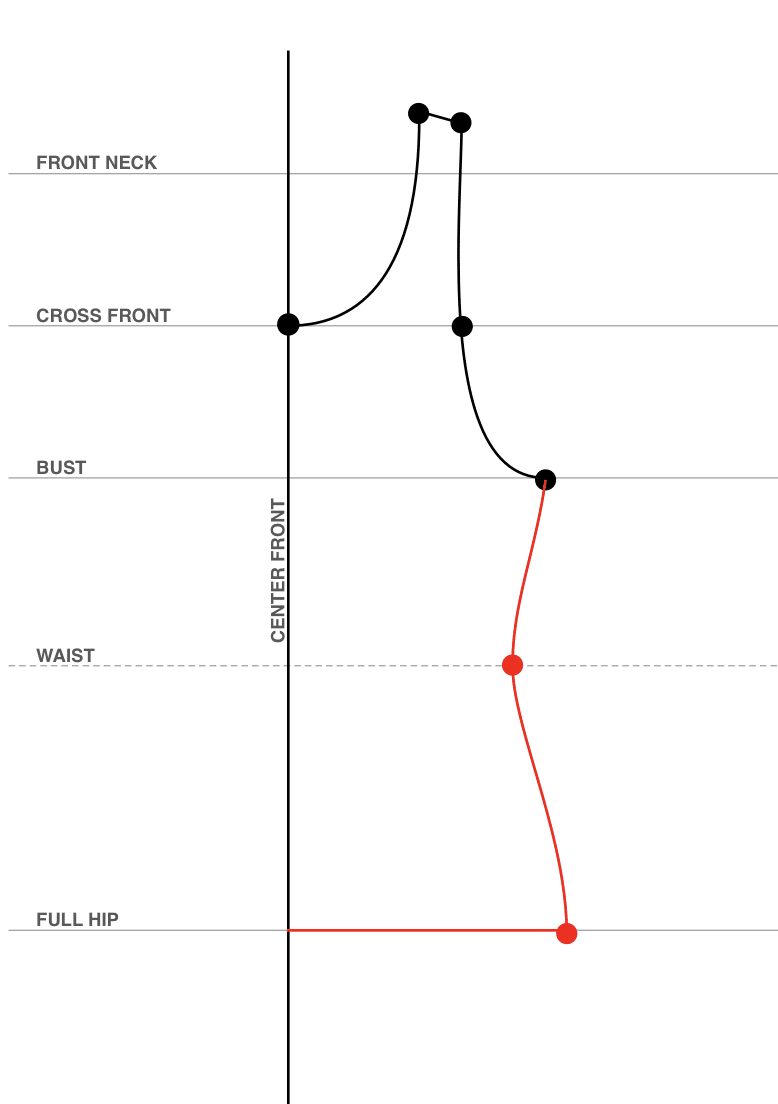
Add your waist and full hip points and draw the side seam. It’s okay if you miss the waist point, it just depends on how fitted you want the final tank top to be.
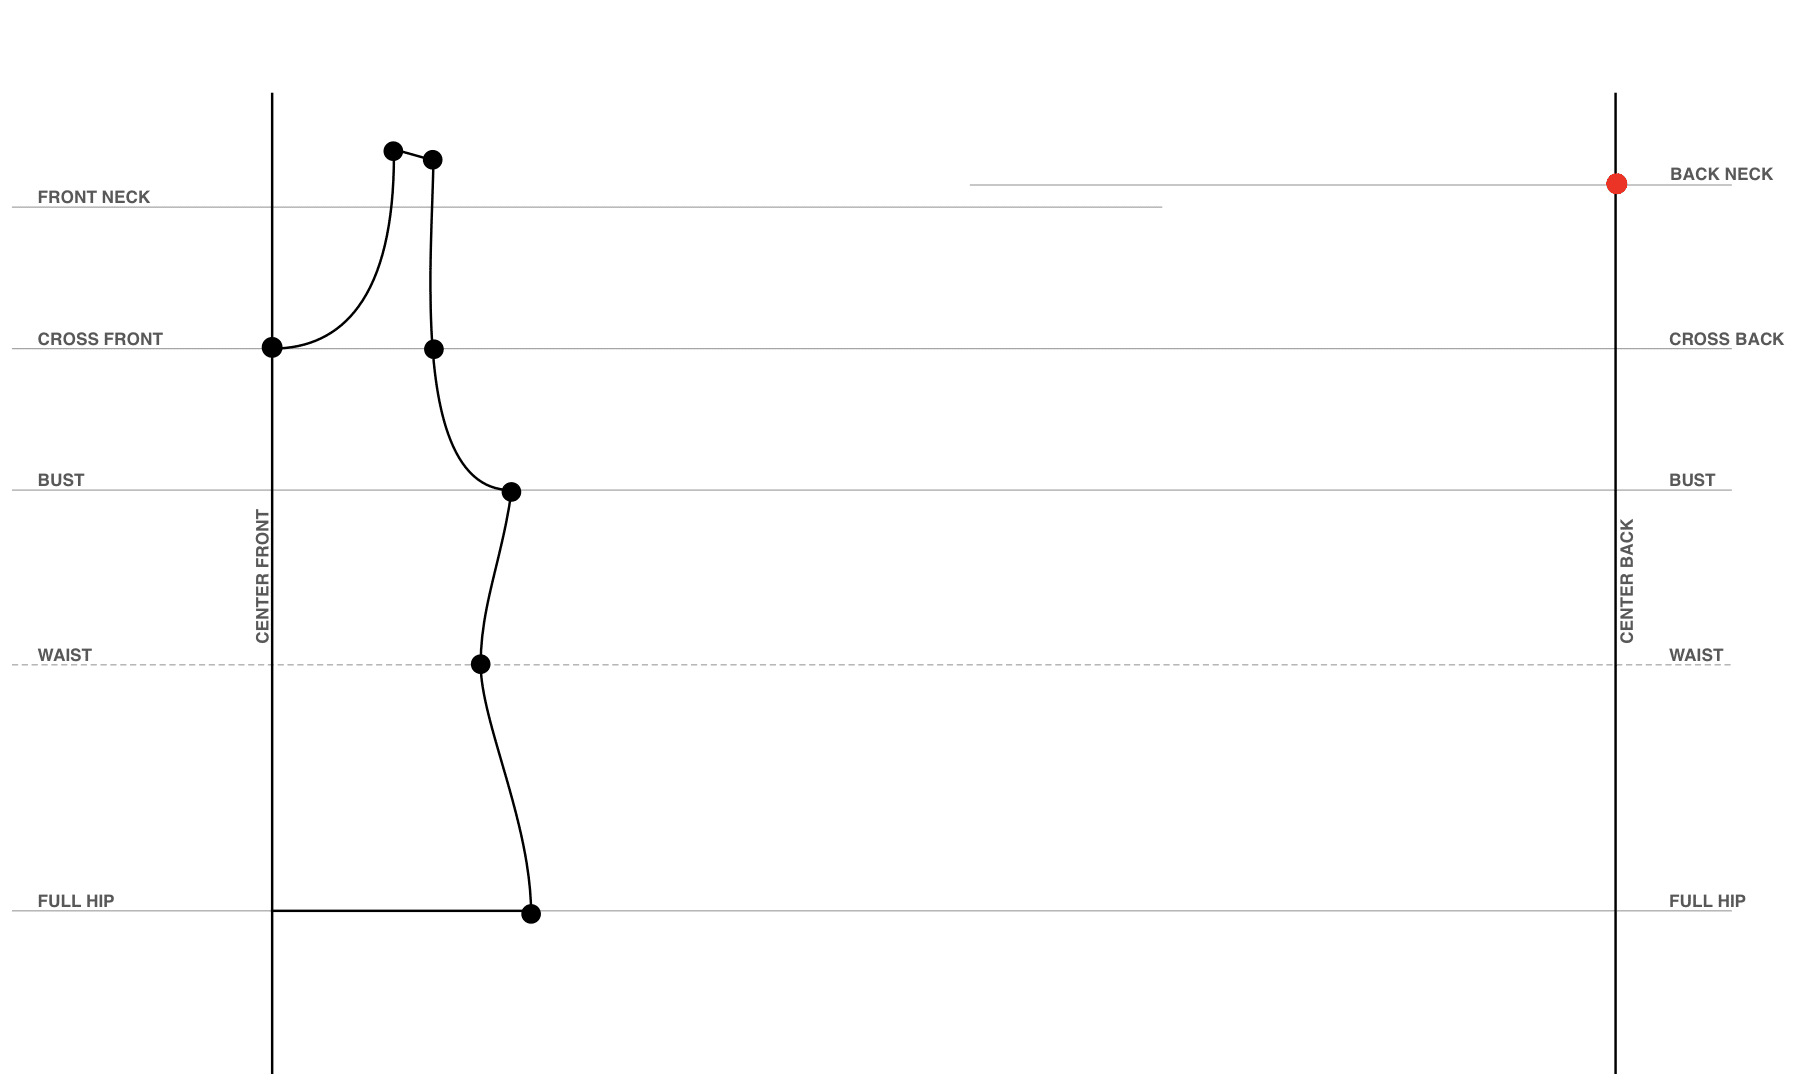
Draw the back grid and add the back neck.
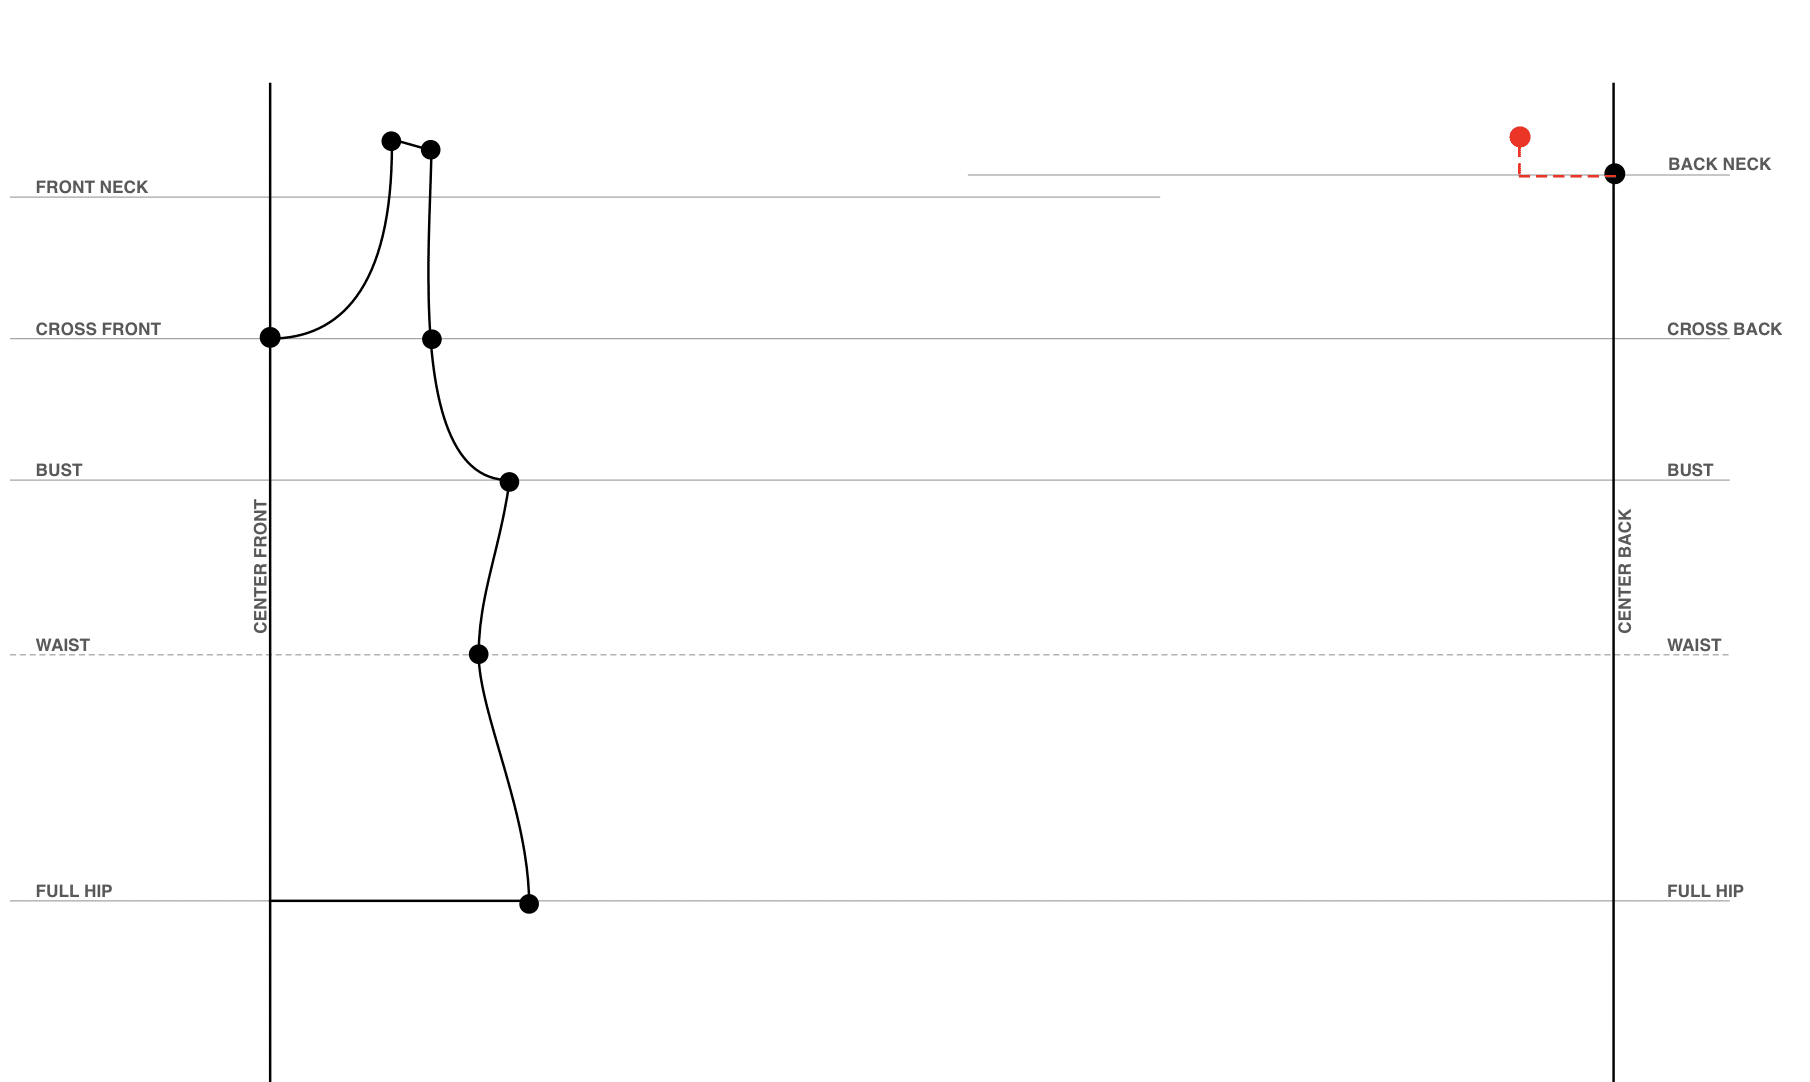
Add the should point 1 inch up and the neck calculation to the side.
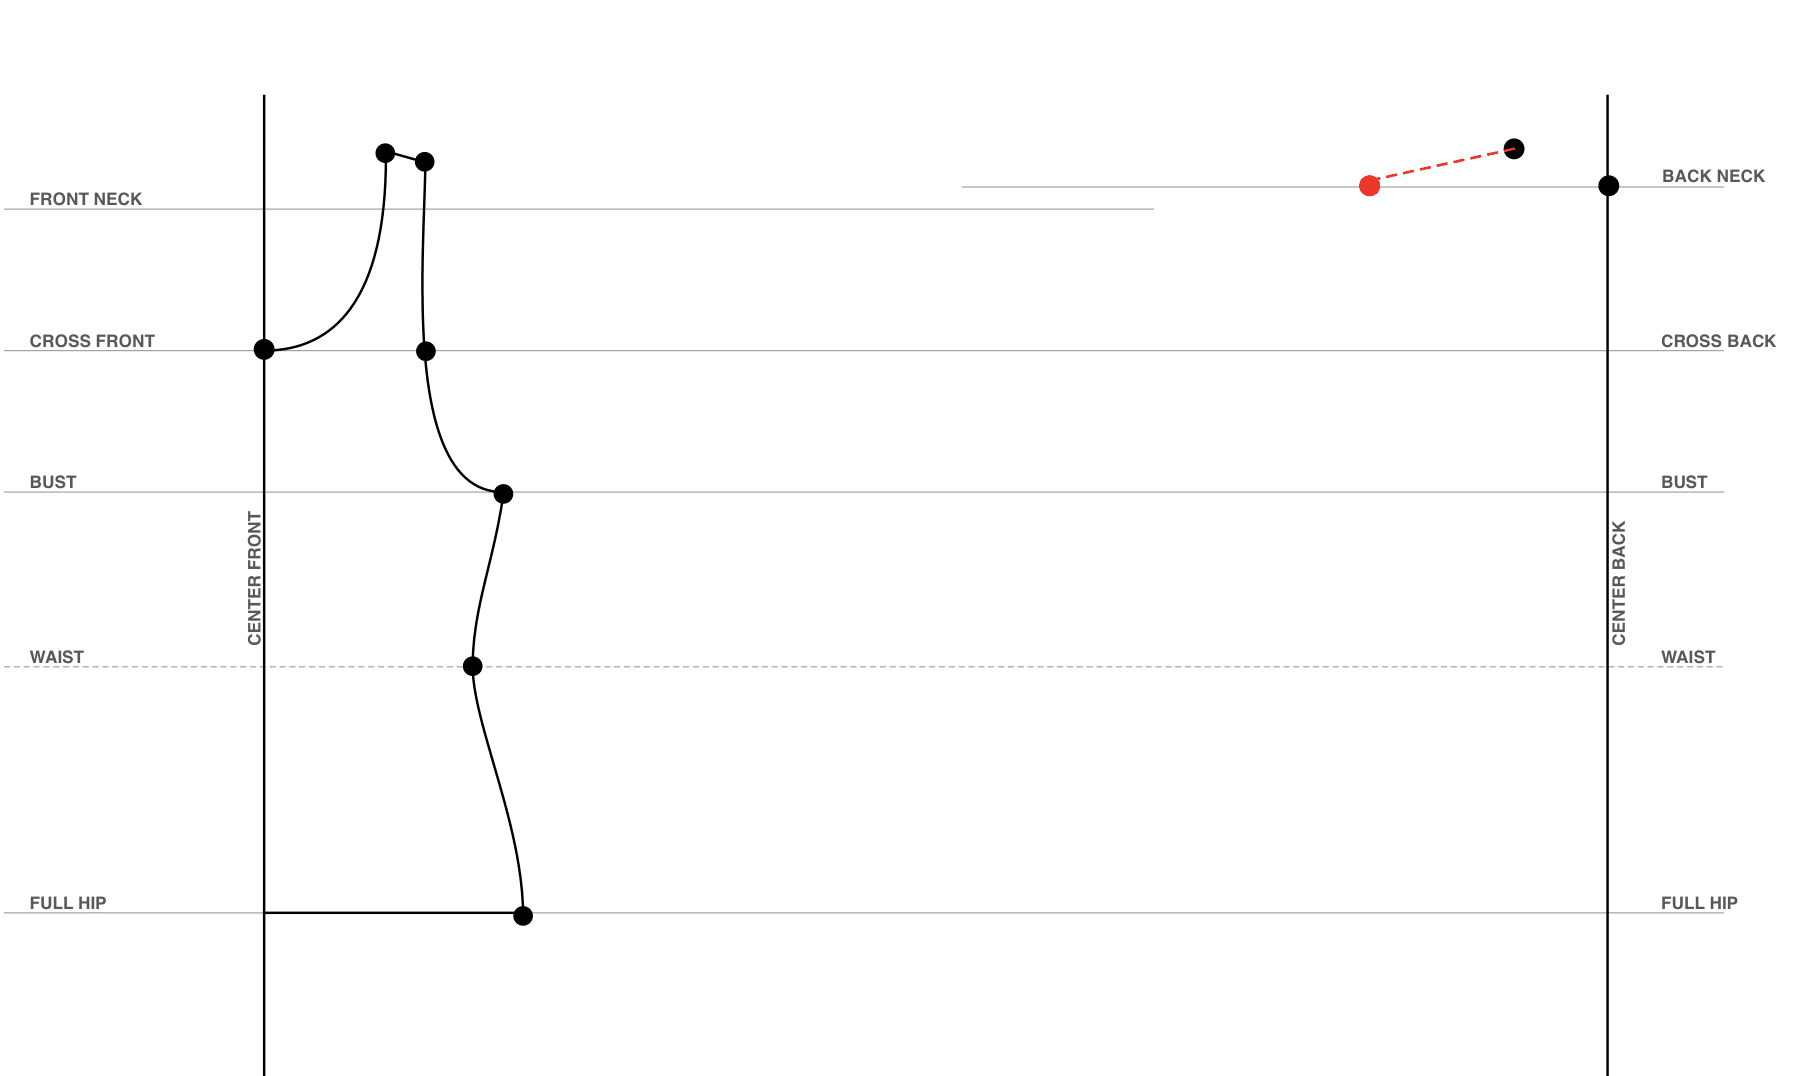
Create the second shoulder point the same way you did for the front.
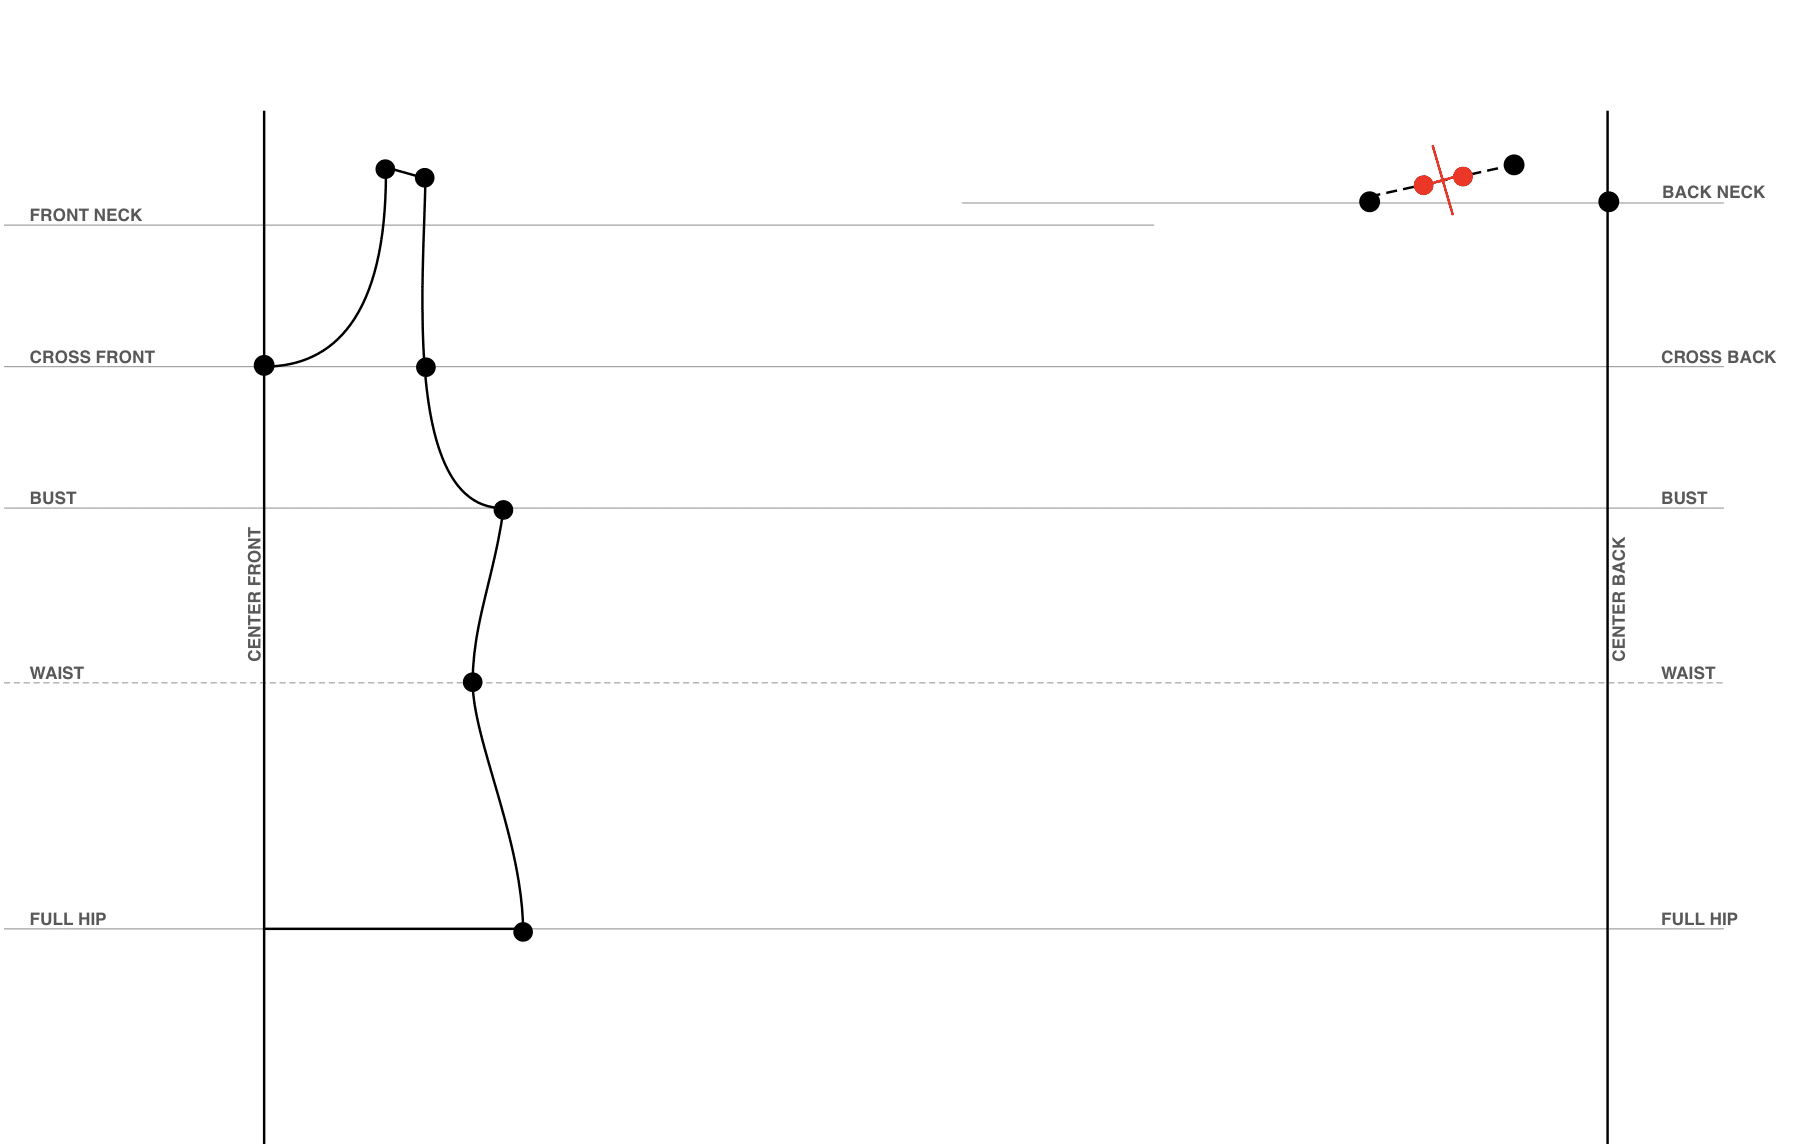
Find the center of the shoulder and create the points 1/2 inch to either side. The same as you did for the front.
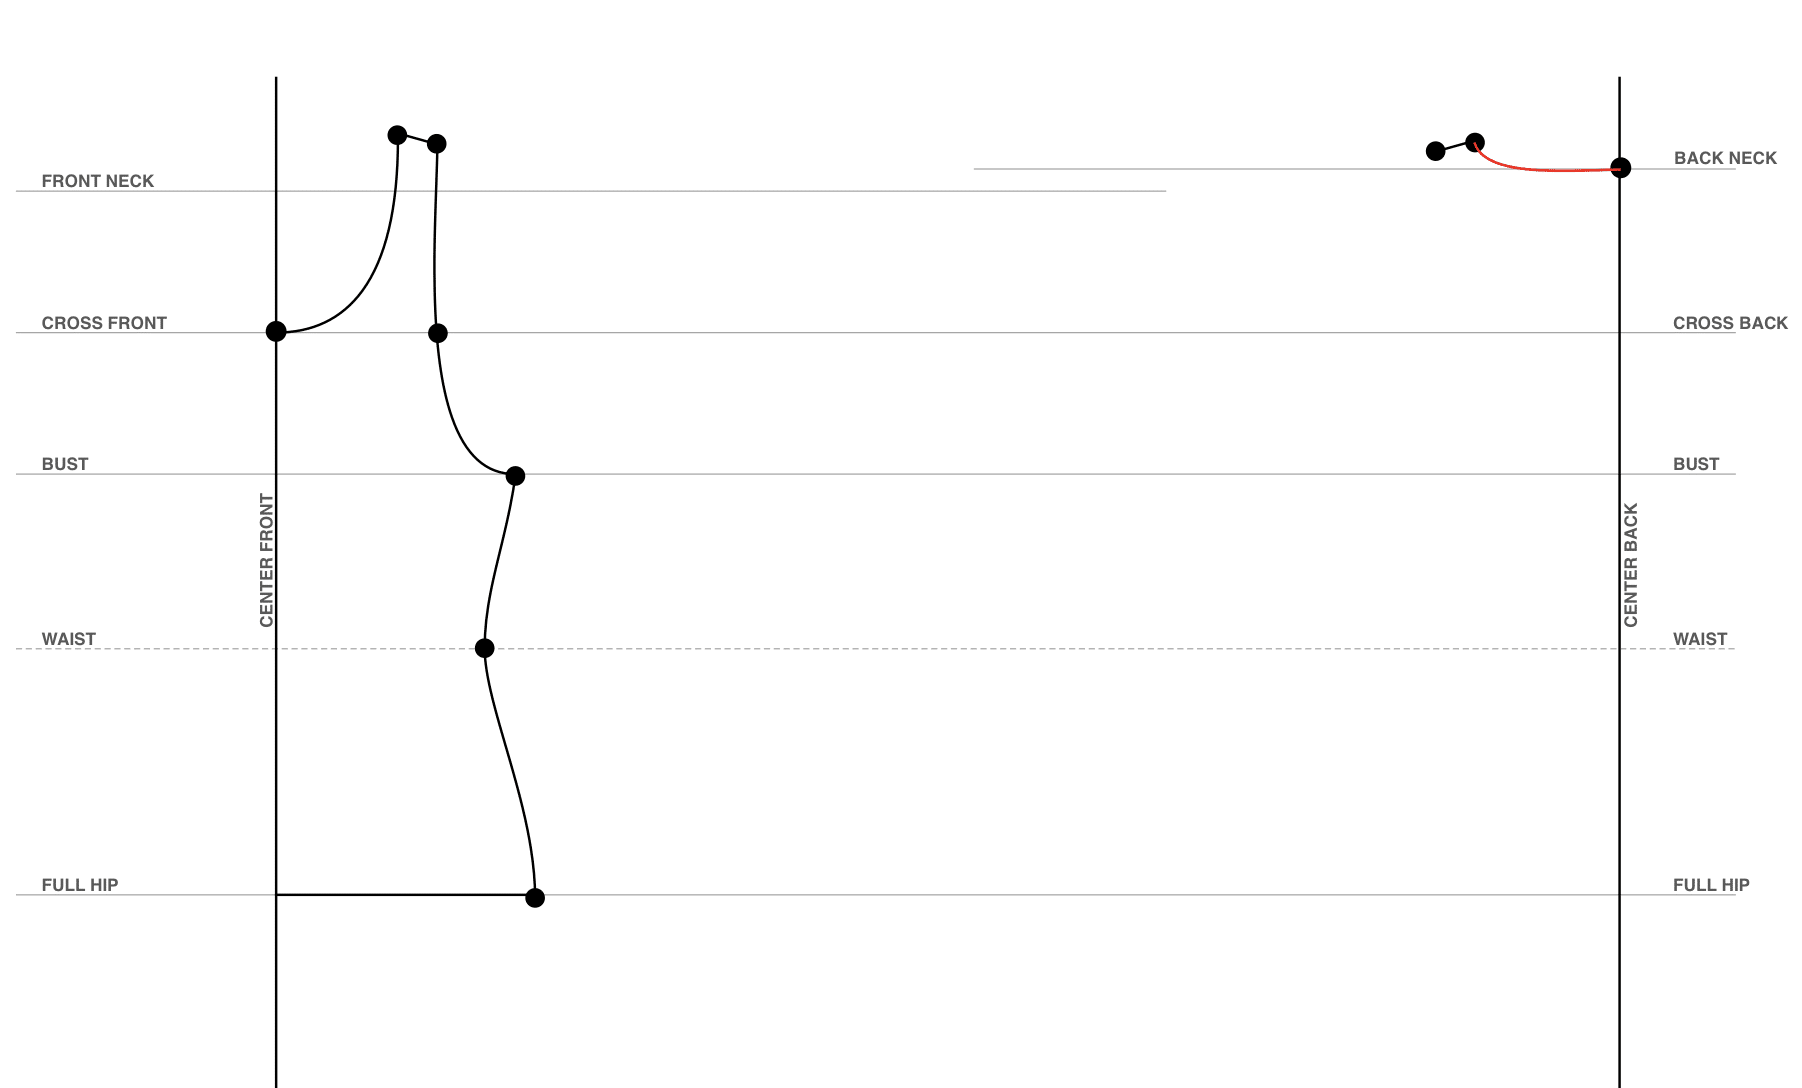
Draw the back neckline.
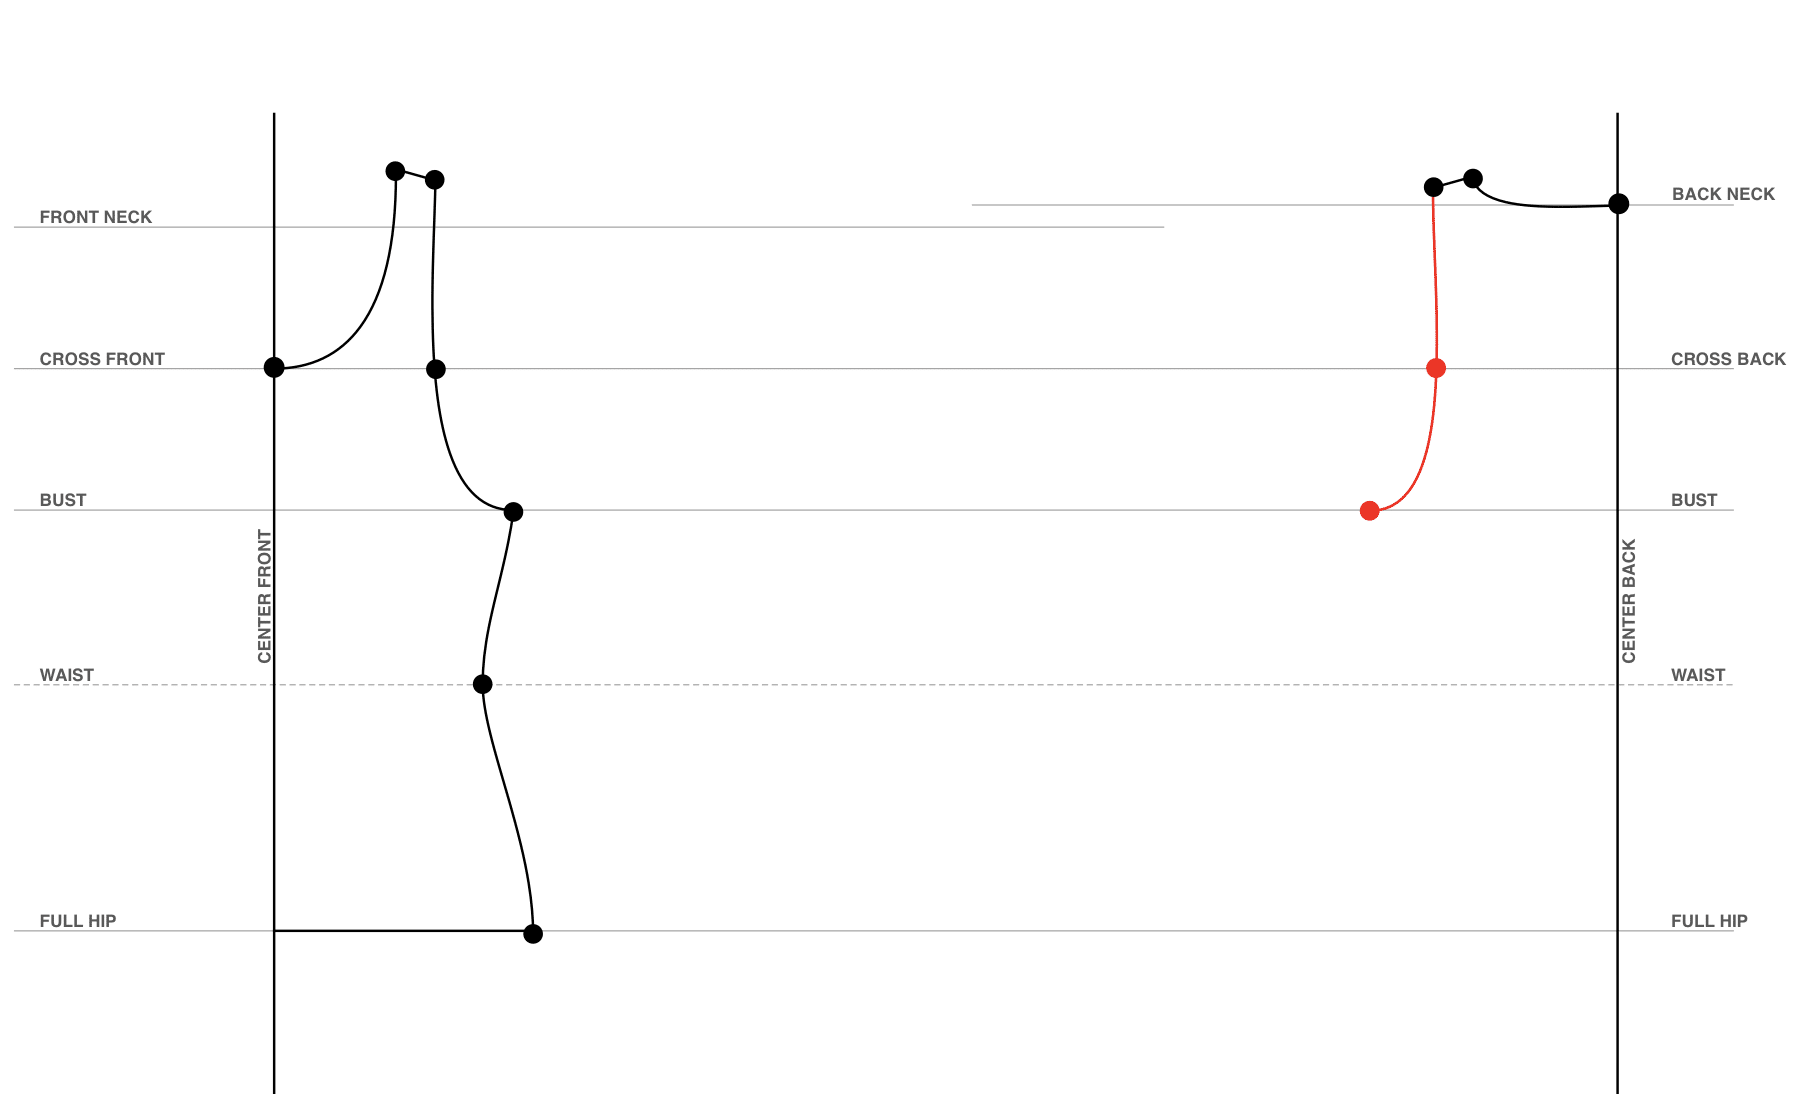
Draw the cross back and bust points and draw the back armhole. Again, it’s okay if you miss the cross back point if you can’t get a smooth line for the armhole.
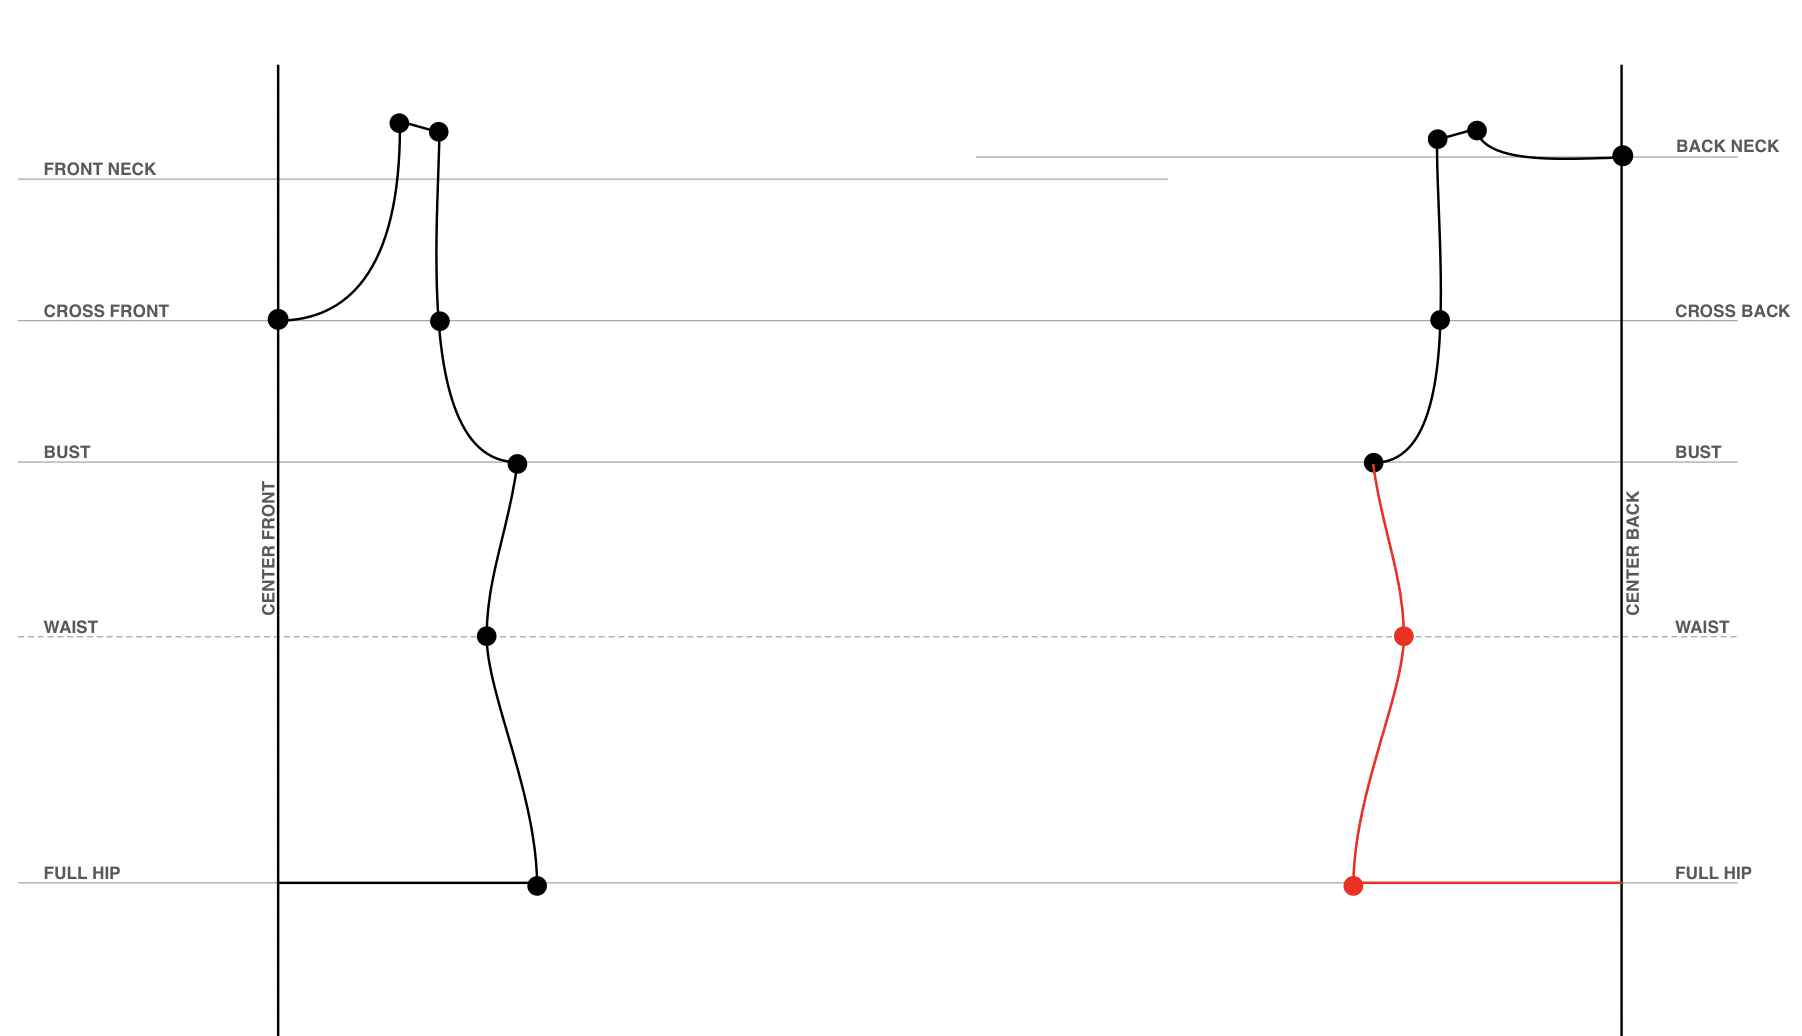
Copy the side seam from the front of the tank top.
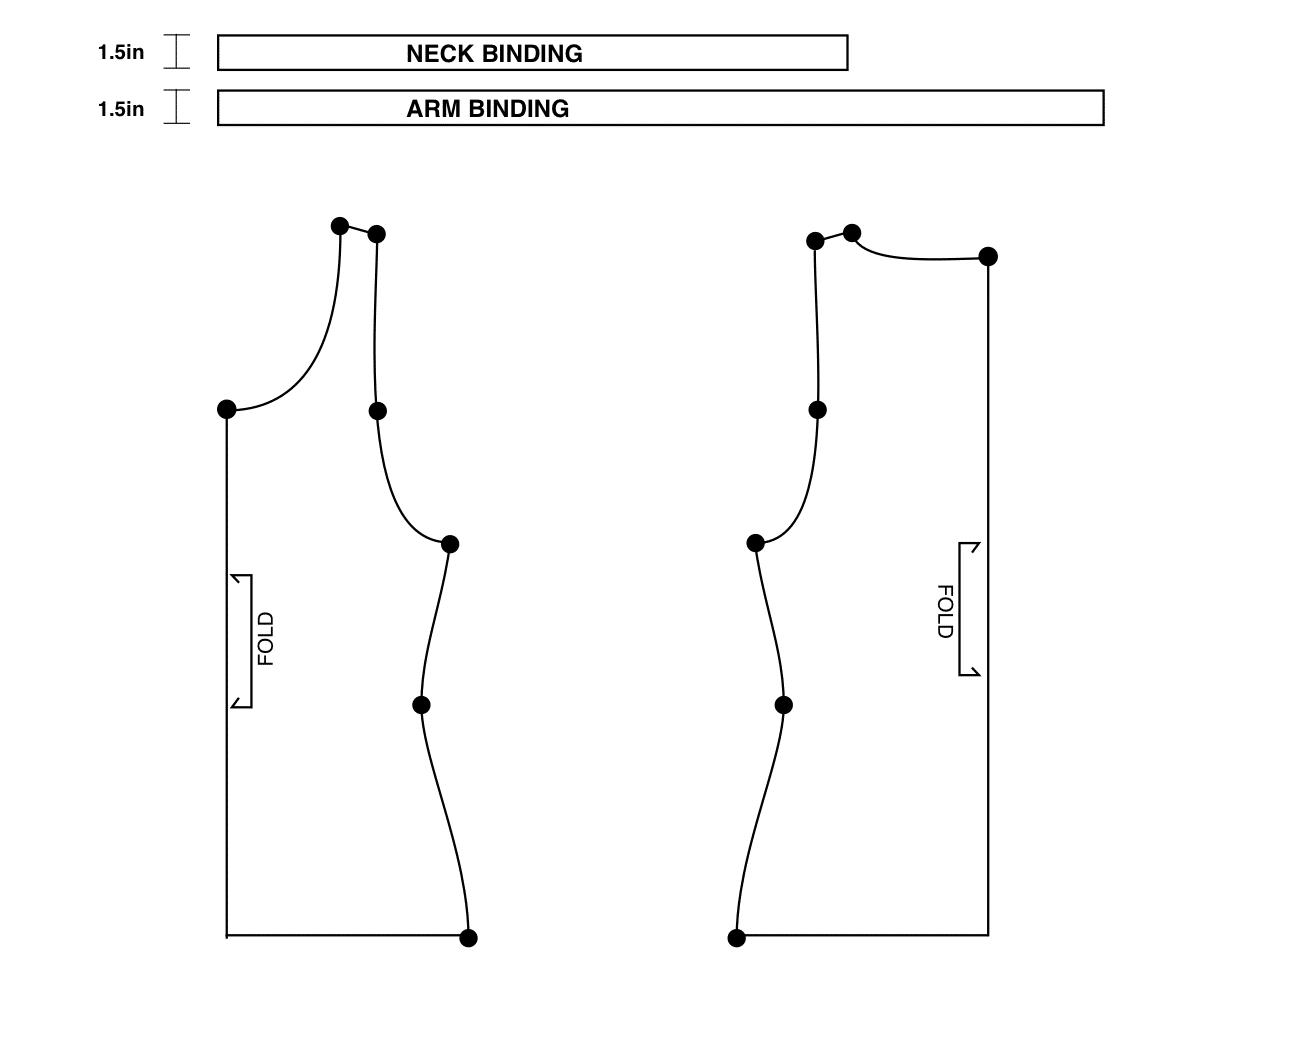
Create your neck binding and arm binding. Measure around the front and back neckline and the front and back armhole then add a few inches. Then create rectangles using those measurements with a 1.5in width. (these bindings will be longer than you need, so you’ll trim off the excess)
Don’t forget to add seam allowance to your front and back pattern pieces!
When cutting the fabric, you will need to use a stretch knit. You always want to cut it with the stretch going across the body. The bindings need to stretch along the length.
Step 1
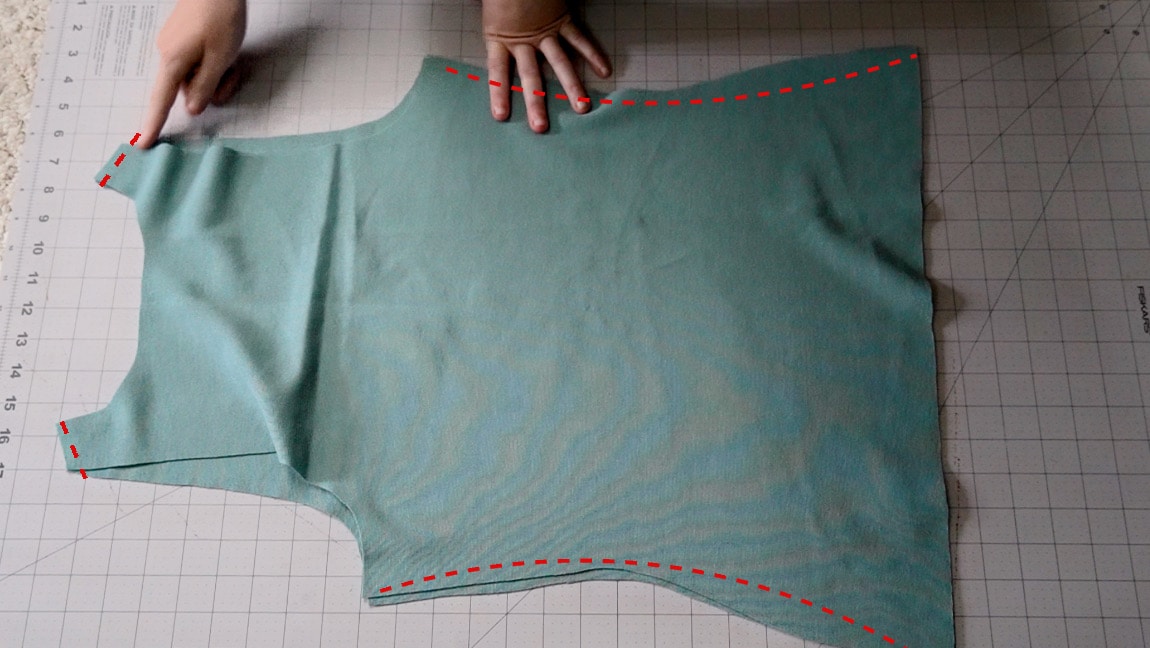
Sew the side seams and shoulders of the front and back shirt
with right sides together, sew the front and back of the tank top along the sides and the narrow shoulder seam.
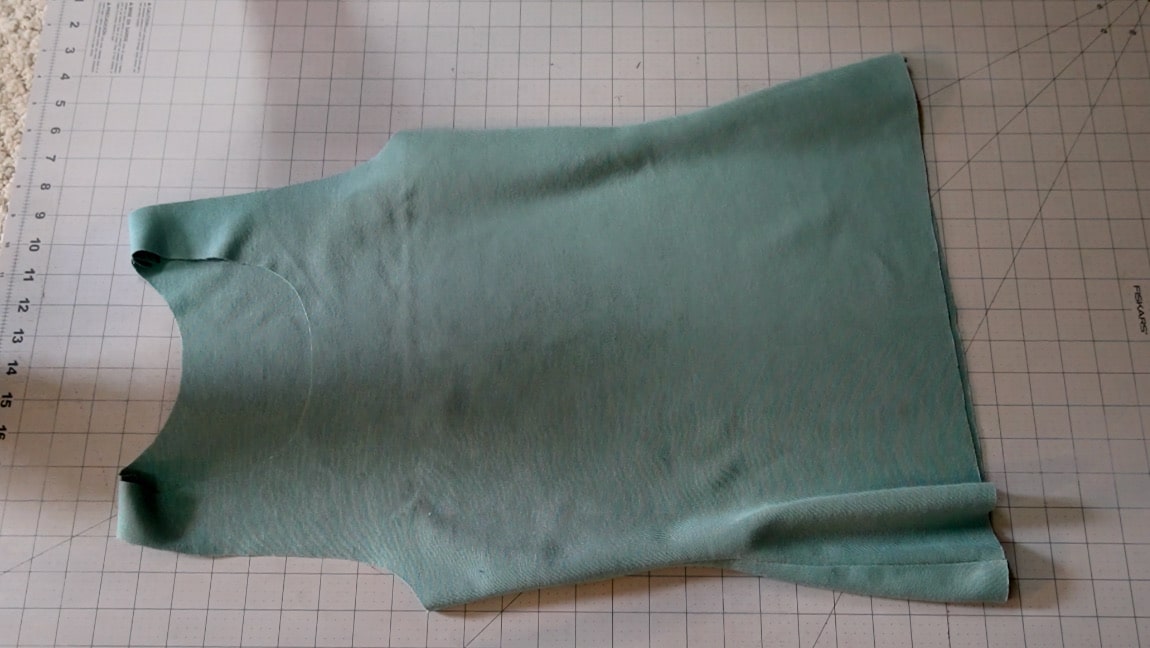
Step 2
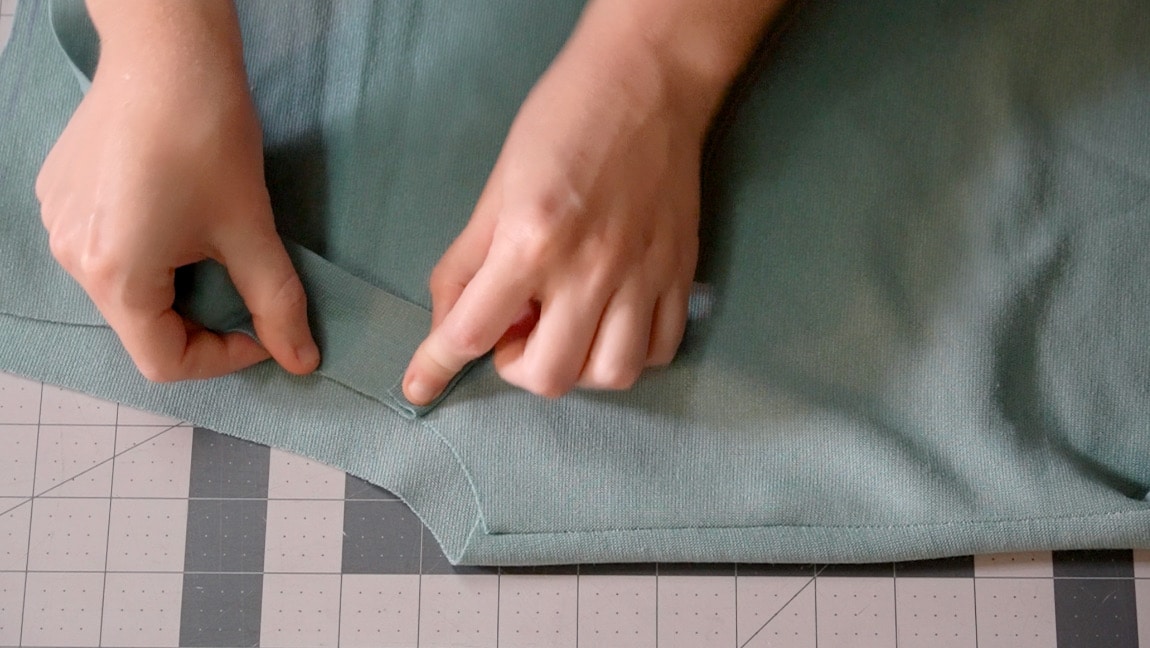
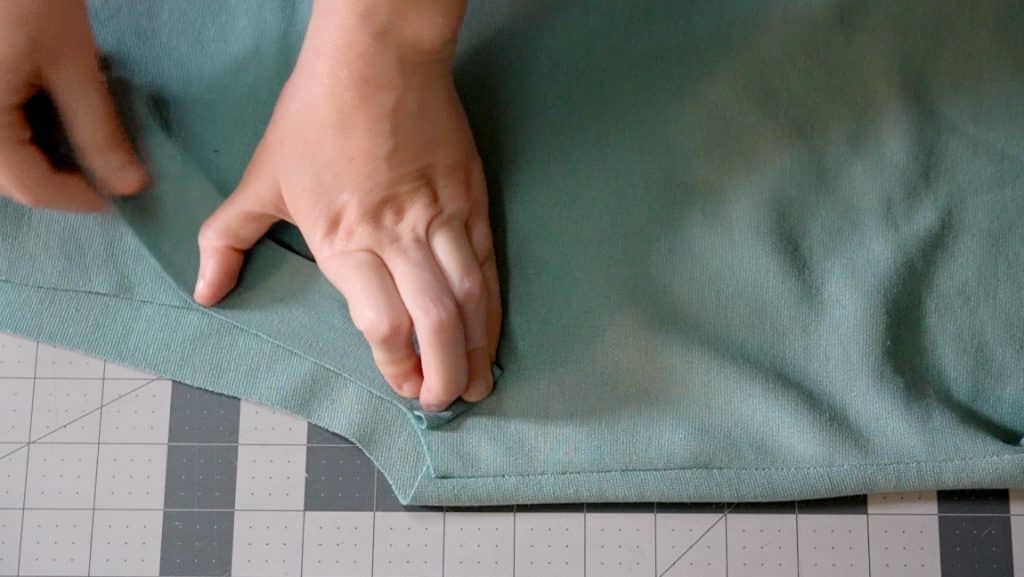
sew the binding around the arm holes and neck hole
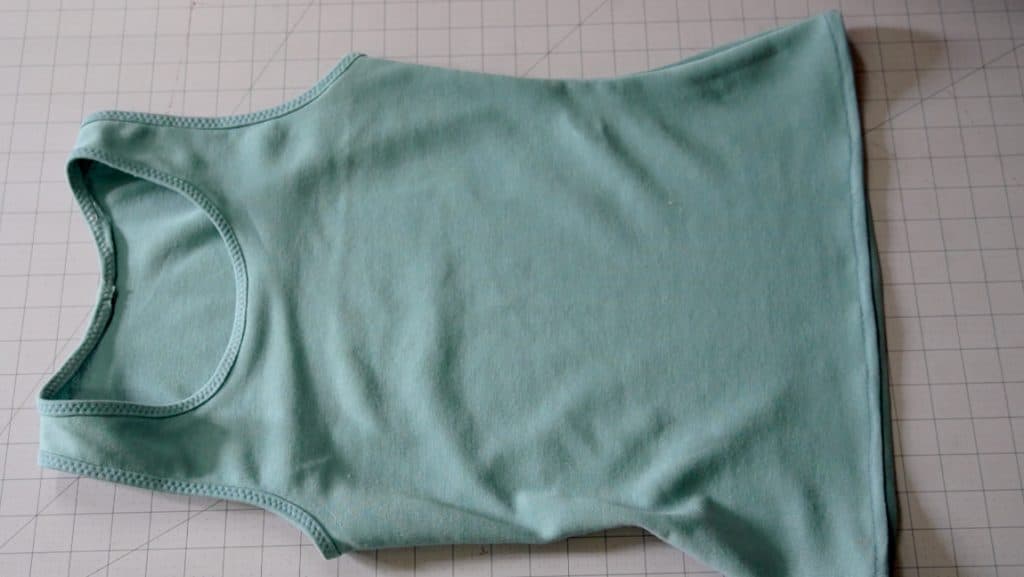
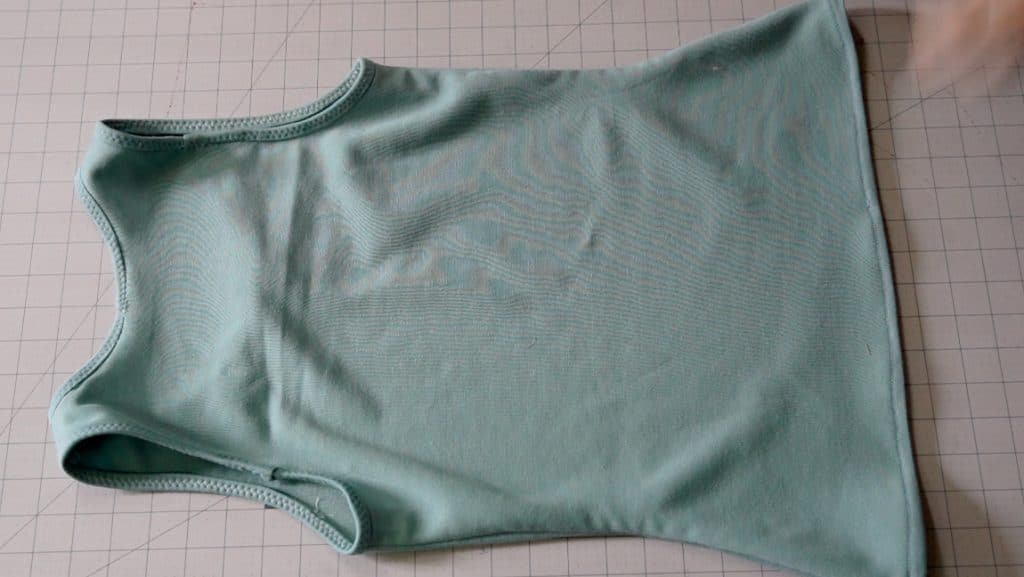
using a zigzag or lightning bolt stitch, sew the neck and armhole binding to the tank top with right sides together. While you do this, you want to stretch the neck binding a little. This helps to keep the neckline from gaping open, keeping it tight against your body.
Fold over the starting edge so it will not be visible. When you circle back around to the starting point, you should have excess fabric because you have been stretching it. Slightly overlap the binding and then trim off the excess.
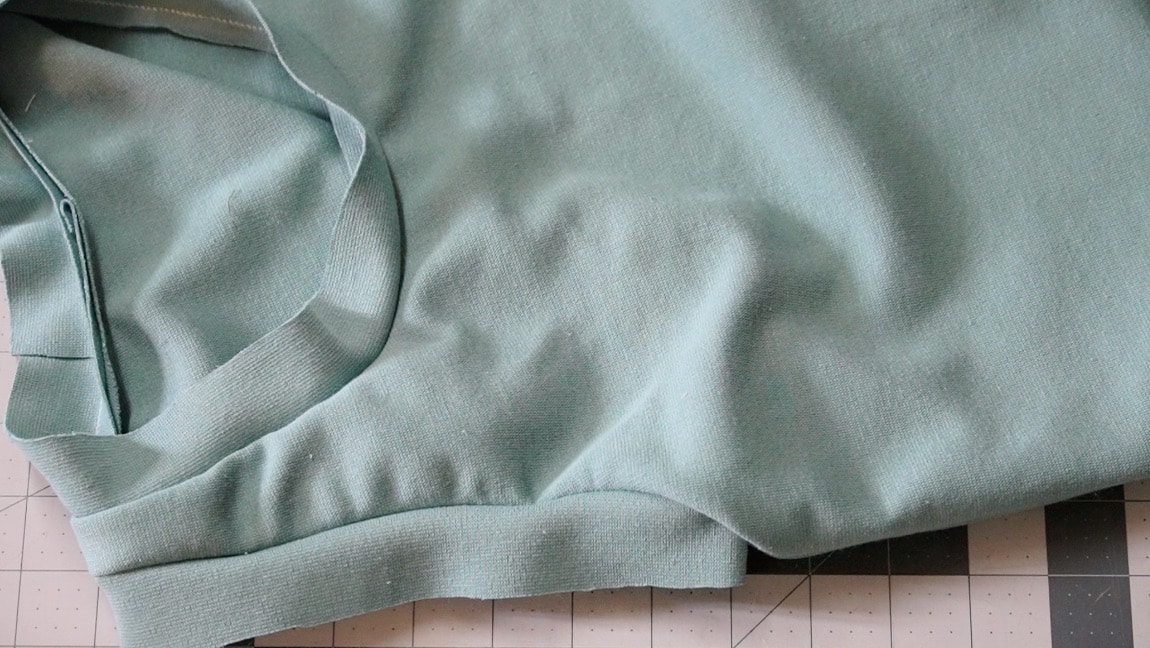
Step 3
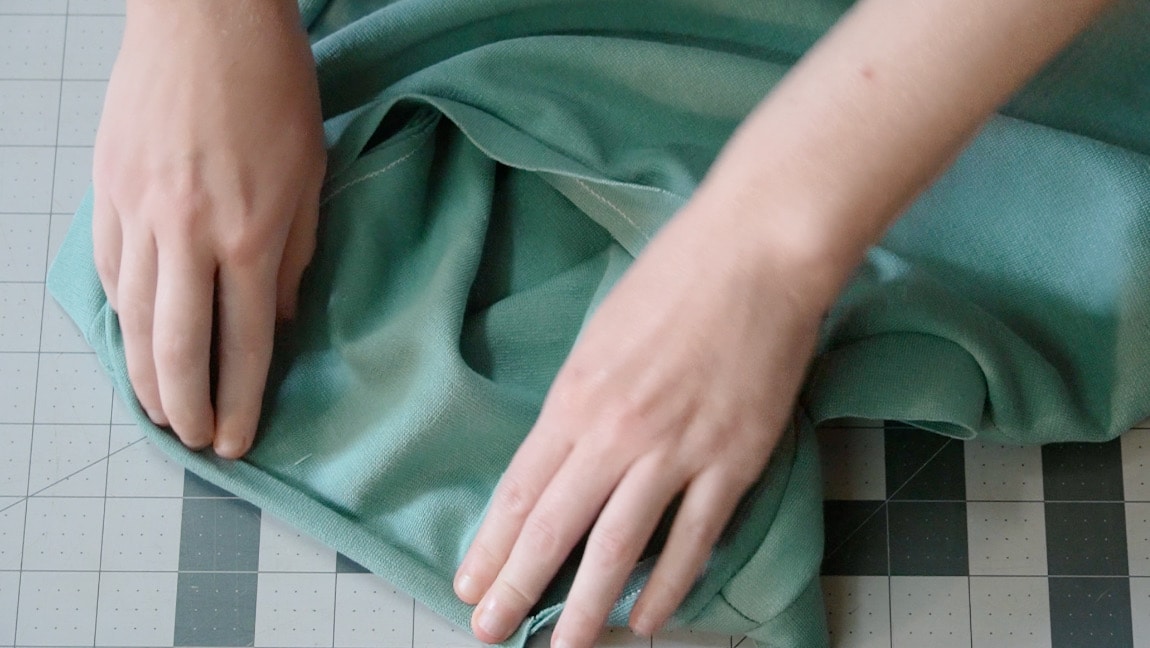
fold the bindings over to the inside
Similar to bias tape, fold the neck and armhole bindings in quarters and then in half, encasing the raw edges of the fabric.
Step 4
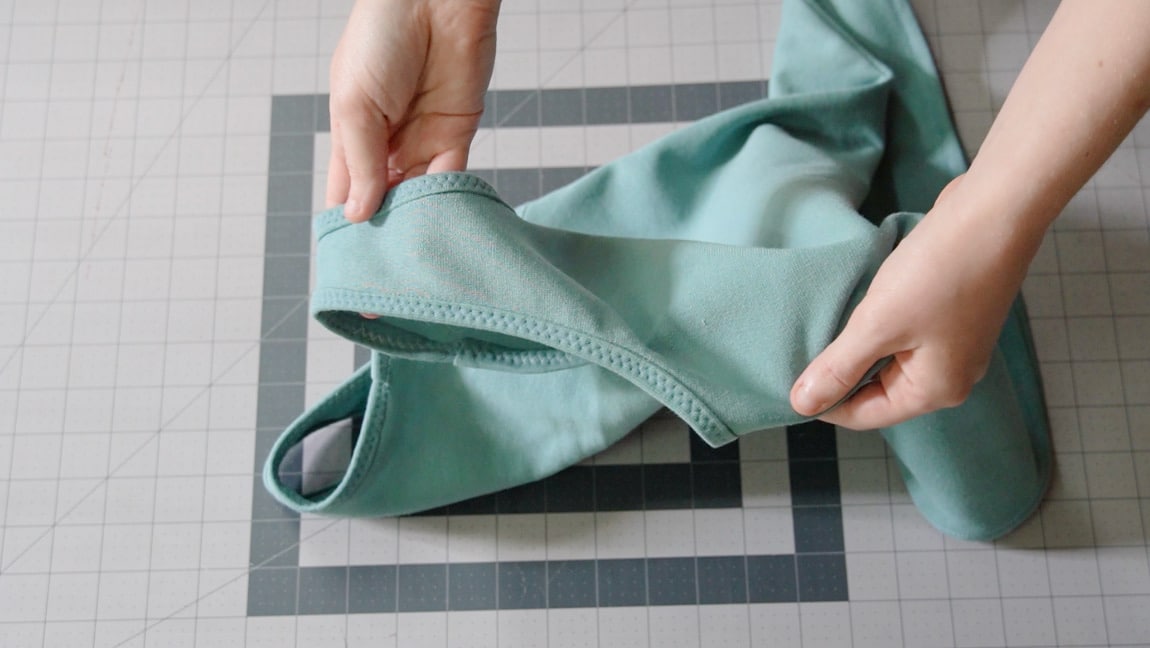
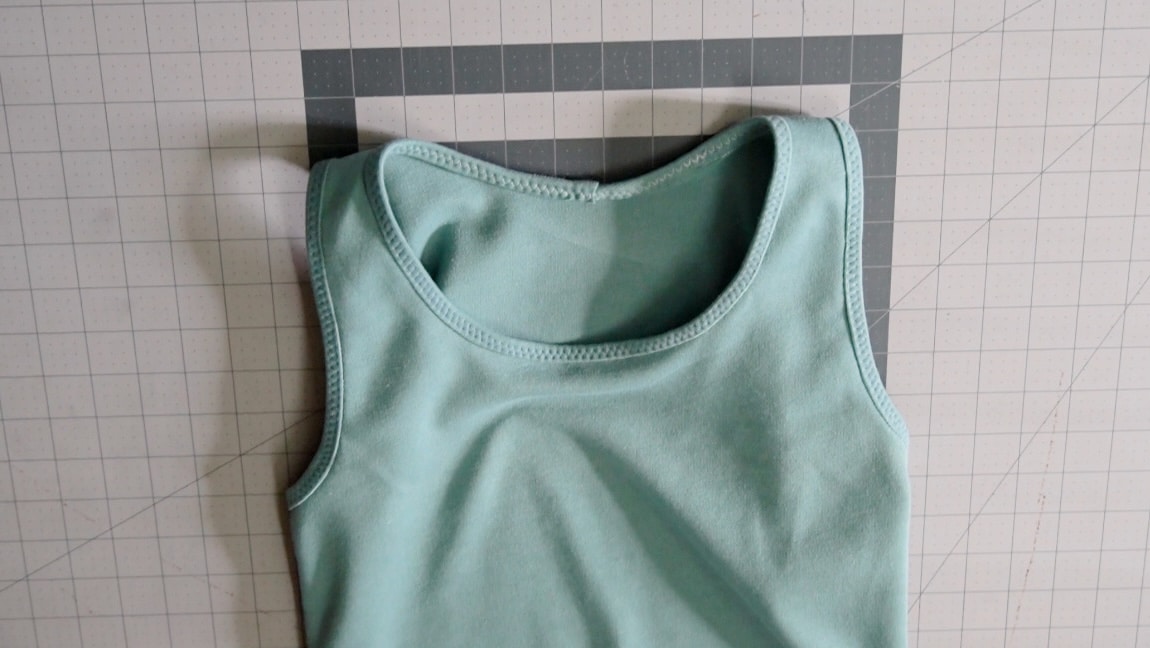
use a wide zigzag stitch to sew the bindings
Then you want to sew the binding in place with a wide zigzag stitch so that it can retain it’s stretch. You may want to practice this on a scrap pieces of fabric so that you can adjust your machine setting however you desire.
Step 5
hem the bottom of the tank top
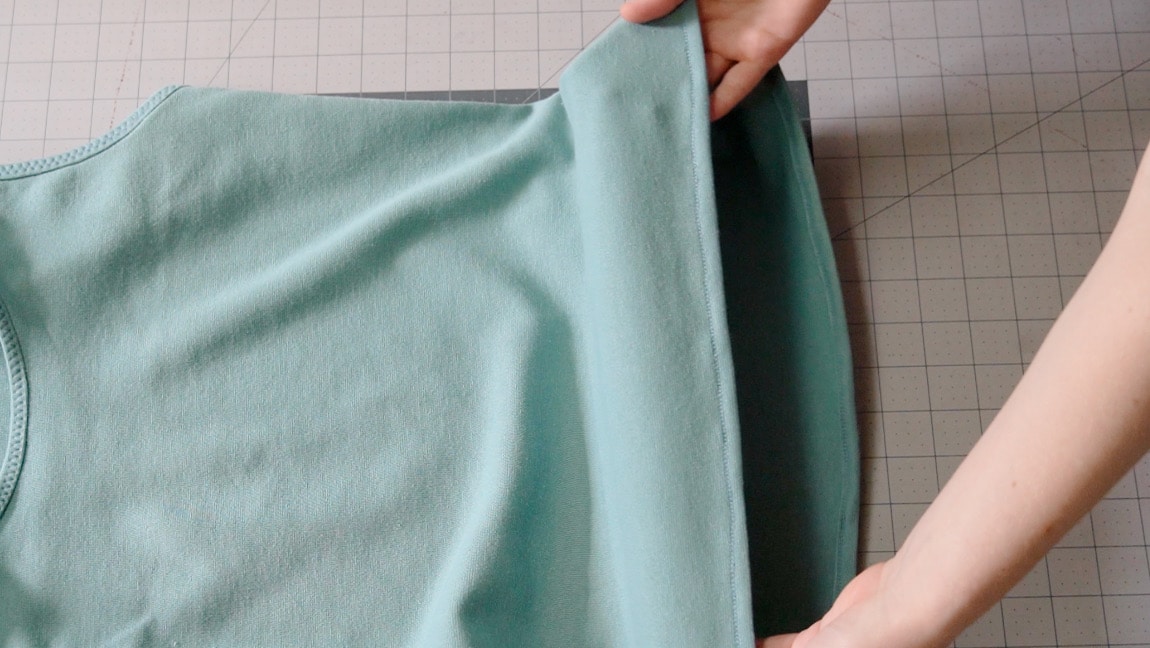
Hem the bottom of the tank top. Since knit fabrics don’t fray the way woven fabrics do, you can sew a single turn hem if you want to.
Finished!