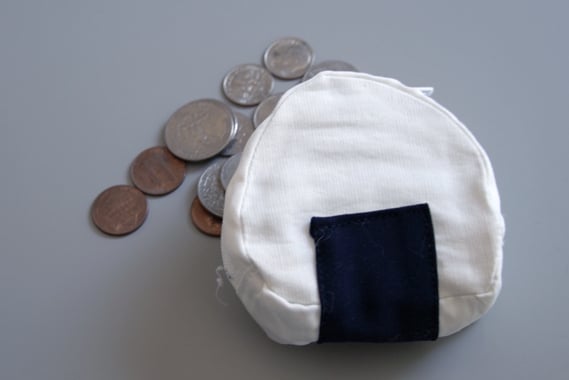
Tutorial: Onigiri Coin Purse
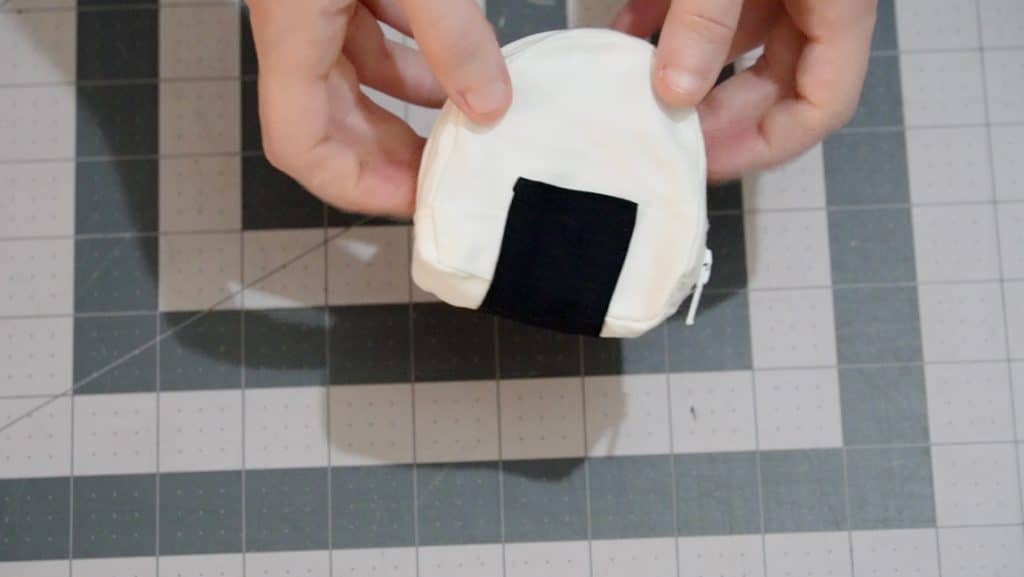
I always like having some cute accessories tucked away. This time I decide to design a basic onigiri (Japanese rice ball) coin purse. It’s quite simple, and you can easily make it with leftover scraps of fabric. Simply print out the pattern below, and follow along with the step-by-step tutorial.
This page contains affiliate links. As an Amazon Associate, I earn a small commission from qualifying purchases. That being said, I encourage you to use your local sewing shop whenever possible, or to look for supplies second hand.
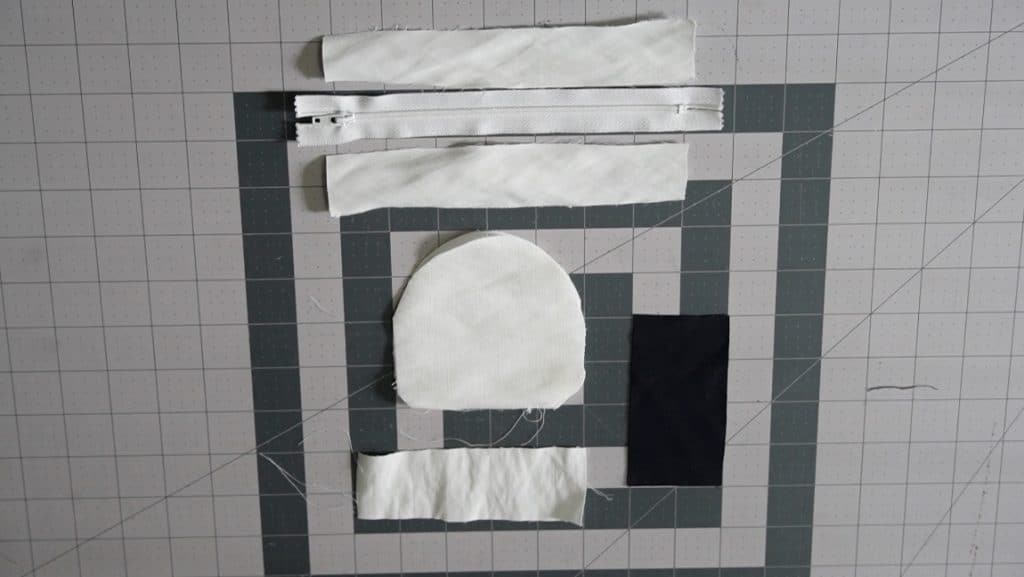
Supplies Needed:
(all of my patterns include 1/2″ seam allowance)
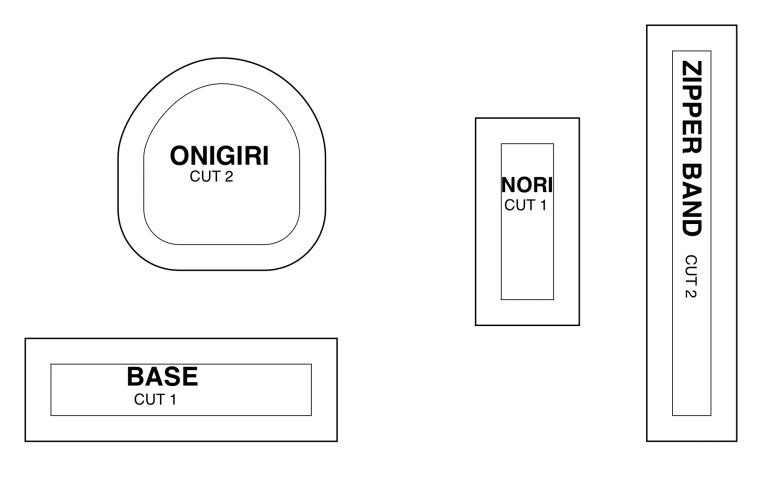
Step 1
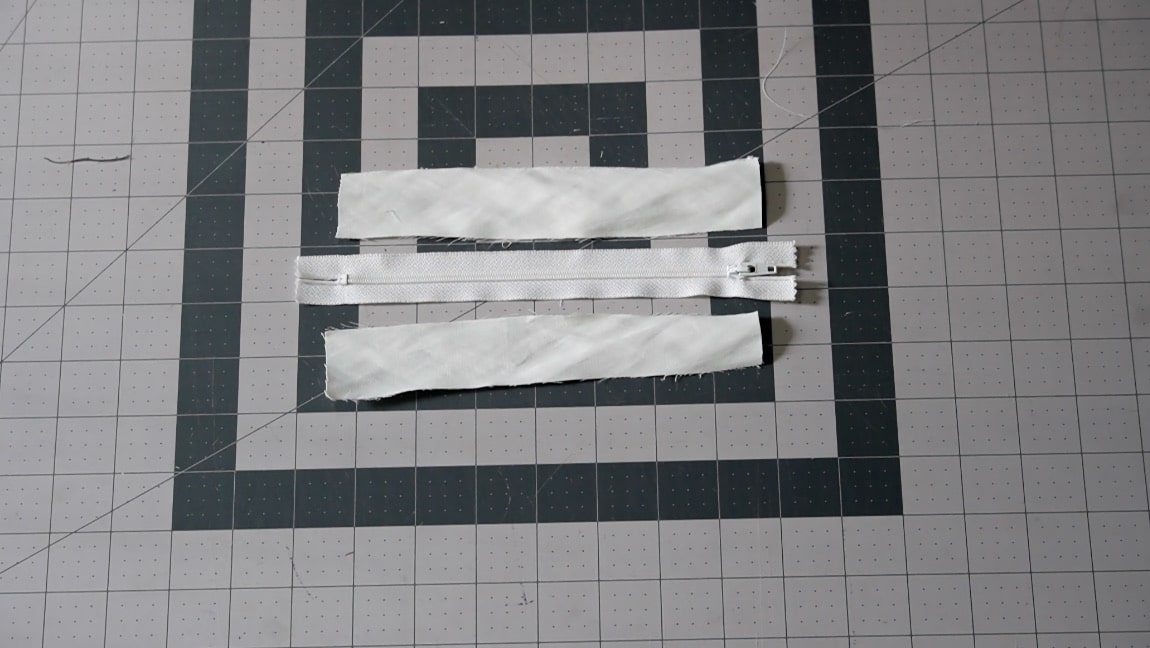
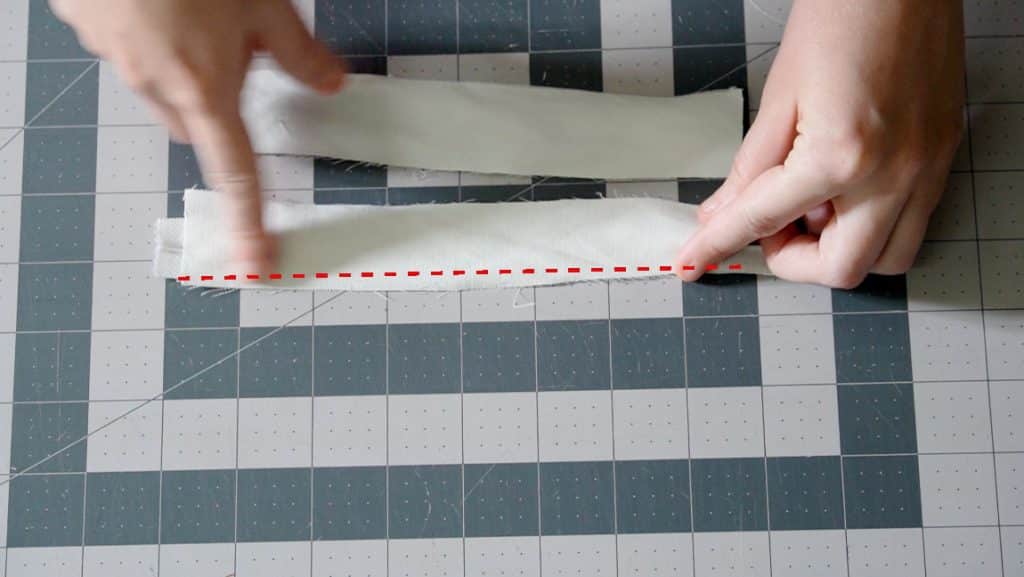
sew the zipper to the zipper bands
with the zipper facedown, line up the edges and sew close to the zipper teeth. Press the bands away from the zipper.
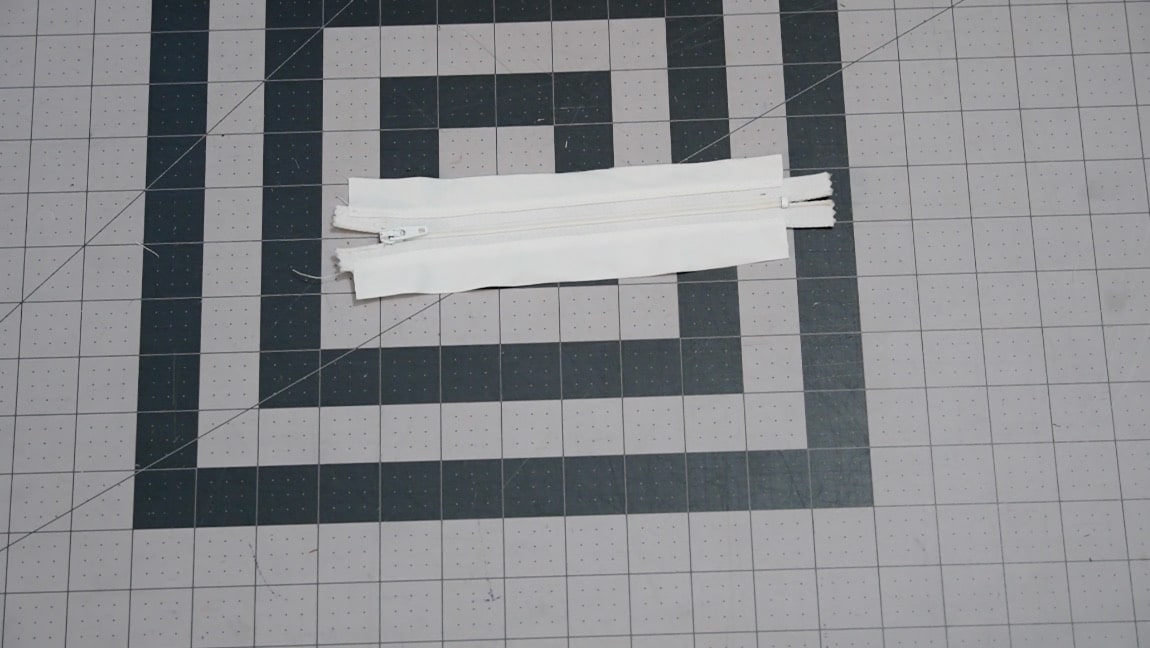
Step 2
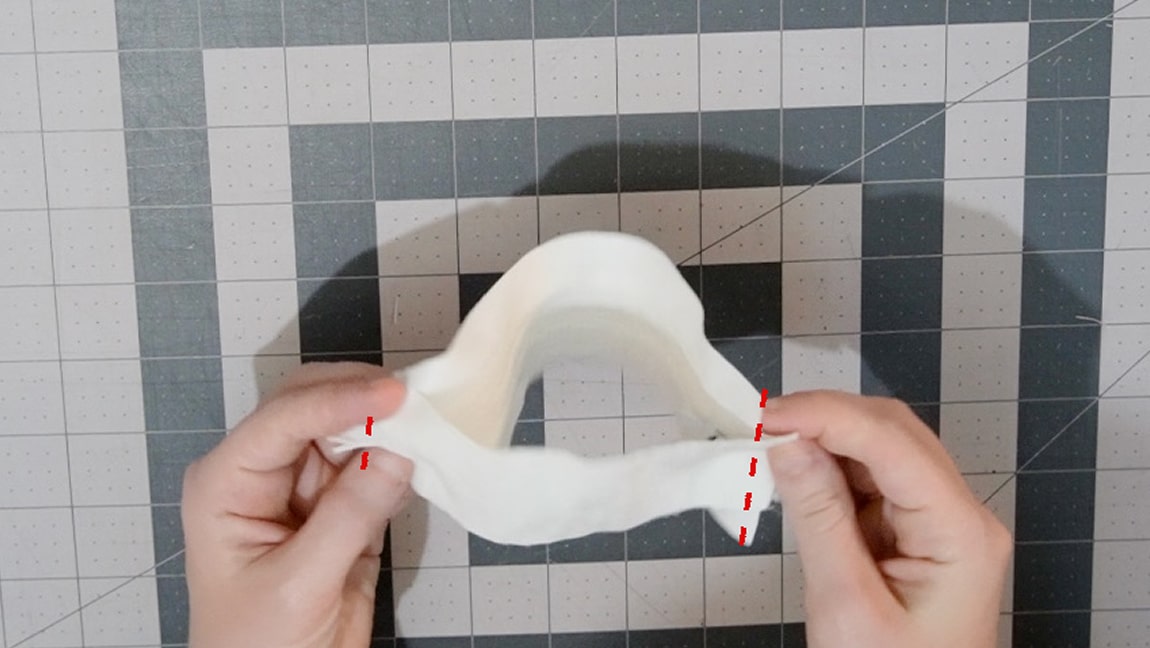
sew the base to the zipper
With right sides together, sew the base to the zipper band to form a loop.
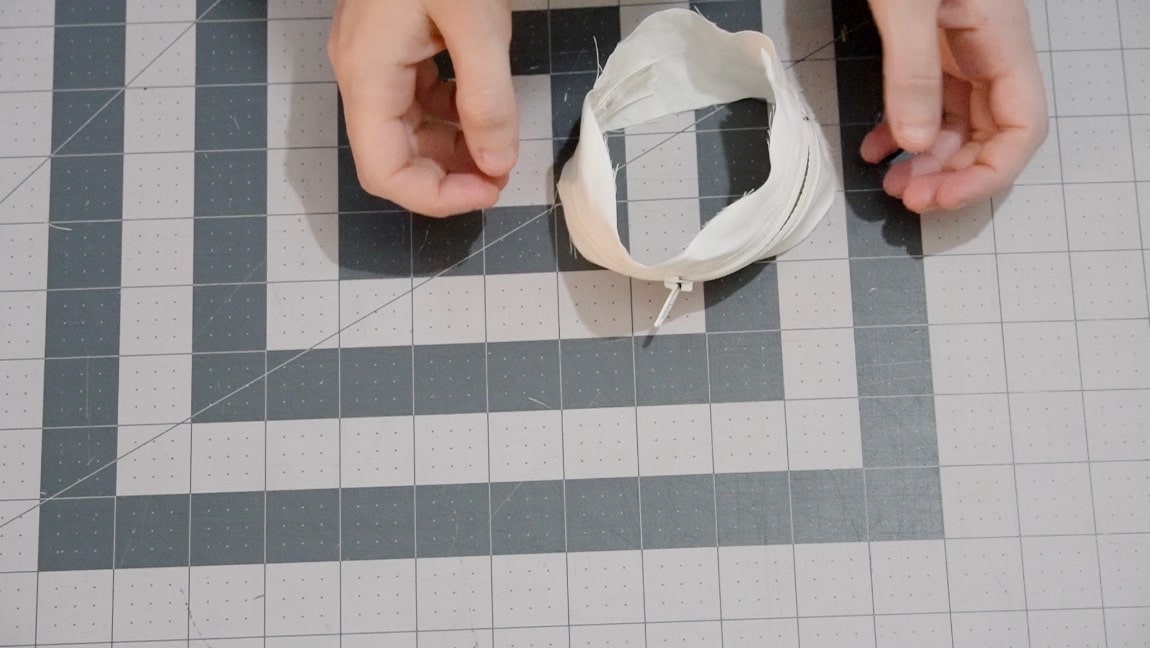
Step 3
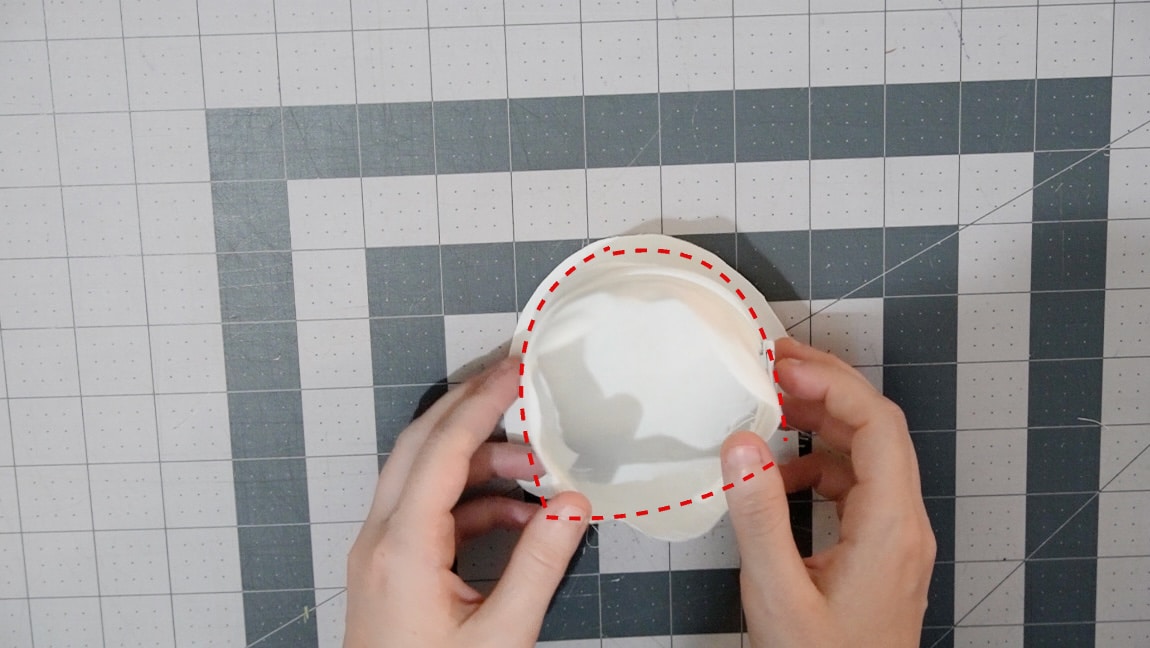
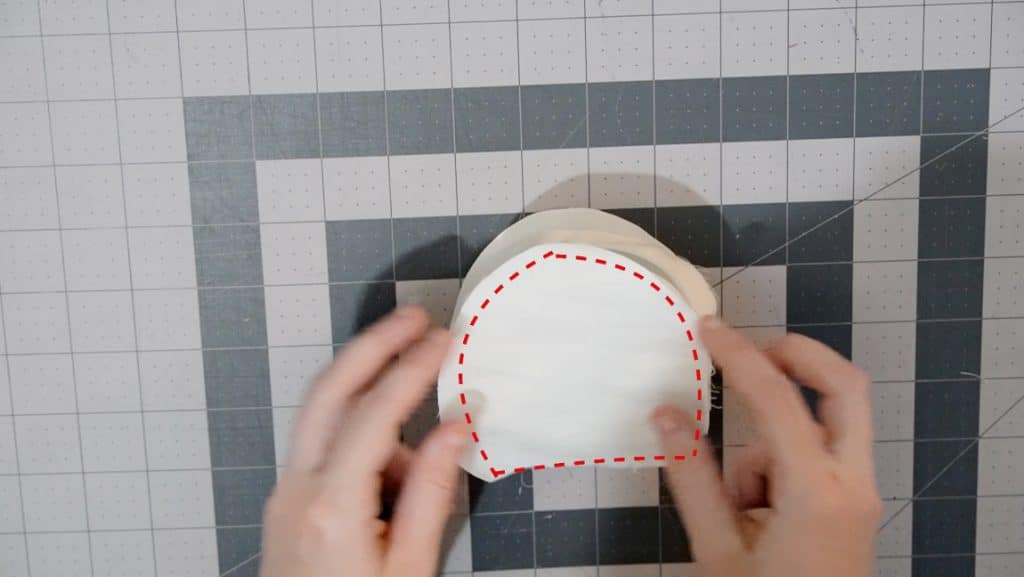
sew the front and back to the zipper band
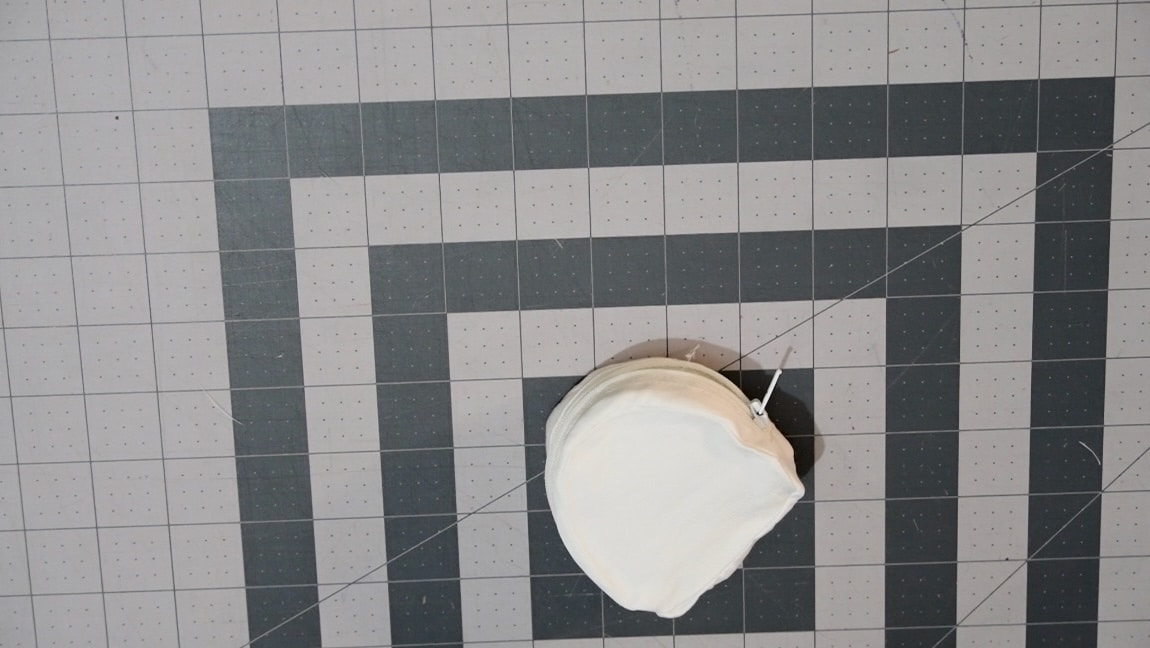
with right sides together, sew the side band around the onigiri front and back, easing the fabric around the curves. Keep the zipper slightly open before sewing this part, then turn it to the right side through the open zipper.
Step 4
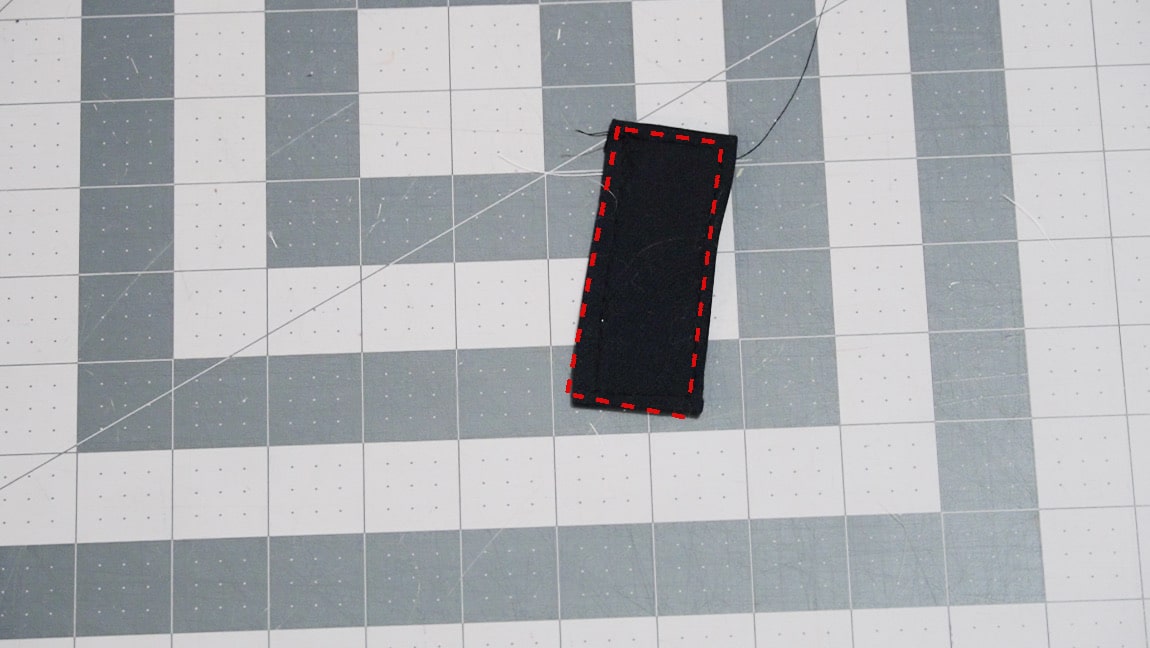
fold over the edges of the nori and baste them
fold over the seam allowance on the nori rectangle. Baste it in place.
Step 5
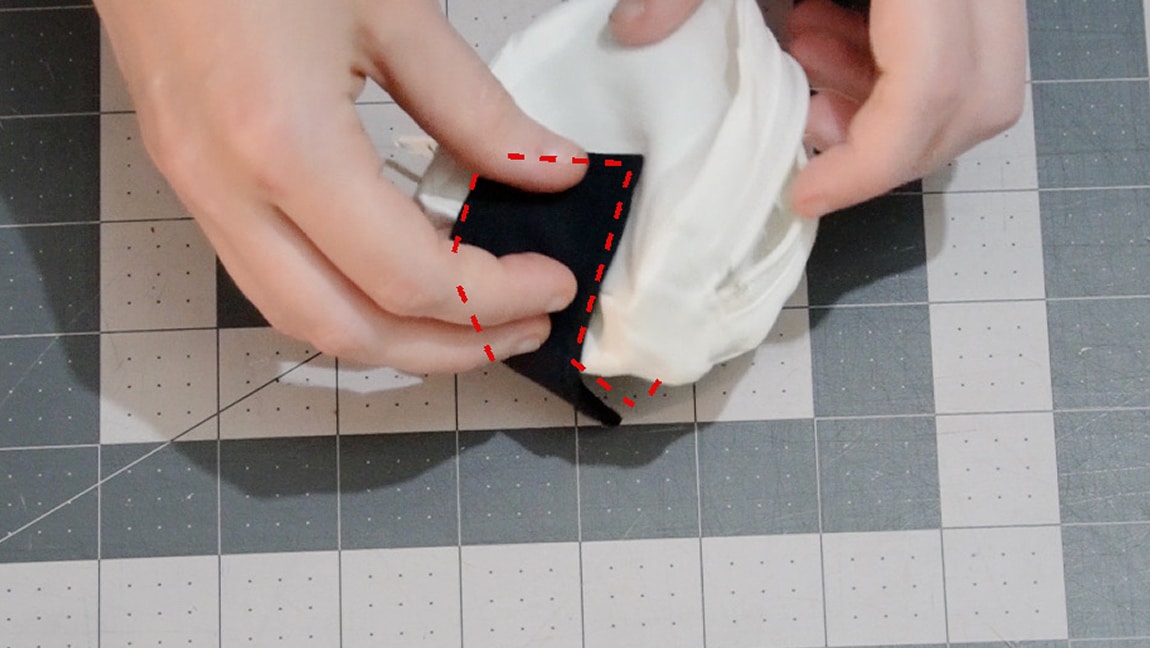
sew the nori to the base of the onigiri
Fold the nori around the base and over both sides. open the zipper all the way and edgestitch to sew the nori in place. Once sewn, remove the basting stitches.
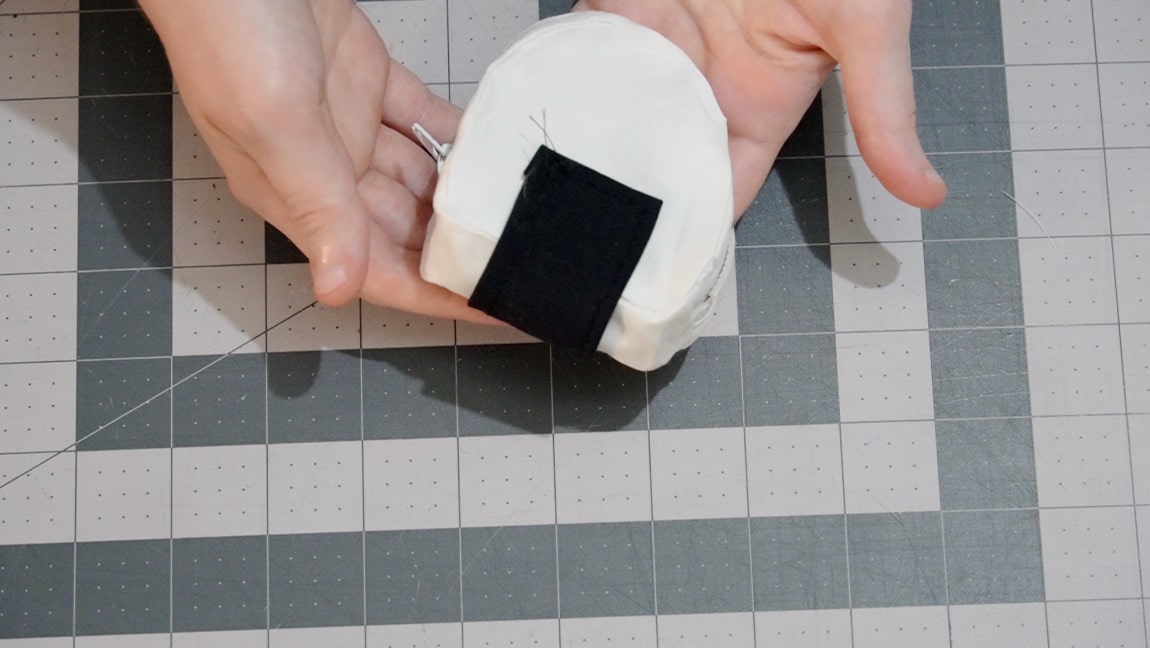
Finished!