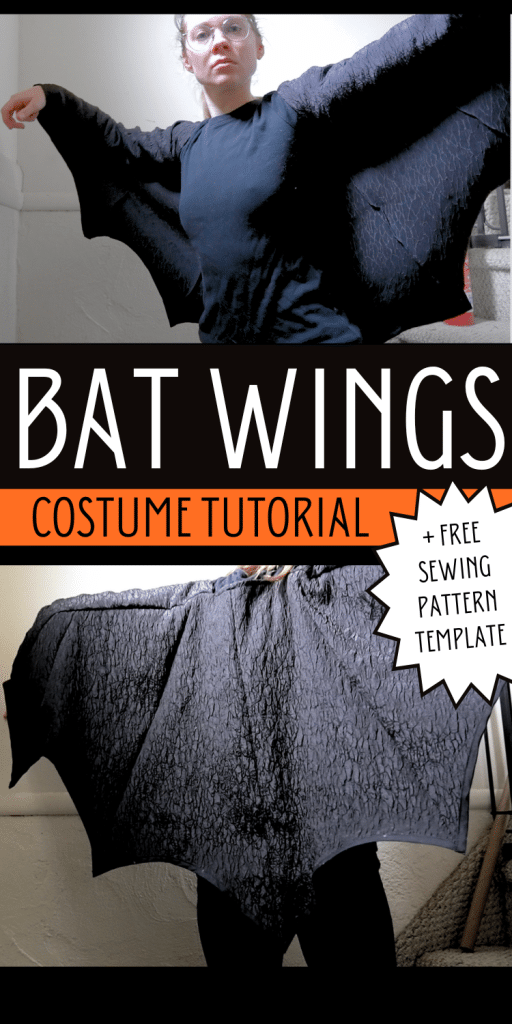
Tutorial: Bat Wings Cape for Halloween
This tutorial will walk you through how to make a bat cape for a Halloween Costume. This arm cape is meant to look like bat wings if you raise your arms and can be used for both kids and adult costumes. You can use the free pattern provided or adjust the pattern according to the instructions I added below.
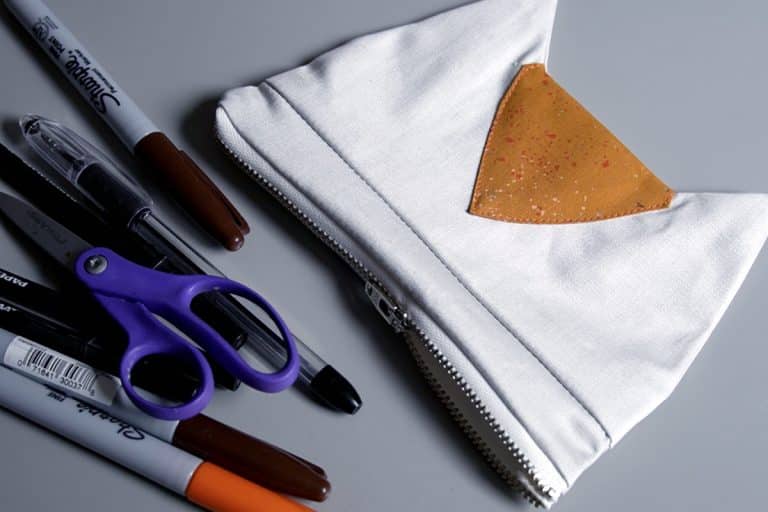
Supplies Needed:
(all of my patterns include 1/2″ seam allowance)

This pattern was made to fit someone with an armspan of 25″ from the base of the neck to the wrist. If you use a stretch fabric, there is more flexibility in the size and it’s more likely to fit as is. To adjust the pattern for you:
Step 1

Draw the lines onto your fabric

Step 2

fold the fabric over the lines and top stitch
with right sides together, fold the fabric over the lines you made. Then topstitch close to the edge to create an indent in your bat cape for each of the lines.


Step 3


finish the edges with double fold bias tape
If you are using a woven fabric, finish the edges with black double fold bias tape. Encase the edges with bias tape so they won’t fray and sew in place. Do this for each curve of the bat wings.
If you are using a knit fabric, this is not necessary and you can skip this step.

Step 4

Hem both sides of the sleeves

Step 5

Sew the bat wing into the sleeve seam
With right sides together, line up one side of the bat wing with the top of the sleeve. Then fold the sleeve over top of the bat wing so that it’s inside the sleeve. Sew through all of the layers.


Step 6

Turn the sleeve right side out
When you turn the sleeve out, you’ll see the bat wing is connected along the seam.
Step 7

Repeat for the second sleeve
There will be a gap in the middle for your back/neck.

Step 8

make a narrow Hem along the neckline

Finished!