Tutorial: Crossbody Sling Bag With Zipper Pockets
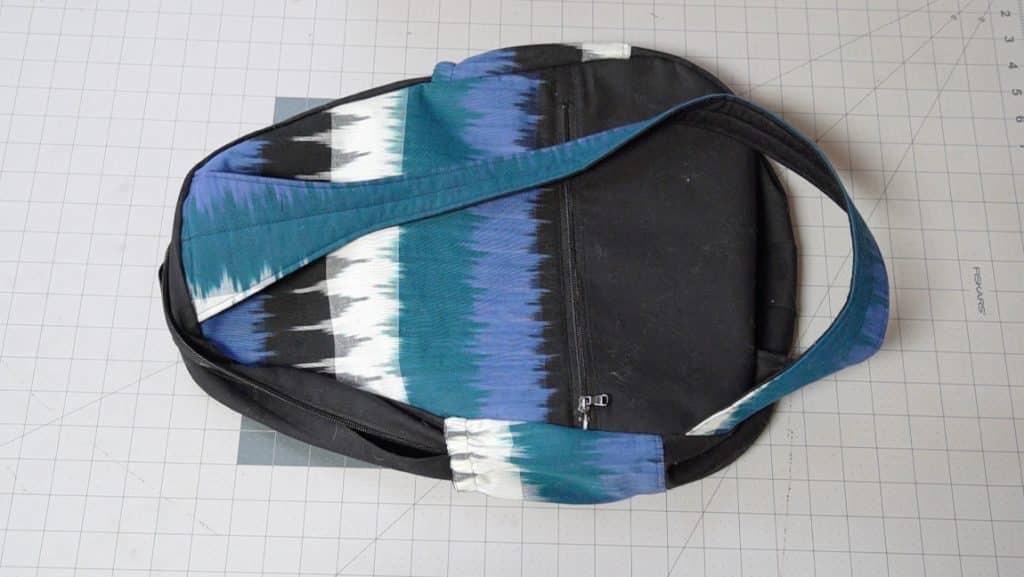
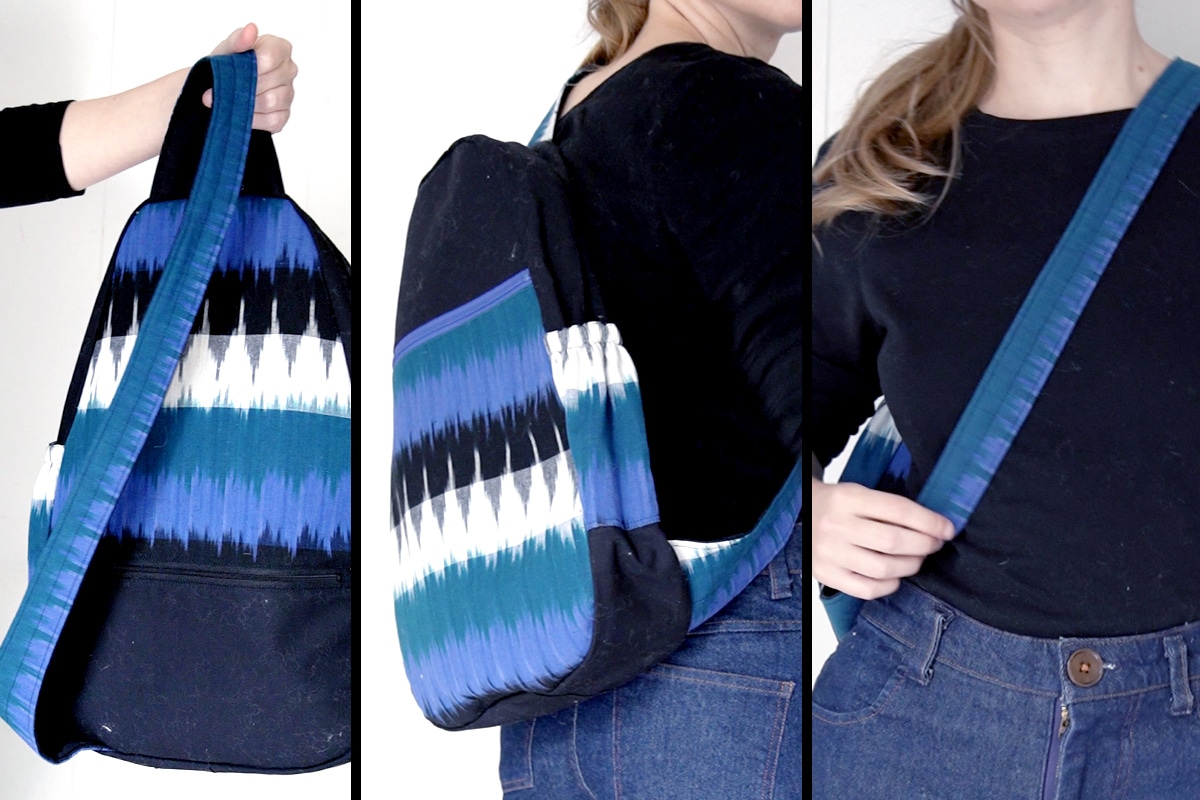
This tutorial will walk you through how to make a crossbody sling bag with zipper pockets, side pockets for a water bottle, and pockets on the inside. I made this for myself as a travel bag to take on my next vacation, but I also think it’s a really cute every day backpack or purse. I’ve designed this bag so that it can be made using 1/2 yard remnants of fabric that you might have leftover from other projects.
This page contains affiliate links. As an Amazon Associate, I earn a small commission from qualifying purchases. That being said, I encourage you to use your local sewing shop whenever possible, or to look for supplies second hand.
Supplies Needed:
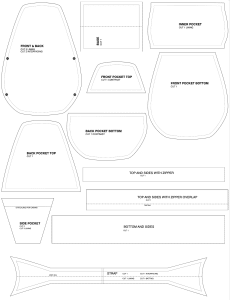
(all of my patterns include 1/2″ seam allowance)
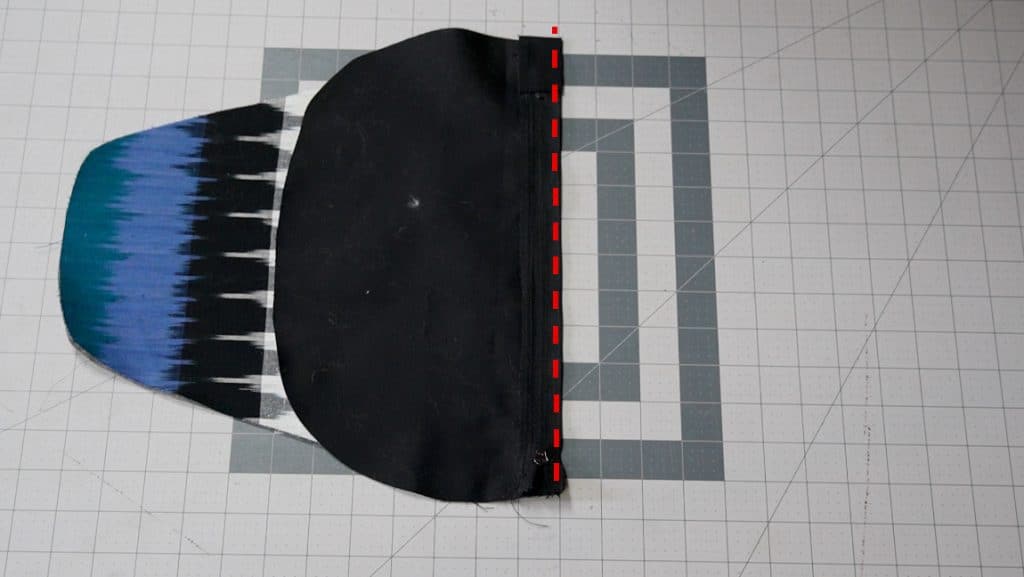
Step 1

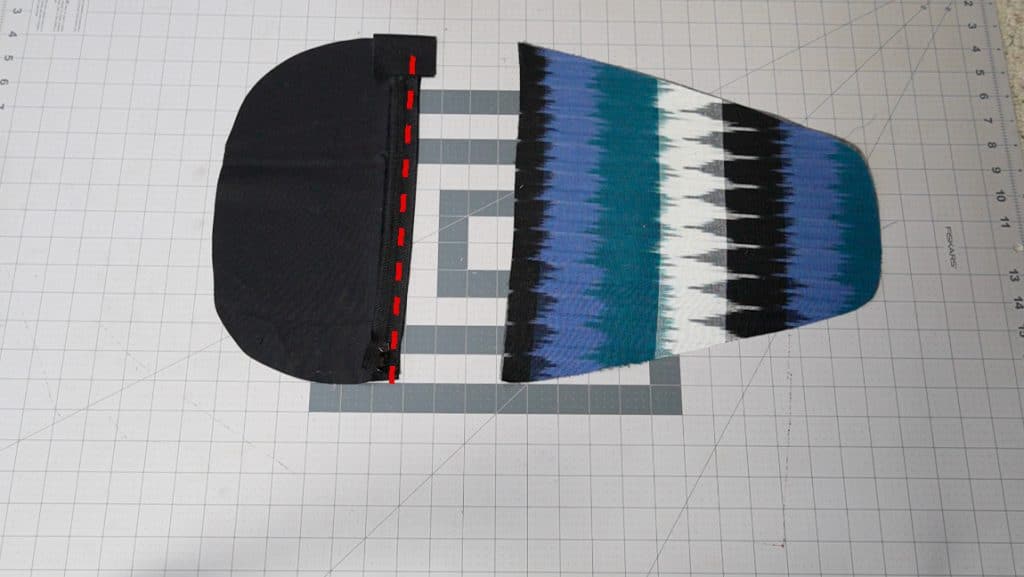
place 12″ zipper face down on Back Bottom piece and sew along the edge
You’ll probably want to use a zipper with your machine for this part. After sewing, press the zipper away from the fabric piece.
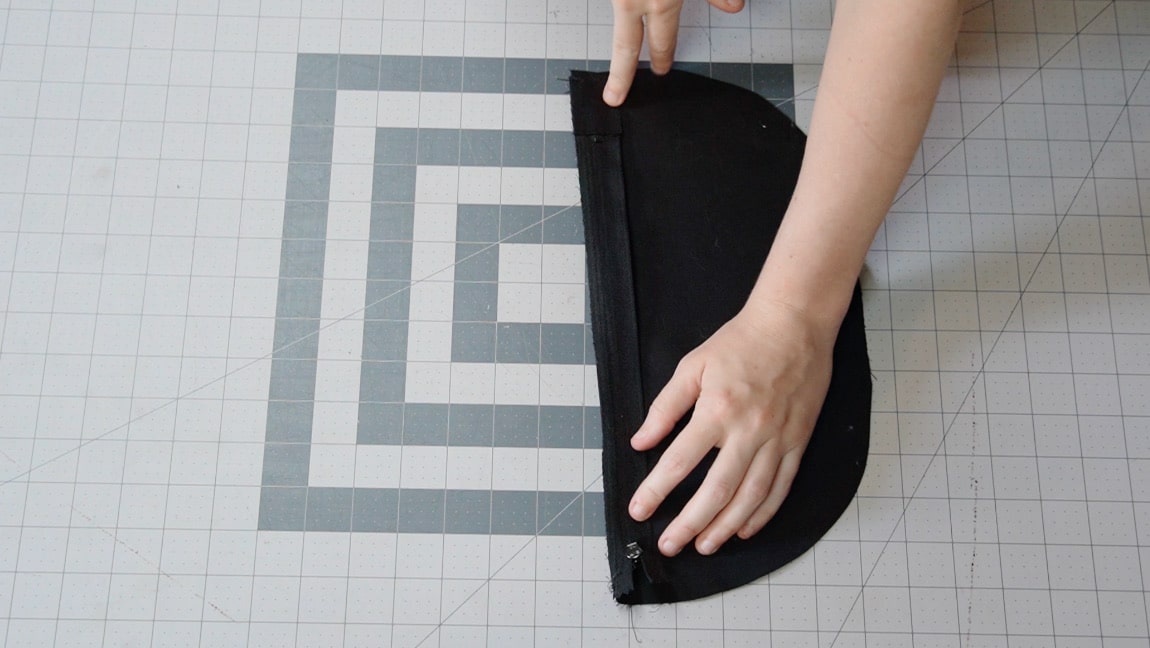
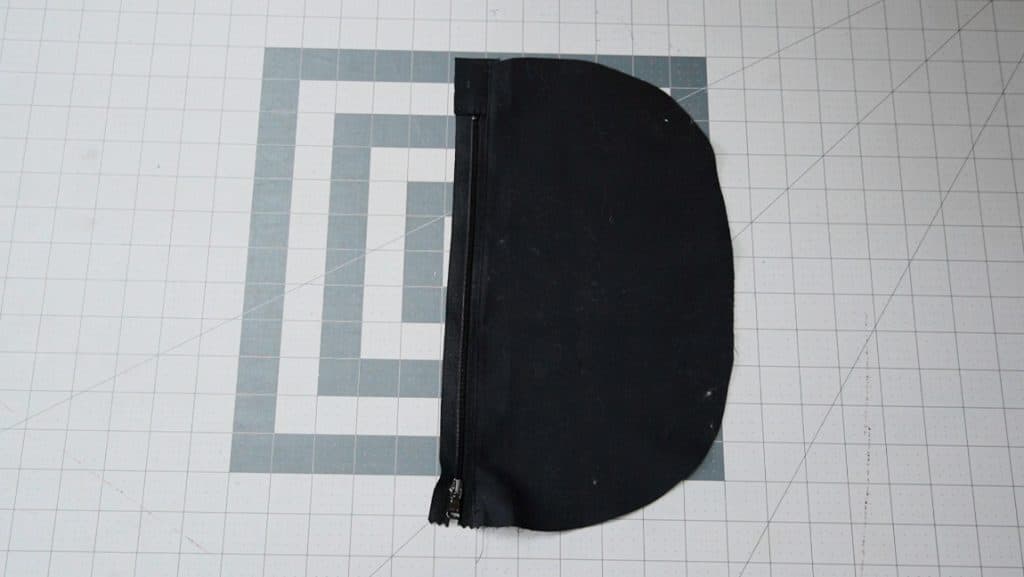
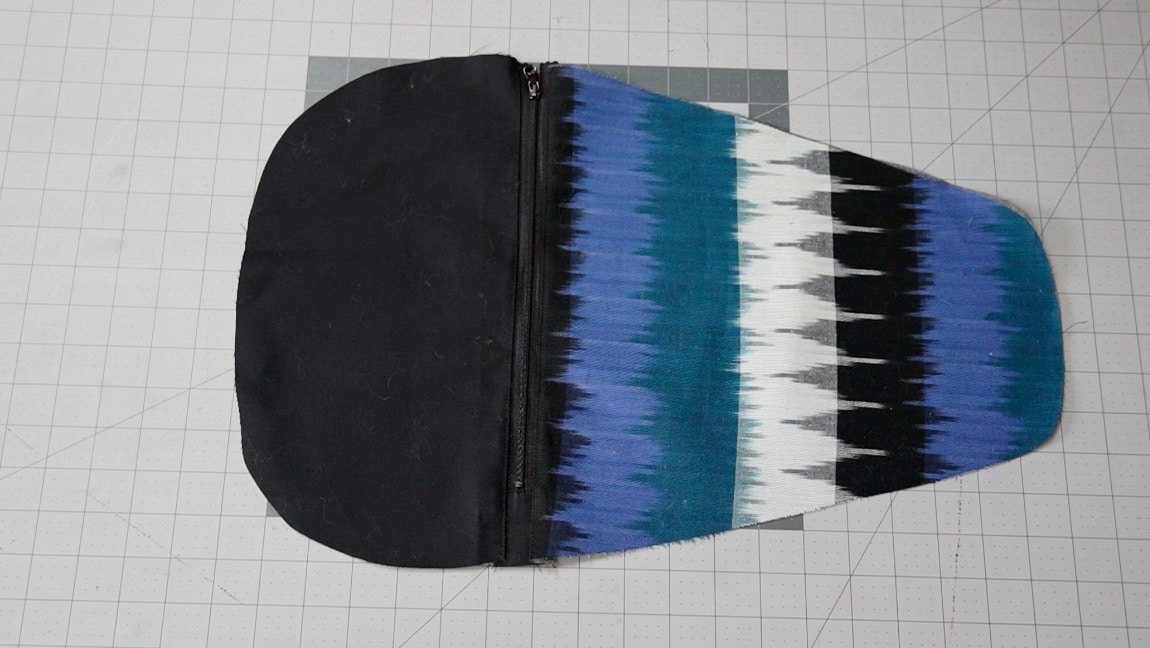
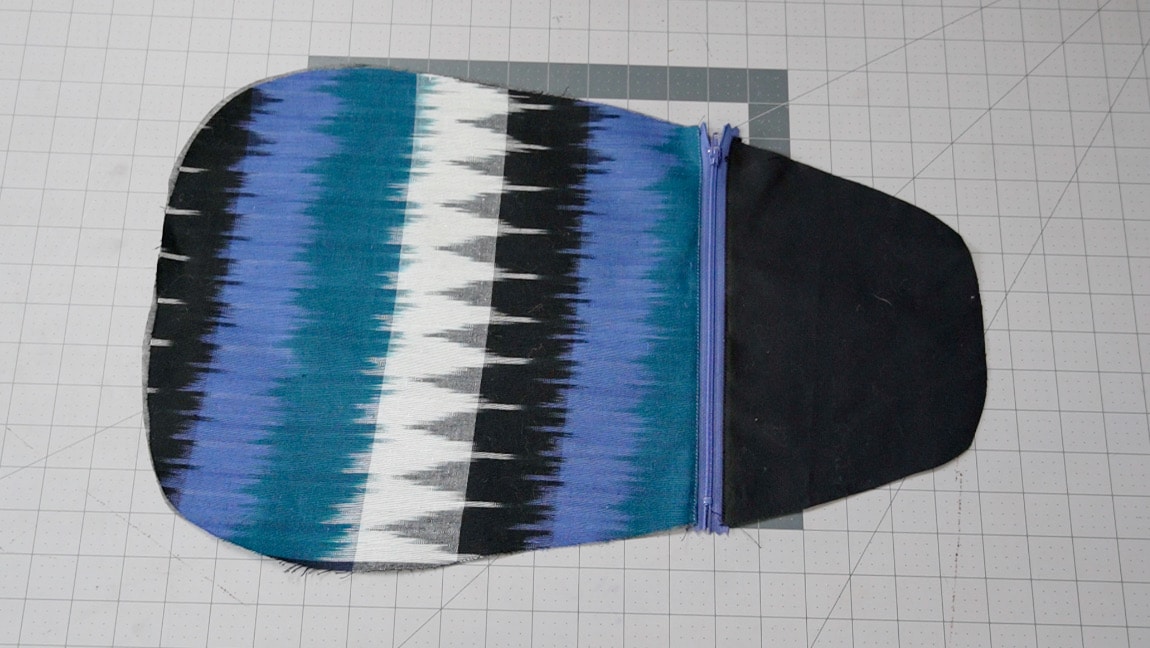
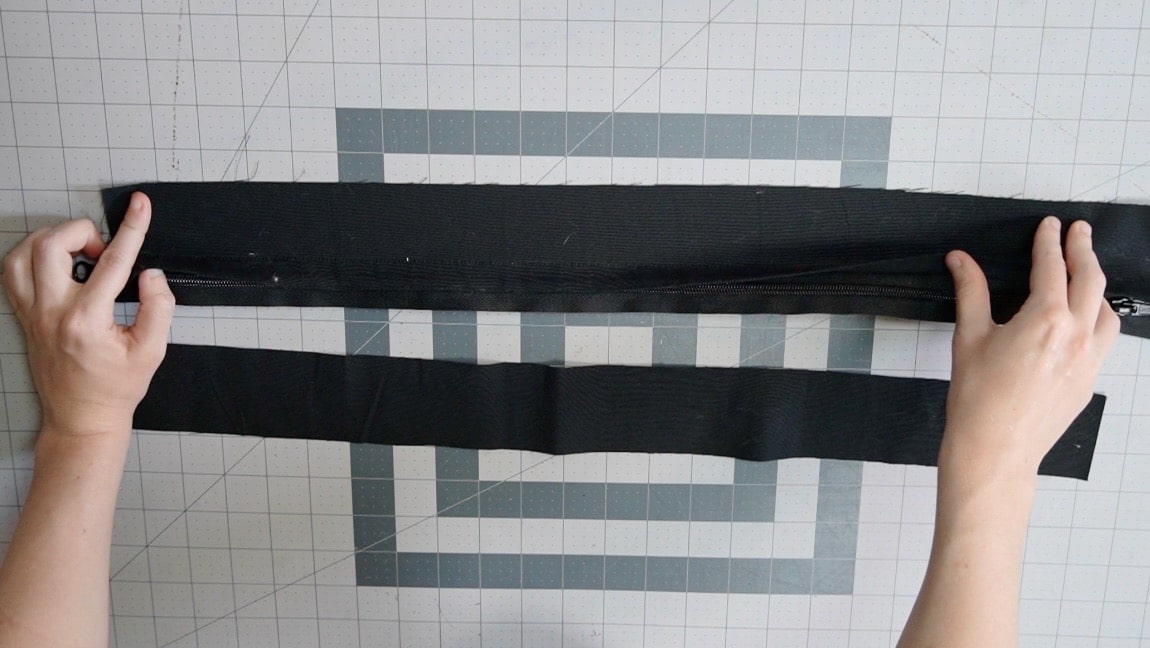
Step 2
place zipper/bottom face down on the back top piece and sew along the edge
Repeat the previous step with the zipper (and bottom piece) face down on the back top fabric piece. Sew along the edge and press the zipper away from the top. You’ll now have a single back bag piece that’s connected with a zipper in the middle.
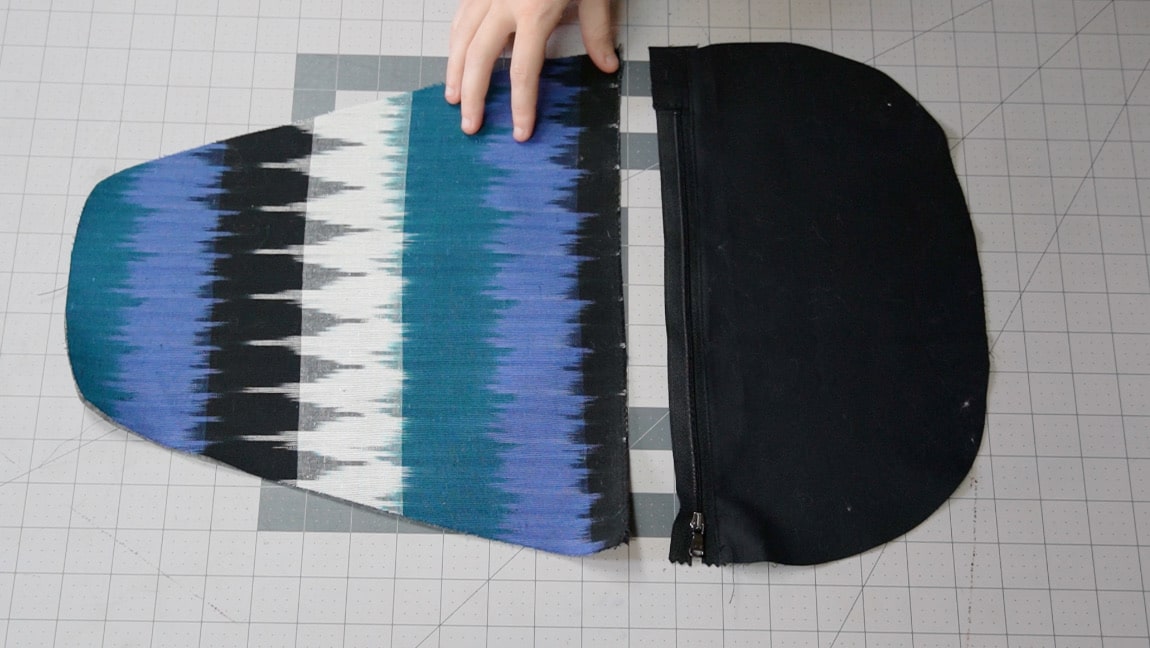
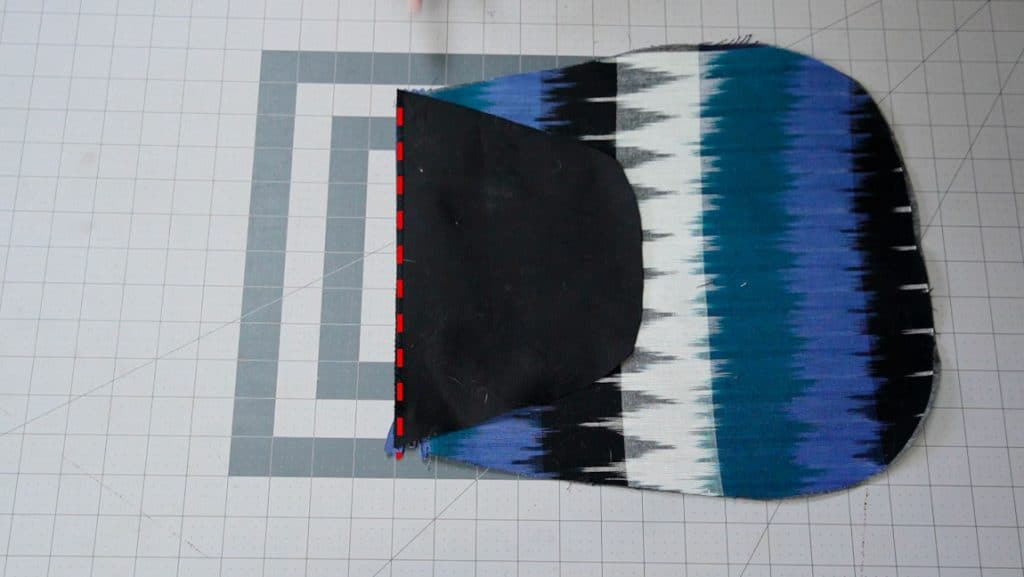
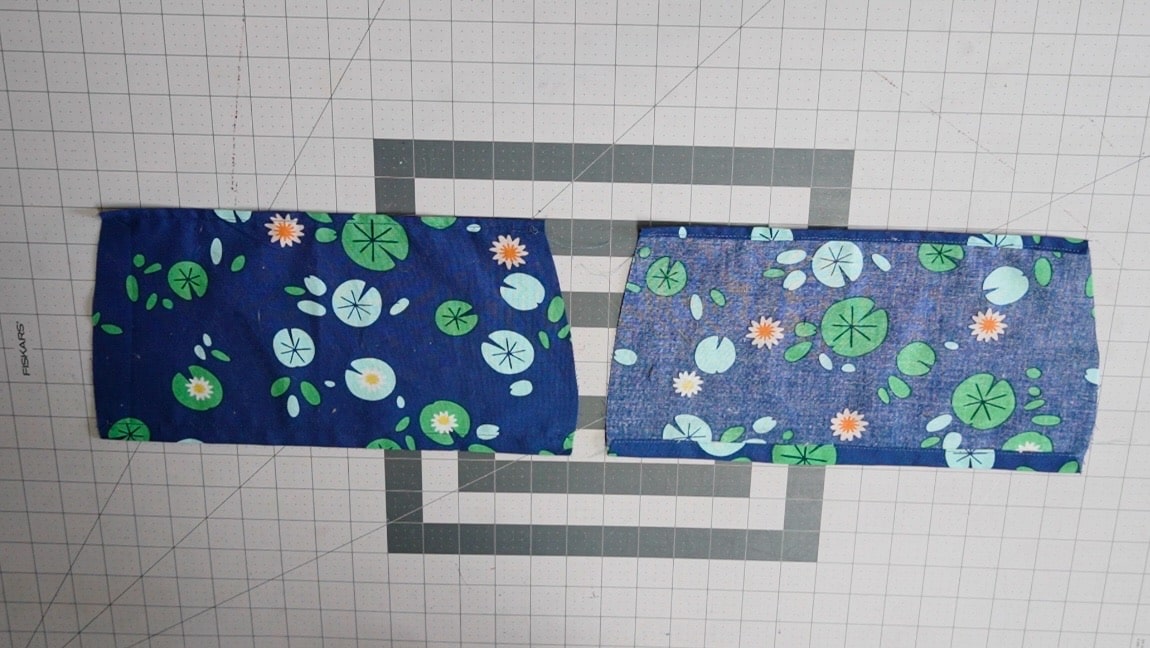
Step 3

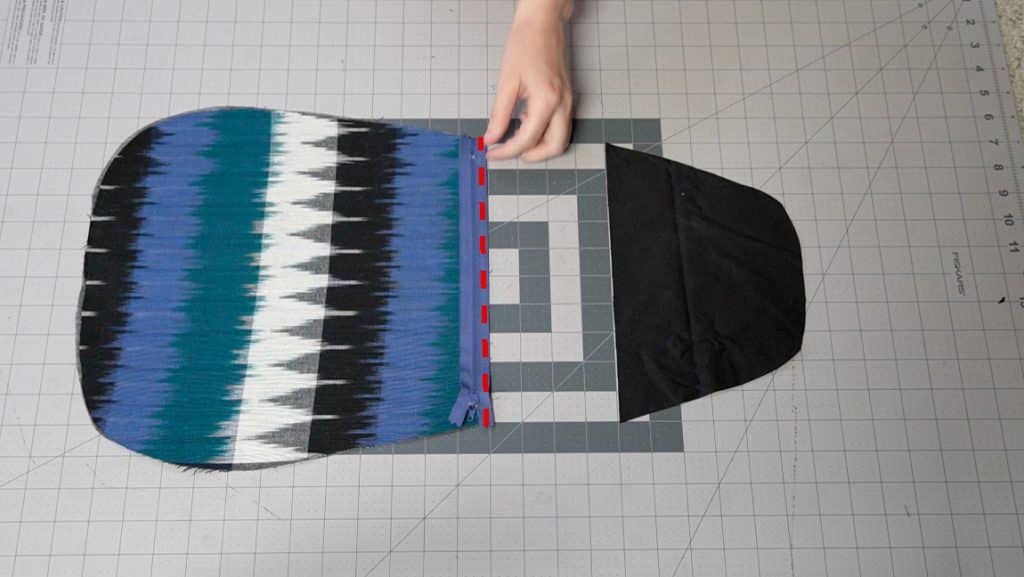
sew 9″ zipper to bottom front piece
Repeat step 1 with the front of the bag.
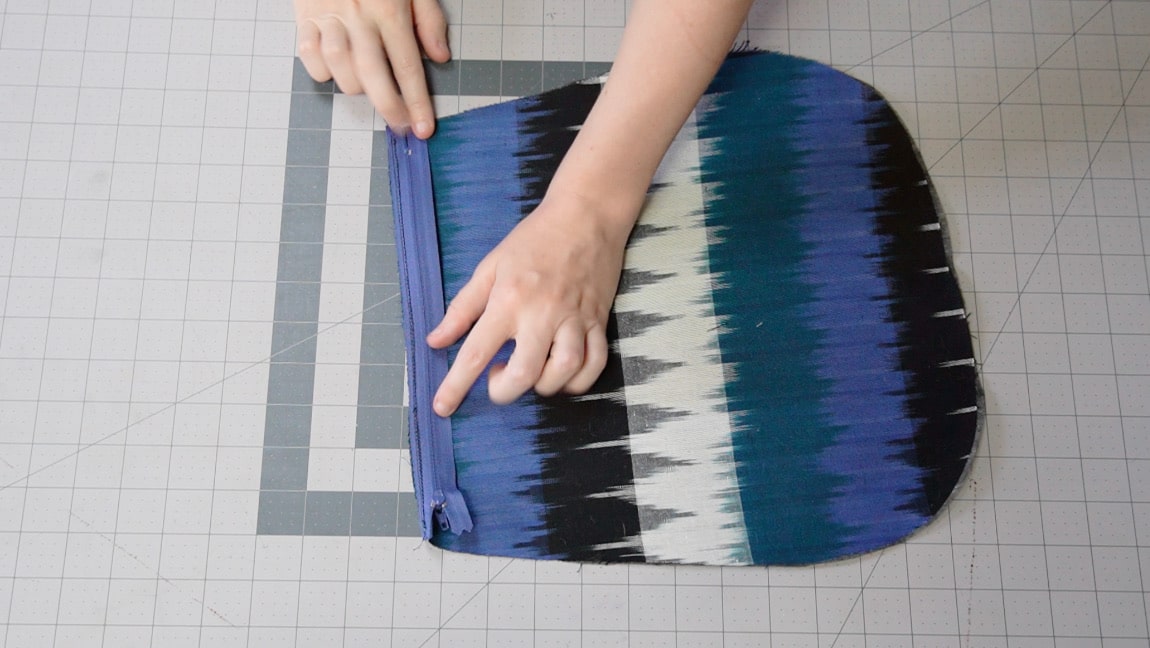

Step 4

sew zipper and bottom to top front piece
Repeat step 2 with the front of the bag.
Step 5
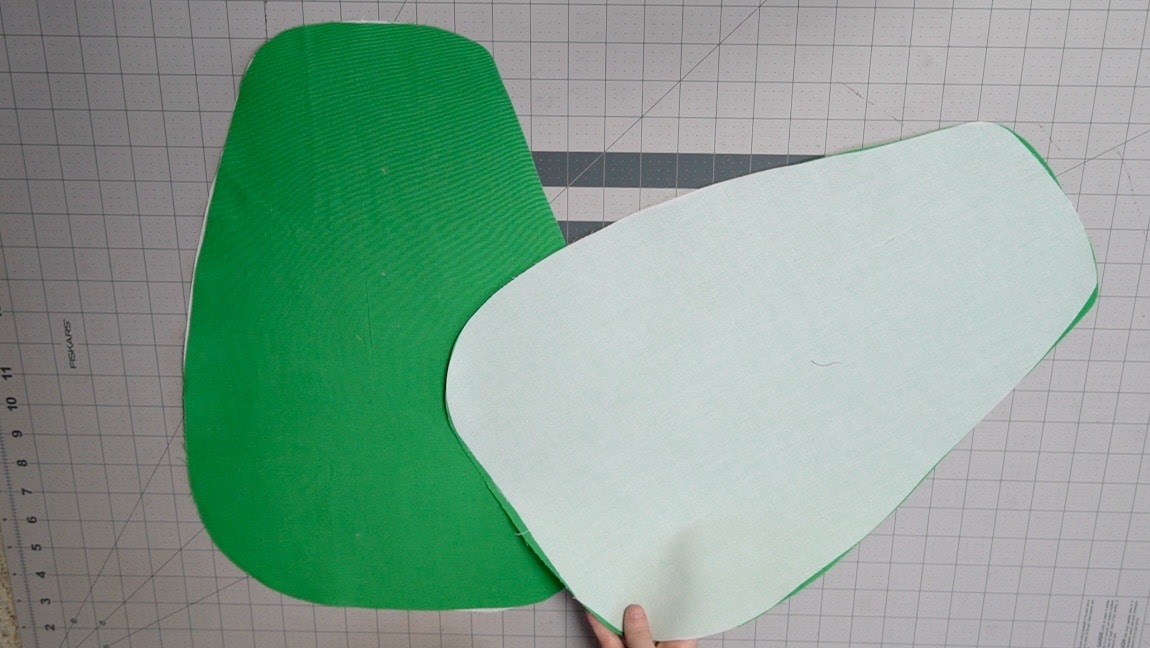
apply interfacing to the lining pieces
Step 6
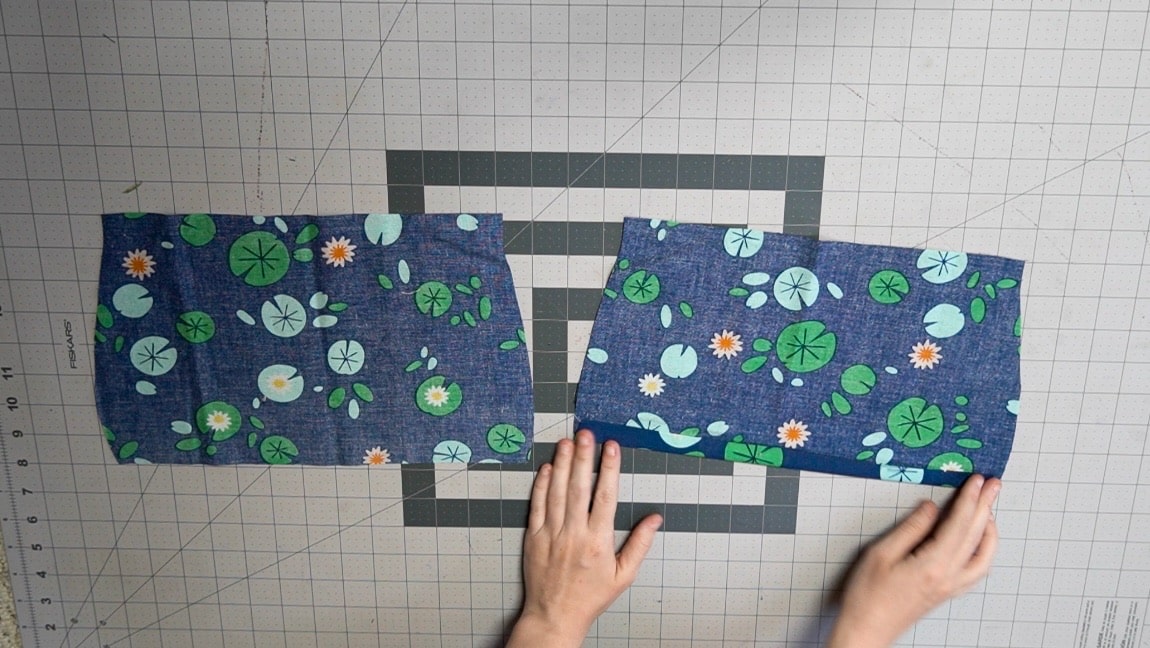
fold over the seam allowance at the bottom of the pocket pieces
Fold over 1/2″ on the bottom of the inner pocket pieces and baste them in place.
Step 7

hem the top edge of the pocket pieces
Make a narrow hem at the top of the inner pocket pieces.
Step 8
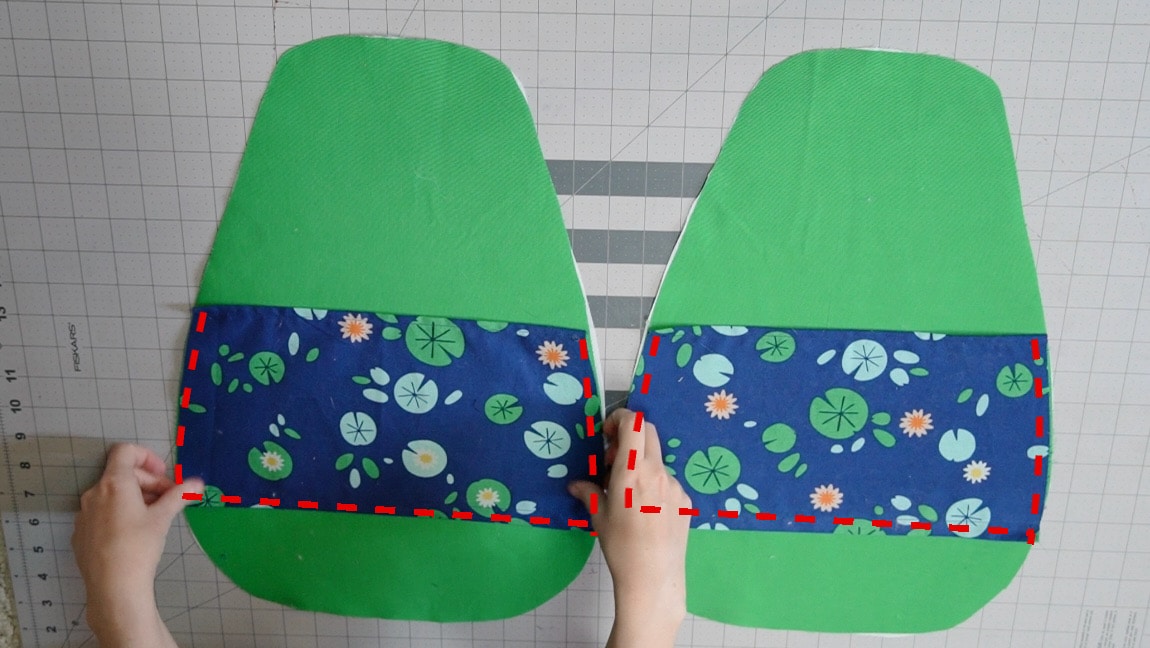
sew the pockets to the lining along the sides and bottom
Use the dots marked on the pattern to help with placement.
Step 9
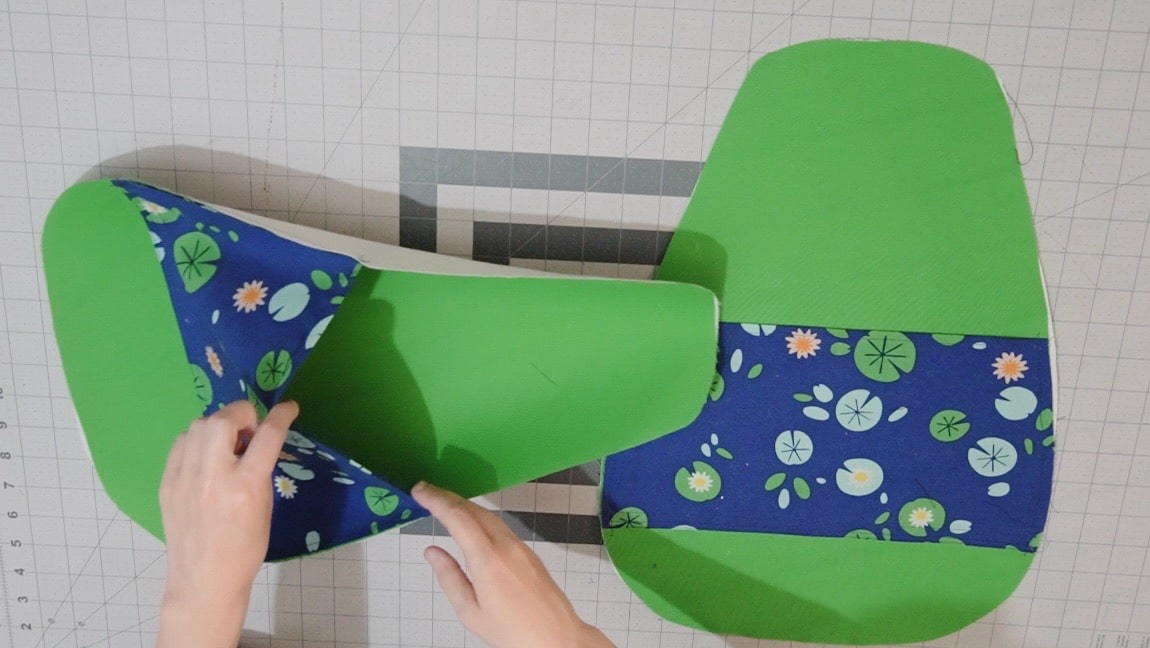
baste the front/back bag pieces to the linings
With wrong sides together, baste the front and back to the linings around the perimeter.

Step 10
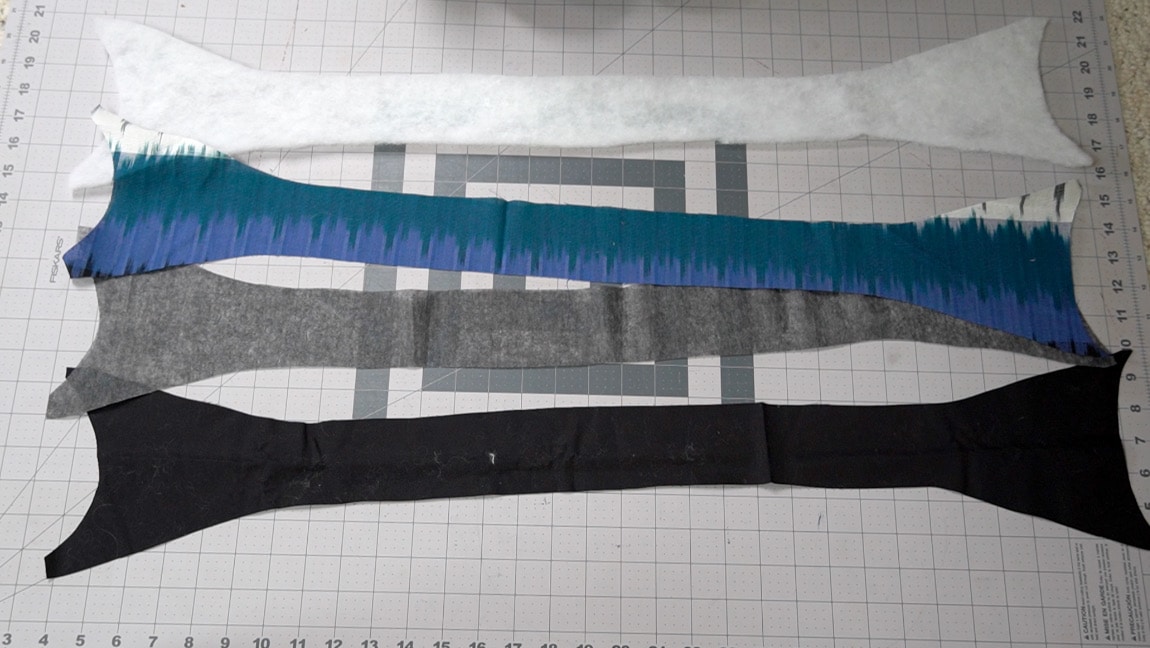
apply interfacing and sew batting to the strap
Apply the interfacing to the strap piece. Then sew the batting layer around the perimeter.

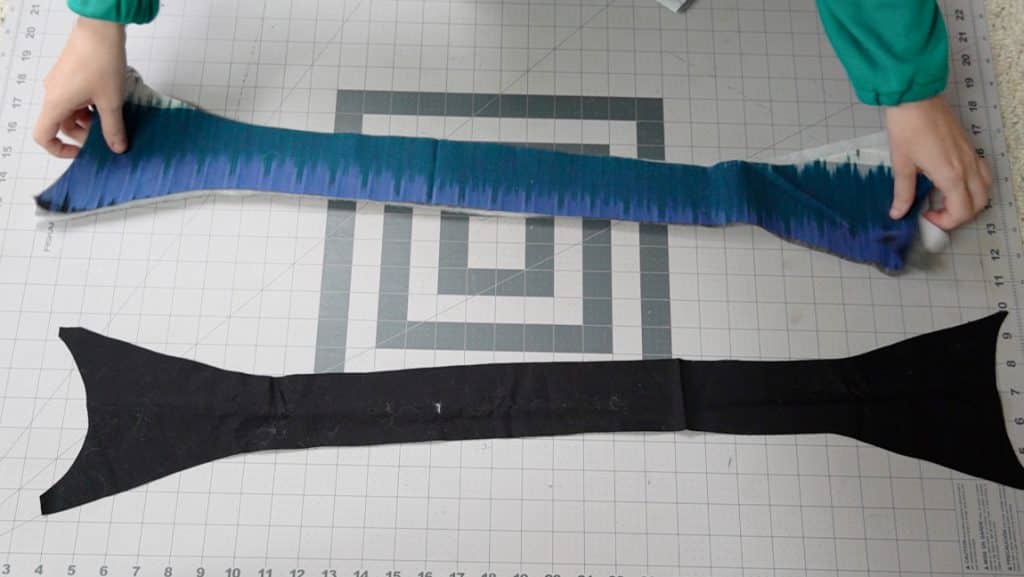
Step 12


sew strap to strap lining
Sew the strap to the lining layer, leaving both end open. Then turn the strap to the right side.
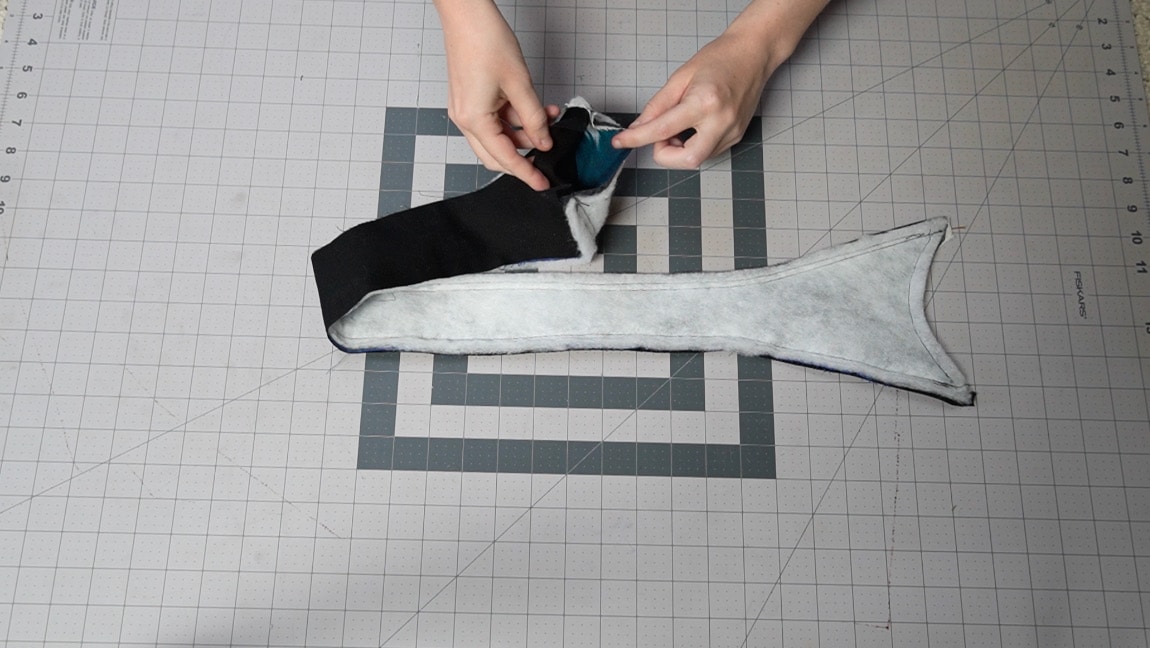
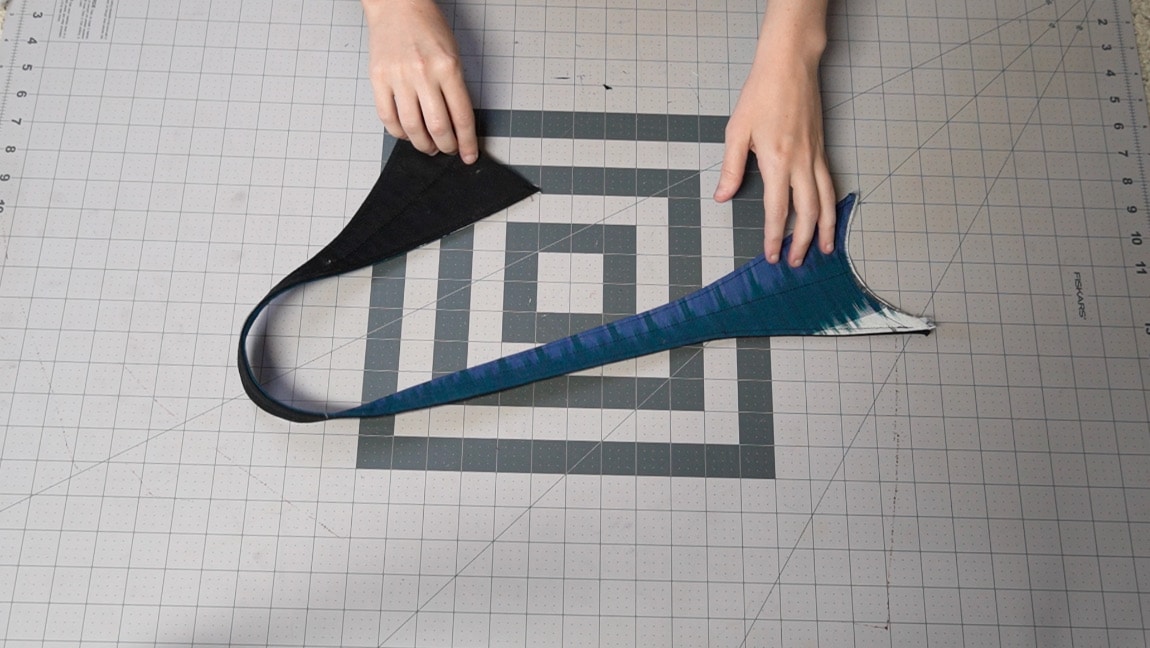
Step 13

turn strap to right side and sew line of stitches down the center
To hold the batting in place long-term, sew a line of stitches down the center of the strap.
Step 14
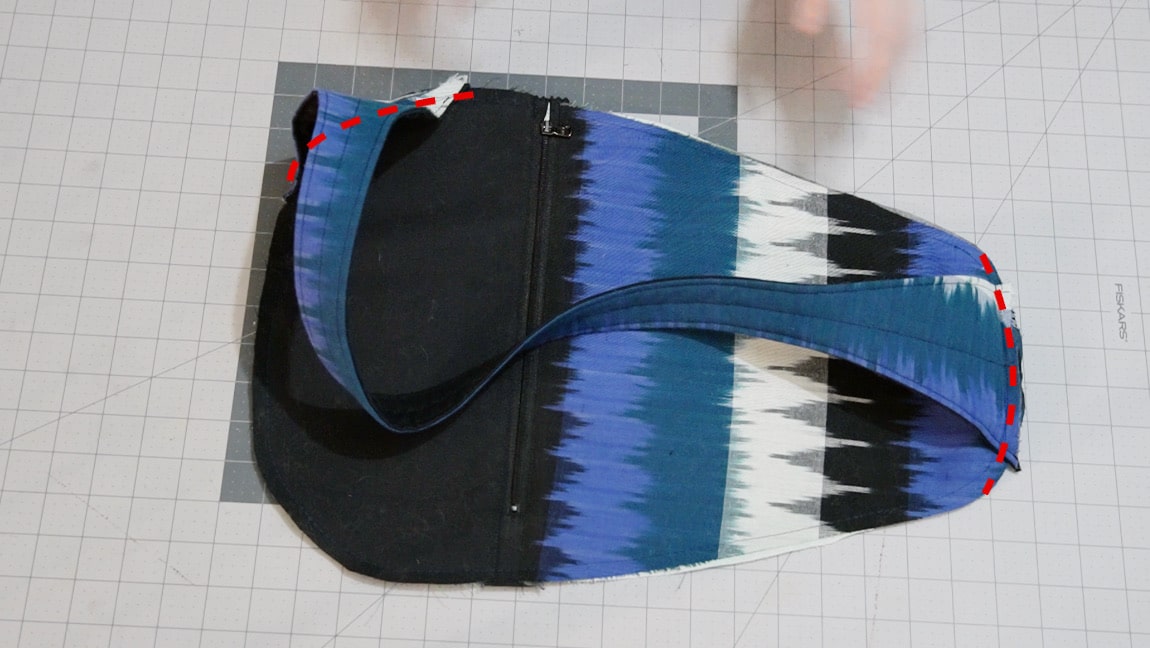
baste the strap to the back bag piece at the top and the side
Baste the strap to the top and left side of the back piece. The wrong side of the strap should be face down. You will need to ease the curves together between the strap and the bag.

Step 15
fold over 1″ on the zipper overlap piece
Use the fold line on the pattern piece as a guide, and fold over the bottom inch of the zipper overlay piece. Press or baste it in place.
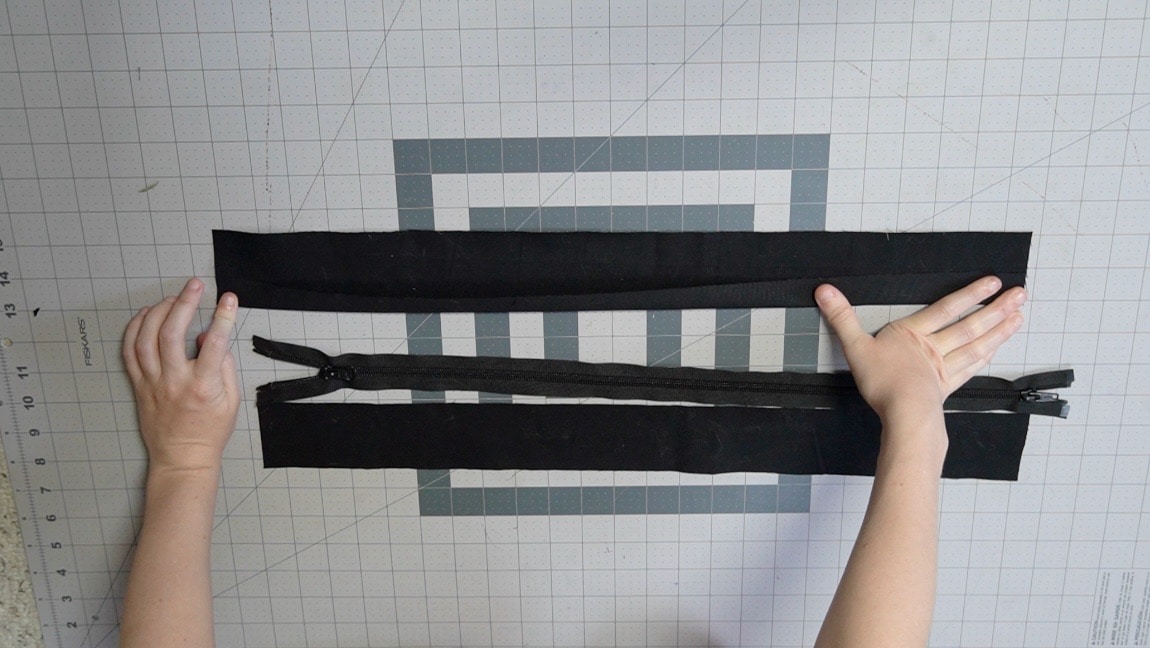
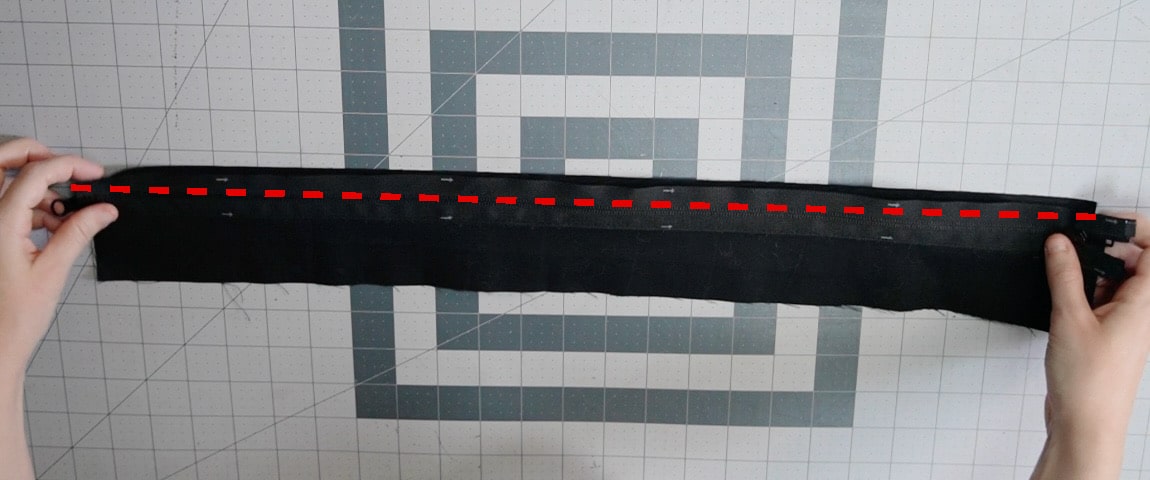
Step 16
line up the zipper with the edge of the overlap and stitch through all layers
Line the zipper up with the raw edge of the fabric. It should be face down on the wrong side of the overlap piece. Then sew it through all layers along the upper edge. It’s okay if the zipper is a little too long, you can sew through it. (note: the stitching will be visible on the right side of the fabric)
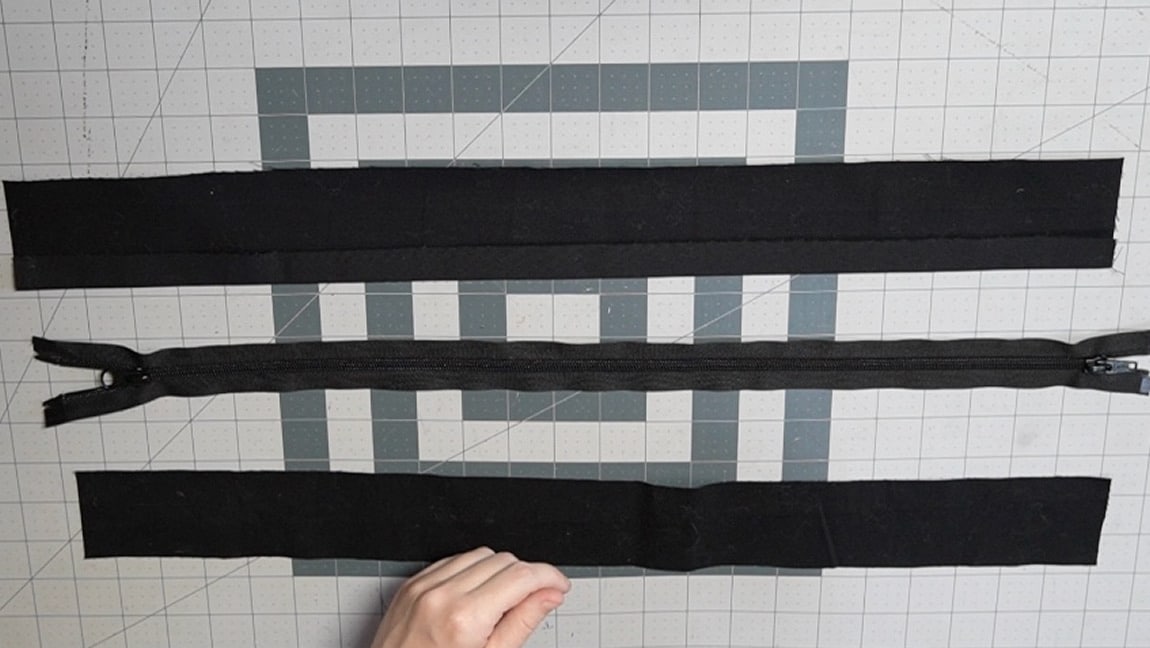
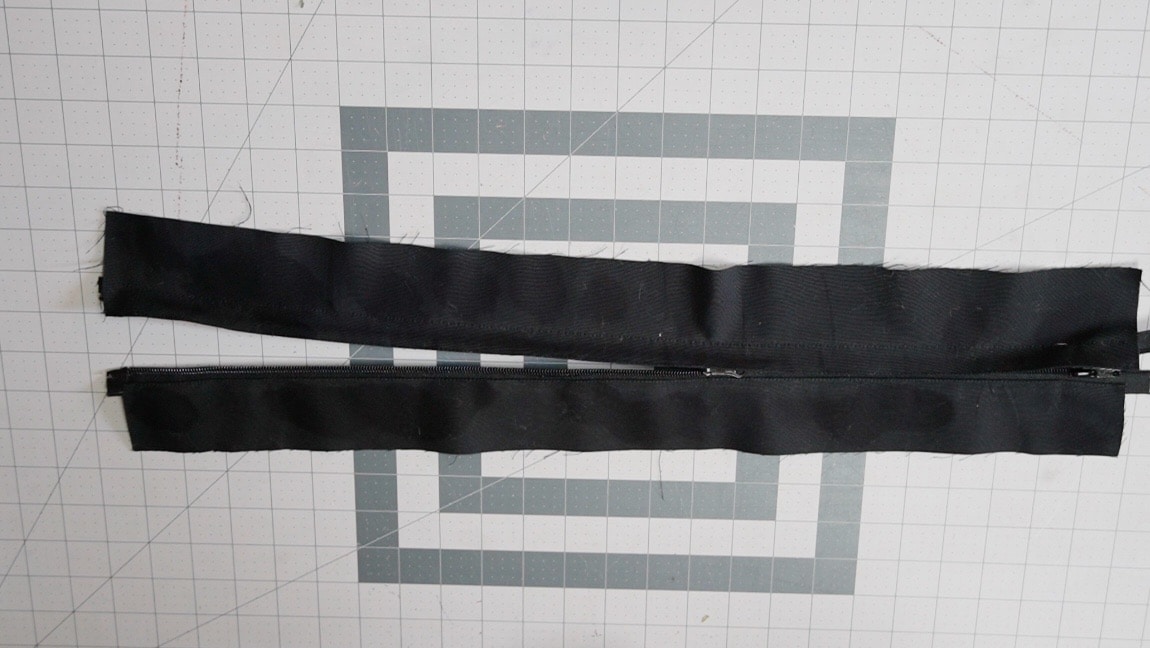
Step 17
place the zipper face down on the other zipper piece and sew along the edge
line up the edge with the other side of the zipper and sew along the edge. You may want to add two lines of stitches for a little extra reinforcement.
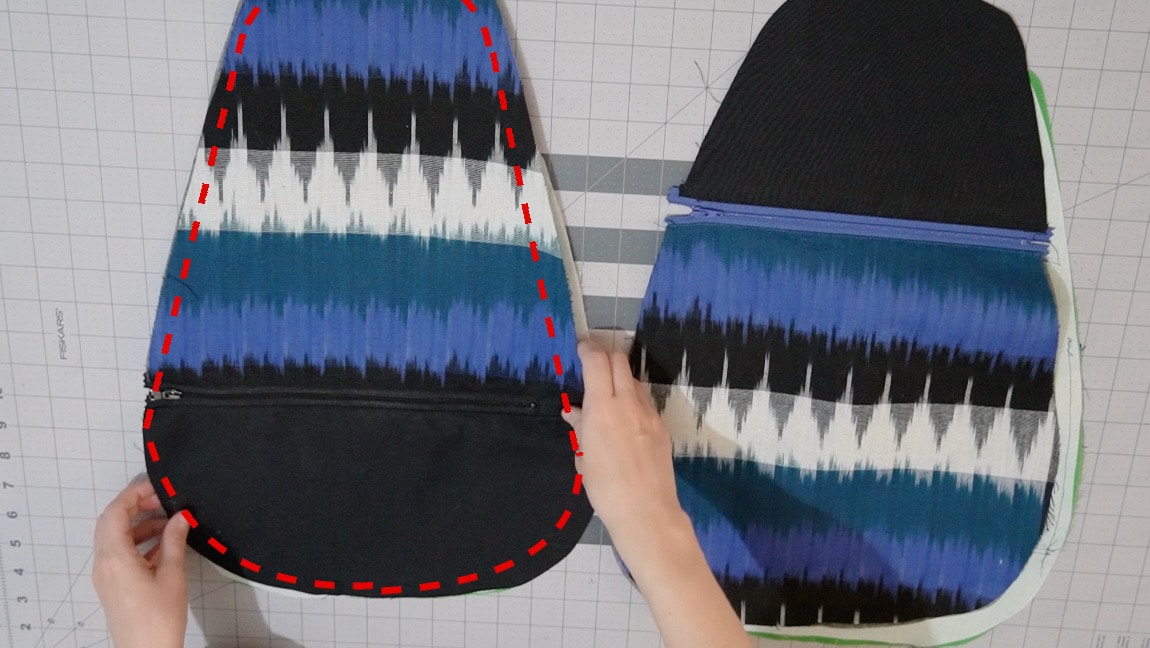
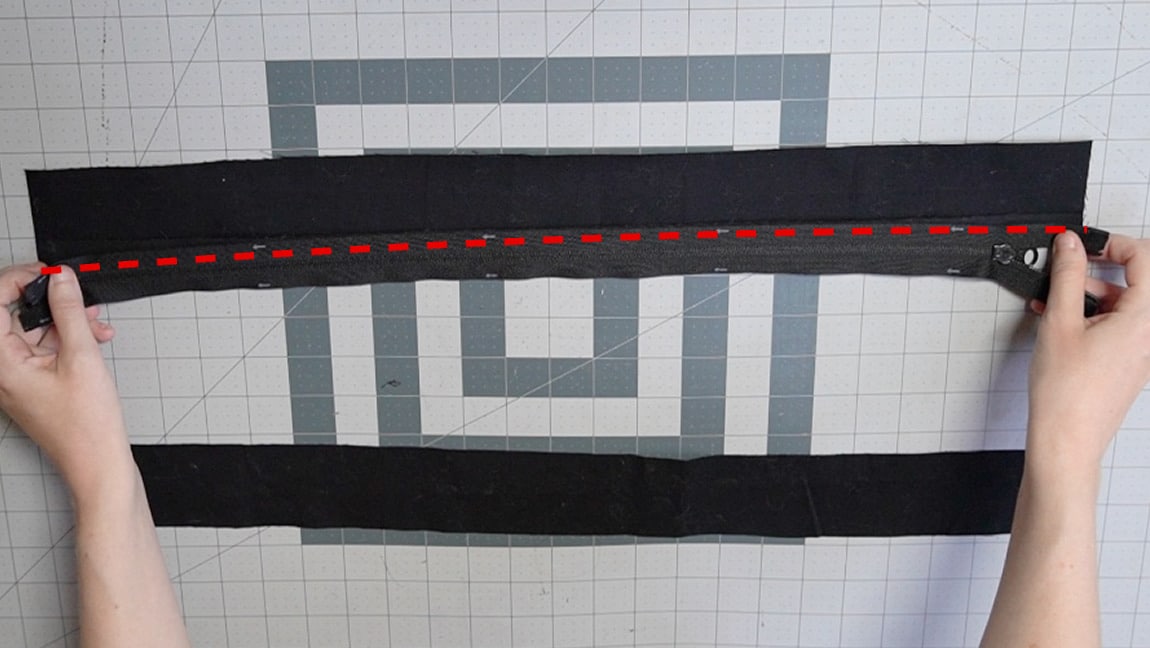
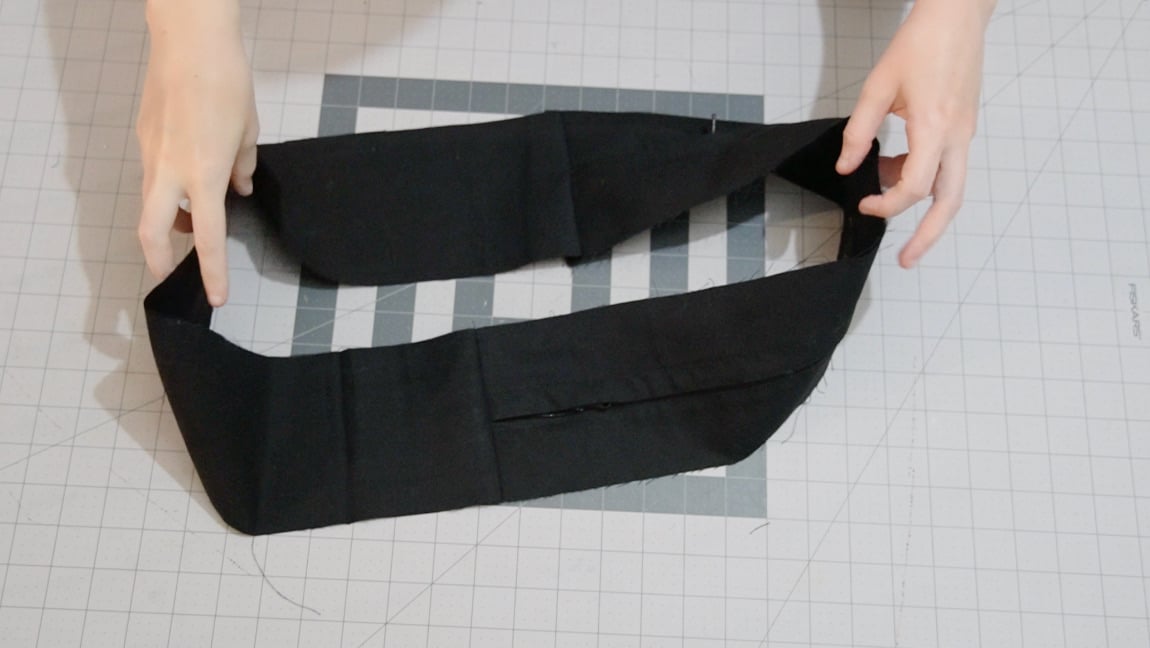
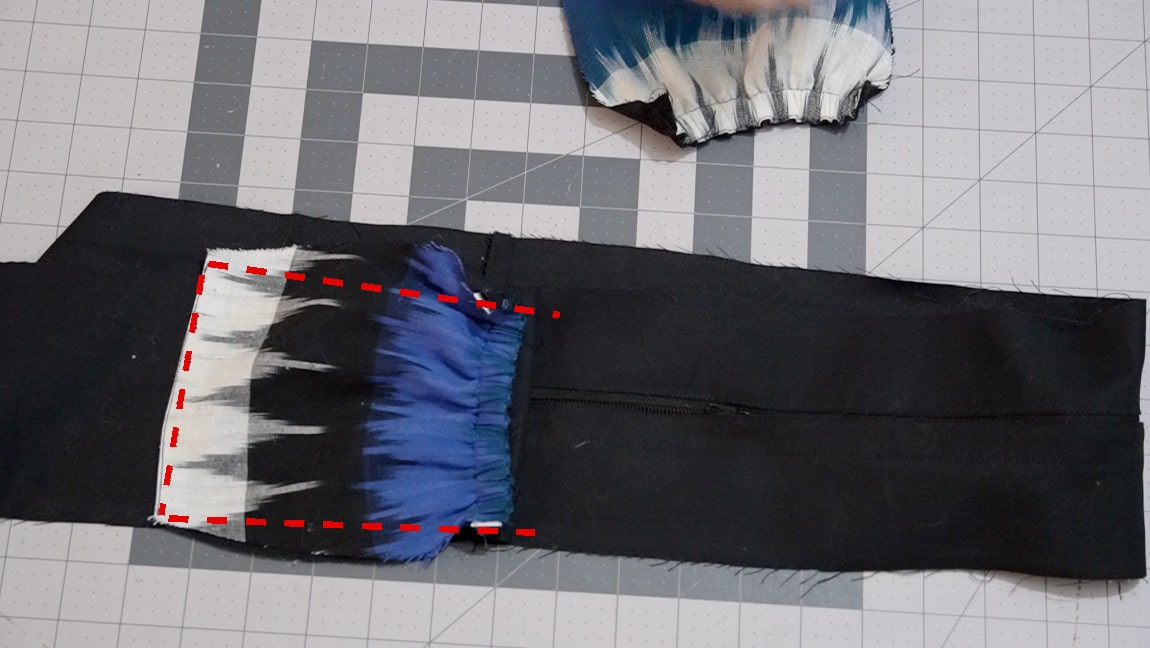
Step 18
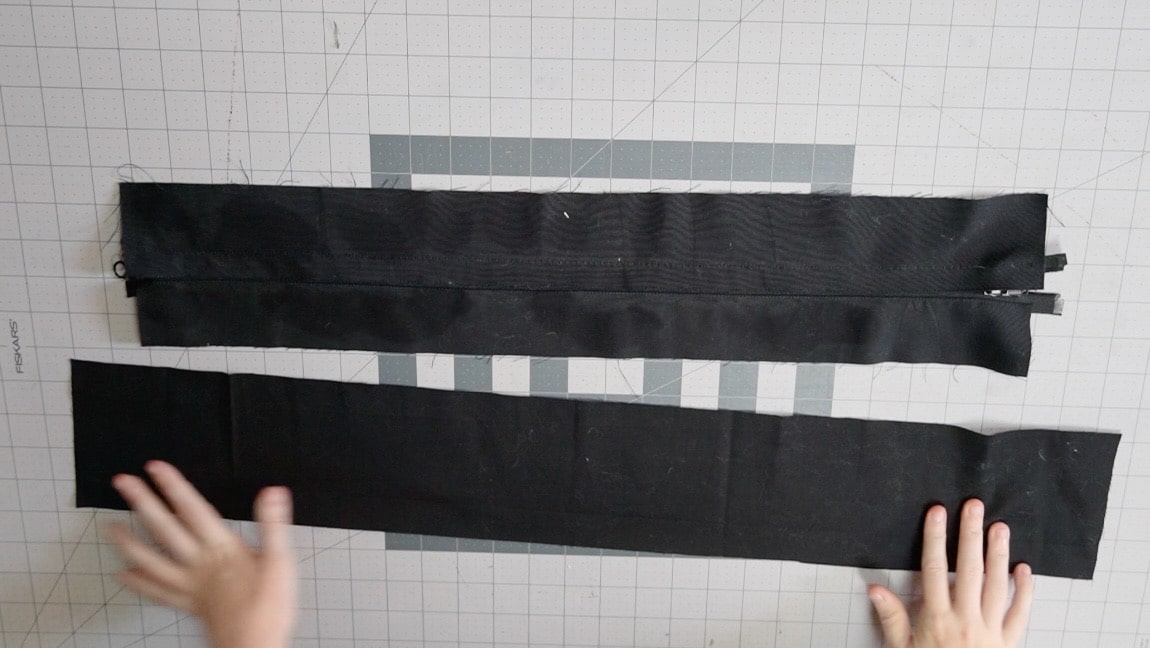

sew the zipper to the side bag piece
With right sides together, line up the short sides of the bottom piece with the zipper piece and sew them together to form a loop that will be the side of the bag (be careful when sewing over the zipper teeth). You can add a second layer of stitches to reinforce the seam if you want to.
Step 19
sew the side pocket to the lining along the top and bottom
with right sides together, sew the side pocket to the lining along the top and the bottom.

Step 20

turn the side pockets to the right side
Step 21
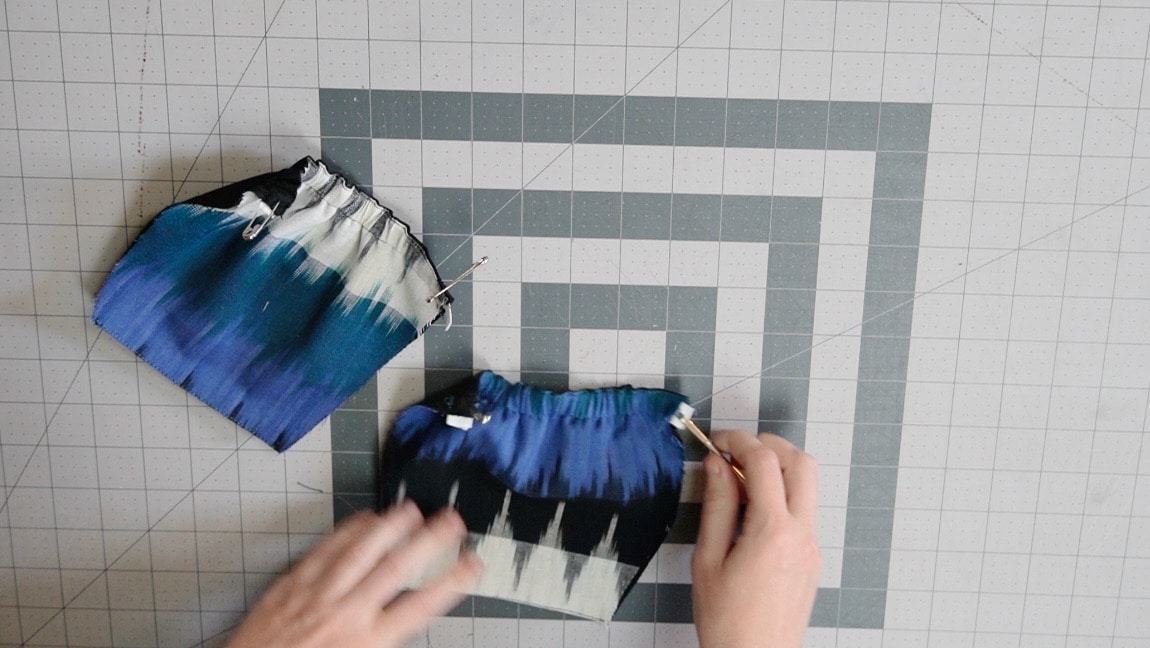
create a casing by stitching 5/8″ down from top edge
Sew 5/8 inch from the top of the pocket (if you’re using 1/2″ elastic) to create a casing for the elastic.
Step 22
insert elastic through the casing
Sew the elastic on both sides of the casing to secure it.
Step 23
sew the pockets to the side bag along the sides and bottom
Line up the sides of the pockets with the side bag piece and sew along the sides and bottom. The elastic at the top of the pocket should be in line with the seam for the zipper.

Step 24

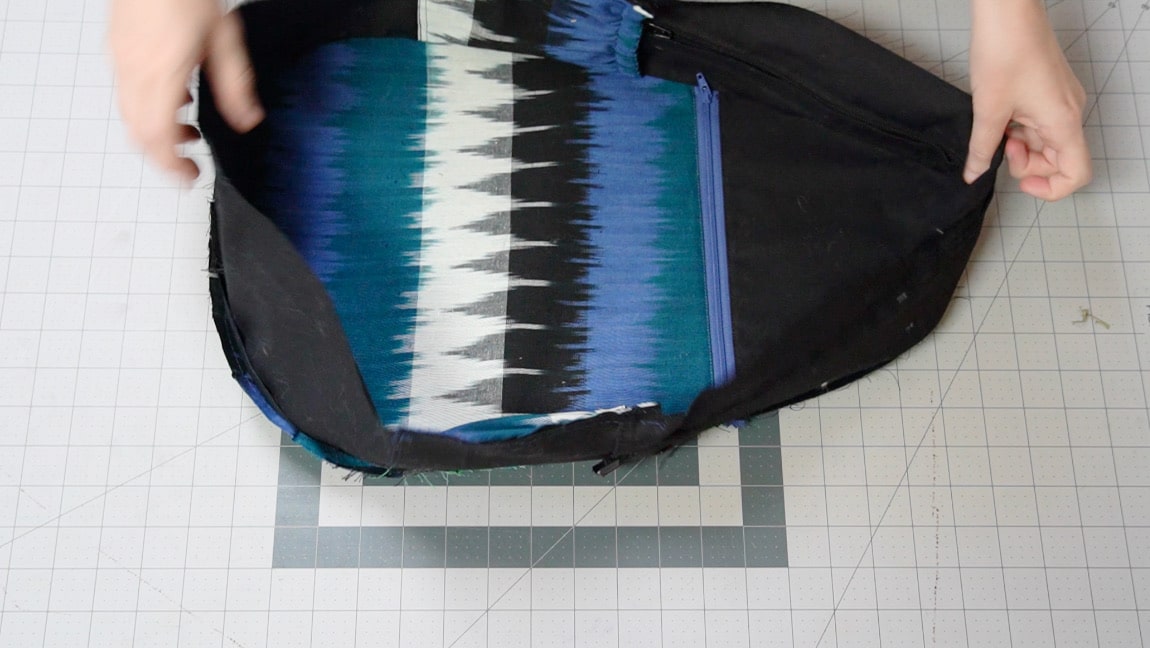
sew the side to the front bag
With right sides together, Sew the side bag to the front of the bag, easing the fabric around the curnes.
Step 25
sew the back bag to the other side
Repeat the previous step with the back of the bag.

Step 26
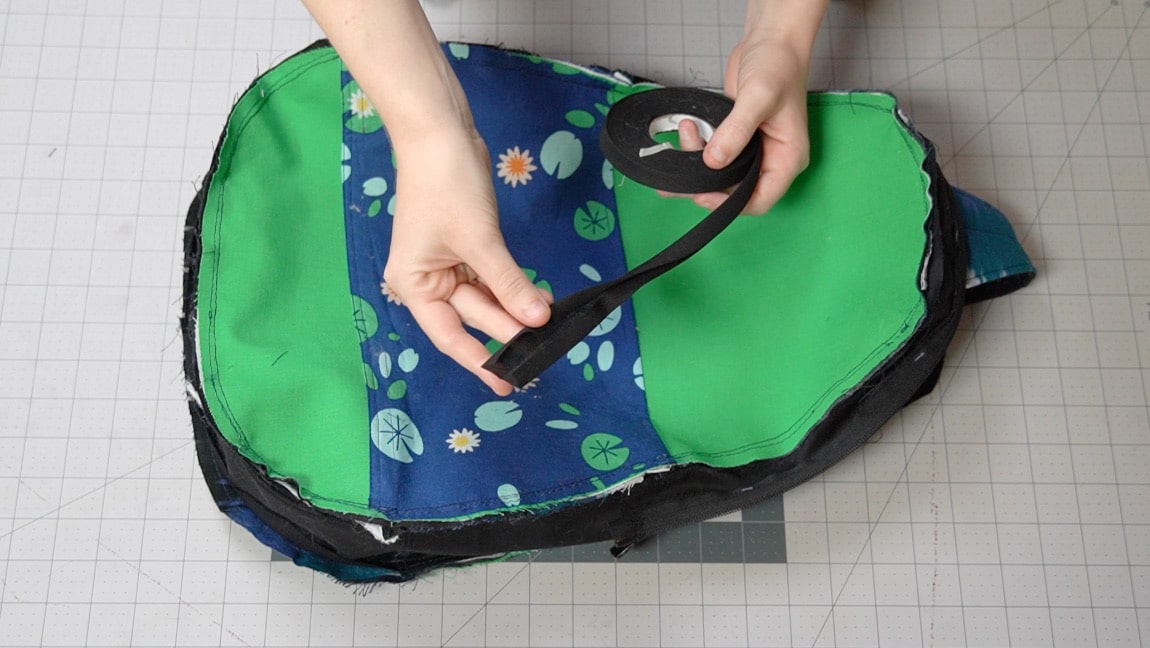
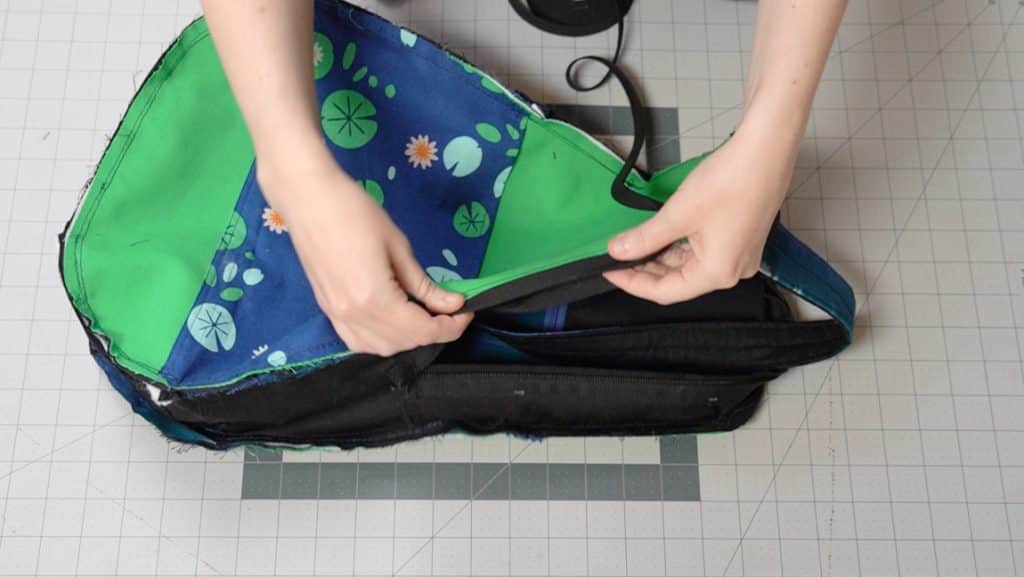
finish the seam with double fold bias tape
To finish the seams and reinforce them, bind the seam by folding double fold bias tape around the seam (you can also use twill tape or something similar). This will enclose the seam so it won’t fray, and help make sure the bag can stand up to heavier use.
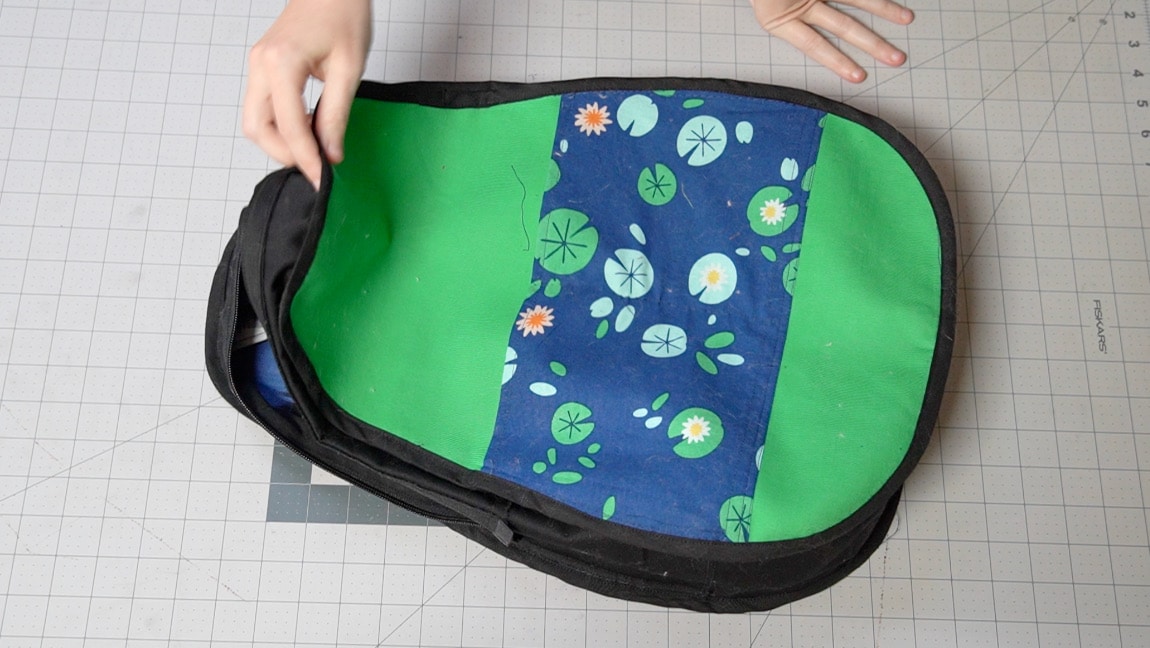
Step 27
turn bag to right side
Step 28

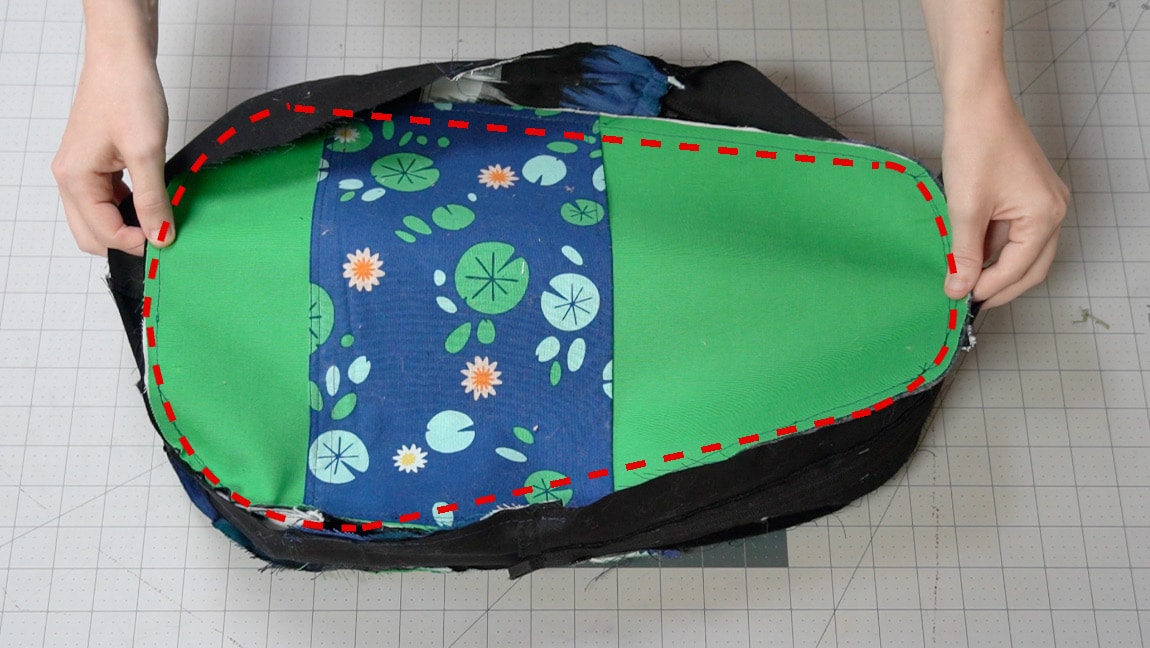
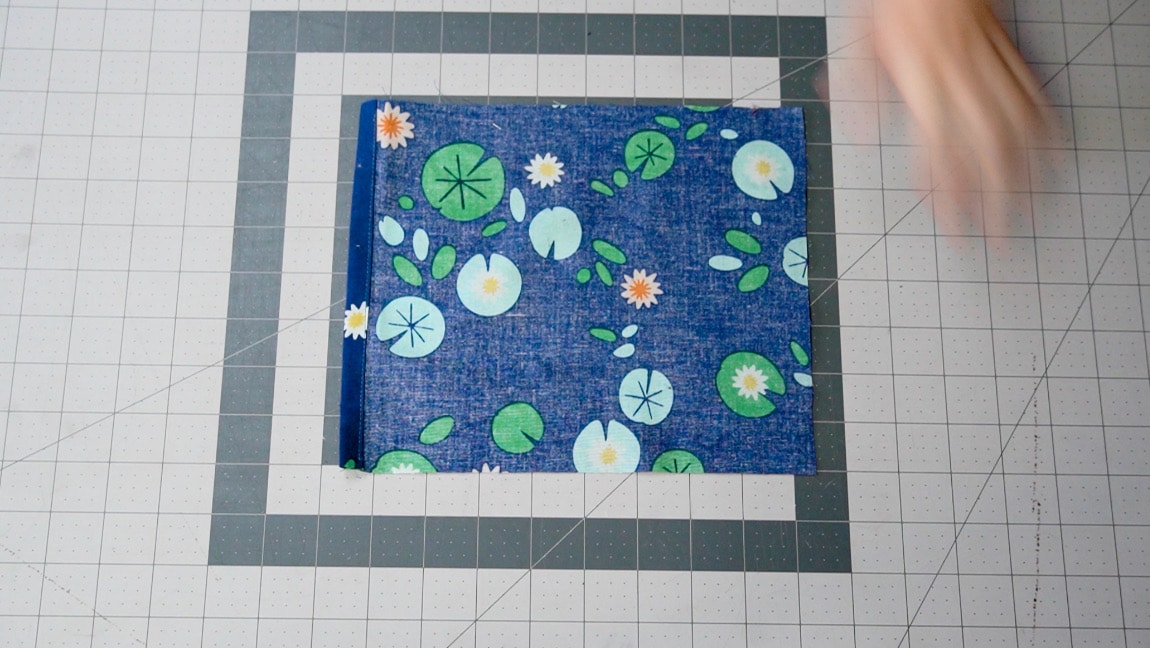
hem one side of the base
Step 29

fold base in half and sew
Step 30
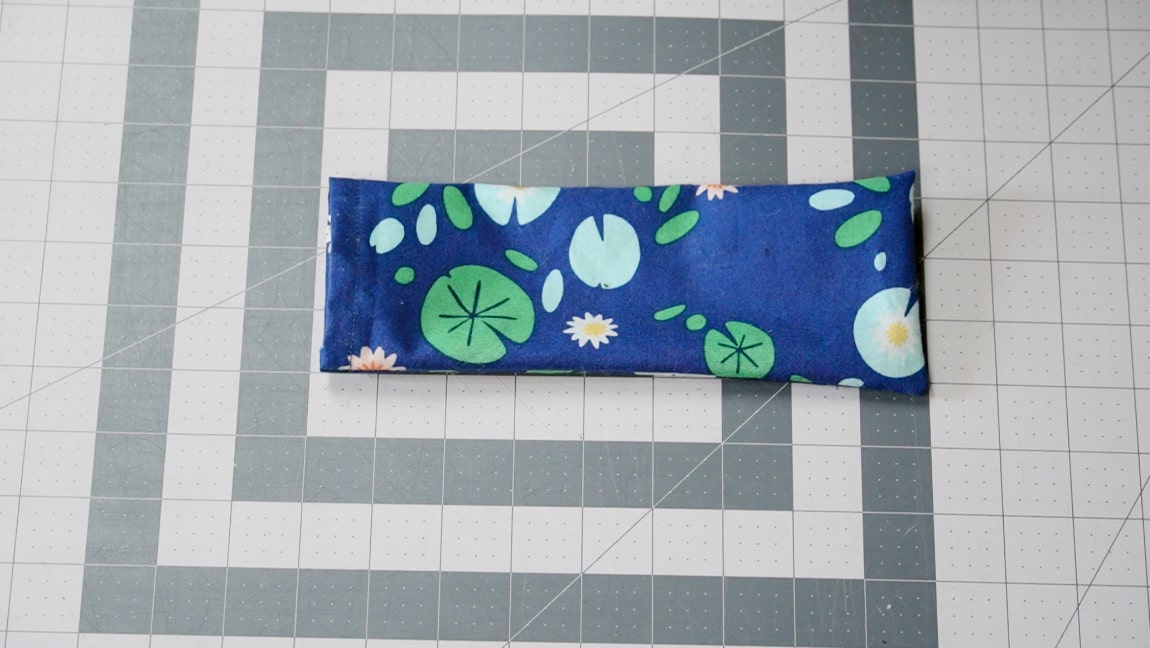
turn base to the right side
Step 31
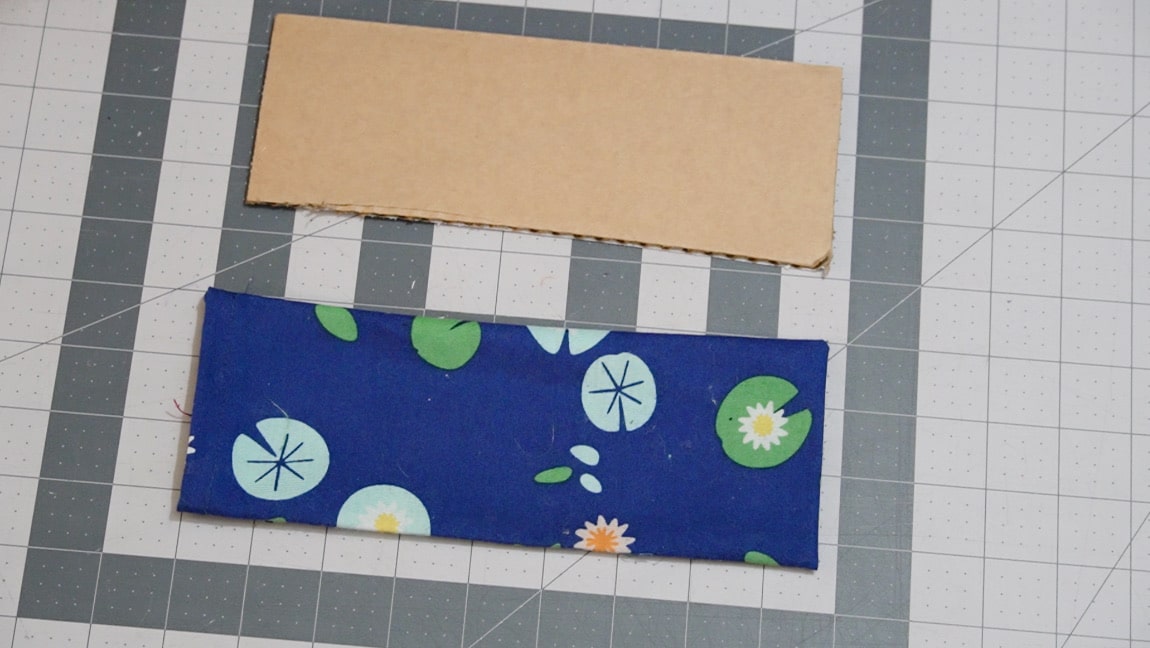
insert a piece of cardboard into the base
Cut a piece of cardboard that’s 3″X8″ and insert it into the base.

Step 32
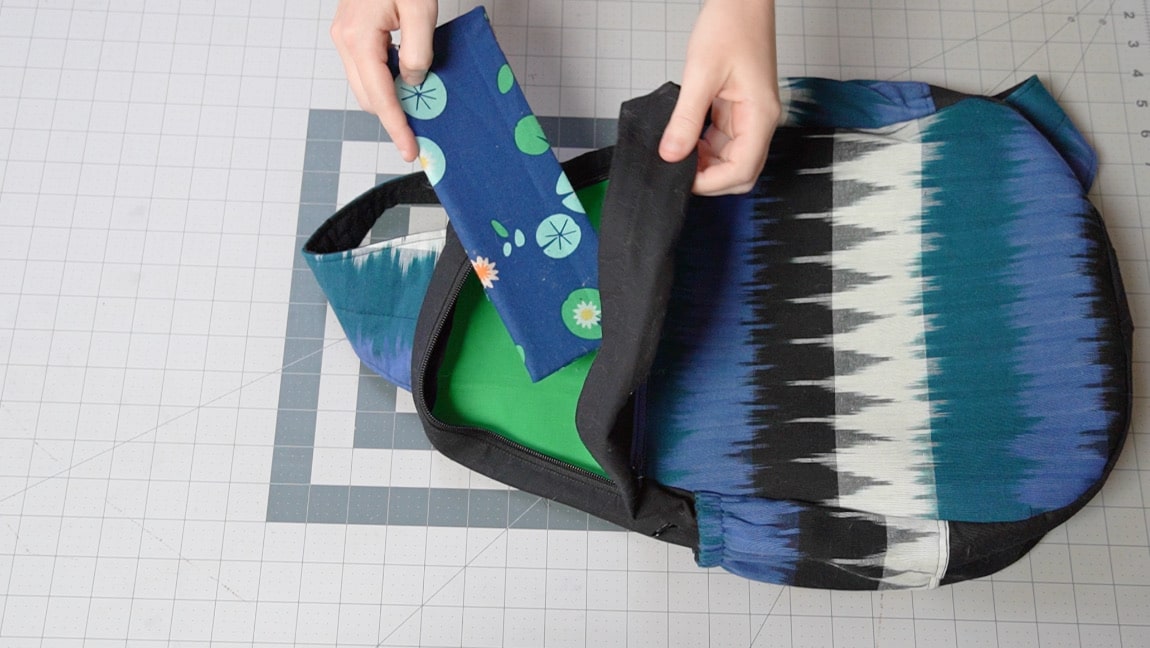
place the base at the bottom of the bag
This adds support to the base.
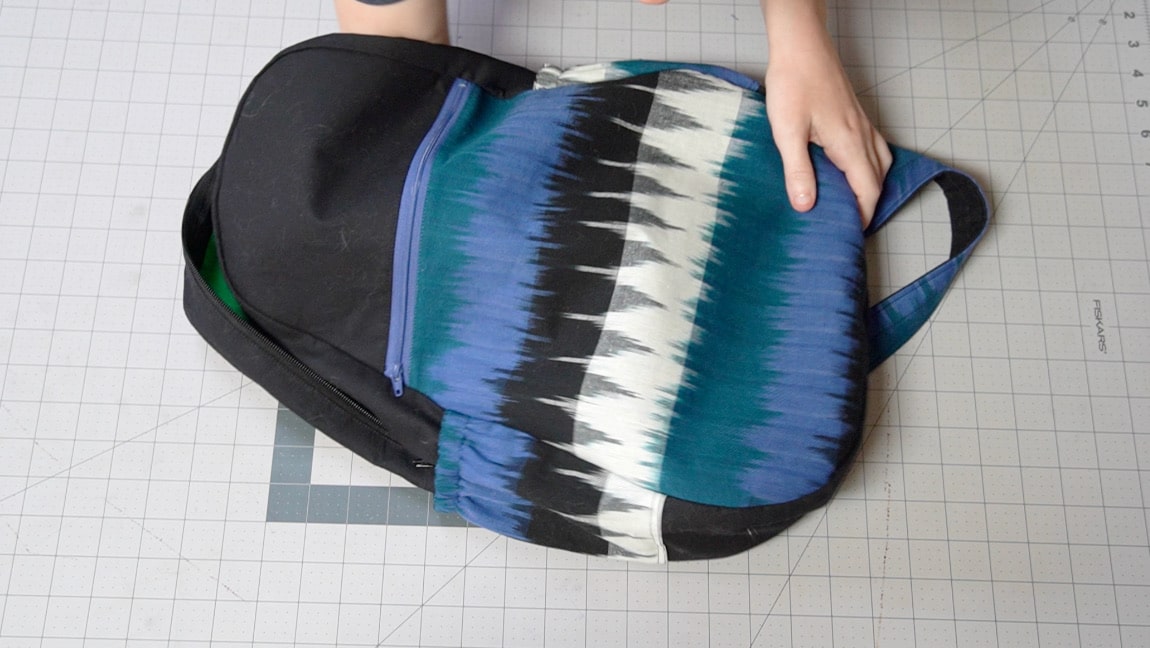
Finished!