Tutorial: How to Make a Fleece Lined Cowl Scarf
This tutorial will teach you the step-by-step process for making a fleece lined cowl scarf with a clasp closure. I used flannel for the main fabric and minky fleece for the back to make it softer to wear. You can access the pattern for free below, but I also recommend testing the paper version of it around your neck first to make sure it fits. You may need to add or subtract a couple of inches to get a perfect fit.
This page contains affiliate links. As an Amazon Associate, I earn a small commission from qualifying purchases. That being said, I encourage you to use your local sewing shop whenever possible, or to look for supplies second hand.
Supplies Needed:


Step 1

sew the scarf to the fleece lining
With right sides together, sew the scarf and fleece lining together along the perimeter. Leave a small gap in the center.

Step 2

clip corners
Clip the corners close to the stitches without cutting the thread.
Step 3

turn the scarf right-side-out
Turn the scarf right-side-out through the little gap you left. Use a long pokey tool (I use a loop turner) to poke out the corners and make them crisp. Then press the seams.
Step 4

fold the gap together and Topstitch the scarf
Using matching thread (one color as top thread and the other color as the bobbin), top stitch all the way around the perimeter of the scarf about 1/4″ in (this will also close up the gap in the scarf). This will keep the edges crisp over time.

Step 5

place the clasp
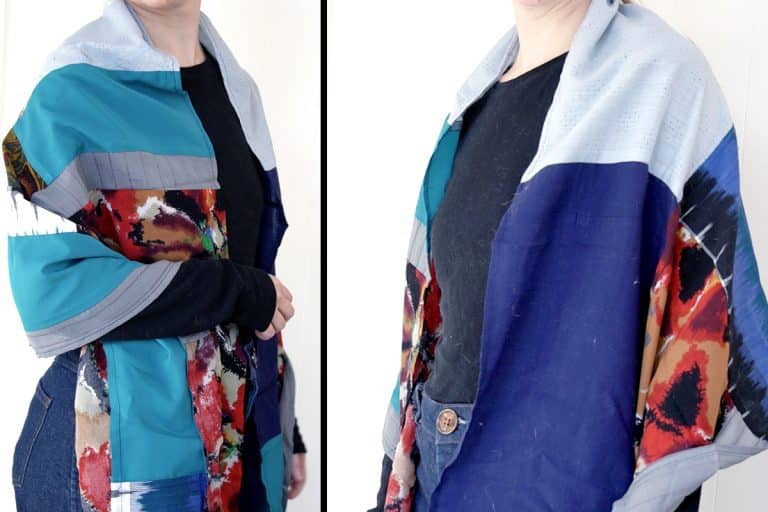
Try on the cowl scarf and determine where you want to place the clasp. Make a mark of the placement and sew the clasp the the scarf. It should look similar to the image below when finished.
I’ve included notations on the pattern where I placed the toggle clasp, but this may be slightly different for you depending on the size of your neck and the type of clasp you are using.

Finished!