Tutorial: Scrap Fabric Drawstring Fish Pouch
This simple drawstring fish pouch is made using random scraps of fabric you have leftover from other projects. It’s a cute and useful way to use up all those leftover scraps of fabric. simply see the free pattern below and follow along with the step-by-step tutorial.
Supplies Needed:
(all of my patterns include 1/2″ seam allowance)

Step 1

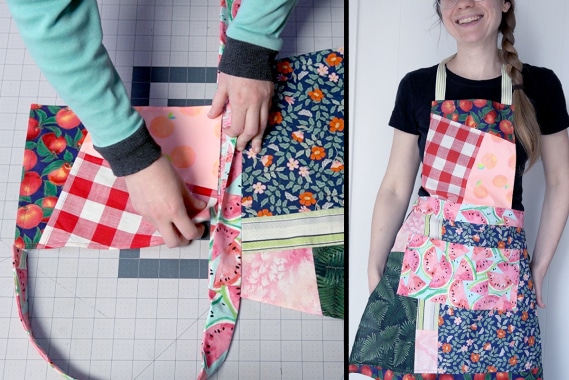
Arrange your fabric scraps
Lay out your fabric scraps and start lining them up however you like. Make sure the scrap collage is long enough for the pattern to fit twice (for front and back of the bag). Remember to overlap the fabric pieces to account for seam allowance.
Once you’re happy with the design, sew your scrap collage together.
Step 2

cut out your pattern
Overlay your fish pouch pattern on top of the collage. Then cut it out twice (you can use scissors if you want, I just find it easier to use a rotary cutter).

Step 3

turn over the seam allowance on the flat edge
Fold 1/2″ on the flat edge of the fish pieces and sew it in place.

Step 4

fold the tail 3″
fold over 3″ from the edge of the fish pieces, according to the fold line on the pattern.

Step 5

Sew a casing
Sew two lines of stitches 1/2″ apart at the edge of the fabric you folded. This will be the drawstring casing.

Step 6

sew the front and back of the fish pouch together
With right sides together, sew the front and back of the fish pouch. Leave a gap at the casing on both sided when sewing.

Step 7

add the drawstring
thread the drawstring all the way around the casing in the fish tail.
Step 8

turn the bag to the right side
Finished!