Tutorial: Easy No-Sew Braided Bracelet
This tutorial walks you through how to make a no-sew braided bracelet. It’s a great project for using up little strips of fabric you have leftover from other sewing projects. Since it doesn’t require any sharp needles or small objects, this can also be a great craft idea for kids who are starting to learn how to braid.
Supplies Needed:
Step 1

gather 5 strands and start the braid
Gather 5 strands of knit fabric that are approximately 1 inch in width. Arrange them with something heavy on one end (like a big book) to hold them in place.
Then take the strand on the far right and bring it over top of one strand, then under the next one. Now your strand should be in the center of the braid.
Next you want to take the far left strand and repeat the process. Bring it over one, then under the next. So now the far left strand is sitting in the center.
Repeat this process over and over again, alternating between the strand that’s on the far right then far left.
Step 2

continue braiding until the bracelet fits around your wrist
Step 3

make a loop with the braid strands
To end the bracelet, leave a little gap in the braid so it’s not as tight at the end, leaving a little loop.
Start with the inside strands and tie a knot, then add the outer strands one at a time to secure the knot. Trim off any excess fabric.

Step 4

make a big knot on the other end of the bracelet
Repeat the process to make a big not at the first end of the bracelet as well. You will insert this into the loop on the other side of the bracelet to wear it.
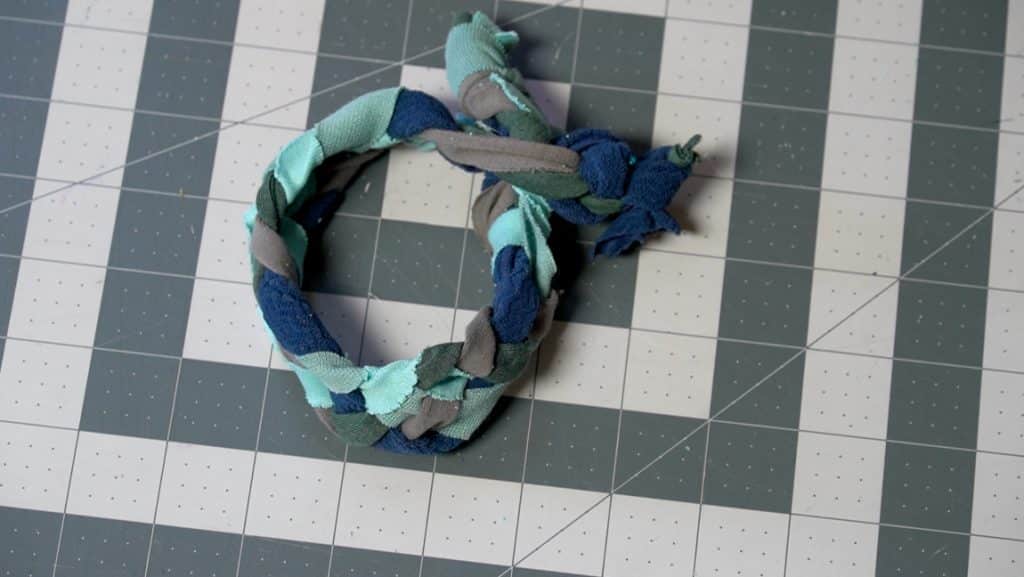
Finished!