Tutorial: Simple Tulip Ribbon Flower
Learn how to make an easy ribbon tulip using this simple 10-minute tutorial. All you need is one strand of ribbon that is about a foot long and some hand-sewing needle and thread. This tutorial won’t work well with a super thin ribbon, so you’ll want to use something that is about 1.5 inches or wider. Grab a spool of ribbon and follow along with the tutorial to make as many little flowers as you need.
Supplies Needed:
Step 1

cut a piece of ribbon about 12 inches long
It can be a little shorter or longer, the exact length doesn’t matter. Generally, if you are using a wider ribbon, you’ll want to use a longer piece.
Step 2
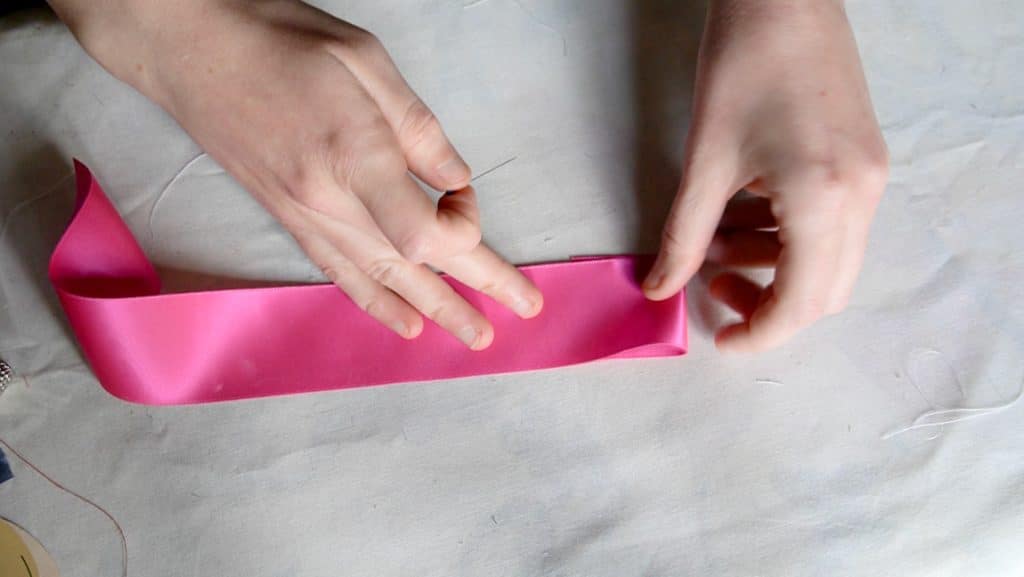
fold one end of the ribbon over
Step 3

fold the ribbon at a right angle from the previous fold until you make a square


Step 4

tuck the tail of the ribbon over on the back of the square
First, tuck the ribbon tail underneath the first fold. Then turn the ribbon square to the back and fold the raw edge under, following the pattern of the rest of the square.


Step 5

add a long basting stitch around the outer perimeter of the square
Hand sew a long basting stitch all the way along the outer edge.

Step 6

pull the thread to gather the base of the flower
Pull the thread to gather the base of the flower petals.

Finished!


Tutorial: how to make a simple ribbon leaf to go with your flowers