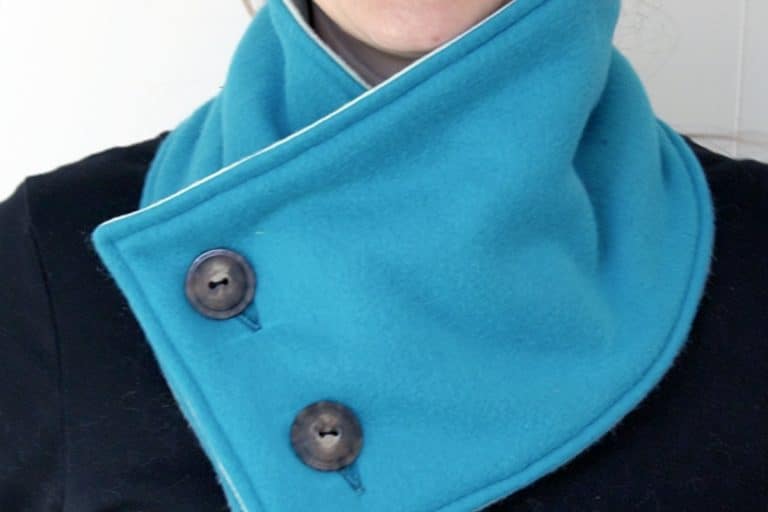
Tutorial: How to Make a Keyboard pillow for Your Wrists
I’ll walk you through the step-by-step process to make a keyboard tray with a pillow for your wrists to rest on. The pattern works well for a small to medium sized keyboard, but if you have a fancy keyboard, you may need adjust the size of the bed to fit.
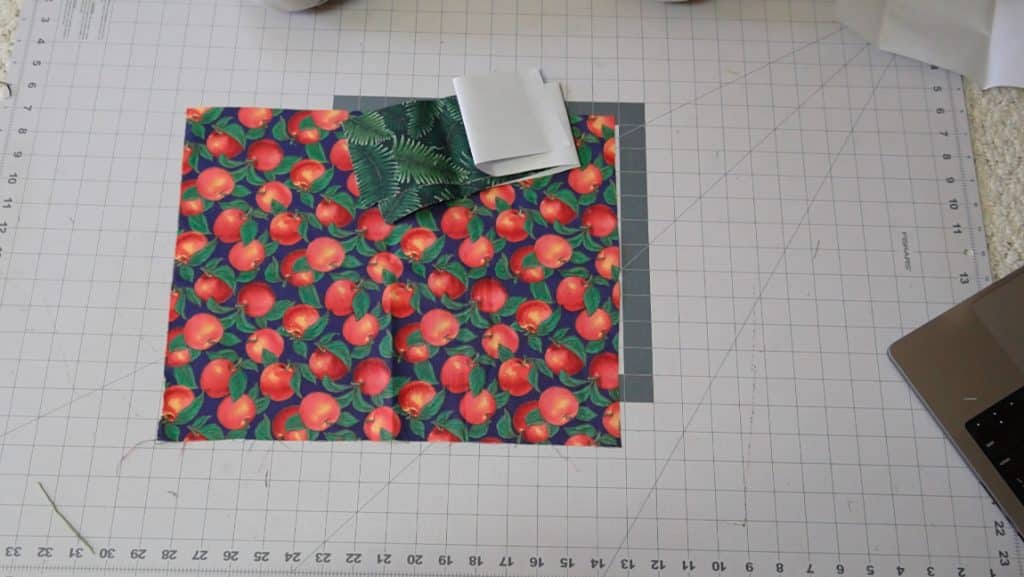
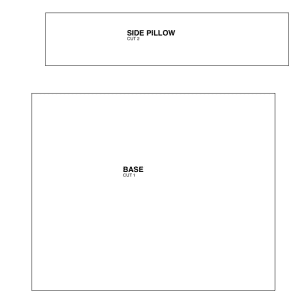
I used quilting cotton for this project, but you can use other similar fabrics (such as canvas), as long as it’s fairly stiff and structured. Print the free pattern below and get started.
Supplies Needed:
(all of my patterns include 1/2″ seam allowance)
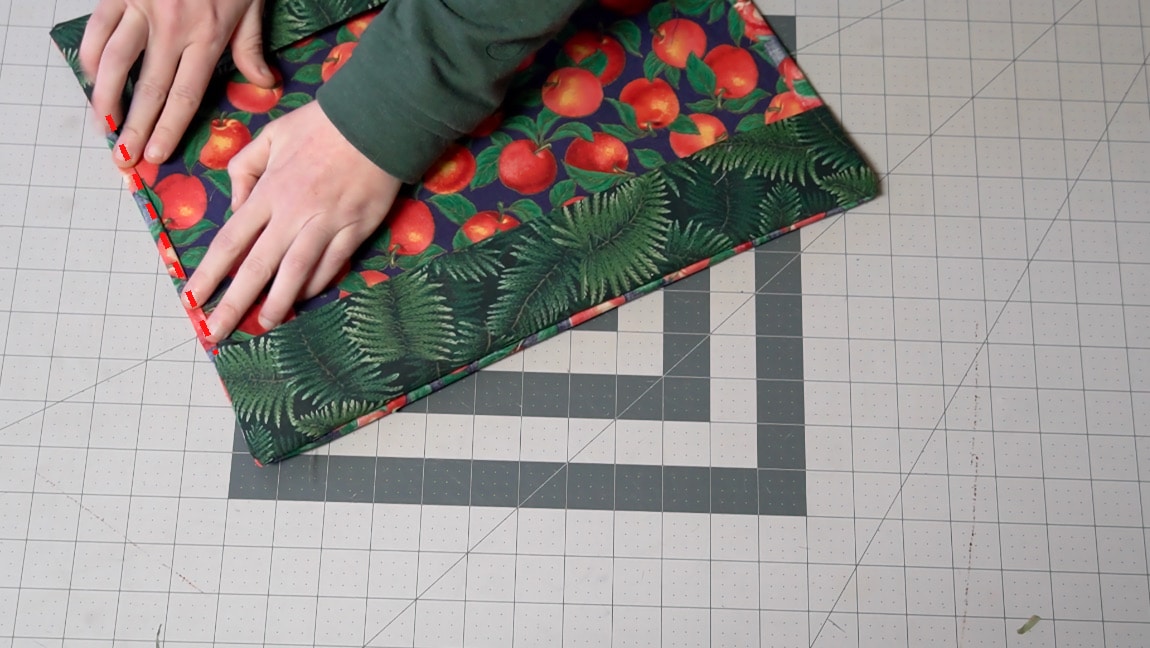
Step 1
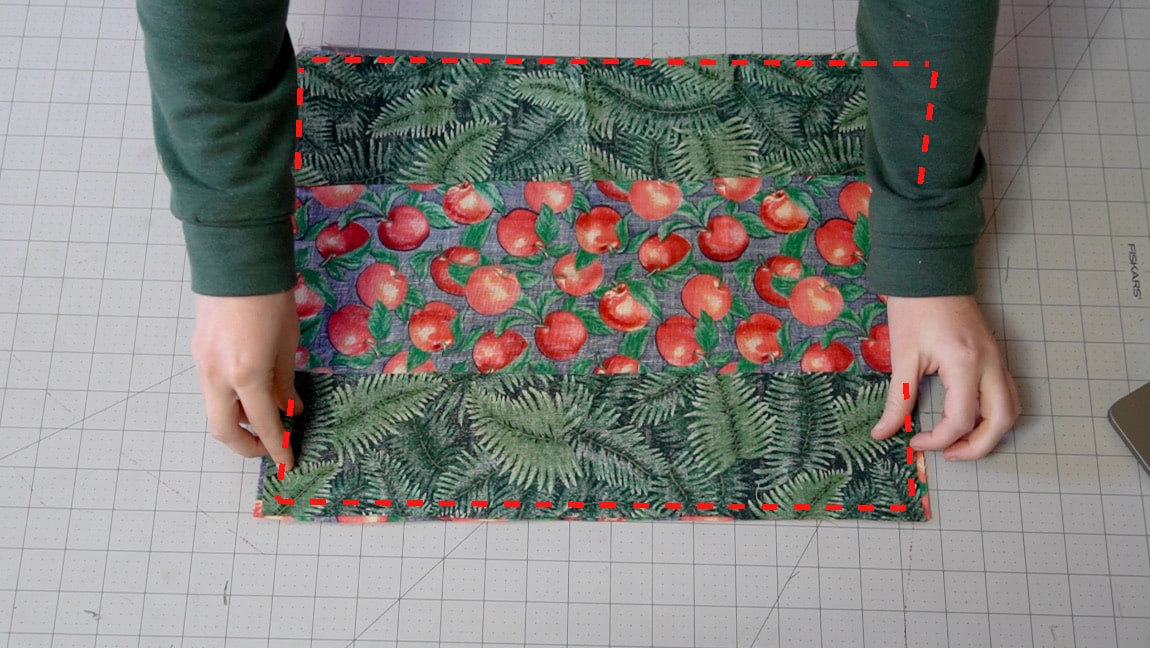
Sew the pillows to the wrong side of the bed
Place the right side of the side pillows face down on the wrong side of the base. Sew around the three outer edges, but make sure to leave the inside seam allowance of the pillows unsewn
Step 2
Press the seam allowance
Press the half inch seam allowance of both pillow back.
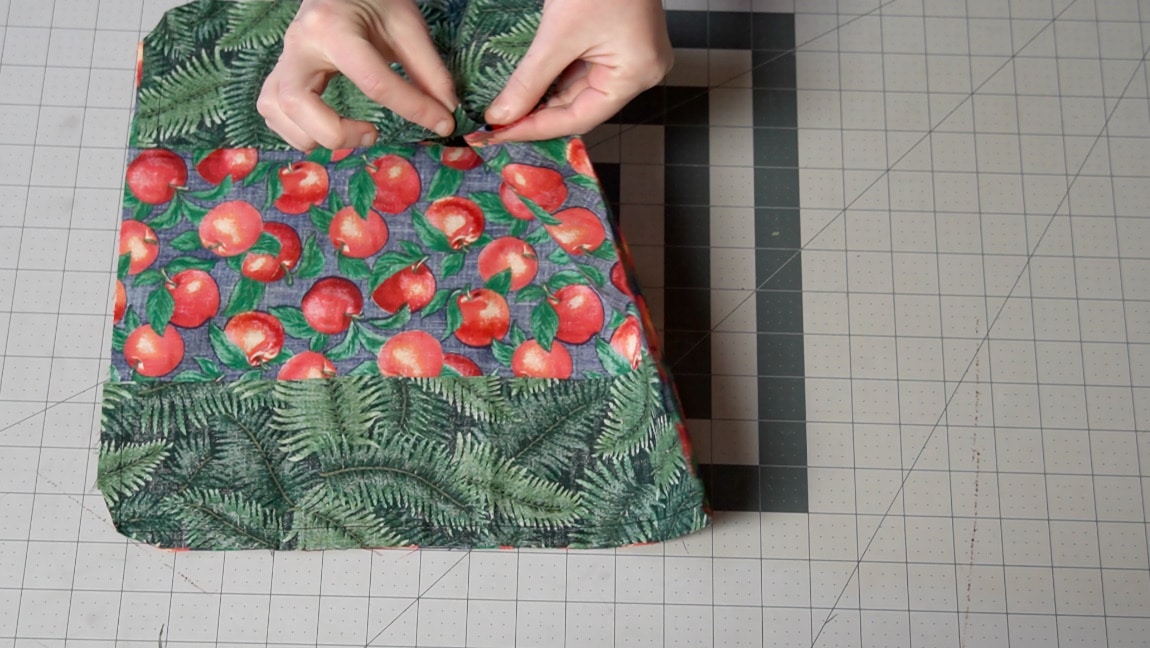
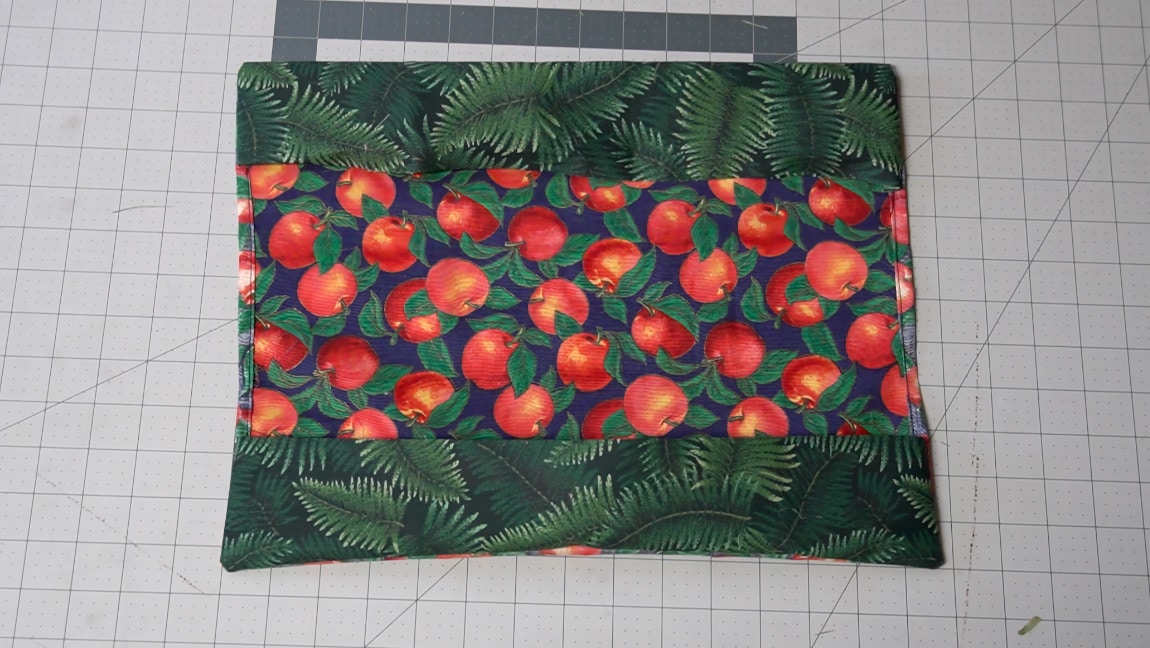
Step 3
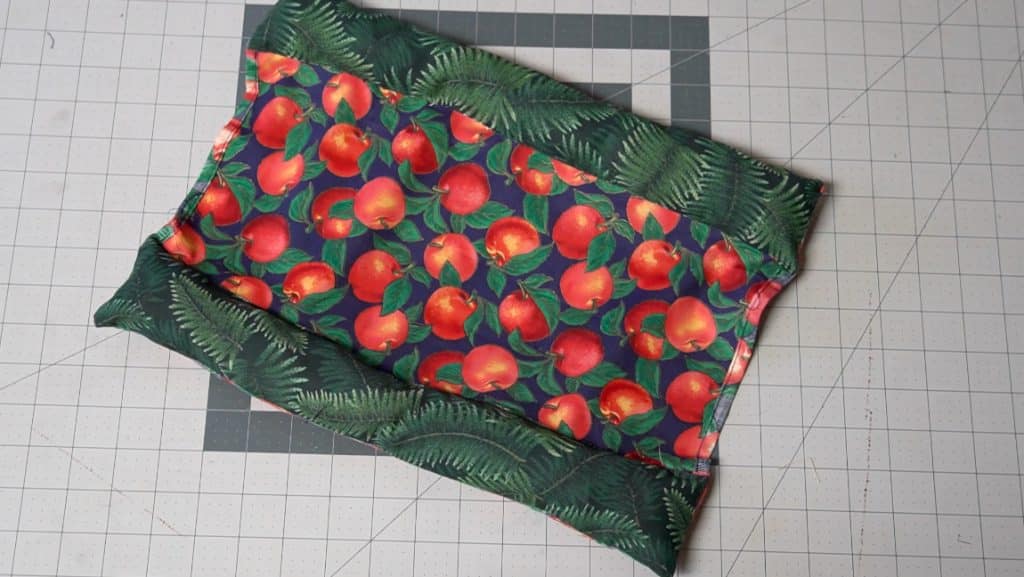
turn the pillows to the right side of the bed
Clip the corners and turn the pillows to the right side to create pockets on both sides of the bed.
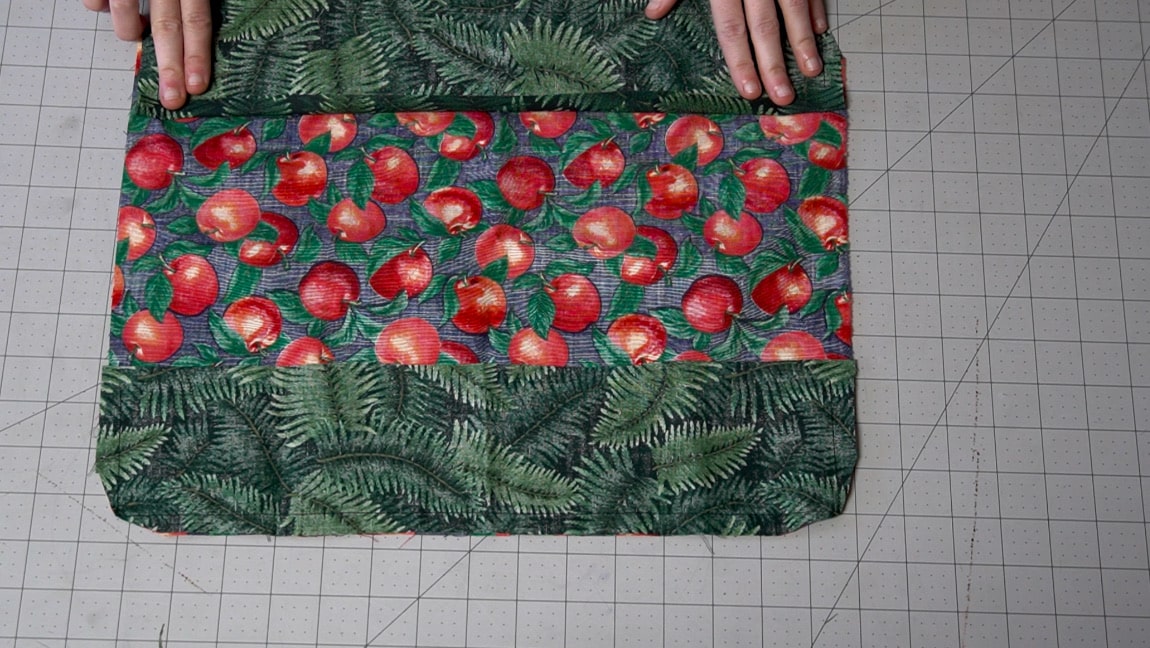
Step 4
narrow hem the middle edges
Turn under the seam allowance at the center part of the bed to hem it.
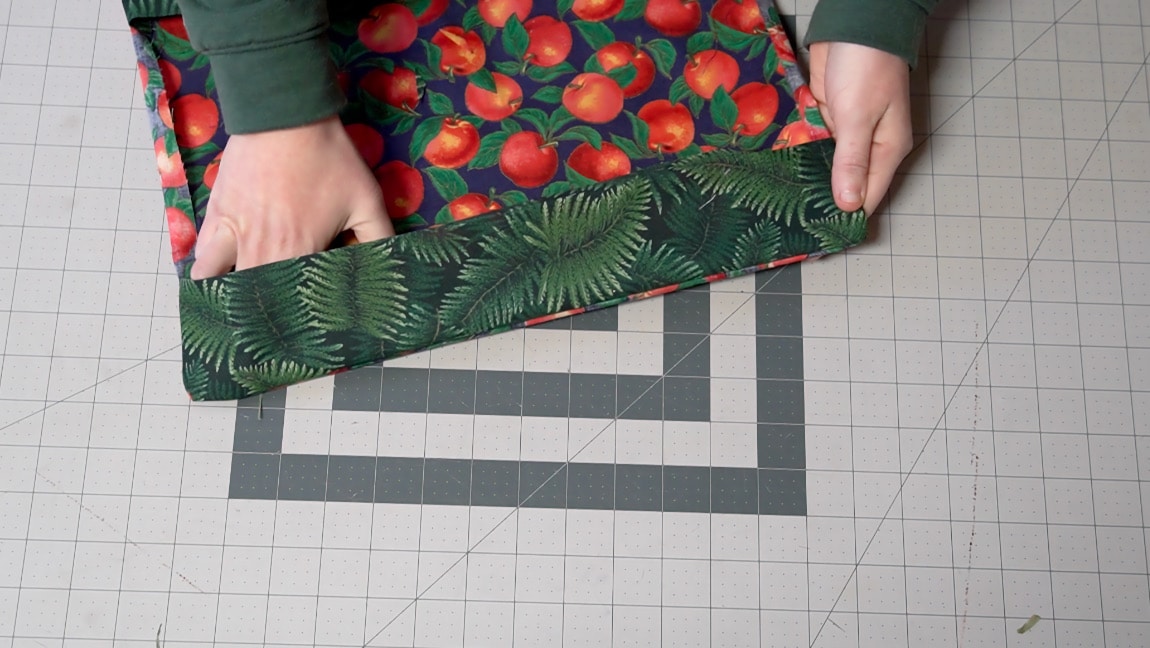
Step 5
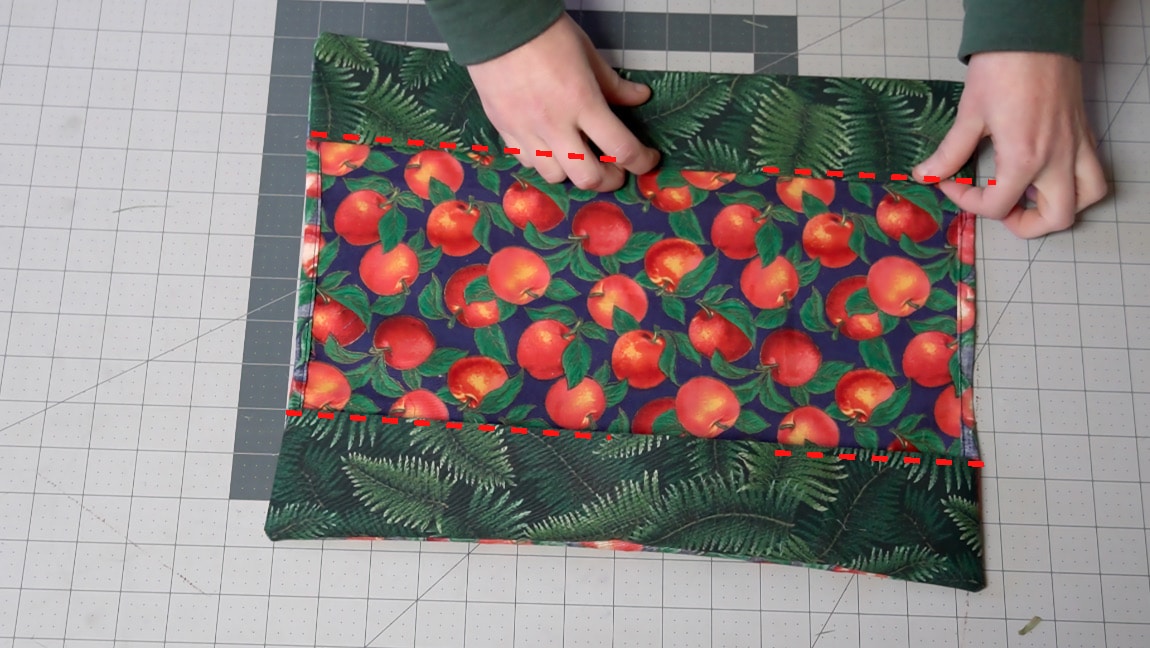
edgestitch the side pillows
With the seam allowance turned under (we did this in step 2), edge stitch the pillow to the base. In both pillows, leave a small gap in the stitches so you will be able to stuff them.

Step 6
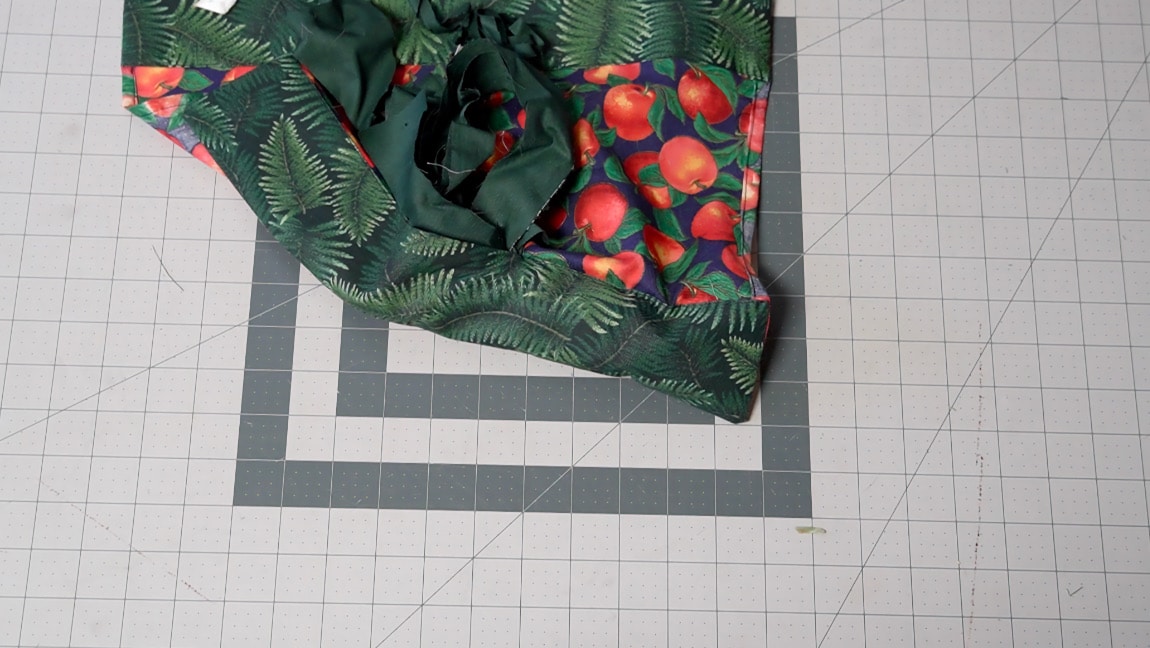
stuff the pillows
You can stuff the pillows with whatever you want. I use leftover fabric scraps, but poly-fill or other similar materials are also fine.
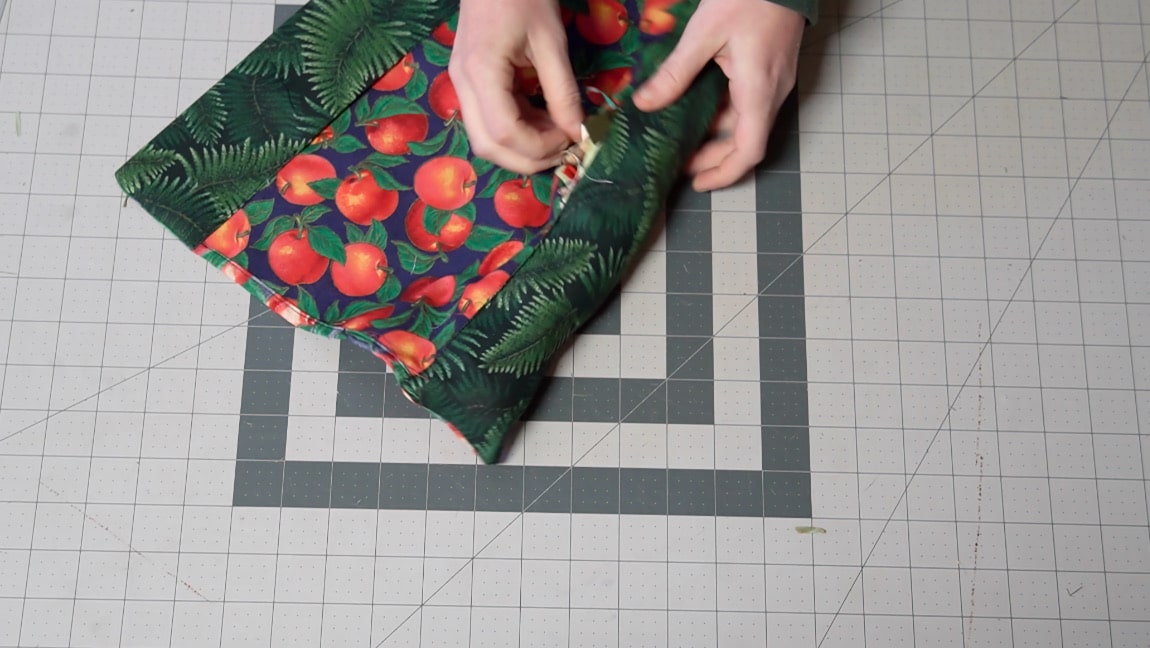
Step 7
sew the gaps in the pillows
Use a zipper foot or hand stitch to close up the gaps in the side pillows.
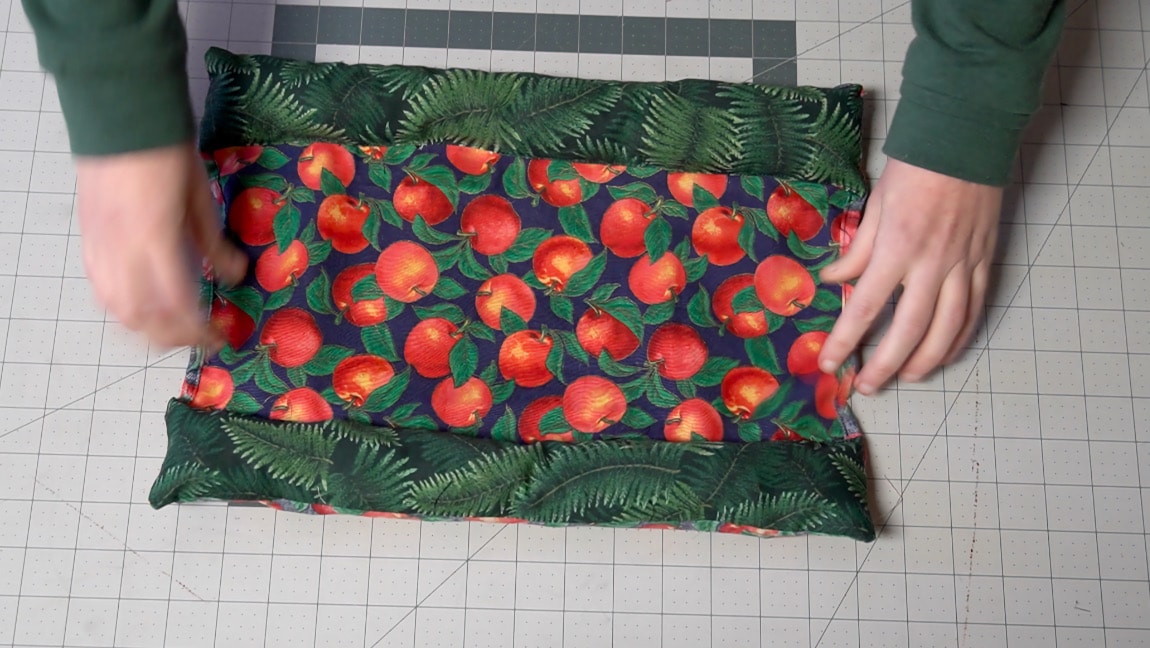
Finished!