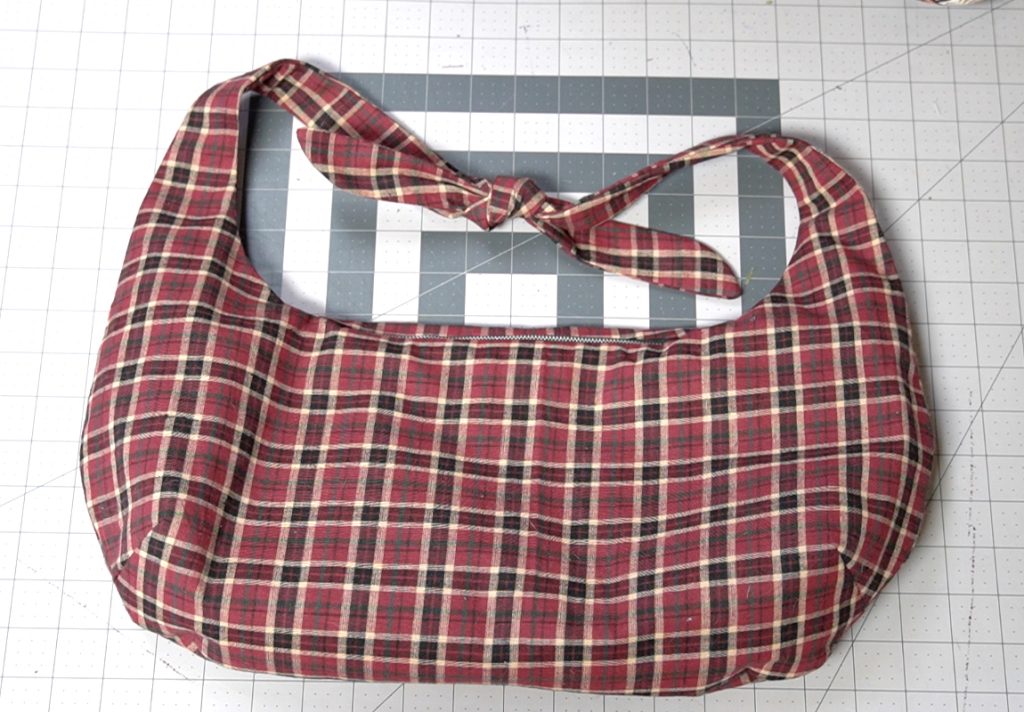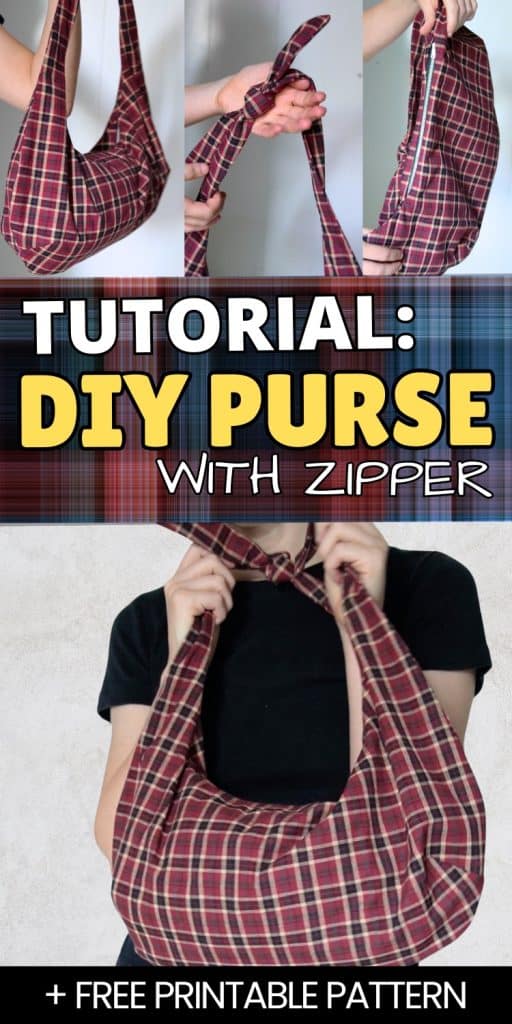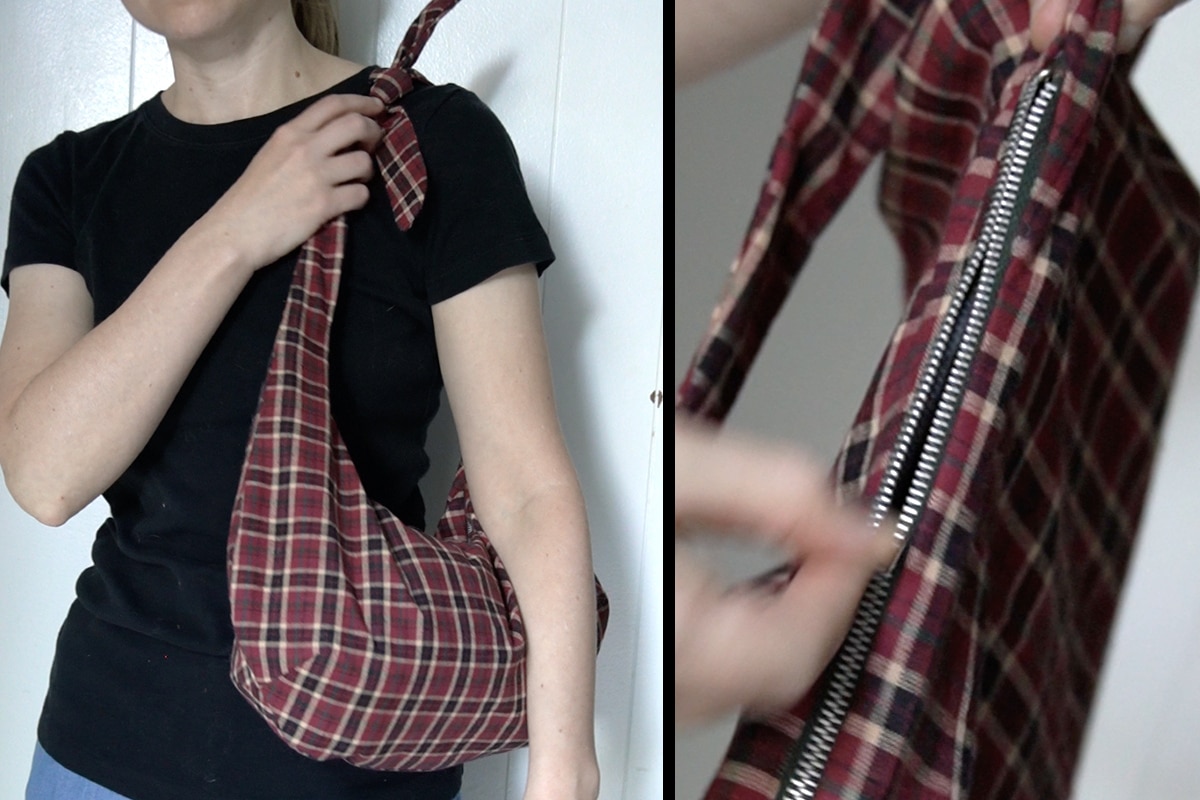
Tutorial: How to Make a Purse with a Zipper
This tutorial will teach you how to make a simple zipper purse with a lining and pocket inside. I’ve also digitized the pattern I used for this bag design so you can easily print it out (for free) and follow along with the steps.
This page contains affiliate links. As an Amazon Associate, I earn a small commission from qualifying purchases. That being said, I encourage you to use your local sewing shop whenever possible, or to look for supplies second hand.
Supplies Needed:
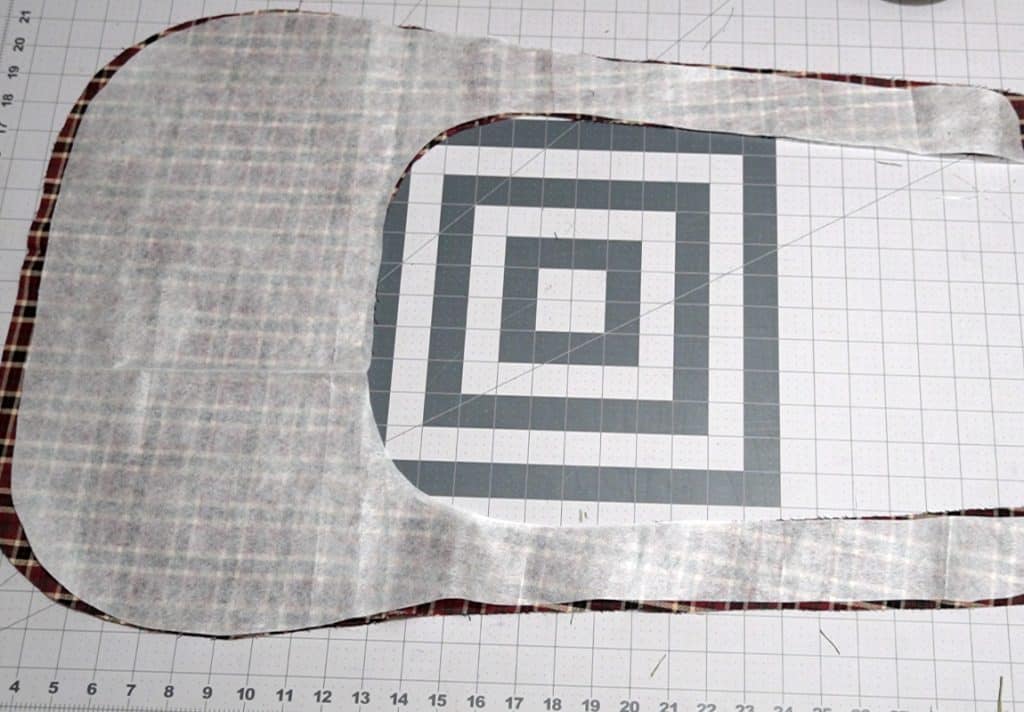
Pattern includes:
(all of my patterns include 1/2″ seam allowance)

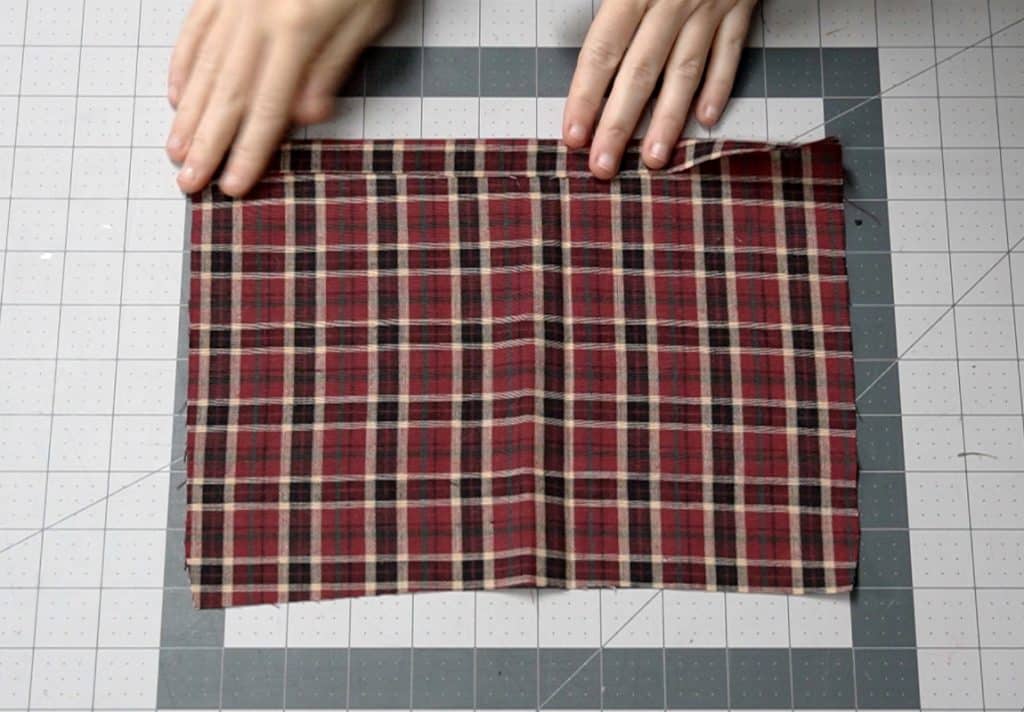
Step 1
Apply interfacing to front and back pieces
You can use sew in or fusible interfacing, whichever you prefer.
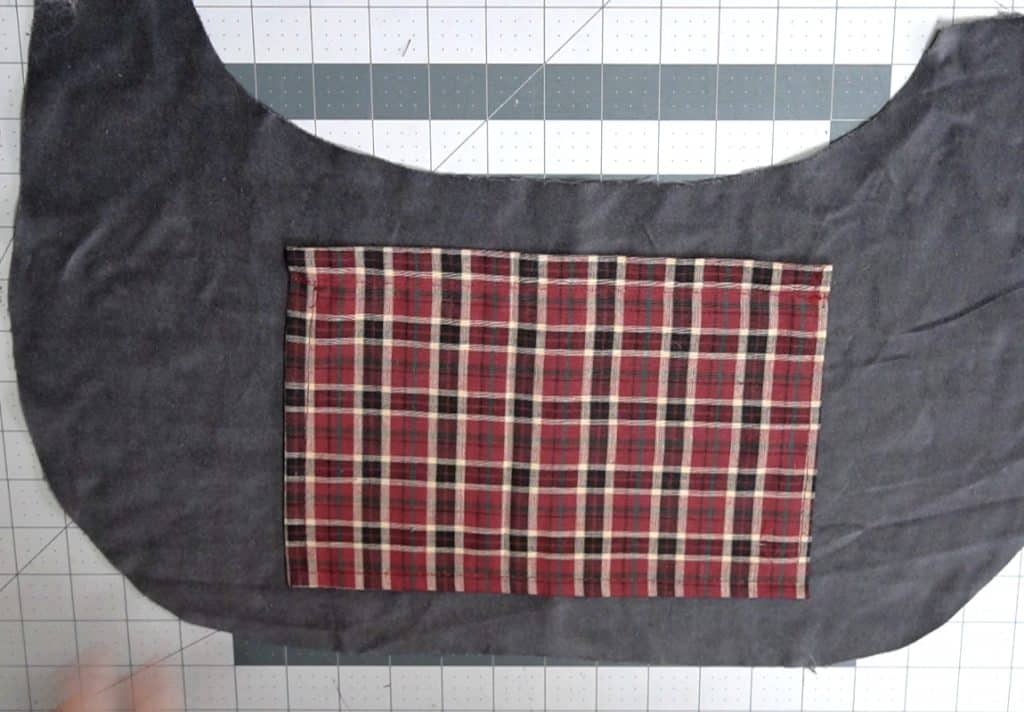
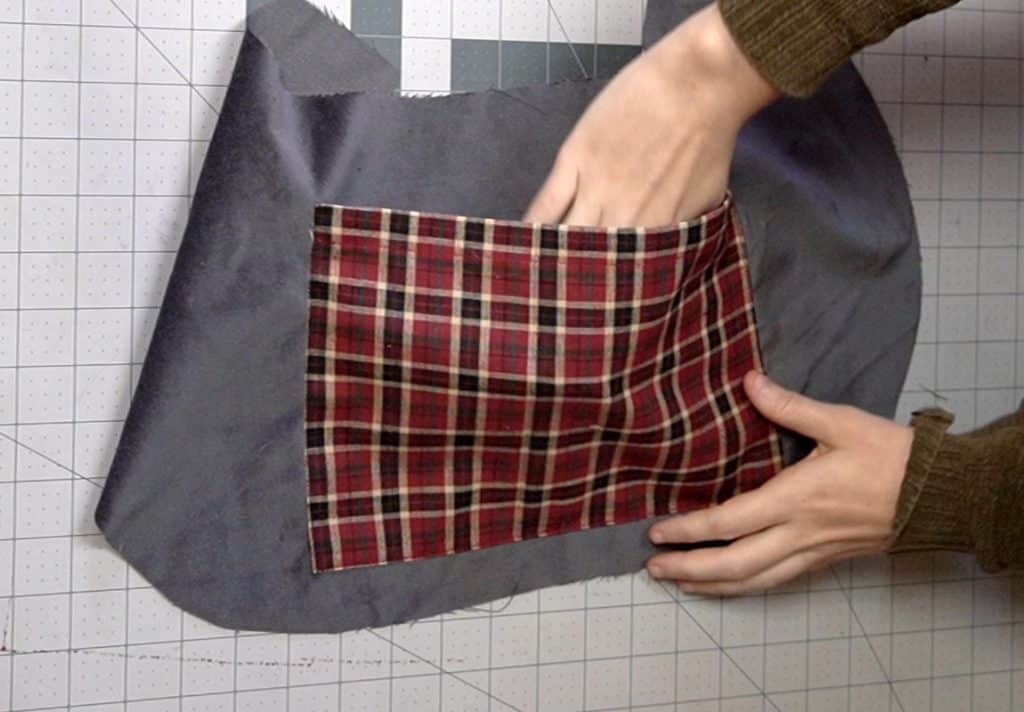
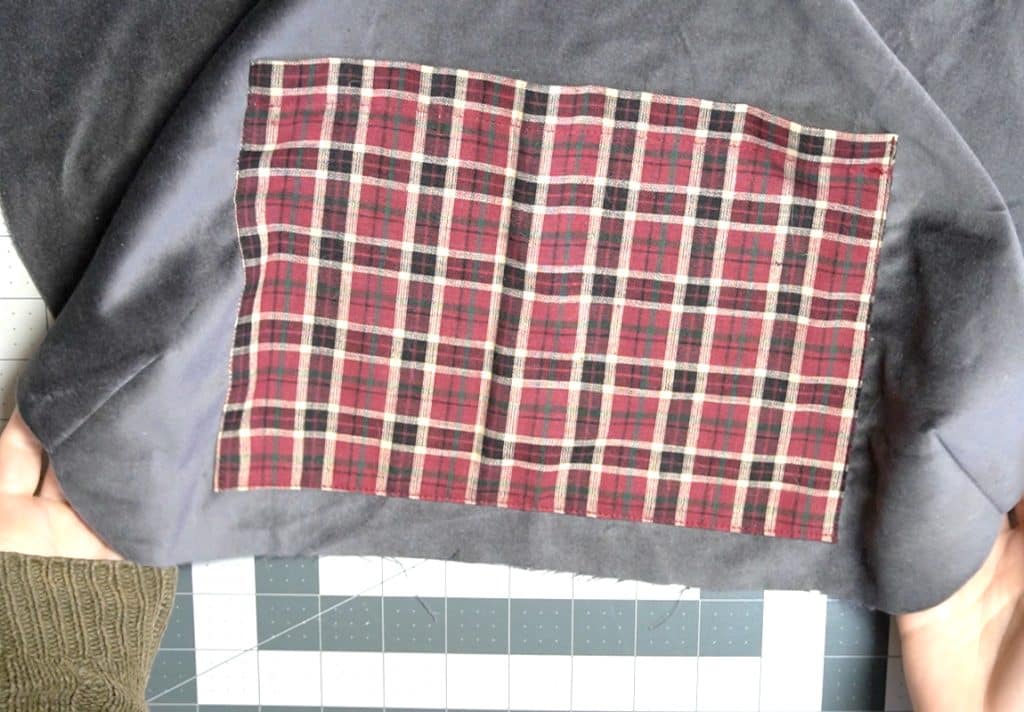
Step 2
hem pocket and sew to back lining
fold over the edges so that you don’t have any raw fabric fraying inside your bag. Use the circles on the pattern to help with pocket placement.
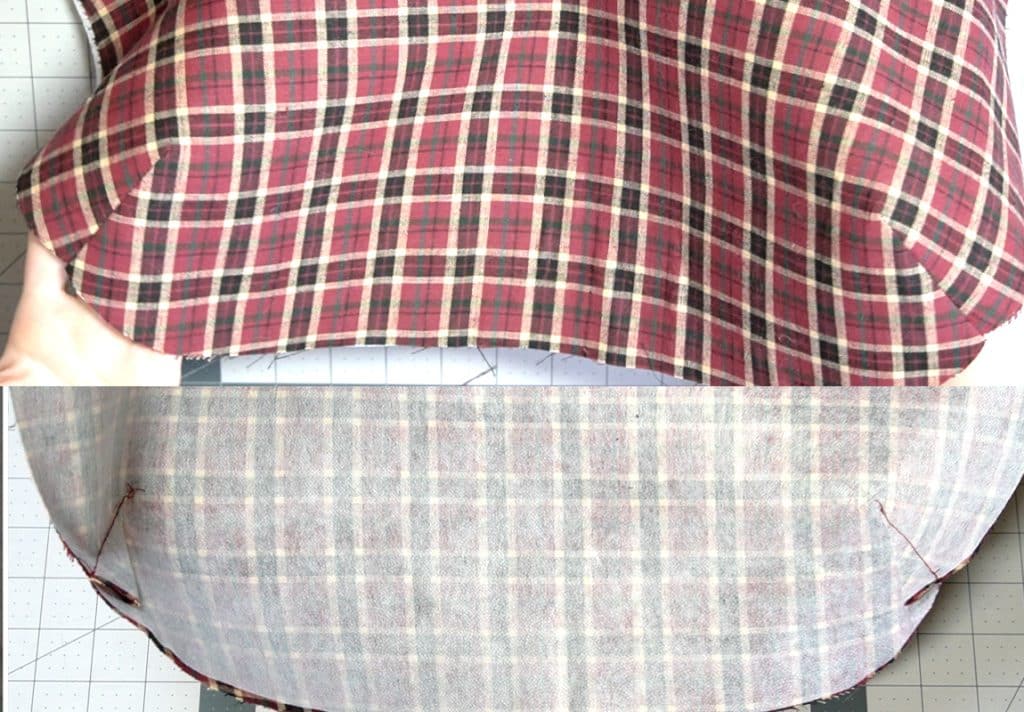
Step 3
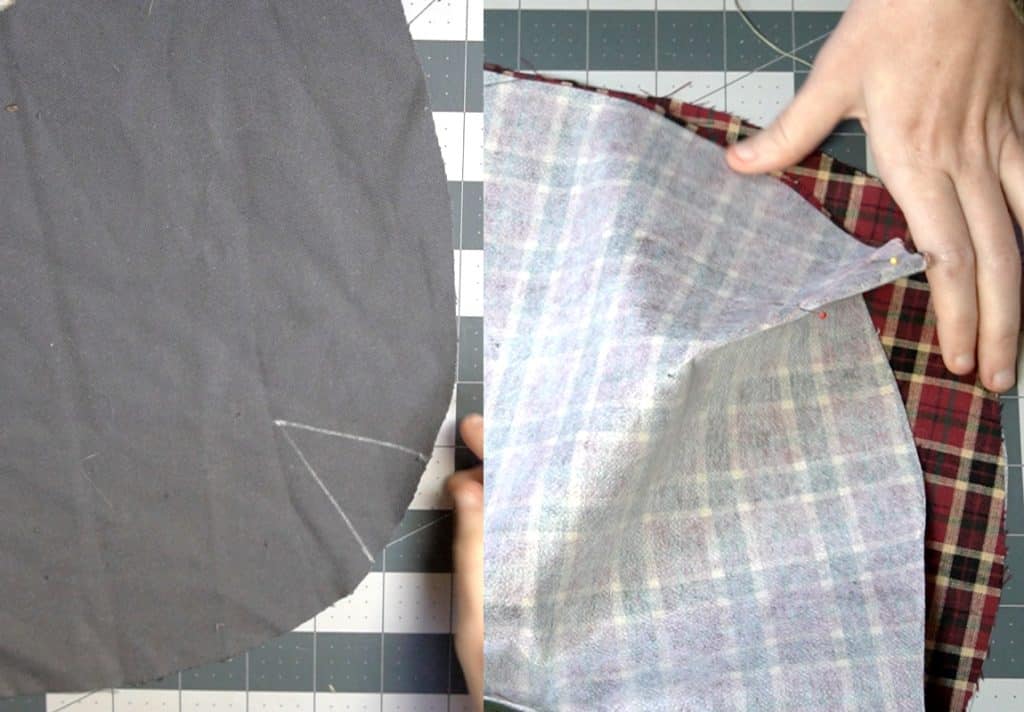
sew the darts in the bag and lining pieces
With right sides together, sew the darts in the bottom of all of the bag pieces. This gives dimension to the bag when it’s finished.
Step 4
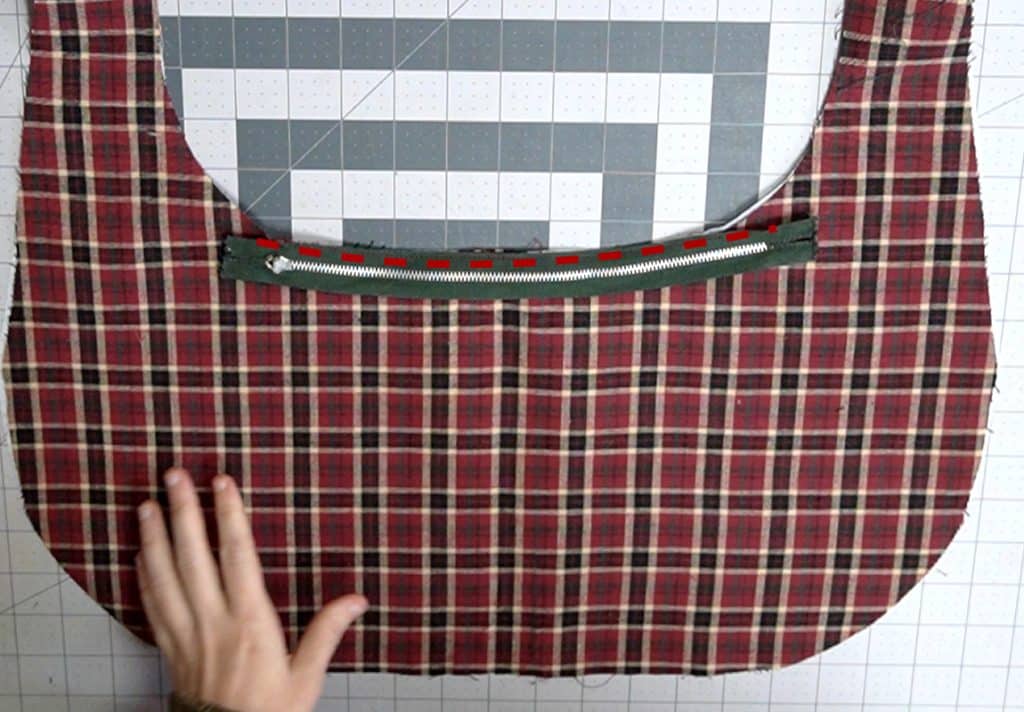
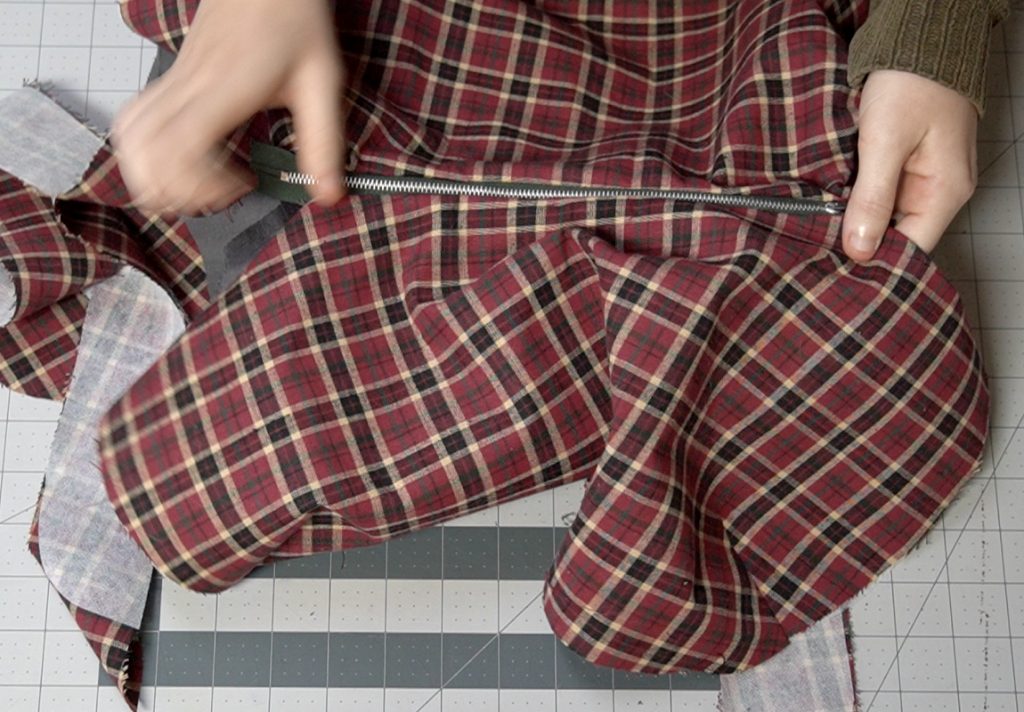
place zipper face down on one bag piece and sew along the edge
line up the edge of the zipper and fabric and sew between the edge and the zipper teeth. Leave 1 to 2 inches of zipper free at the bottom of the zipper. When sewing, its helpful to move the zipper-pull down into this bottom section of the zipper.
Note: use a zipper foot on your sewing machine
Step 5
place zipper face down against the other bag piece and repeat
Repeat step 4, but this time with the zipper face down on the back of the bag. After sewing, make sure the front and back of the bag line up and press your seams.
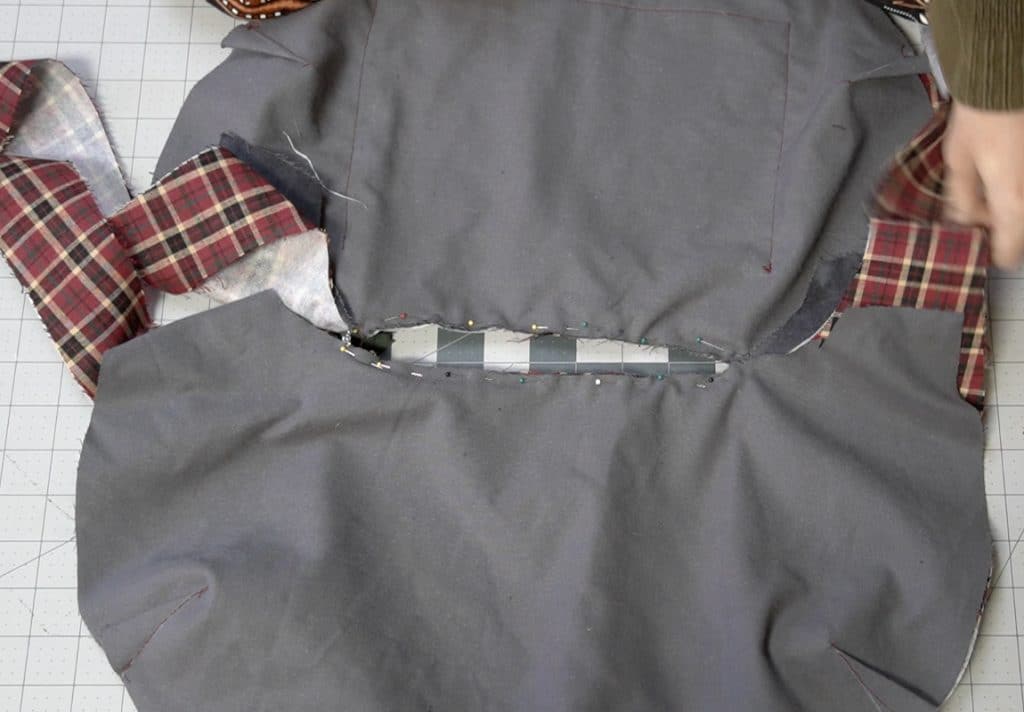
Step 6
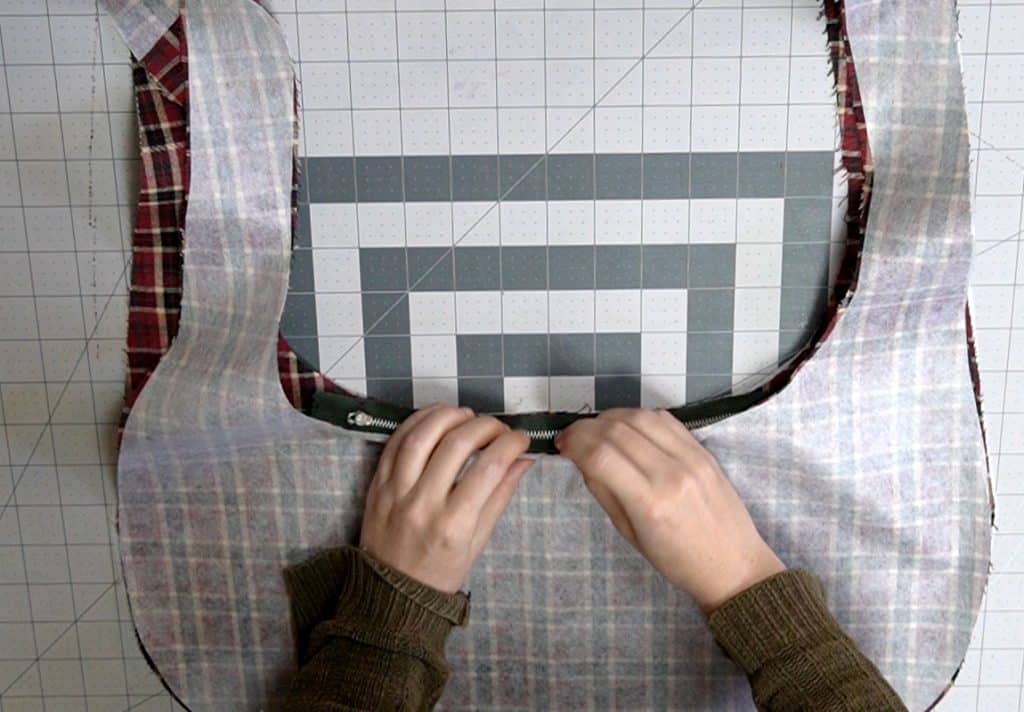
open the zipper
Keep it in the bottom part of the zipper that is free from the seam.
Step 7
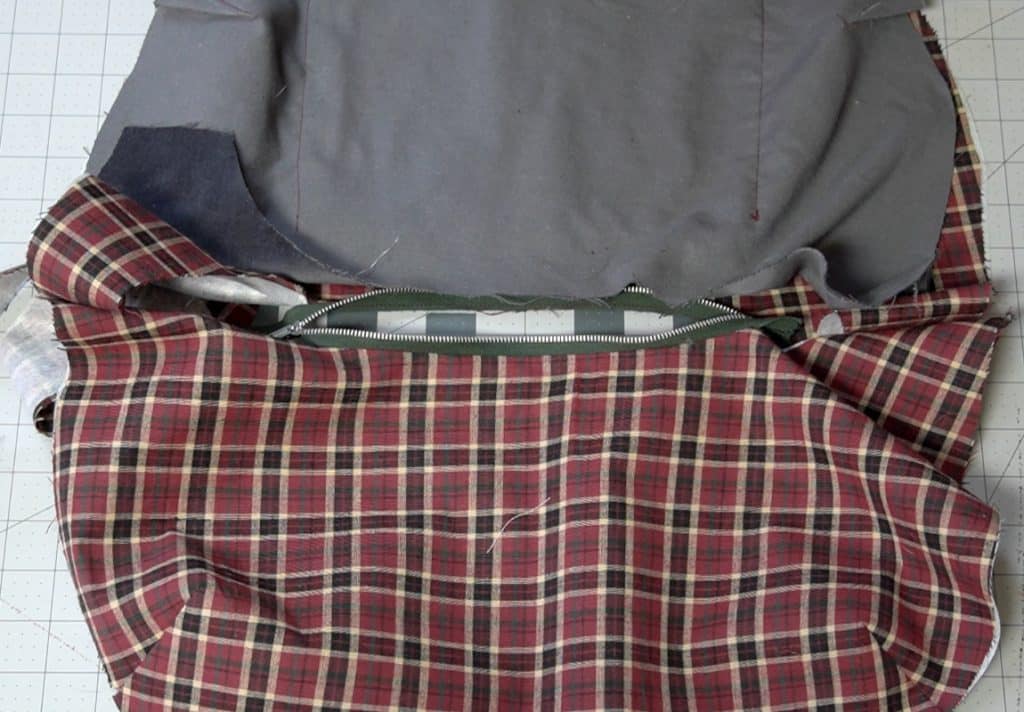
Sandwich the zipper with the lining and sew it in place
The teeth of the zipper should be facing in, toward the center, with the edges of the lining and bag pieces lined up. Sew the front and back lining to the zipper and bag.
Note: I’m using a zipper that is closed on both ends. You do not need to do this, a standard zipper will be easier to use since you can sew through the open end. Whereas, I need to sew through the middle of the zipper while it’s open.
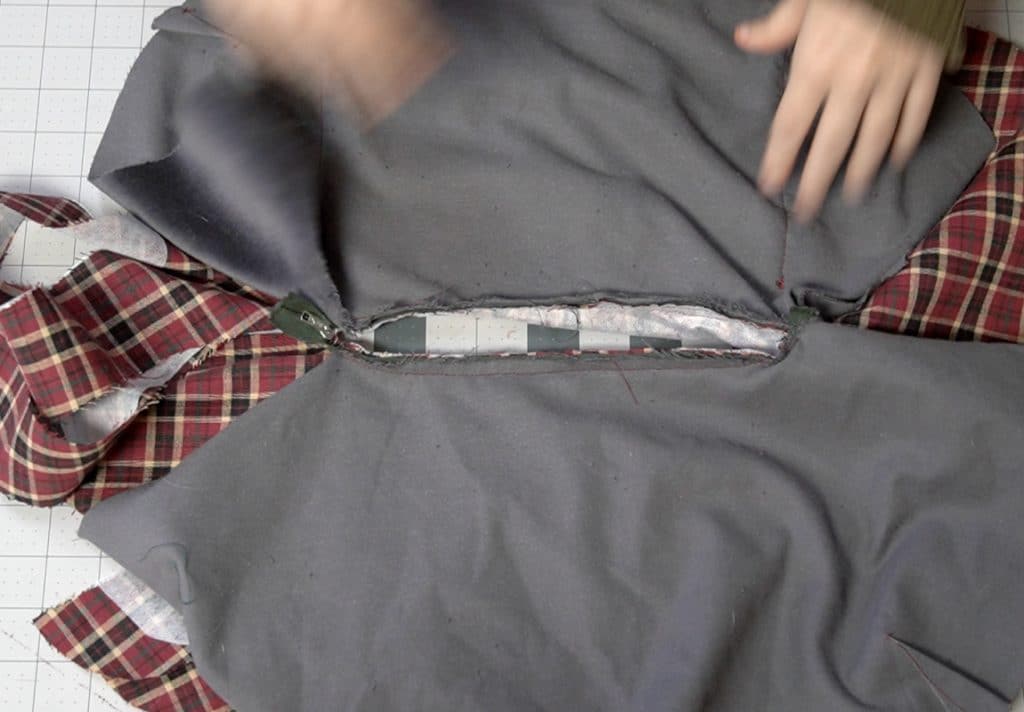
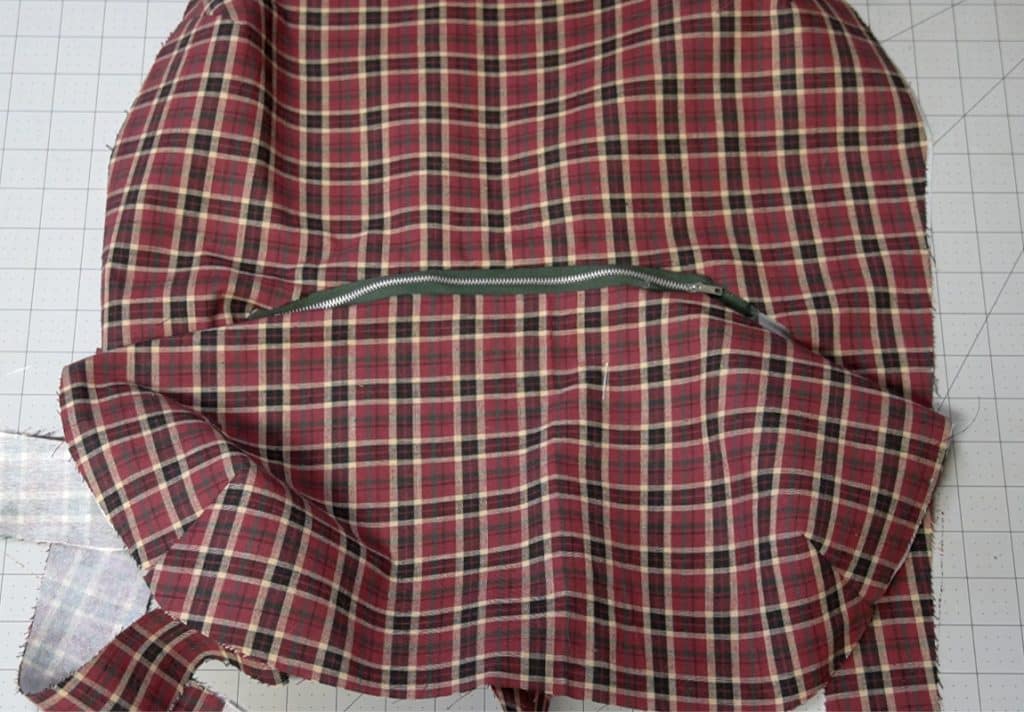
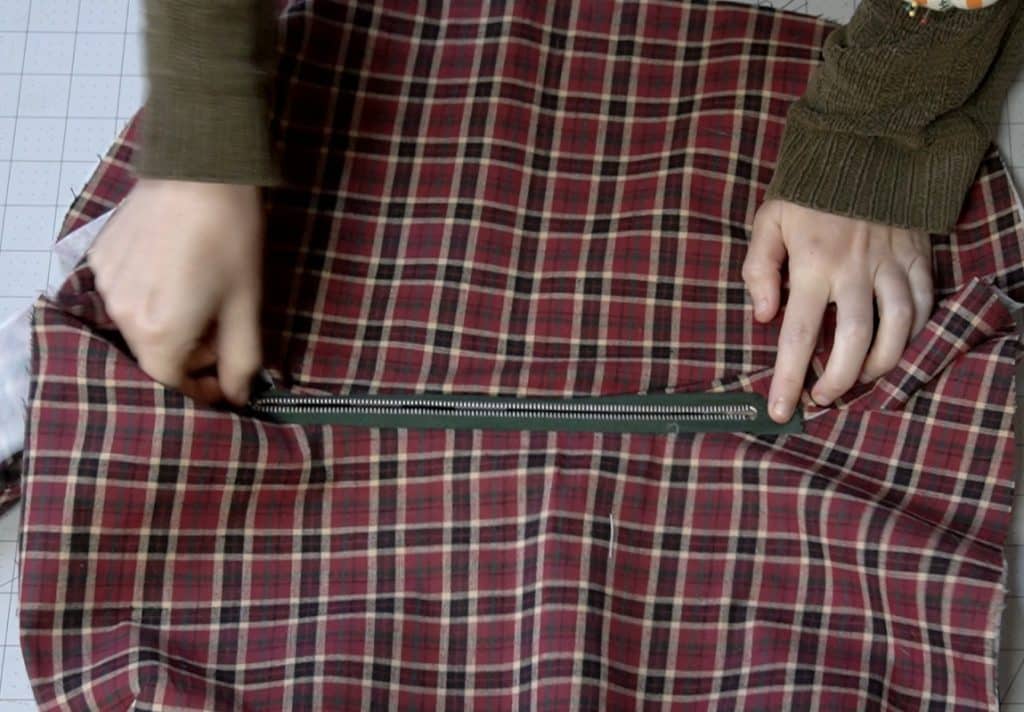
Step 8
flip the lining through the zipper opening and test the zipper
When you flip the lining around, you should be able to test the zipper to make sure it opens smoothly.
Step 9

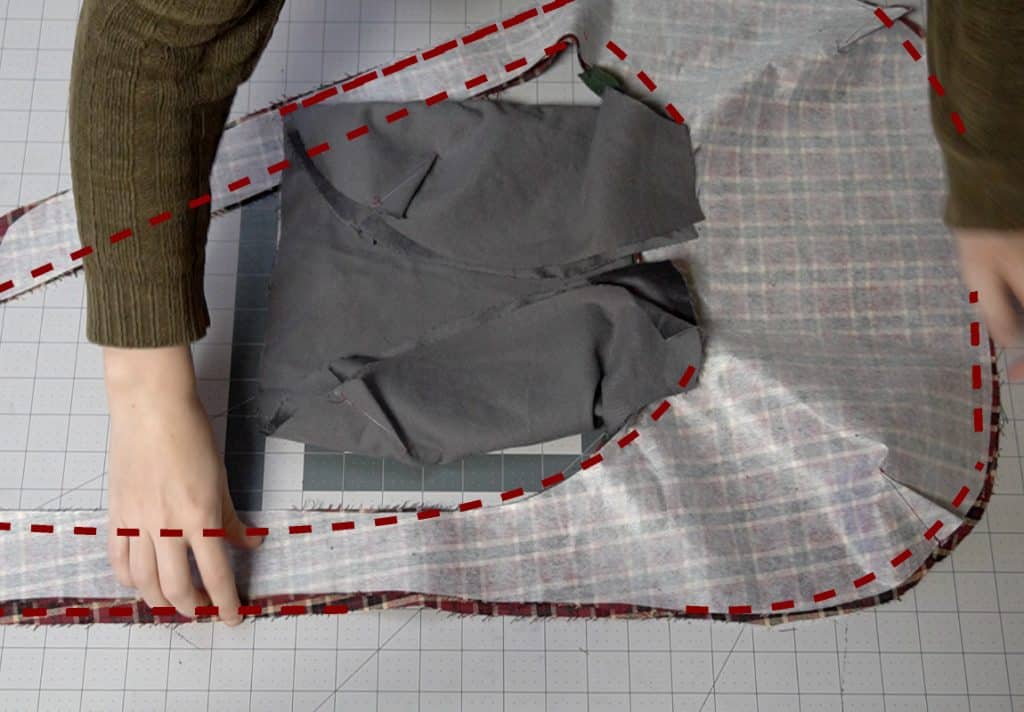
place lining pieces together on one side and bag pieces together on the other, then sew
With the zipper in the middle, fold the linings together on one side, and the outer bag layers together on the other. Sew around the perimeter of both sides (sewing the handles together for the main bag piece). Leave a gap in he base of the lining.

Step 10

flip to right side and sew up gap in lining
Clip curves and corners, then turn the bag right side out. Press everything, and sew up that gap in the lining.

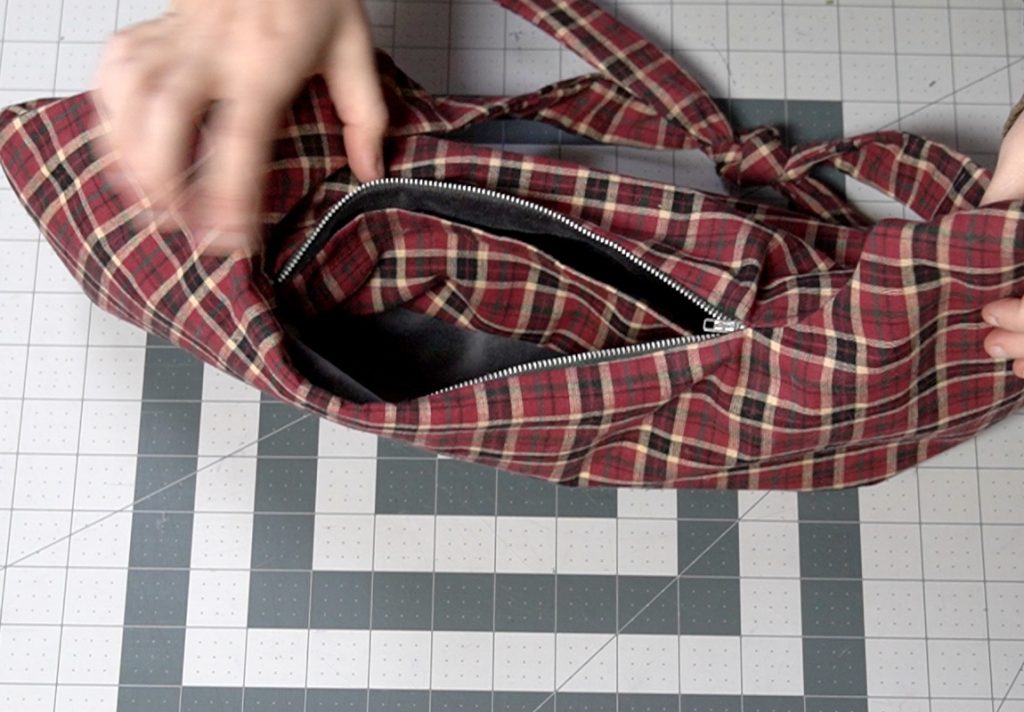
Step 11
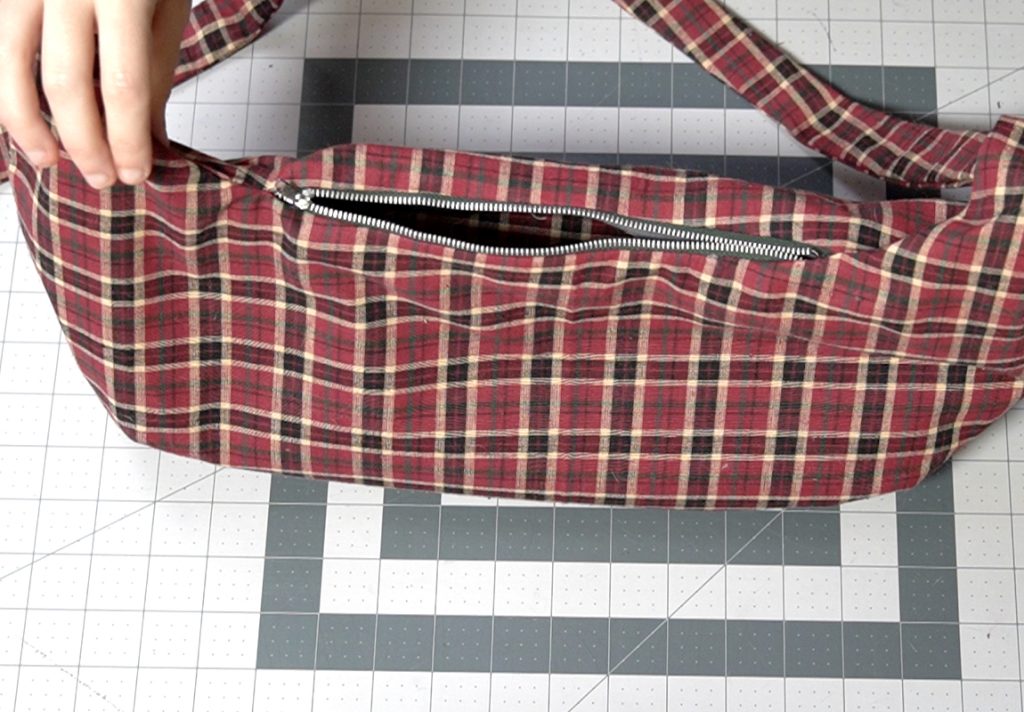
stuff lining into the bag
put the lining inside the bag and make sure the zipper works properly. Then tie the handle and your finished.
Finished!