Tutorial: Infinity Scarf Made from Flannel Scraps
If you want to find a use for some of those scraps you have from other projects, try making this unique infinity scarf. Flannel scraps, in particular, are perfect for this because they are cozy and fabric tends to be fairly flexible, but you can also use similar types of material, or whatever types of fabric scraps you have available.
Supplies Needed:
Step 1

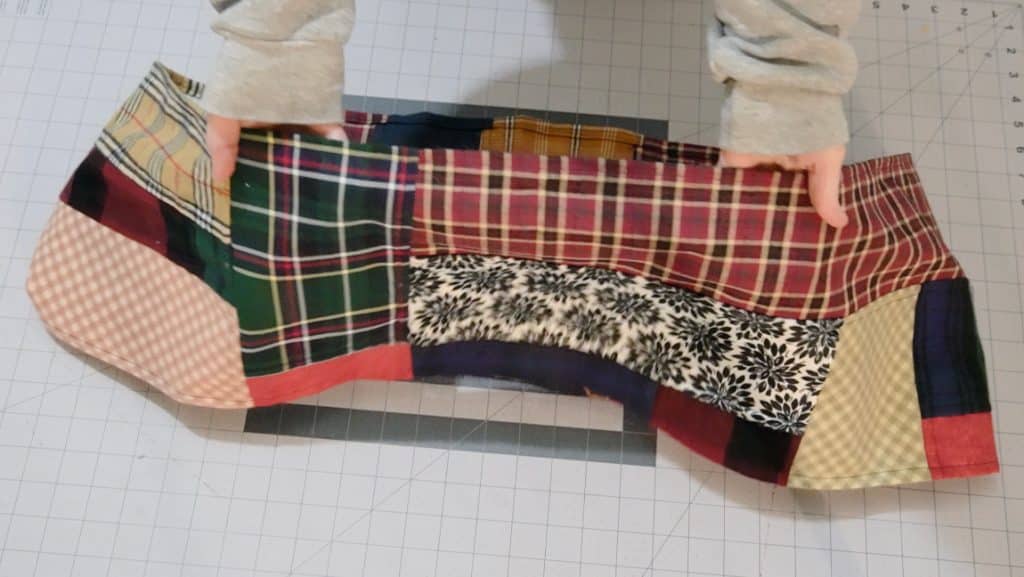
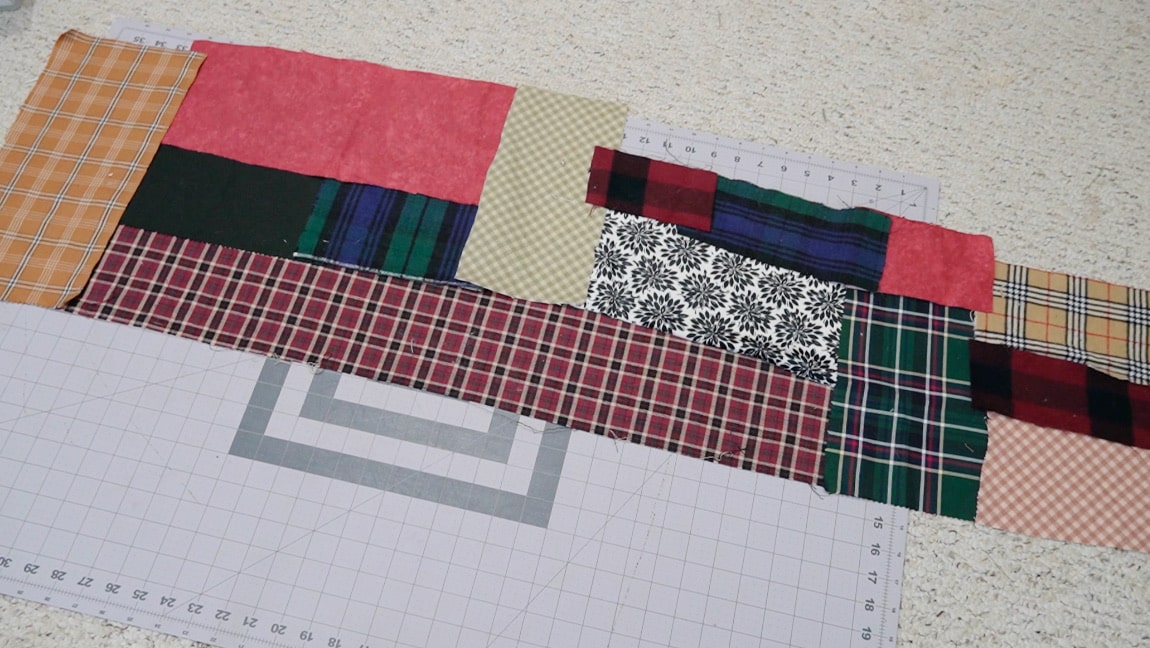
Arrange your fabric scraps in a long rectangle
Design you scarf by arranging your fabric scraps into a long rectangle. A typical infinity scarf is long enough to fit around the neck at least twice. Somewhere around 60″X8″ is a good size to aim for, but you can adjust this however you want based on how long and wide you want your final scarf to be.
It’s okay if the edges don’t match up exactly, you’ll trim it later. I also recommend cutting your fabric pieces into squares and rectangles, especially if this is your first time making a scrap project. They are the easiest shapes to work with.
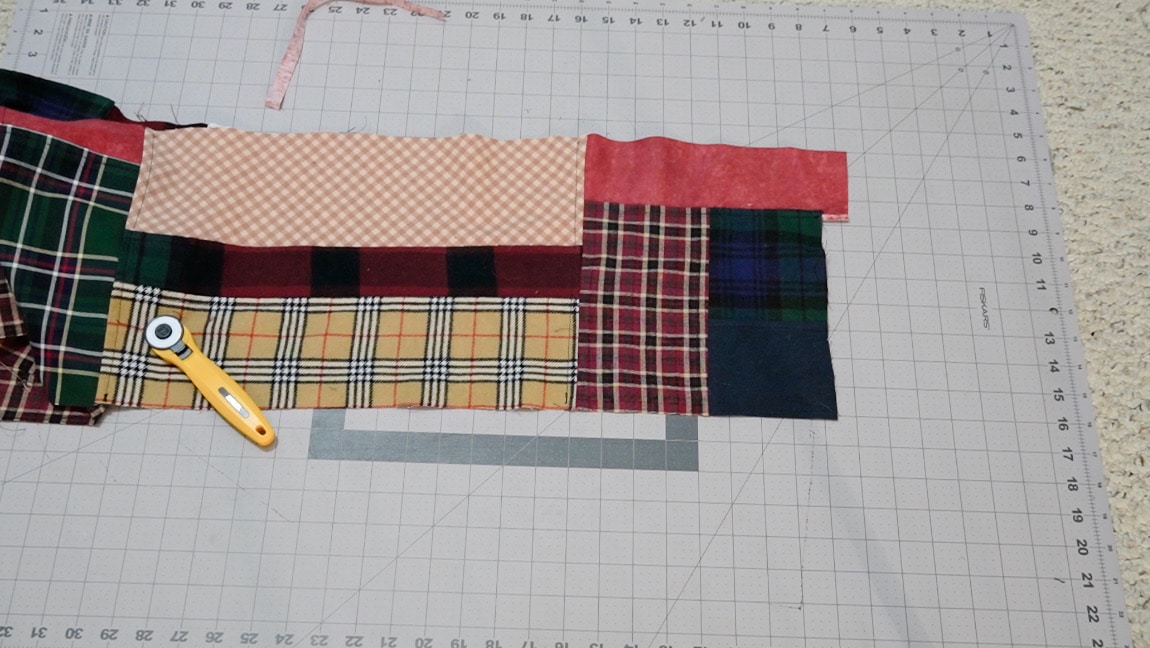
Step 2

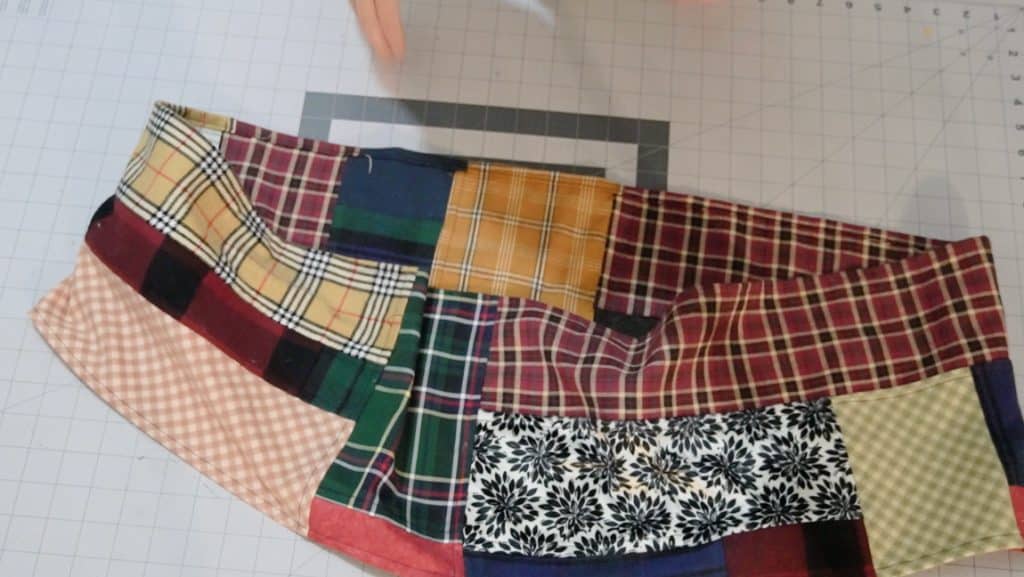
sew the scraps together
One-by-one sew each of the scrap pieces together. It’s easiest to do this in sections. Sew together smaller chunks of the scarf and then sew each chunk together to create the long length of the scarf. Again, it’s okay if the pieces aren’t completely even along the edges, we’ll trim everything in the next step.
Don’t forget to finish each of your seams as you go. I recommend using felled seams to finish each scrap piece to make the scarf more durable overall and prevent fraying.

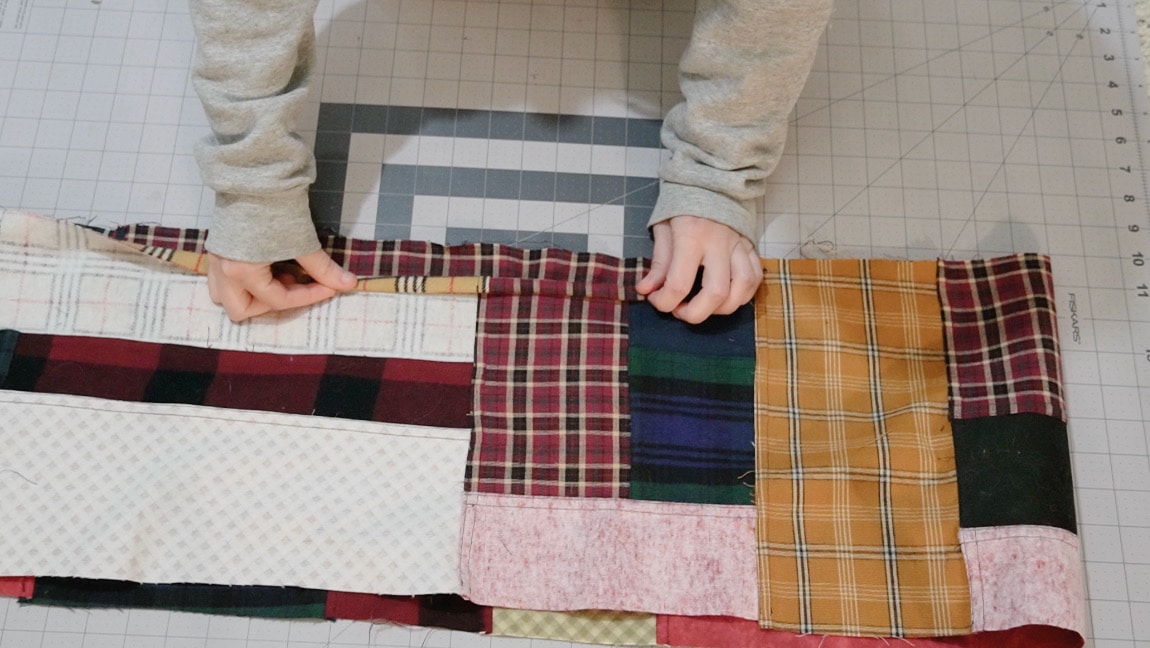
Step 3
Trim the sides of the scarf
Now is the time to trim the overhanging fabric pieces to make them even along the four sides of the scarf so you have a rectangle.
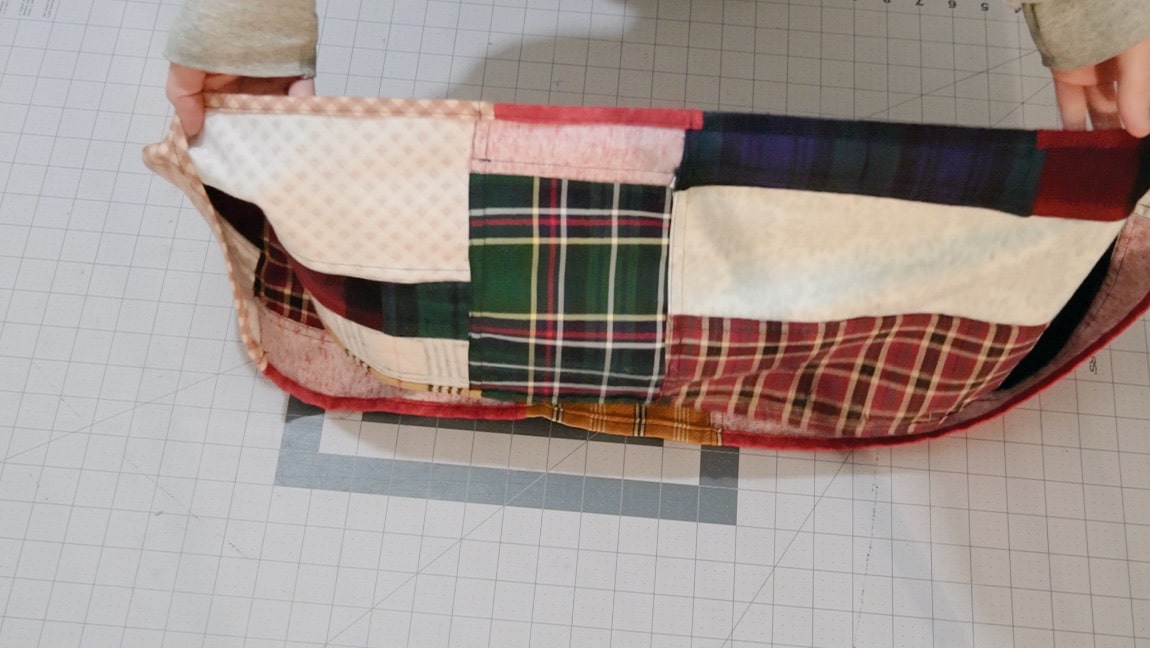
Step 4

fold the scarf in half and sew the short edges together
With right sides together, fold the scarf in half and sew it into a loop.

Step 5
hem the edges
Double turn hem both sides of the scarf to prevent it from fraying over time. When you’re finished, wrap it around your neck twice to wear your new scarf.
Finished!