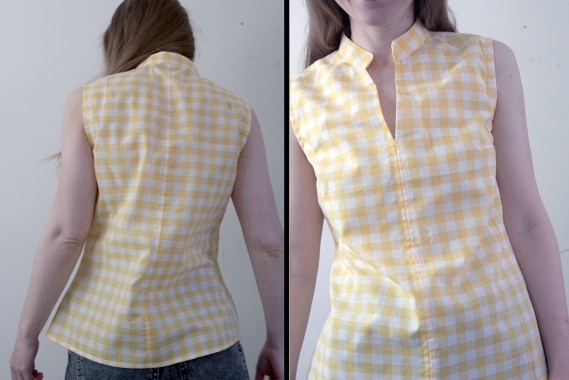
Tutorial: Simple Sleeveless Shirt (how to make your own pattern)
Ready to make your own pattern for a sleeveless shirt? This tutorial will walk you through the step by step instructions for making a simple semi-fitted sleeveless shirt with a collar neckline. Use your sloper (a base pattern that matches your body measurements) and follow the step-by-step instructions below.
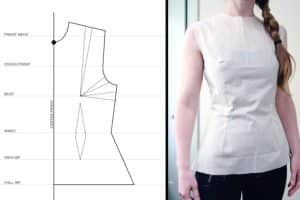
This tutorial uses this sloper as a base for the shirt pattern. Follow instructions here
This page contains affiliate links. As an Amazon Associate, I earn a small commission from qualifying purchases. That being said, I encourage you to use your local sewing shop whenever possible, or to look for supplies second hand.
Supplies Needed:
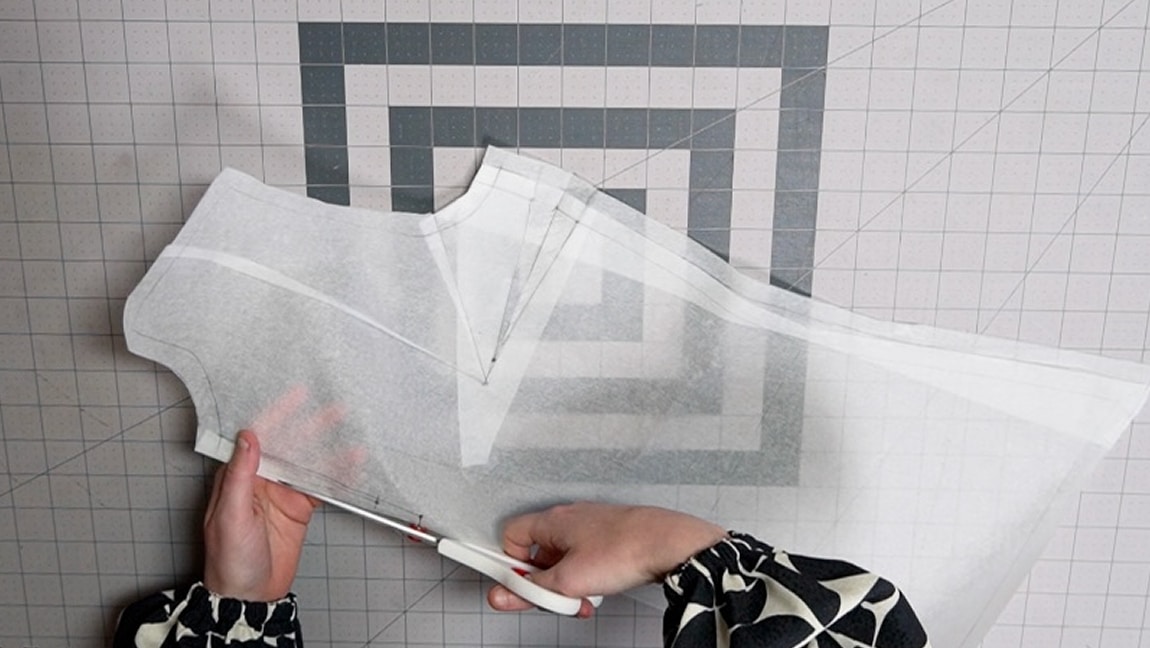
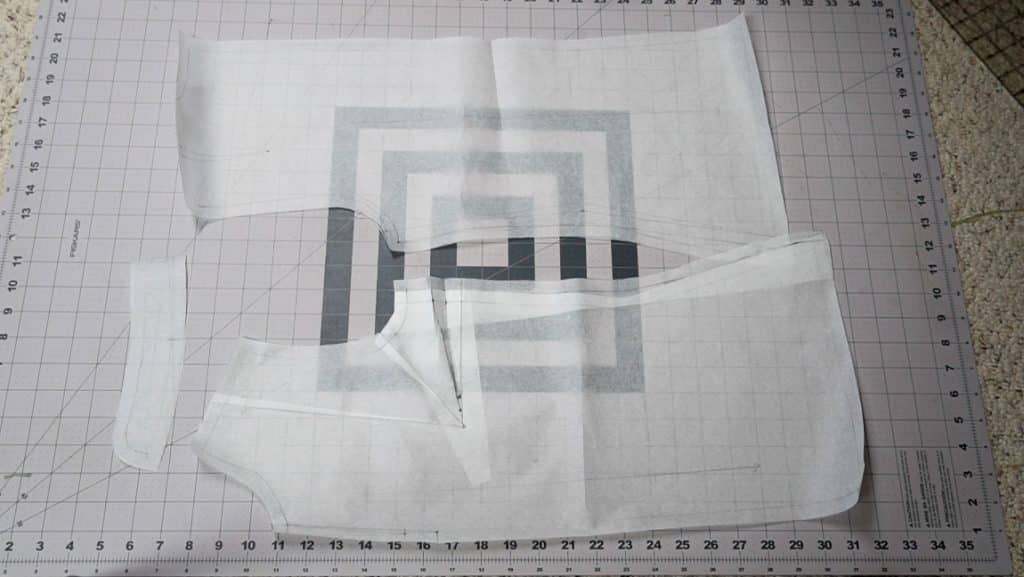
Step 1
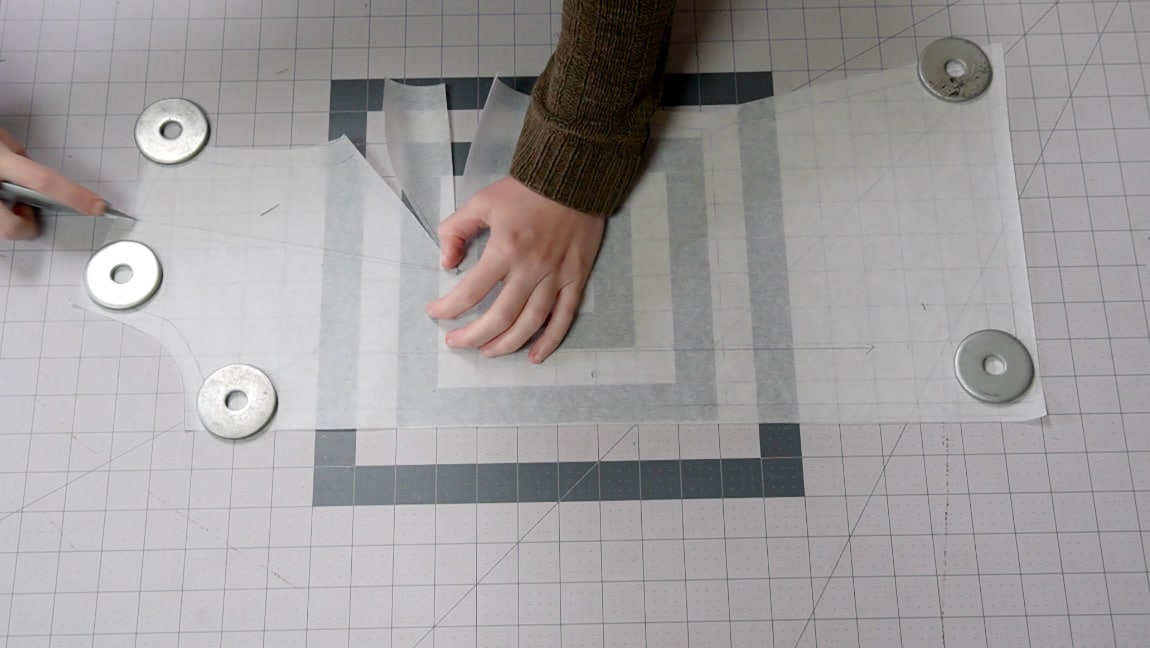
Cut one leg of the darts
If you’re using the sloper I linked to above, you’ll need to turn your 3 high point darts into 1 side dart. Slice open one leg of each of the darts then slide the shoulder dart and the armhole dart closed. This will cause the side dart to become wider. Place a piece of scrap paper under the side dart to fill in the gap.
What about the waist dart? Just ignore it. Leave the space in to give you some extra ease around the waist and hips and don’t sew it up.
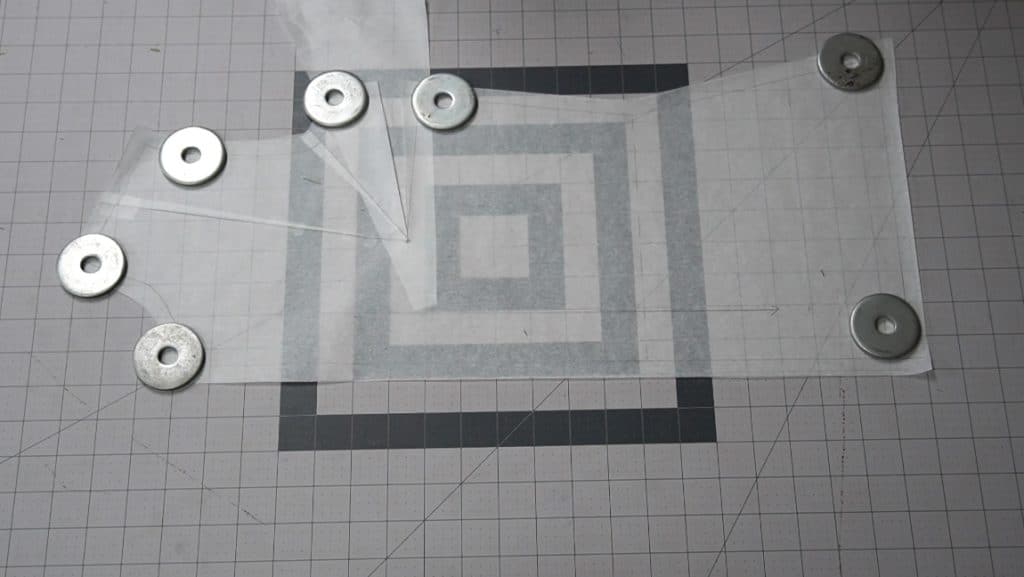
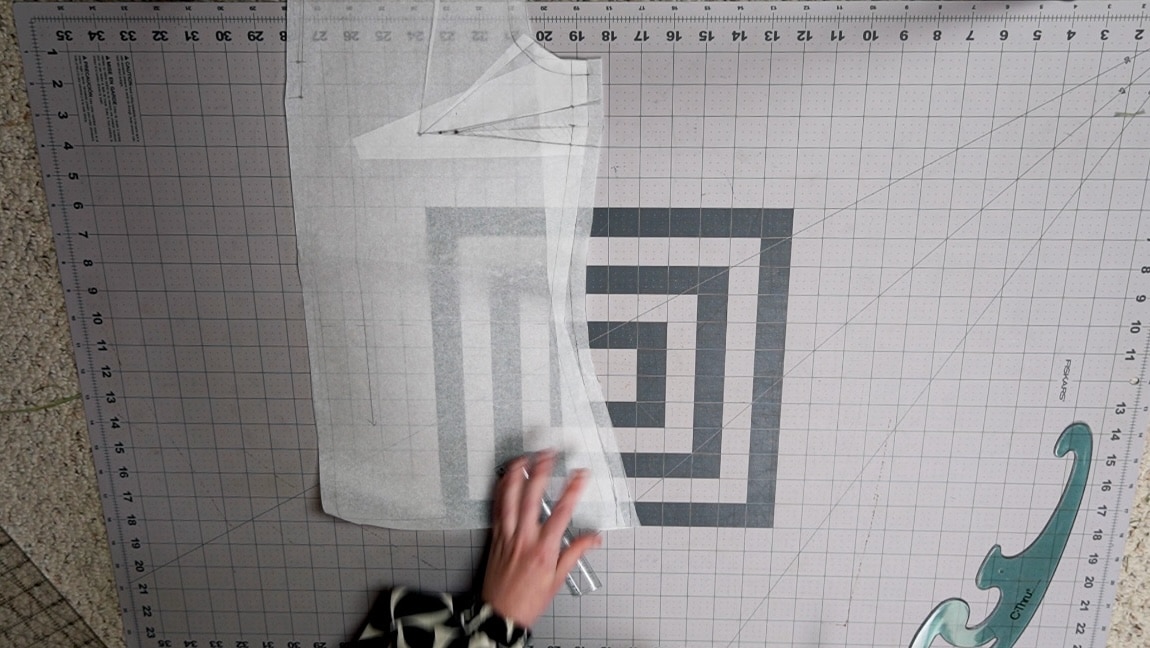
Step 2
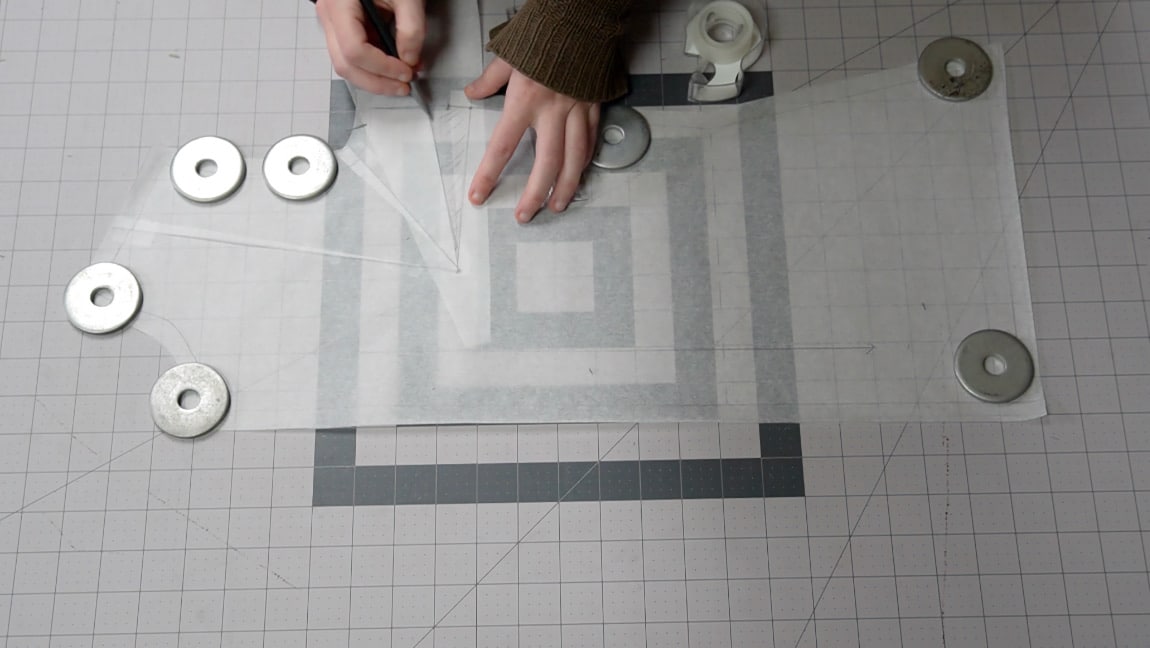
draw in your new side dart
Typically, you don’t want a dart to go all the way to the high bust point. Instead, move the point of the dart 1″ closer to the side of the shirt. Then, draw the legs of your new side dart to this point.
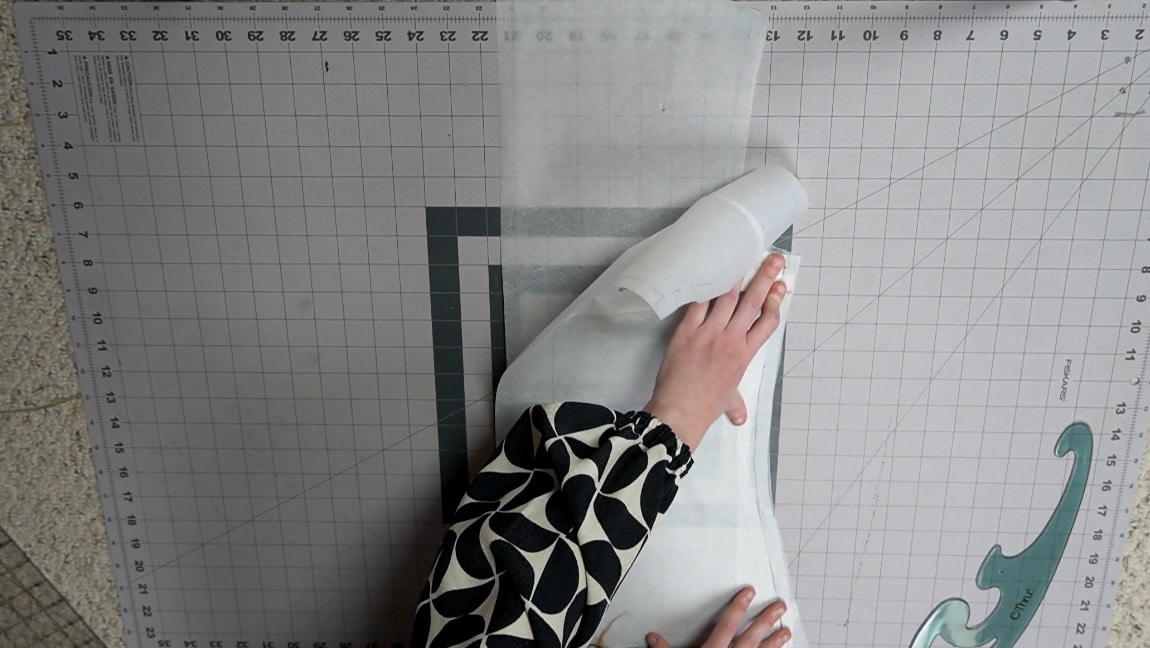
Step 3
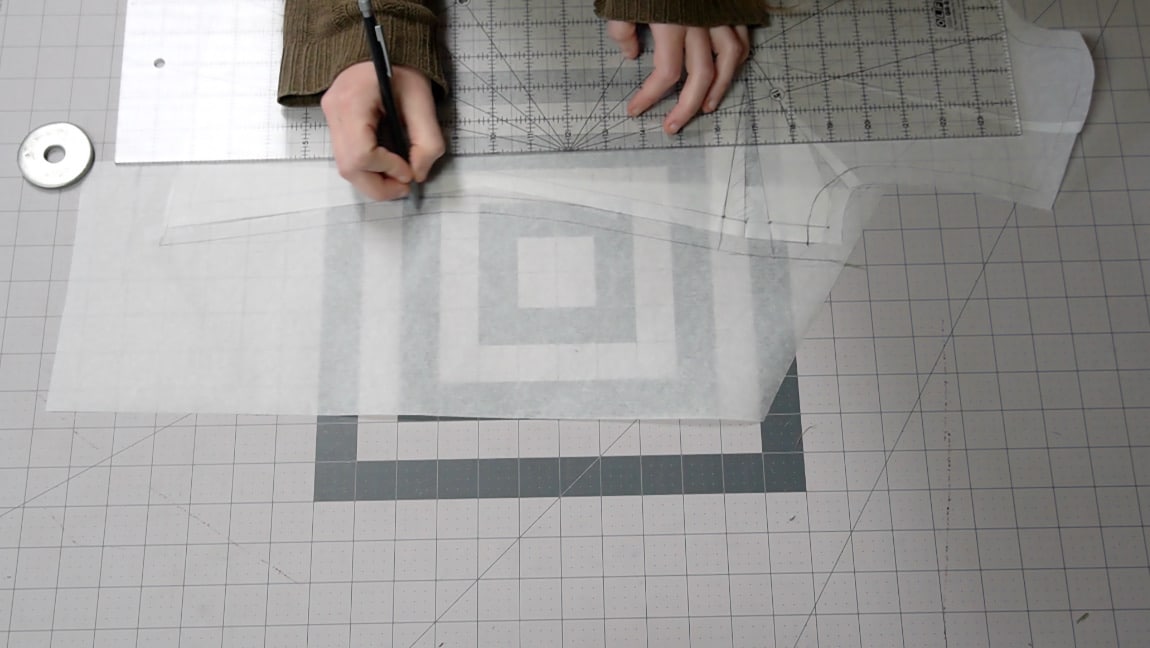
adjust your side seam
You want this shirt to fit over your head and shoulders. For that reason, you’ll need to add enough length to the side of the shirt. You’ll want the smallest point of the waist to be greater than your shoulder circumference.
I added half an inch to the side of my shirt following the general curve of the side. You may need to add slightly more or slightly less depending on your body measurements.
Remember, every measurement you add to the side here is quadrupled because this is half of the front. We will repeat the side adjustment on the back piece too.
Step 4
draw a new neckline
6 inches down, create a point for your neckline. Then move the top neckline in half an inch. Draw a line to connect these two points.
Step 5
copy the back side seam
Copy the changes you made on the front side seam to the back piece. Be sure to fold out the front dart, since you don’t need that on the back.
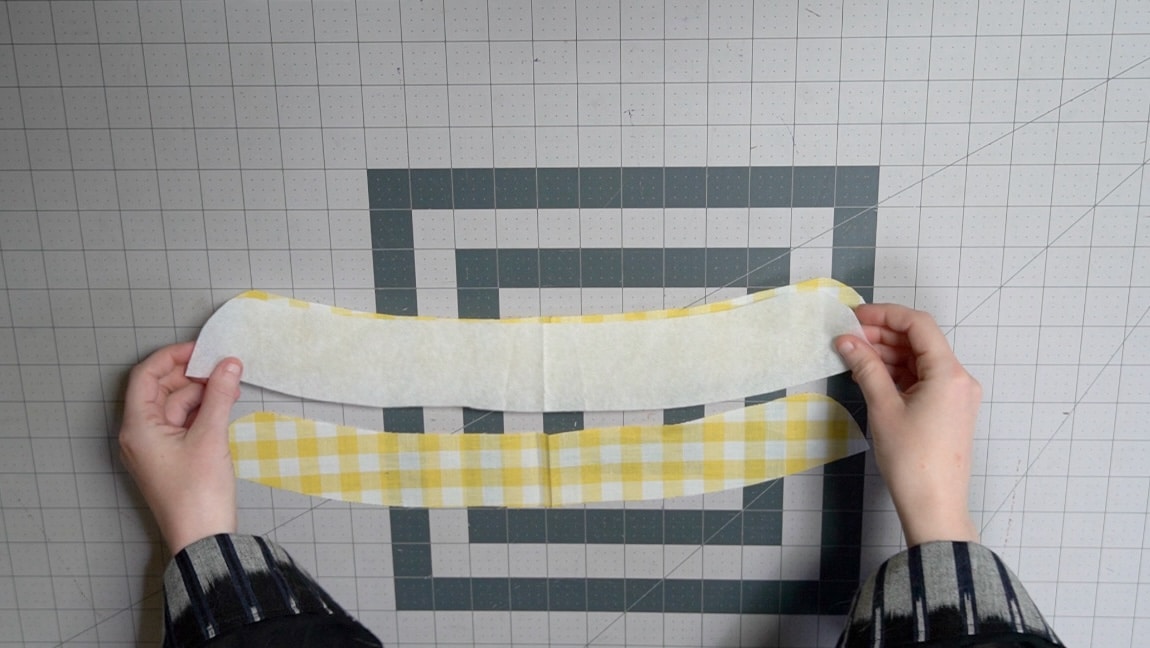
Step 6
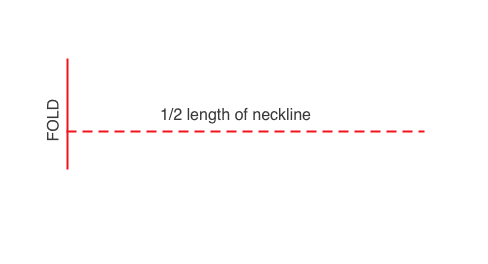
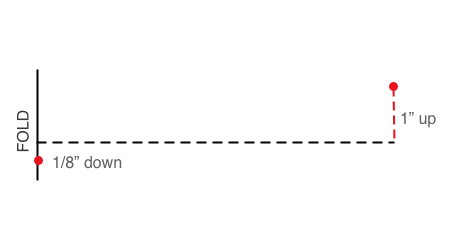
make your collar (part 1)
Now you need to create the collar (sorry, I forgot to record this part, so drew a diagram for you):
- Measure the neckline of your shirt pattern and add them together
- To create a collar pattern that you cut on the fold, make a line that is half of the neckline measurement
- Make a dot 1/8 inch down on the fold
- make a dot 1 inch up on the other end
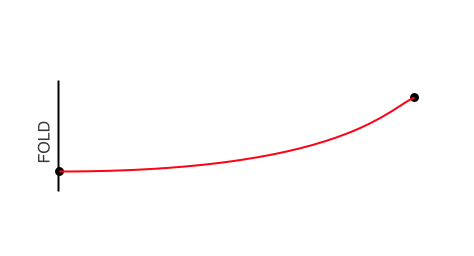
- Draw a curved line connecting the two dots
Step 7
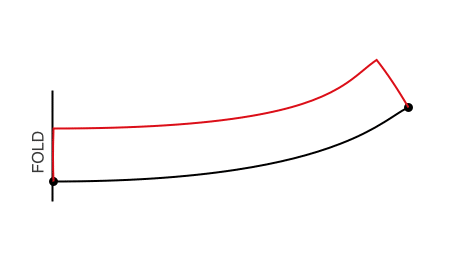
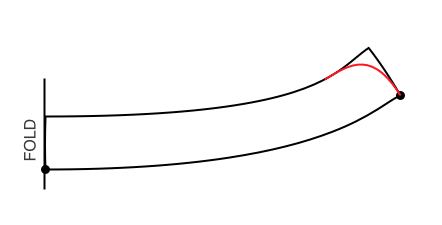
Make your collar (part 2)
Now that you have that line, you just need to add thickness to the collar piece:
- Draw a box that is 1 inch thick from the line you made in the previous step
- Make the collar curved on the end
Step 8
add seam allowance
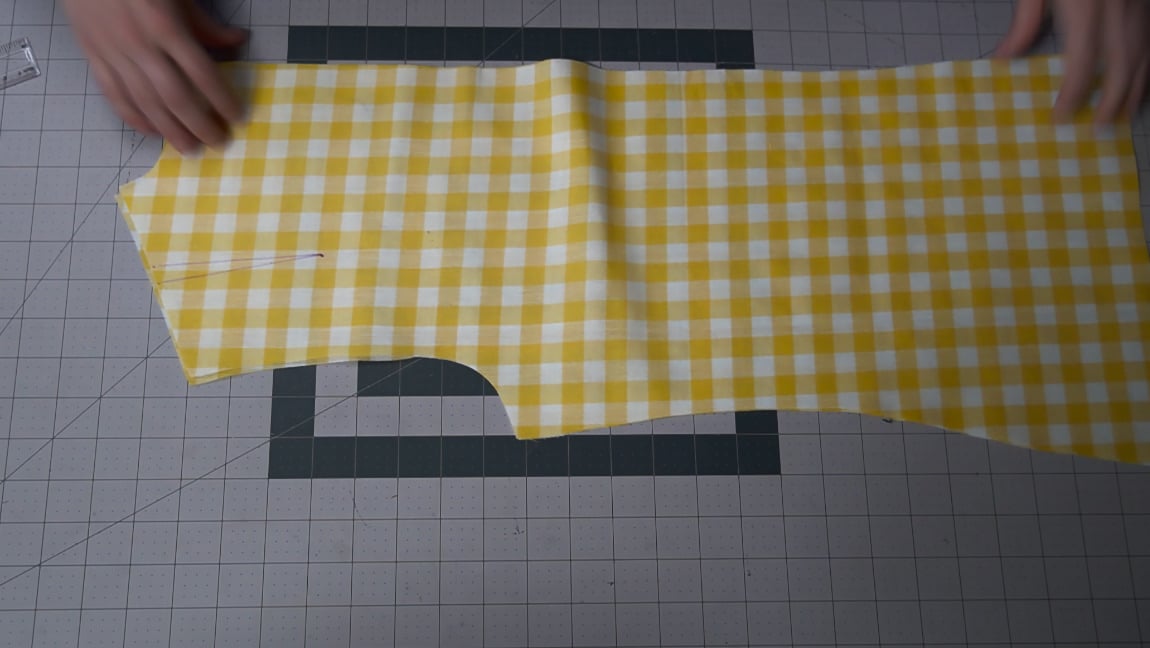
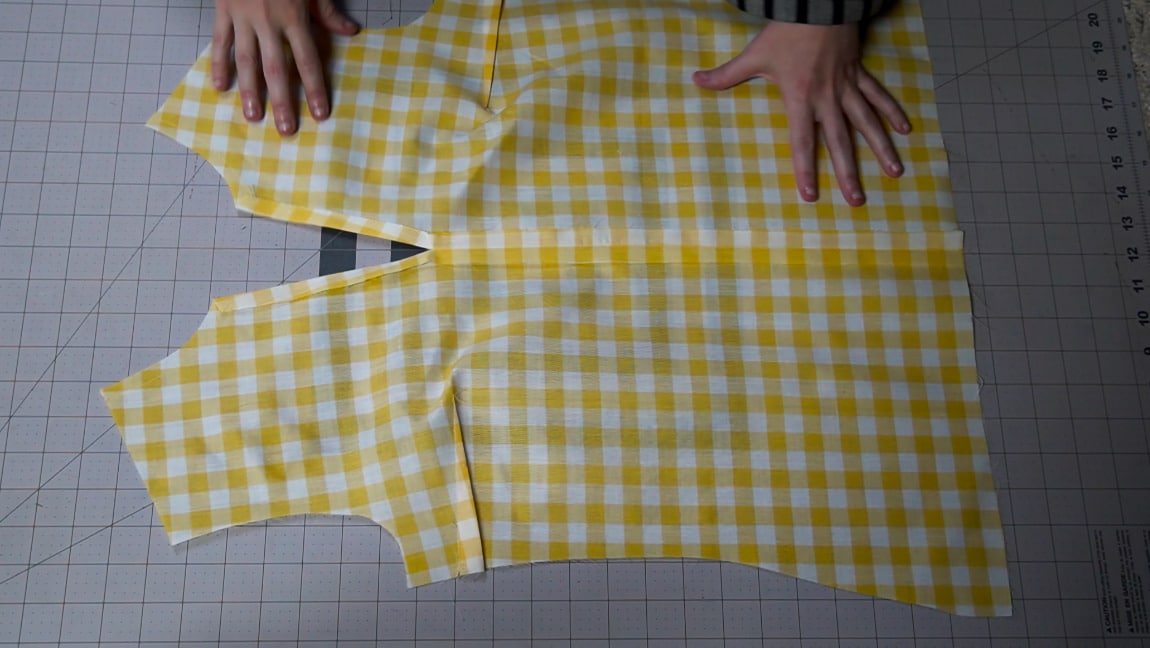
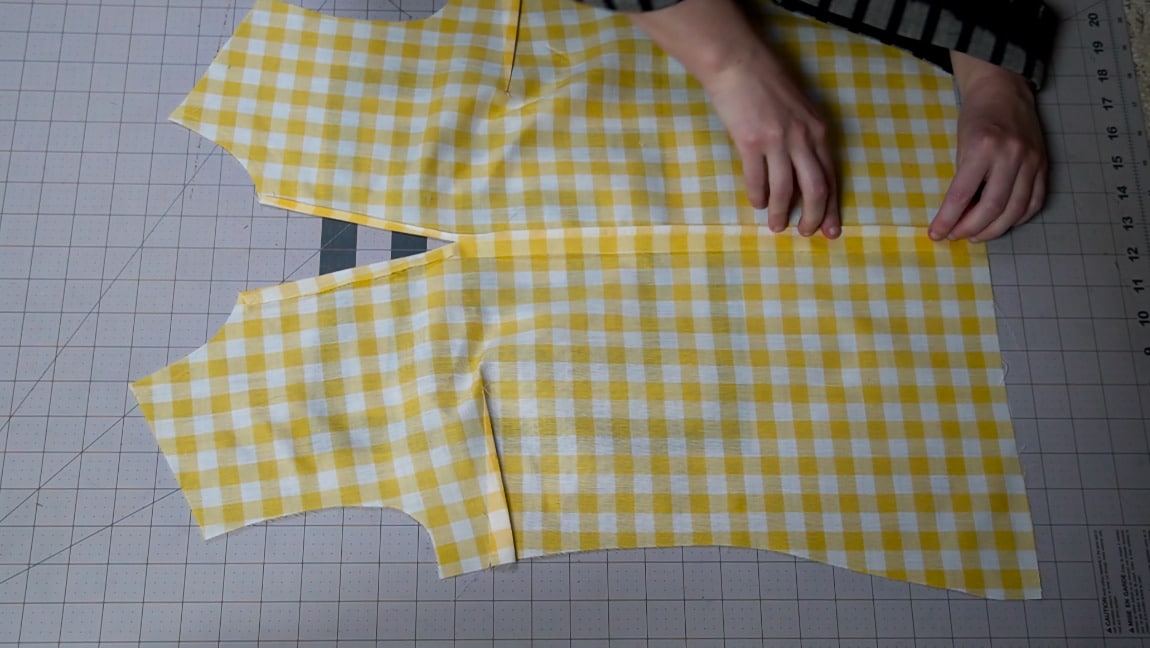
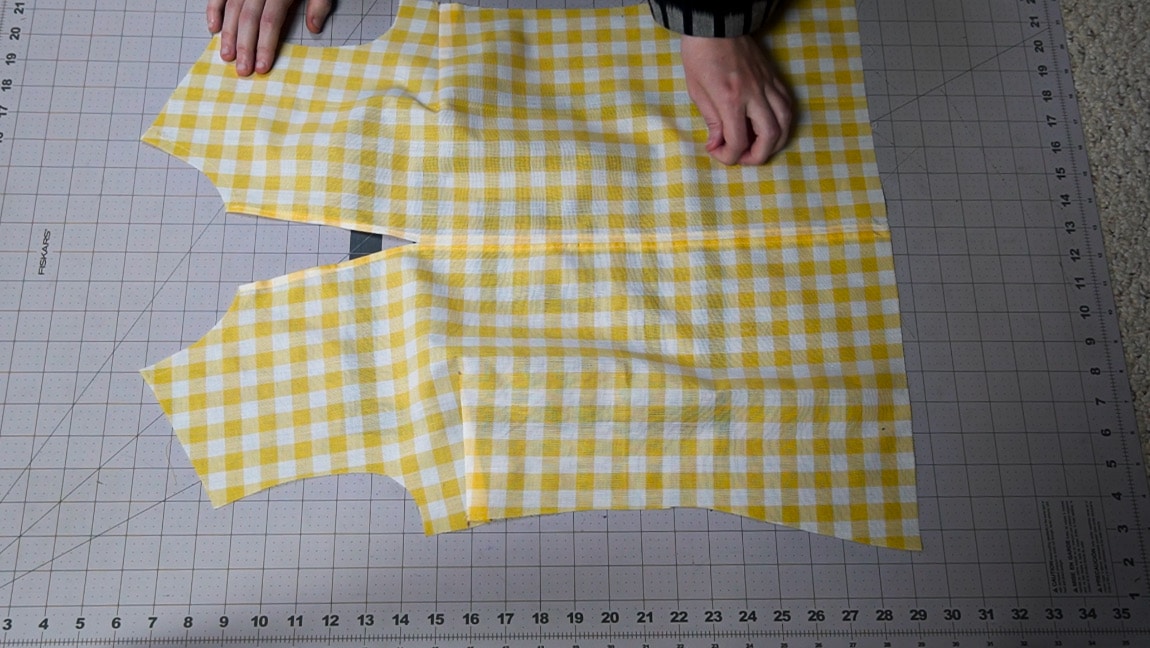
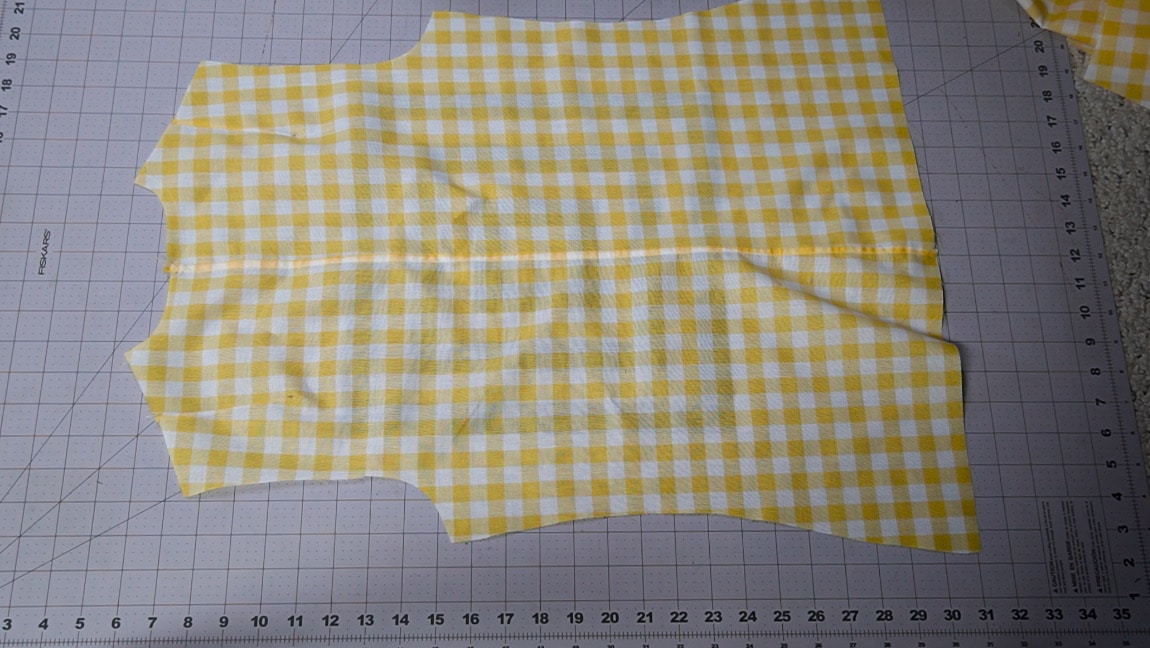
Now that you have all of your pattern pieces, remember to true the sides and add seam allowance to everything.
you will need:
- Front (cut 2)
- Back (cut 2)
- Collar (cut 2 on fold, cut 1 interfacing on fold)
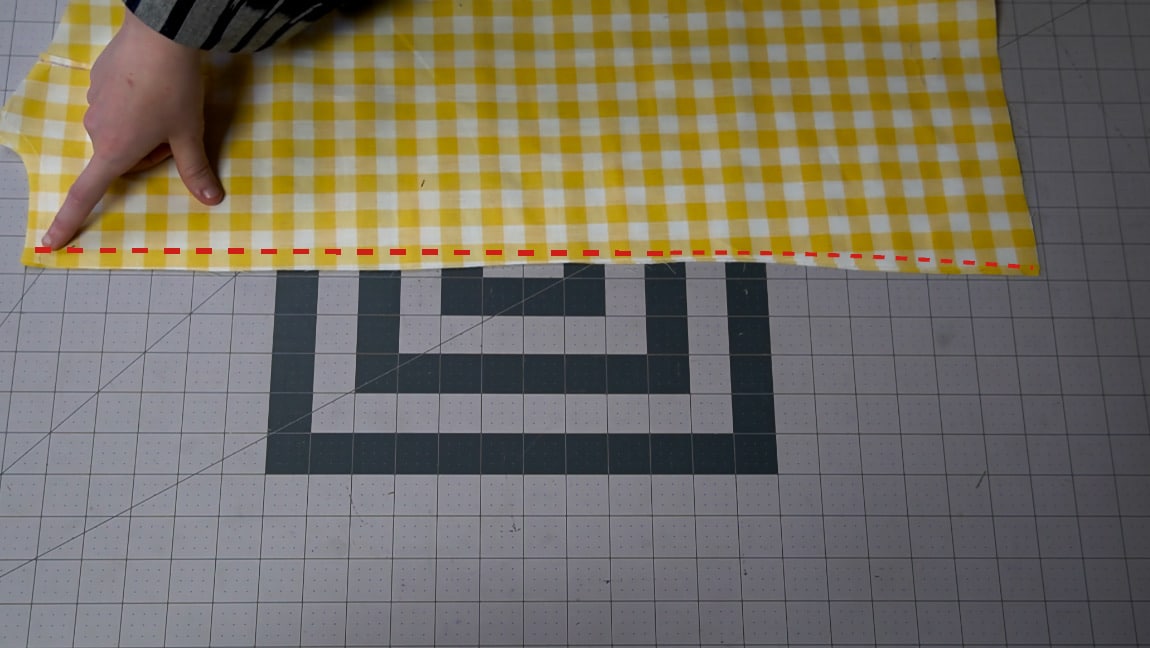
Step 9
add interfacing to one of the collar pieces
Step 11
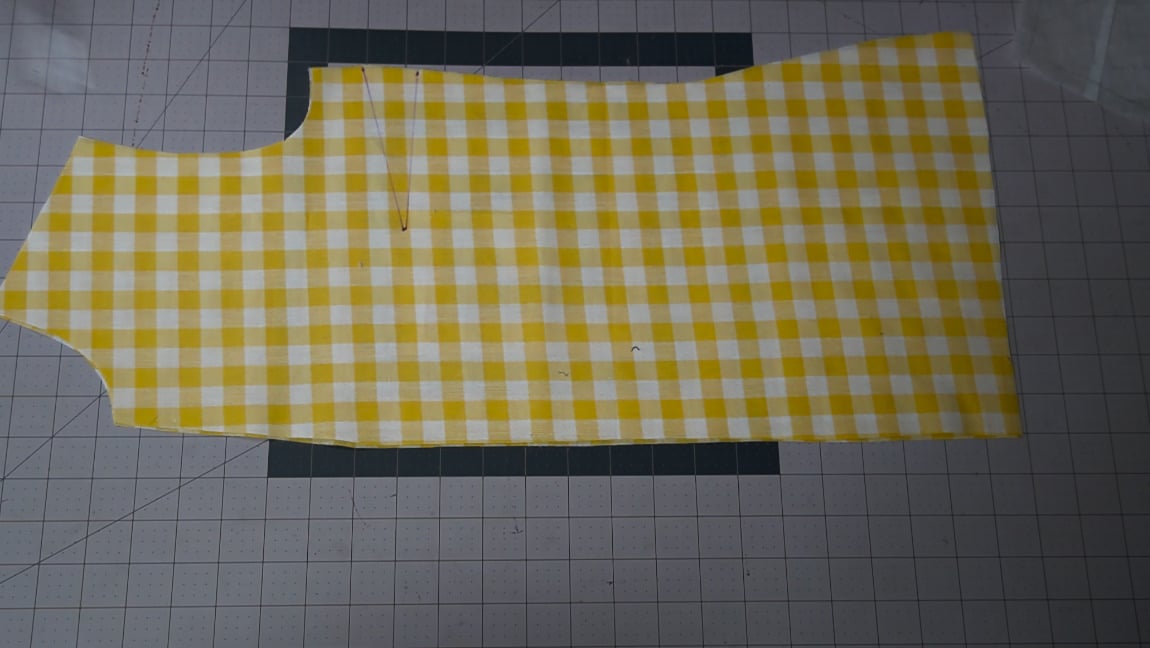
sew the darts
Sew the side dart in the front shirt, and the shoulder dart in the back shirt.
Step 12
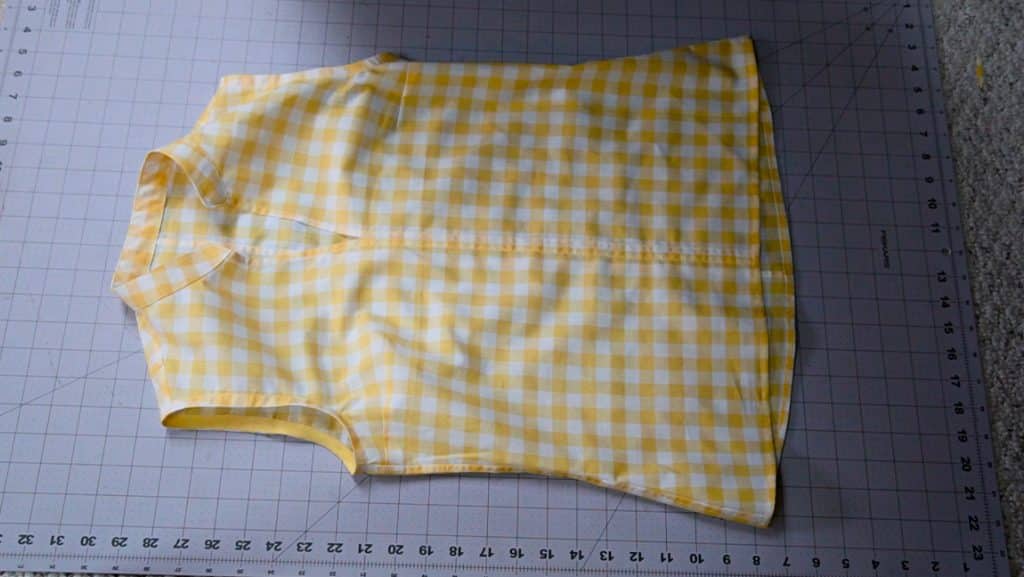
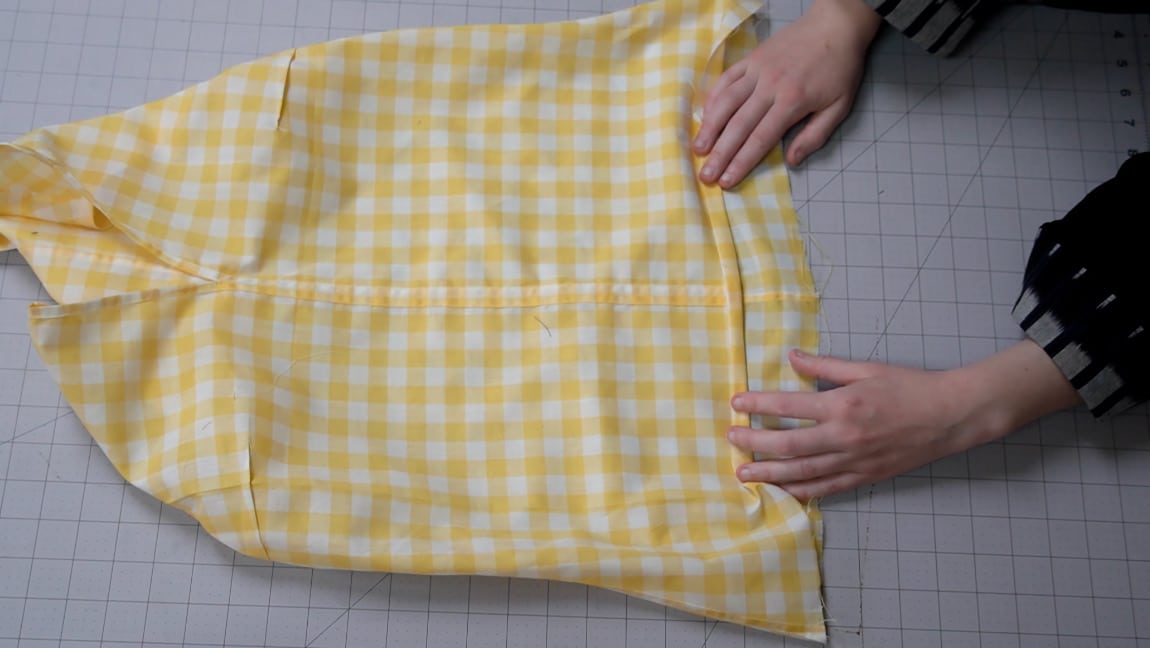
sew the front center seam
With right sides together, sew the front pieces along the center seam. Then, press the seam open
Step 13
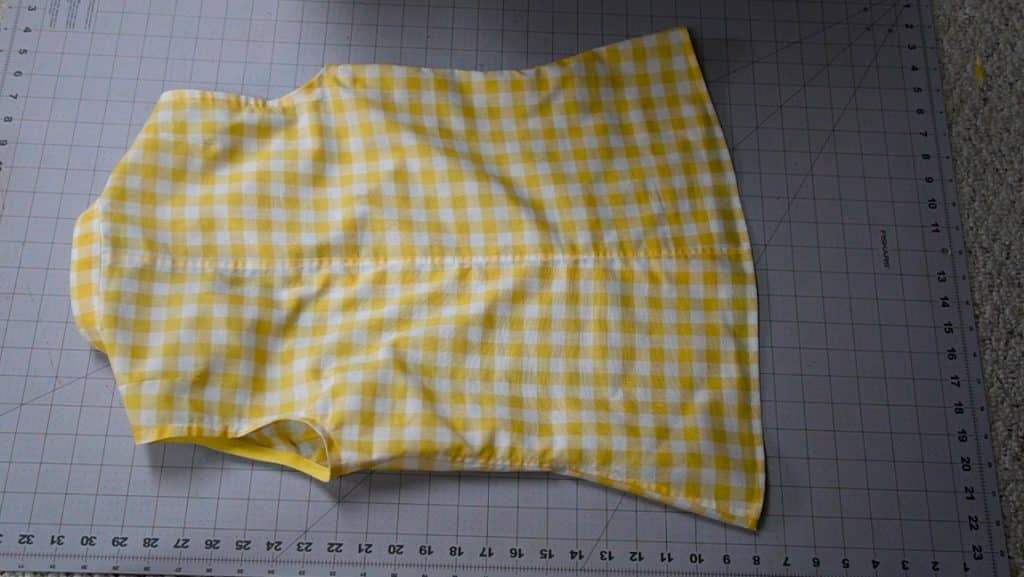
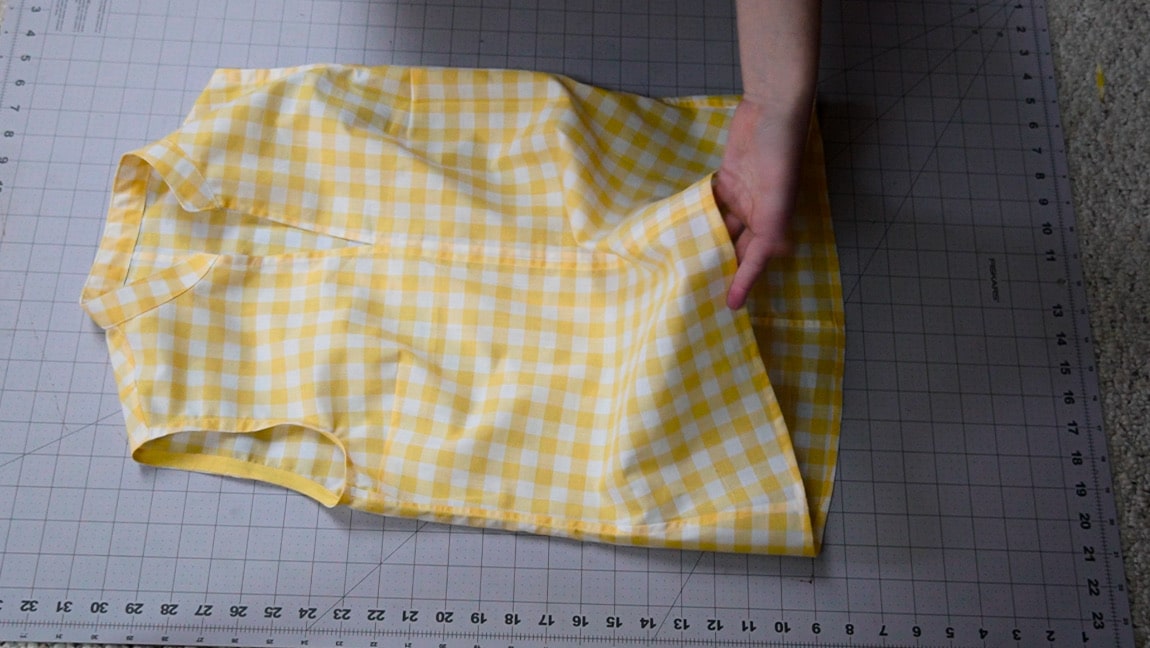
finish the front center seam
Fold under the seam allowance of the front center seam and continue folding the seam allowance on the neckline to create a hem. Then sew all the way down the center on both sides
Step 14
sew the back seam
with right sides together, sew the center back seam
Step 15
sew the shoulder seam
With right sides together, sew the front and back together at the shoulders
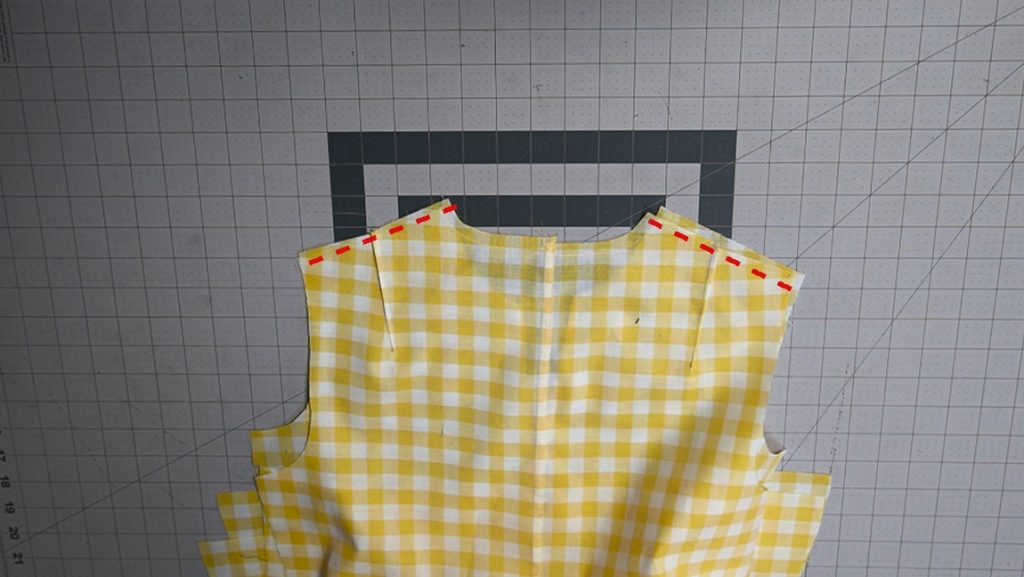
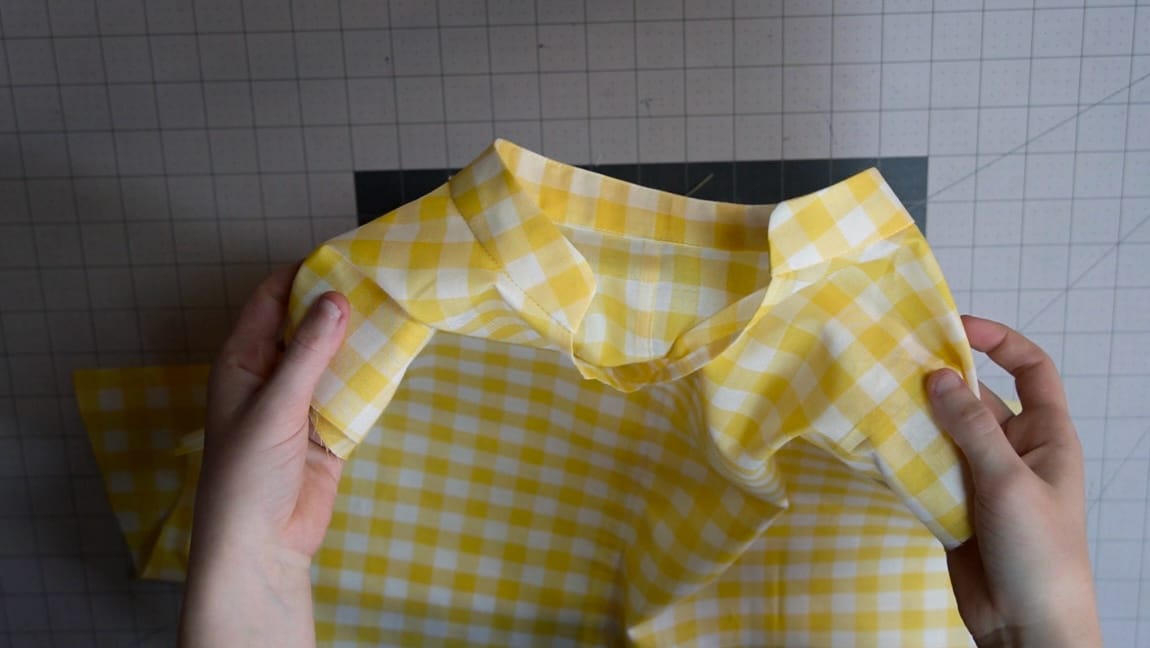
Step 16
sew the collar
sew the collar around the neckline, easing it around the curves. Be sure to leave seam allowance at the front seam. Then, press the collar away from the shirt
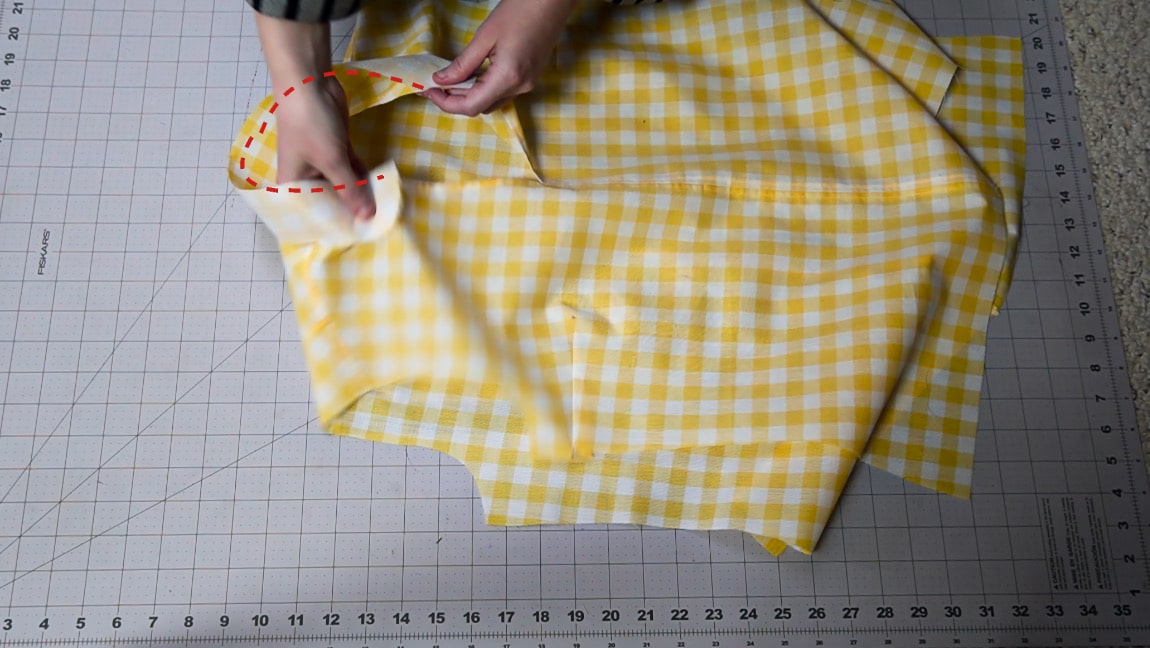
Step 17
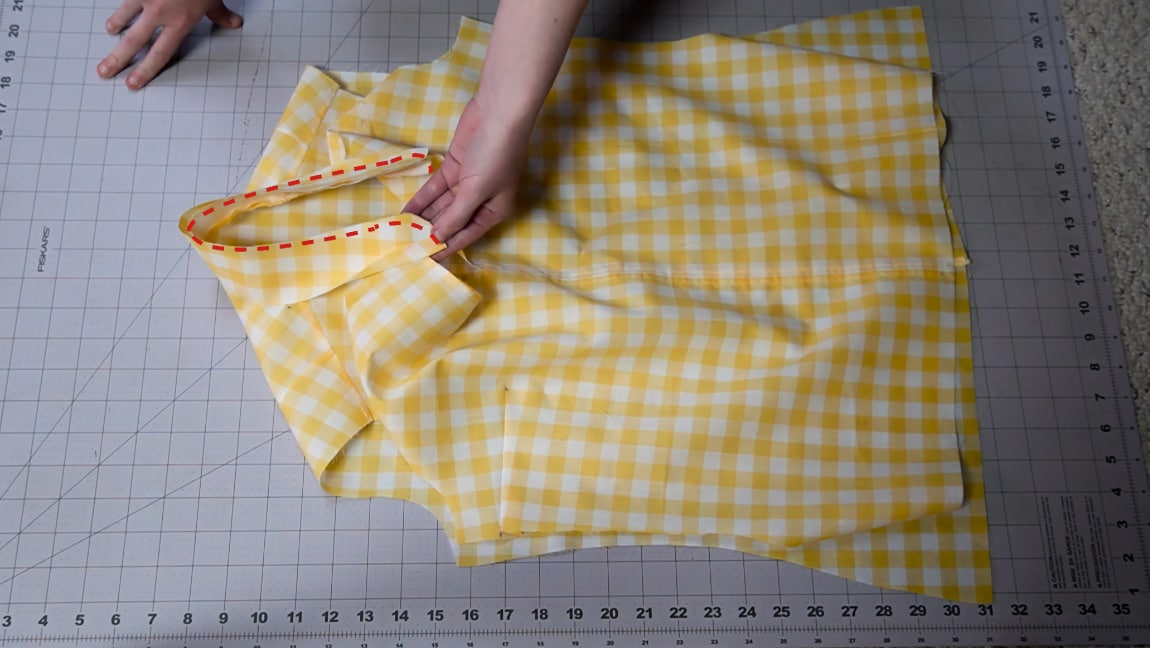
sew the collar facing
sew the second collar piece as a facing along the top of the collar.
Step 18
turn the collar facing to reverse side
Understitch and press the collar facing to the reverse side of the shirt. Then ditch stitch or top stitch the facing in place.
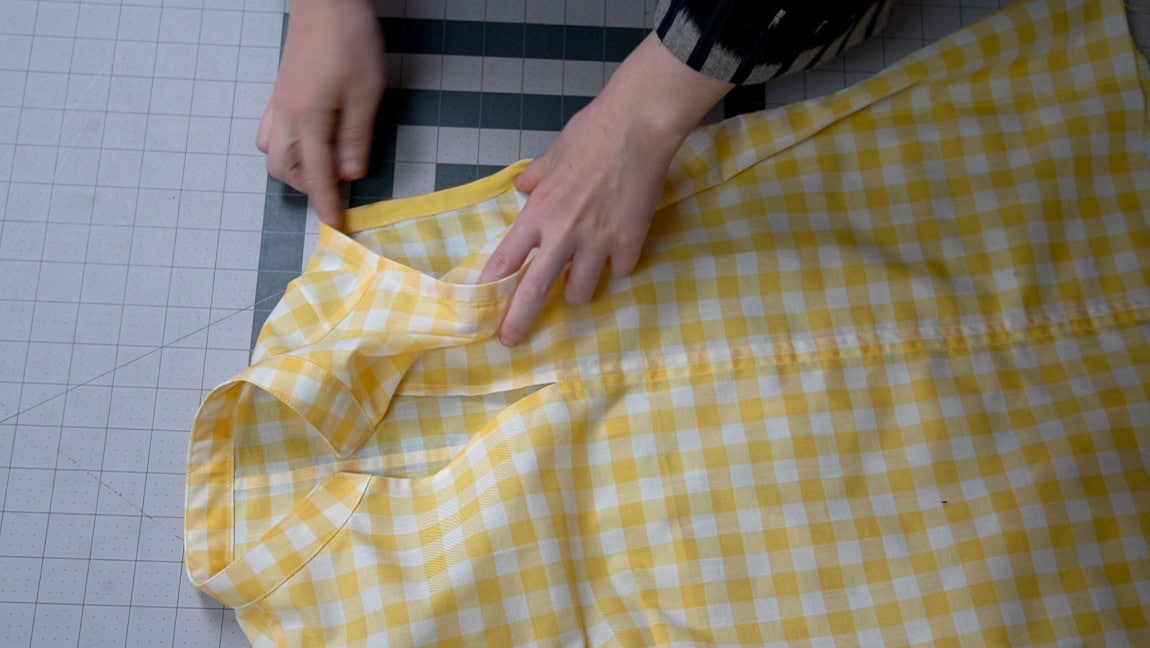
Step 19
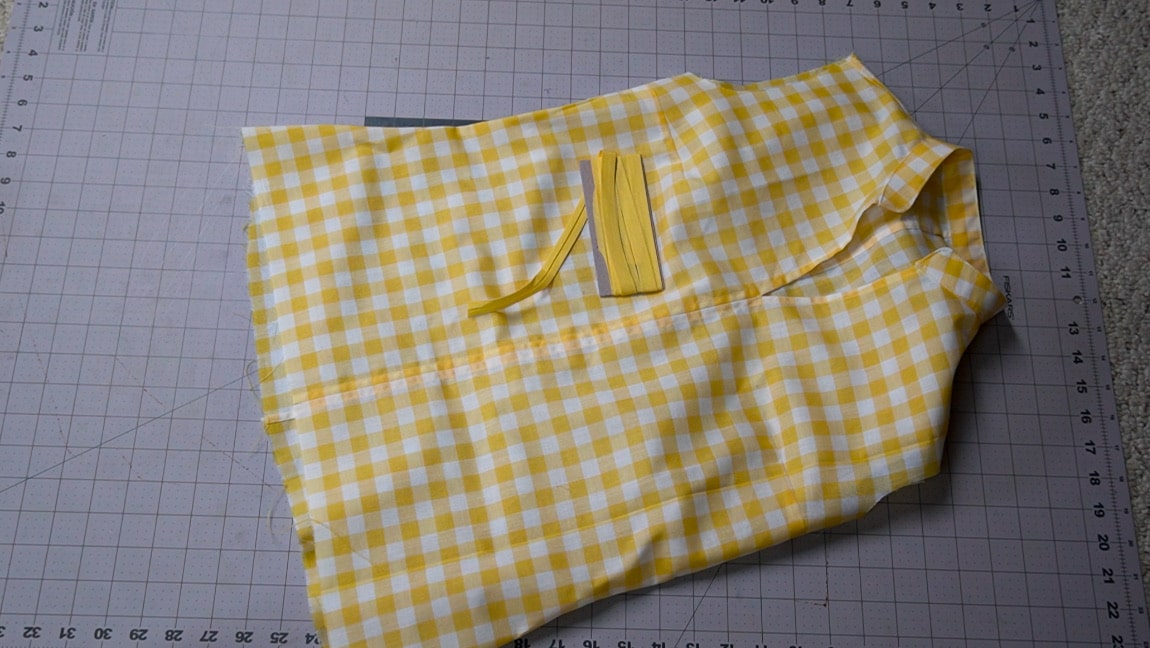
sew bias tape around armholes
sew the single fold bias tape around the outside of the armhole. Make sure the fold in the bias tape is lined up with the seam allowance of the armhole.
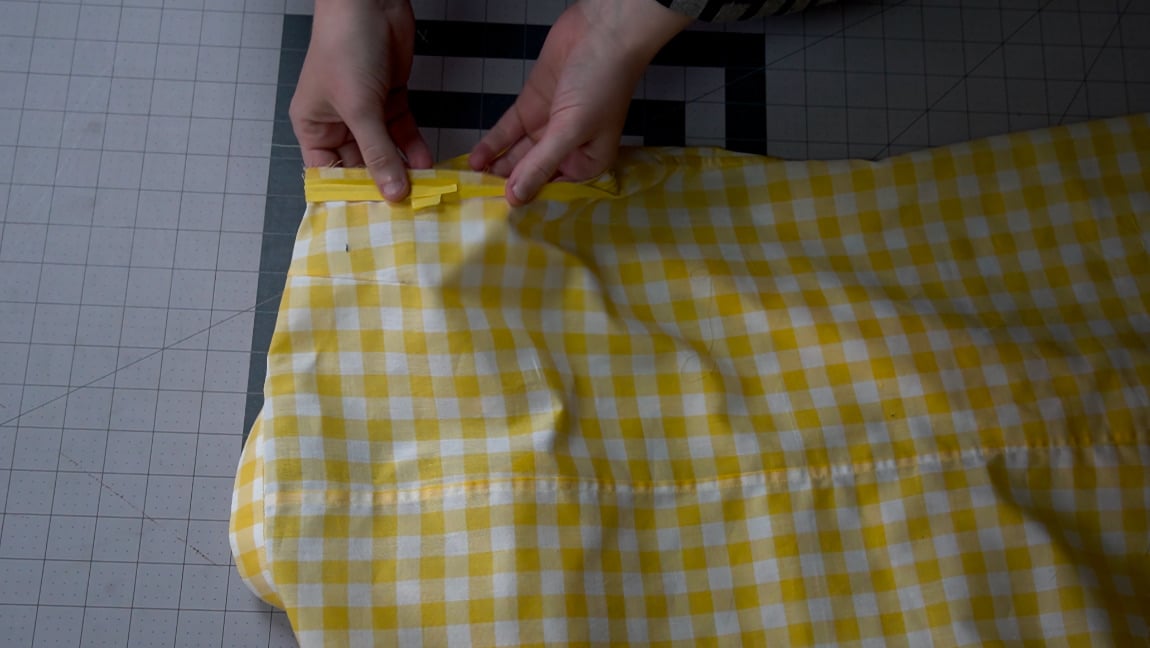
Step 20

finish the armhole facing
Turn the bias tape to the reverse side of the armhole so it acts as a facing, and sew it in place.
Step 21
hem the bottom of the shirt
Make a narrow hem along the bottom of the shirt.
Finished!