Tutorial: Snail Coin Purse
This unique coin purse is made to resemble the shape of a snail. Learn how to attach the zipper and snail accessory using this step by step tutorial. Just check out the free pattern below to get started.
This page contains affiliate links. As an Amazon Associate, I earn a small commission from qualifying purchases. That being said, I encourage you to use your local sewing shop whenever possible, or to look for supplies second hand.
Supplies Needed:
(all of my patterns include 1/2″ seam allowance)
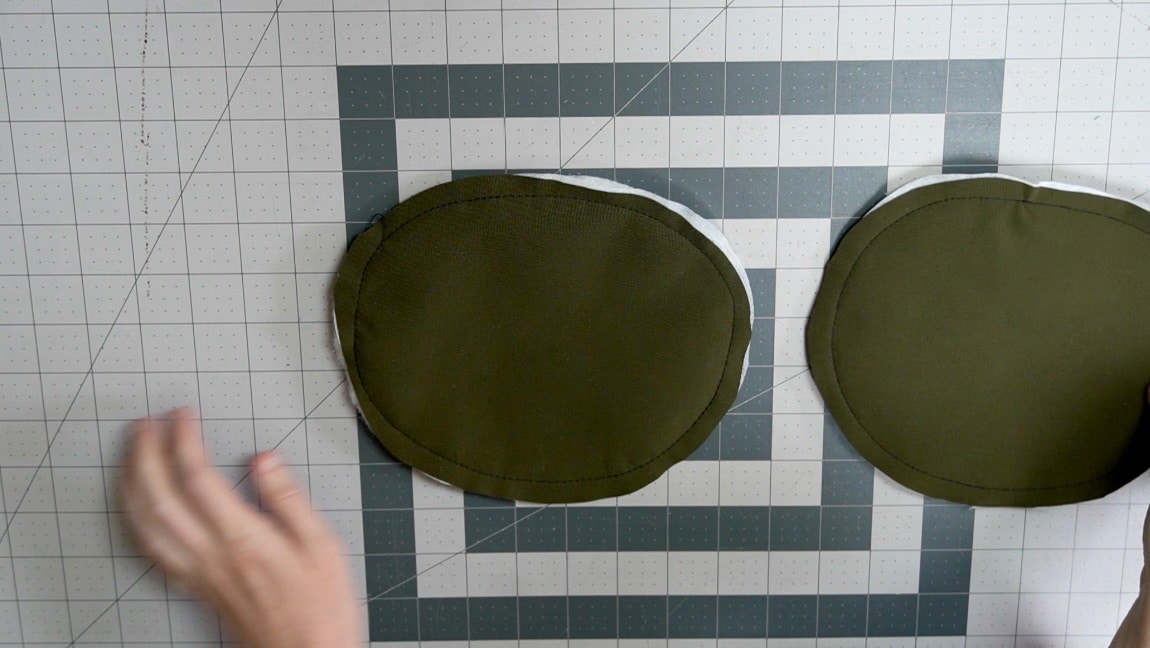
Step 1

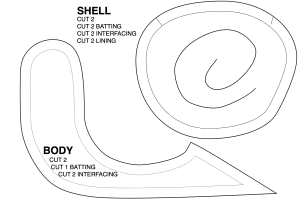
apply interfacing to the shell pieces
Step 2
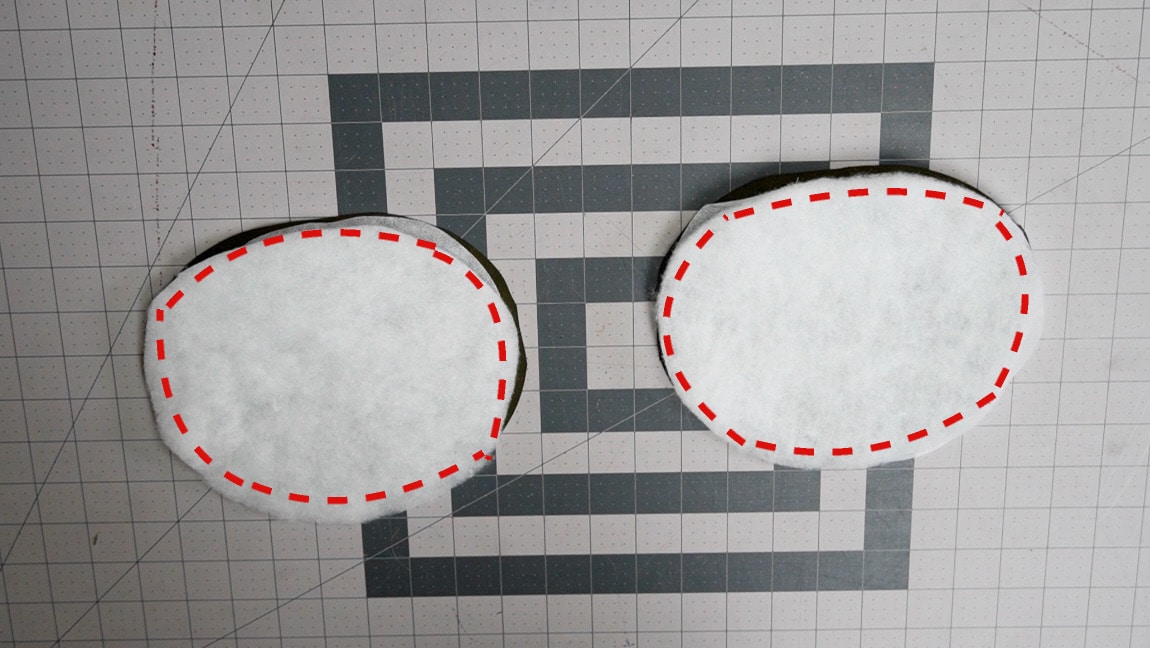
baste batting to the shell pieces
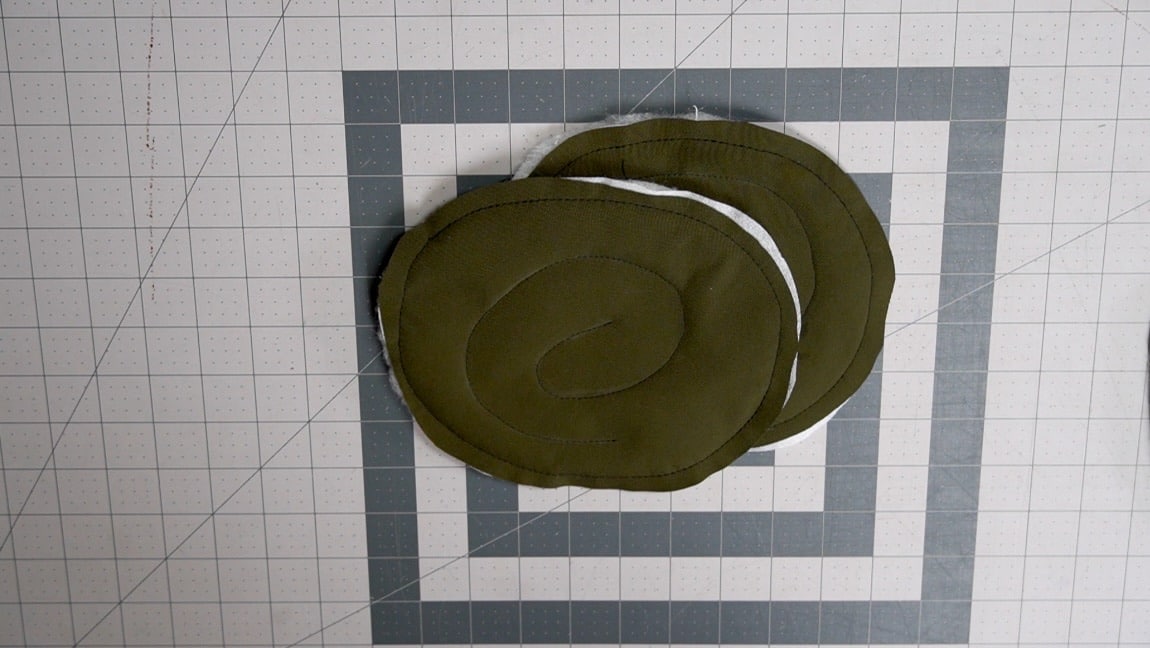
Step 3
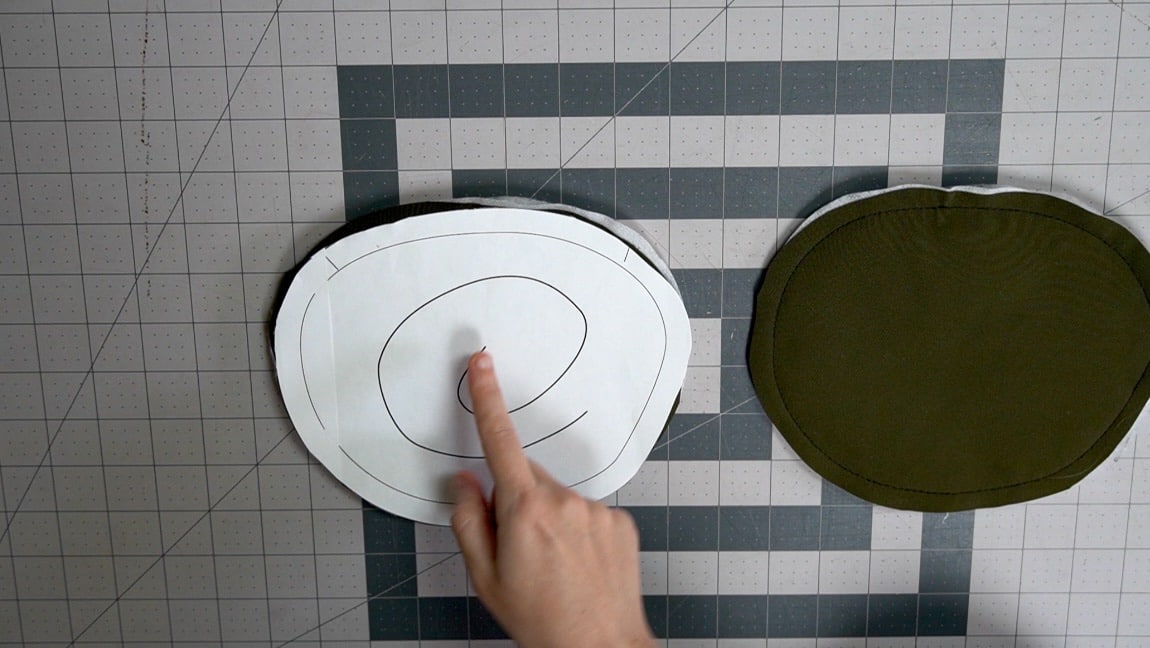
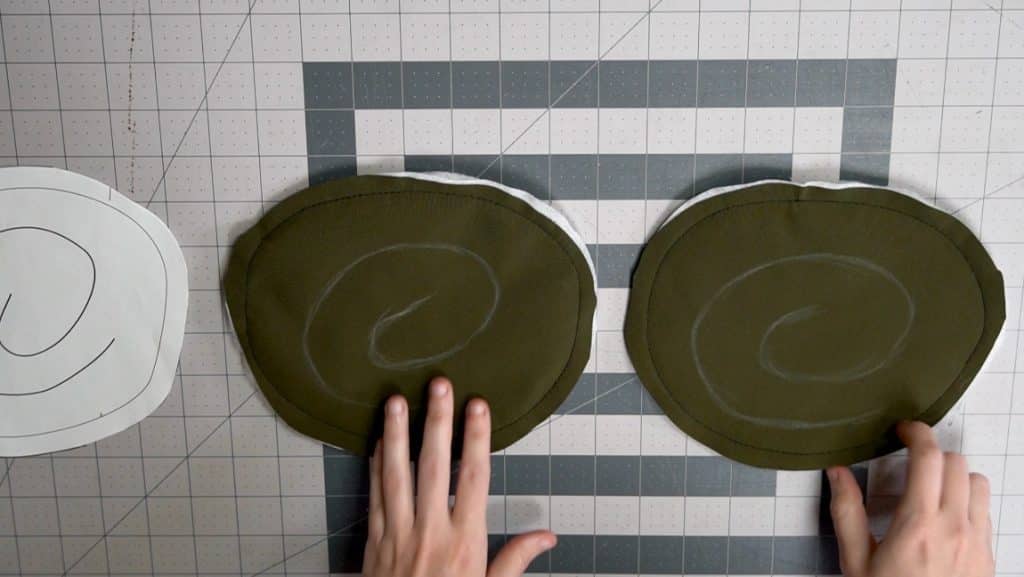
sew the swirl onto the shell pieces
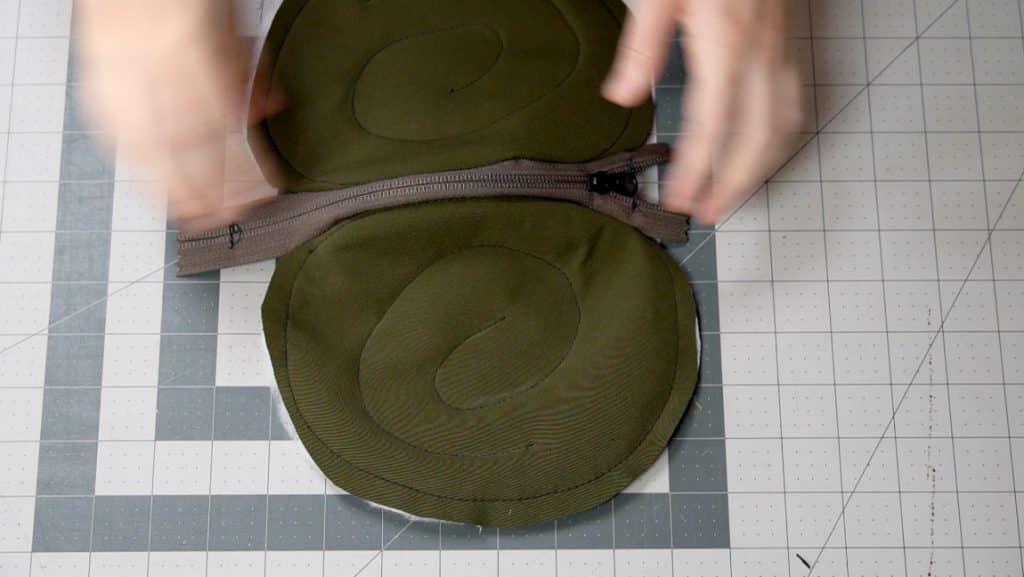
Step 4

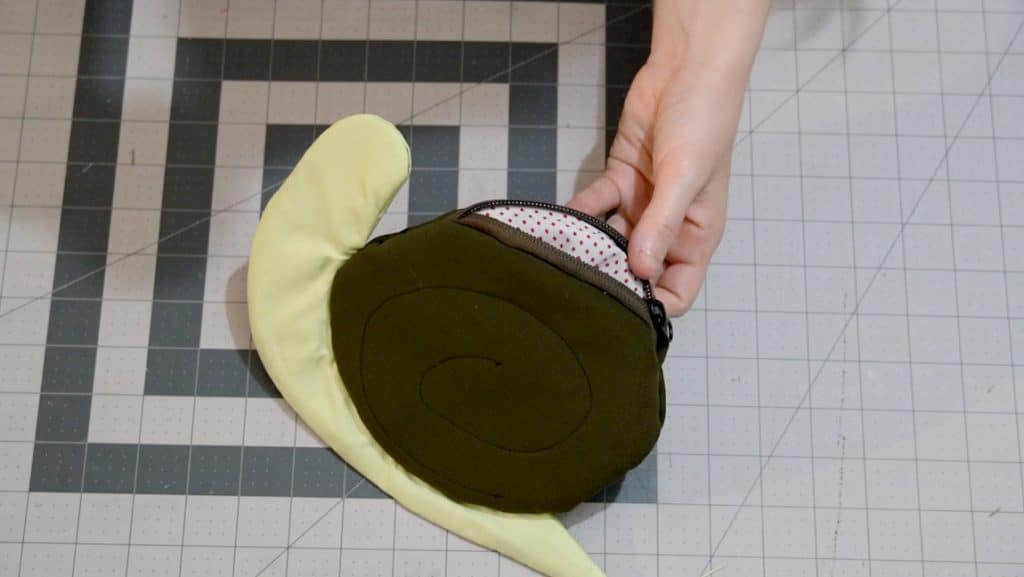
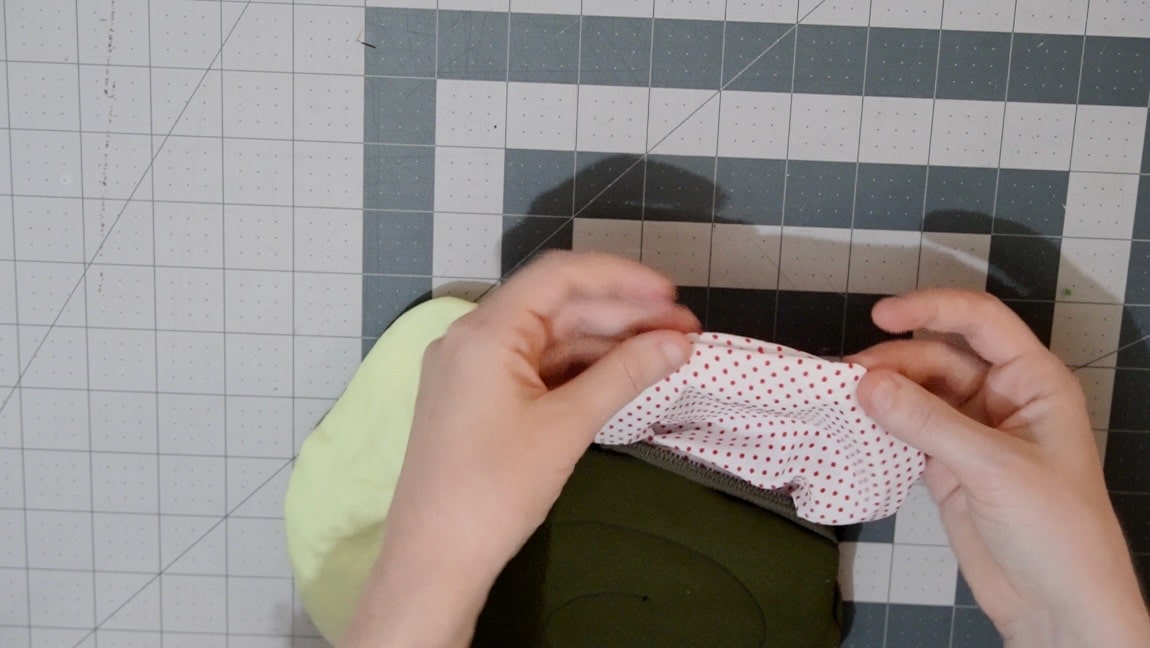
place the zipper face down on the shell and sew
curve the zipper around one side of the shell and sew it in place between the lines marked on the pattern. Repeat the process for the second side of the shell.
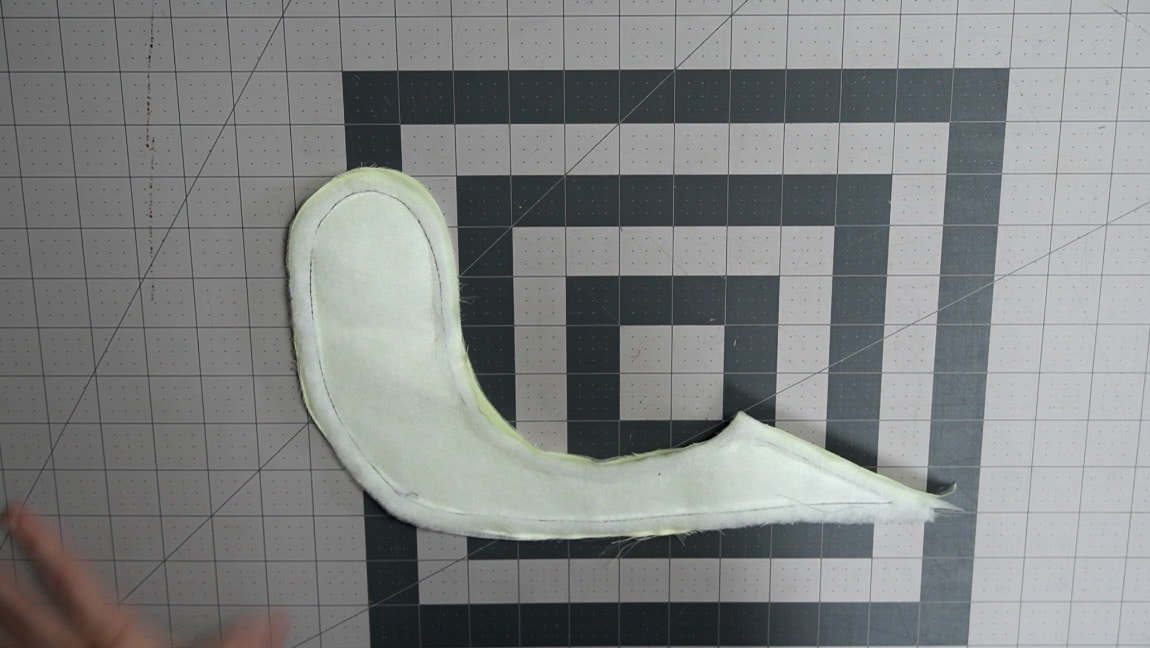
Step 5
apply interfacing and batting to the snail body
apply interfacing to both snail pieces. Then baste batting to one side.
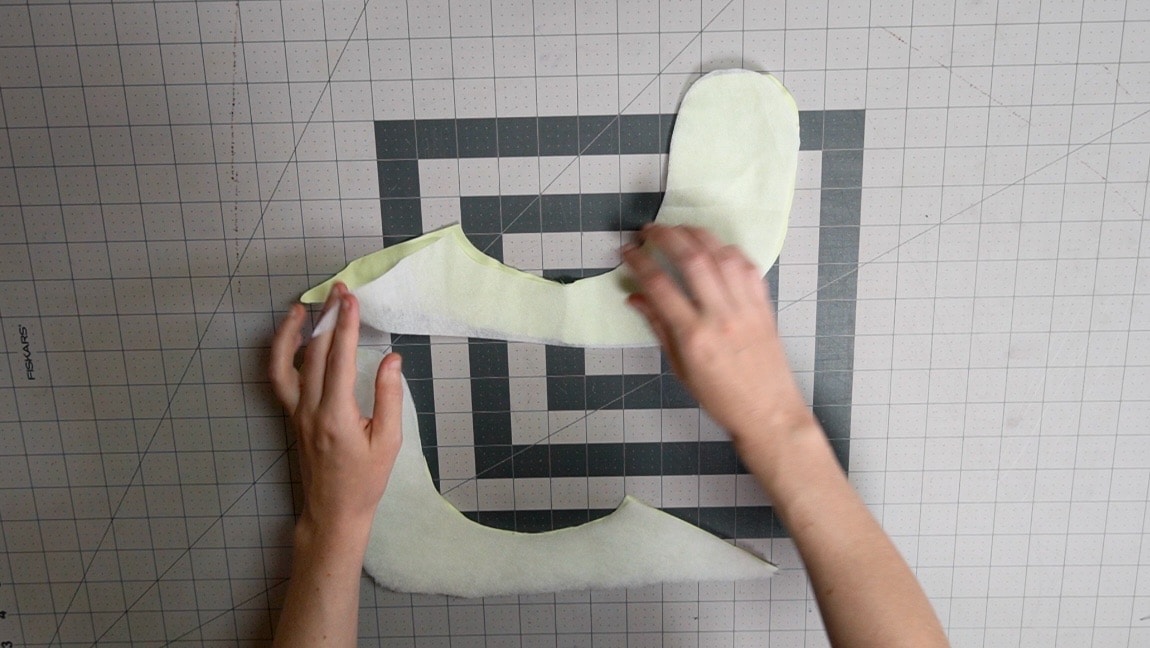
Step 6
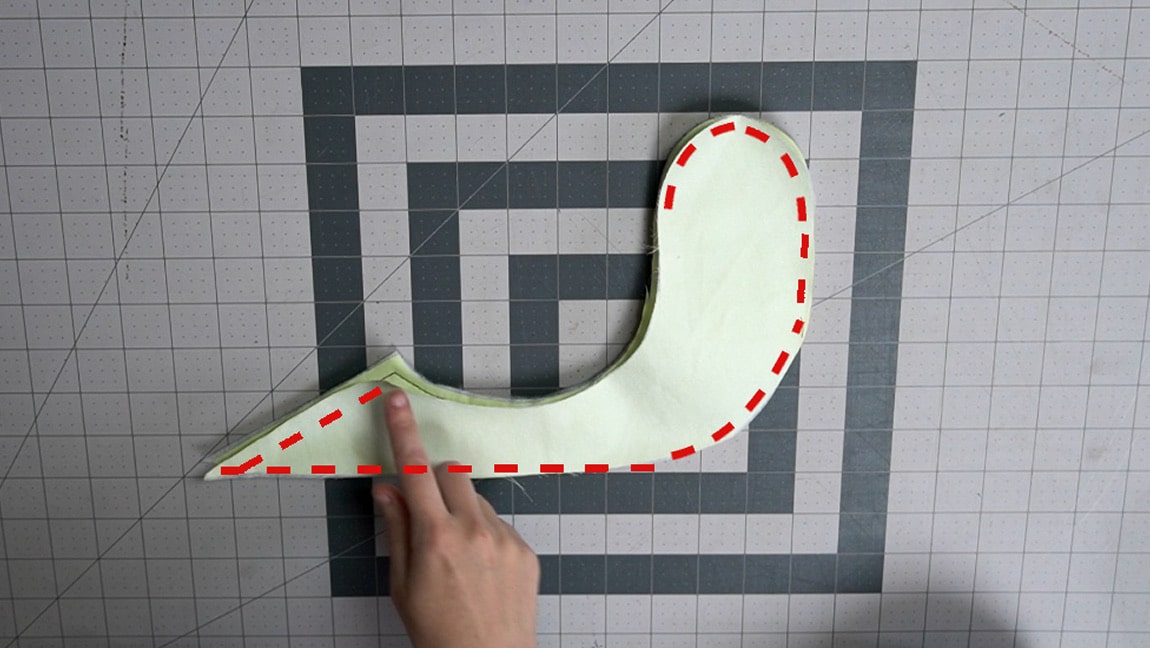
sew the snail pieces together
with right sides together, sew the two snail pieces. leave the inner side unsewn.
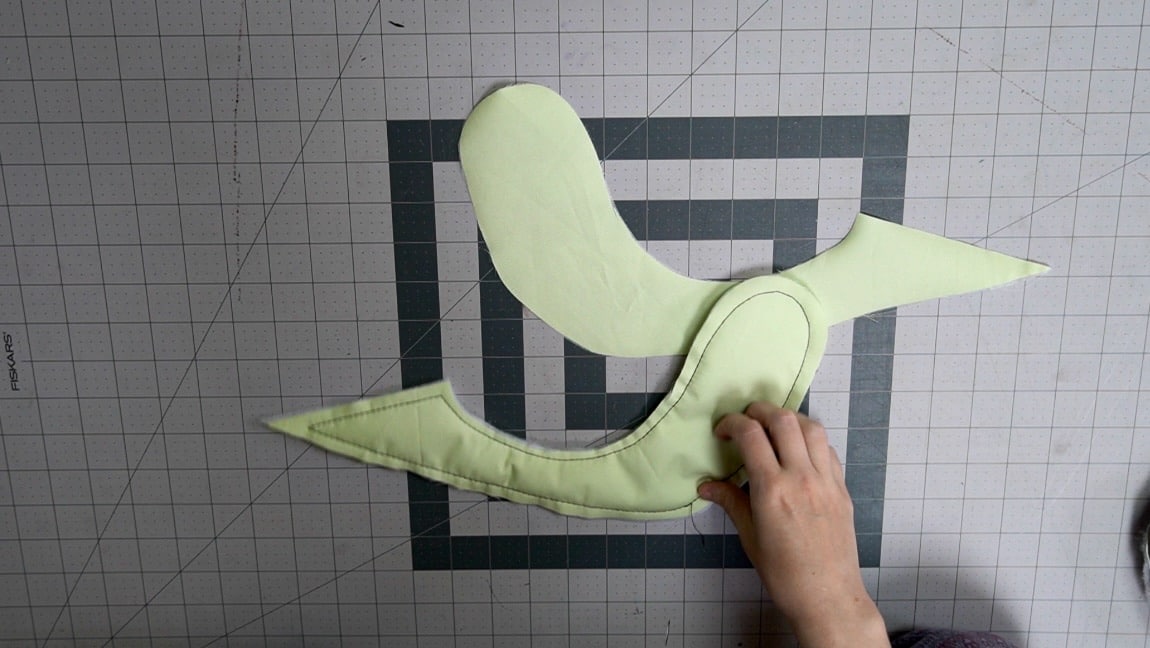
Step 7

turn the snail to the right side
clip the corners and curves and turn the snail to the right side.
Step 8
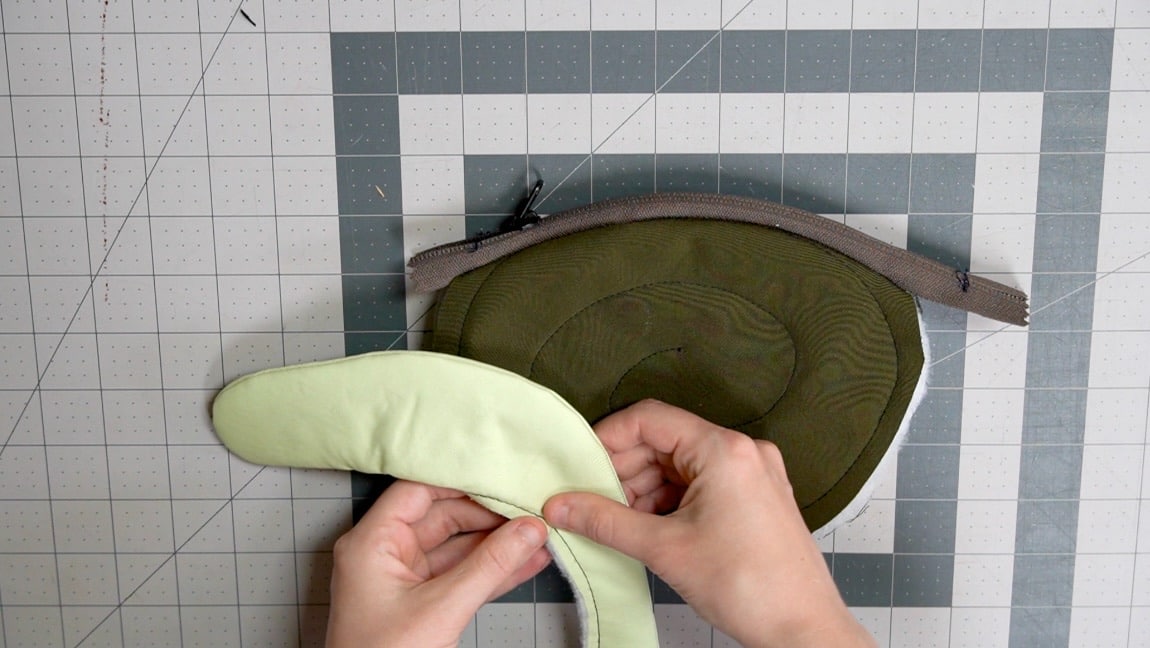
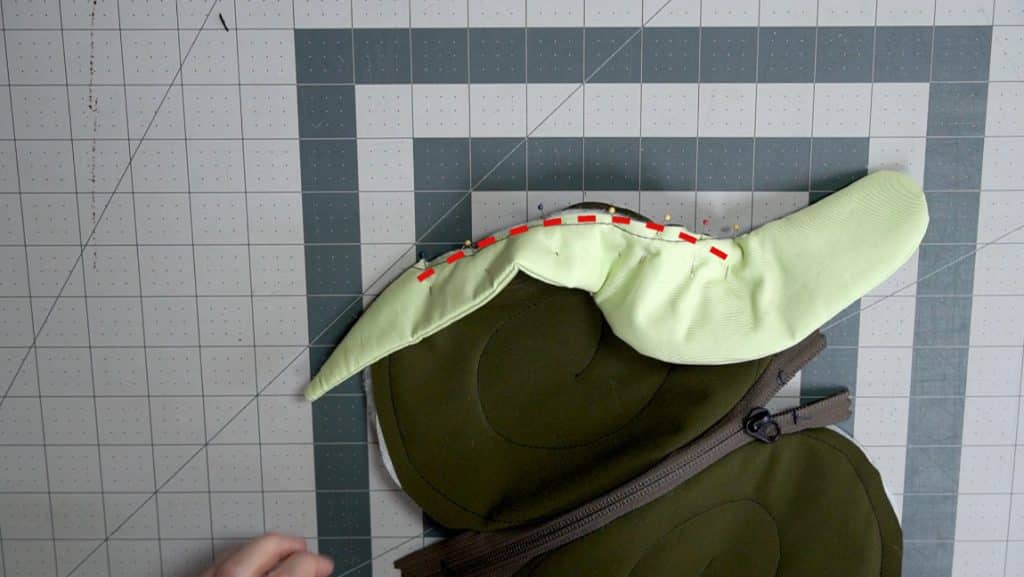
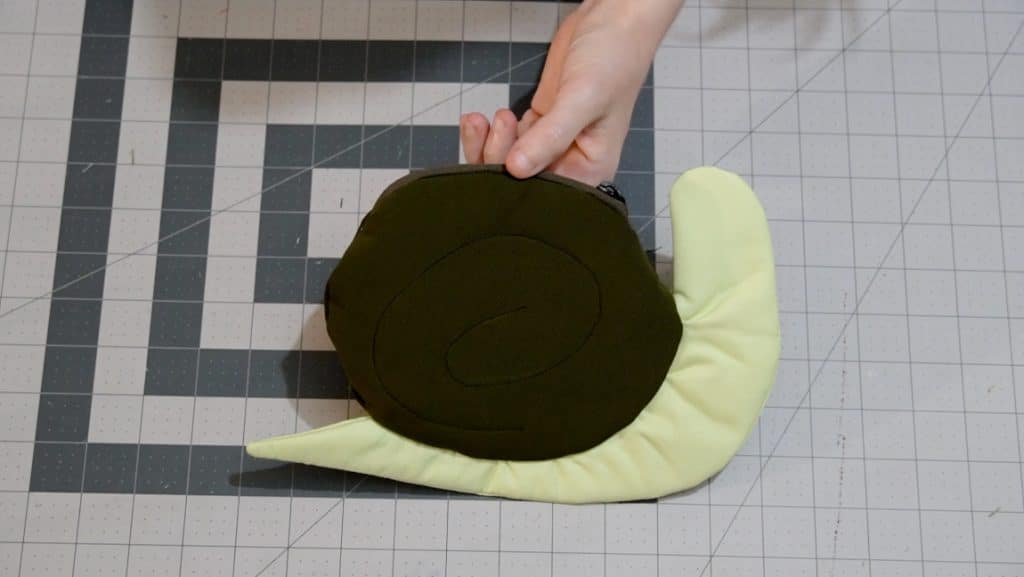
baste the snail to the shell
this is a bit difficult, but you’ll want to curve the snail around one shell piece and base it in place
Step 9
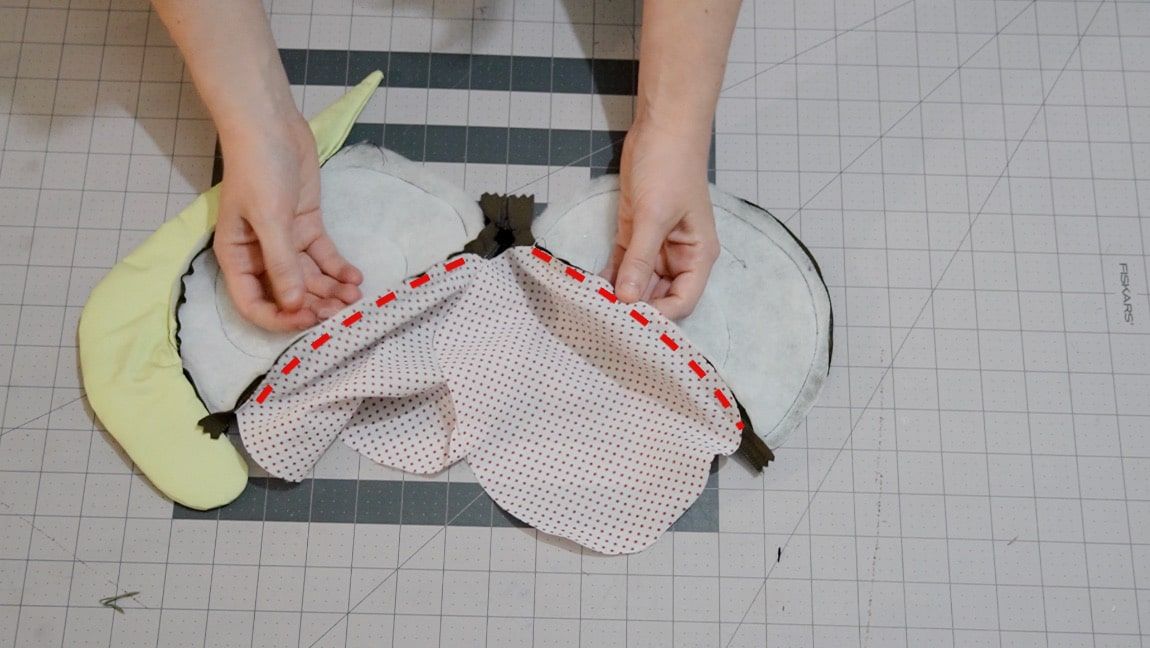
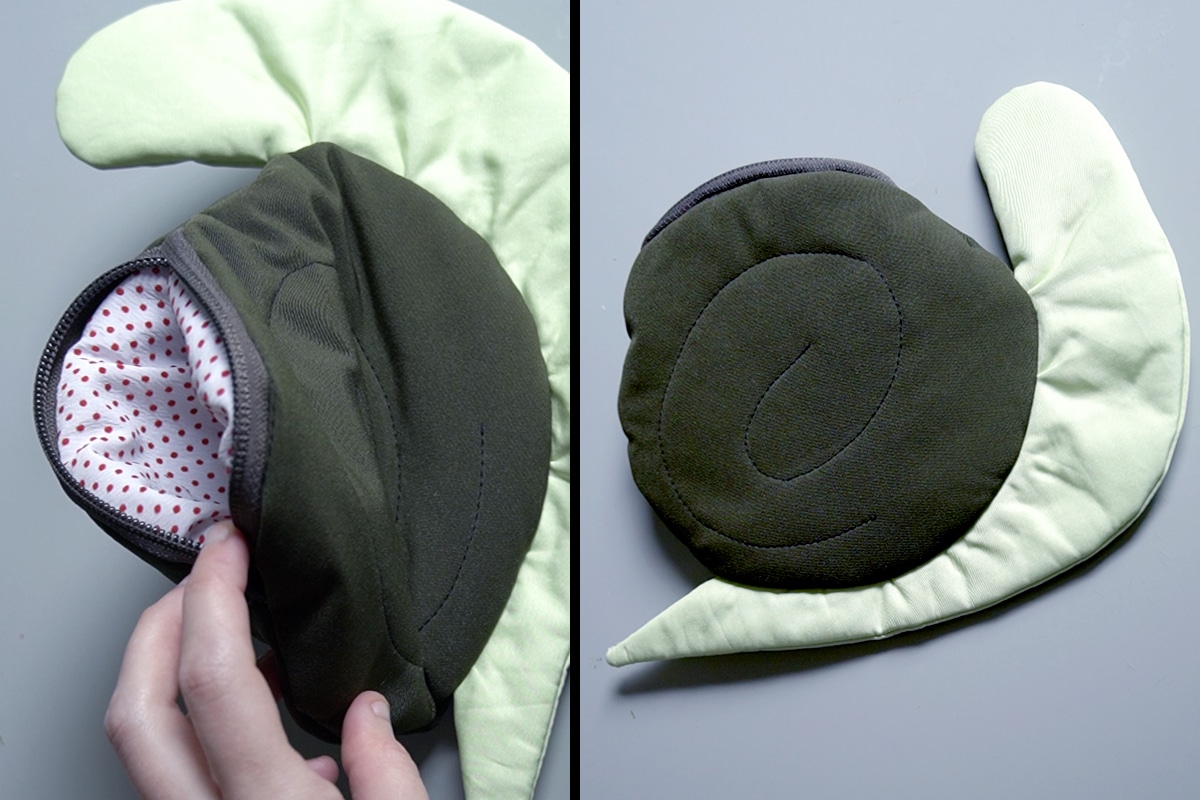
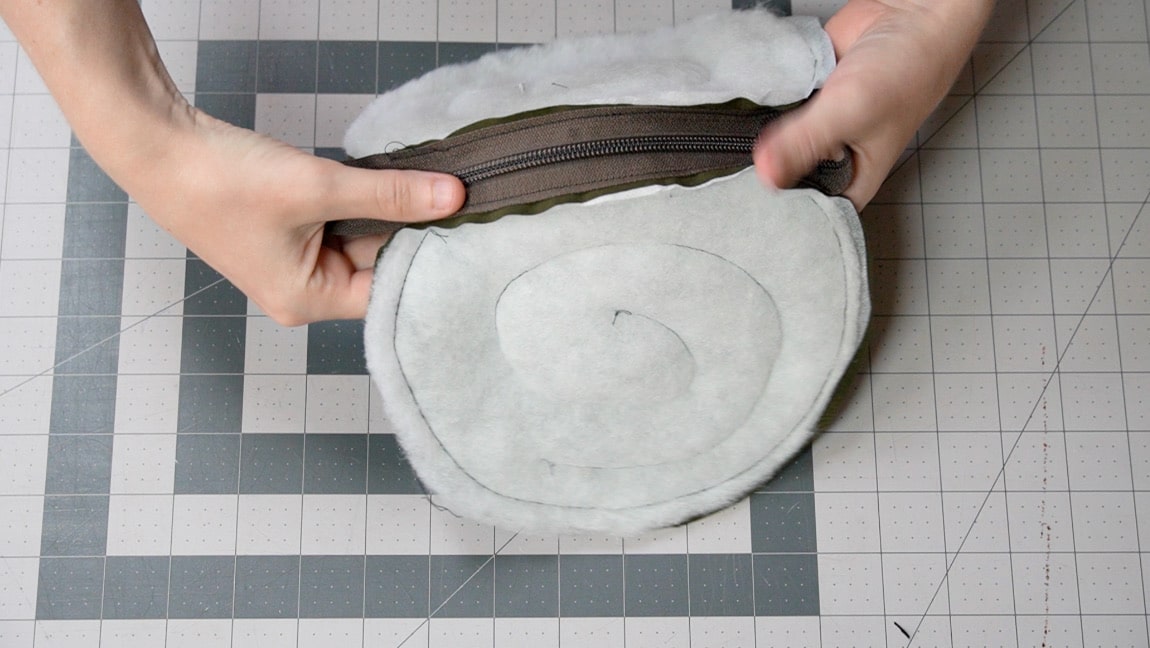
sew the lining to the zipper
sandwich the zipper with the lining and sew along the edge. When you flip the lining in, you should see the teeth of the zipper and be able to open and close it.

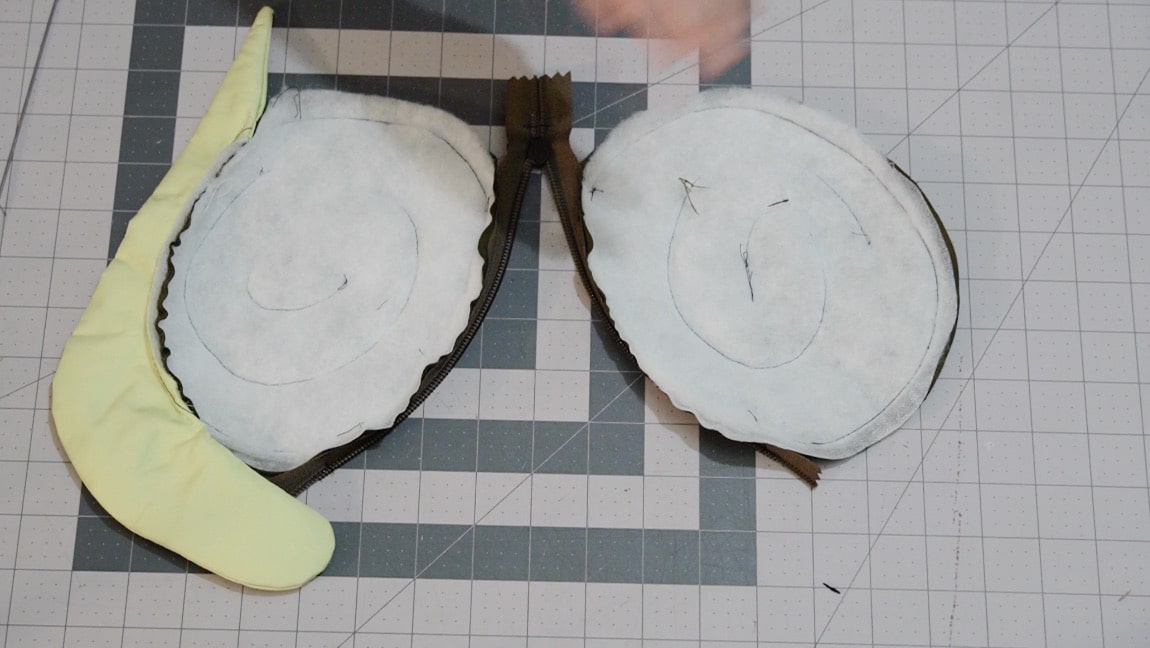
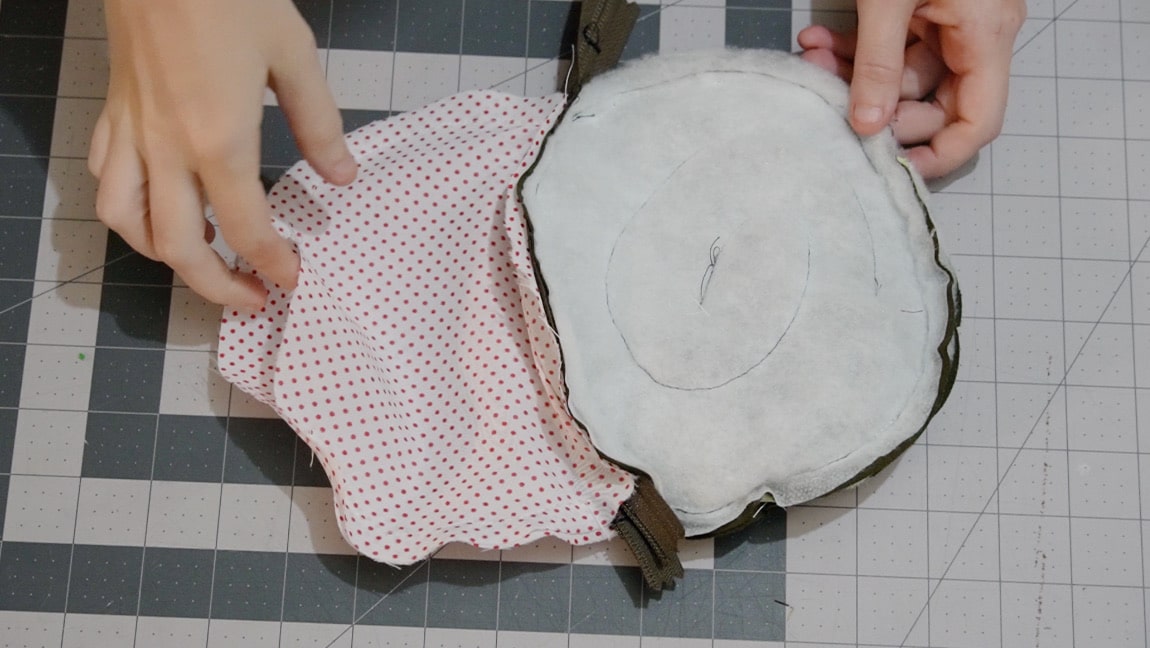
Step 10

sew the lining and snail pouch
fold the pouch with the linings on one side of the zipper and the shell on the other. Sew the two shell pieces together with the snail inside. Sew the two lining pieces together, leaving a gap in the bottom.
Step 11
turn to the right side and sew up the gap
Turn the snail to the right side through the hole in the lining. Then sew up the gap in the lining.
Finished!