Tutorial: Upcycled Denim Folding Wallet
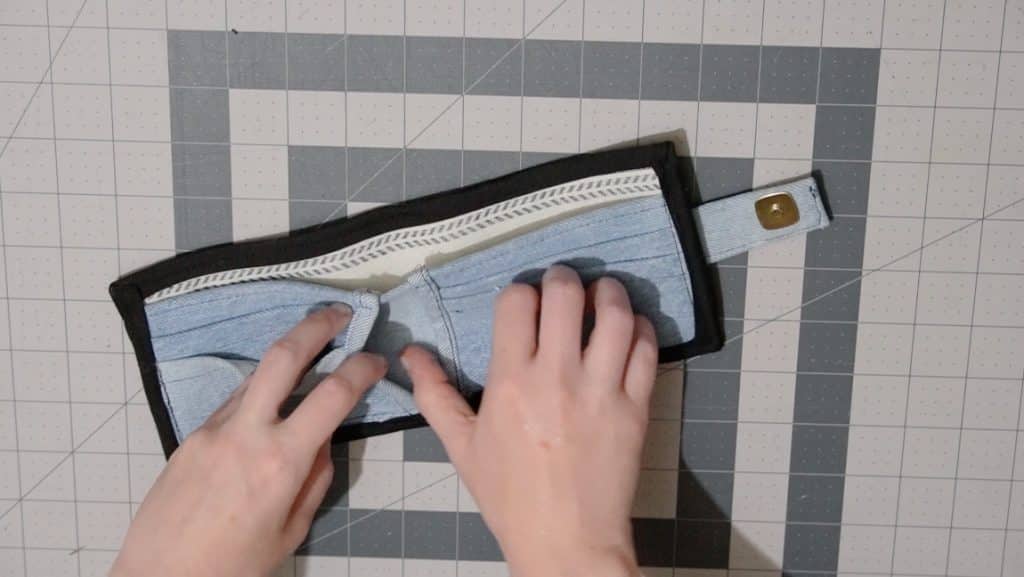
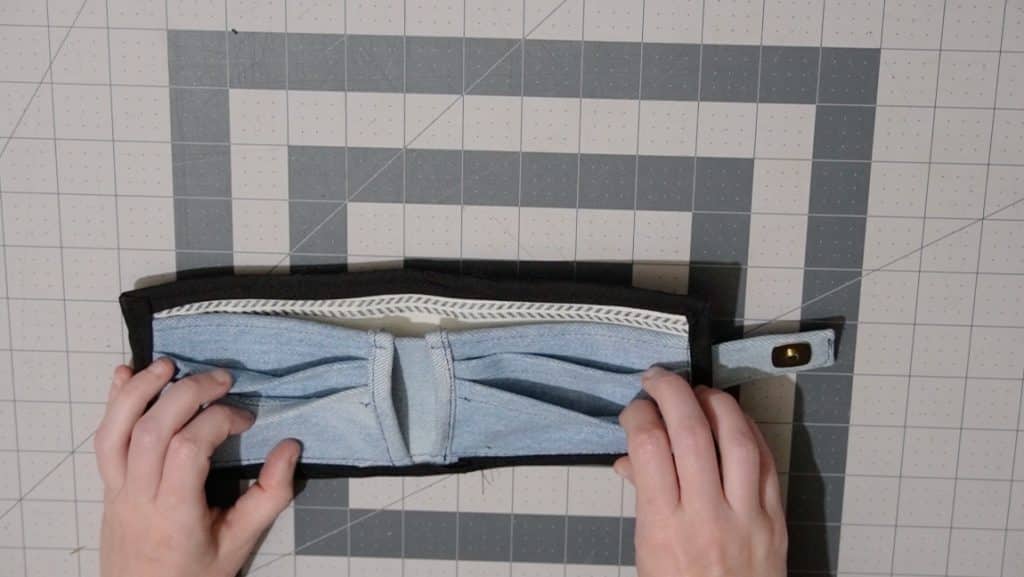
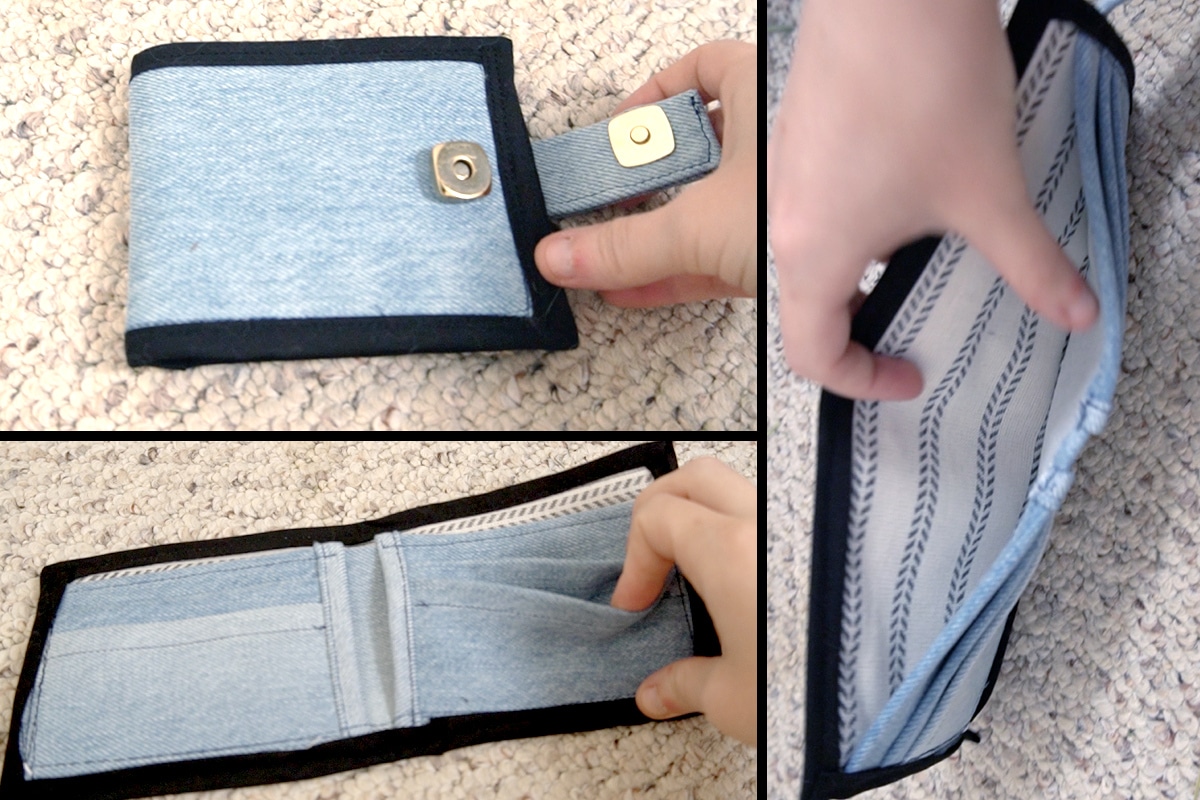
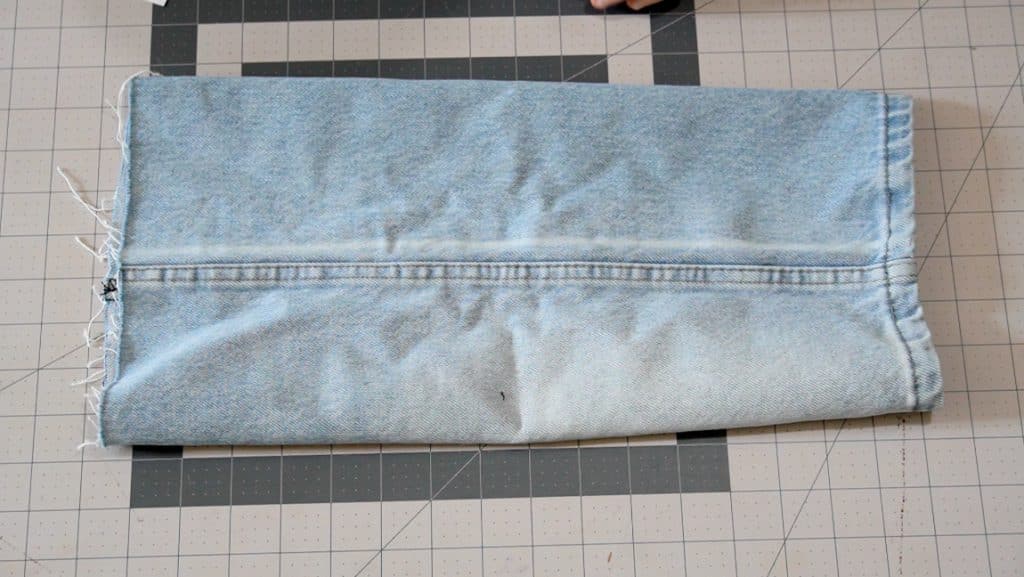
This tutorial will teach you how to turn your old pair of jeans into a new folding wallet. The only fabric you need for this tutorial is one leg of your pants! Check out the free pattern for this wallet below, and then follow along with the step-by-step instructions.
Note: when sewing with denim, I recommend using a heavy weight or denim needle with your sewing machine. A standard needle may snap if you try to sew through too many layers of denim.

This page contains affiliate links. As an Amazon Associate, I earn a small commission from qualifying purchases. That being said, I encourage you to use your local sewing shop whenever possible, or to look for supplies second hand.
Supplies Needed:
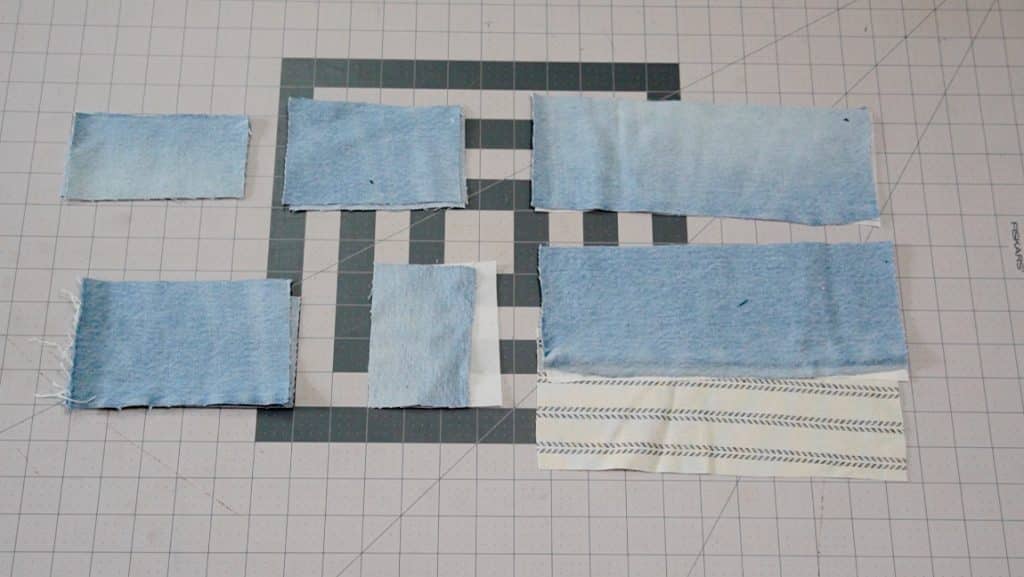
(all of my patterns include 1/2″ seam allowance)
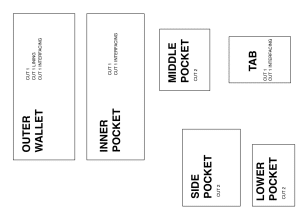
Step 1
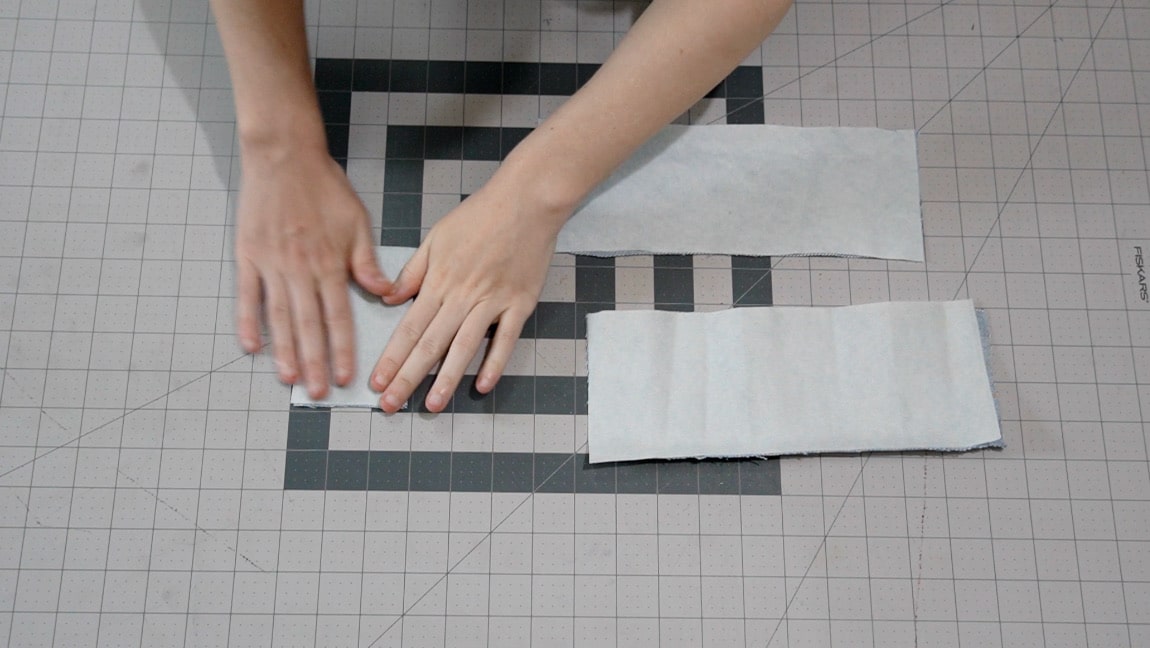
apply interfacing to inner pocket, tab, and outer wallet
Step 2
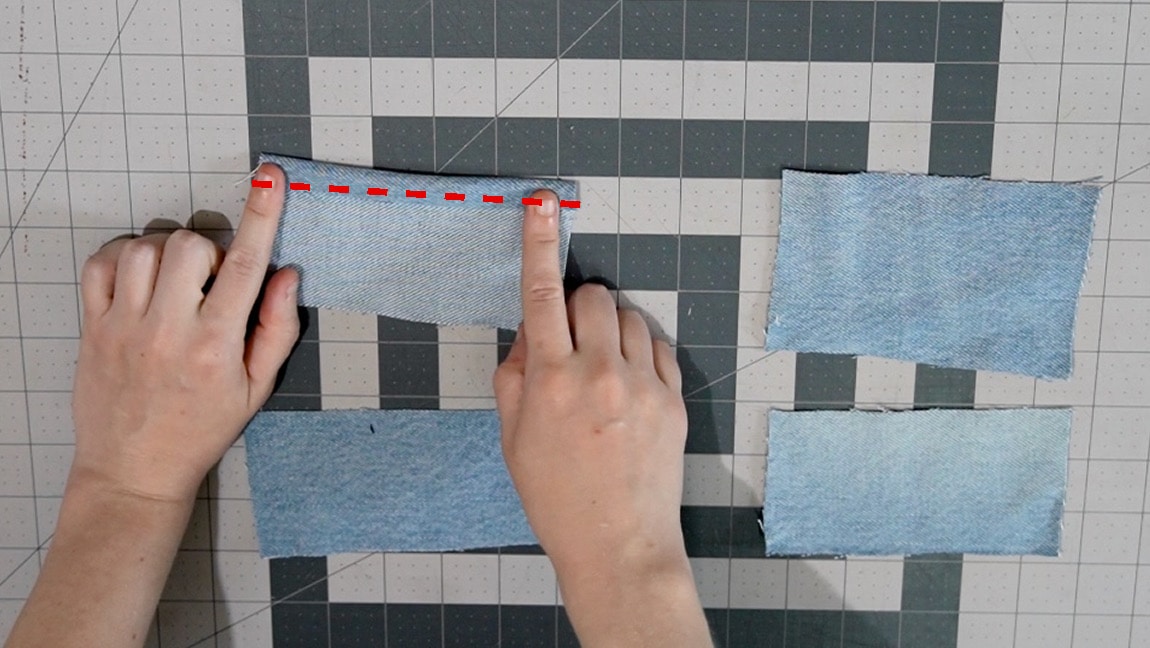
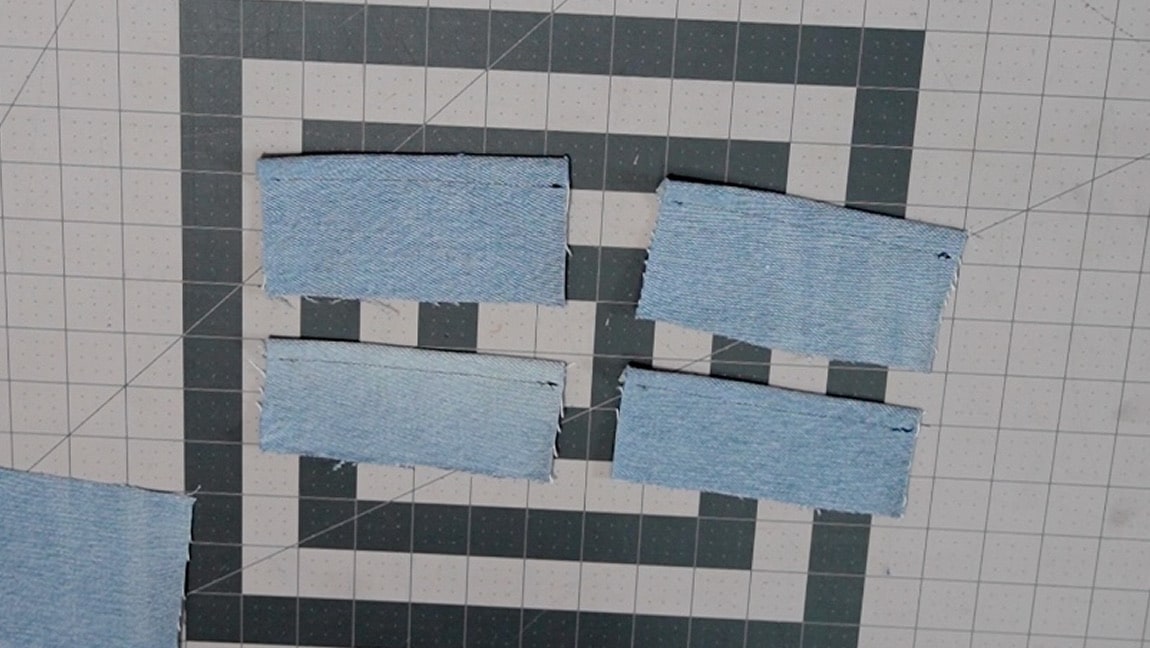
fold over the top of the lower pocket and middle pocket pieces
Fold the top of the lower pocket and middle pocket pieces 1/2 inch and sew.
Step 3

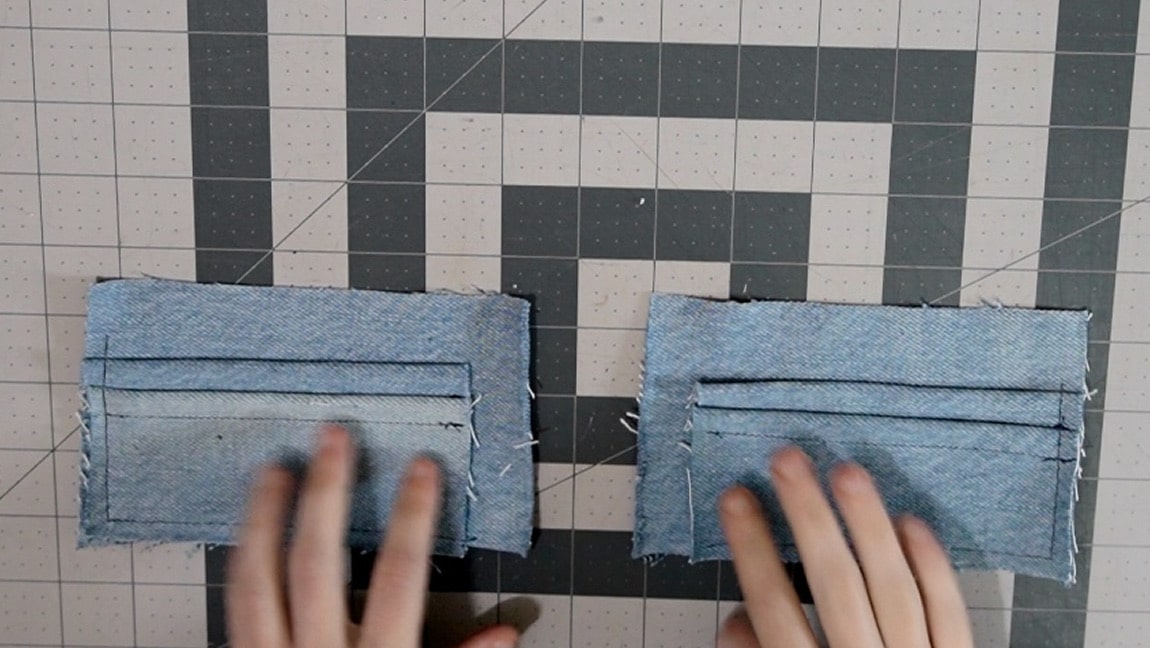
stack the lower and middle pockets on top of the side pocket pieces
Stack the pocket pieces in size order. It will be side pocket, then middle pocket, then lower pocket. Line the smaller pockets up with the outer edge of the side pocket. Baste them all together around the side and bottom. Repeat for the second set of pocket pieces.
Step 4

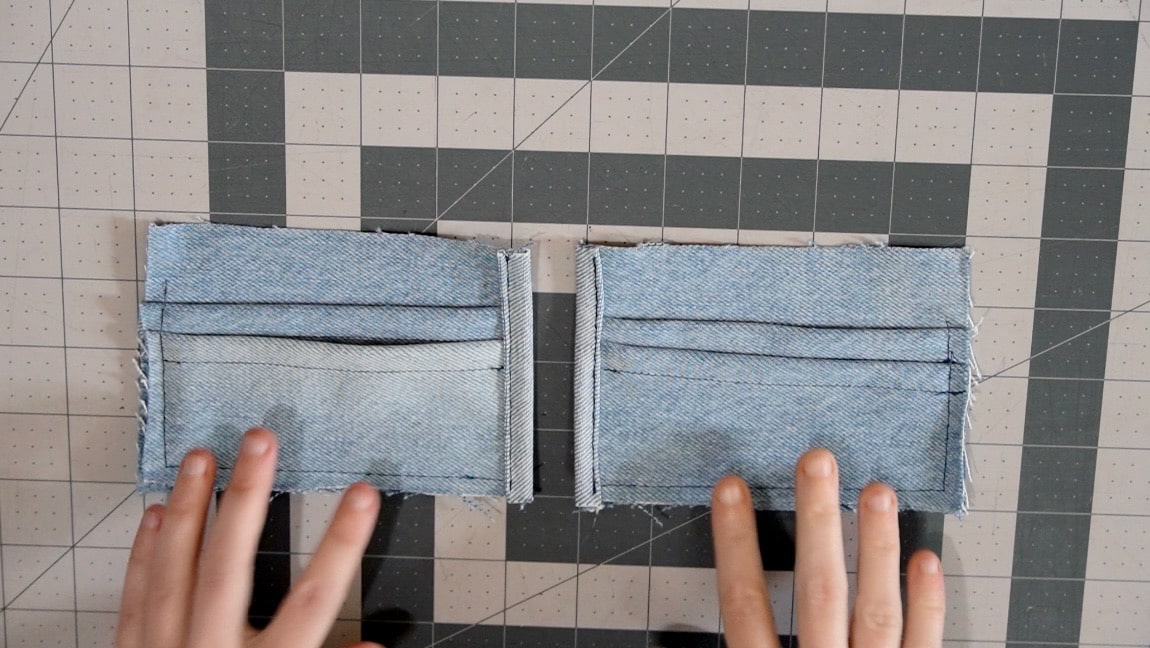
hem the side pocket over the edges of the smaller pocket pieces
Make a reverse hem by folding the side pocket piece on top of the middle and lower pieces to cover the raw edges of the fabric.
Step 5
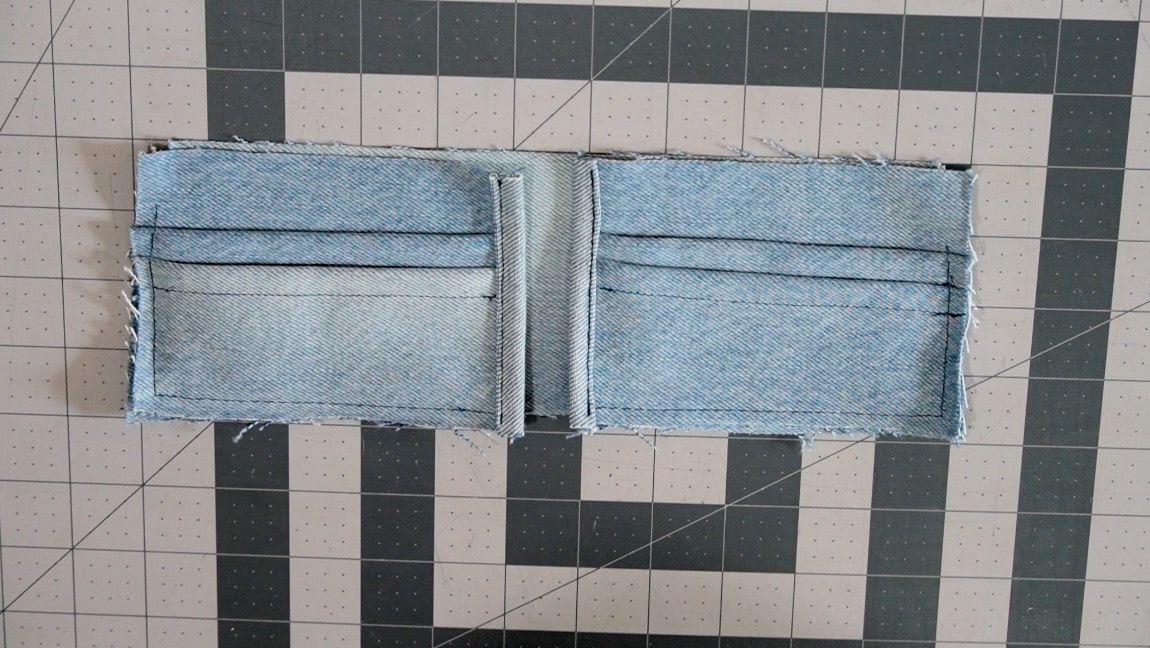
sew the side pockets to the inner pocket
Stack both sets of pockets on either side of the inner pocket. Be sure the pockets are lined up with the outer edge and the hemmed side of the pocket stacks are facing the center.Then baste everything together around the side and bottom.
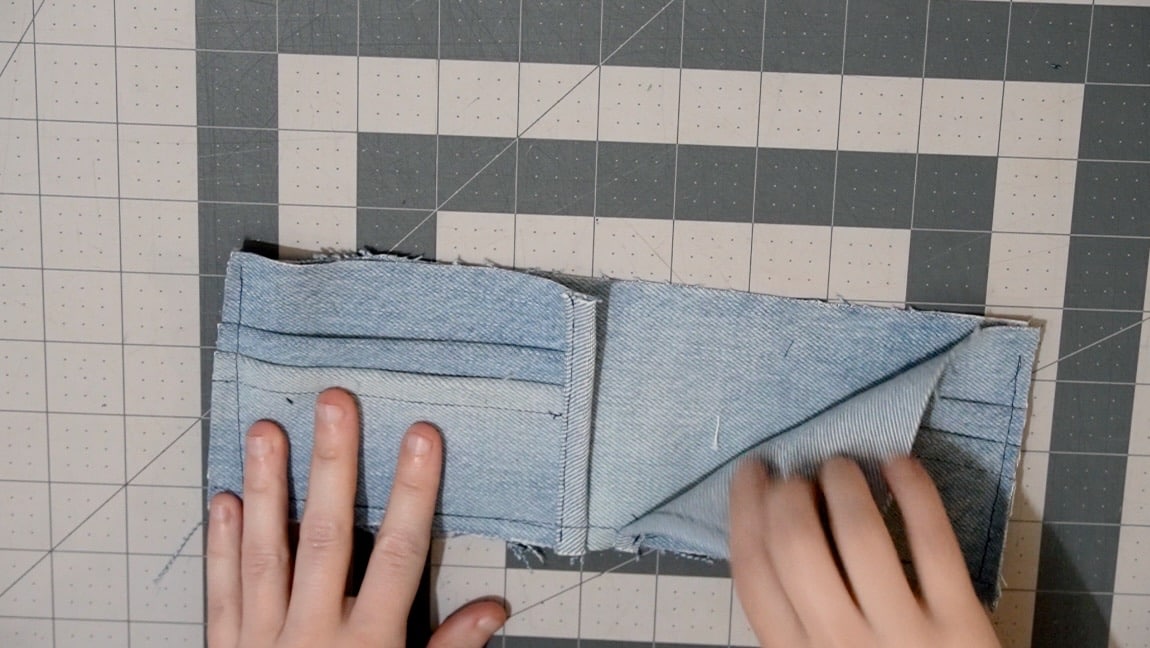
Step 6
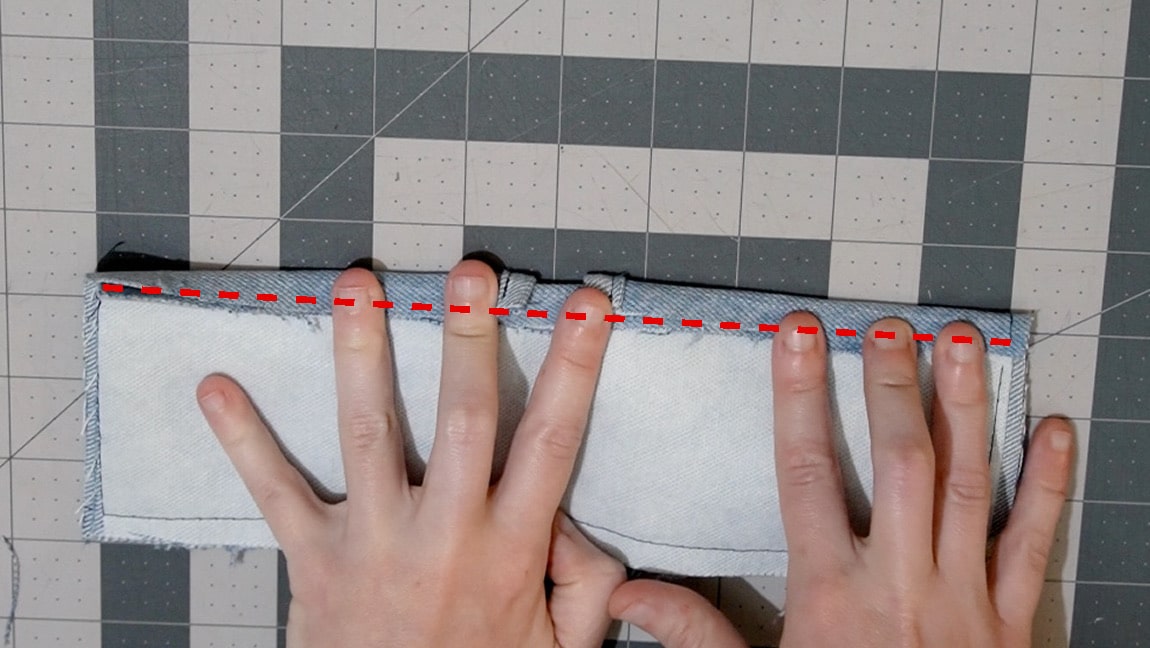
fold over the upper edge of the inner pocket
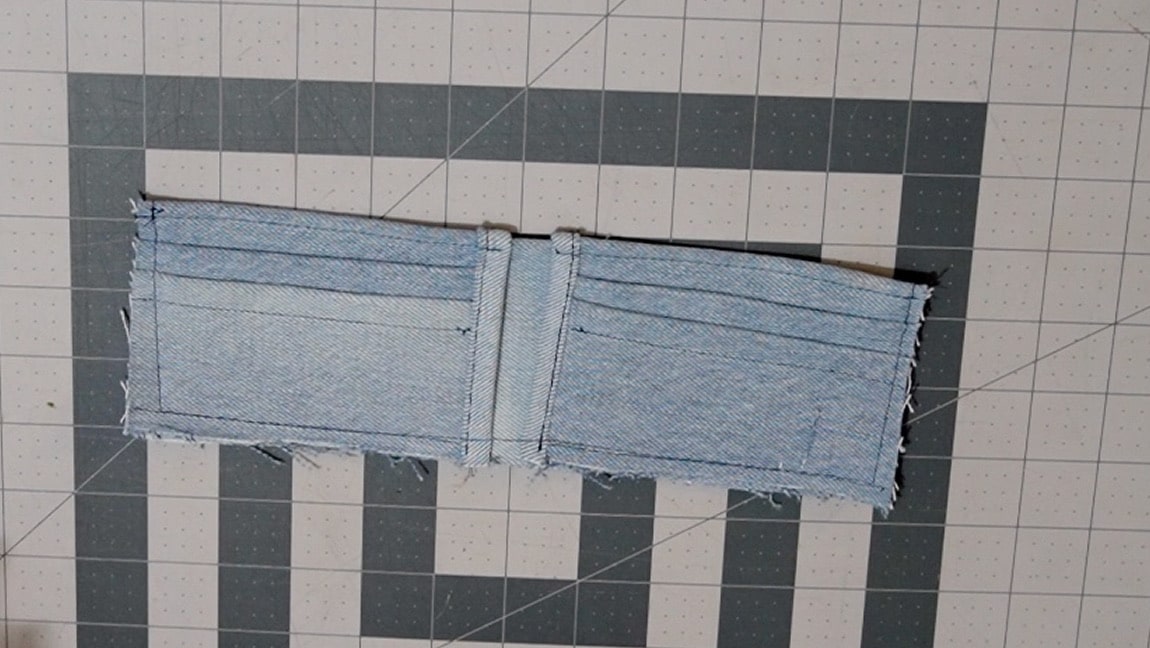
On the back, fold over the upper edge of the pocket and side pocket and sew it in place along the top.
Step 7

fold the sides of the tab piece and baste in place
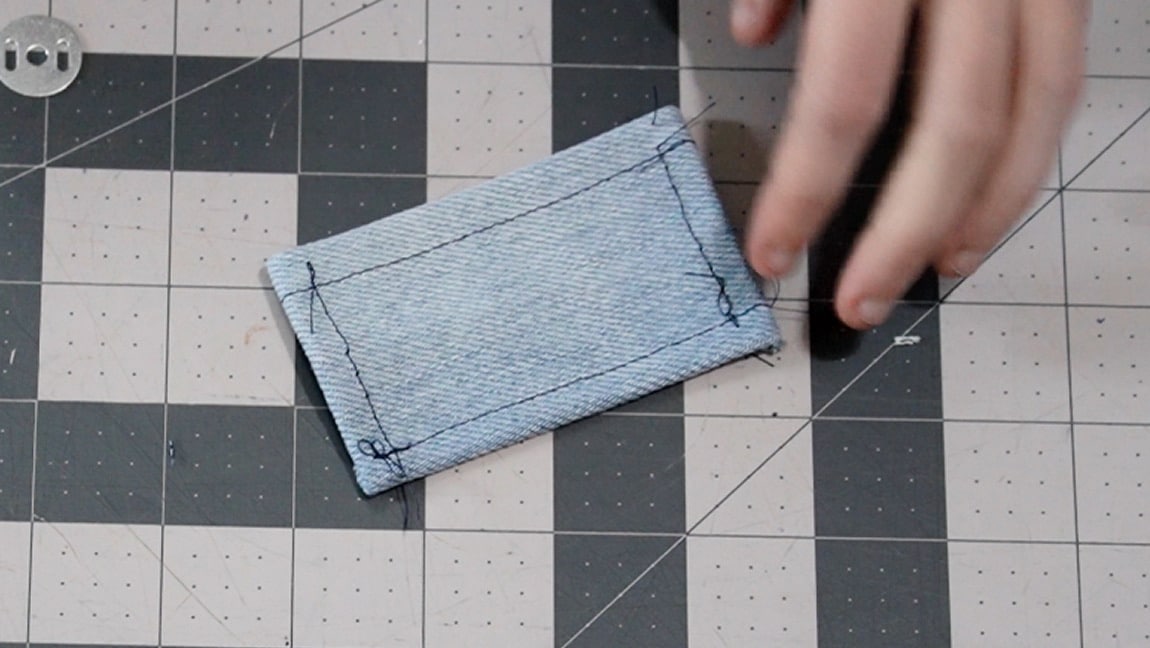
Fold over 1/2 inch on all sides of the tab piece and baste them in place.
Step 8

add the magnet clasp to the tab
Follow the instructions for your magnet clasp to add it to the fabric tab. Usually this will require you to poke holes in the fabric to fold prongs through it.
Step 9

fold the tab in half and sew it closed
With wrong sides together, fold the tab in half and top stitch it closed through all layers. You can remove the basting stitches at this point.
Step 10

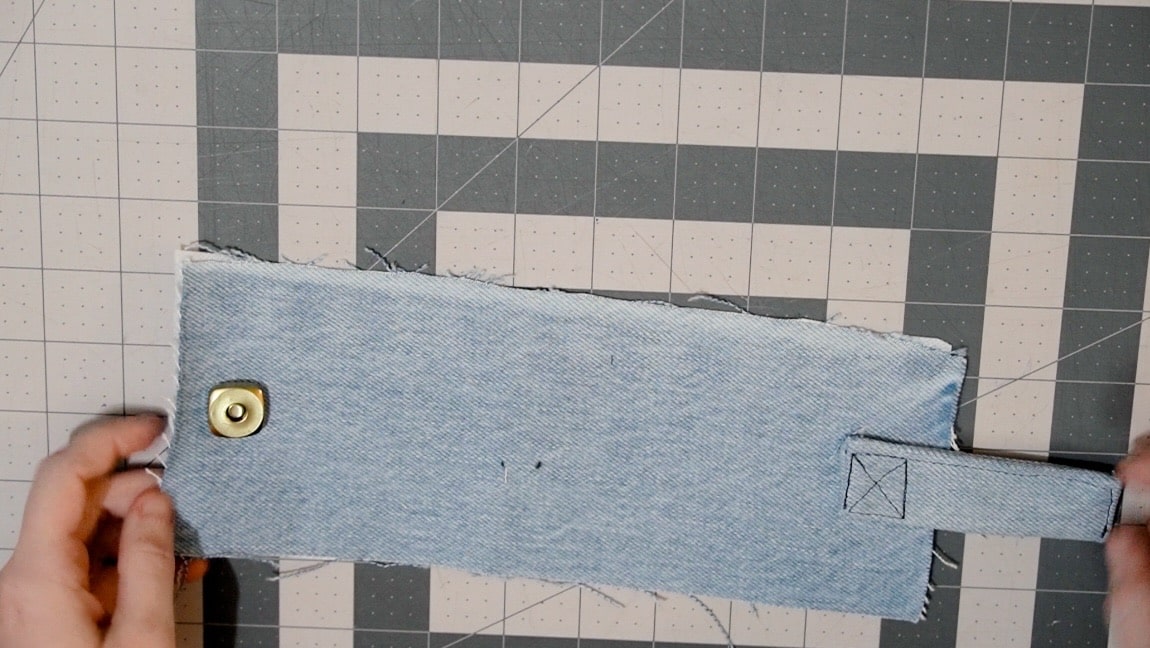
attach the tab to one side on the outer wallet and the magnet to the other
Add the tab to one end of the outer wallet piece, then the other piece of the magnet clasp to the other side, making sure the two pieces line up.
Step 11

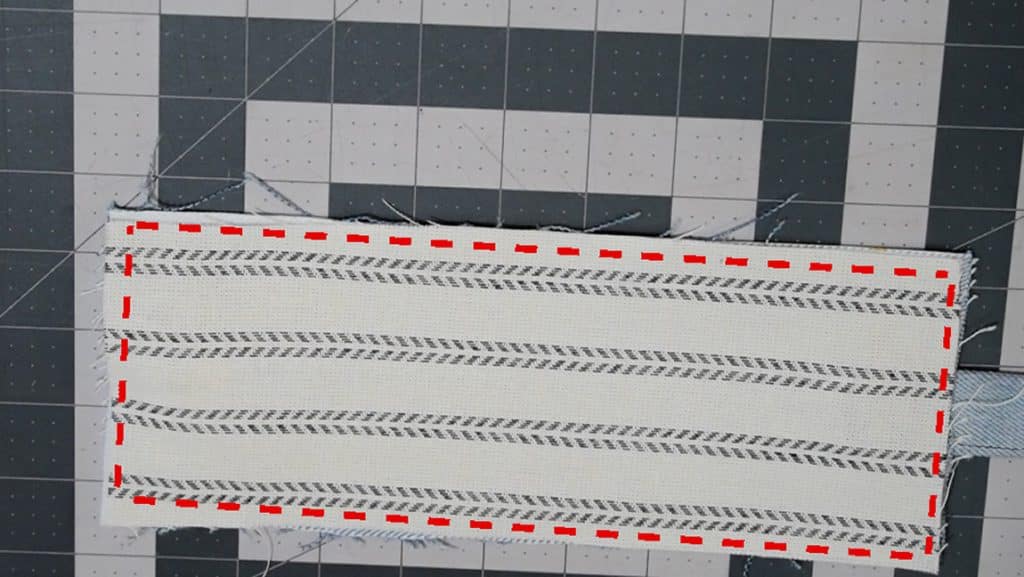
add the lining to the outer wallet
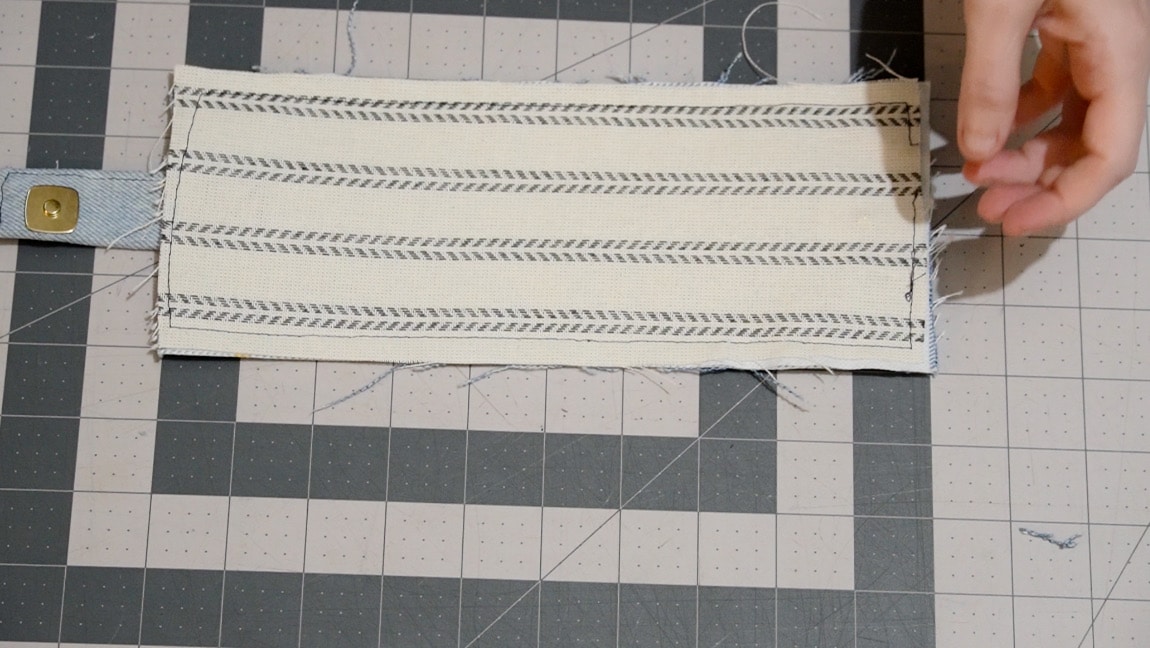
With wrong sides together, attach the outer wallet lining to the outer wallet and baste along the perimeter.
Step 12
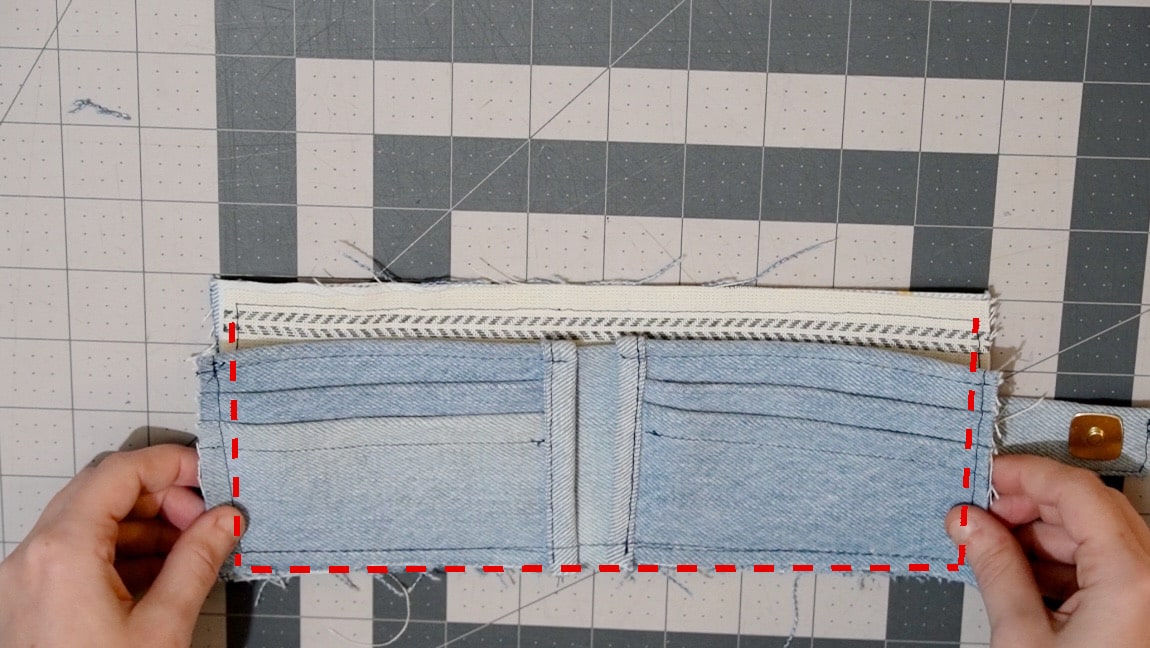
sew the inner wallet to the outer wallet
Line up the inner wallet with the outer wallet and baste them together along the sides and bottom.
Step 13

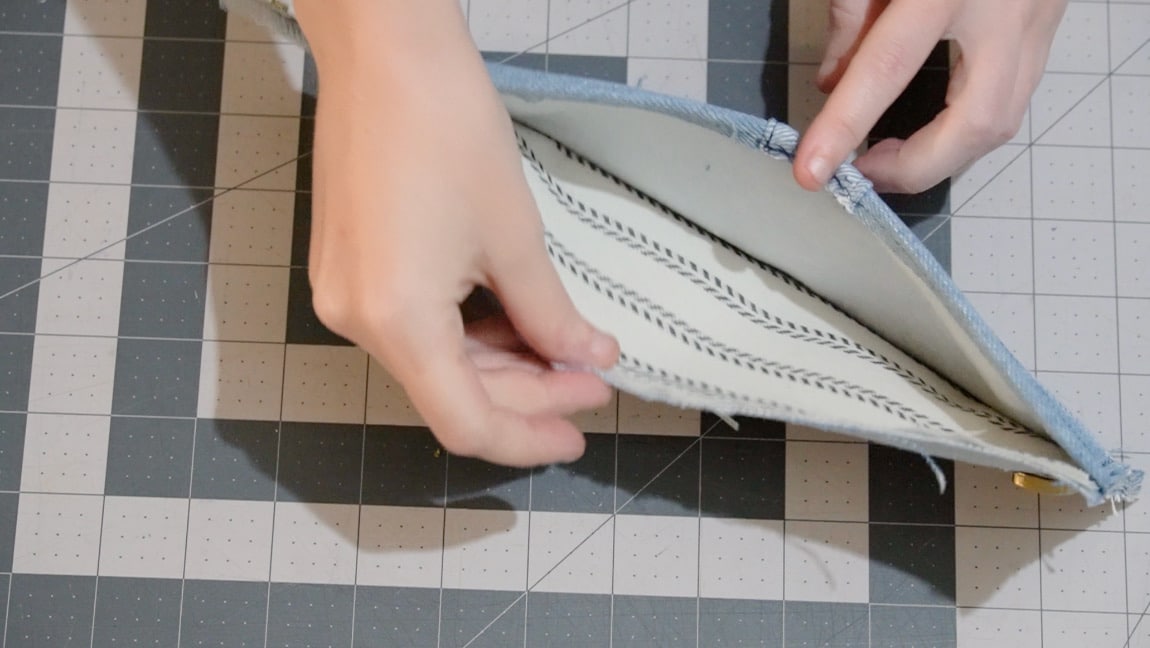
sew double fold bias tape around the perimeter
To cover the raw edges of the denim, encase the sides of the wallet using double fold bias tape and sew it in place. Then remove any visible basting stitches.
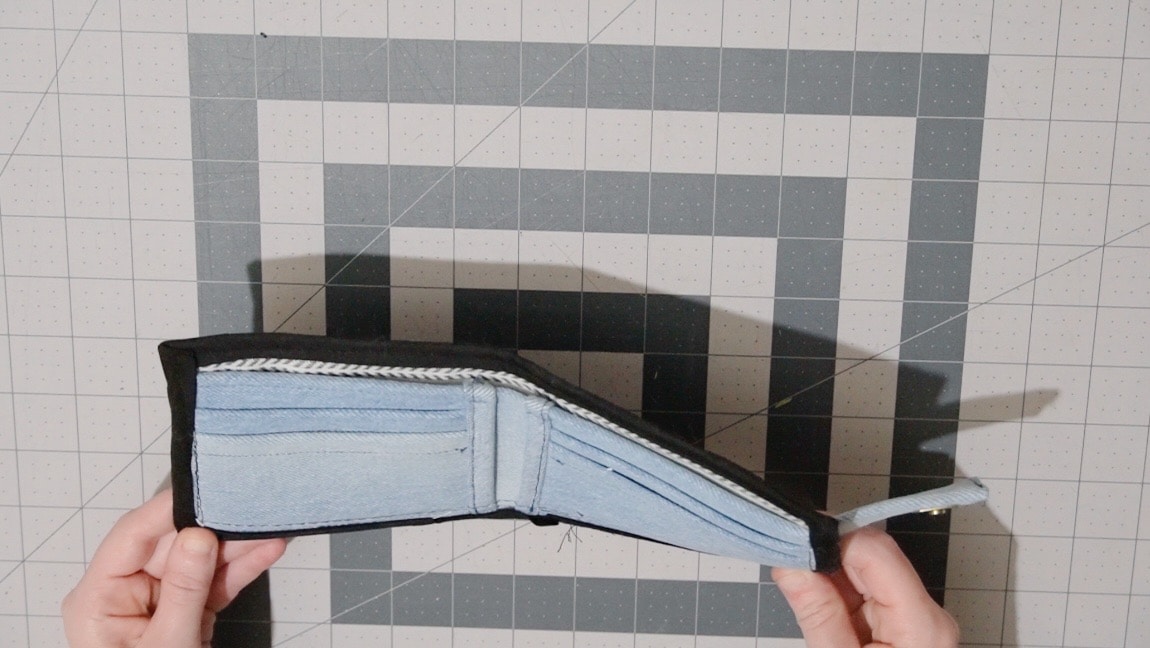
Finished!


