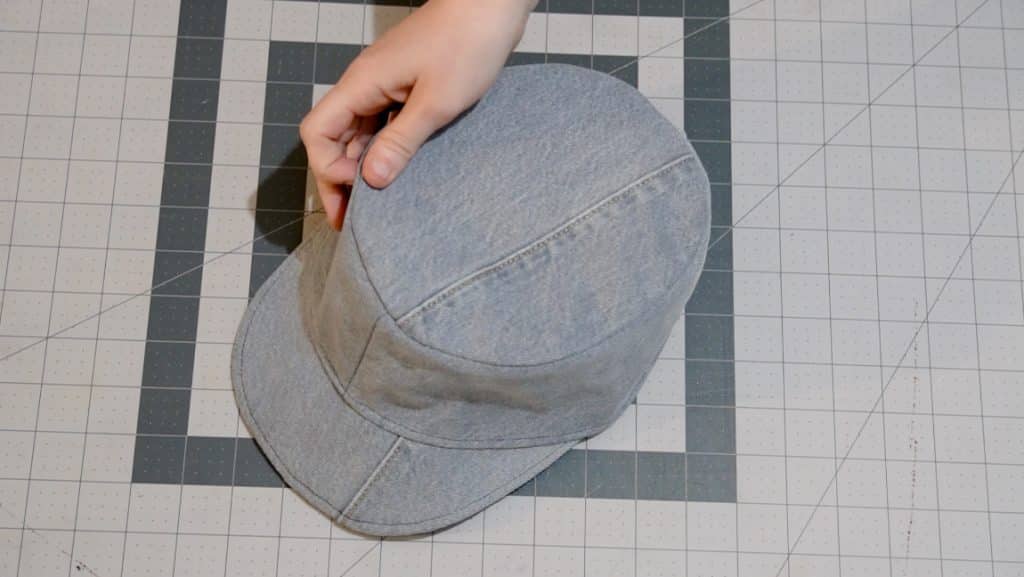
Tutorial: Upcycled Denim Kepi Hat (Reversible)
Learn how to make a reversible denim kepi hat by upcycling two pairs of jeans and combining them into one cute hat. You can check out the free pattern below and follow along with the step-by-step tutorial.
Note: when sewing with denim, I recommend using a heavy weight or jeans needle with your sewing machine. A standard needle may snap if you try to sew through too many layers of denim.

Supplies Needed:
(all of my patterns include 1/2″ seam allowance)

Step 1
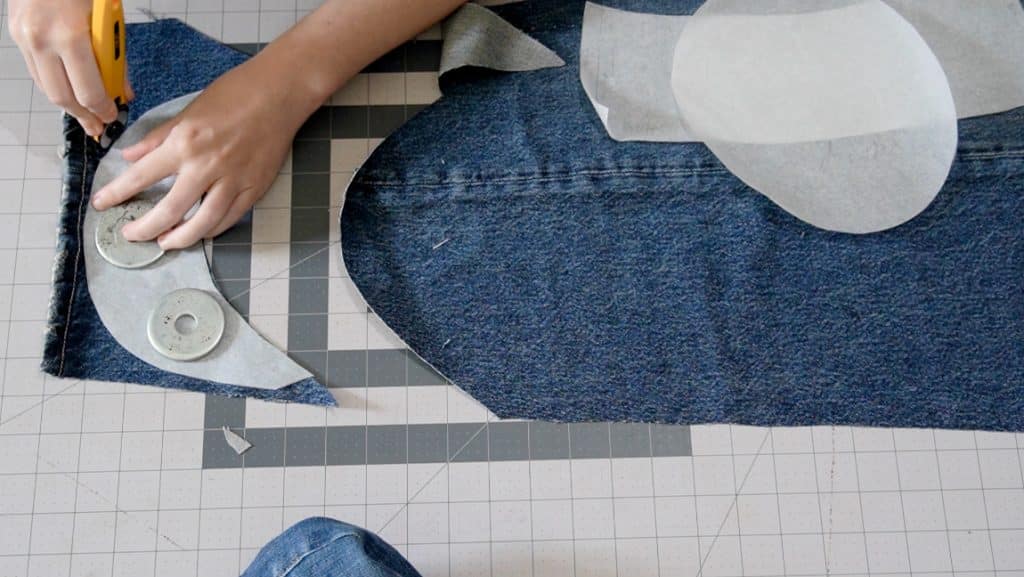
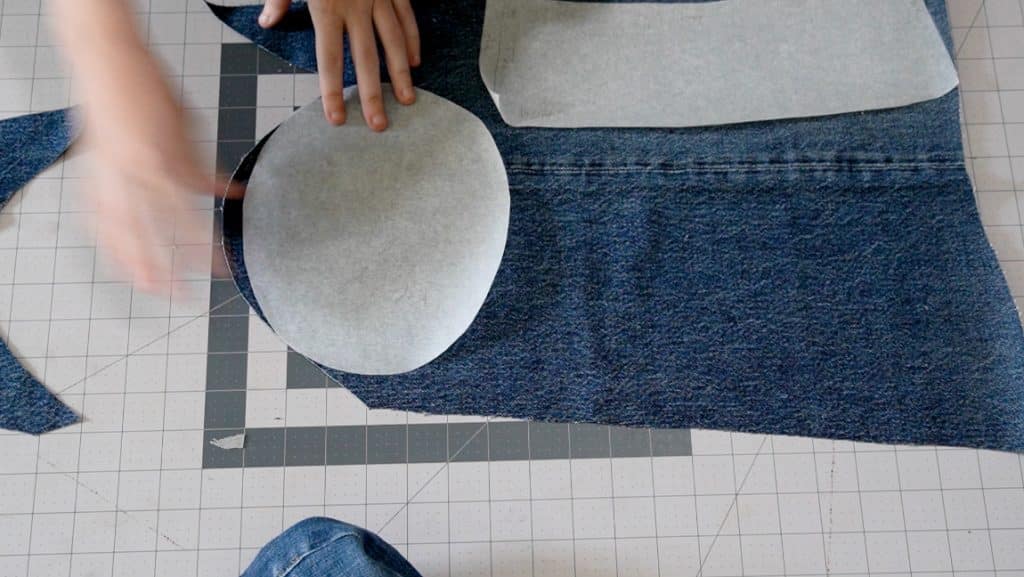

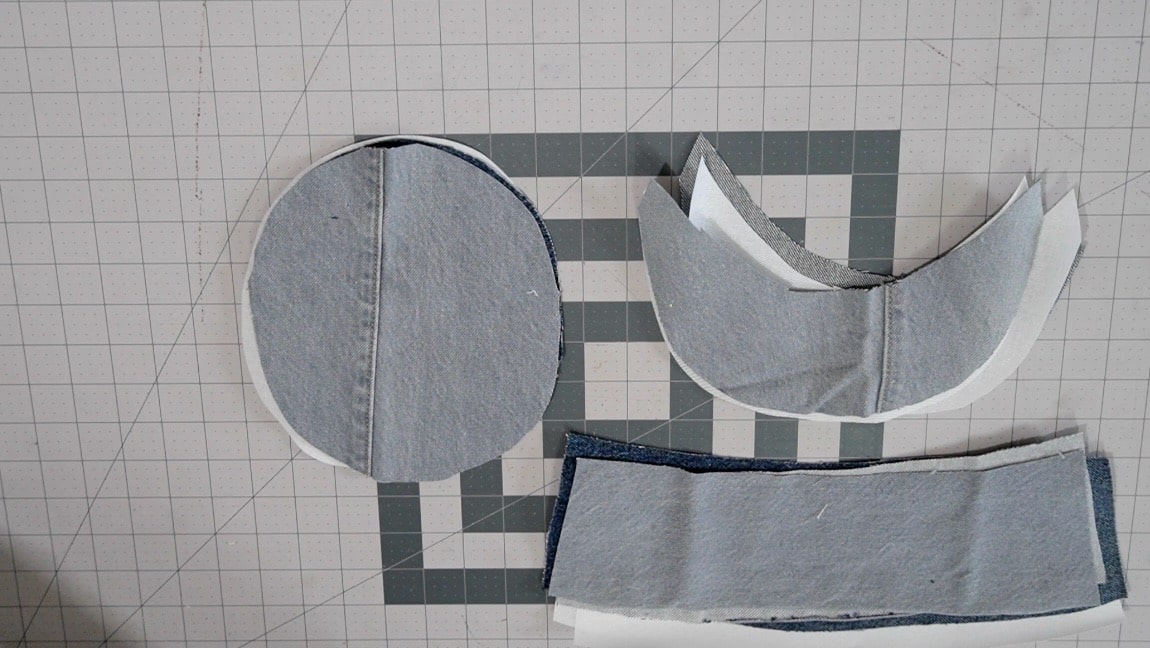
Cut out your fabric pieces from two pairs of jeans
You’ll have one set of pieces in each color.
Step 2

Apply buckram
Add buckram (or heavy interfacing) to one set of crown pieces, one top piece, and both brim pieces.
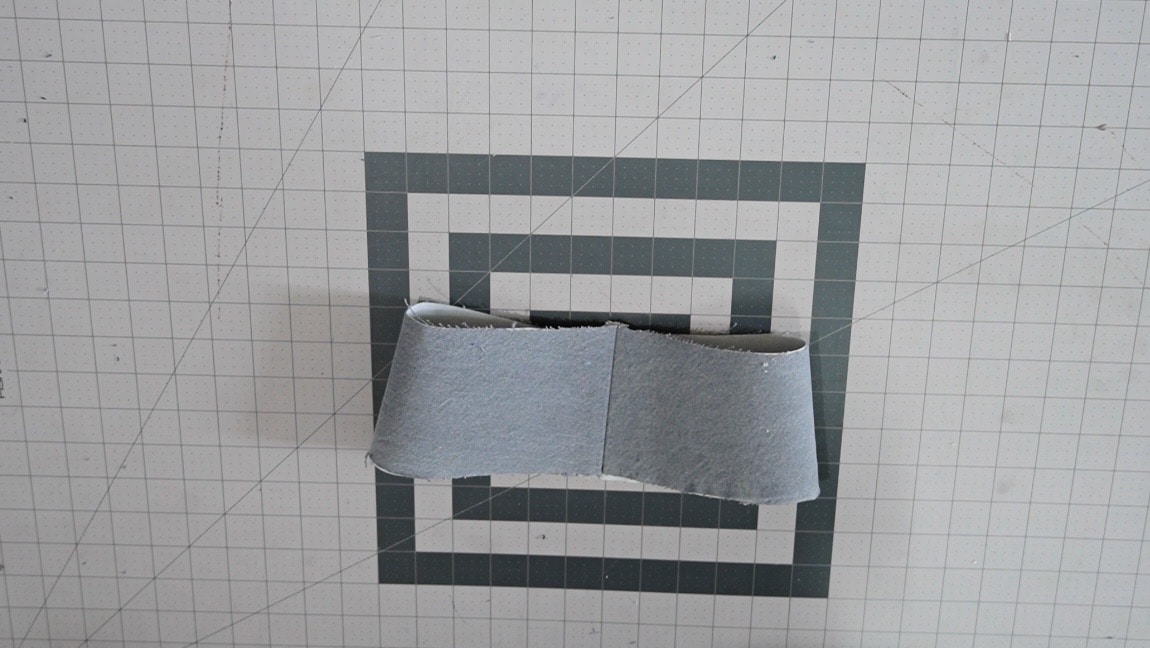
Step 3
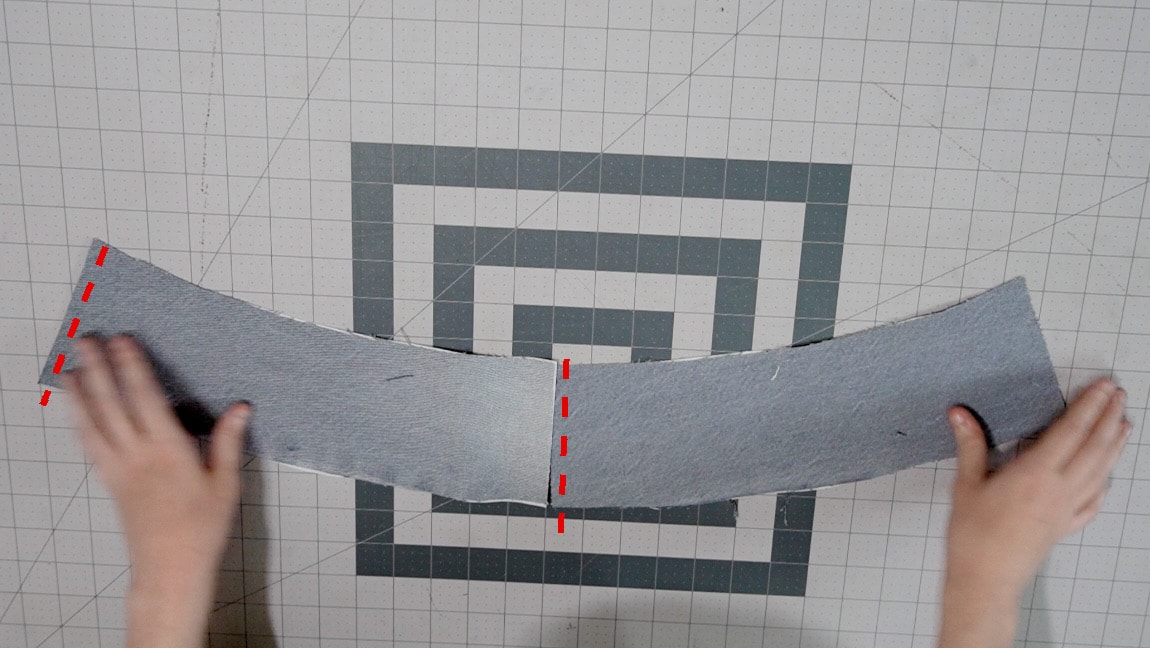
sew the crown together into a loop
with right sides together, sew one set of crown pieces to form the hat.
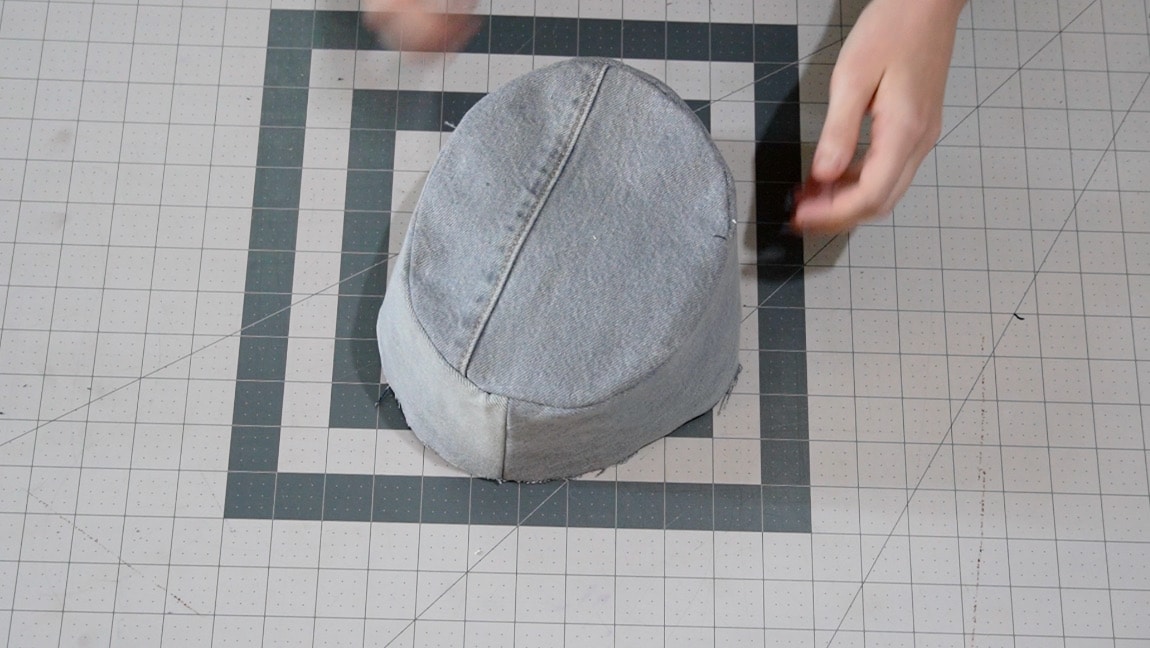
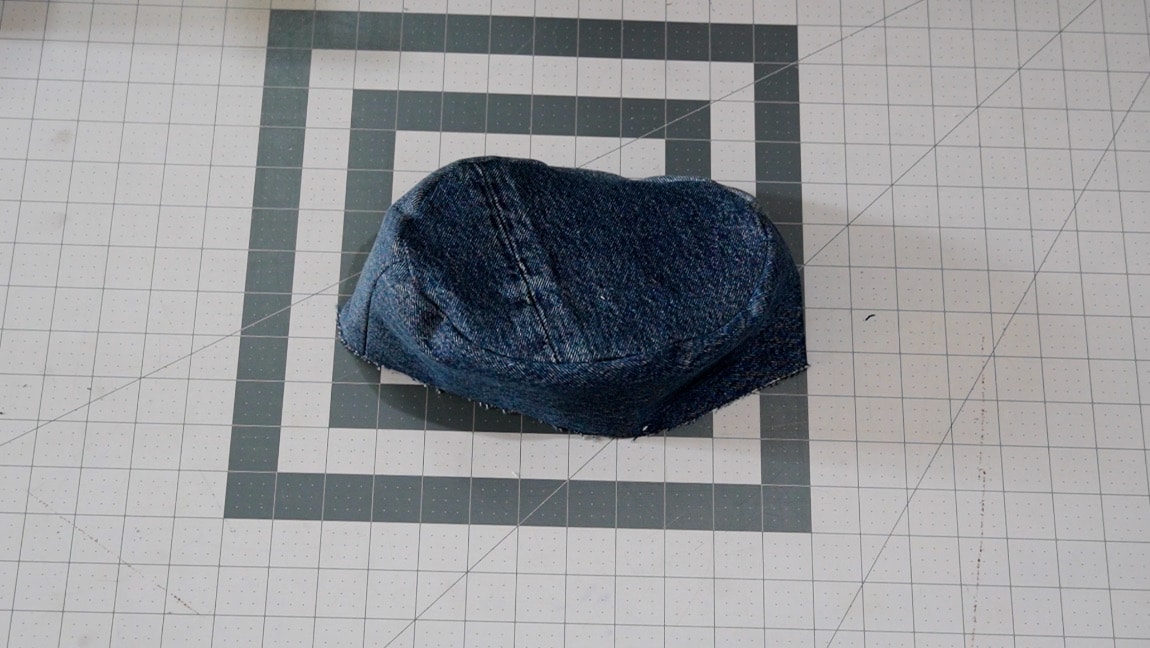
Step 4


sew the top to the crown
With right sides together, sew on the top of the hat. The press the seam for a neater finish.
Step 5

Sew the other crown piece

Step 6

Add the top to the contrast crown piece
Step 7

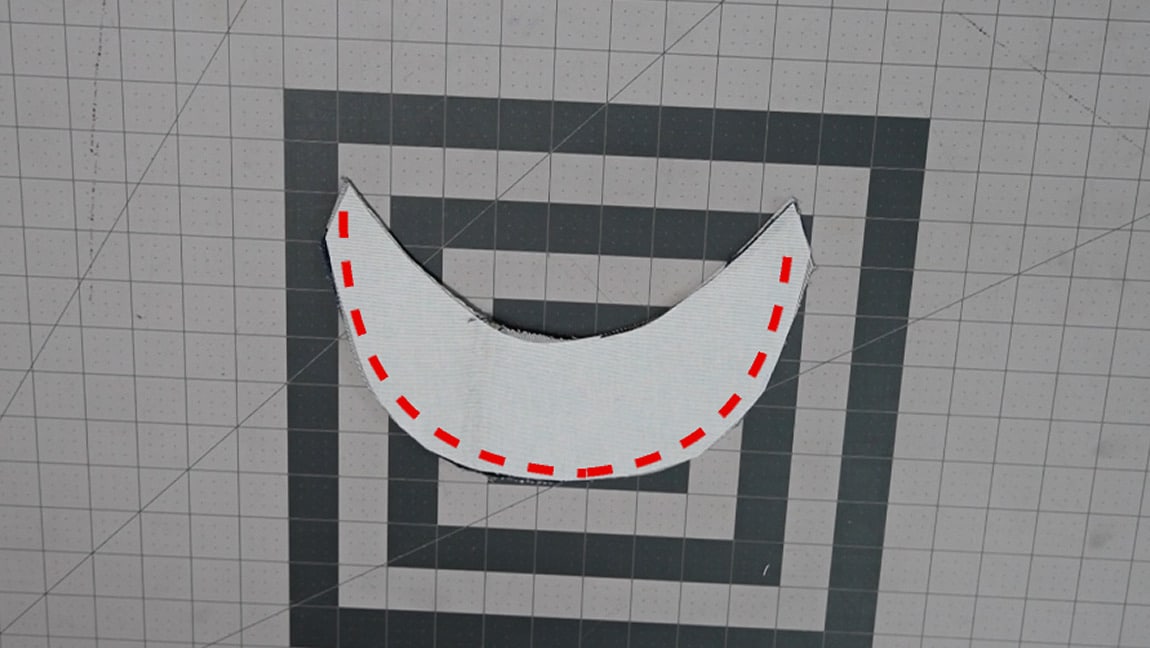
sew the brim pieces together
With right sides together, sew the brim pieces around the outer edge.
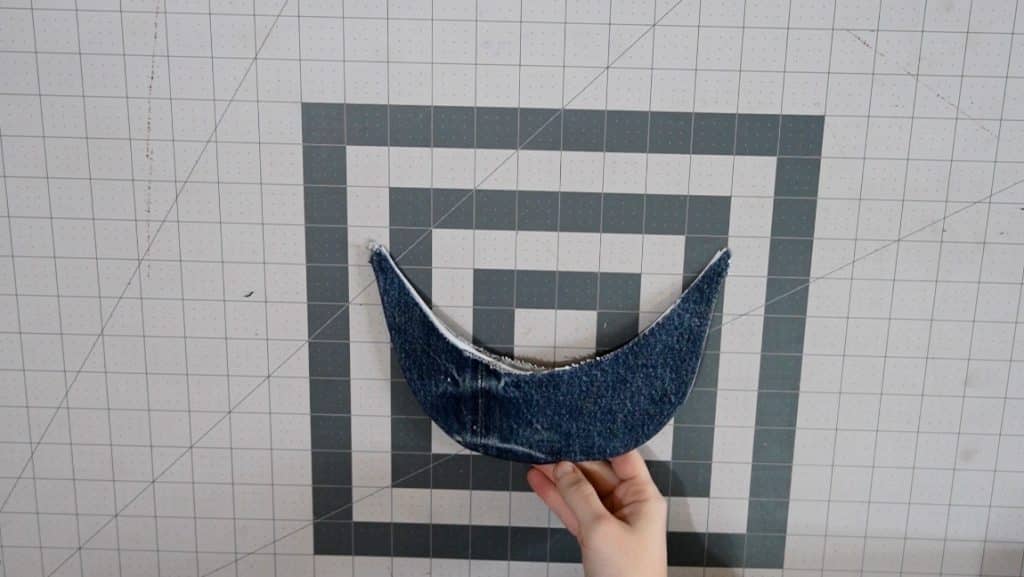
Step 8

Turn the brim to the right side
Clip and trim the seam, then turn the brim to the right side through the center. Topstitch along the fold for a neater finish.

Step 9
Sew the brim to the hat
With right sides together, sew the brim to one side of the hat.

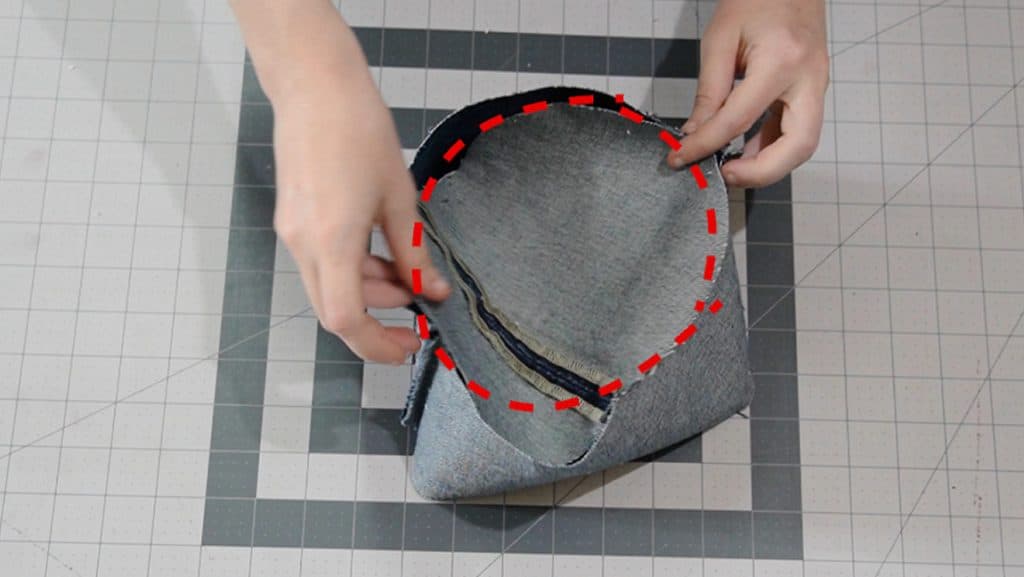
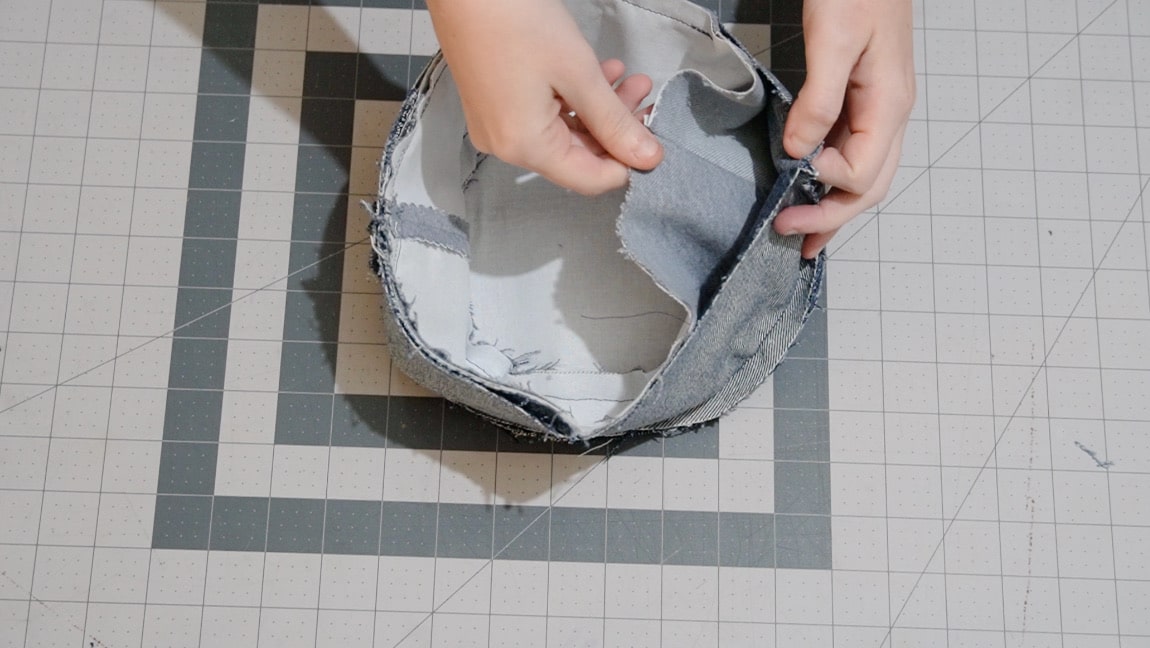
Step 10
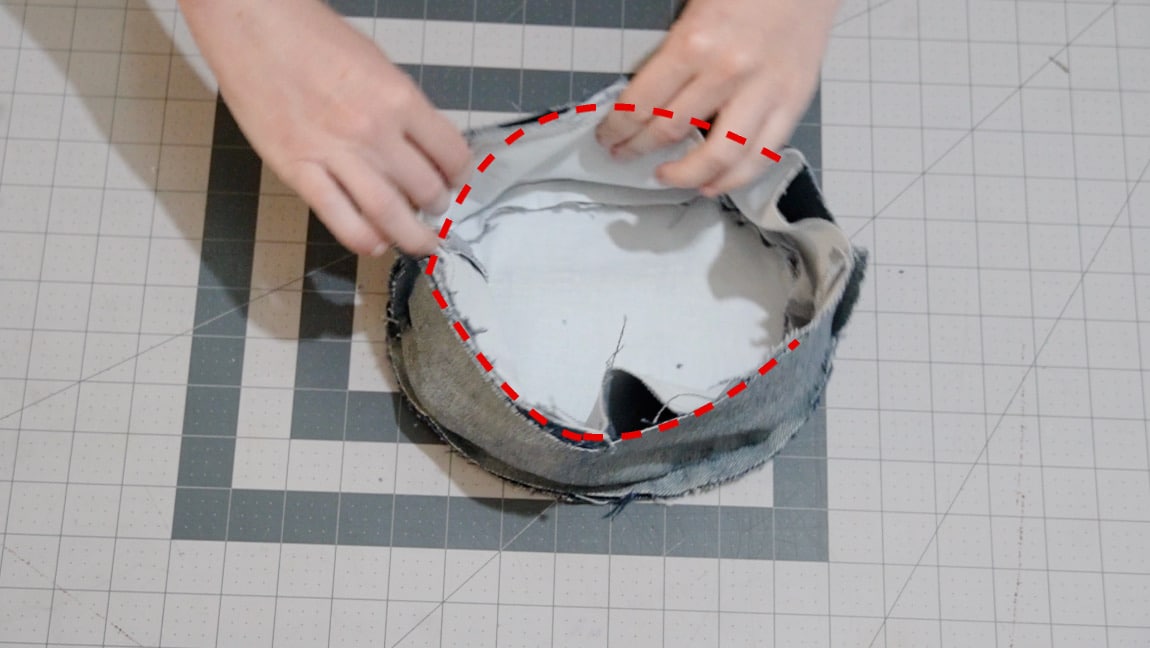
Place the hat inside the contrast layer and sew around the edge
The brim will be sandwiched between the two hat layers. Leave a gap so that you can turn it in the next step.
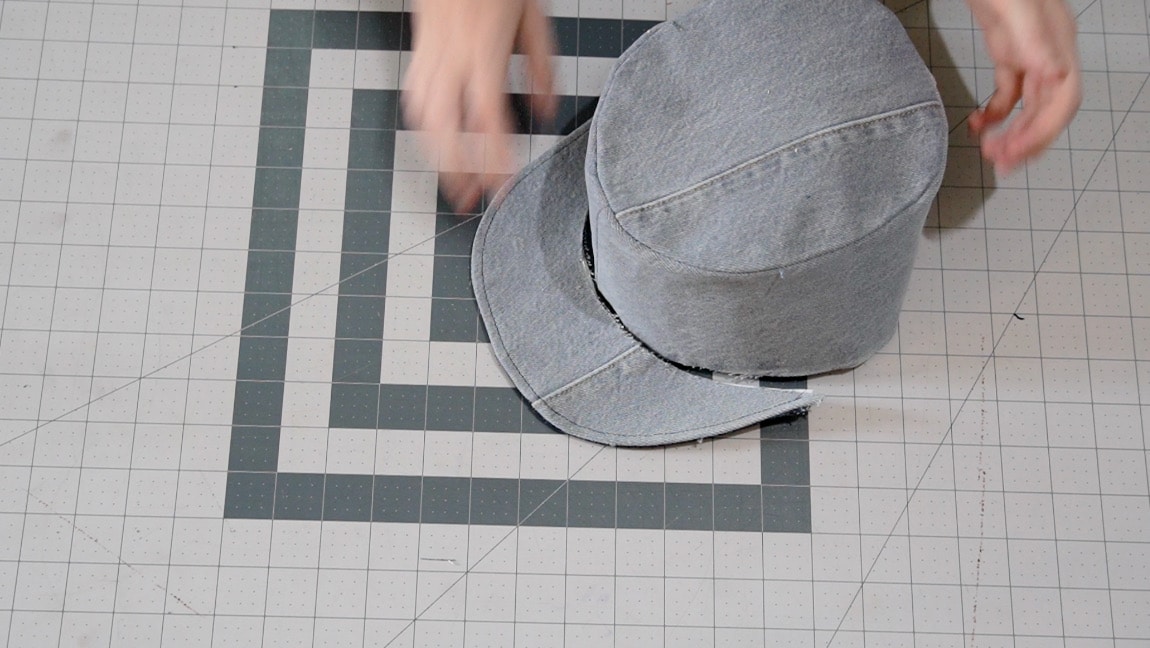
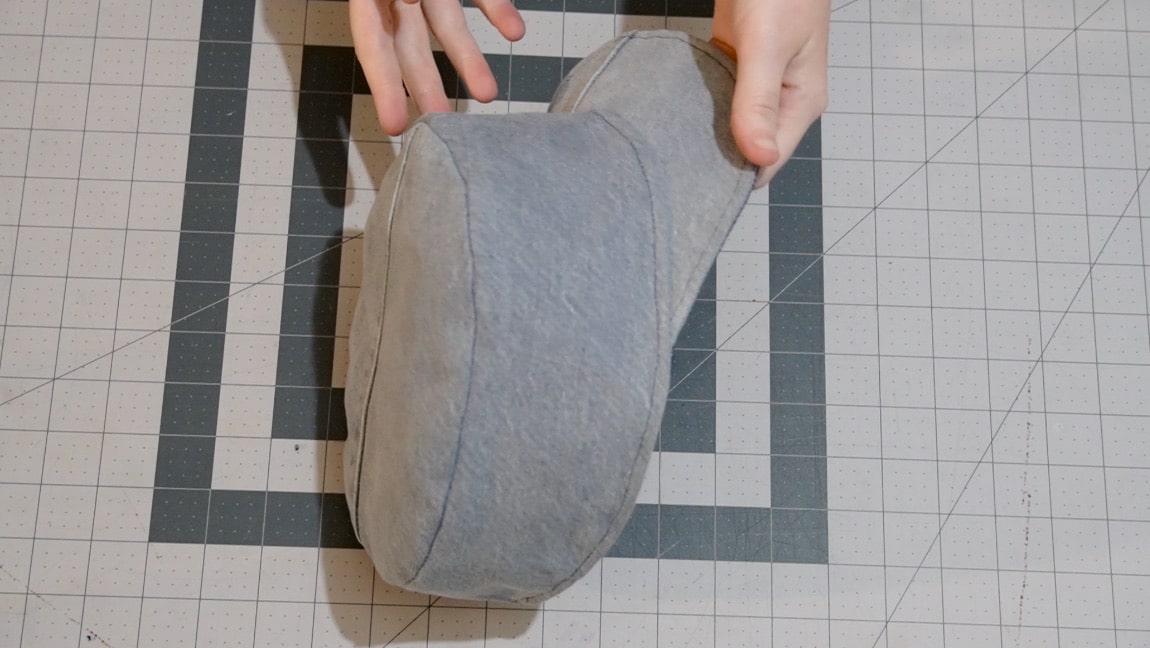
Step 11

turn the hat to the right side and topstitch around the edge
Flip the hat through the gap, then fold over the inside and topstitch around the entire base of the hat for a neat finish. Now you can flip the hat back and forth for a reversible design.

Finished!