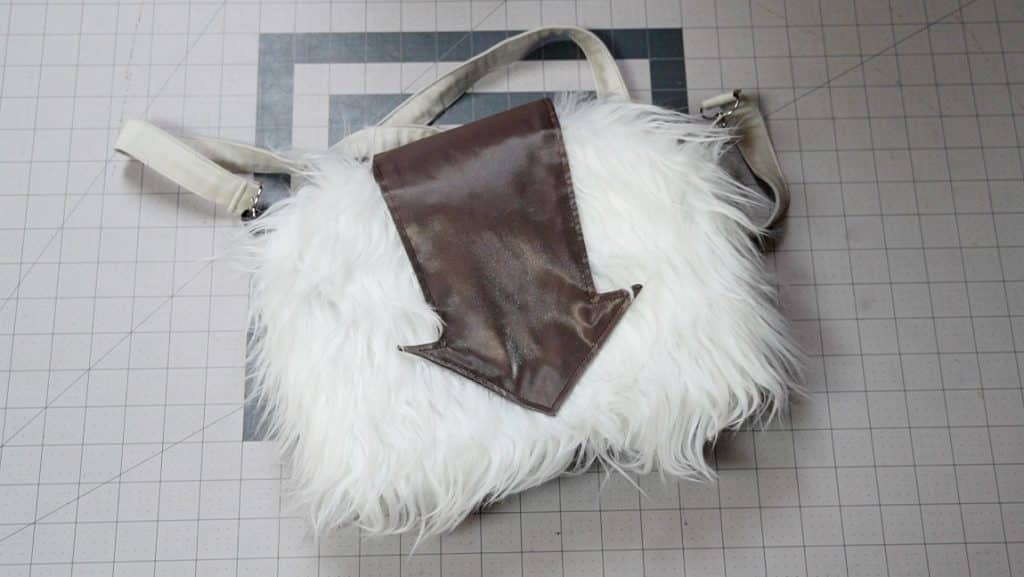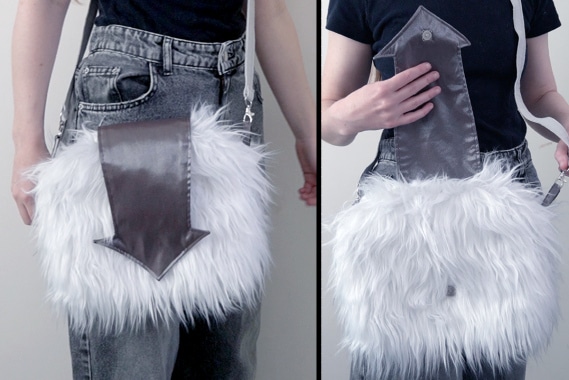
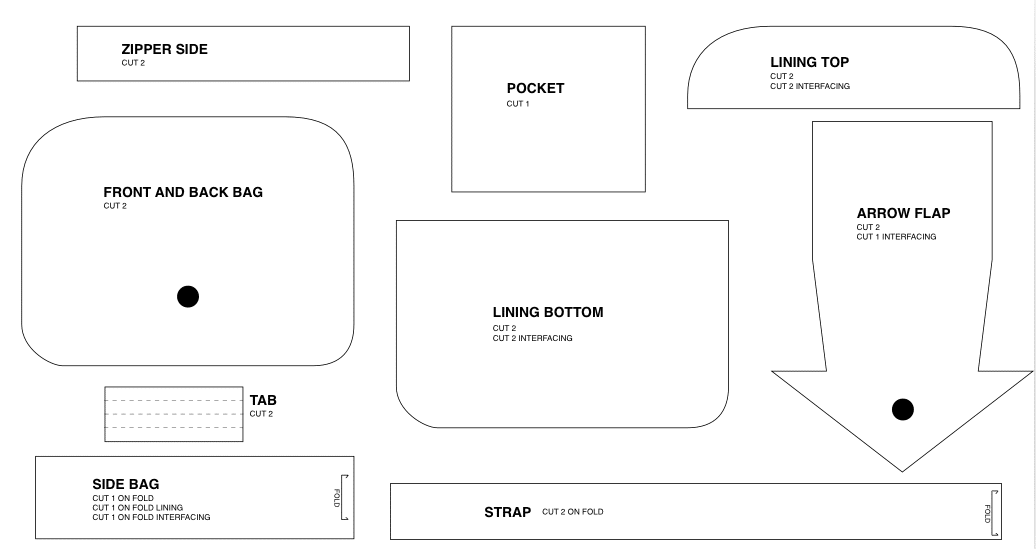
Tutorial: Appa Bag with Faux Fur (Avatar the Last Airbender)
One of my favorite childhoods TV series was Avatar the Last Airbender. So I decided to make a purse inspired by the iconic Appa! This is a fairly easy pattern, but if you’ve never sewn with fur before, there may be some tricky parts to this tutorial. But I think a determined beginner will be able to do this! I created a pattern for you to print out and follow along with the step-by-step instructions.
This page contains affiliate links. As an Amazon Associate, I earn a small commission from qualifying purchases. That being said, I encourage you to use your local sewing shop whenever possible, or to look for supplies second hand.
Supplies Needed:
(all of my patterns include 1/2″ seam allowance)
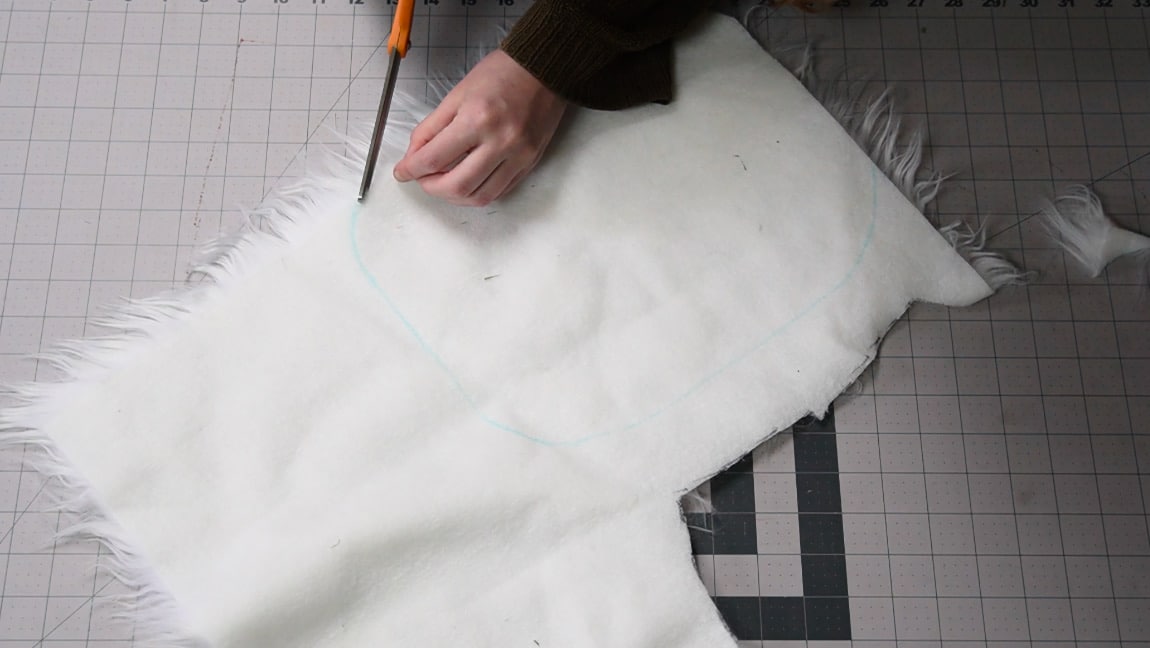
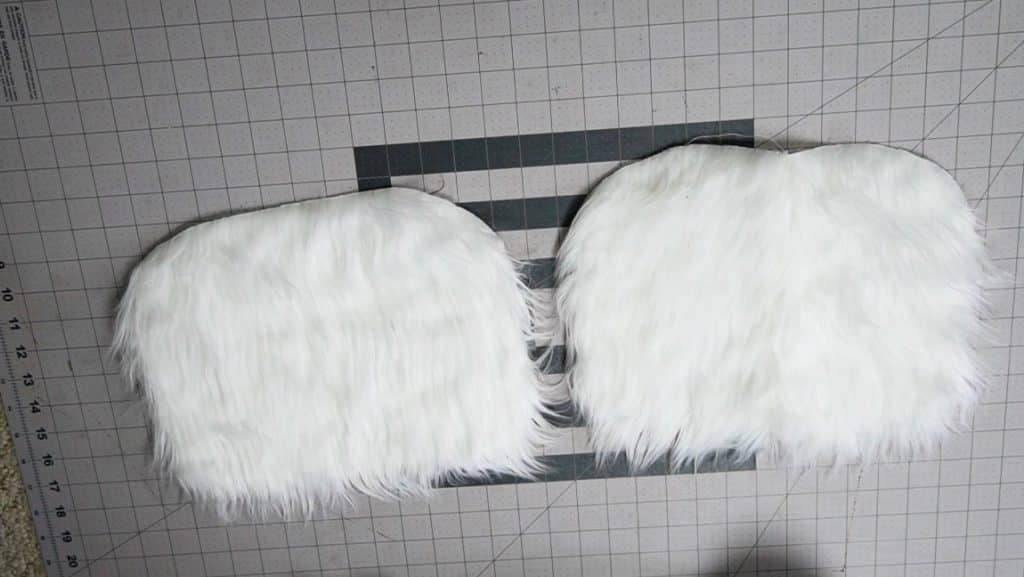
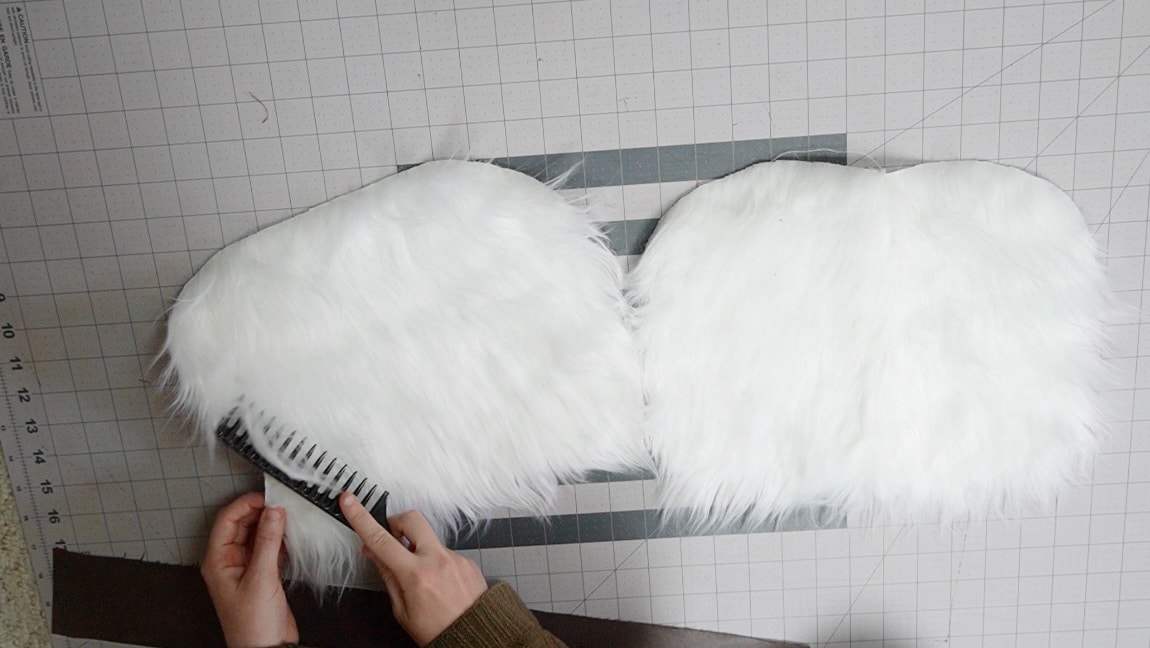
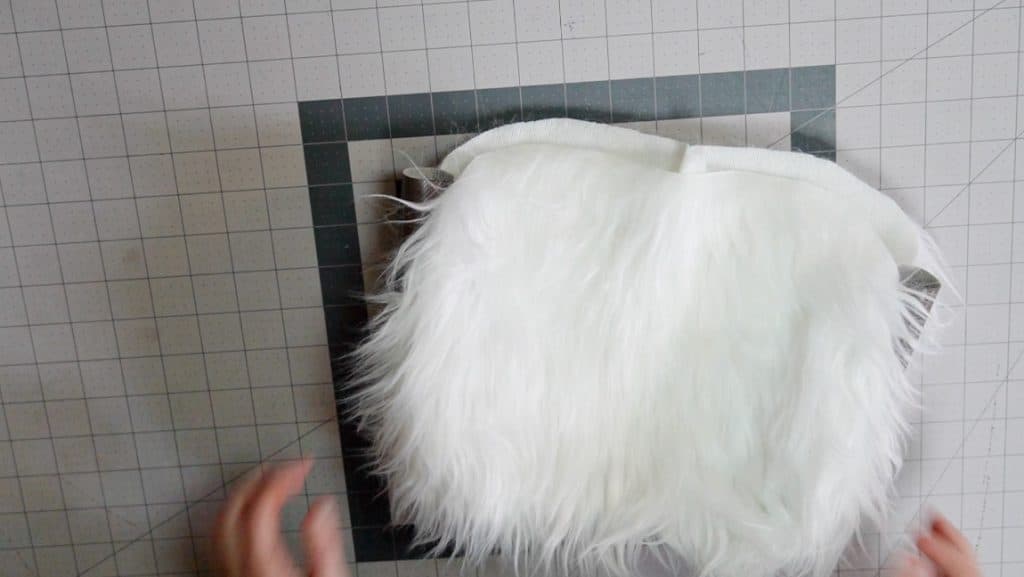
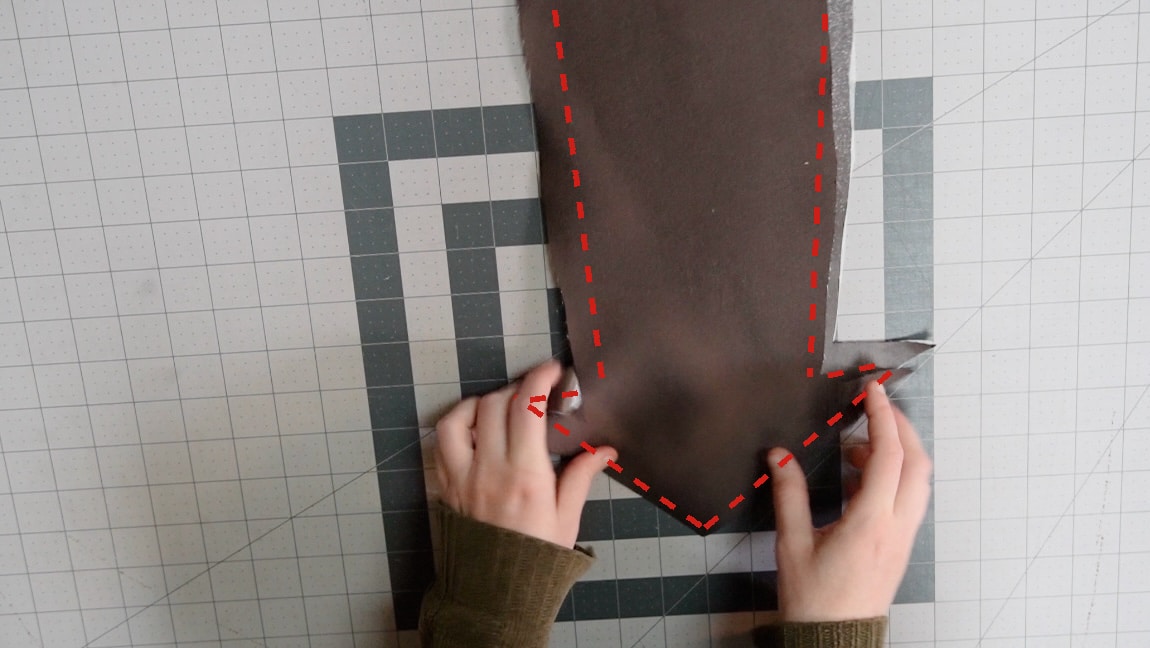
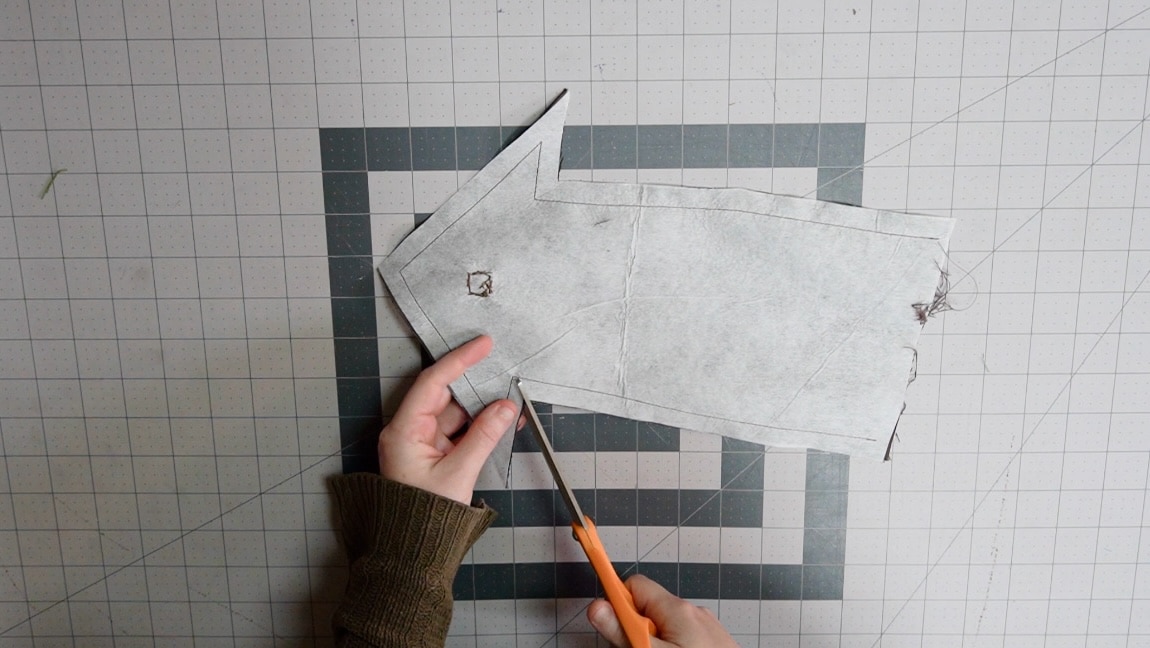
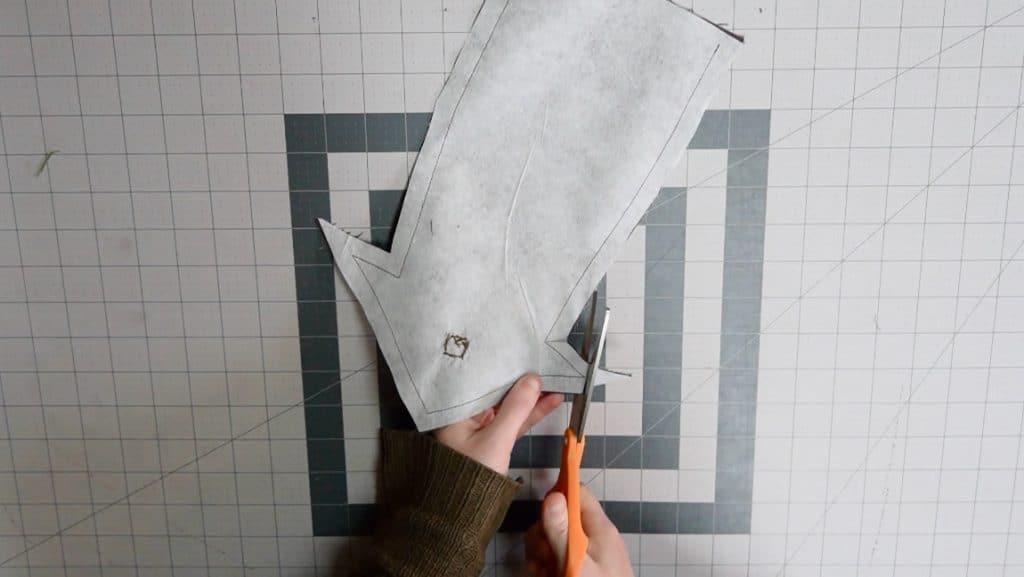
Step 1
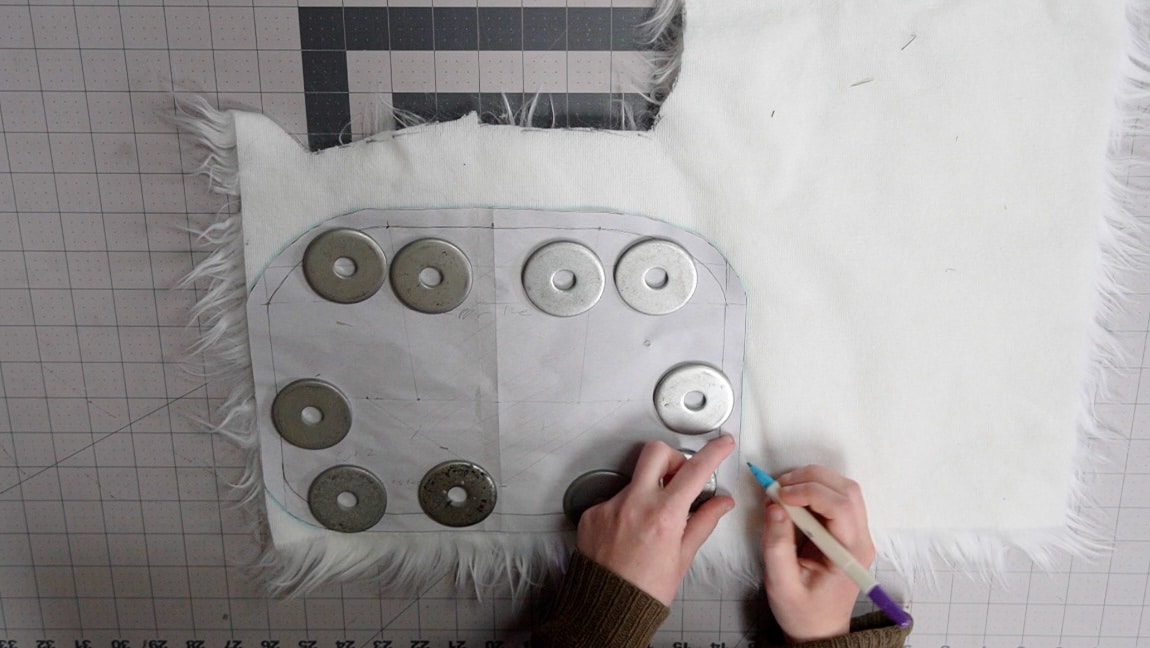
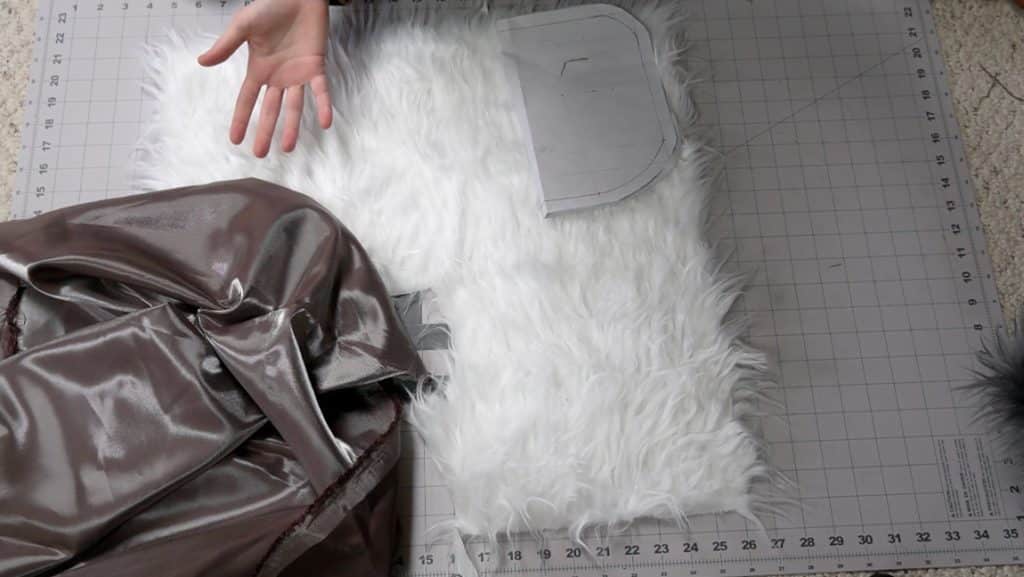
trace the bag pattern onto the back of the faux fur and cut it
Trace the front and back bag pieces onto the bag of the faux fur. Then cut it out very carefully using small snips of the scissors up close to the fur backing. The goal is to cut the backing without cutting too much of the fur.
Step 2
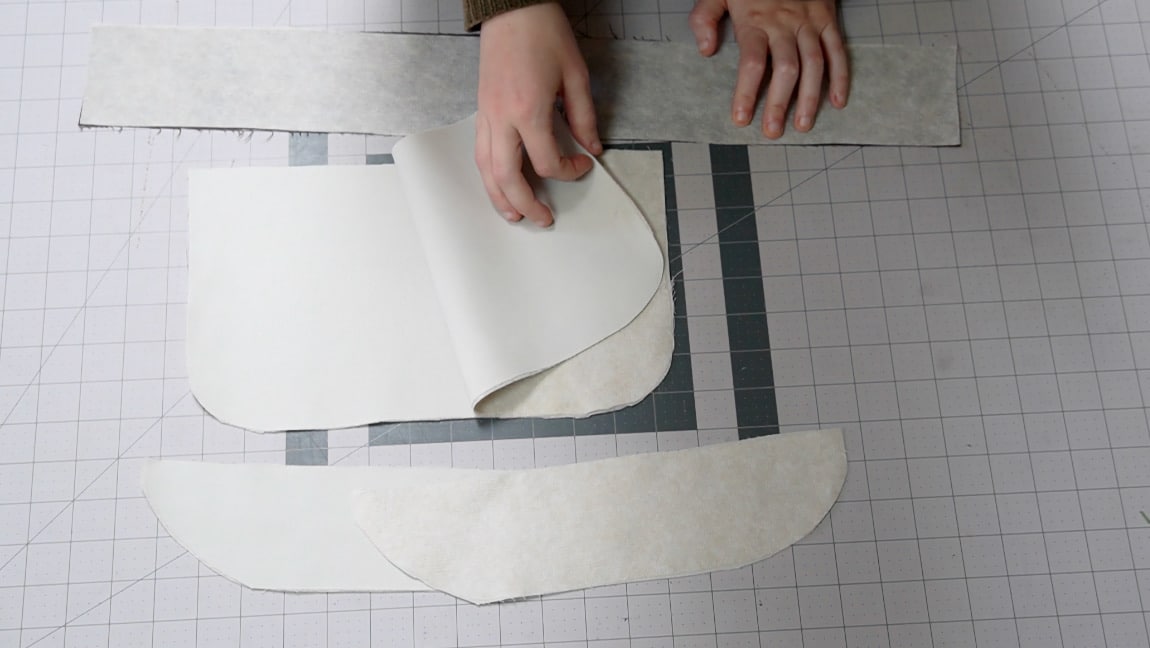
apply interfacing to the lining and side bag pieces
Apply interfacing to the lining top, lining bottom, and side bag pieces.
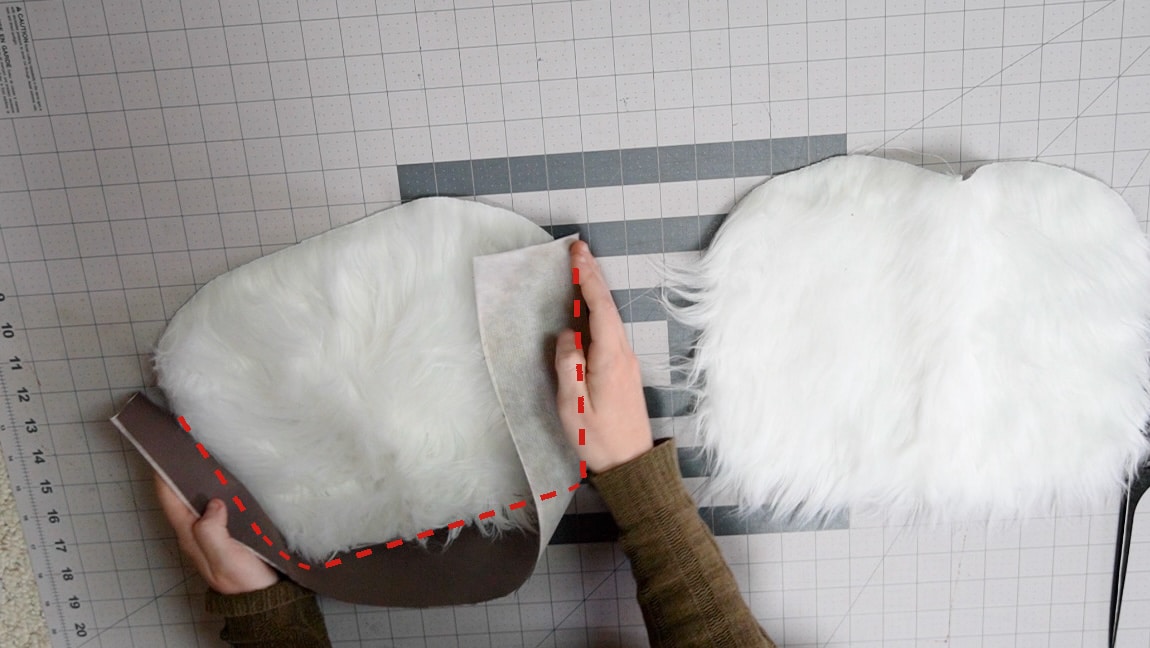
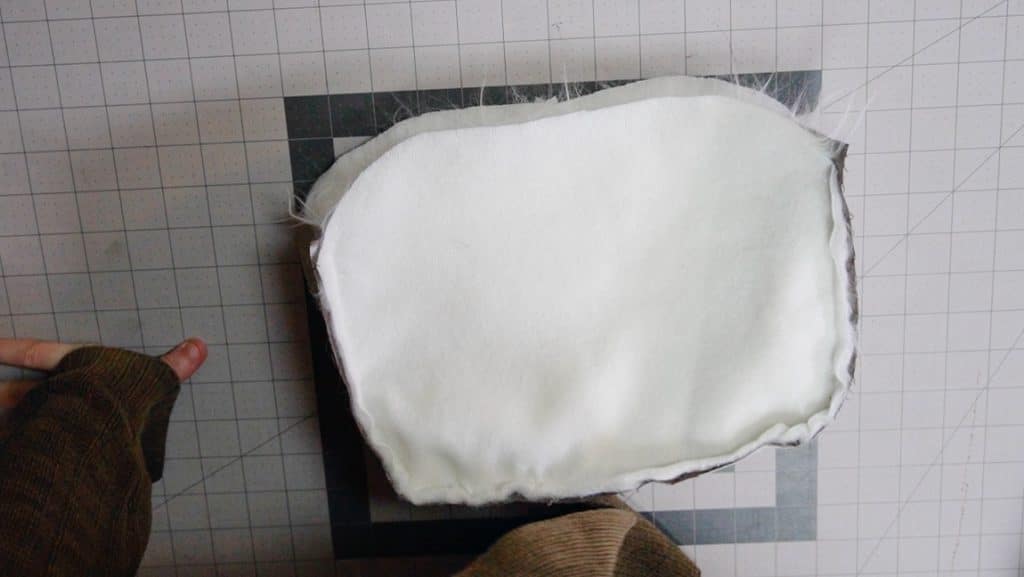
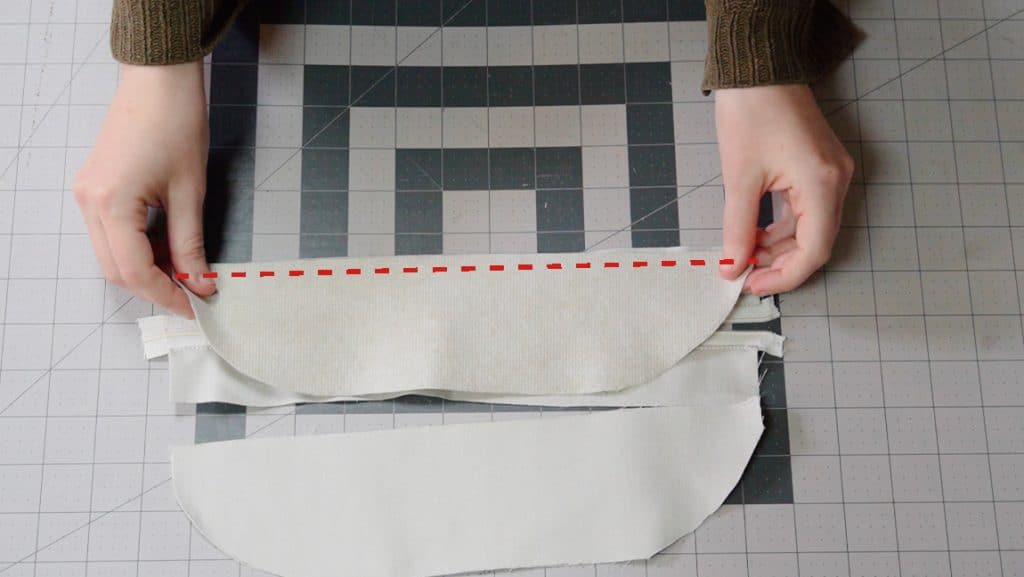
Step 3
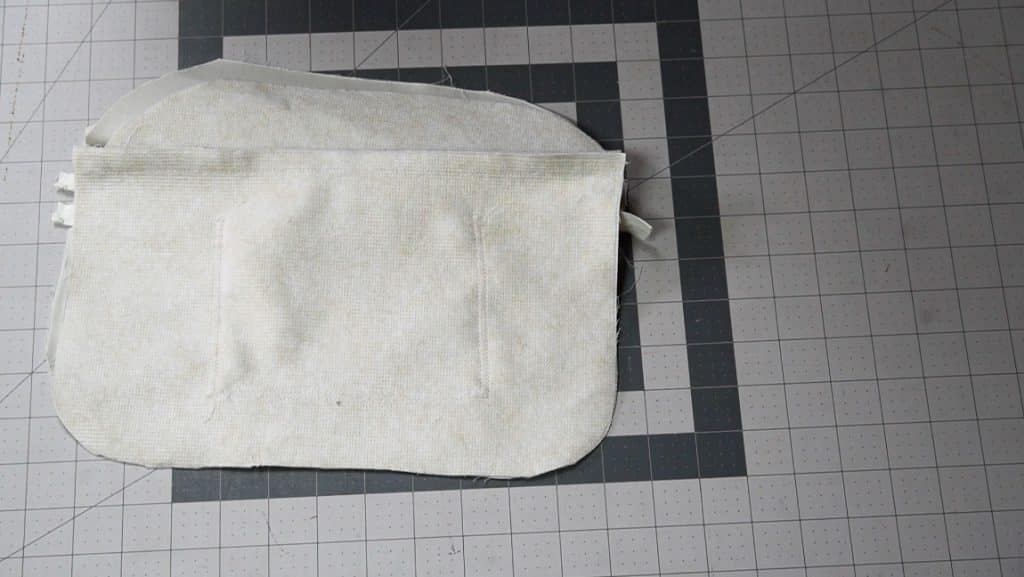
sew the side bag
Comb the fur toward the inside of the pattern pieces. This is to keep the fur from getting caught in the seam. Then sew the front and back to the side bag piece. Leave half an inch (the seam allowance) unsewn at both sides.
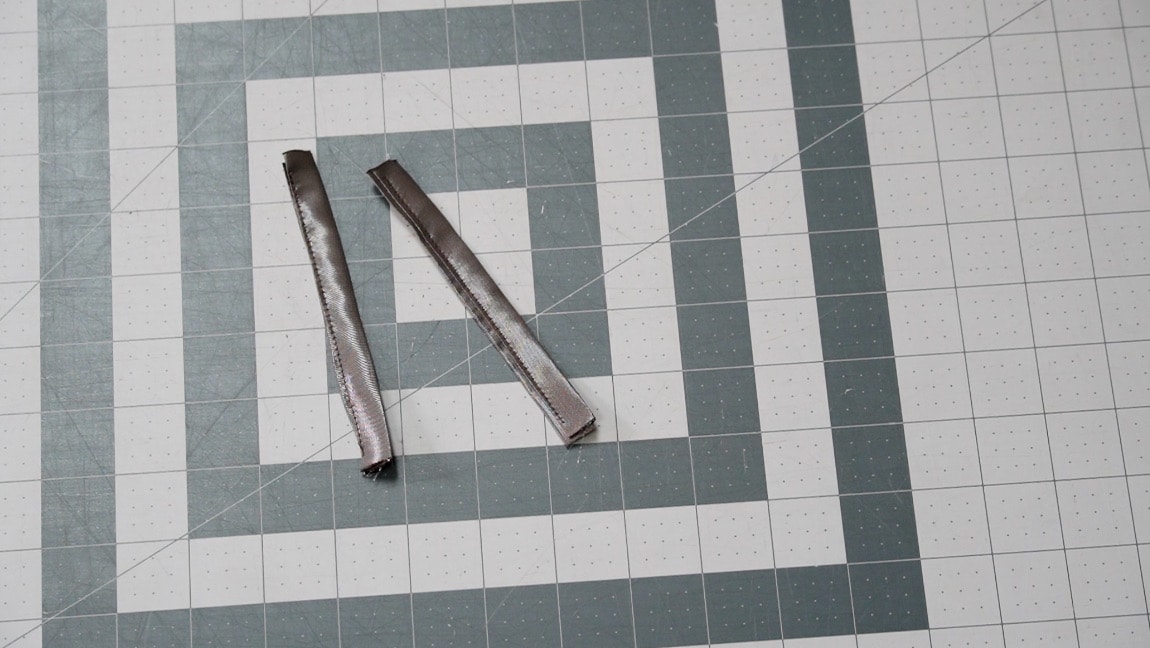
Step 4
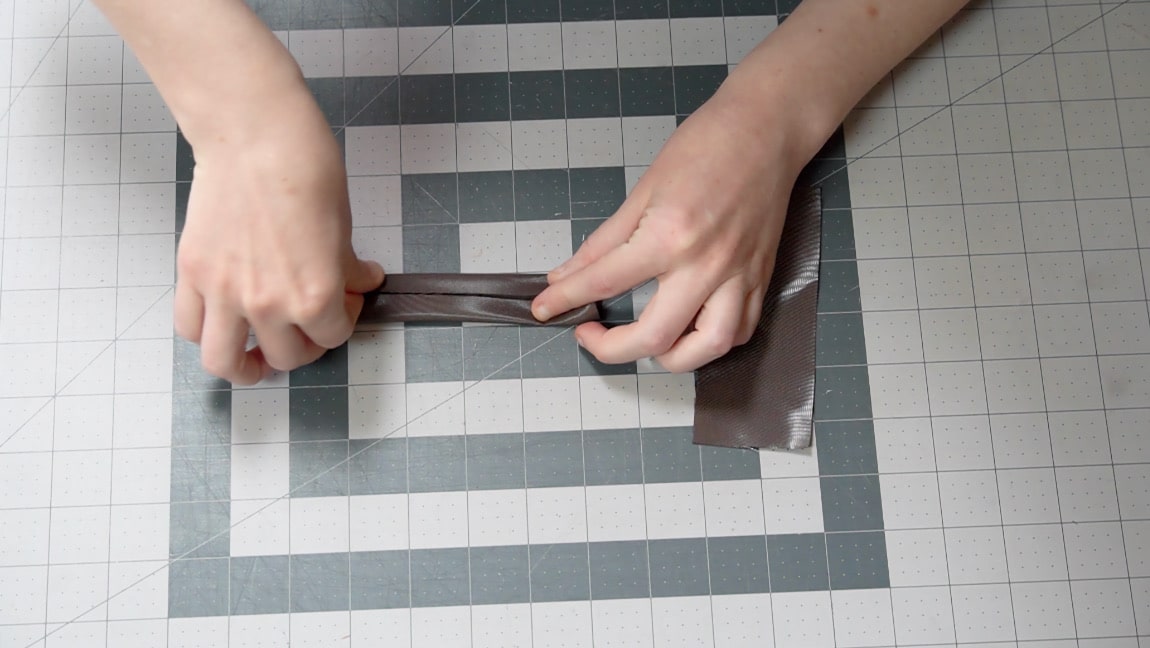
sew the tabs
fold the tab in quarters (like belt carriers) and sew them closed.
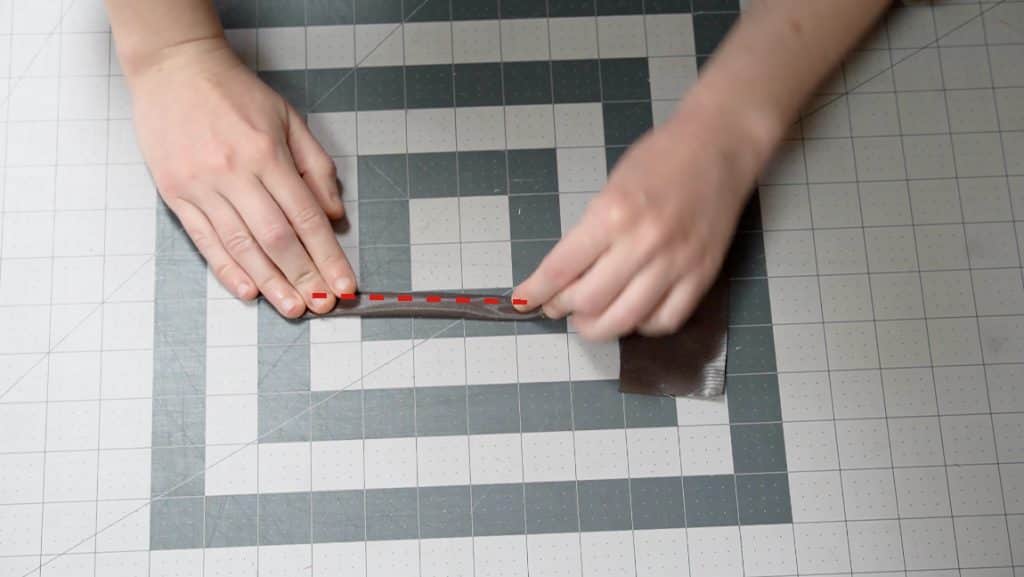
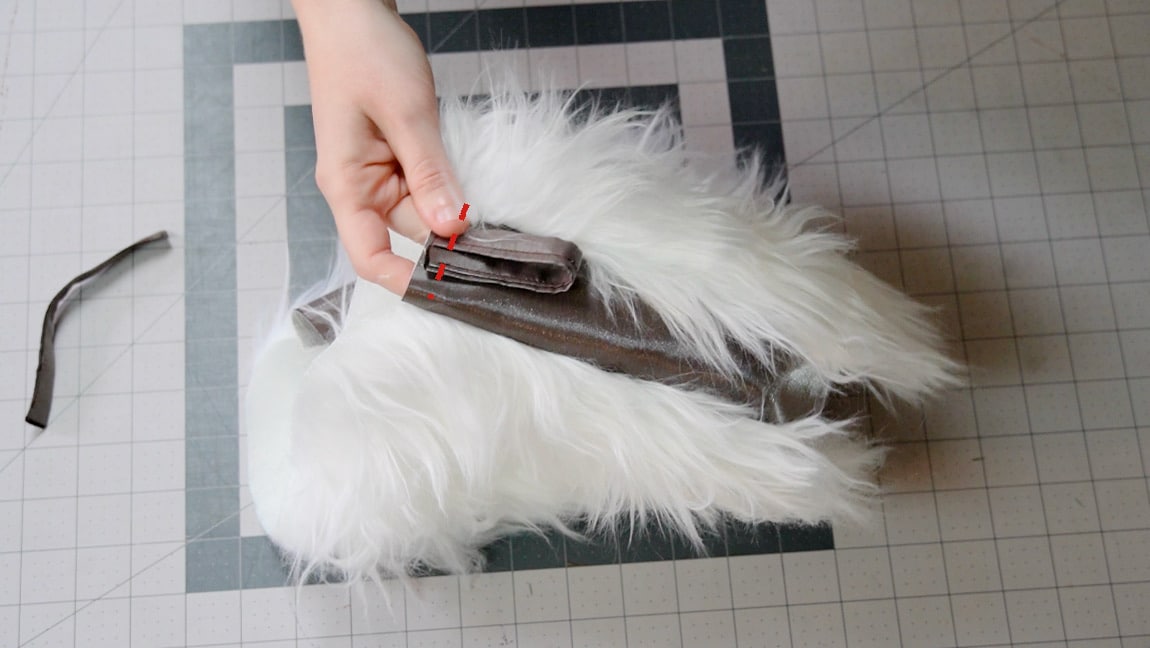
Step 5

baste the tabs to the side bag
Fold the tabs in half and baste them to the sides of the bag.
Step 6
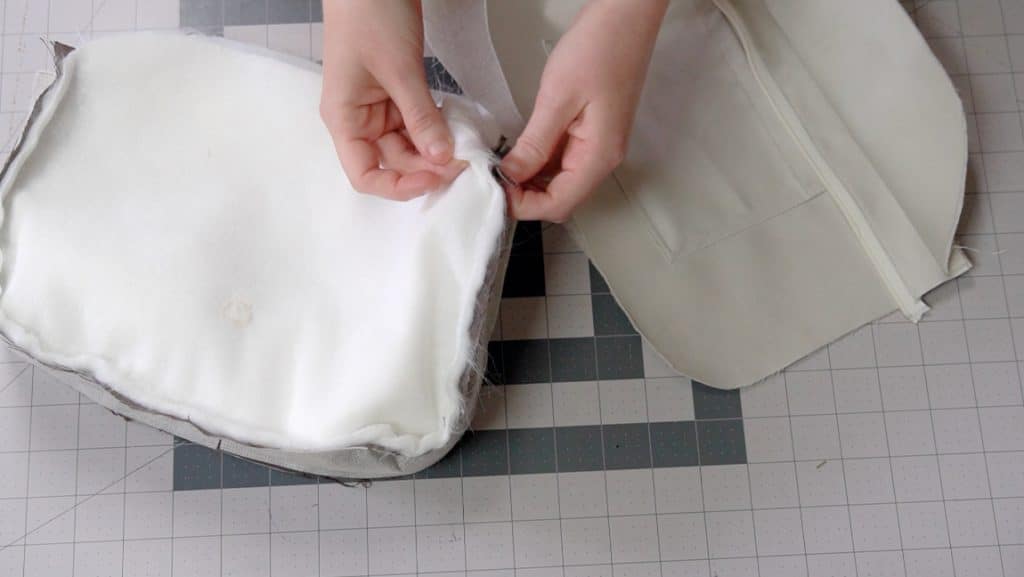
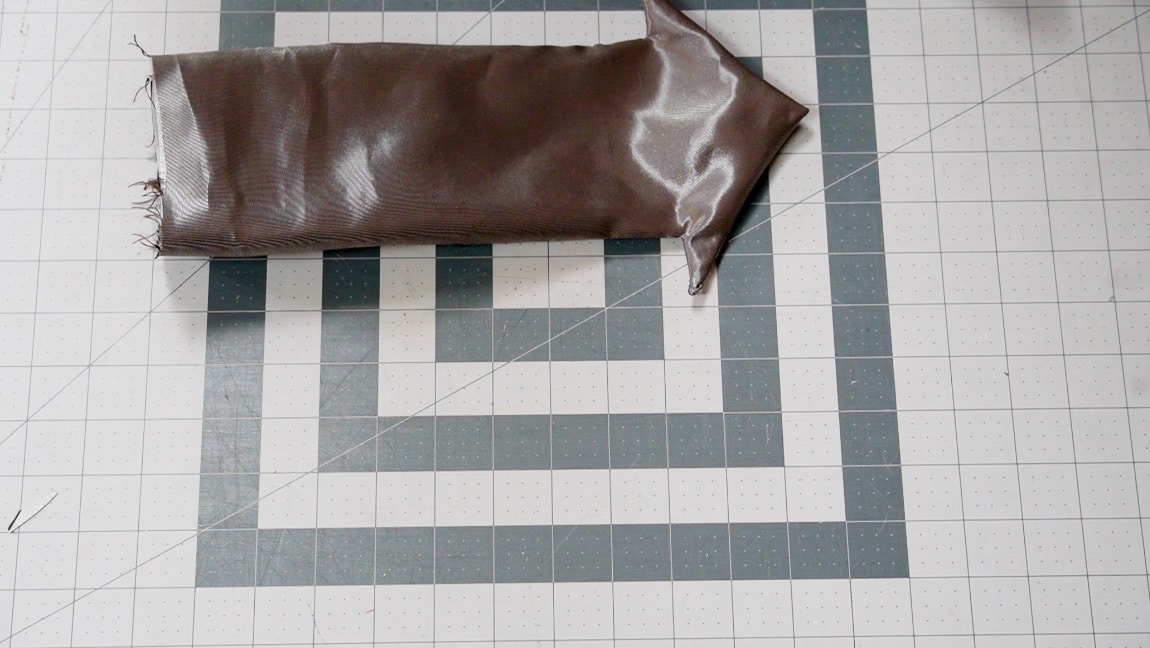
interface on side of the arrow flap
Step 7
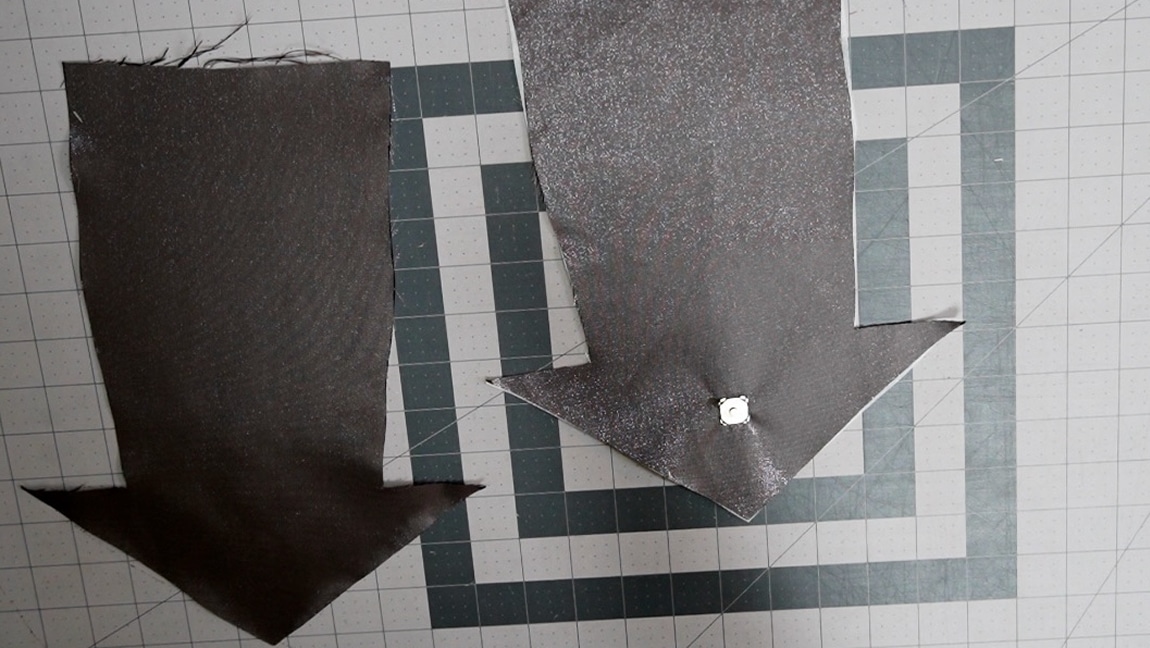
add one side of the magnet to the arrow
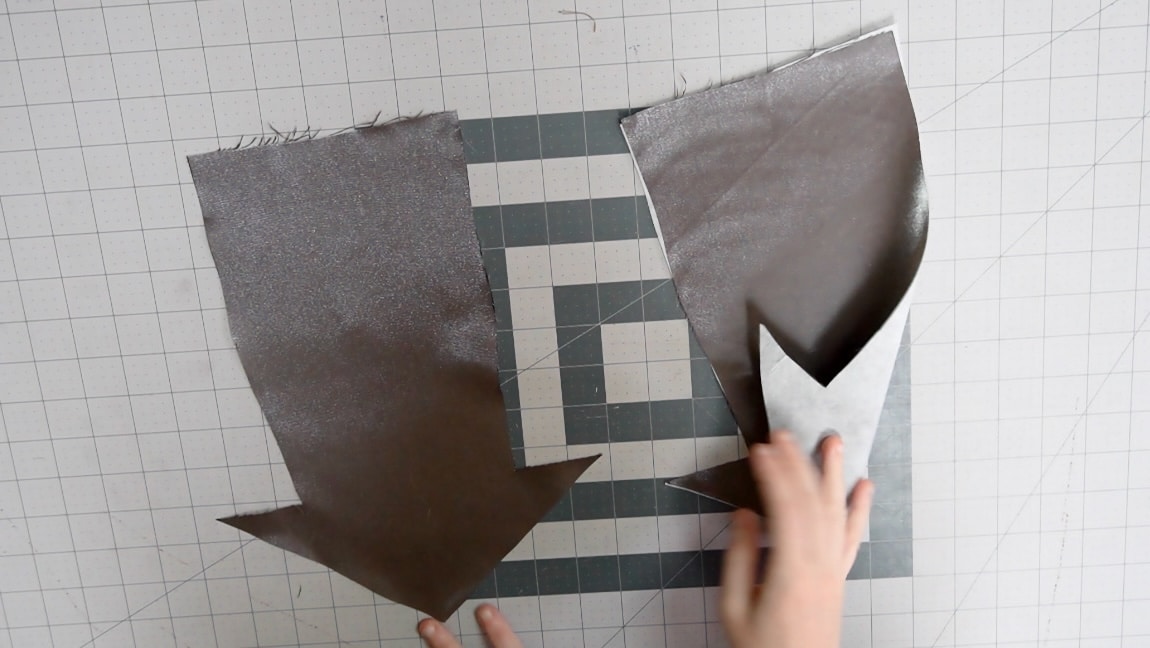
Step 8
sew the two arrow pieces together
with right sides together, sew the two arrow flap pieces.
Step 9
turn the arrow flap to the right side
clip all the corners, then turn the arrow flap to the right side.
Step 10
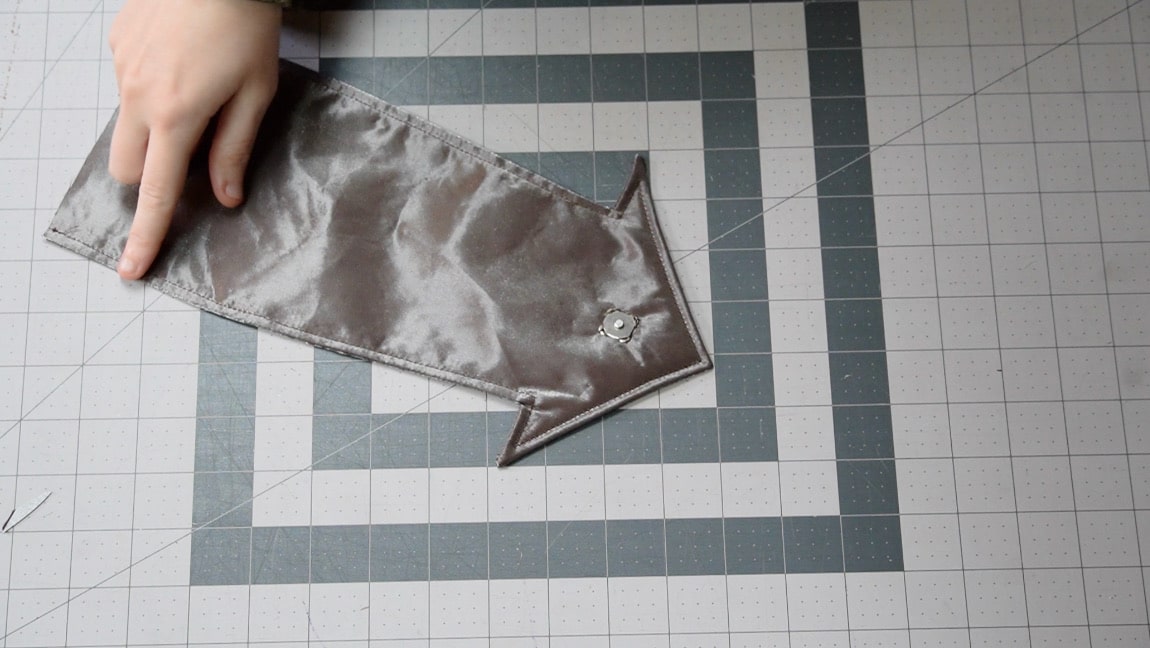
press and top stitch the arrow
Press the arrow so it’s nice and neat, then topstitch along the outer edge.
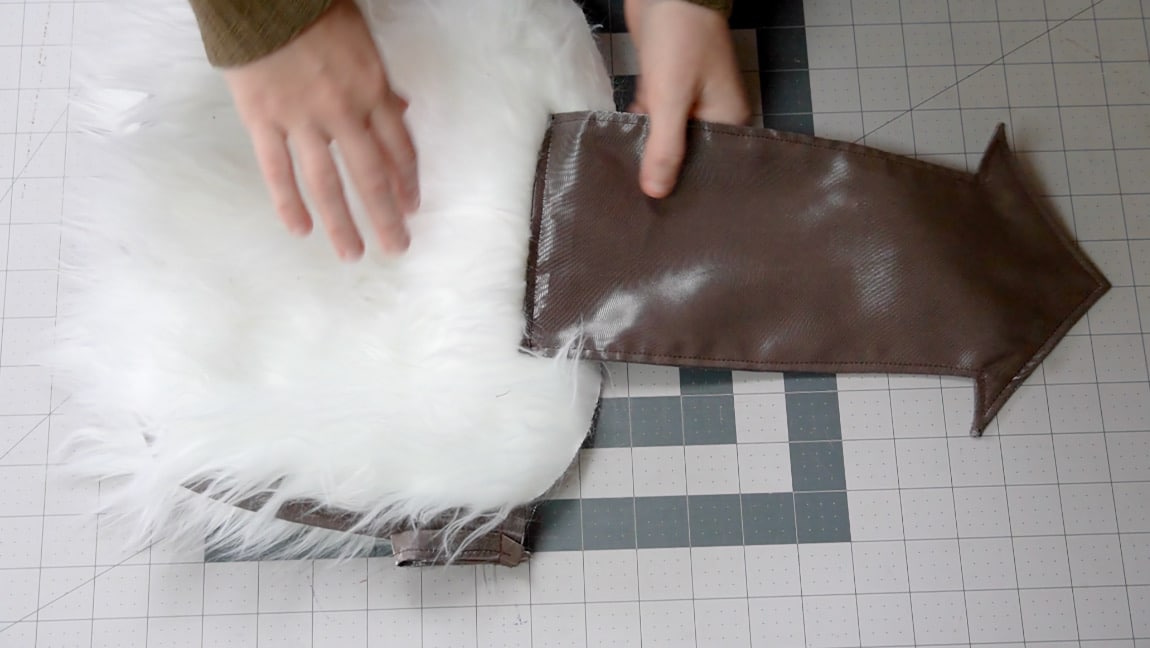
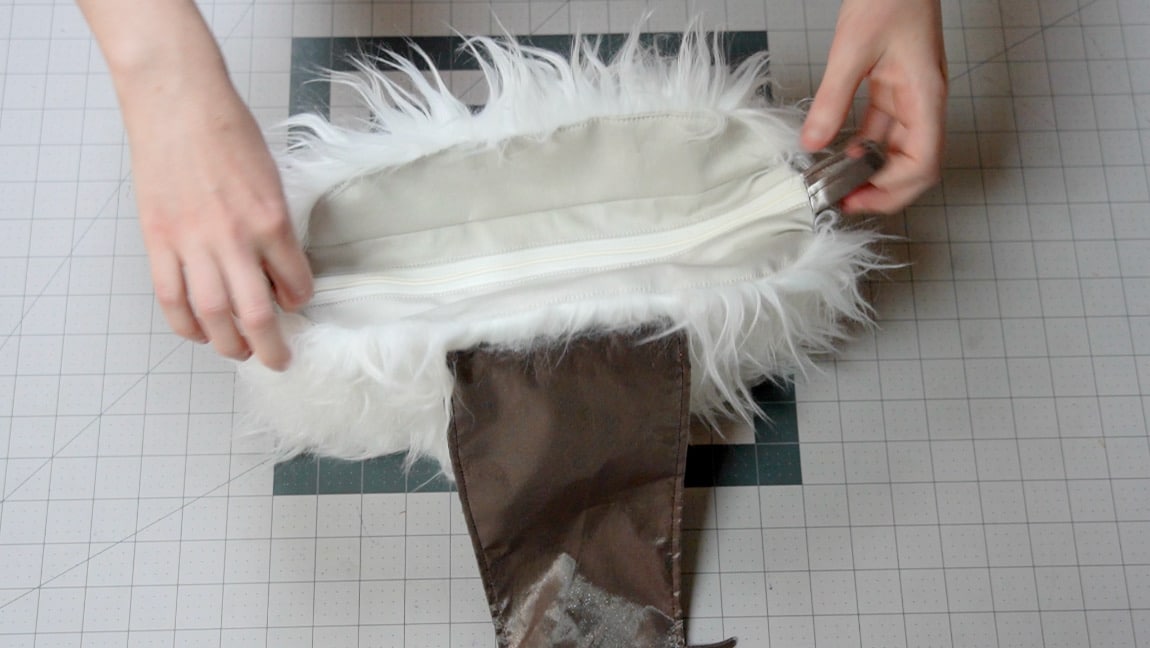
Step 11
sew the arrow flap to the back of the bag
Sew the arrow flap to the back of the bag one and a half inches down from the top of the bag. The magnet should be facing up.
Step 12
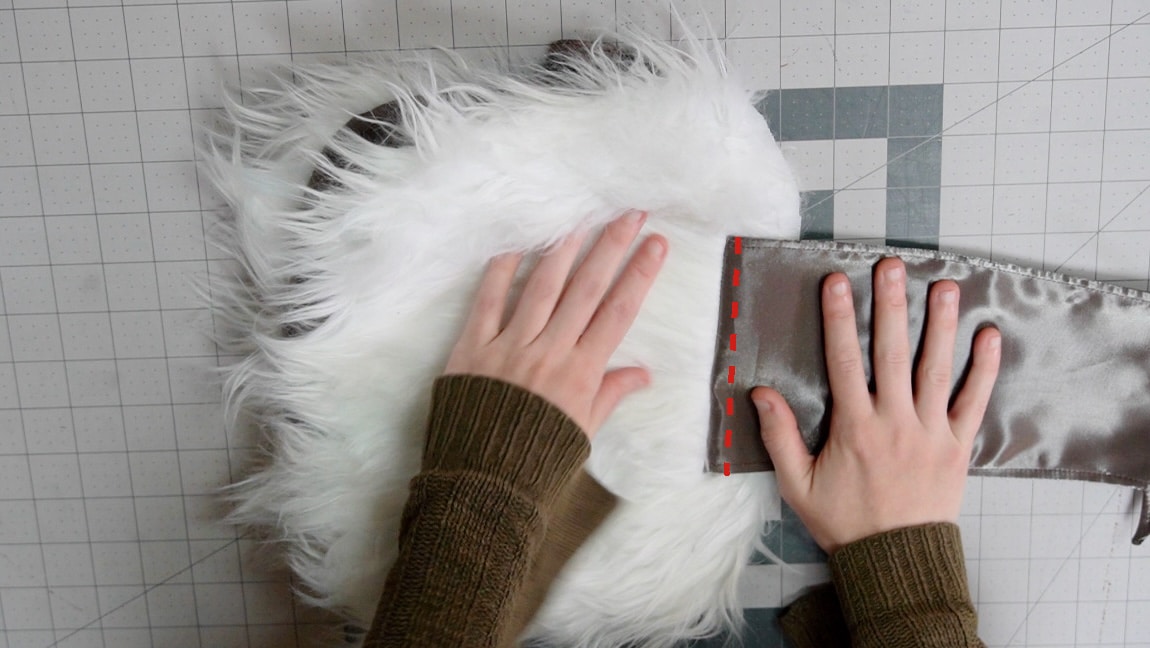
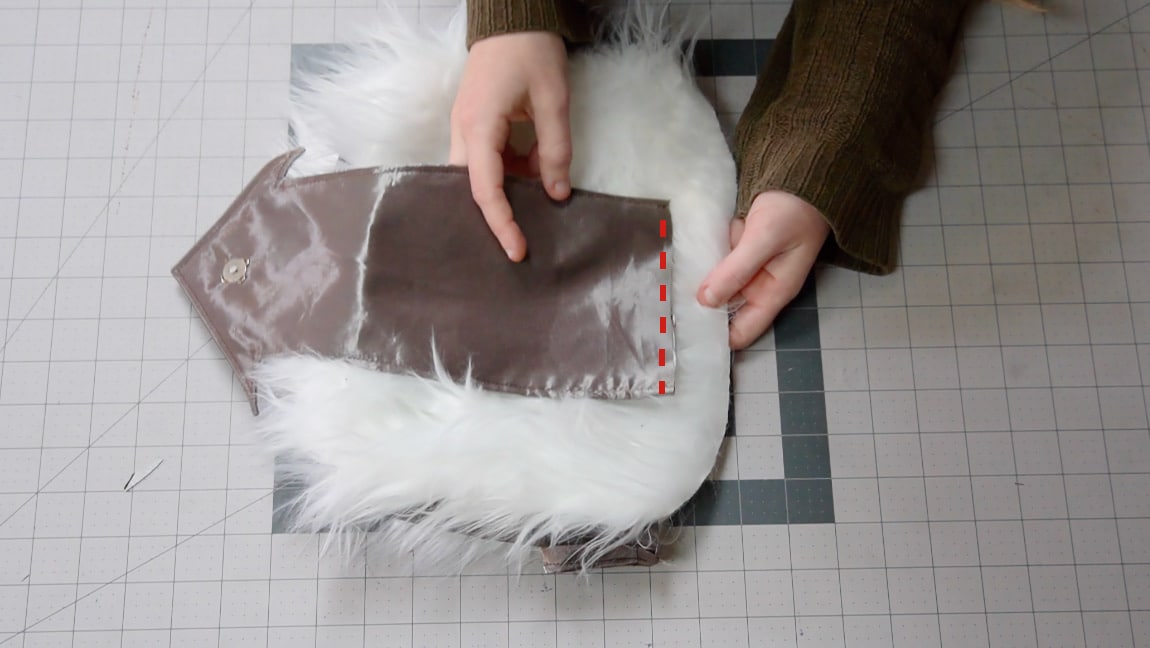
flip the arrow and sew to encase the raw edges
Flip the flap over the seam, and topstitch through all layers a quarter inch from the end.
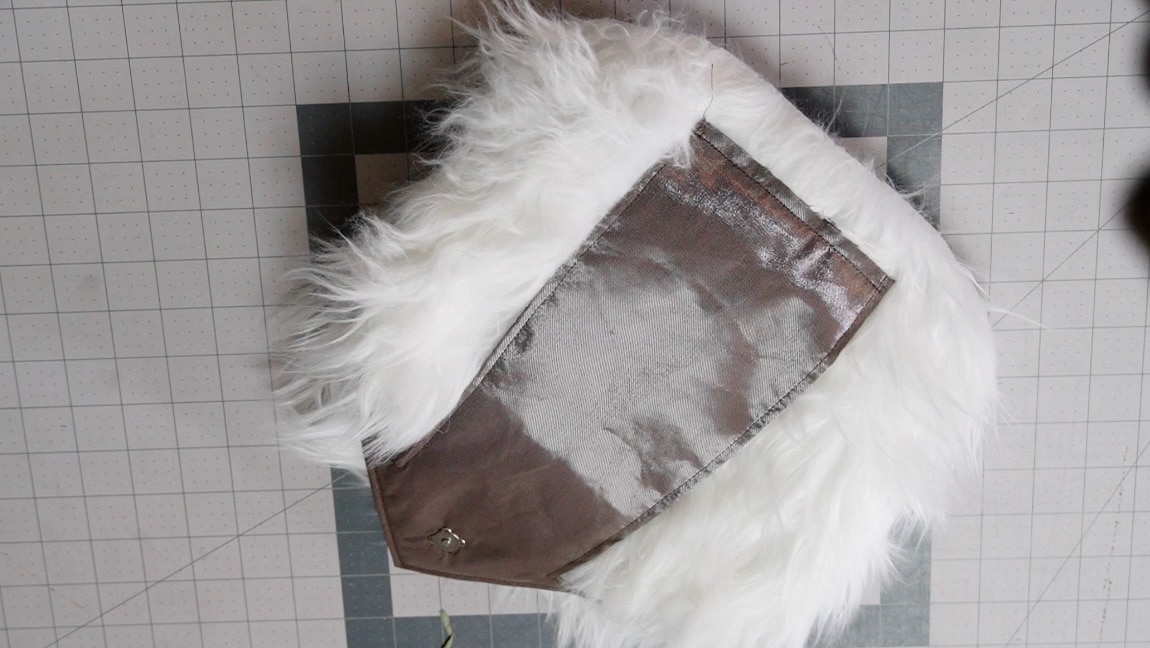
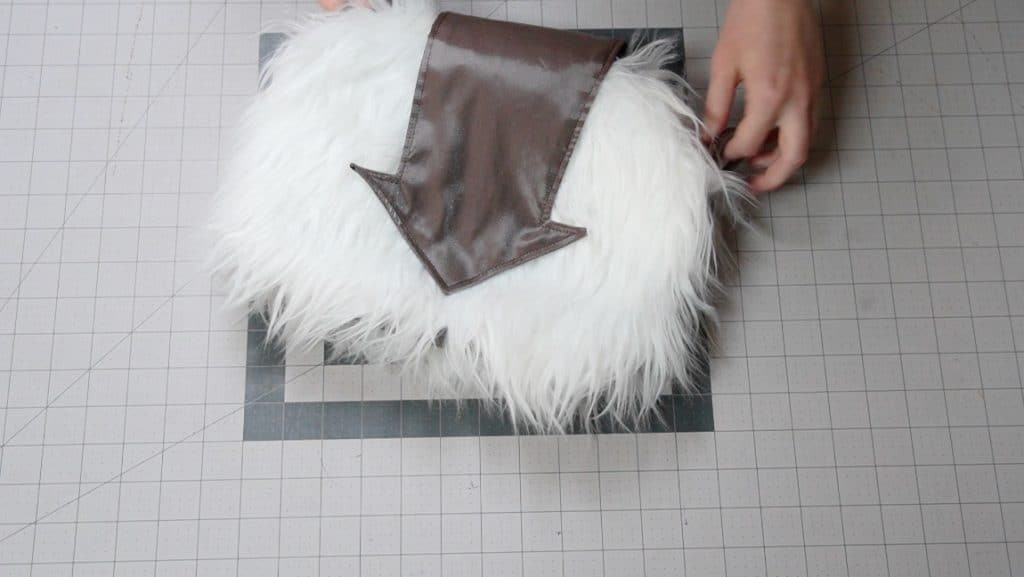
Step 13
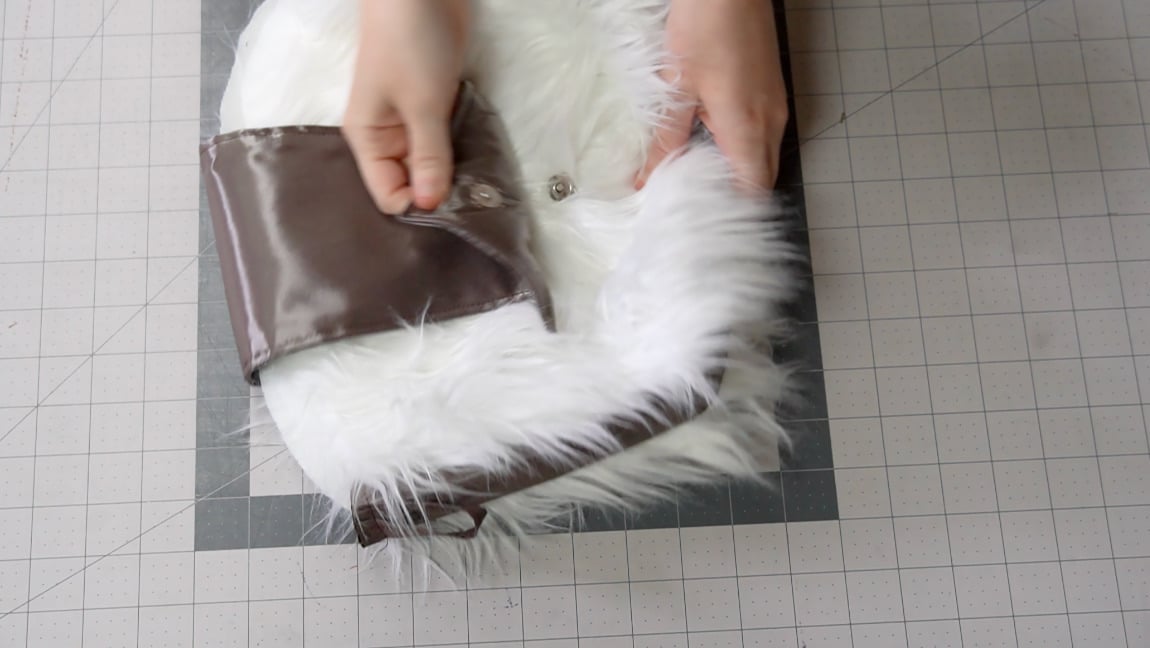
sew a magnet to the front of the bag
Fold the flap around the front and sew a magnet where the flap meets it.

Step 14

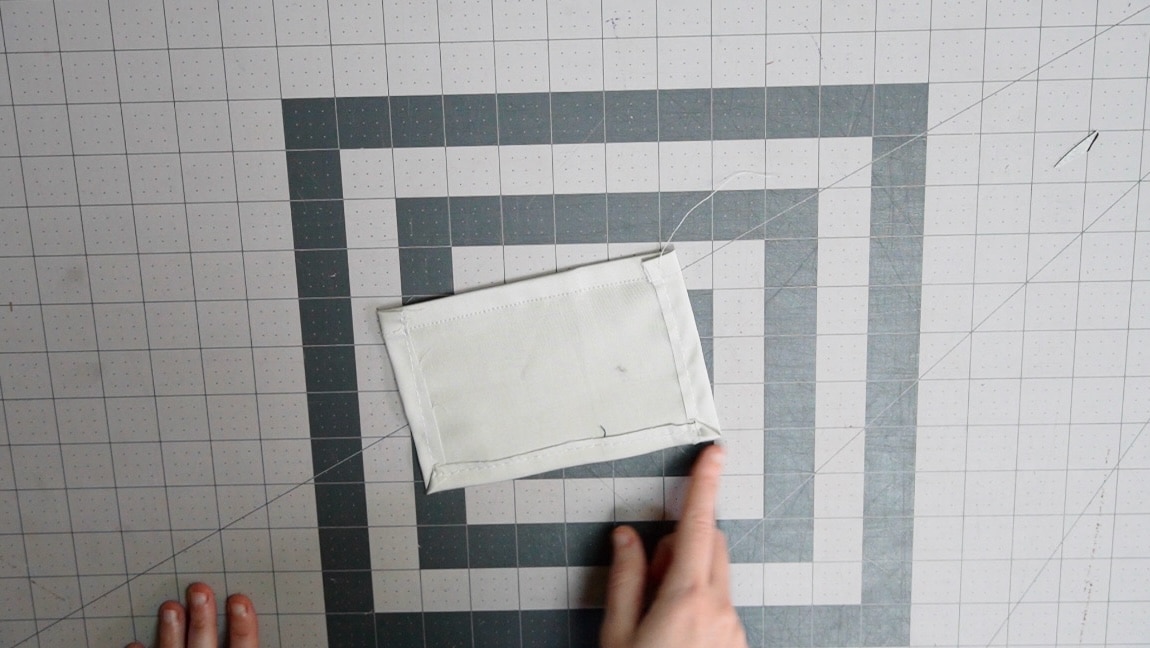
hem the upper edge of the pocket
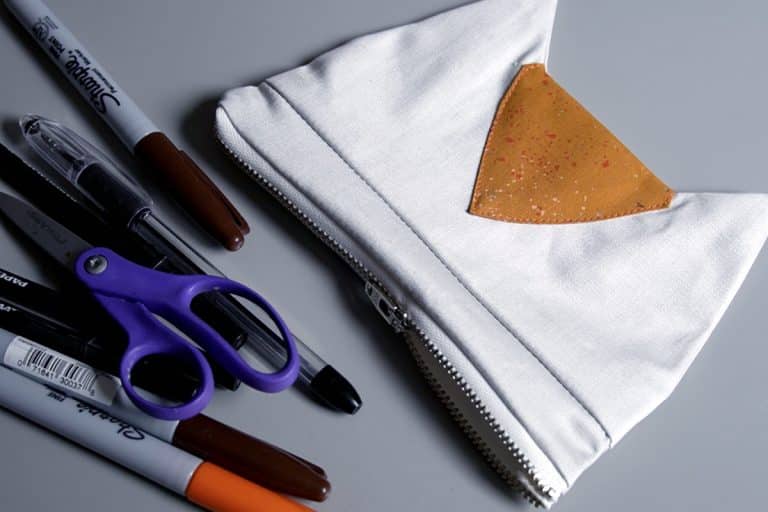
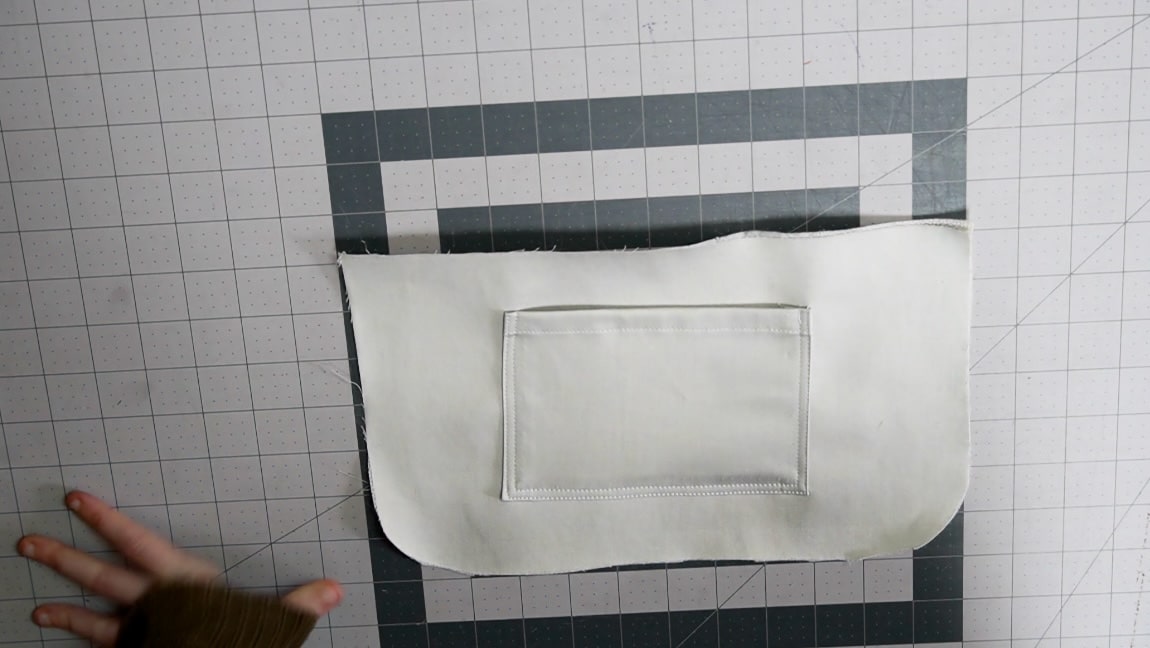
Step 15
baste the seam allowance of the pocket
Step 16
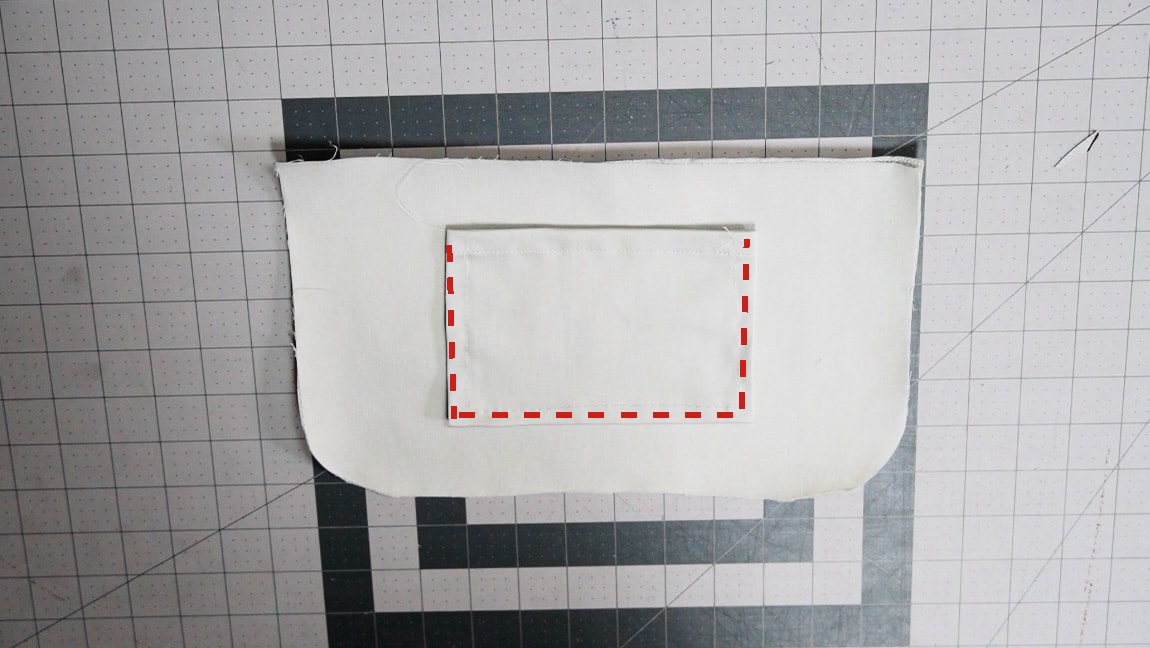
sew the pocket to the lining
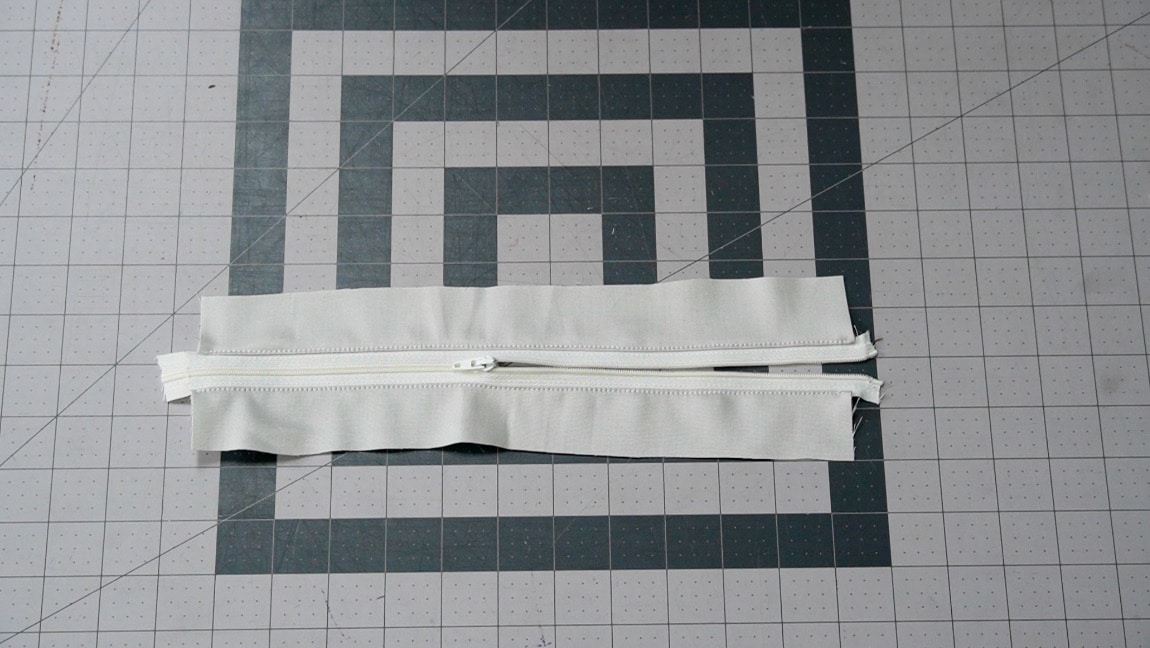
Step 17
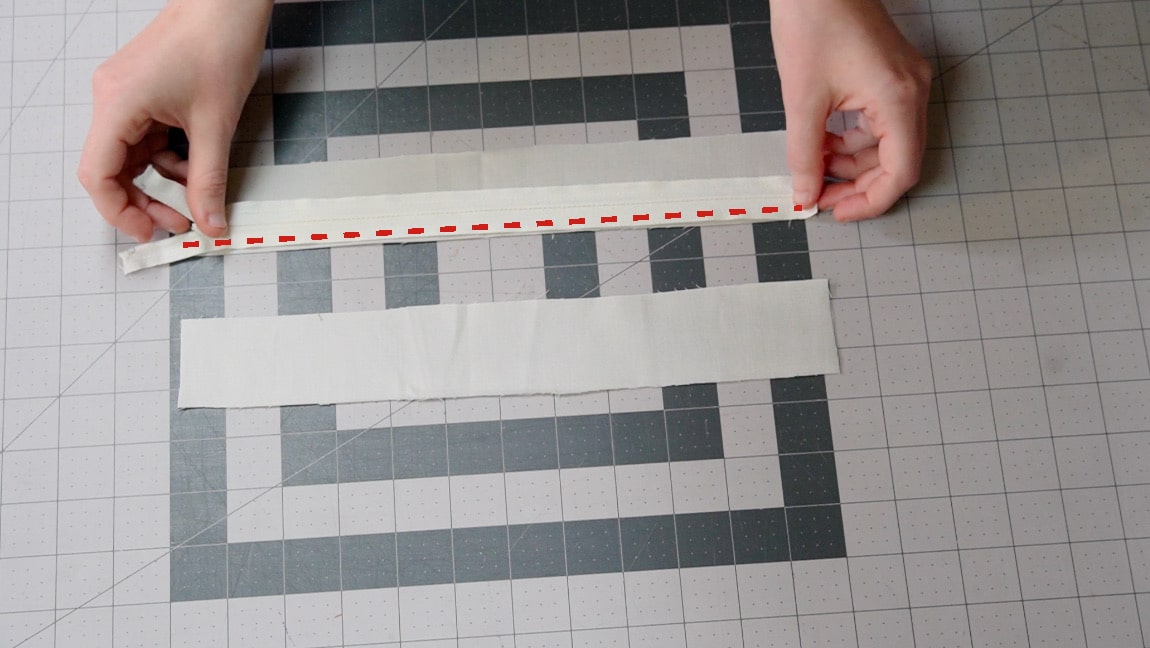
sew the zipper to the zipper strips
Place the zipper face down on the zipper strip and sew. Then repeat the process with the other side of the zipper. Press the strip away from the zipper and topstitch if you want to.
Step 18
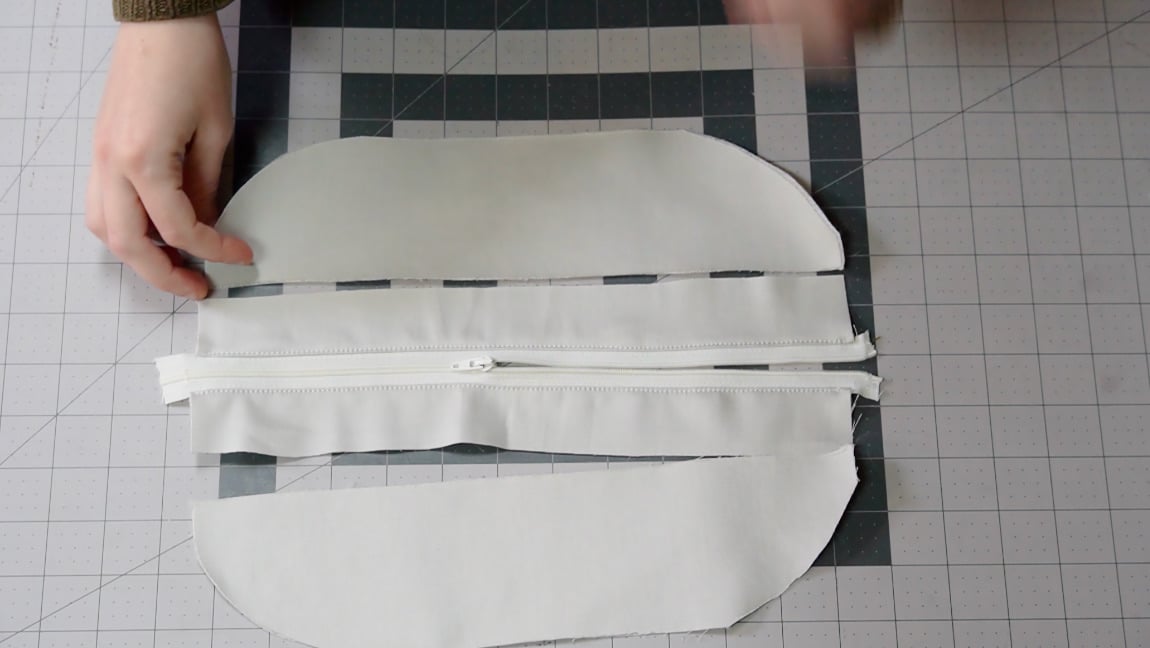
sew the upper lining to the zipper strip
Sew the top lining to both sides of the zipper strip
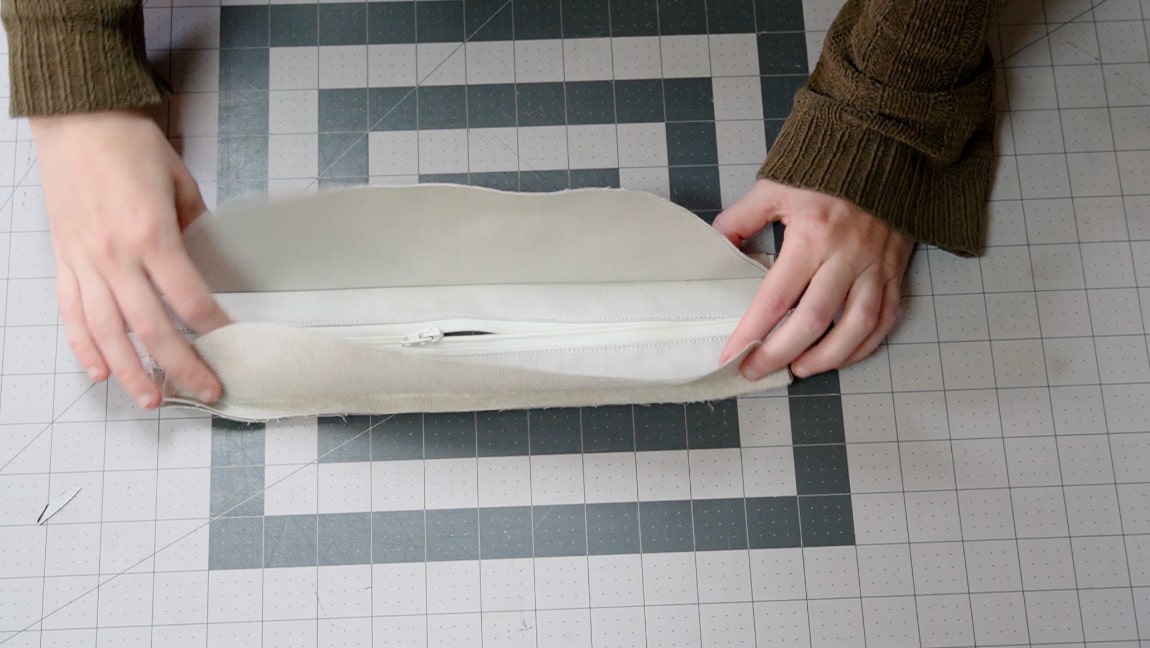
Step 19
sew the bottom lining
With right sides together, sew the top and bottom lining. The zipper strip will be sandwiched between the lining layers. Leave the seam allowance on both sides unsewn.
Step 20

turn the bag inside out
Step 21
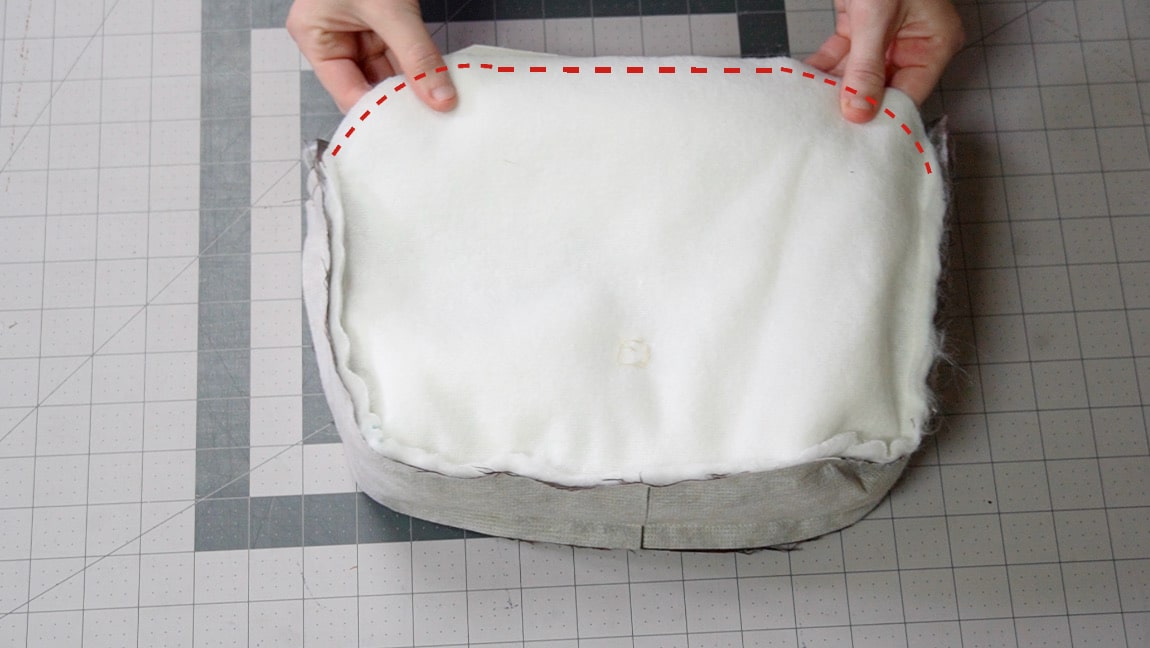
sew the bag to the lining and understitch the lining
Place the lining inside the bag with right sides together. Then sew along the upper edge, NOT the sides. Understitch the lining layer, by edgestitching the lining to the seam allowance.
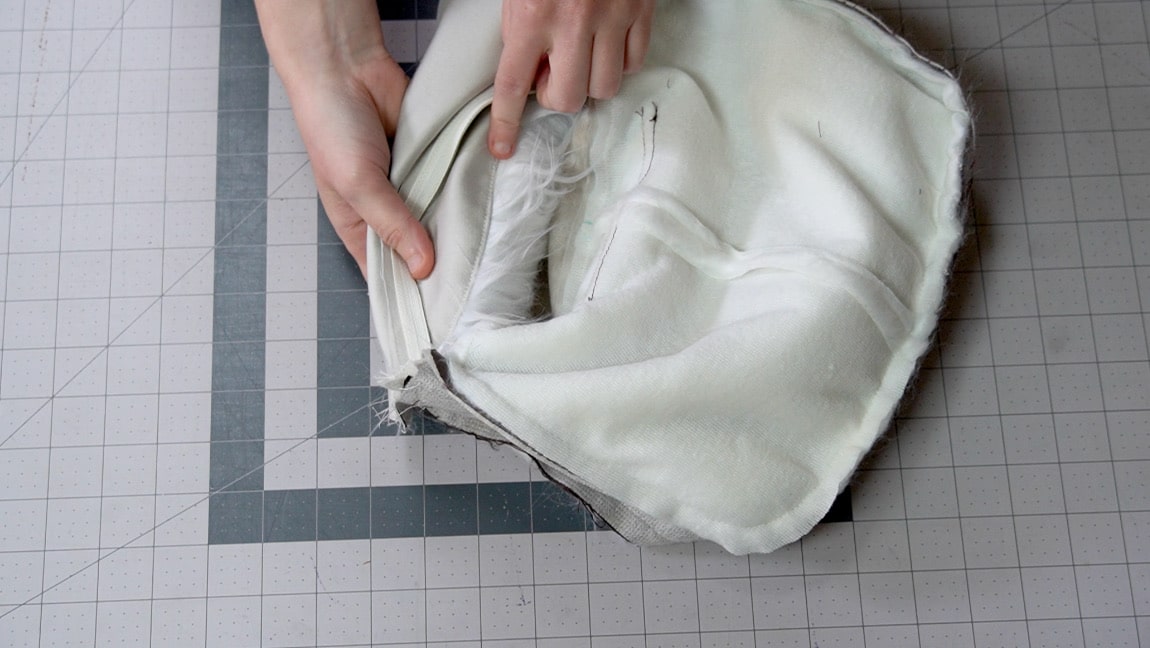
Step 22
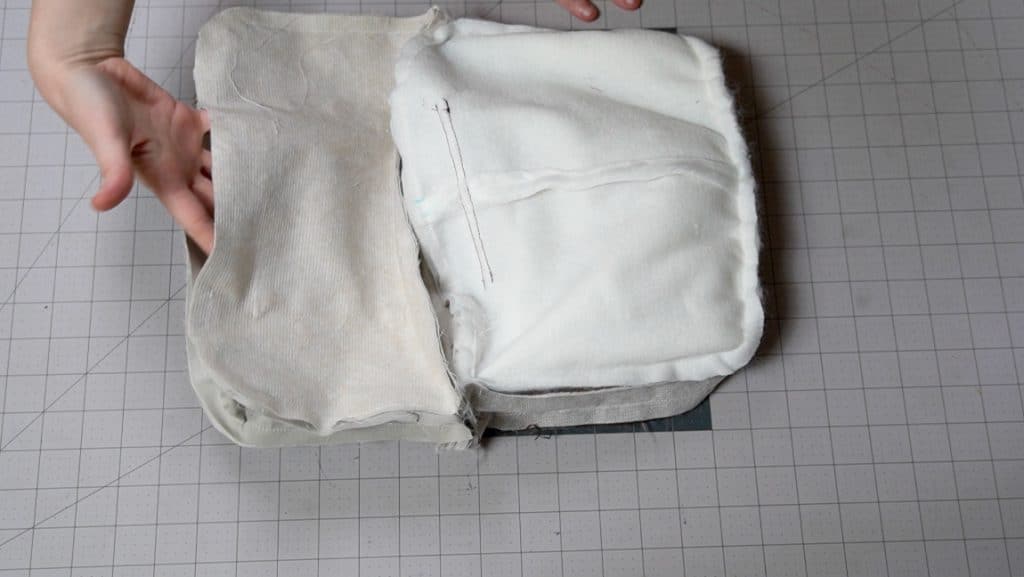
sew the side to the lining
Sew the side lining to the lining, leaving a gap in the bottom. You also want to leave the seam allowance at the ends unsewn.

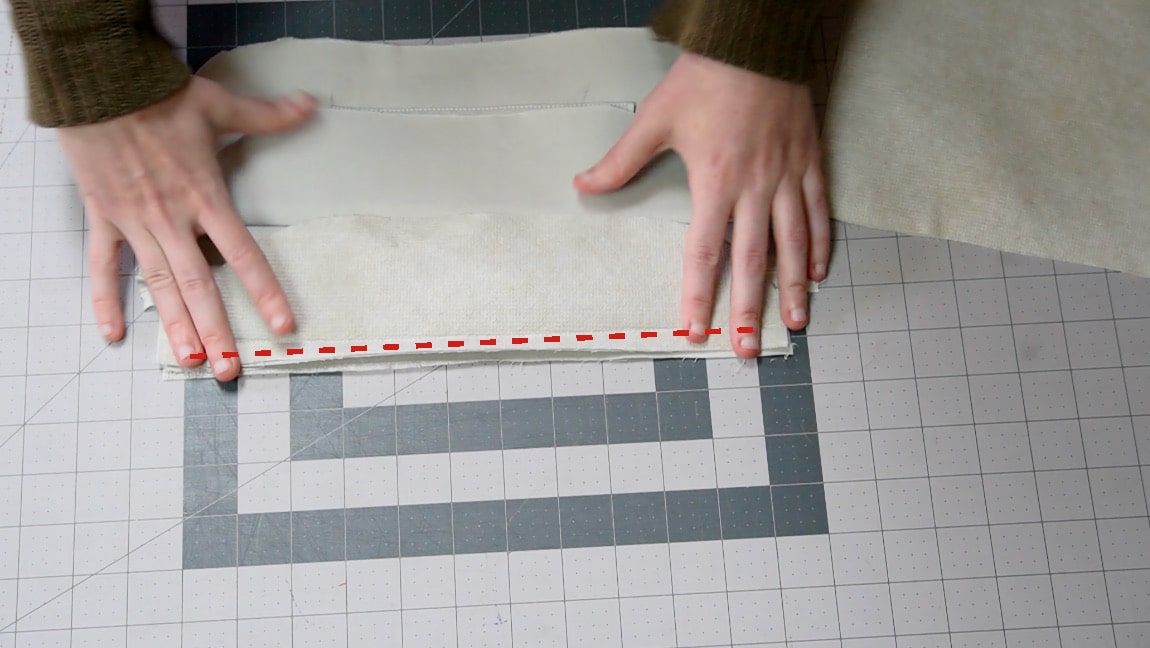
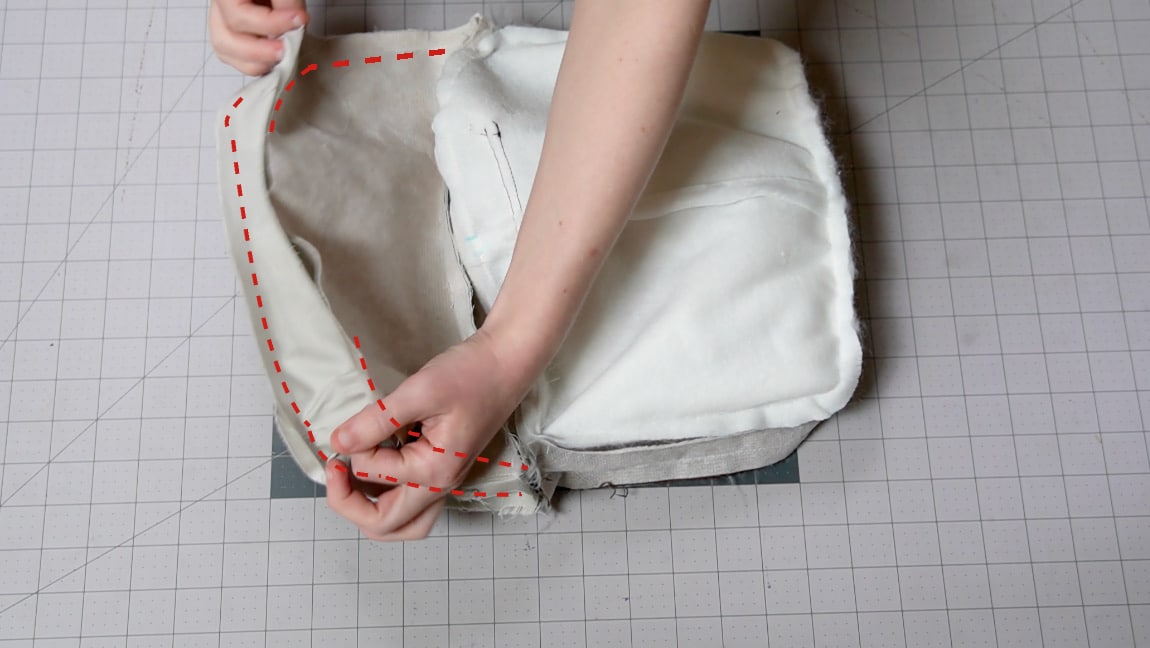
Step 23
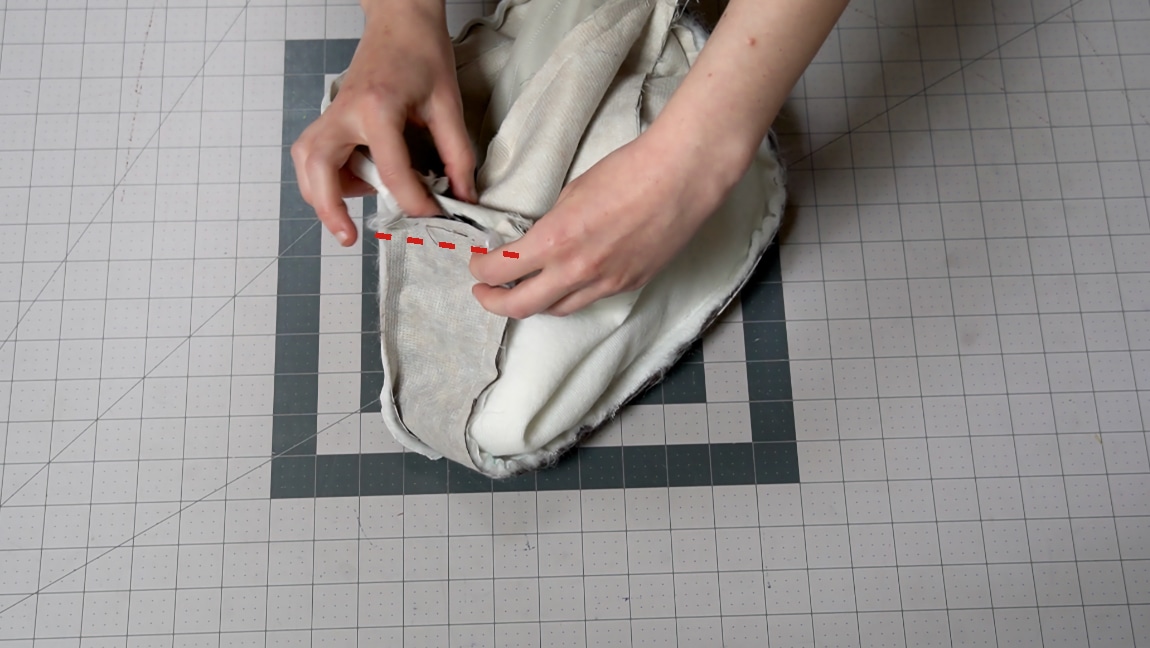
sew the lining to the side bag
Now you want to sew the the side a side lining together (this is why we left the seam allowance unsewn in previous steps, you’re sewing that now)
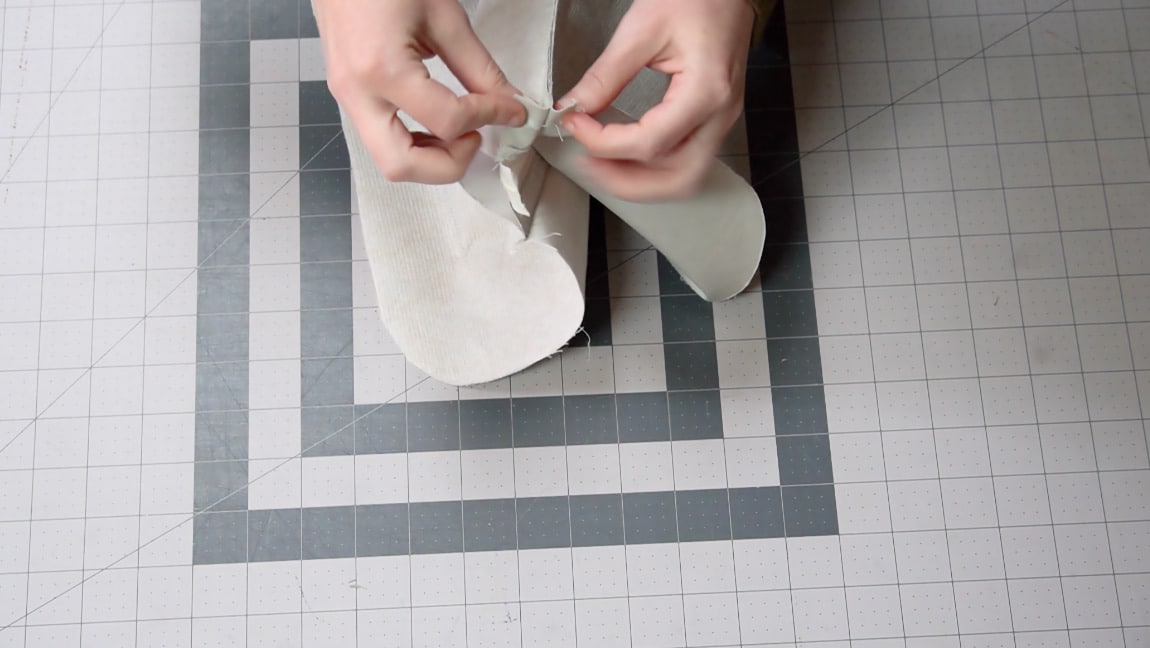
Step 24
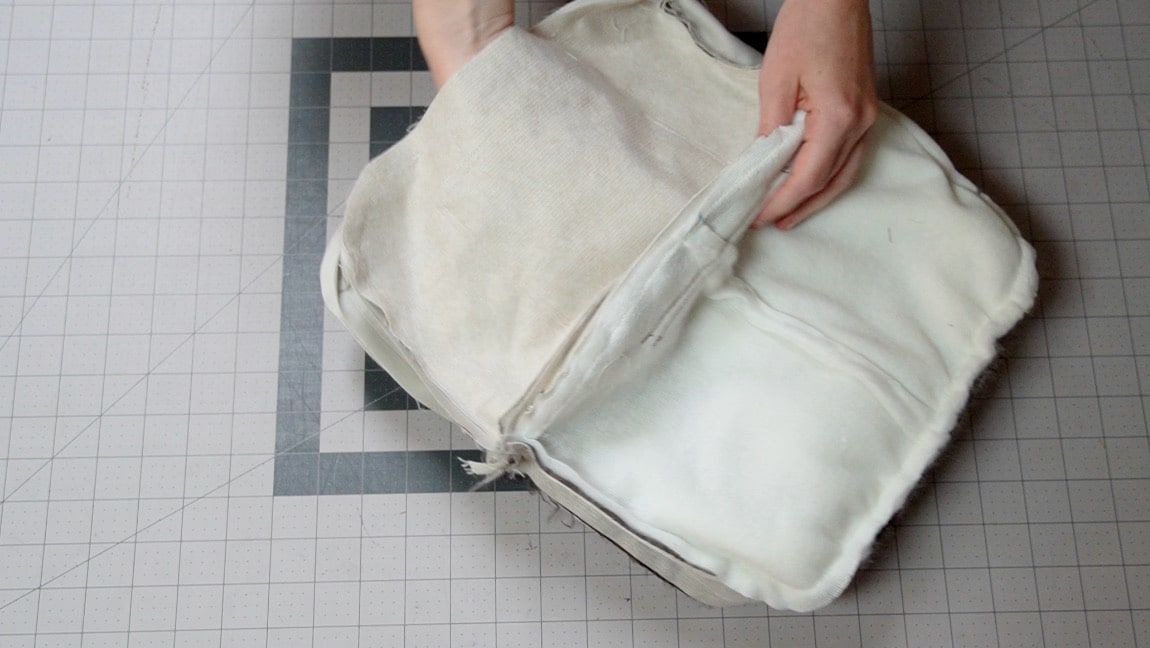
turn the bag to the right side
Reach through the gap in the bottom and through the zipper to turn the bag to the right side.

Step 25
sew the lining closed
Hand stitch or machine stitch the bottom of the lining closed
Step 26
Tuck the lining inside the bag
Step 27

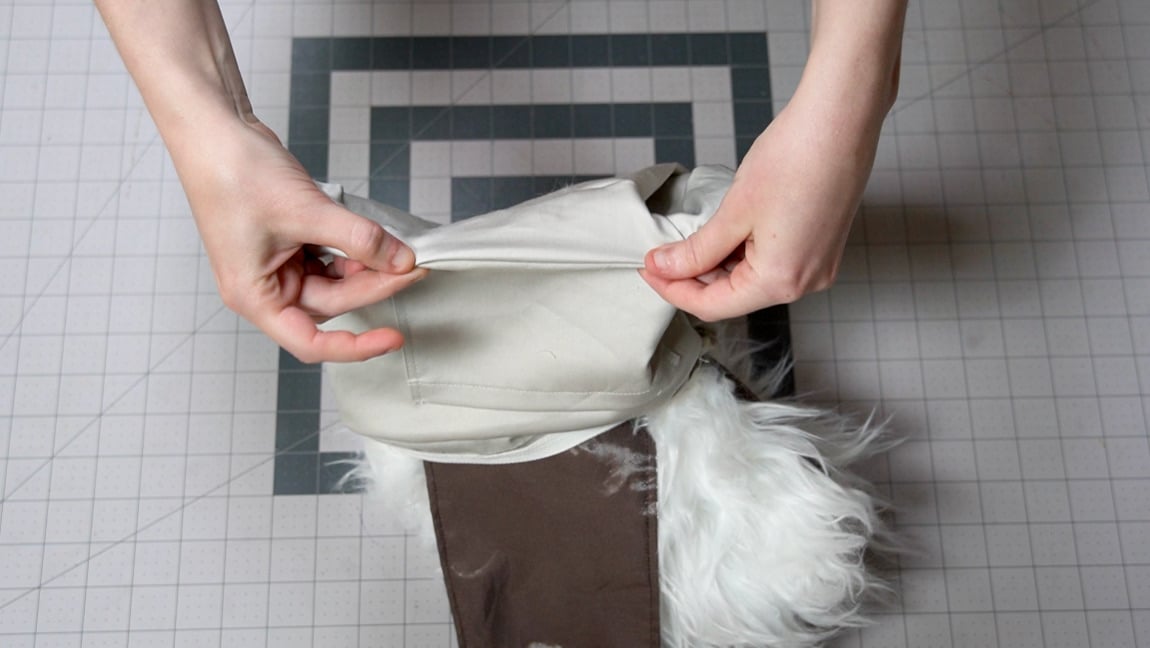
sew along the length of the strap pieces
With right sides together, sew the two strap pieces along the length.
Step 28

Turn the strap to the right side and press
It’s useful to use a loop turner or similar tool to help if you’re struggling to turn the strap out. You can also edgestitch the strap if you desire.
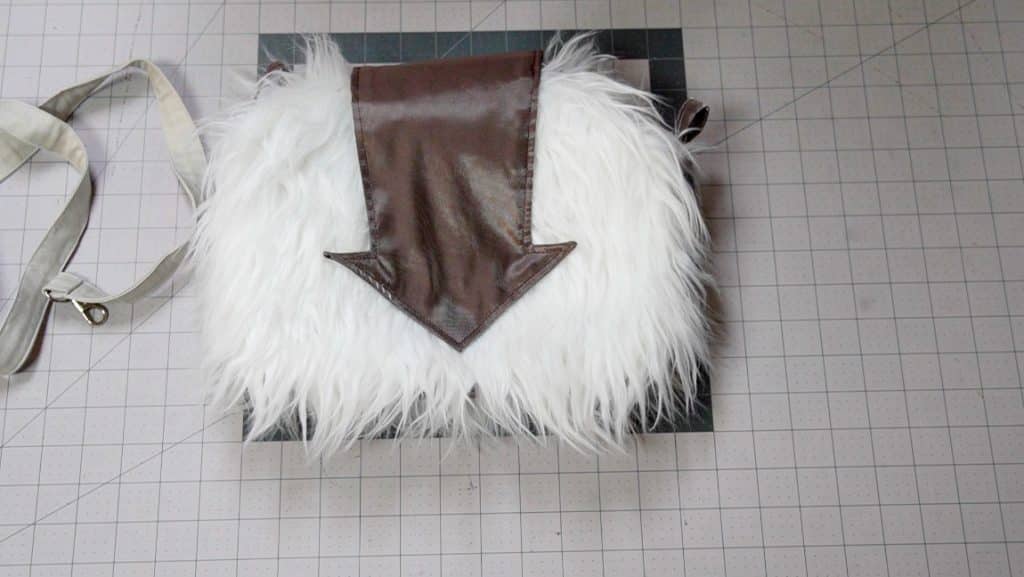
Step 29

add clips to both ends of the strap
Fold the fabric over the clips and sew in place. Then all you have to do is clip the strap to the tabs on the bag and you’re finished.

Finished!