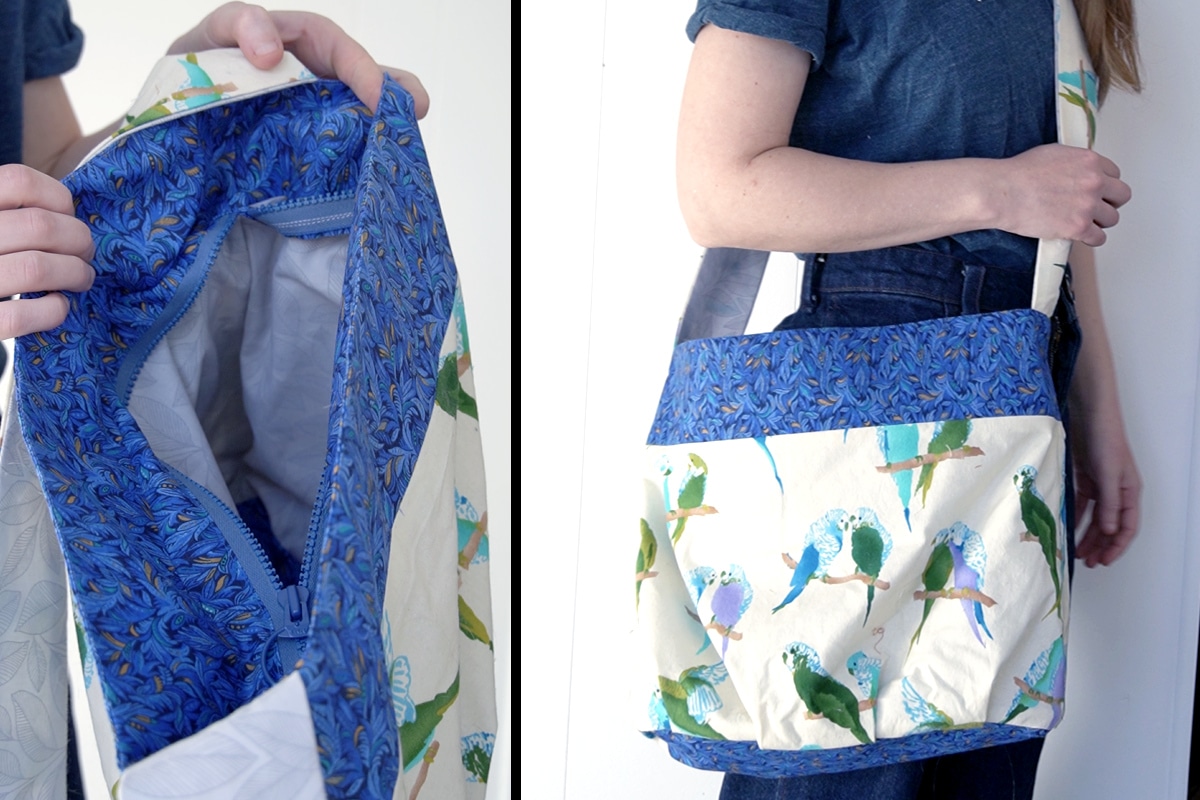
Tutorial: Crossbody Zipper Tote Bag
This tutorial will walk you through how to make a cute crossbody tote bag with a zipper. It’s spacious and can hold a surprising amount of stuff, despite it’s compact appearance. This is the bag I use for my everyday essentials. You can print out the free sewing pattern that I created for this below and follow along with the step-by-step instructions.
This page contains affiliate links. As an Amazon Associate, I earn a small commission from qualifying purchases. That being said, I encourage you to use your local sewing shop whenever possible, or to look for supplies second hand.
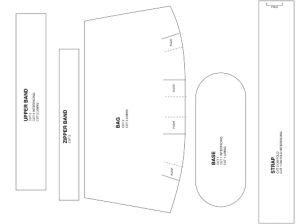
Supplies Needed:
(all of my patterns include 1/2″ seam allowance)
Step 1
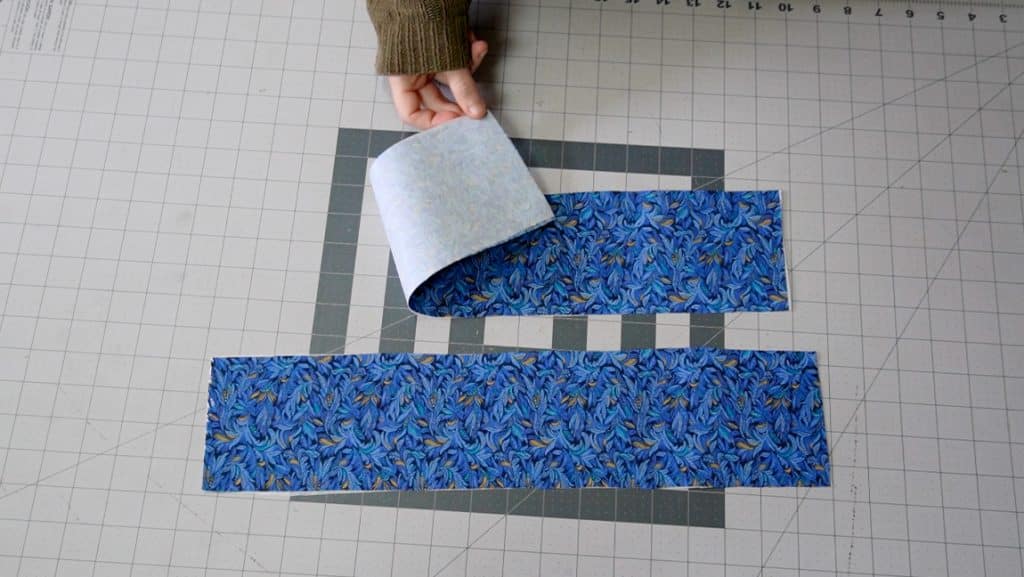
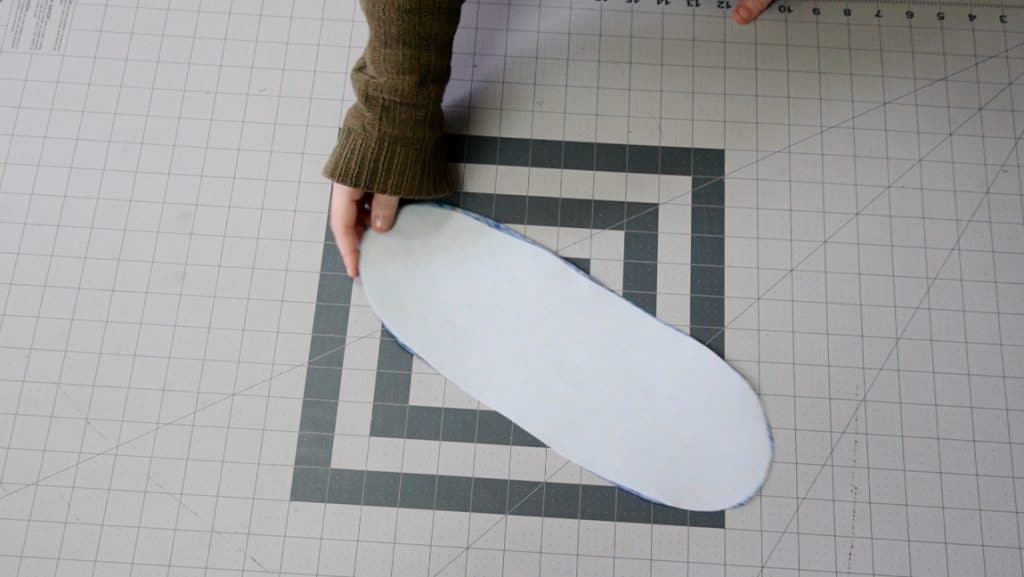
apply interfacing
Apply medium weight interfacing to all 4 upper band pieces and one of the strap pieces. Apply buckram to one of the base pieces (you can also use a heavy weight interfacing).
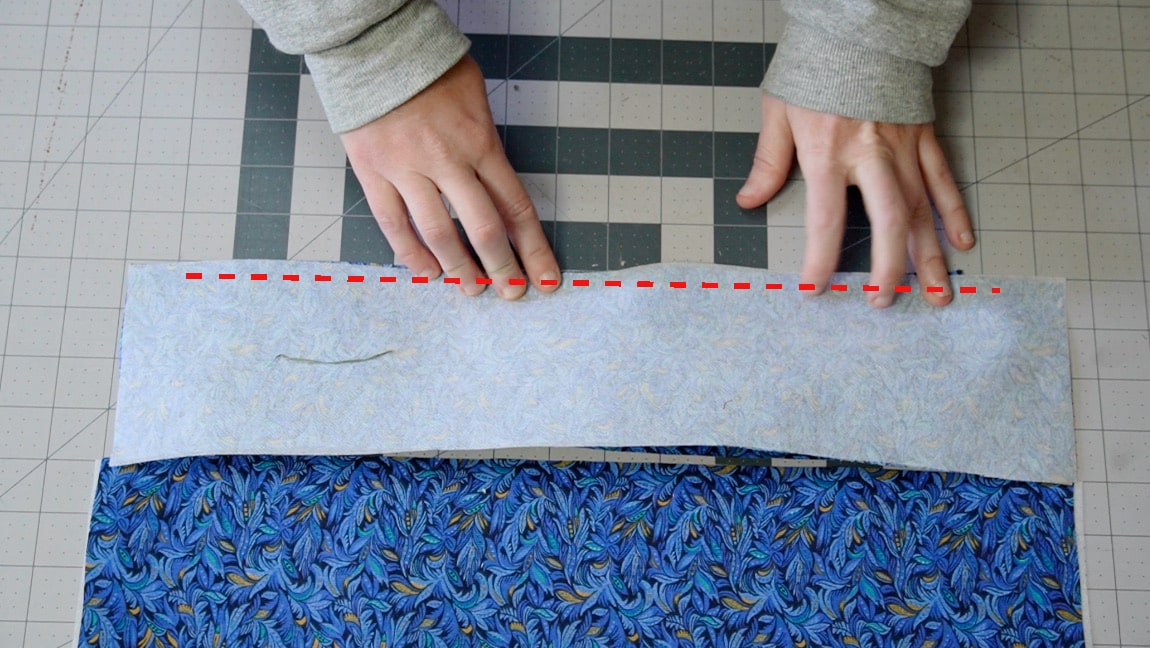
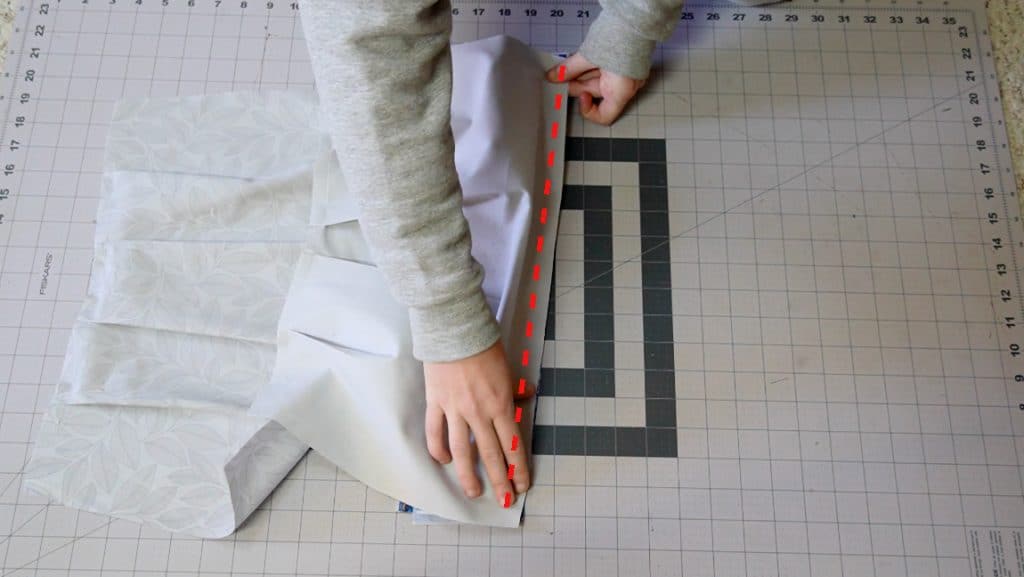
Step 2
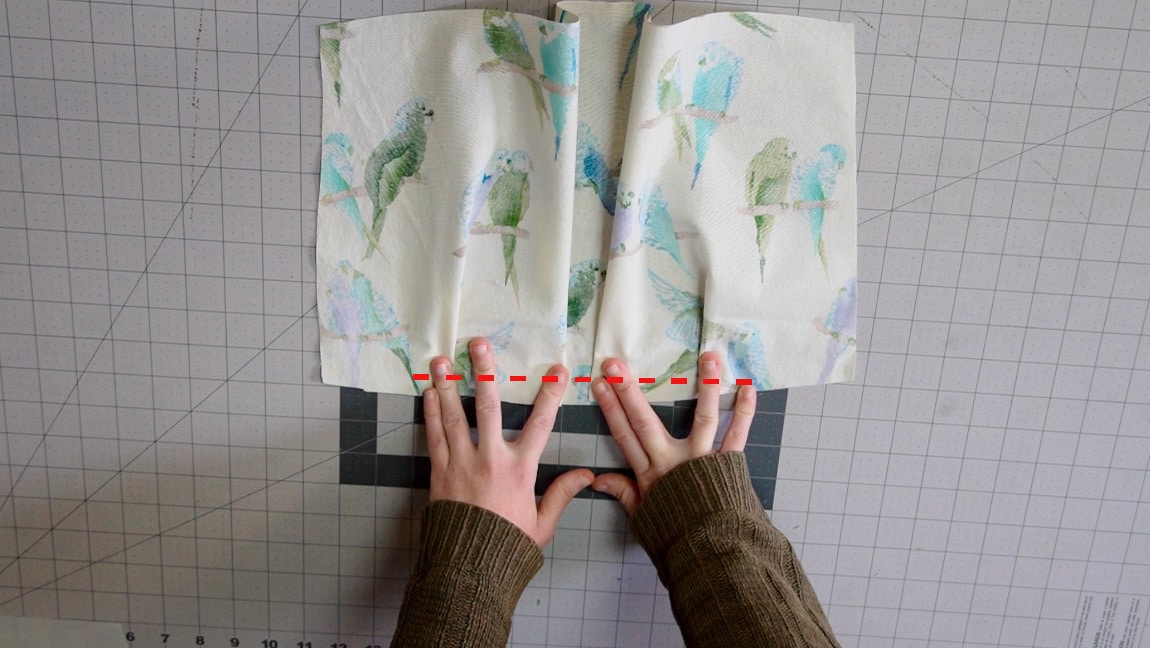
press the pleats and baste them in place along the bottom
On both bag pieces, fold the pleats toward the center and press them. Then baste the pleats to keep them in place.

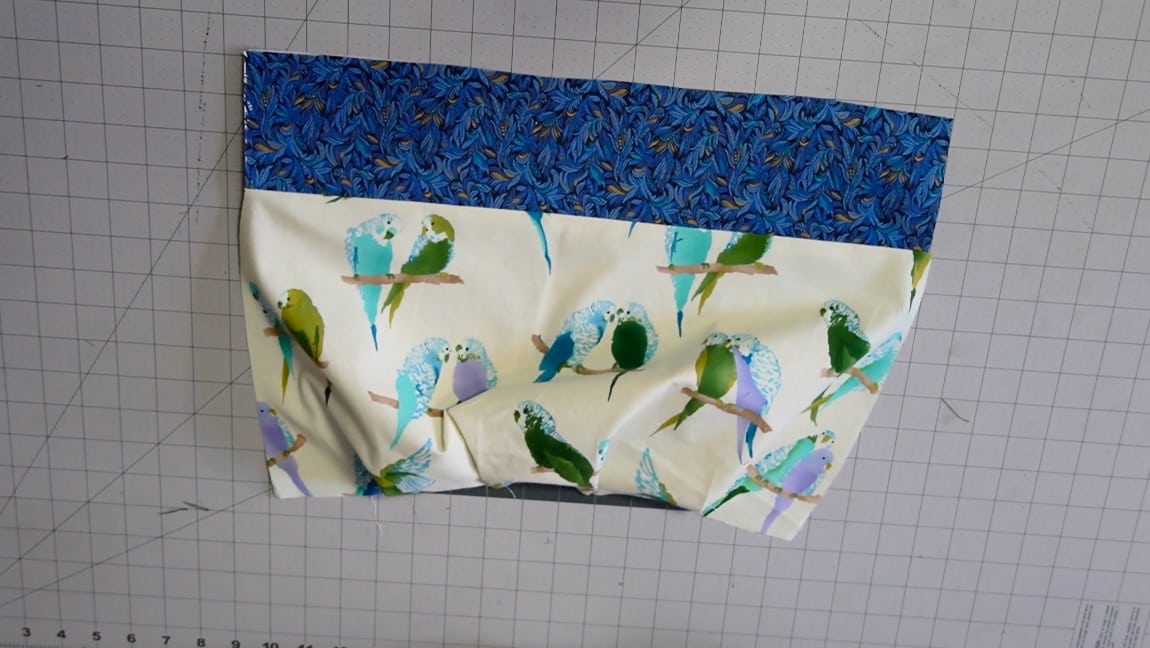
Step 3

sew the upper band to the bag
Sew an upper band piece to both of the bag pieces with right sides together.
Step 4
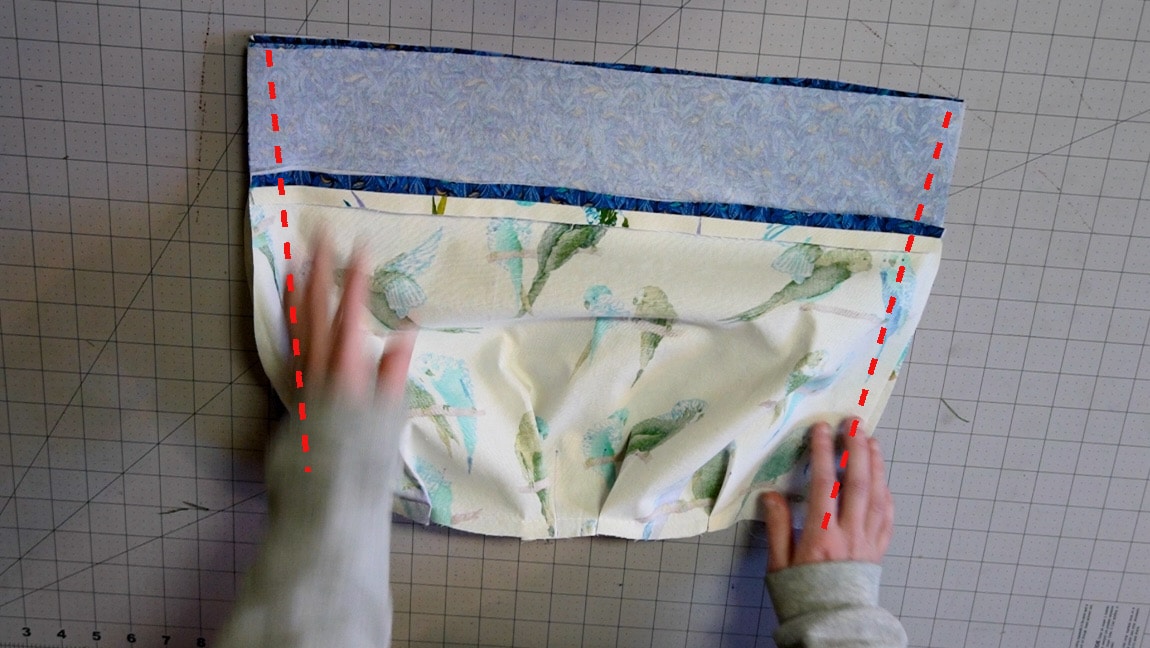
sew the sides of the bag
With right sides together, sew the two bag pieces along the side seams.
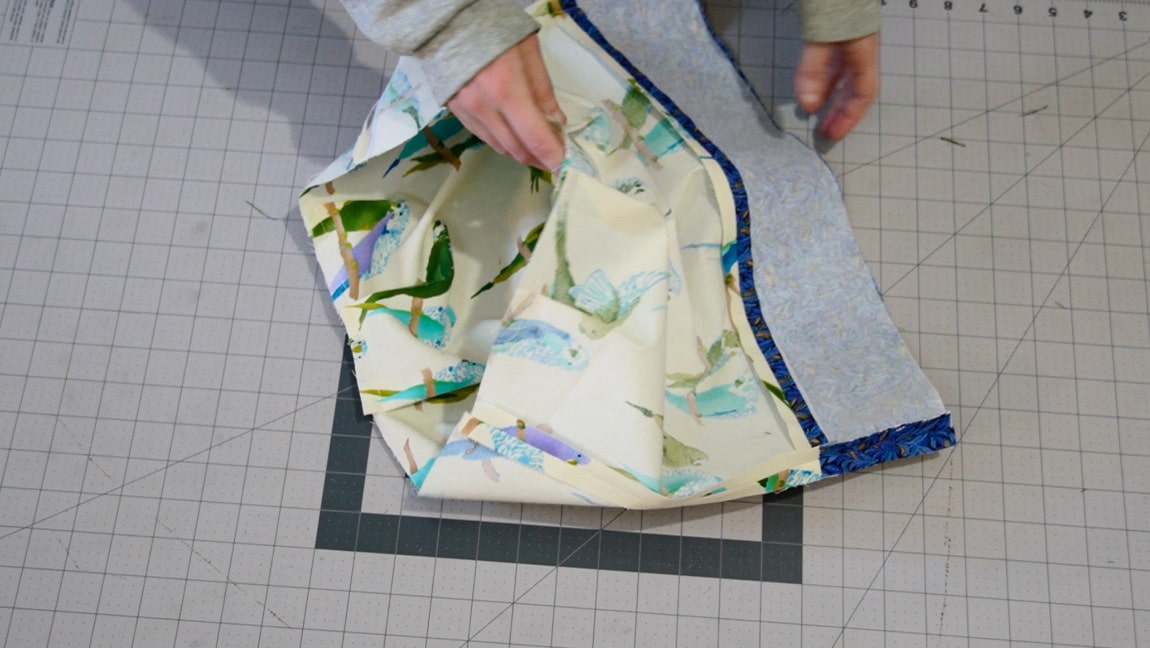
Step 5
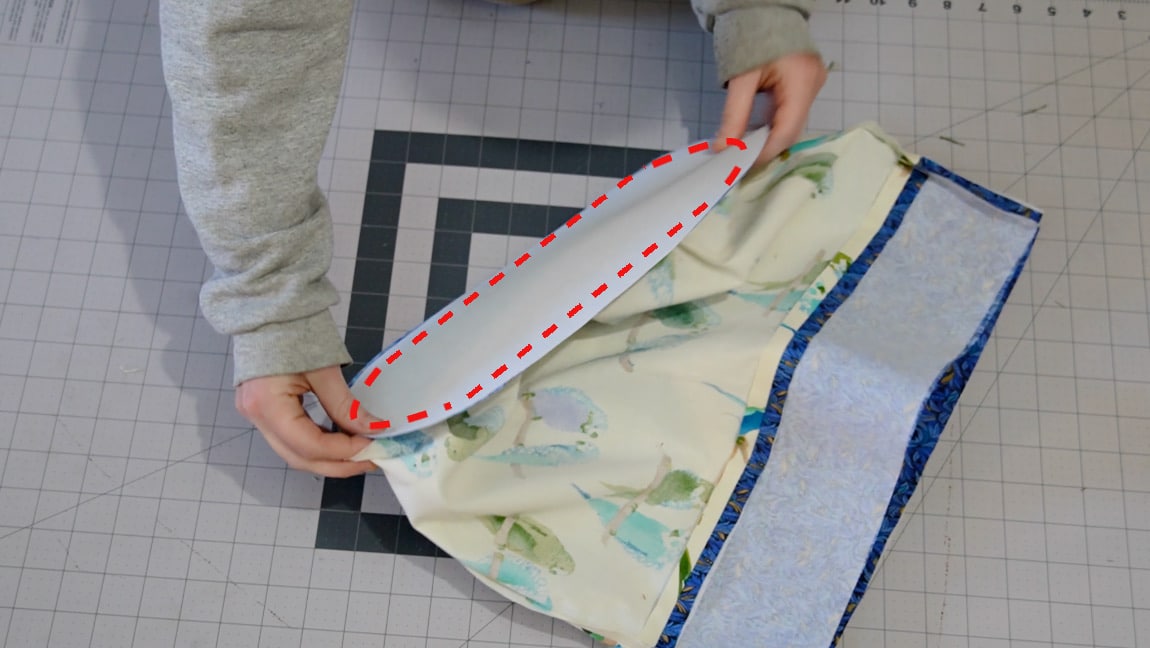
sew the base of the bag
with right sides together, sew the base piece with buckram to the base of the bag. Then turn the bag to the right side.
Step 6
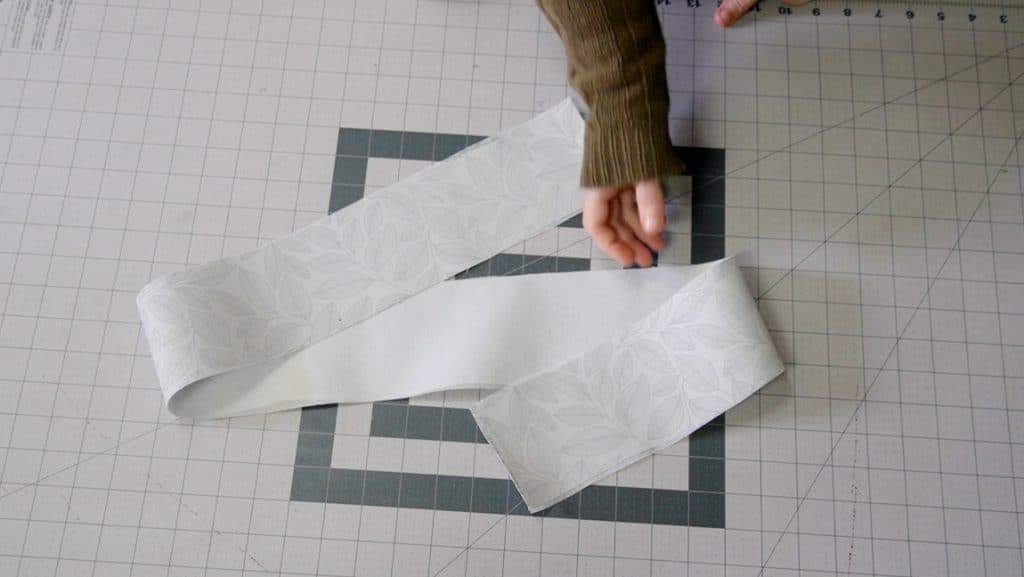
sew the strap
With right sides together, sew the two strap pieces along the long sides. Then turn the strap right side out and press it flat.
Step 7
baste the strap to the sides of the bag
Baste the strap to the right side of the bag centered on the side seam.
Step 8
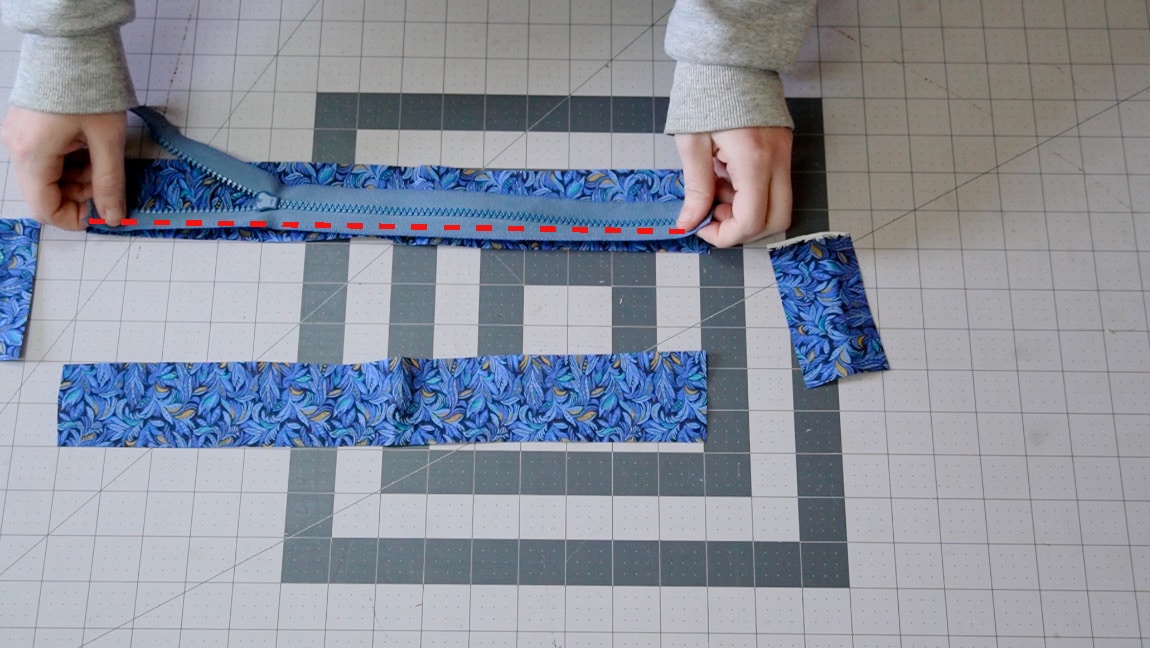
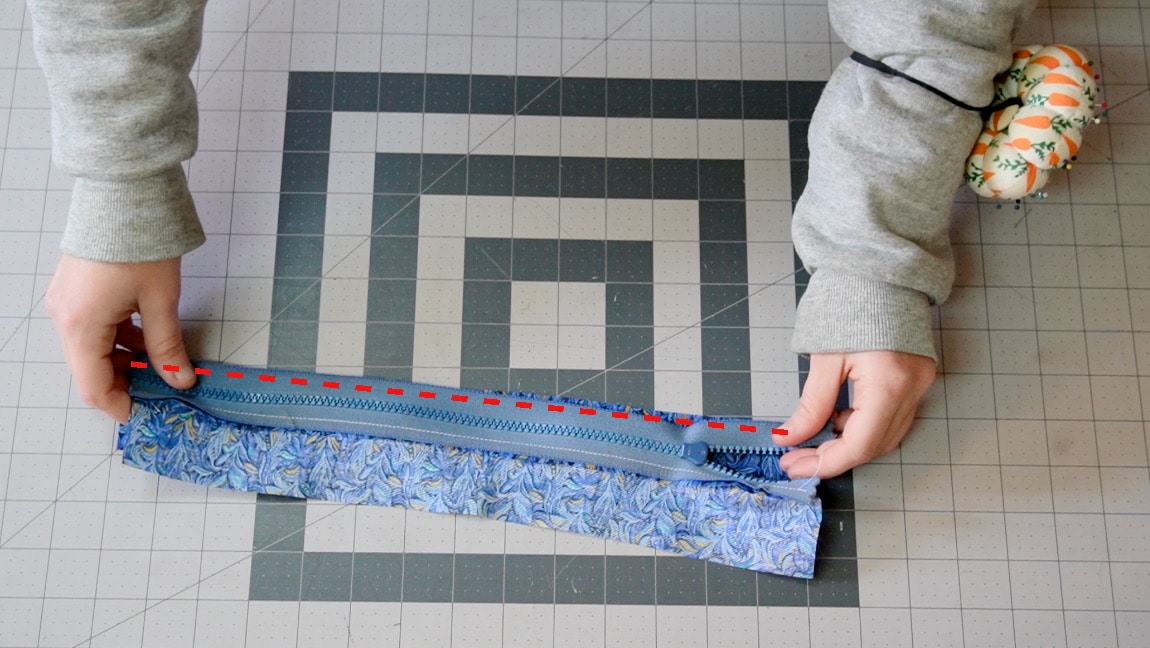
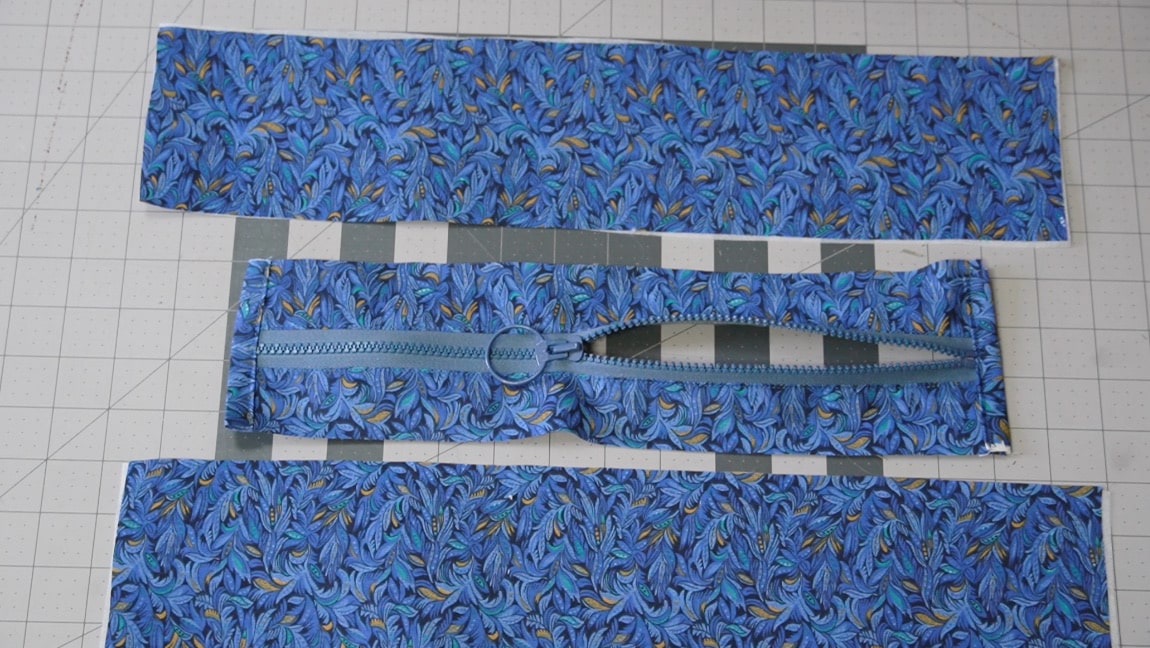
sew the zipper to one side of the zipper band
Place the zipper face down on one zipper band piece and sew it in place
Step 9
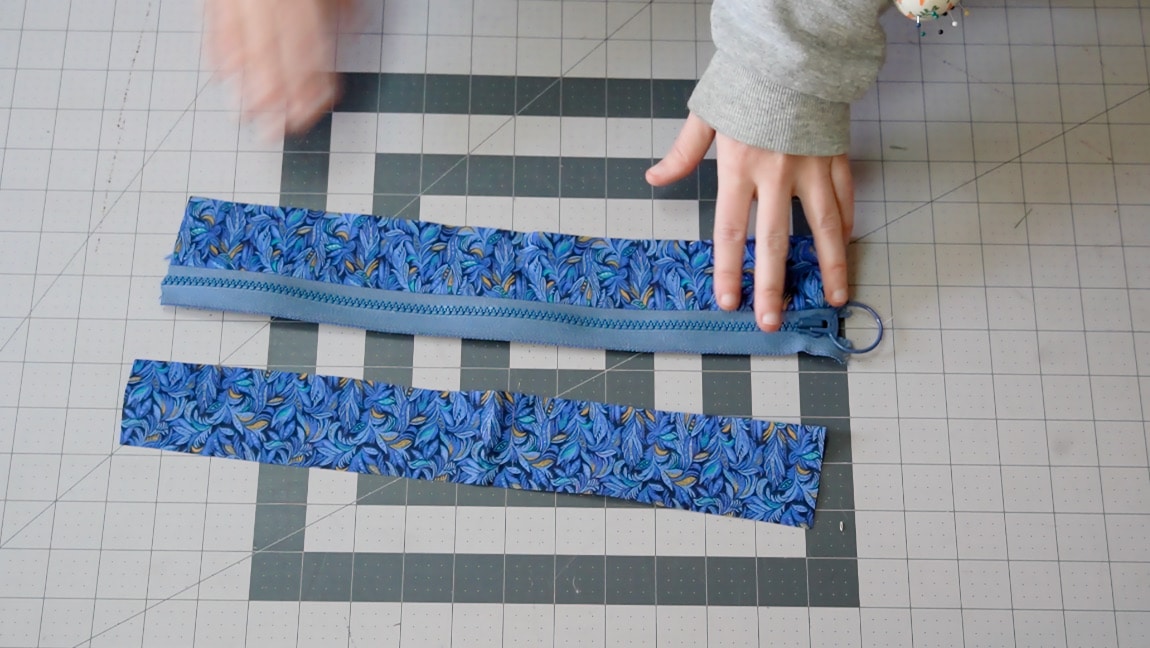
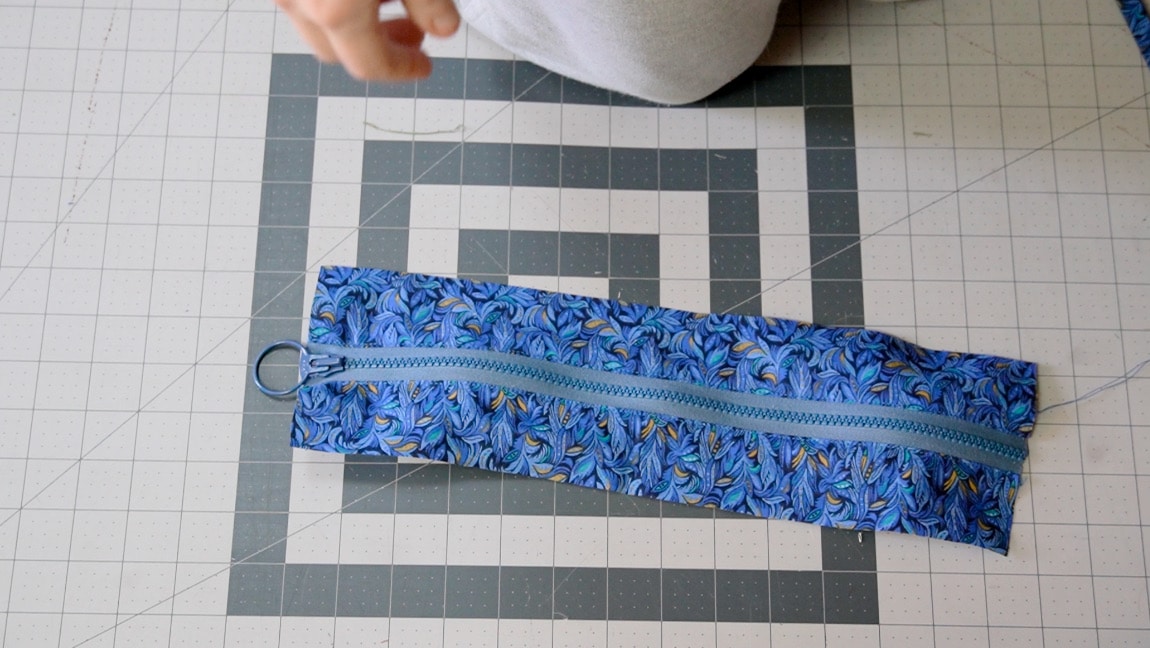
Sew the zipper to the other side of the zipper band
Repeat the process for the other side of the zipper band.
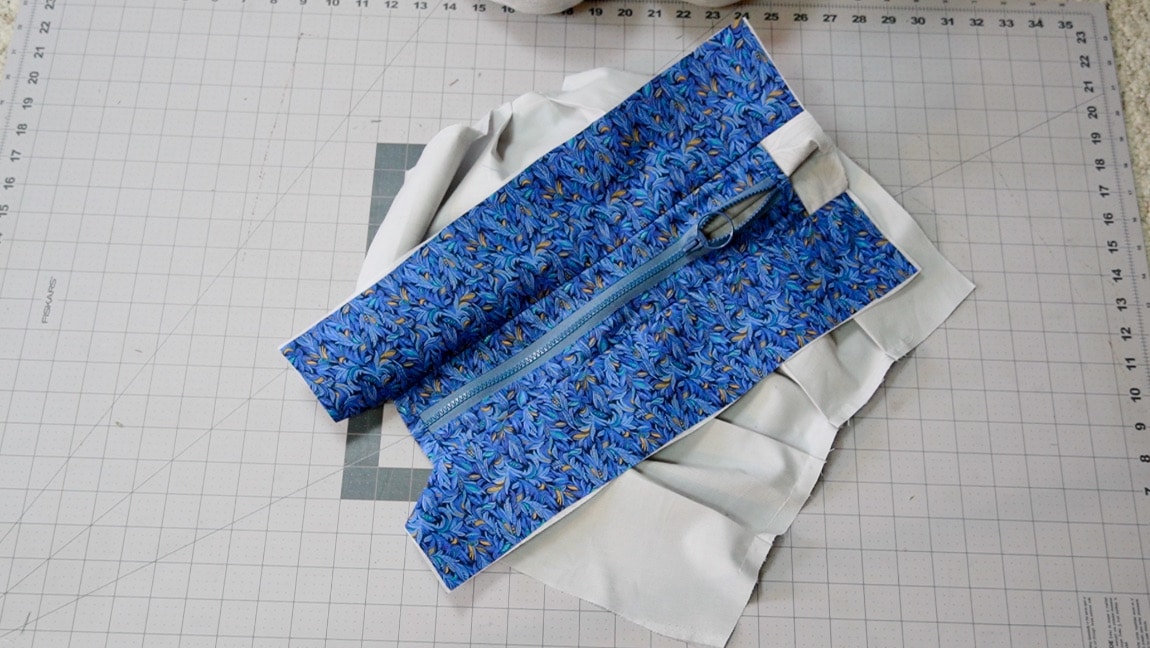
Step 10
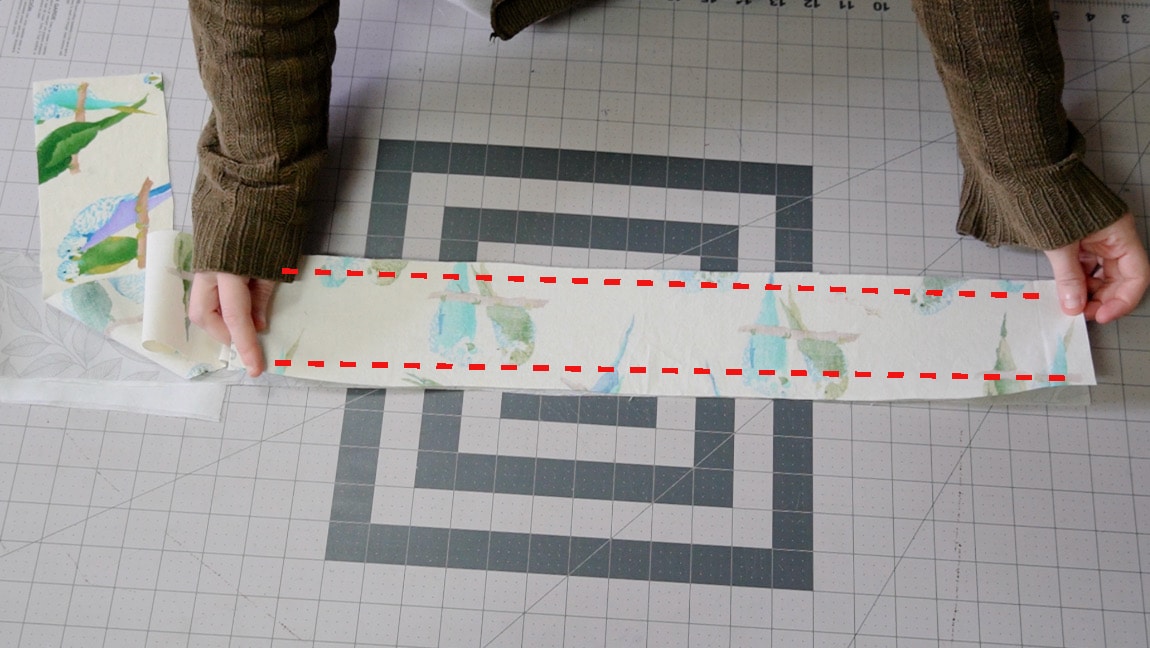
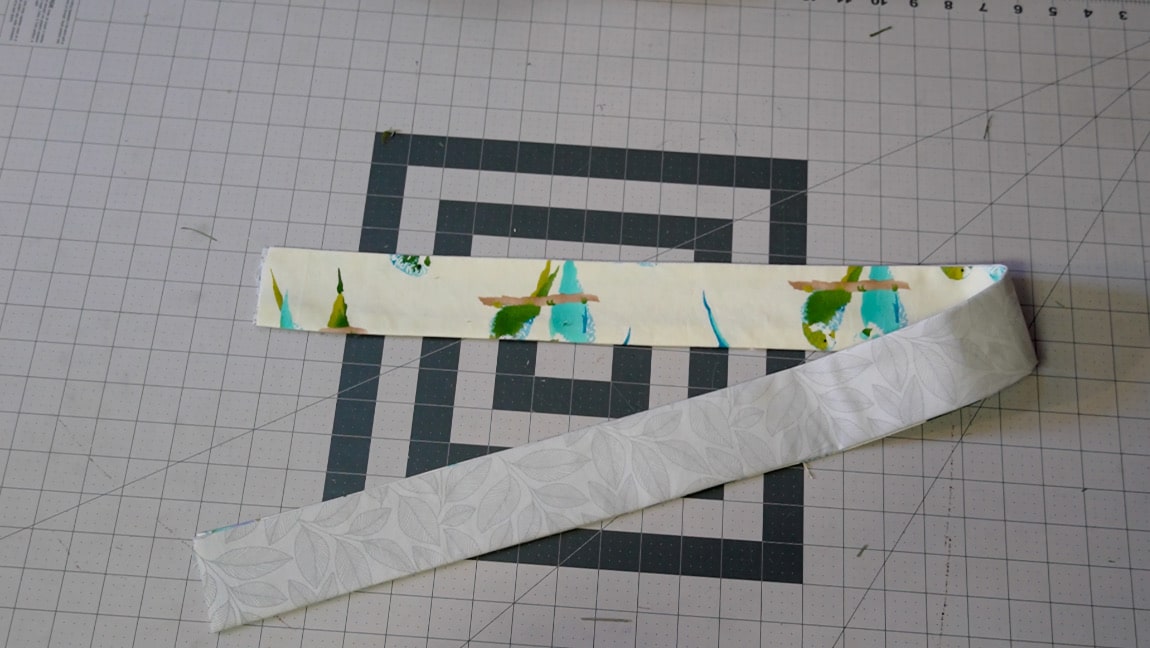
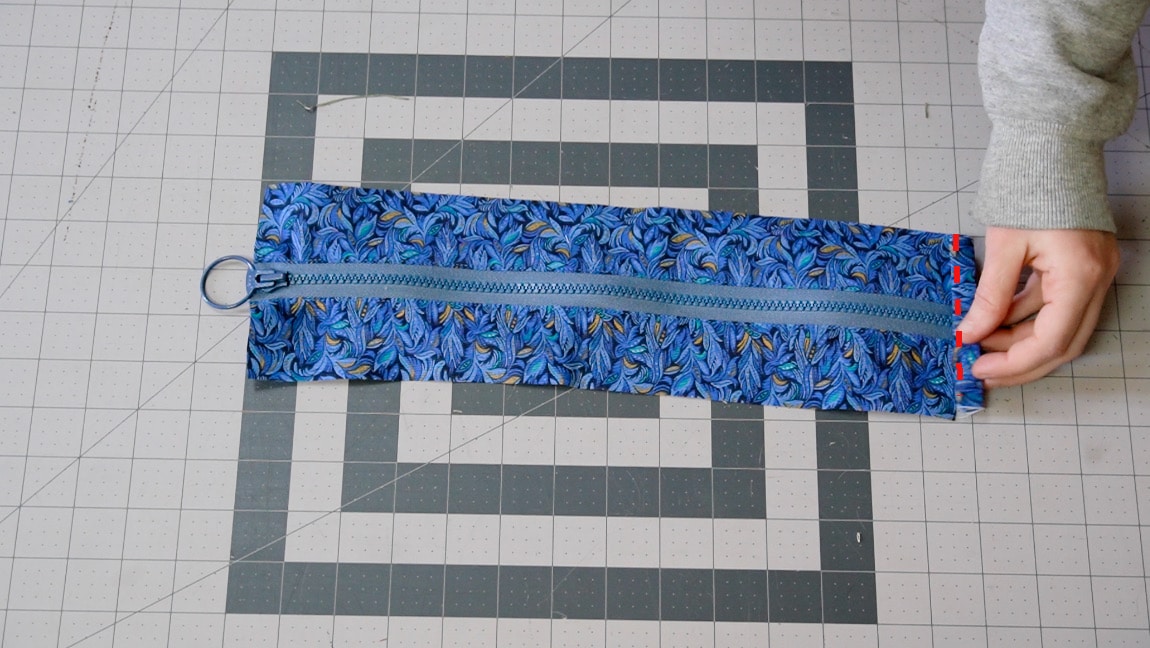
cover the raw edges with bias tape
To cover the raw edges, fold bias tape over both sides of the zipper band. You can use commercial bias tape or make some with a matching fabric.

Step 11
sew the zipper to the remaining two upper band pieces
With right sides together sew the other two upper band pieces to the zipper band. Center the upper band on the zipper since the zipper band is shorter.

Step 12
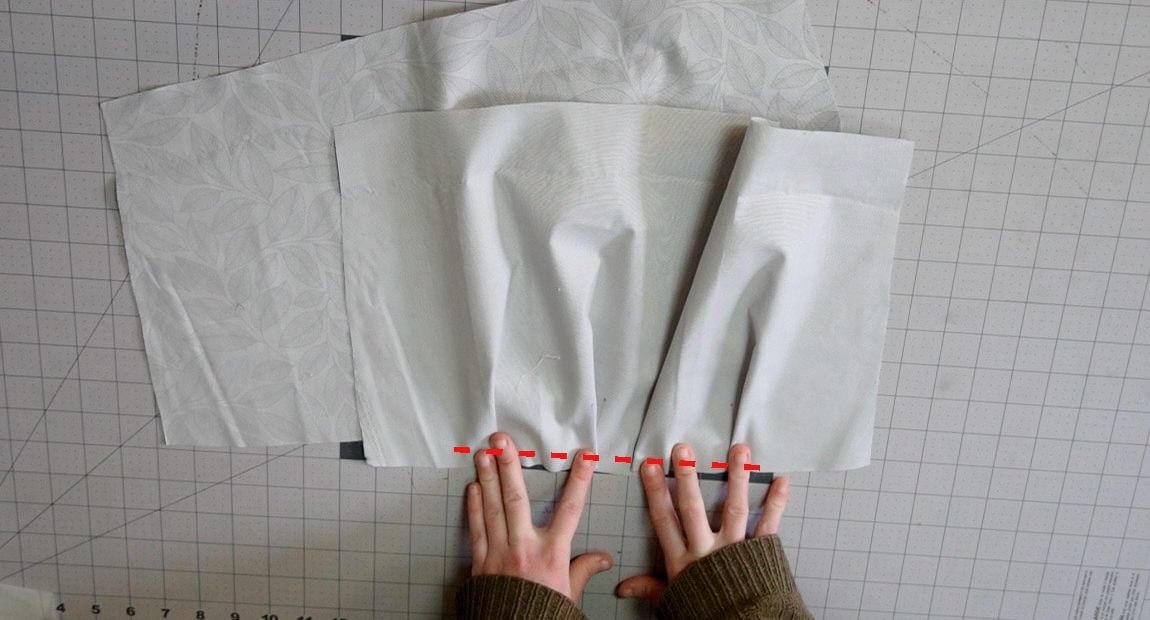
pleat the lining and baste it in place
Just as in step 1, fold the pleats toward the center of the lining and baste them in place.
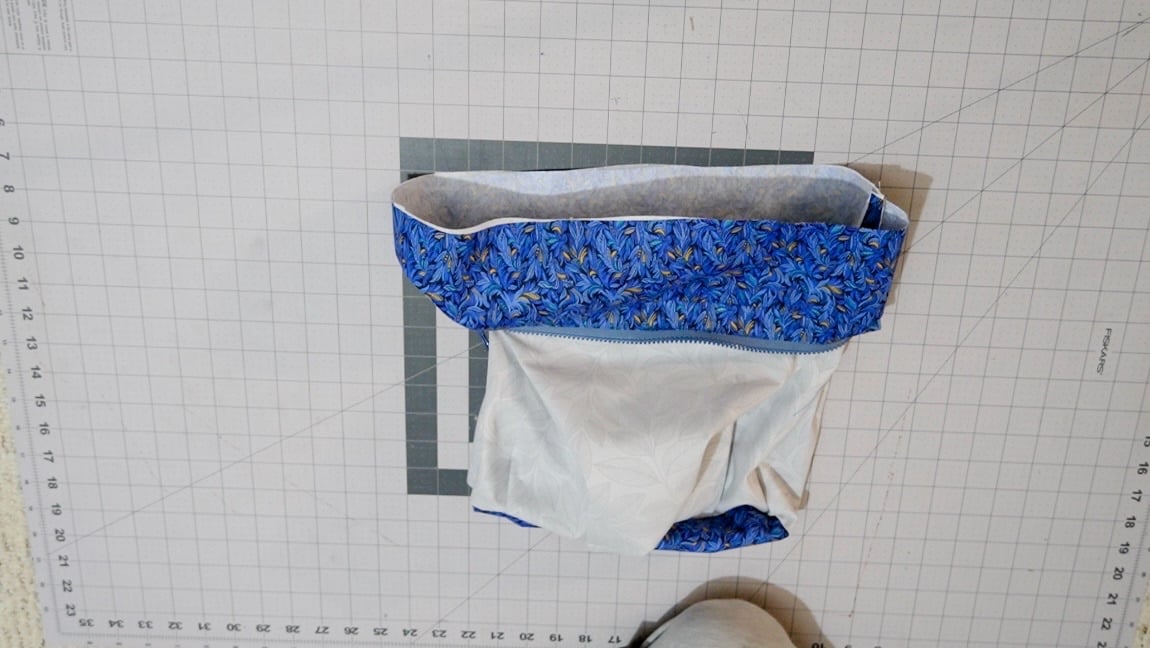
Step 13
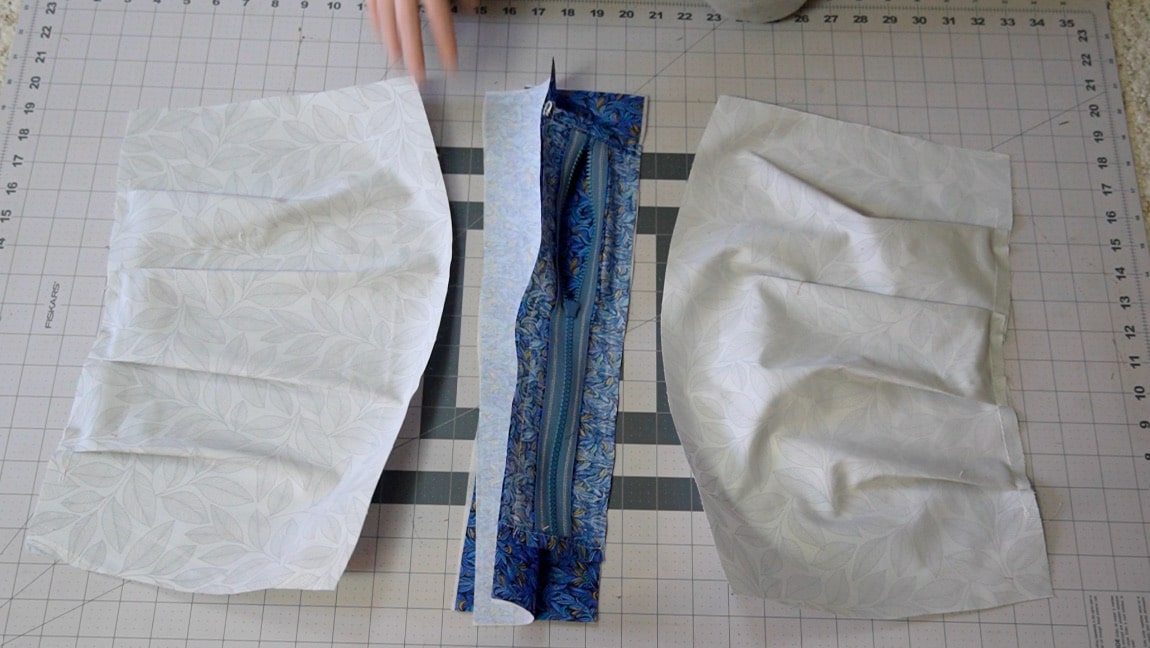
sew the lining to the band and zipper
When sewing, you want the lining and the upper band to be sewn with right sides together. The zipper will be sandwiched between them.
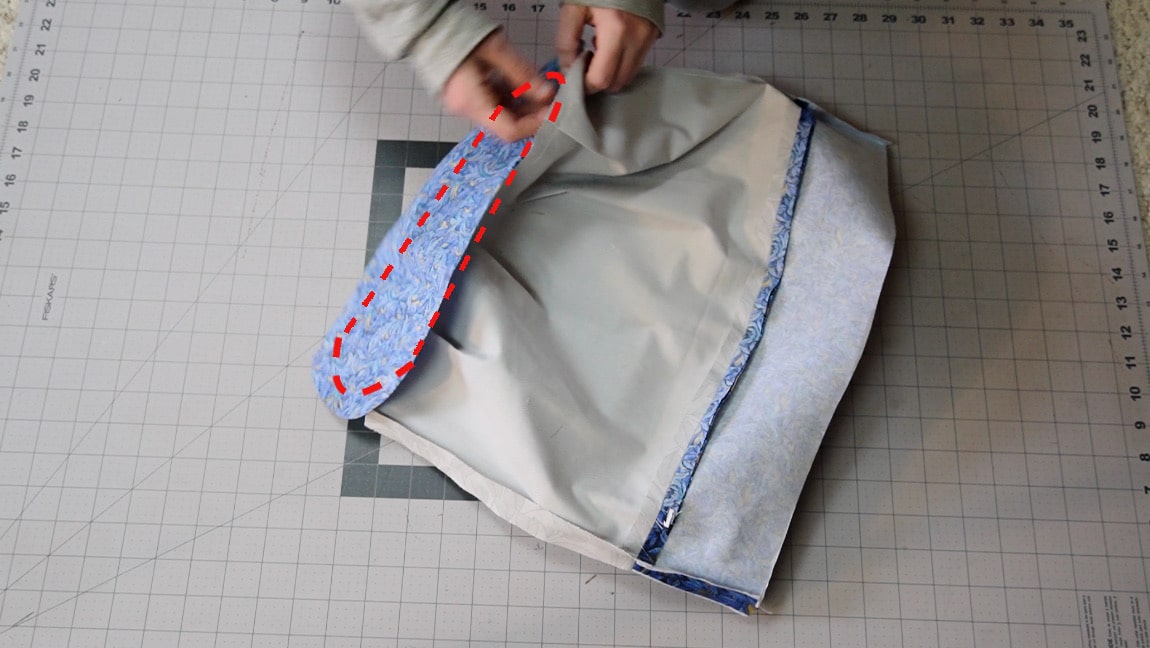
Step 14
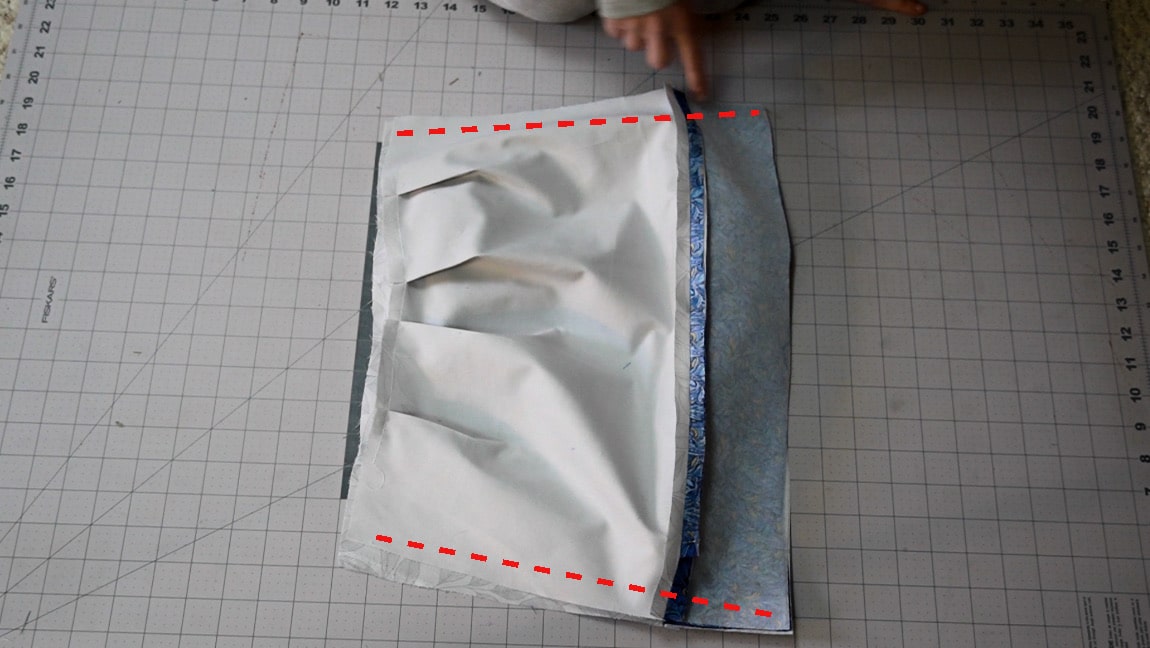
sew the lining along the sides
With right sides together, sew the lining together along the sides, making sure to avoid the zipper band.
Step 15
sew the base to the lining
Sew the remaining base piece to the lining. Leave a gap in the lining so that you will be able to turn it to the right side later.

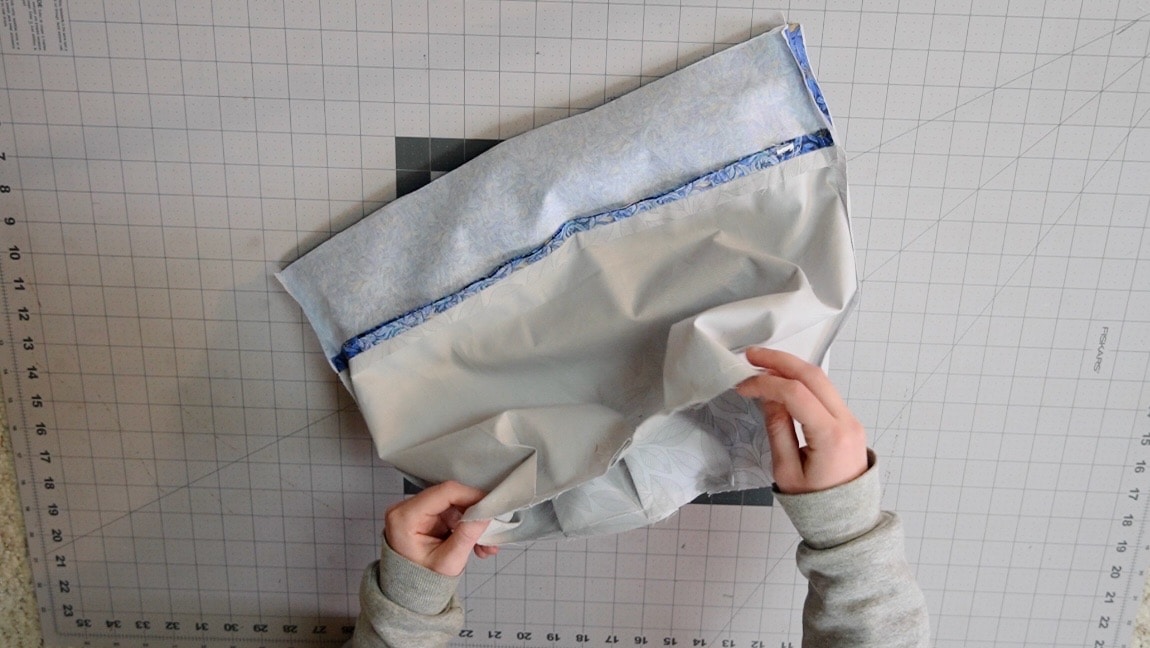
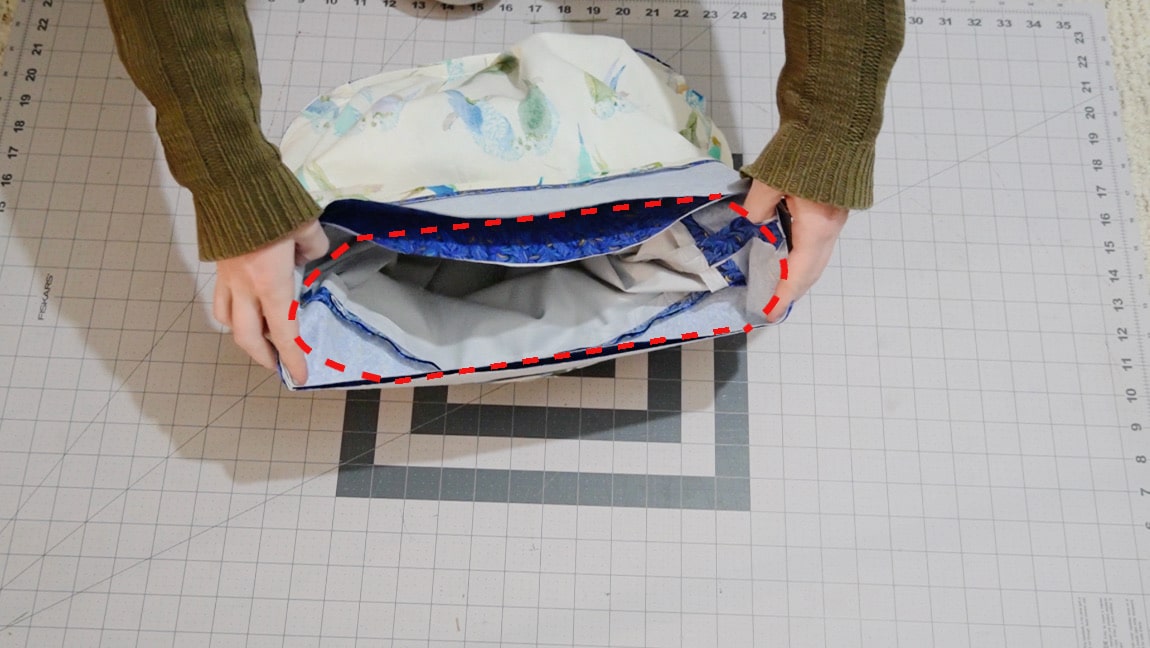
Step 16
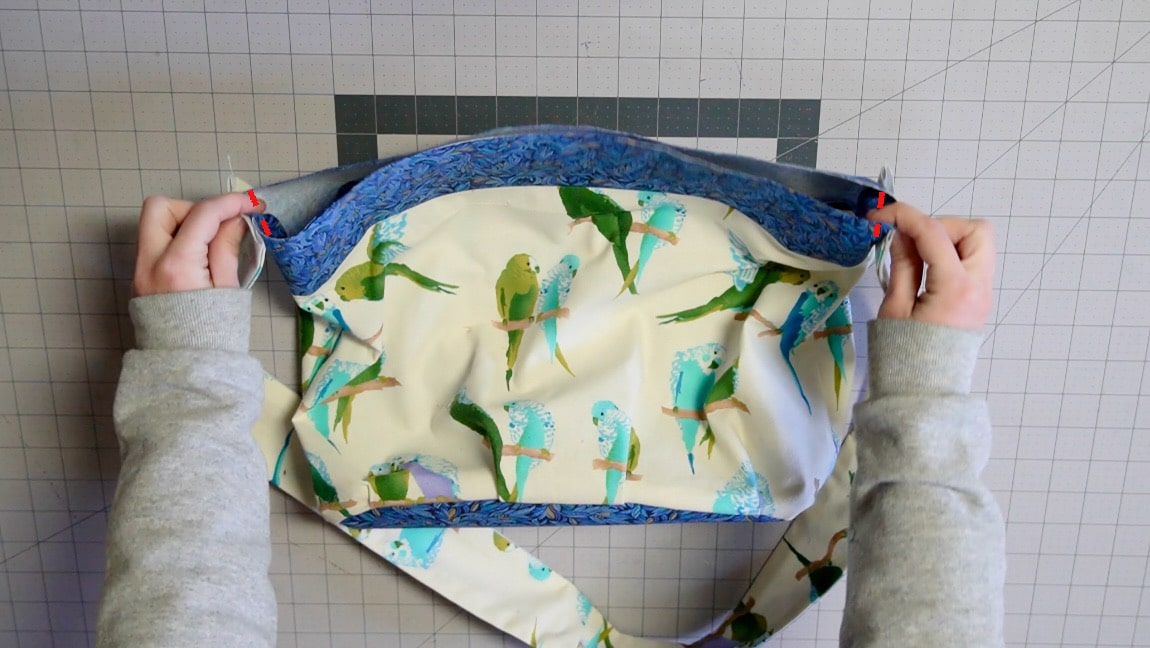
sew the lining to the bag
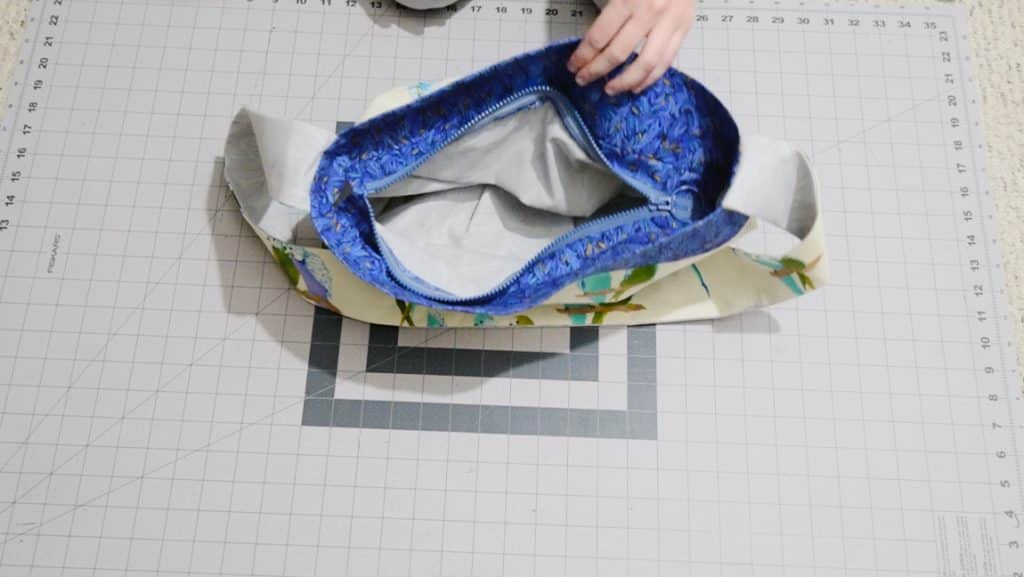
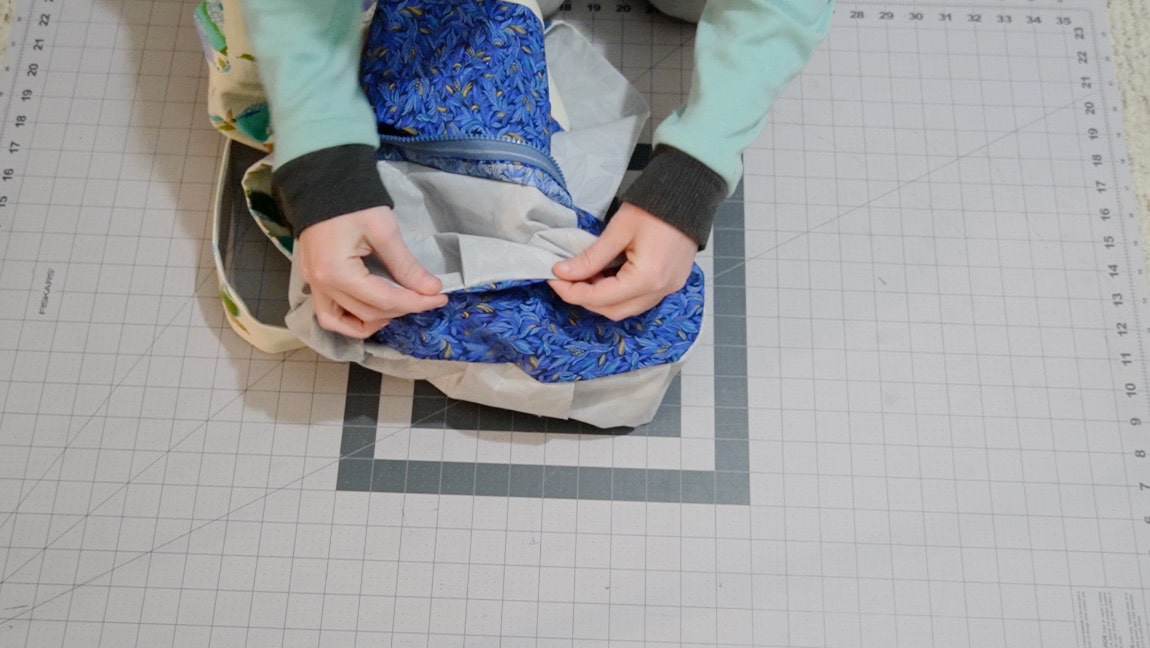
Open the zipper and turn the lining out through the zipper. Turn the bag inside out, with the strap inside the bag.
Then place the lining inside the bag and stitch all the way around the upper edge.
Step 17
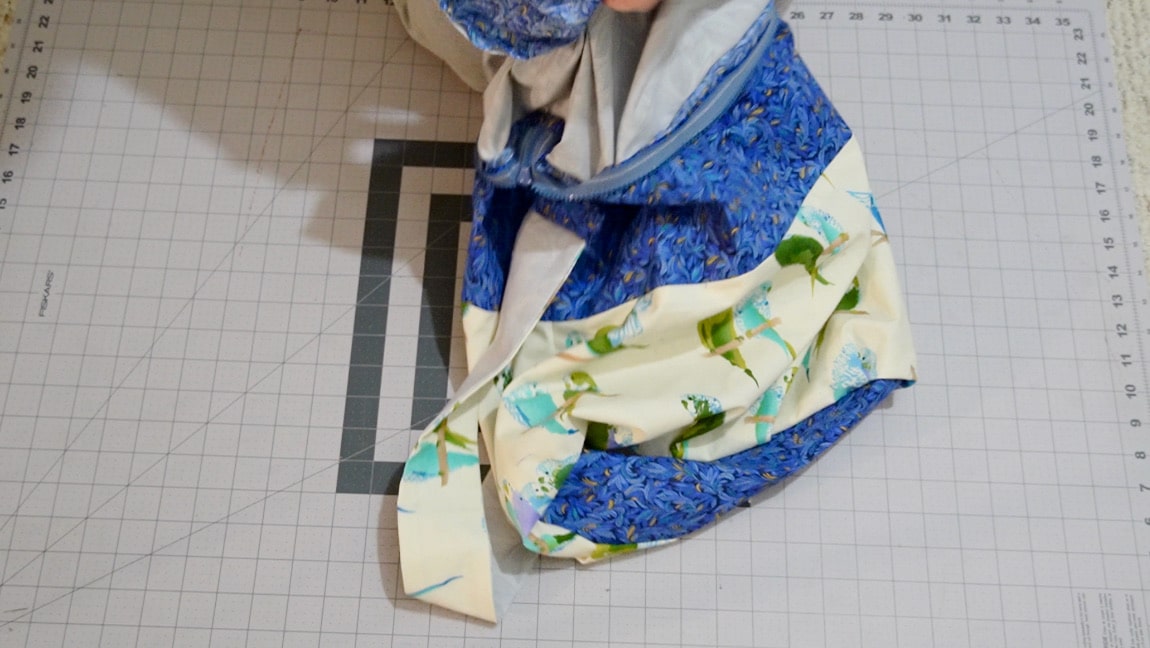
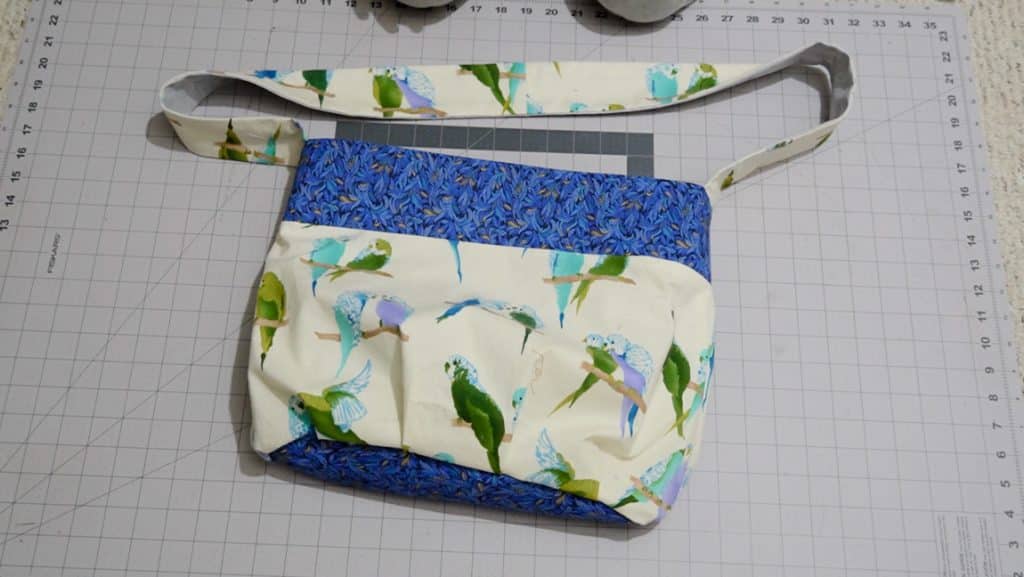
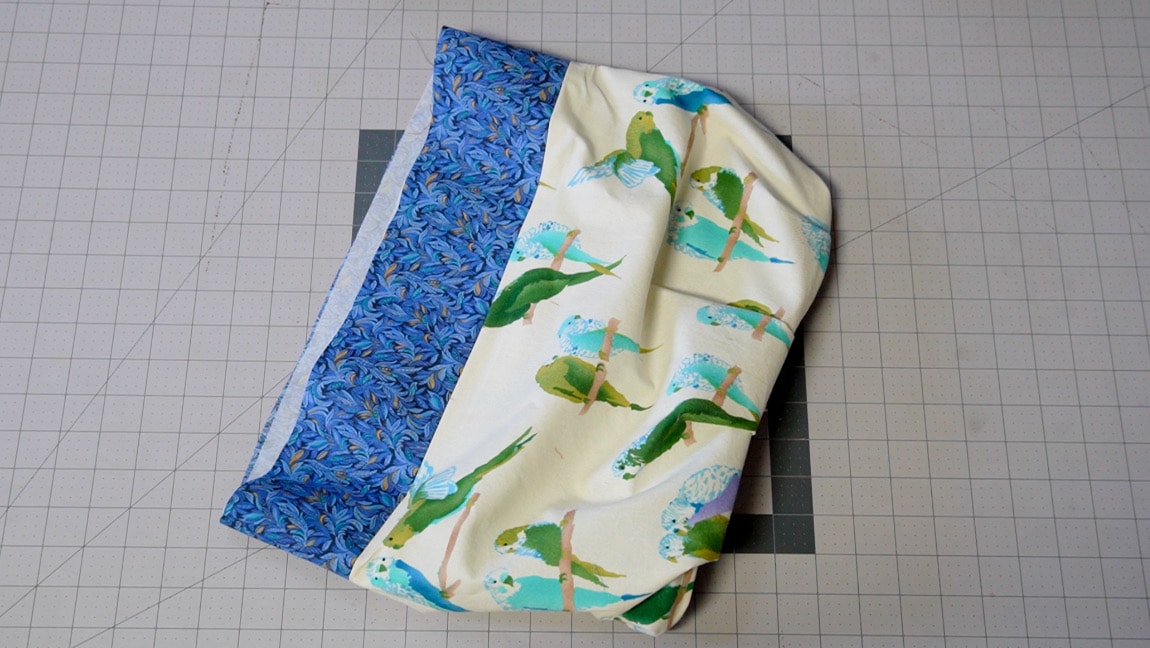
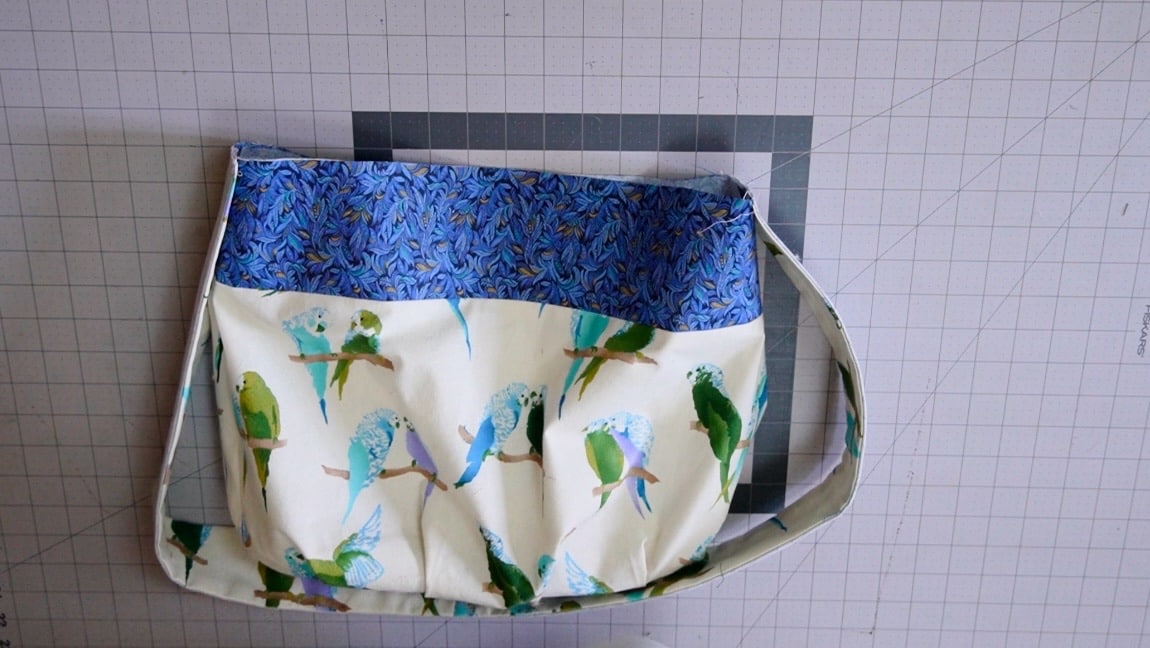
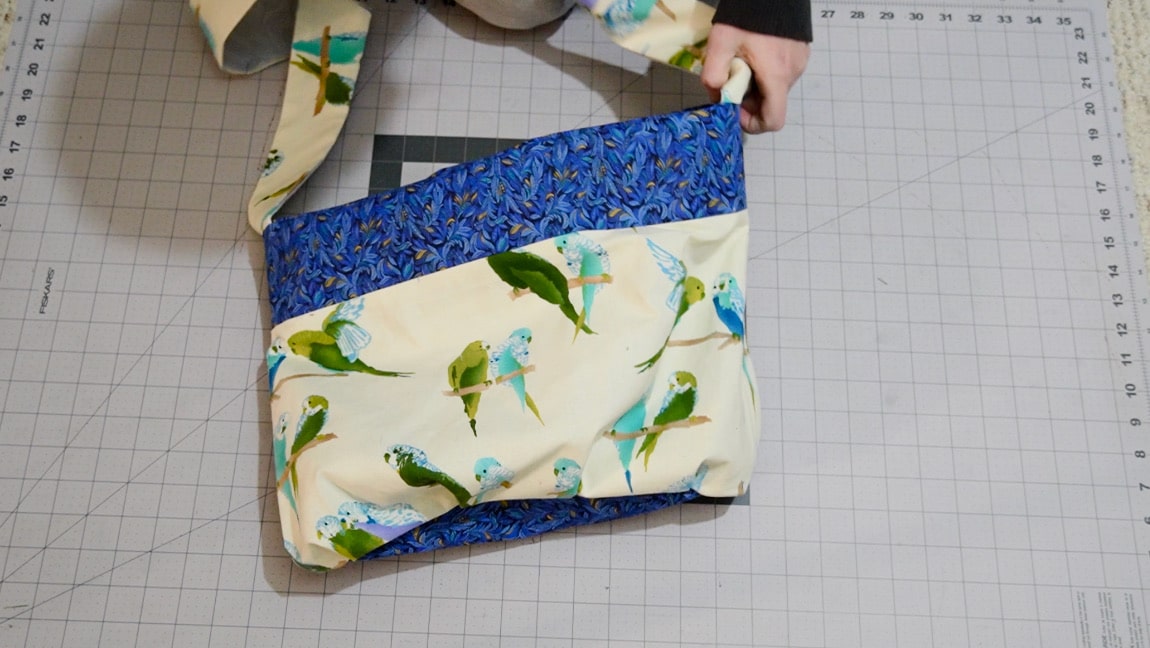
turn the bag to the right side
Turn the bag to the right side through the zipper and the gap you left in the base of the lining.
Step 18
sew up the gap in the lining
Hand sew the gap in the base of the lining to close it up.
Finished!