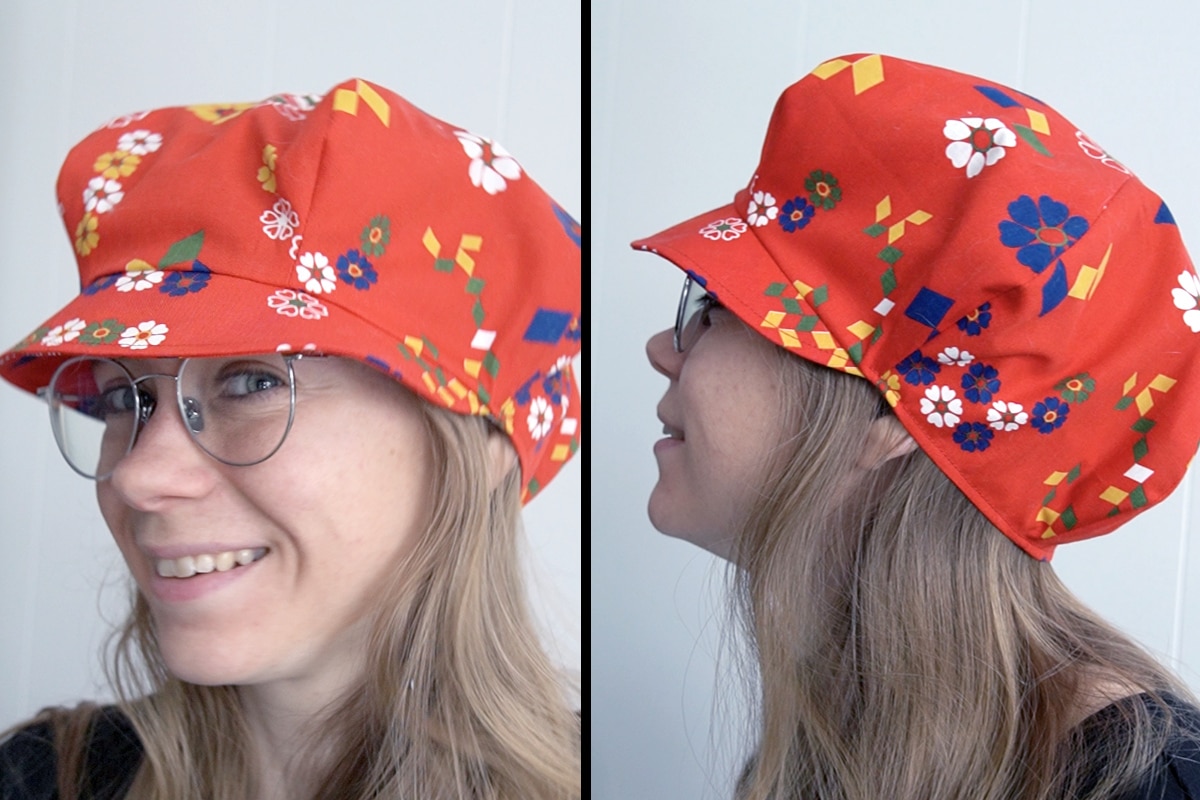
Tutorial: cute Newsboy Hat
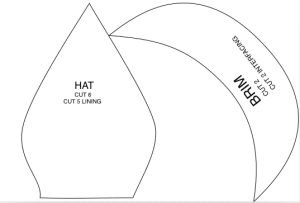
This tutorial will walk you through how to create a lined newsboy hat. This uses less than 1/2 yard of fabric, or you can use smaller scraps and make each section of the hat a different color. You can print out the free pattern below and follow along with the step-by-step instructions.
This page contains affiliate links. As an Amazon Associate, I earn a small commission from qualifying purchases. That being said, I encourage you to use your local sewing shop whenever possible, or to look for supplies second hand.
Supplies Needed:
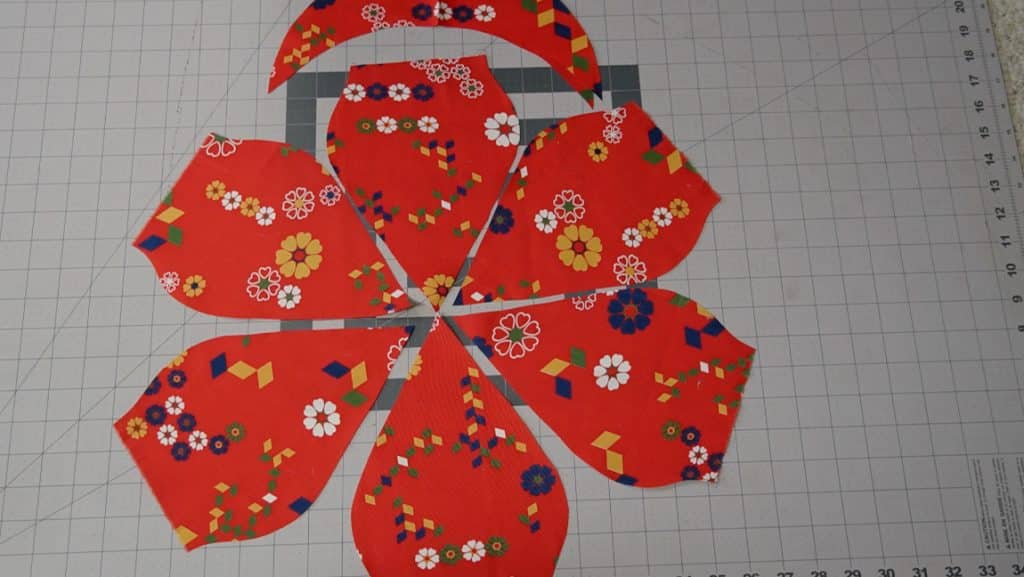
(all of my patterns include 1/2″ seam allowance)
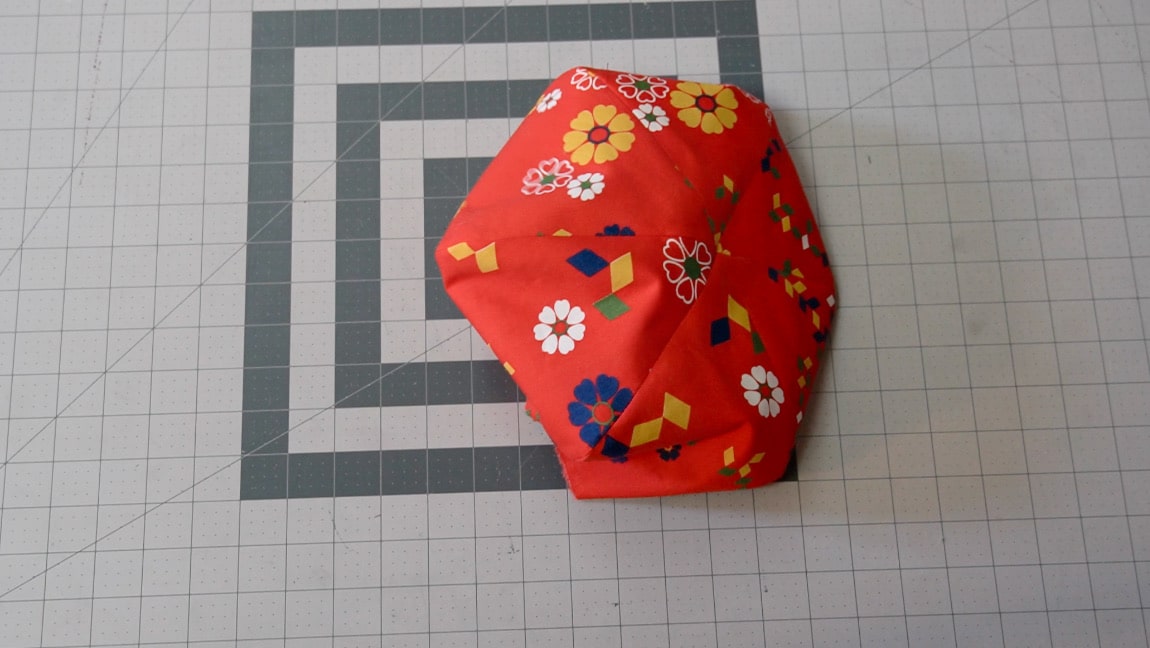
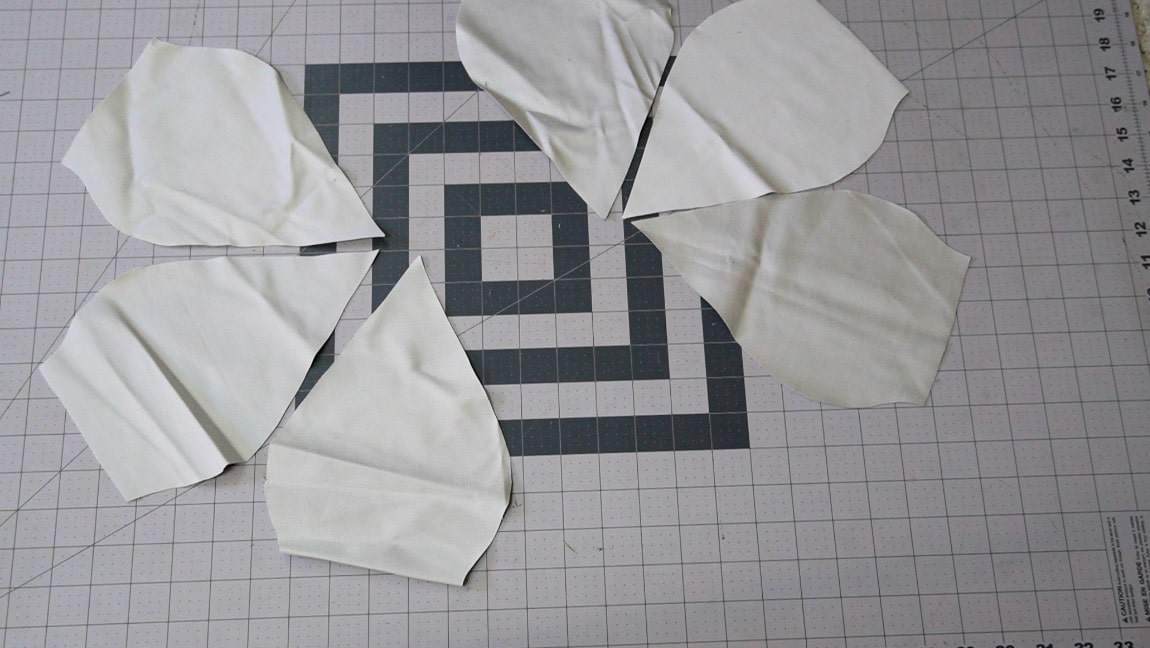
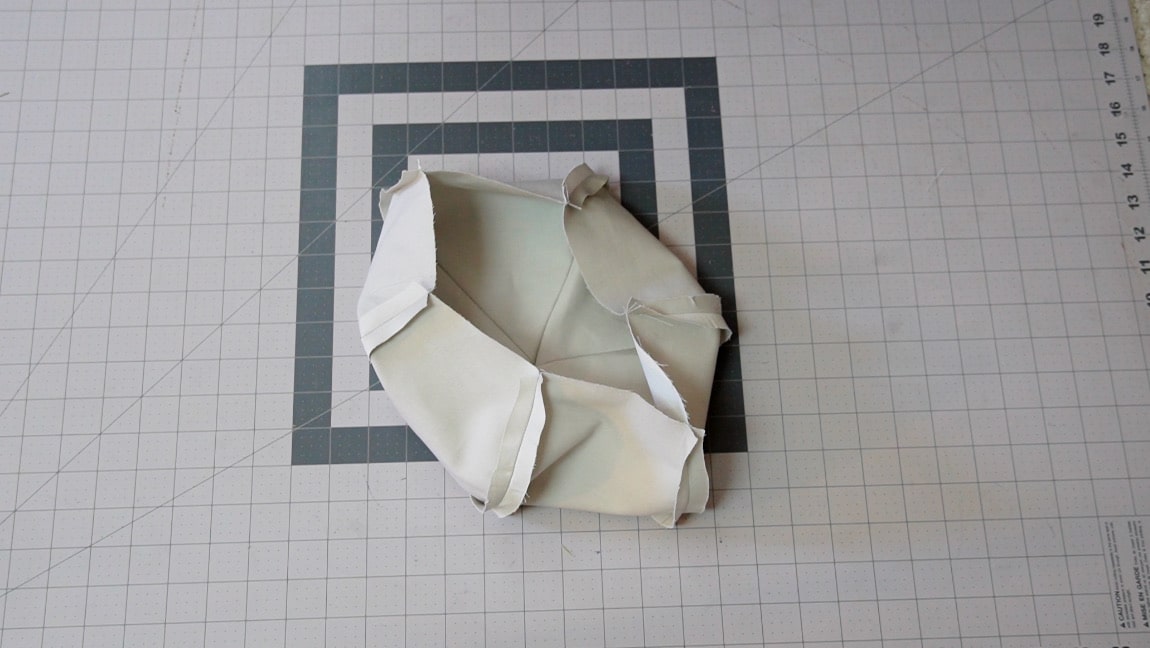
Step 1
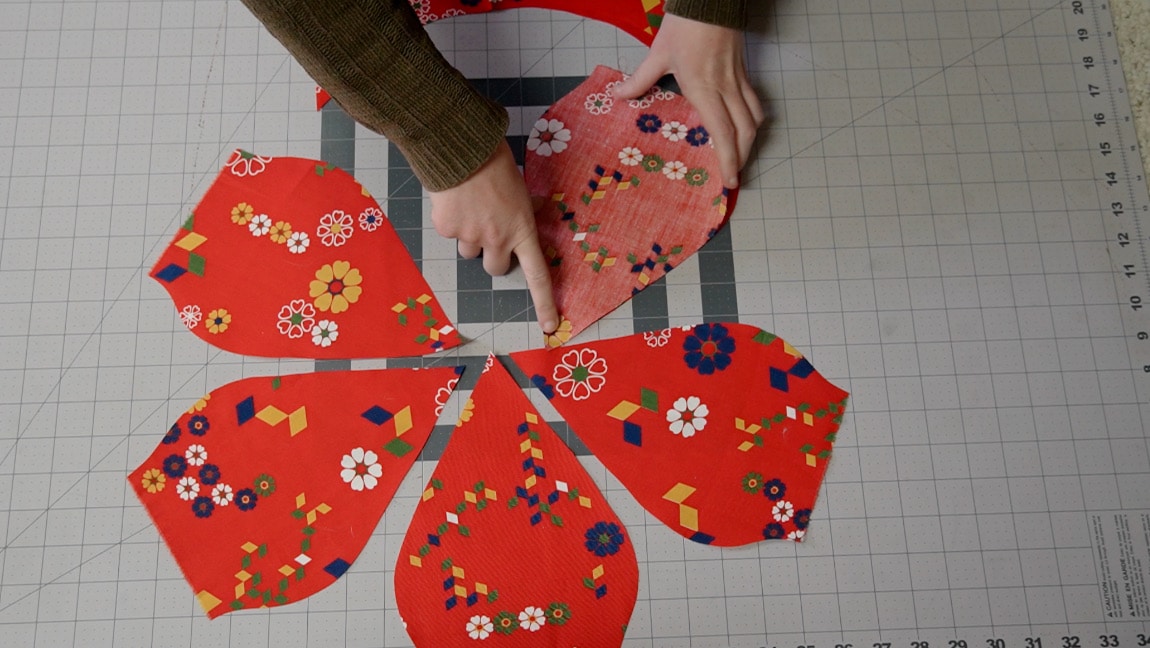
sew the panels together in groups of three
With right sides together, sew the hat panels in two groups of three.
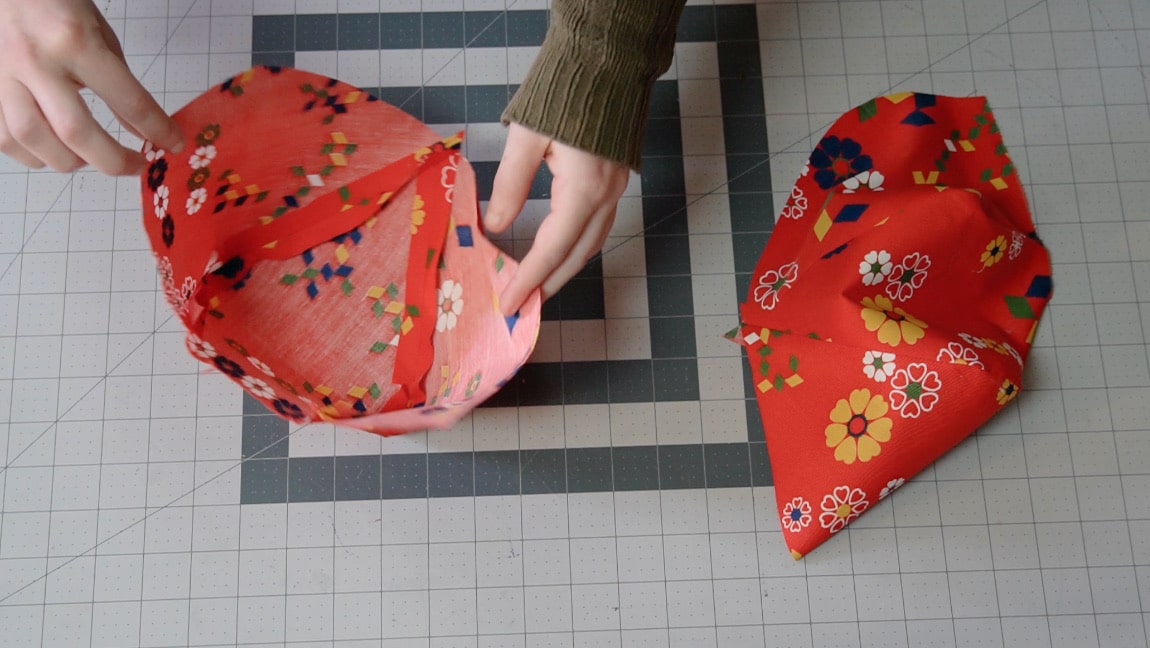
Step 2
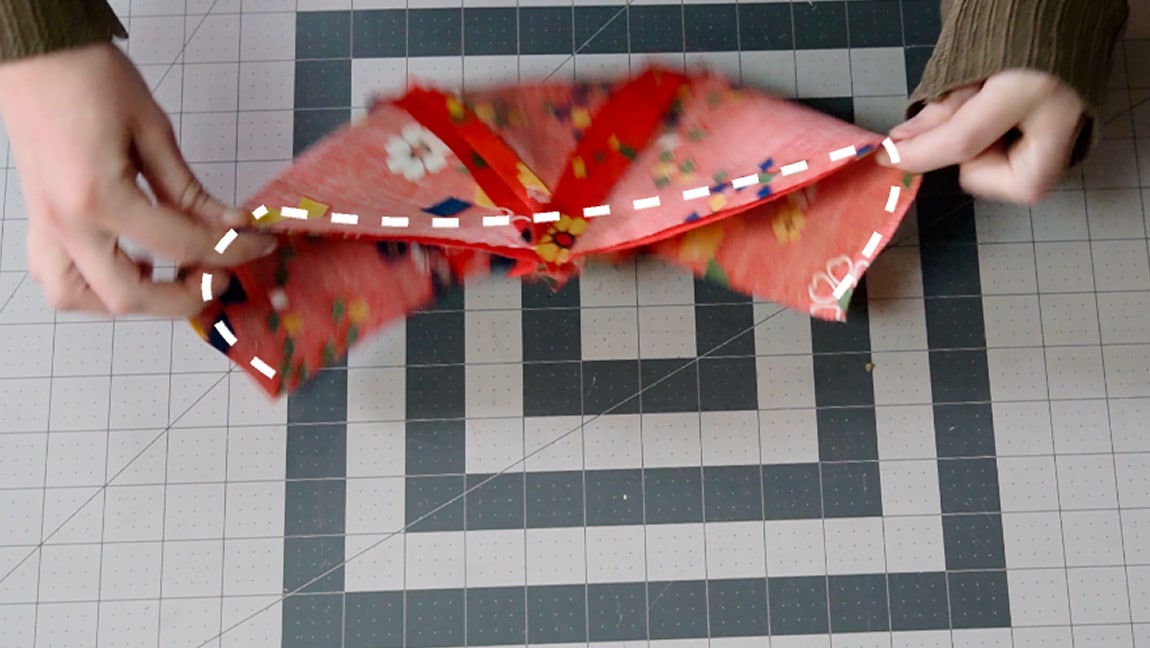
sew the two sides of the hat together
Line up the two sides of the hat with right sides together, and sew along the center line.
Step 3
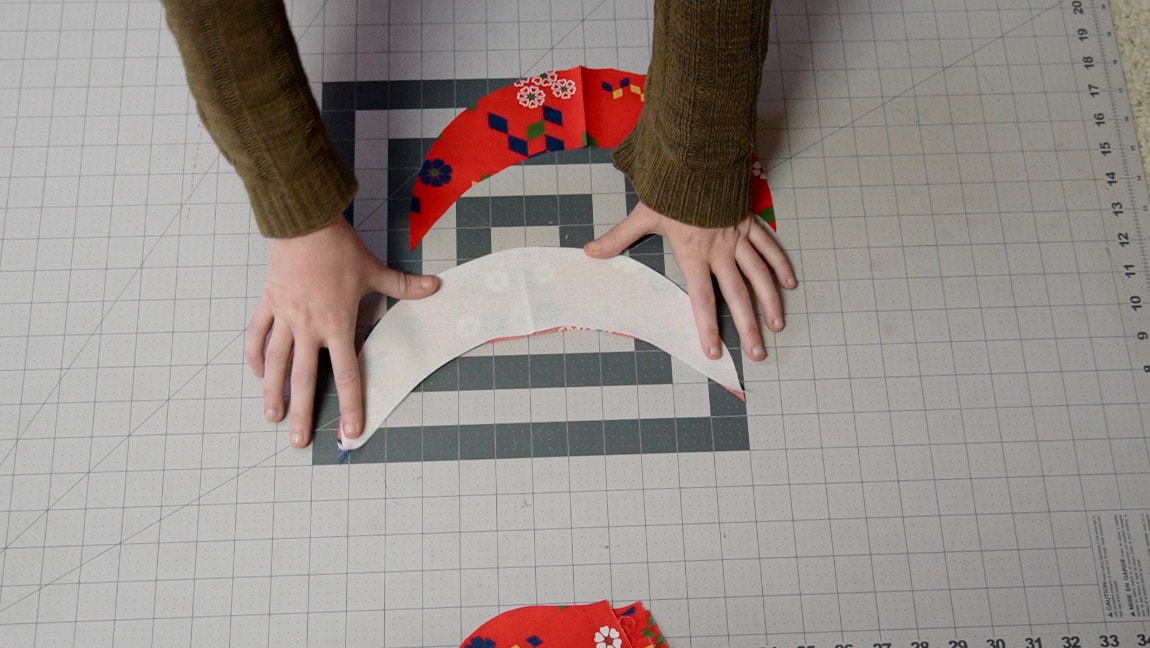
apply buckram to the brim
You can also use a heavy weight interfacing if you prefer.
Step 4
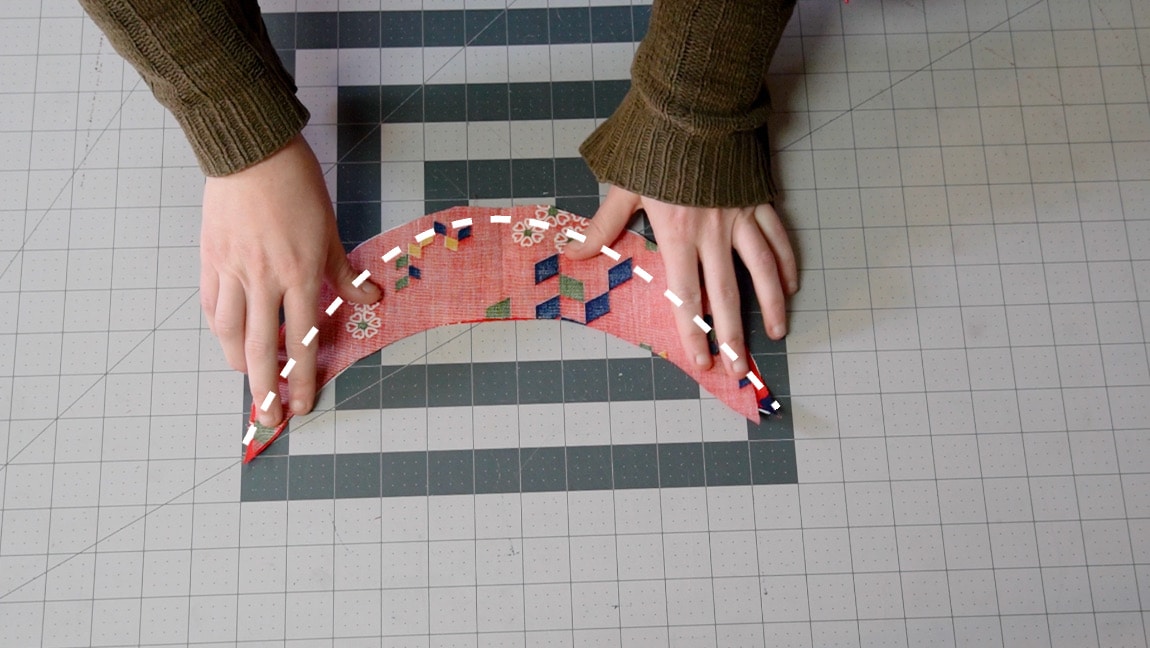
sew the brim together
With right sides together, sew the two brim pieces along the curved edge.
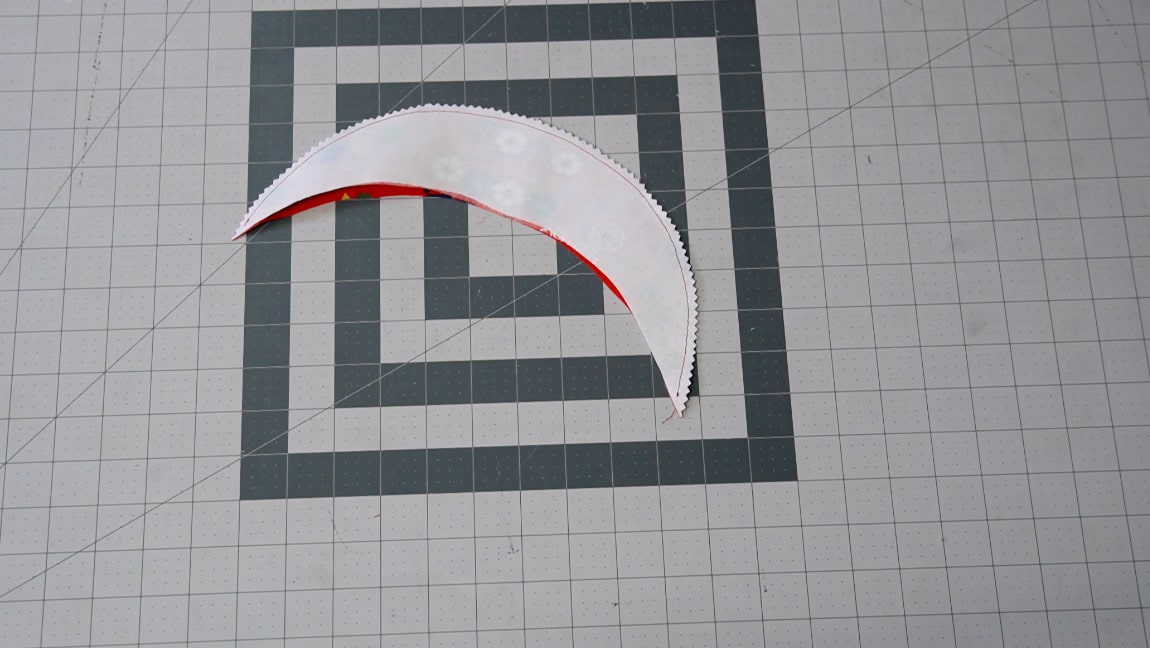
Step 5
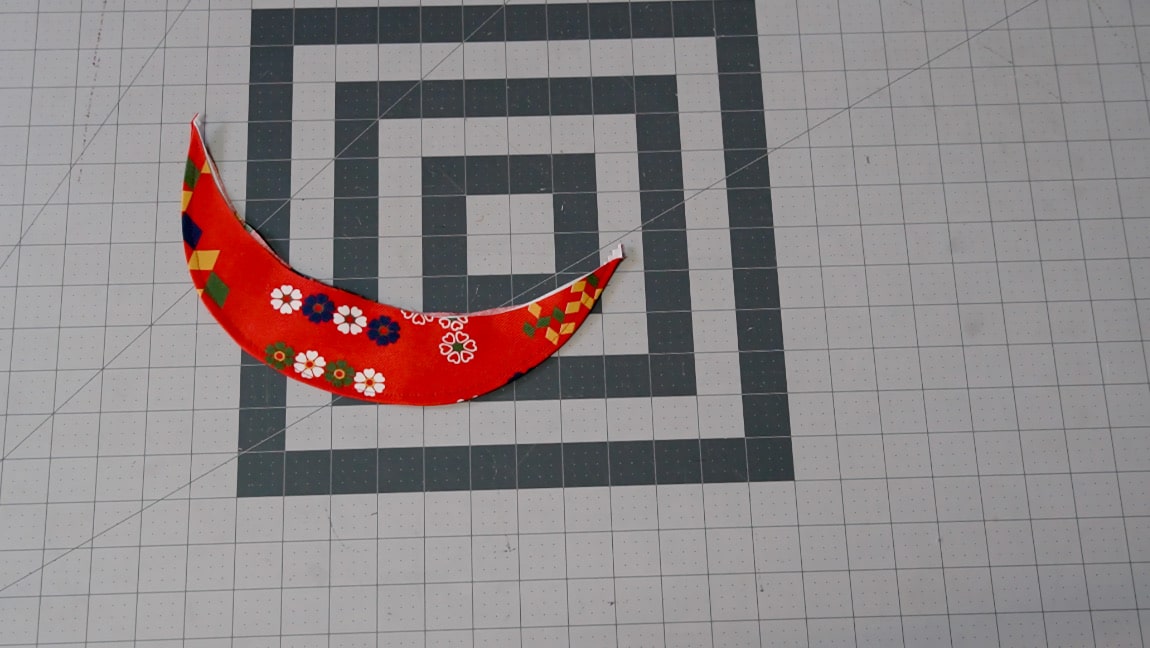
turn the brim to the right side
Turn the brim to the right side and top stitch for a clean finish
Step 6

sew the brim to the hat
Center the brim on one of the panels and sew it around the hat opening.
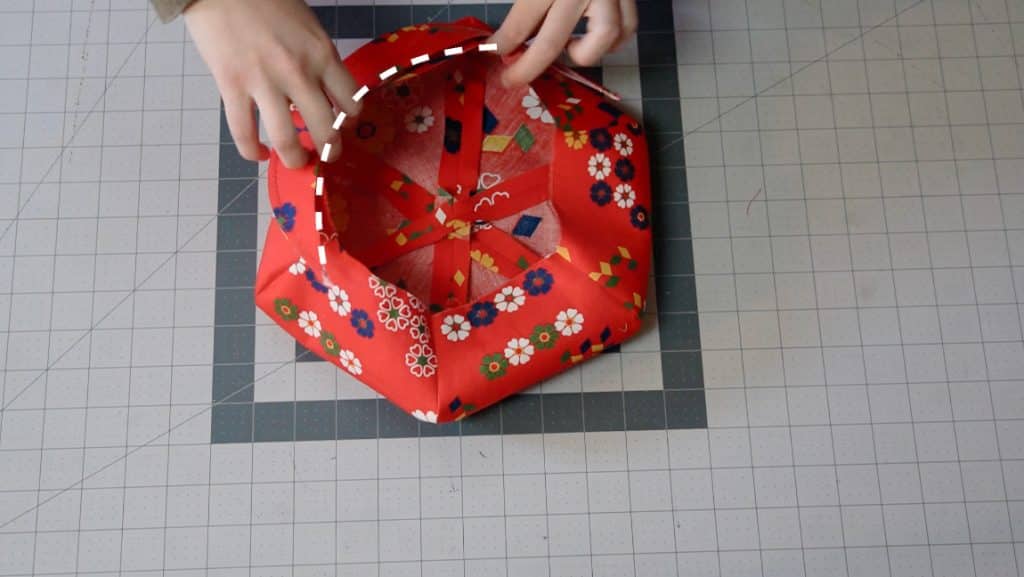
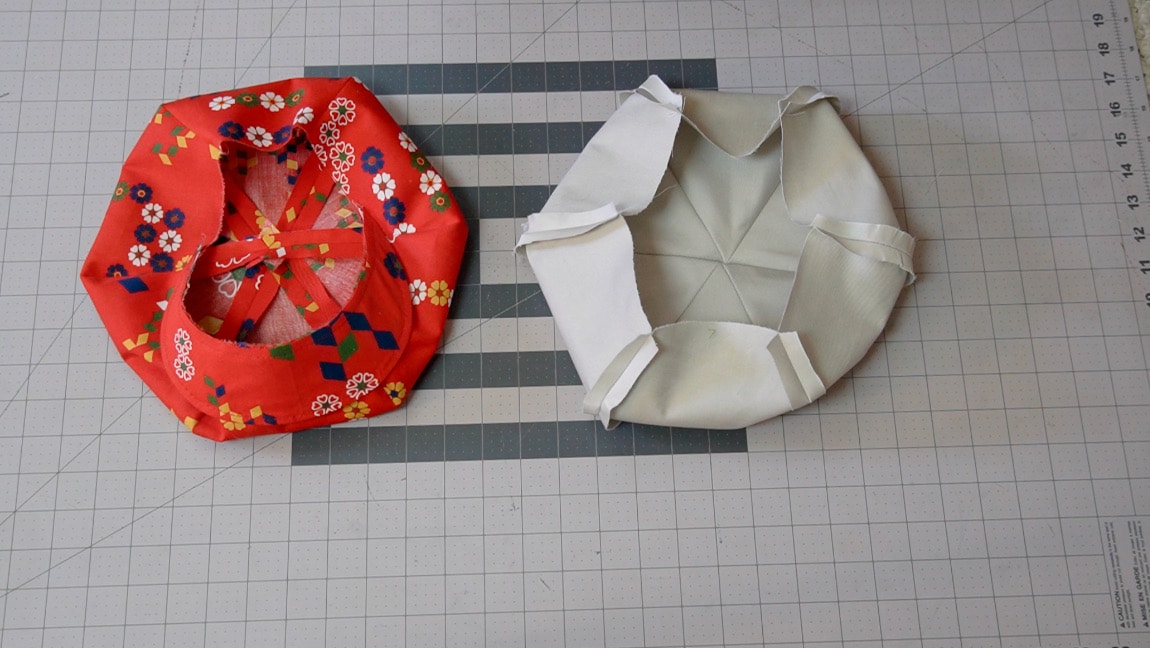
Step 7
sew the lining together
Repeat steps 1 and 2 for the lining.
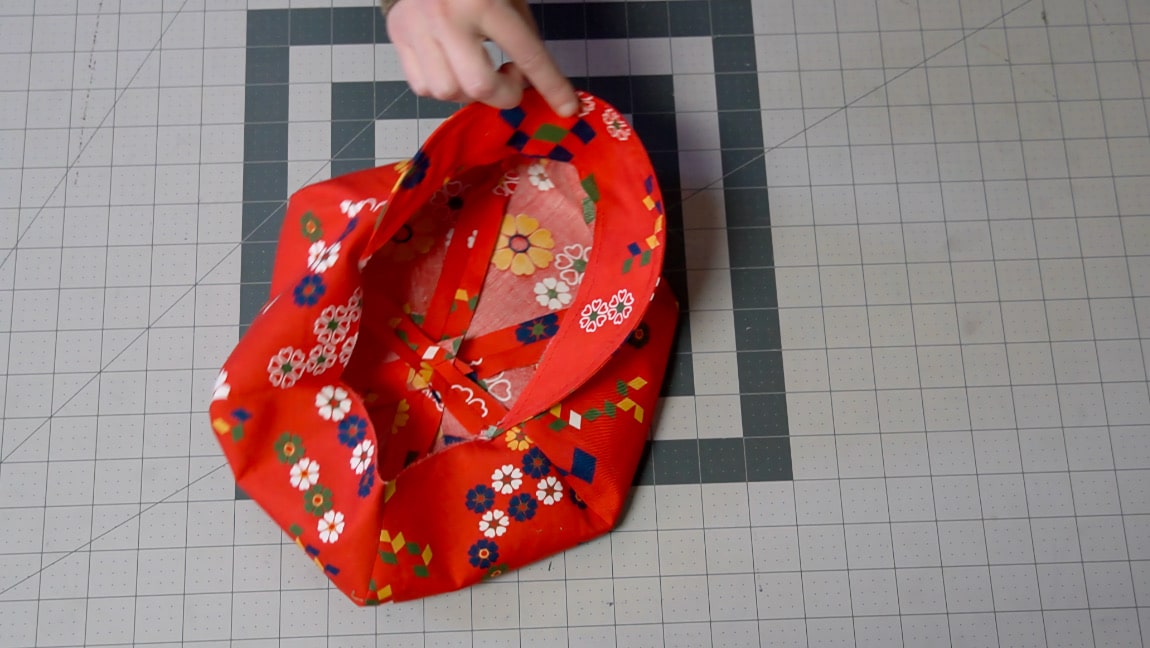
Step 8
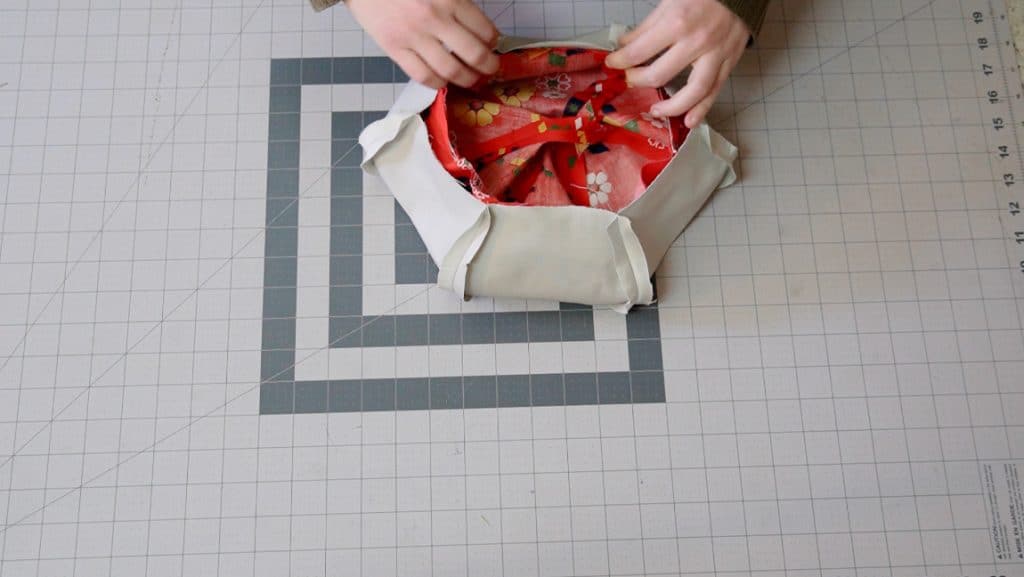
sew the lining to the hat
Place the hat inside the lining and sew around the perimeter. Leave a gap in the stitches so that you can turn it to the right side.
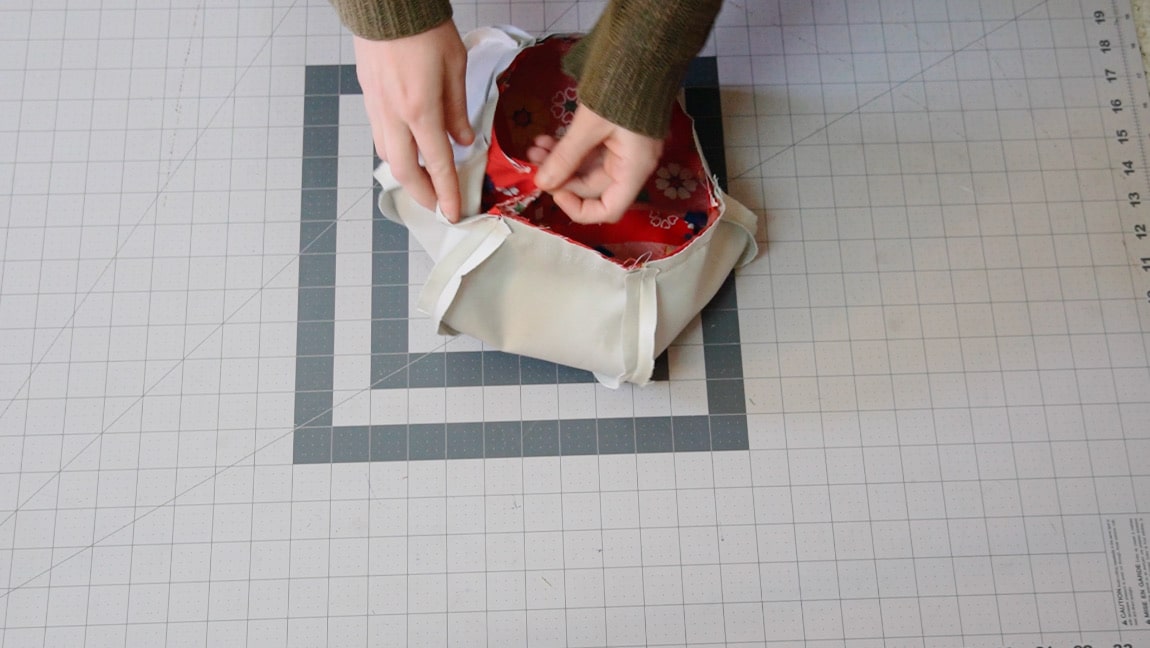
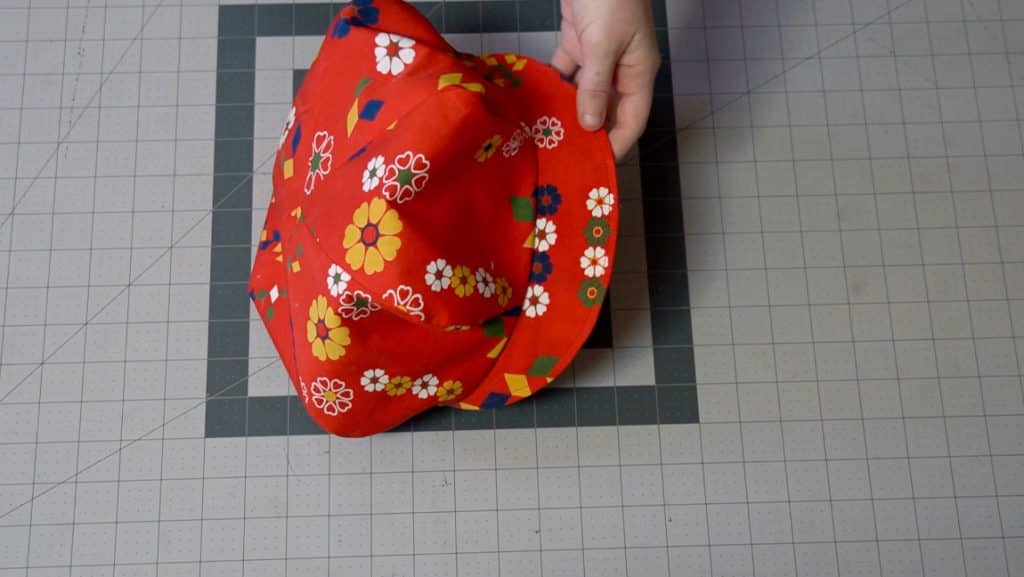
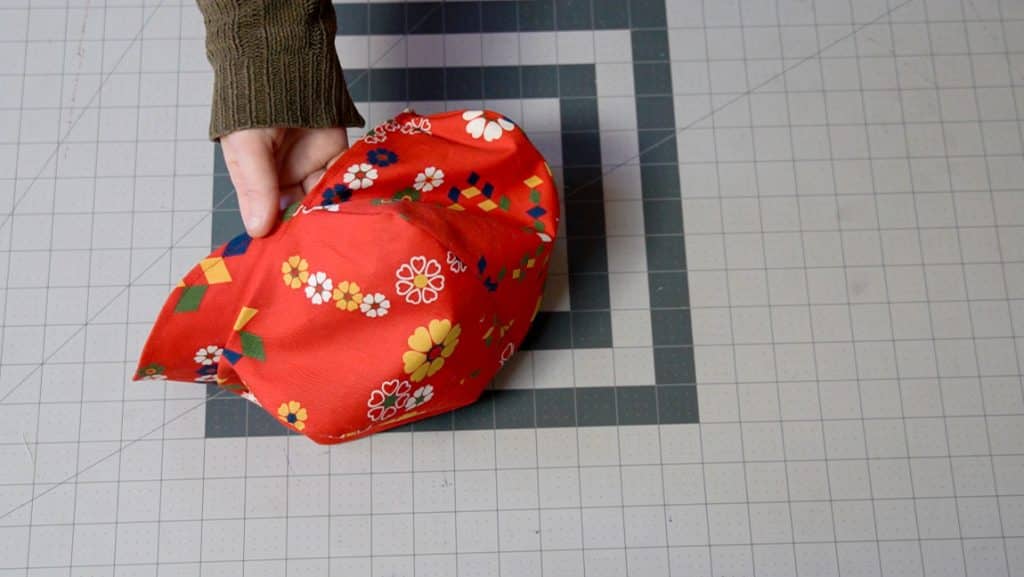
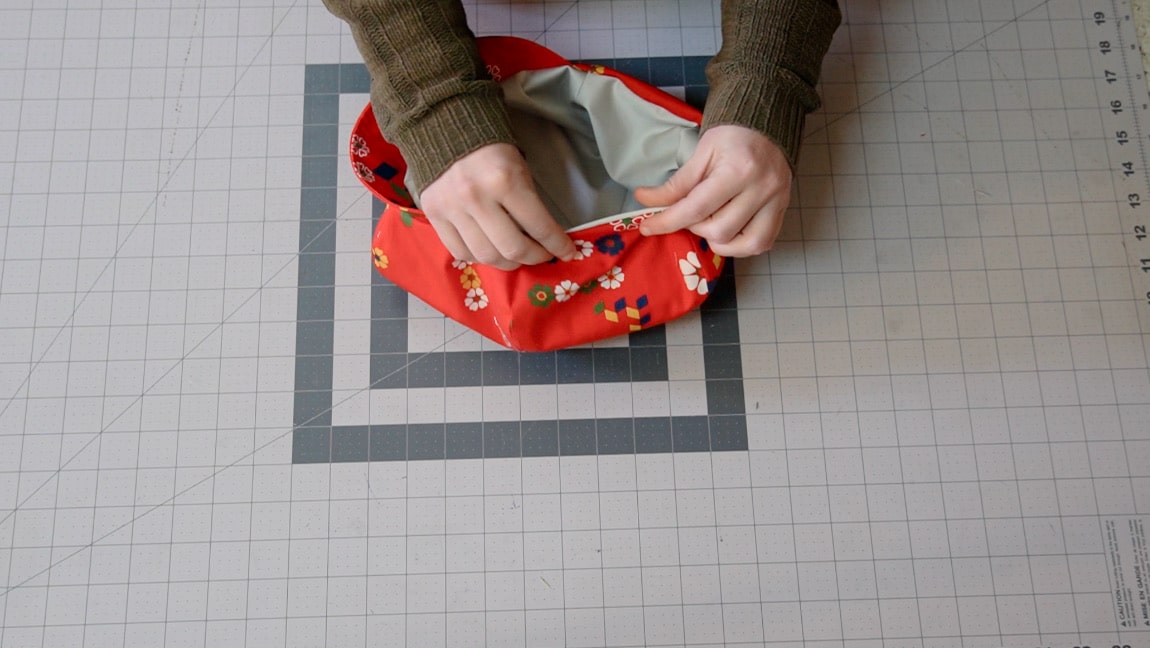
Step 9
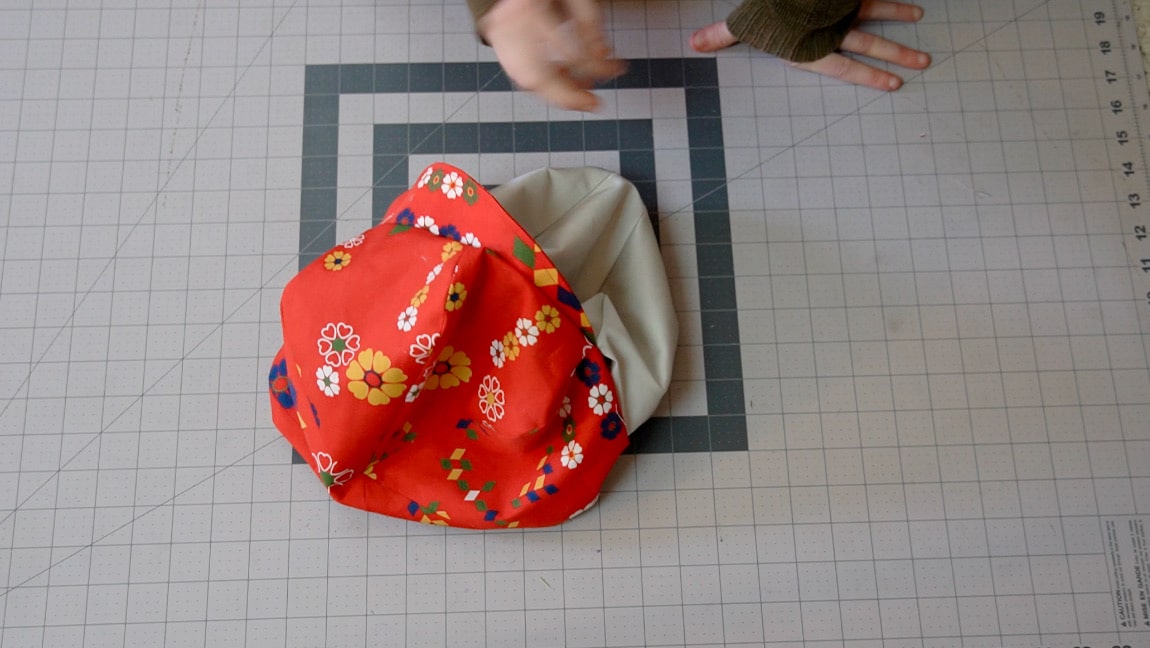
turn the hat to the right side
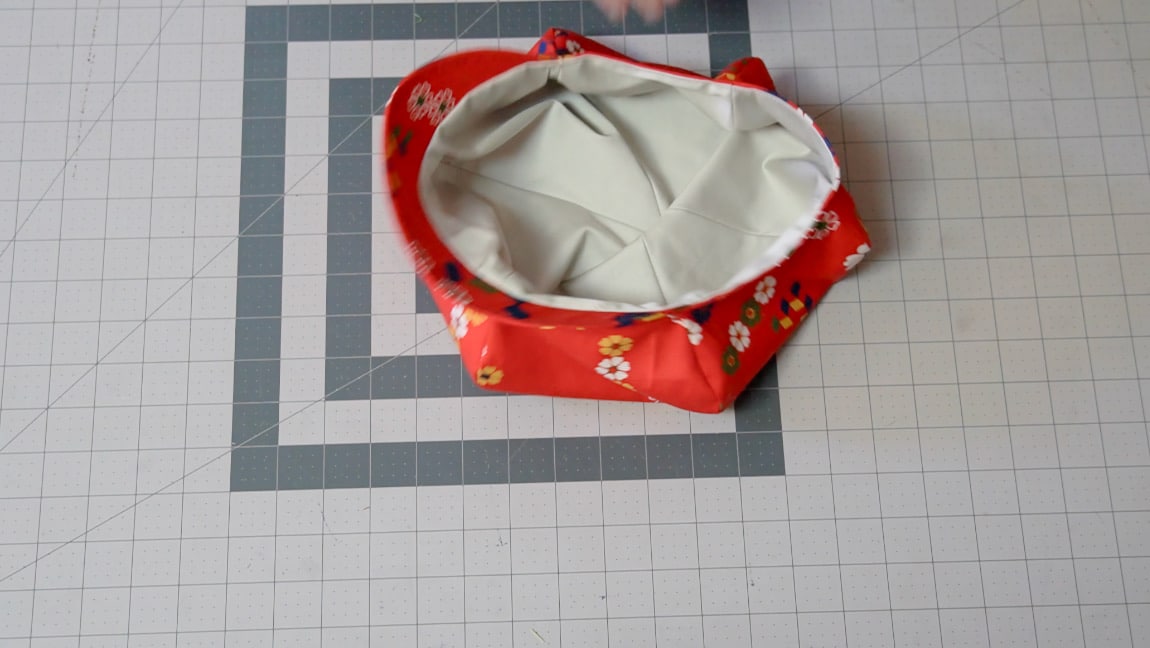
Step 10
close the gap and topstitch the edge
Sew the gap in the lining closed and topstitch all the way around the edge of the hat to give it a clean finish.
Finished!