Tutorial: Easy Flowy Circle Shirt
You’ve heard of a circle skirt, but what about a circle shirt!? I decided to try to make one. I’ll walk you through my process below and show you how to create your own pattern that you can use to make your own full circle shirt with a belt. I used a chiffon fabric for this, but any kind of lightweight flowy fabric will work perfectly.
This page contains affiliate links. As an Amazon Associate, I earn a small commission from qualifying purchases. That being said, I encourage you to use your local sewing shop whenever possible, or to look for supplies second hand.
Supplies Needed:
Measurements needed:
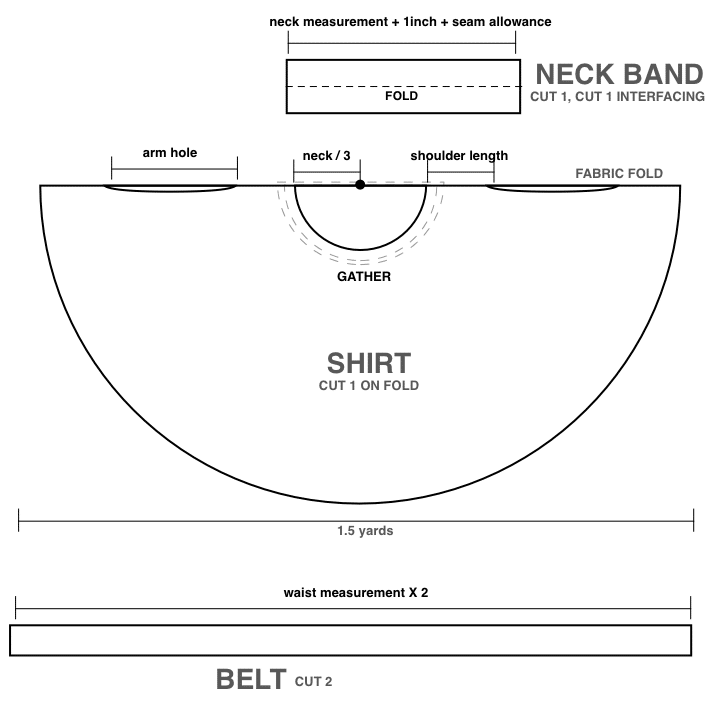
You’ll need three pattern pieces to follow this tutorial:
Don’t forget to add seam allowance to all of your pieces.
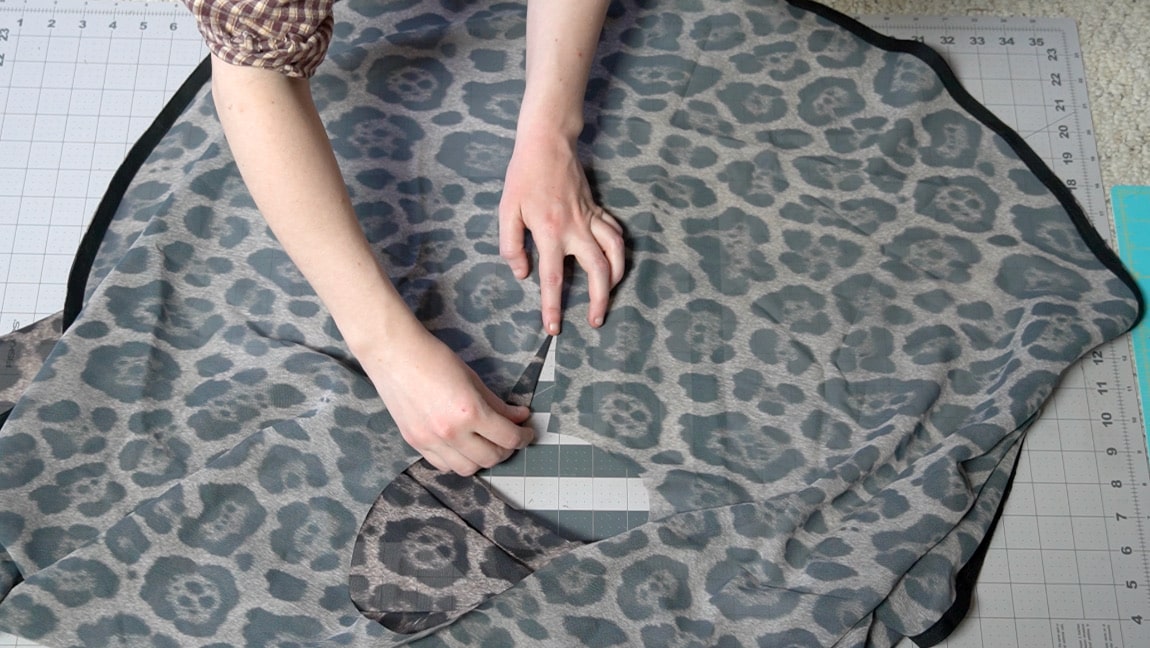
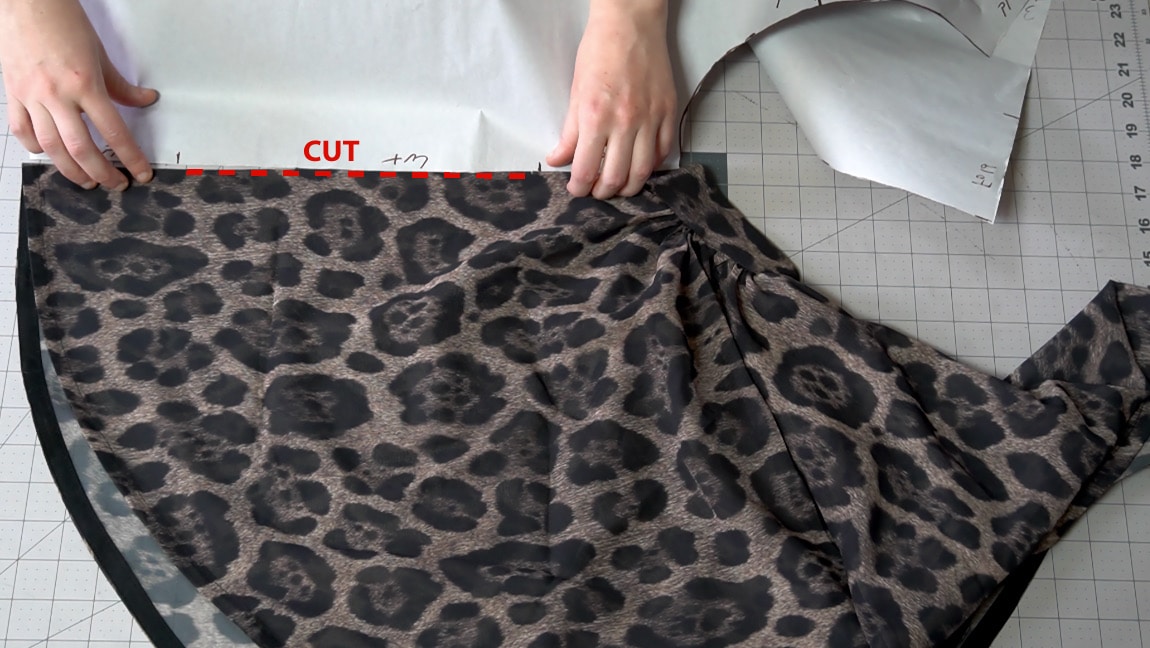
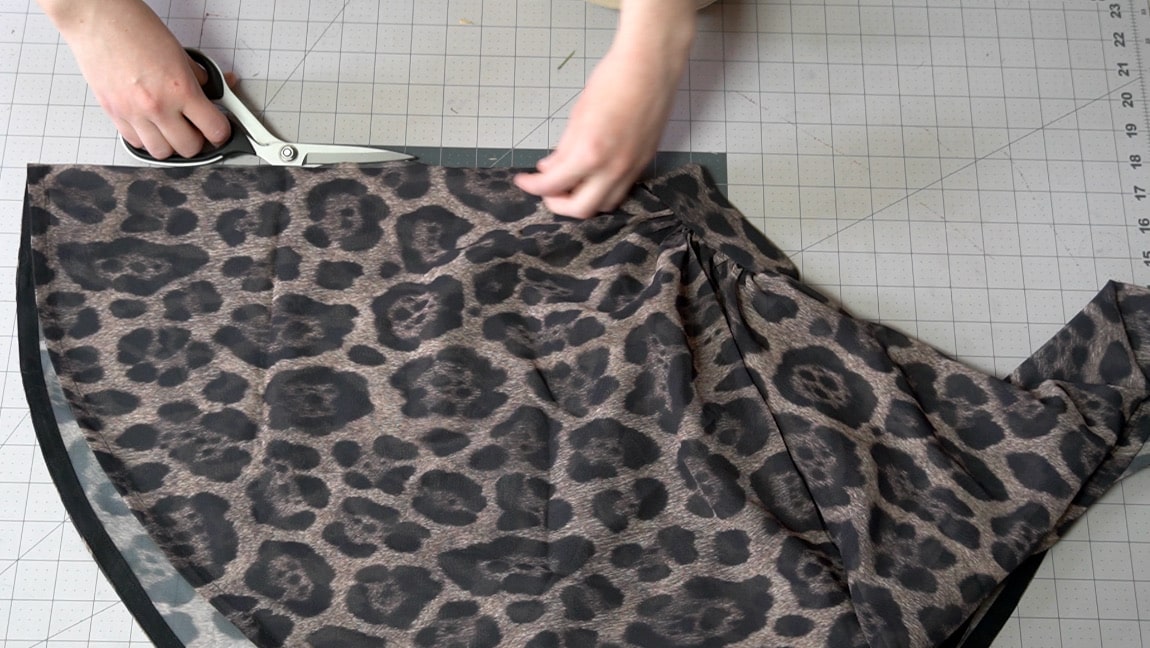
Step 1

Cut out your pattern
Step 2
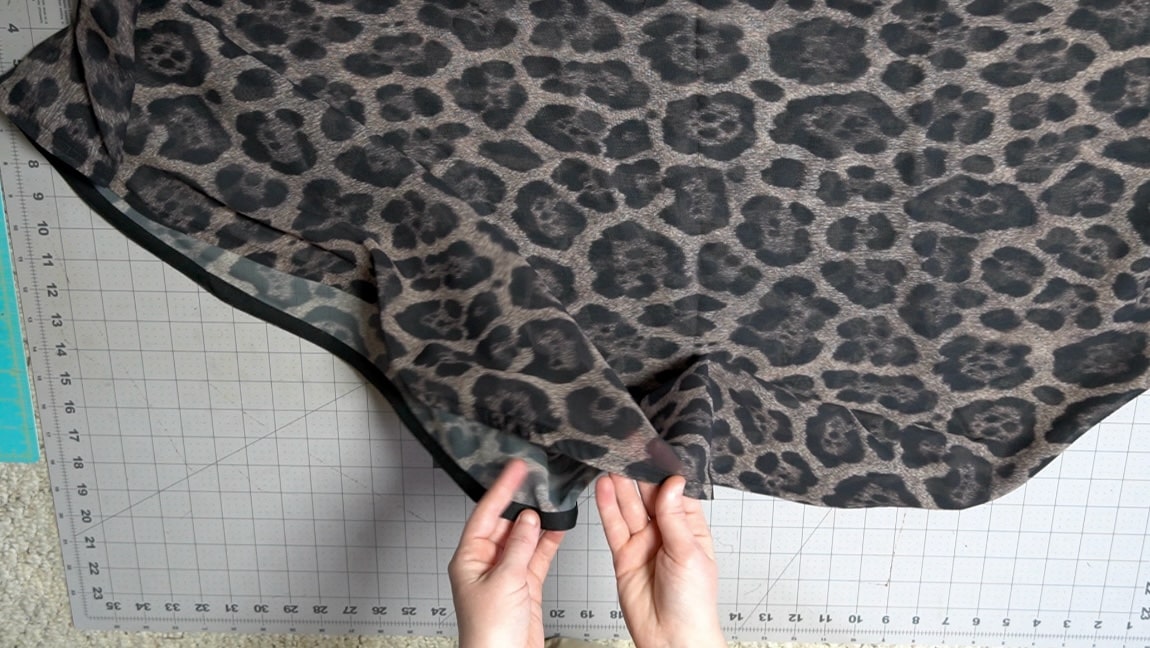
Finish the circle edge
Use single fold bias tape to finish the outer hem of the circle skirt. Because it it curved, it’s difficult to do a standard hem, so using bias tape as a facing will make it look a lot neater in the end.
Step 3
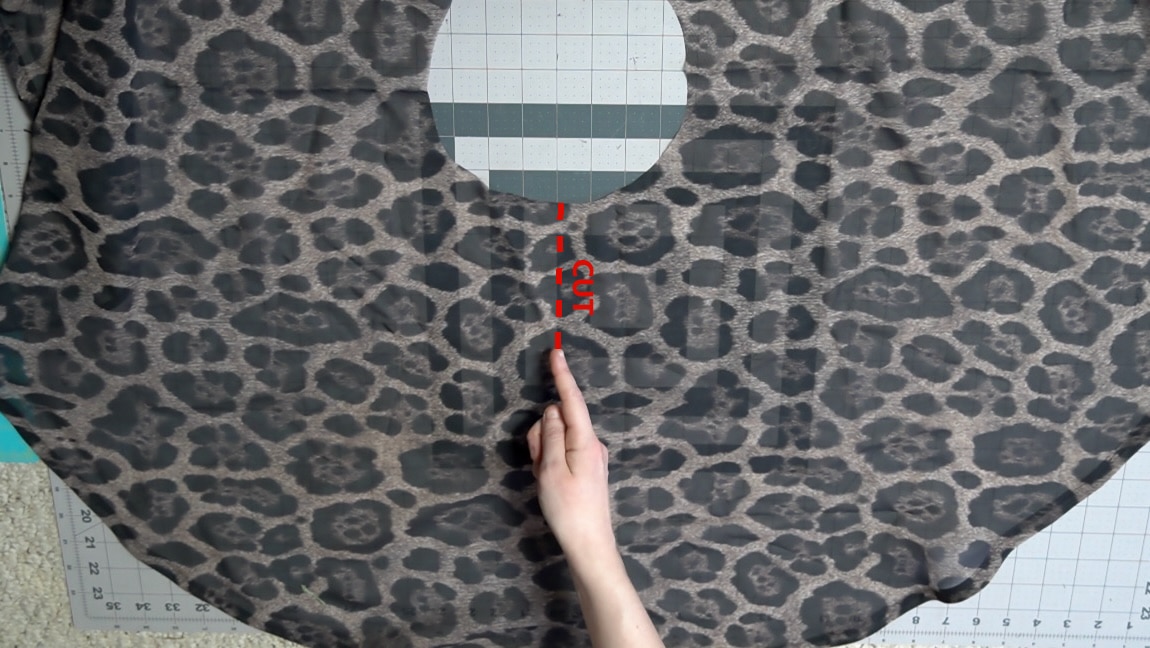
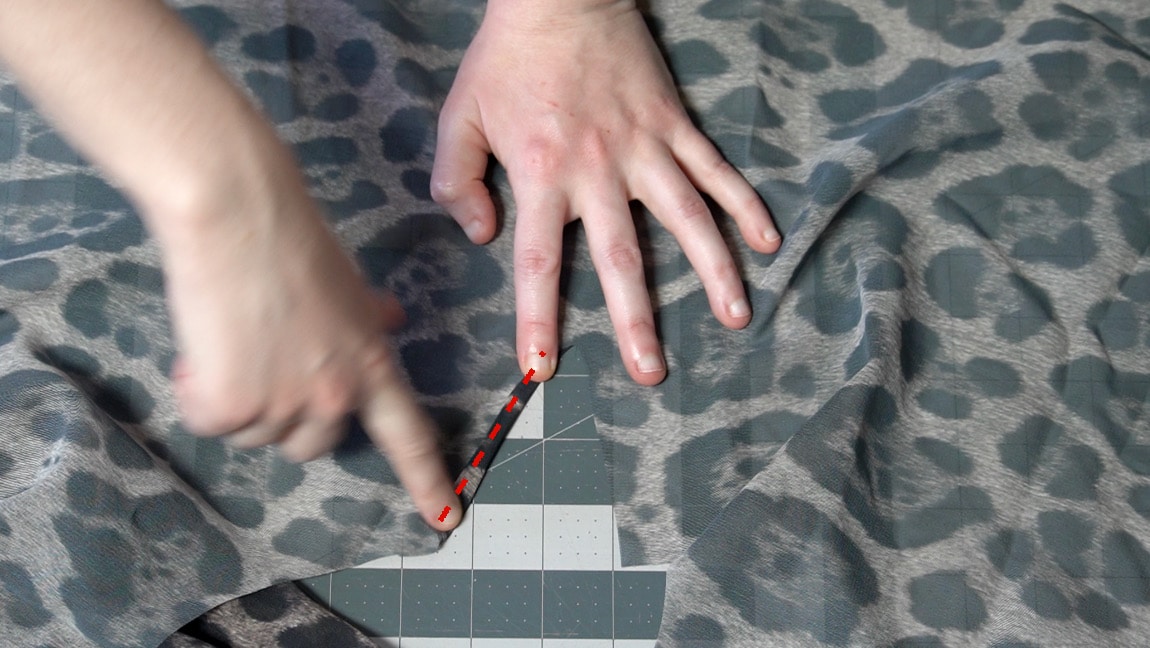
Cut a slit along the back center
This will be to make sure the shirt fits over your head. Usually a 4-5″ slit will work.
Step 4
hem the edges of the slit
Fold over the edges of the slit in a triangle hem. You can dab a bit of fray check at the point or add a bar tack to keep it from fraying.
Step 5
apply interfacing to the neckband
If your fabric is somewhat transparent, like mine, use a color interfacing that won’t look to bag. You can also use a piece of organza fabric and baste it to the neckband to act as interfacing.
Step 6
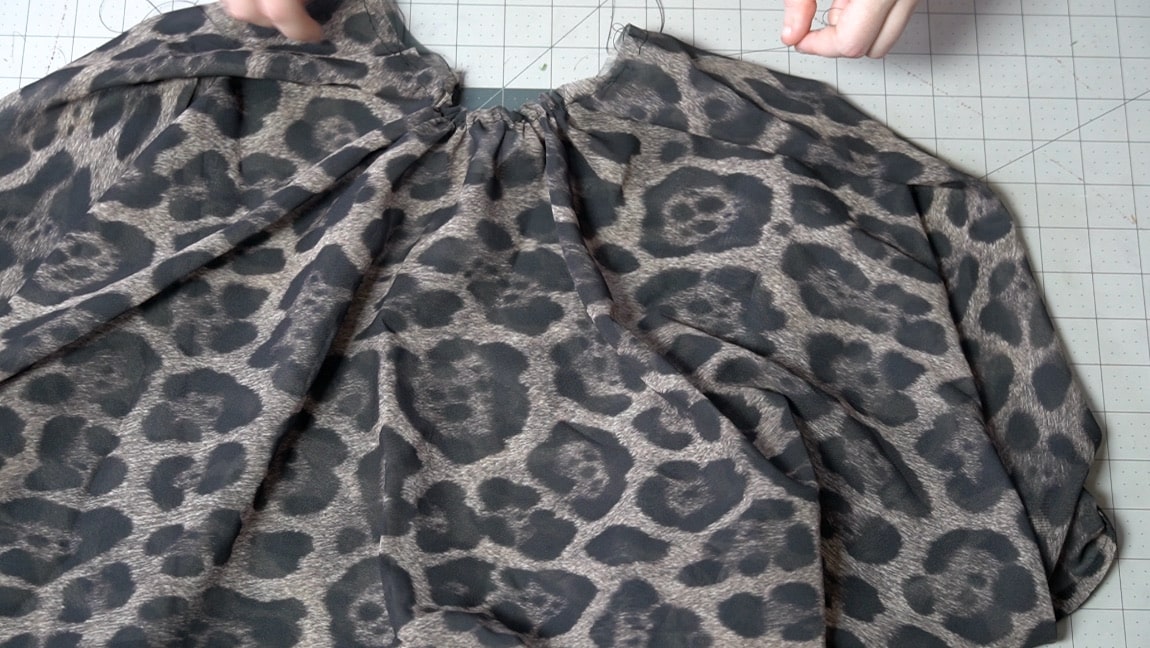
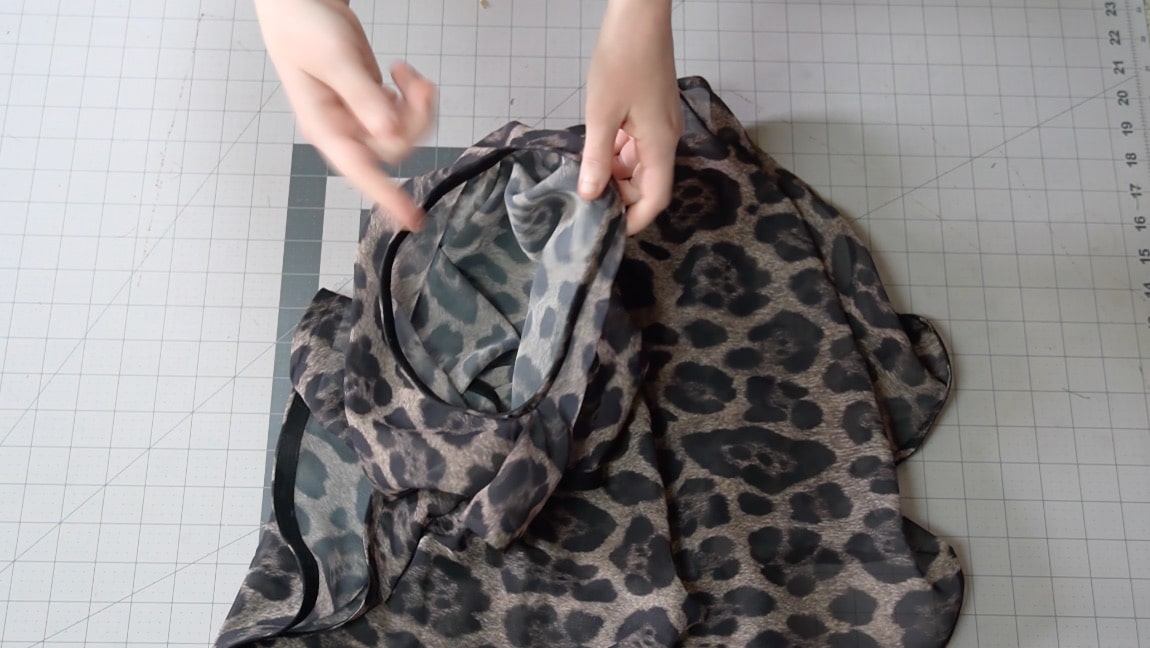
gather the neckline
Add long gathering stitches around the circumference of the neckline, then pull the thread to gather the fabric.
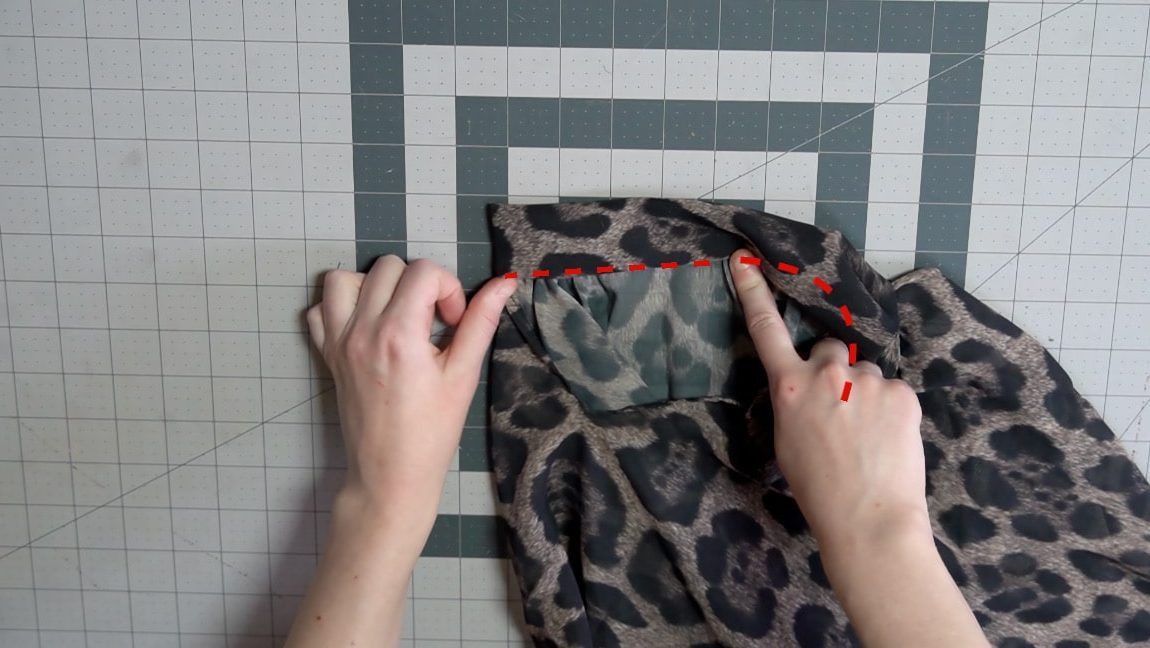
Step 7
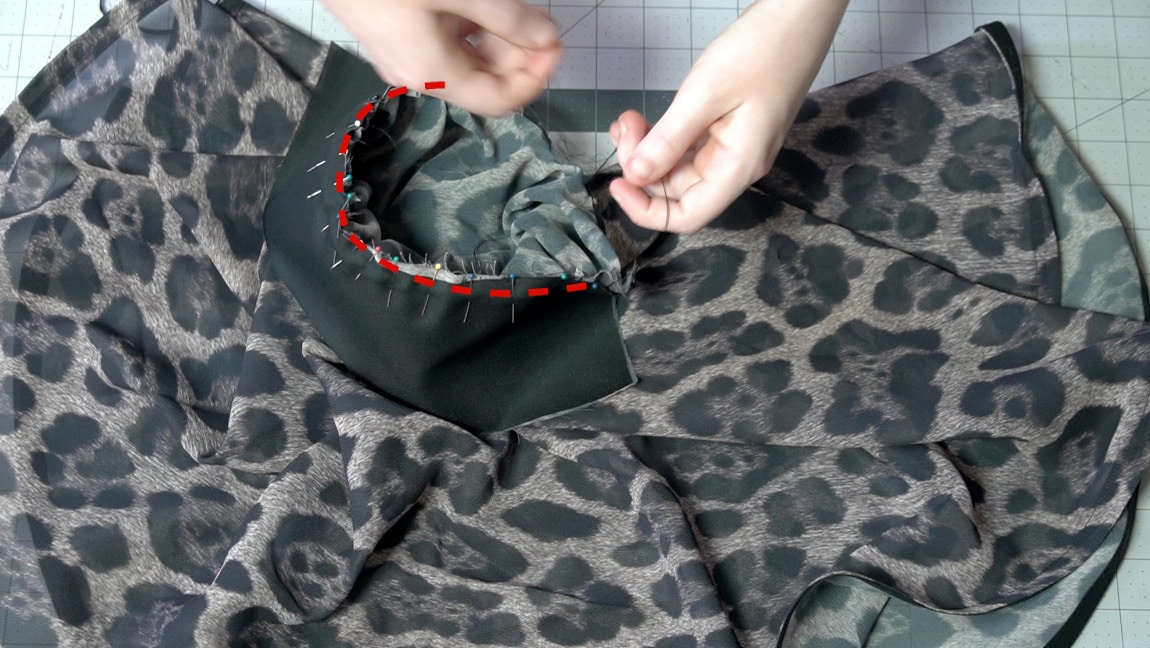
Sew the neckband around the neckline
With right sides together, sew the neckband around the gathered neckline.
Step 8
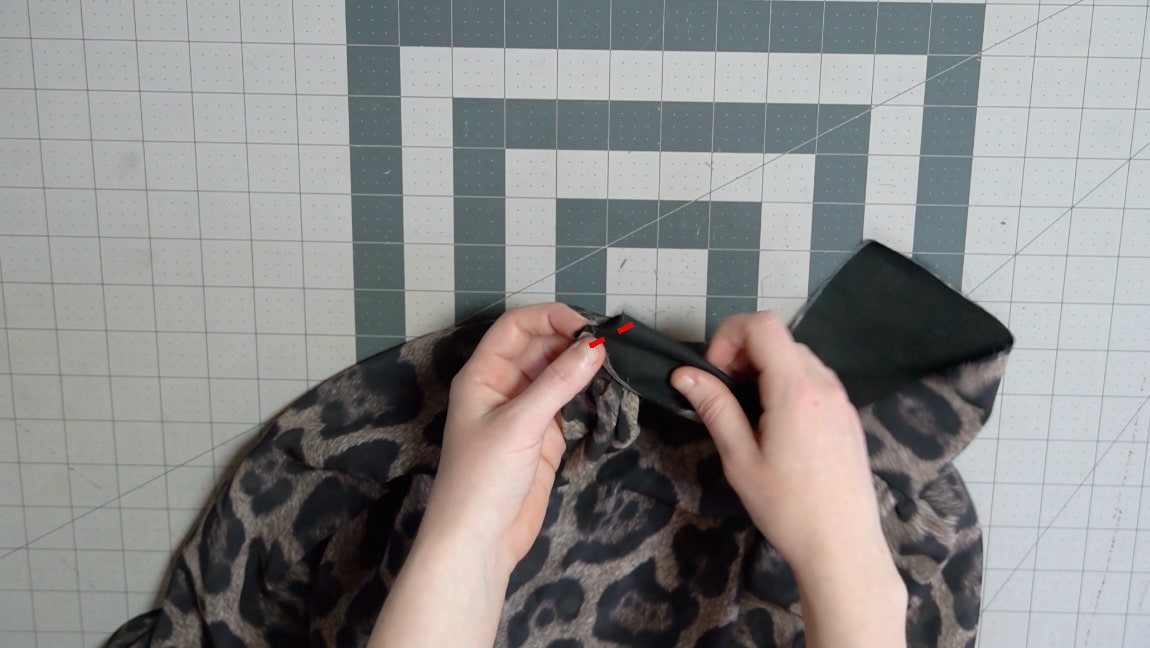
Poke a hole in the belt
Fold the neckband over with right sides together and sew along the short sides. The clip the corner and turn it to the right side.
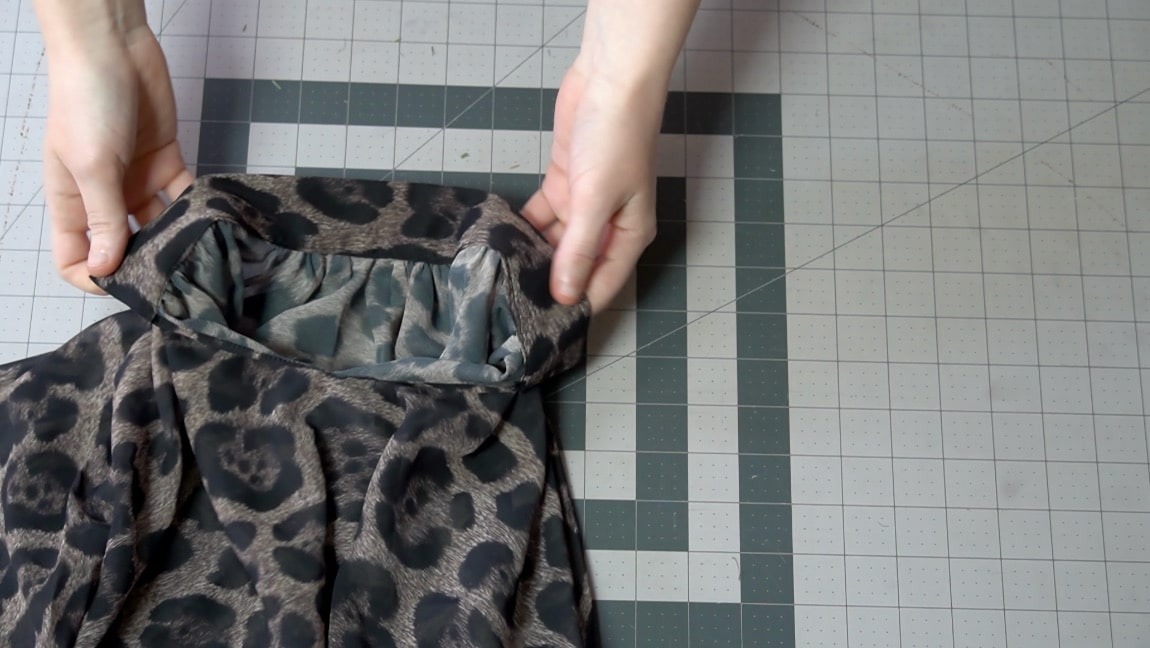
Step 9
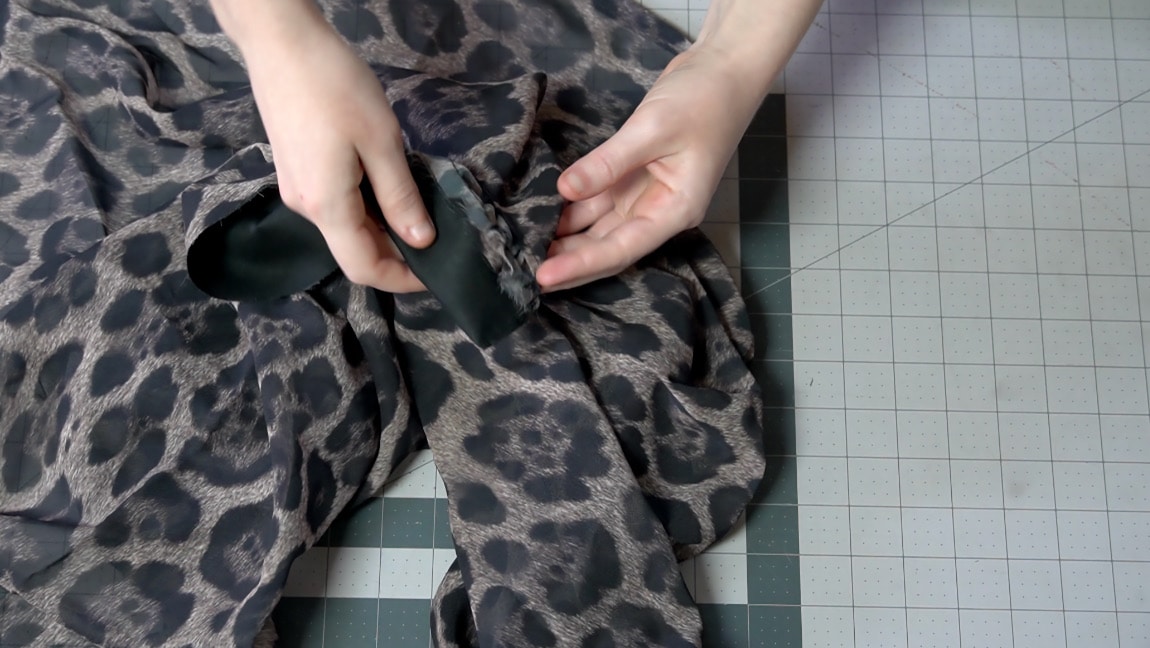
sew the neckband to the inside neckline
Fold over the neckband to encase the raw edges and ditch stitch or topstitch the neckband in place.
Step 10
cut the arm hole
Leave enough space for your shoulder, then cut the slit for your arm hole along the fold of the fabric.
Step 11
finish the edge of the armhole
finish the armhole with a hem or with bias tape.

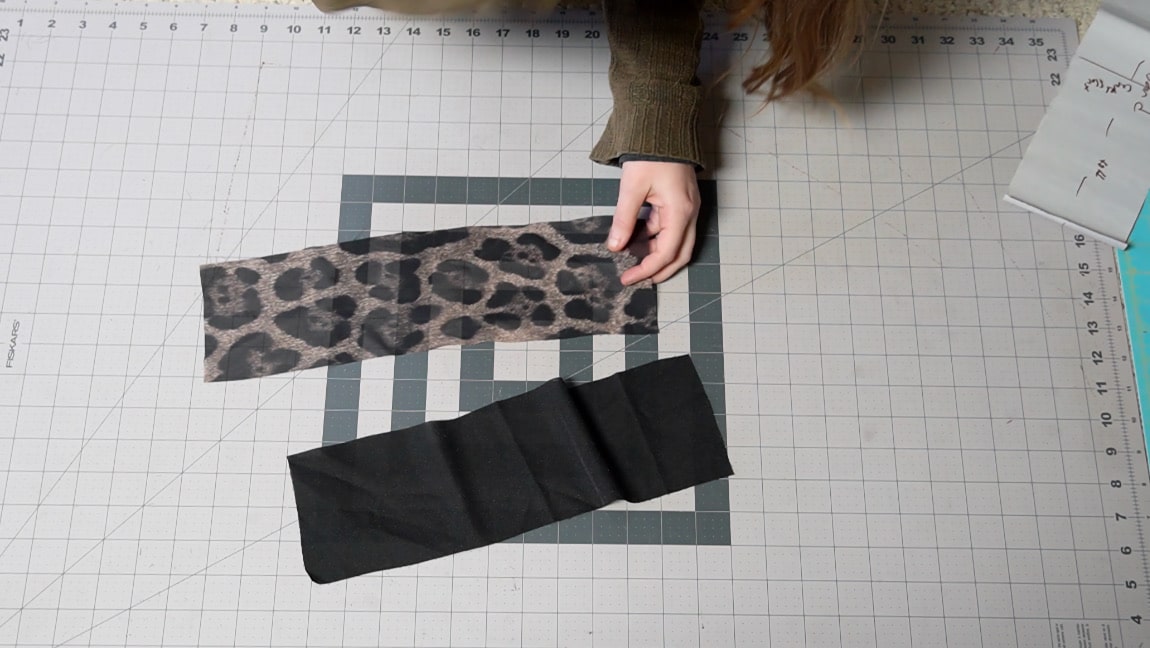
Step 12

sew the two waistband pieces together
with right sides together, sew the waistband along the short sides
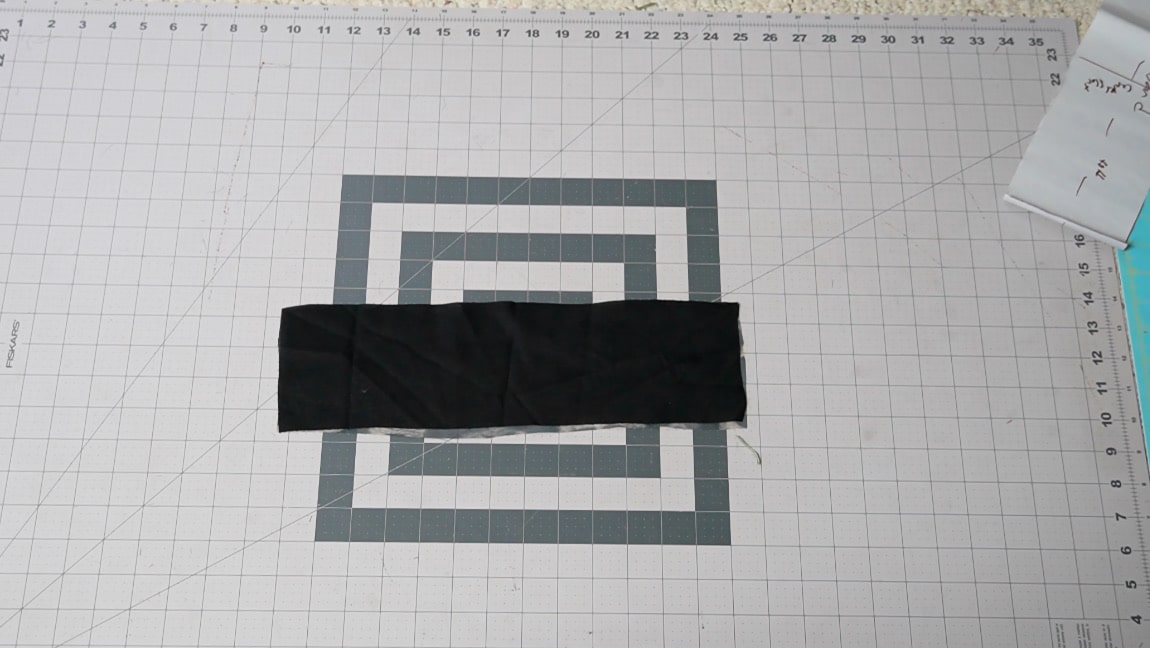
Step 13
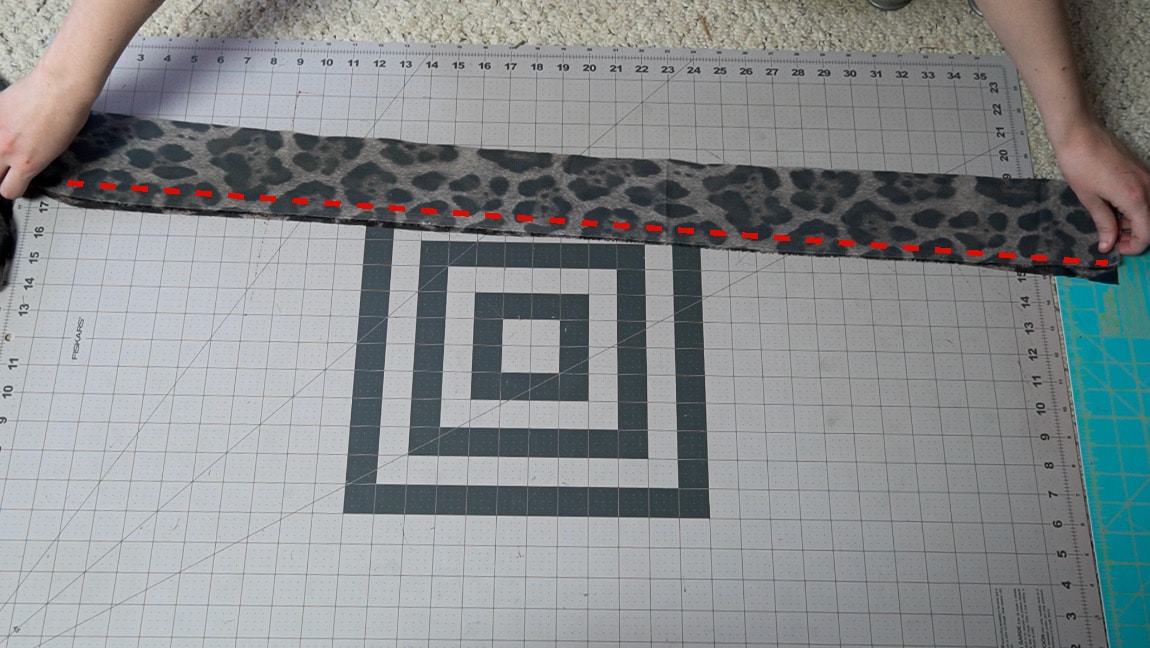
fold the belt and sew
Fold the belt in half lengthwise and sew with right sides together. Leave a gap in the middle to turn it to the right side.

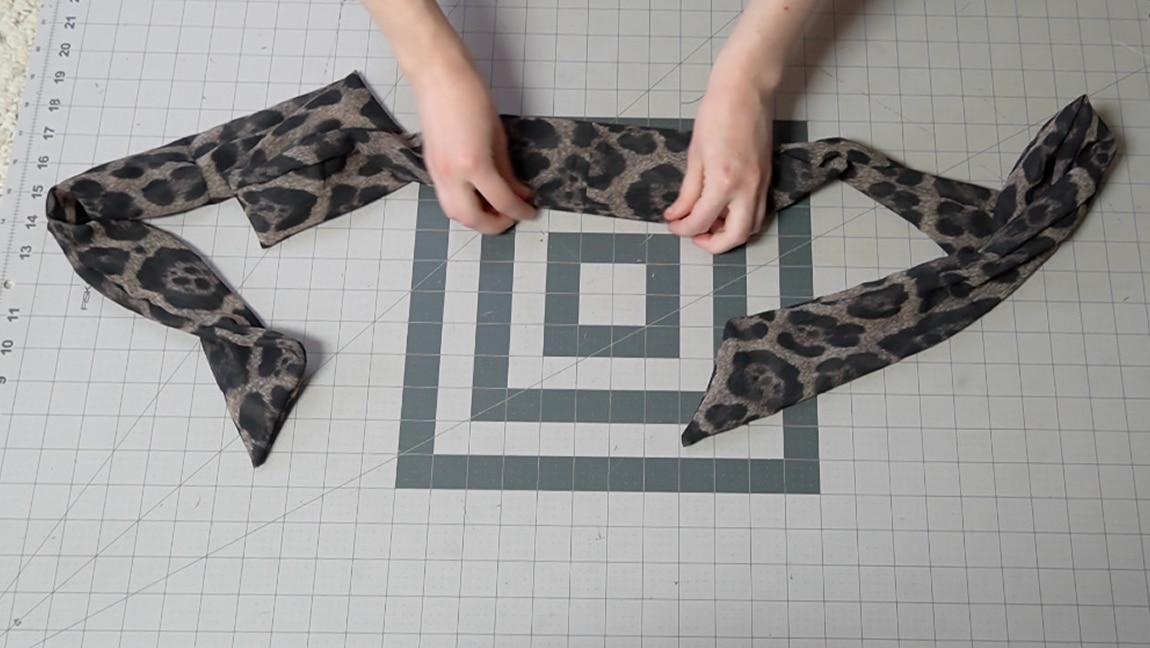
Step 14
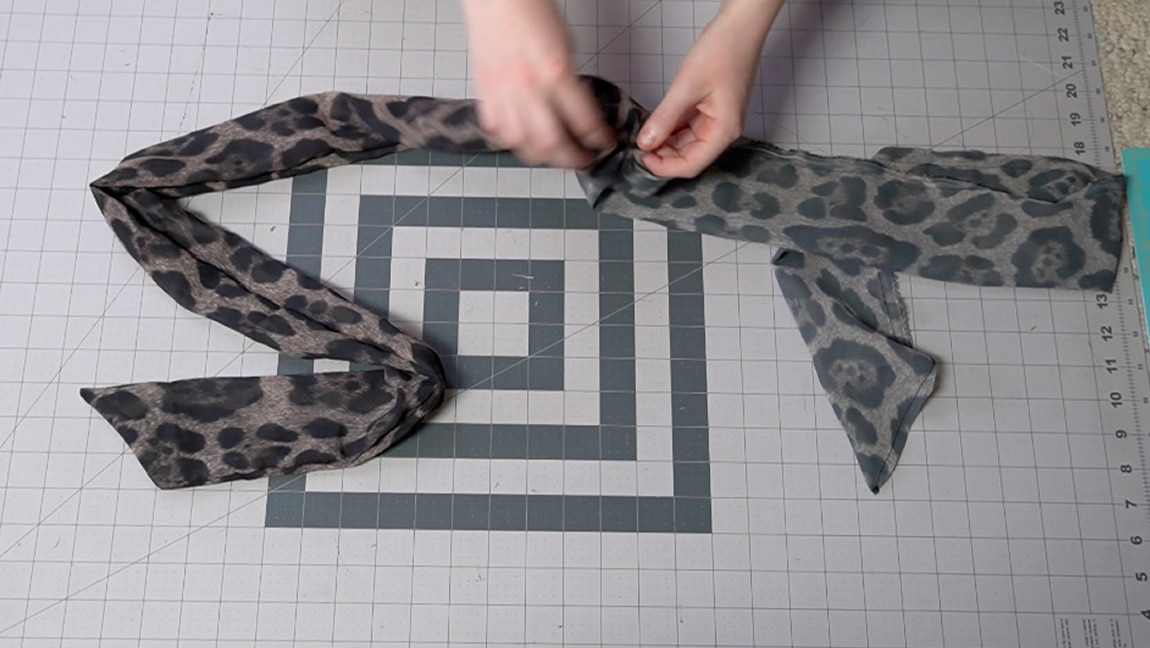
Turn the belt to the right side and sew up the gap
Press the belt flat for a neat finish.
Finished!