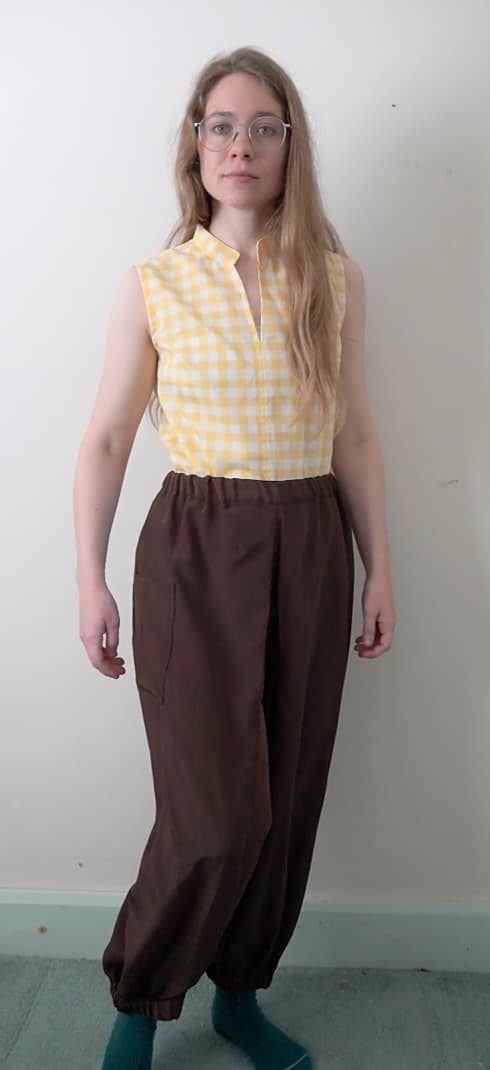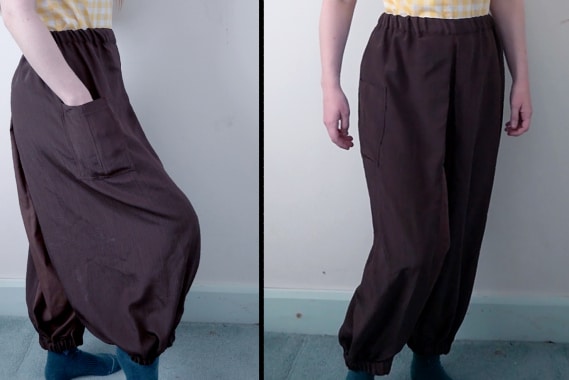
Tutorial: Lightweight Harem Pants with an Elastic Waist
Learn how to stitch together a unique pair of lightweight breezy pants using large rectangles of fabric. They’ll have an easy elastic waist and elastic cuffs. You can also add a pop of color or contrast fabric to the center of the pants, or just use the same fabric throughout. Follow along for the step-by-step instructions.
This page contains affiliate links. As an Amazon Associate, I earn a small commission from qualifying purchases. That being said, I encourage you to use your local sewing shop whenever possible, or to look for supplies second hand.
Supplies Needed:
how to make your pattern
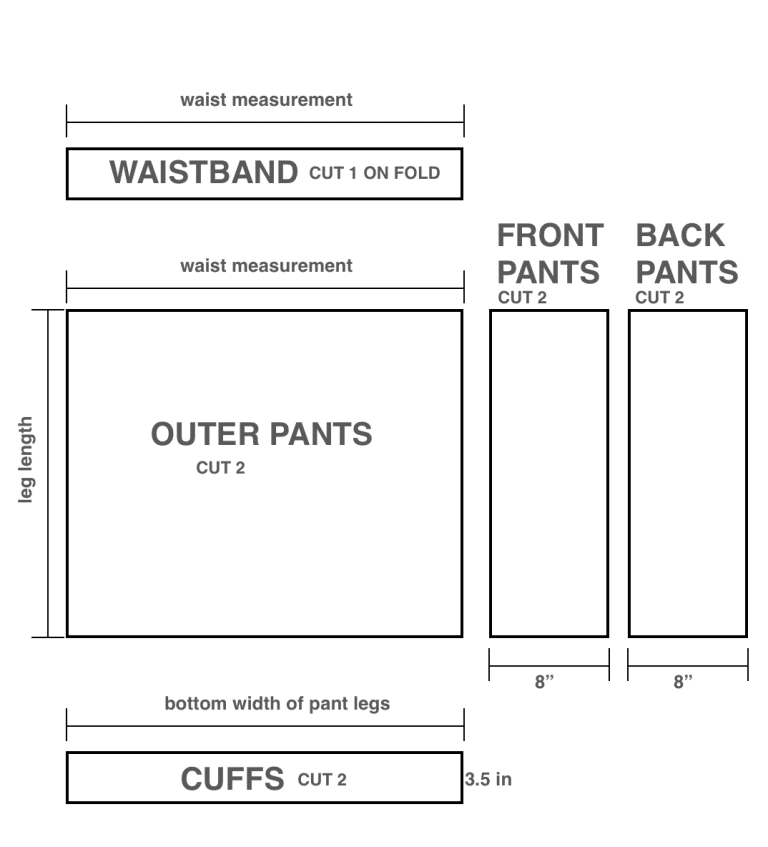
You will need to make 5 pattern pieces to follow this tutorial:
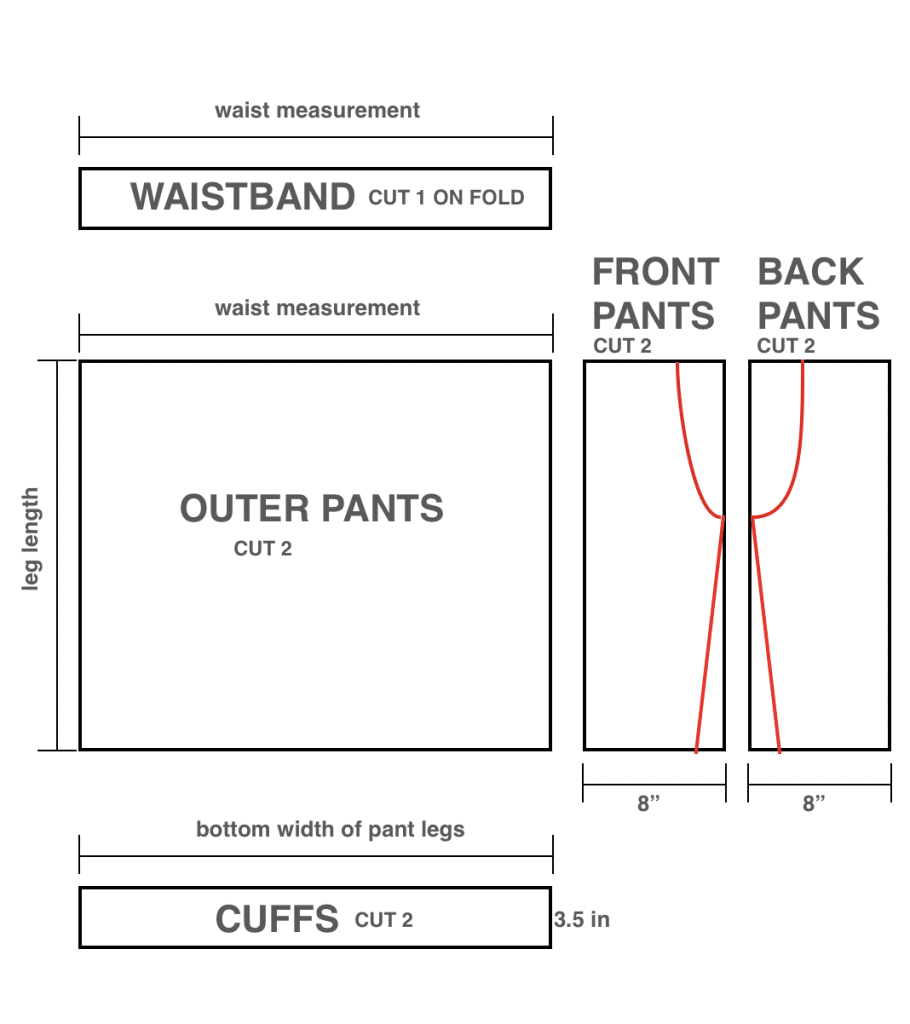
Before starting, draw and cut the crotch lines on the front and back pattern pieces (see below in red). To do this, use any loose-fitted pants sewing pattern and copy just the center seam of the front and back pieces.
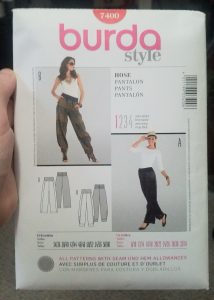
If you don’t have any sewing patterns, you can also use a pair of loose pants and copying the center seam as best you can (don’t forget about seam allowance). Since these are loose and flowy pants, it’s okay if the seam isn’t completely perfect. As long as it will fit around your bottom, your pants will turn out okay.
Step 1

Sew the front pants to the outer pants
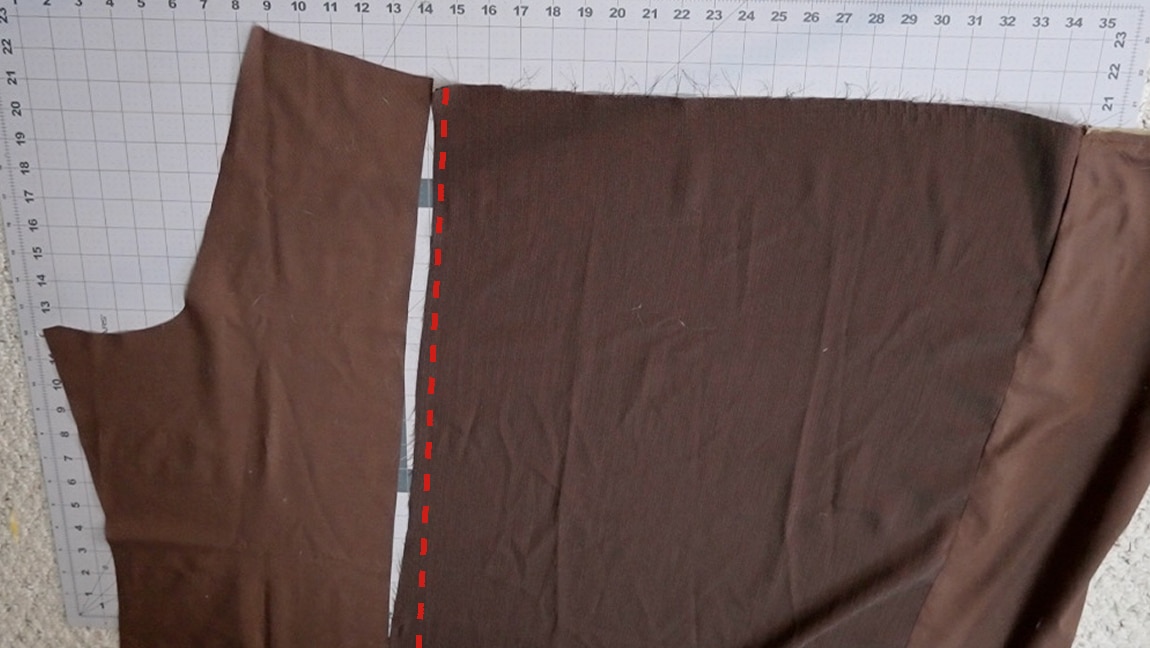
With right sides together, sew the Inner Pants Front to the Outer Pants along the length.
Step 2
sew the back pants to the outer pants
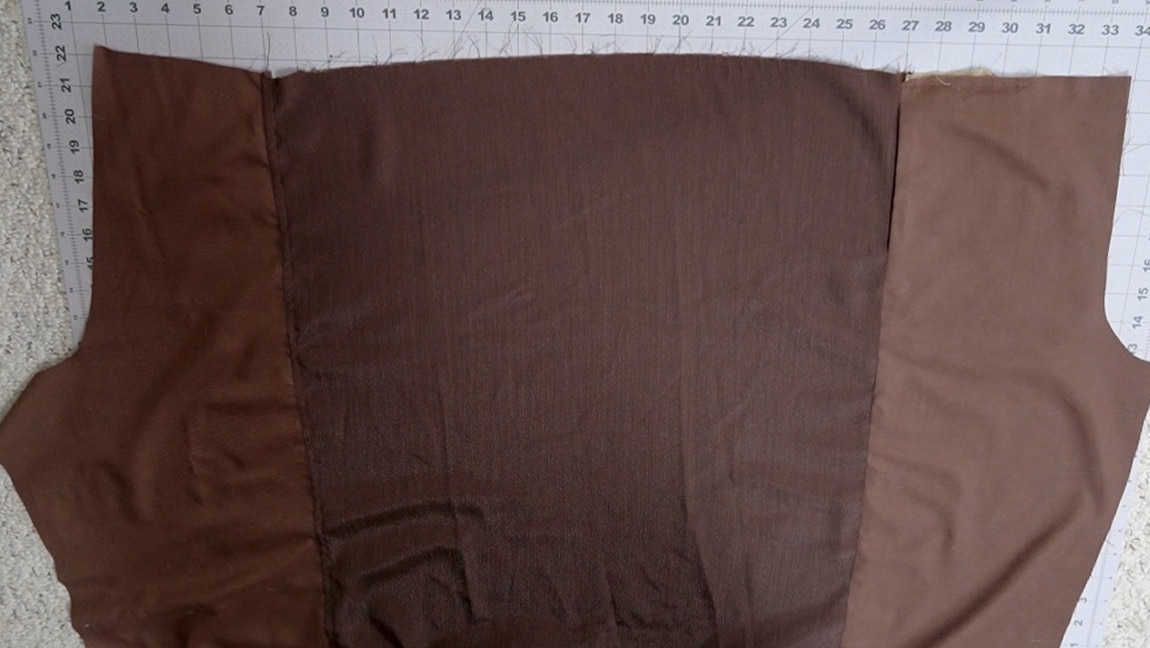
With right sides together, sew the Inner Pants back to the other side of the Outer Pants.
Step 3
sew the inseam of the front and back pants
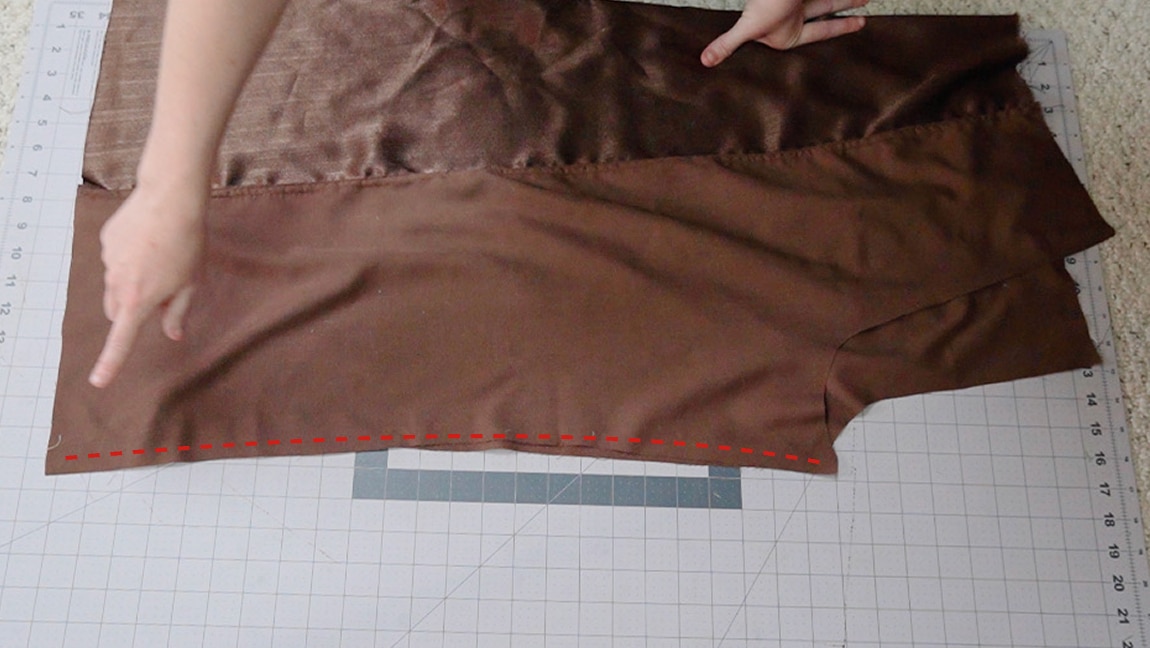
Fold the pants leg in half with right sides together, lining up the inseam. Then sew the Front and Back of the pants together. Repeat steps 1-3 with the second pant leg.
Step 4
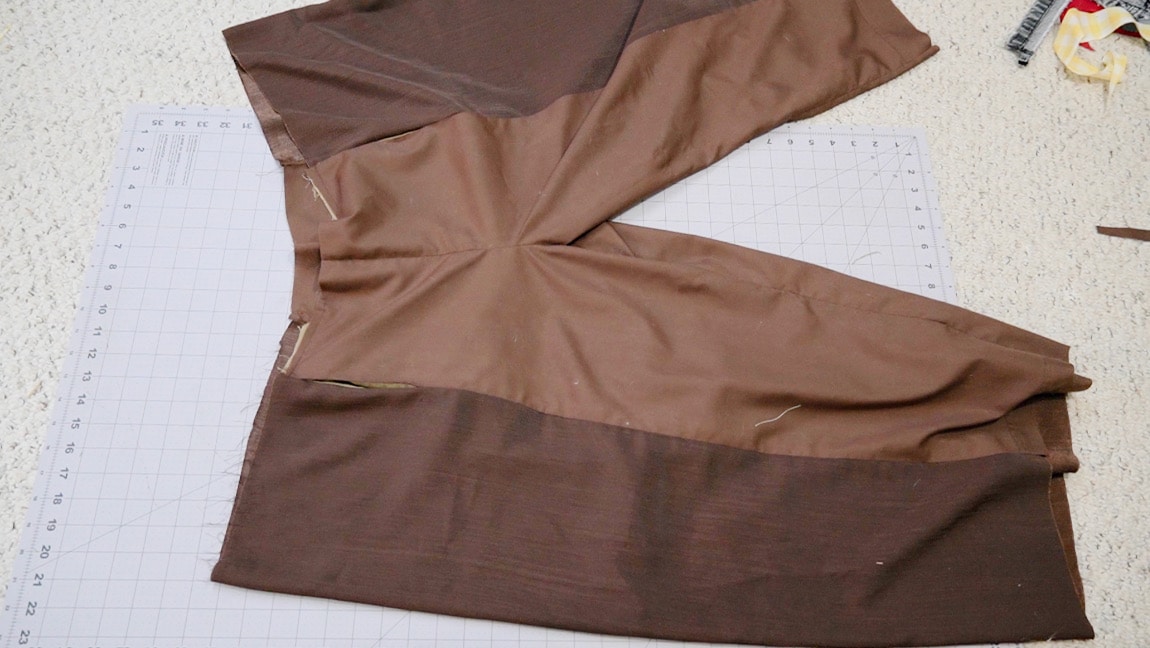
sew the pants together along the center seam
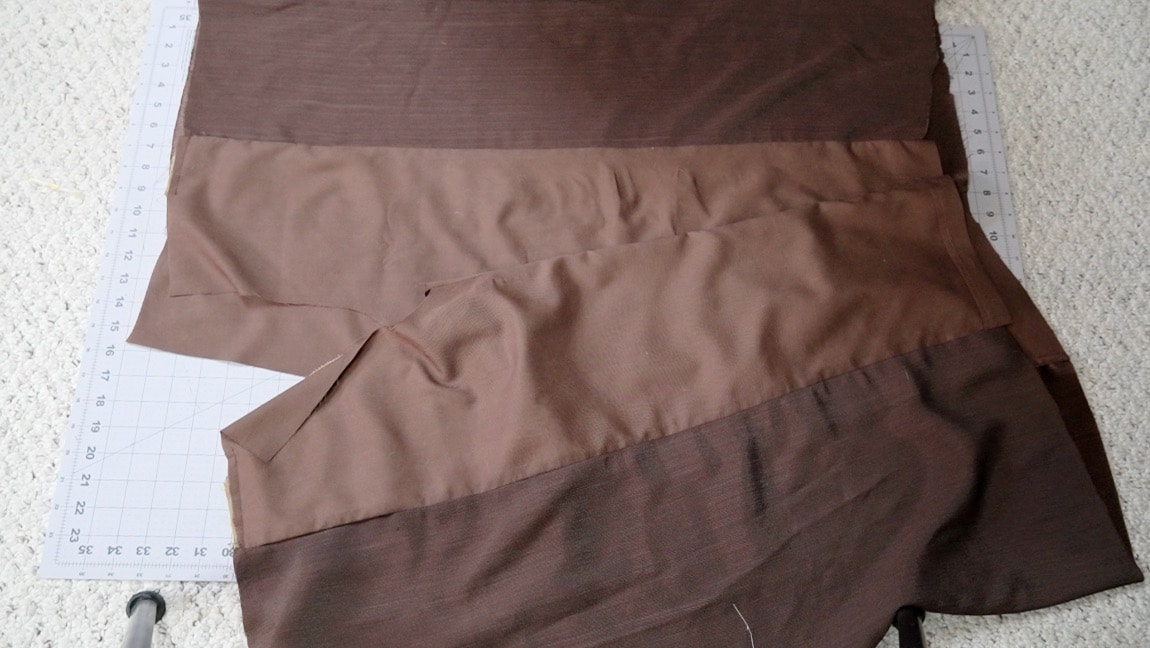
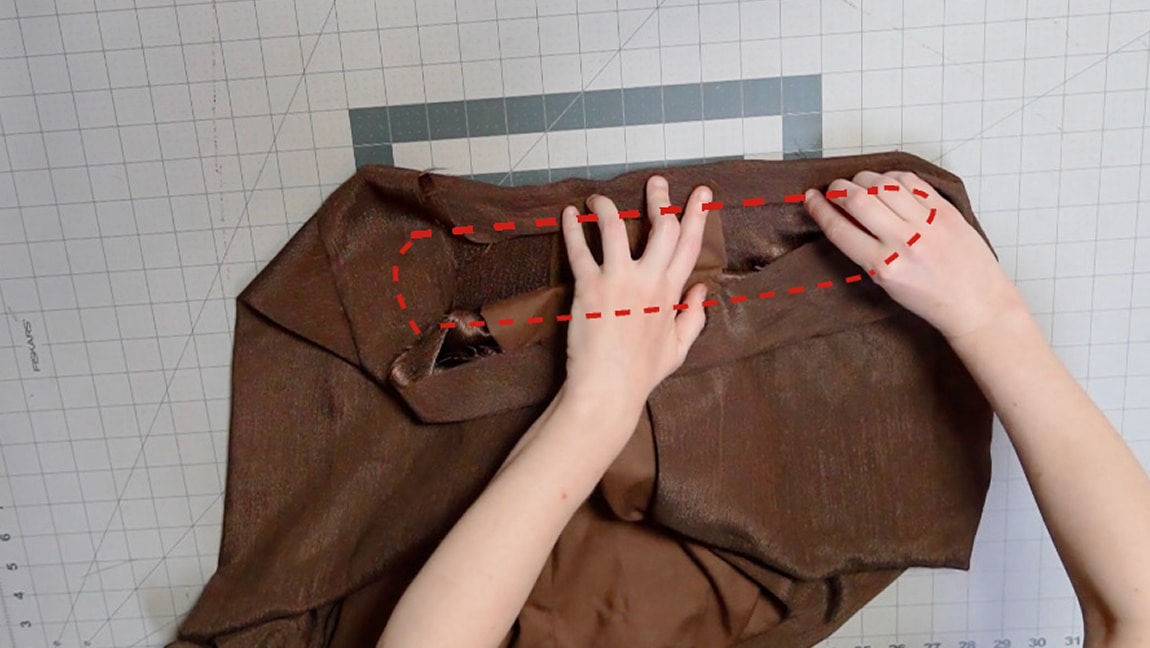
With right sides together, put one pant leg inside of the other and line up the crotch seam. Then sew the pants together along that center seam.
Step 5
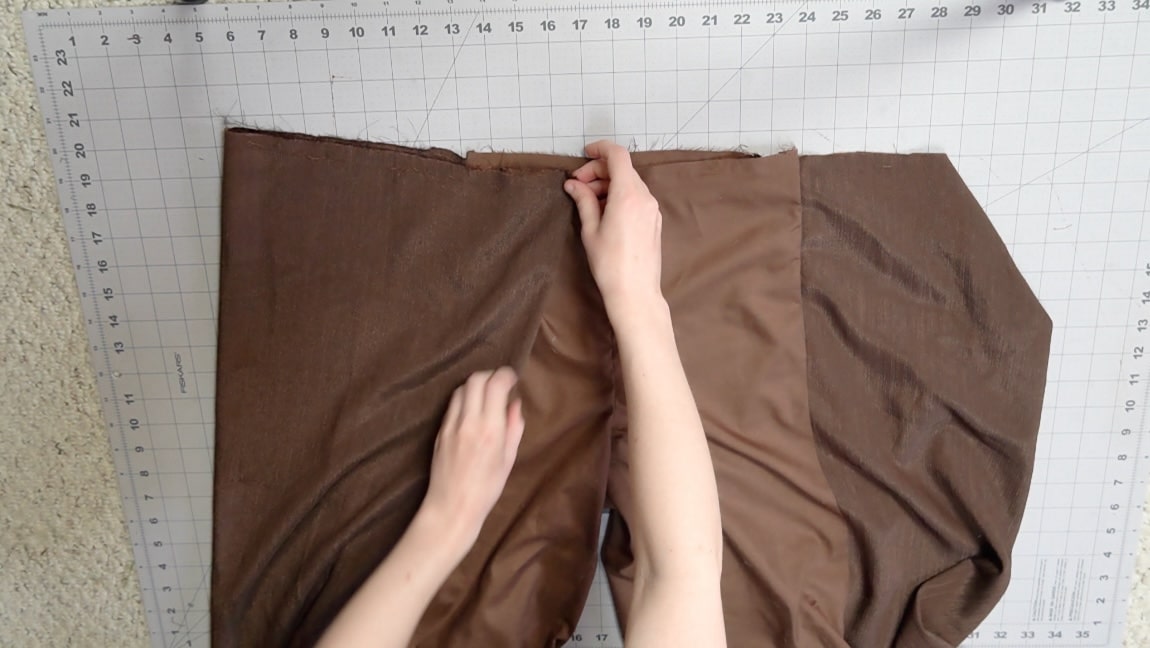
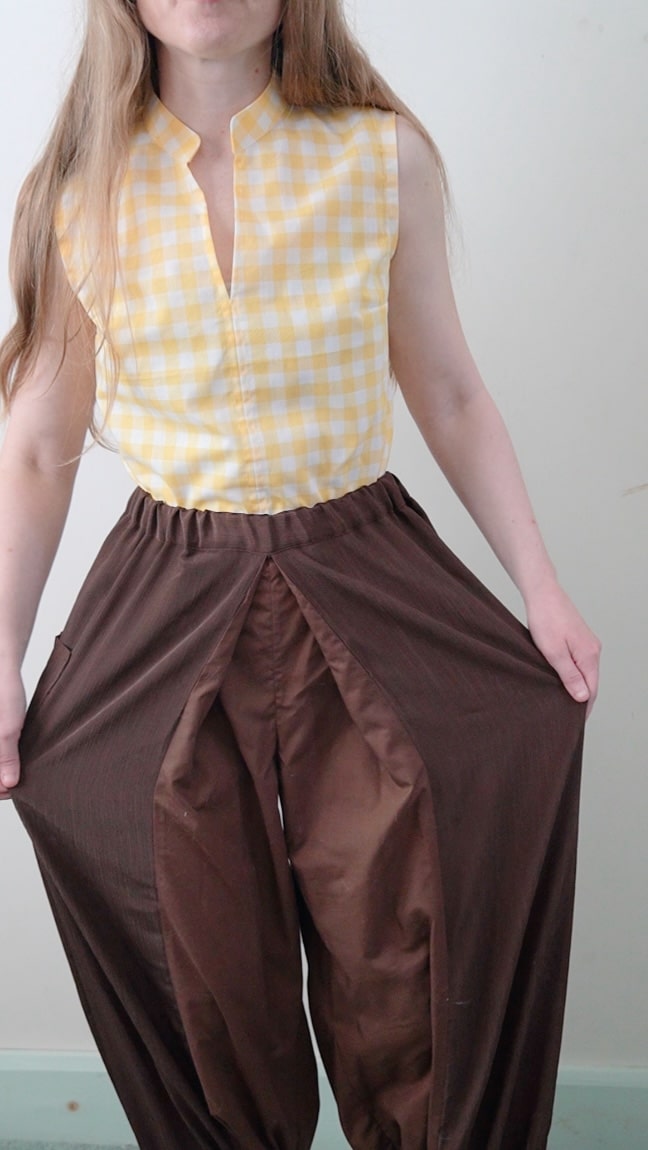
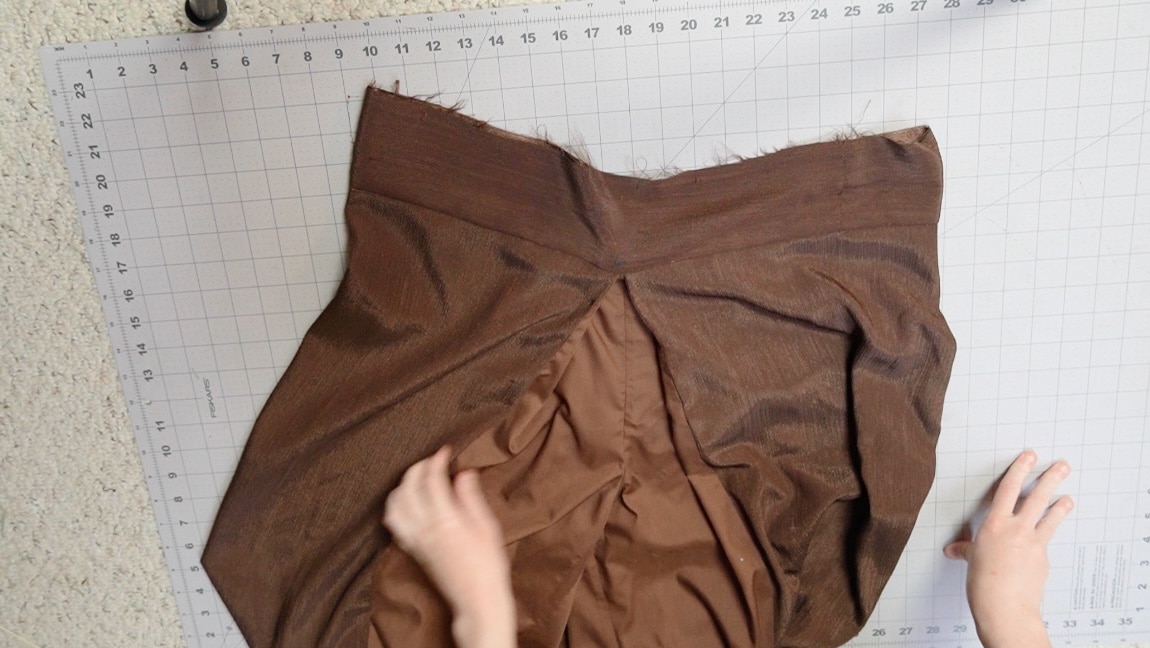
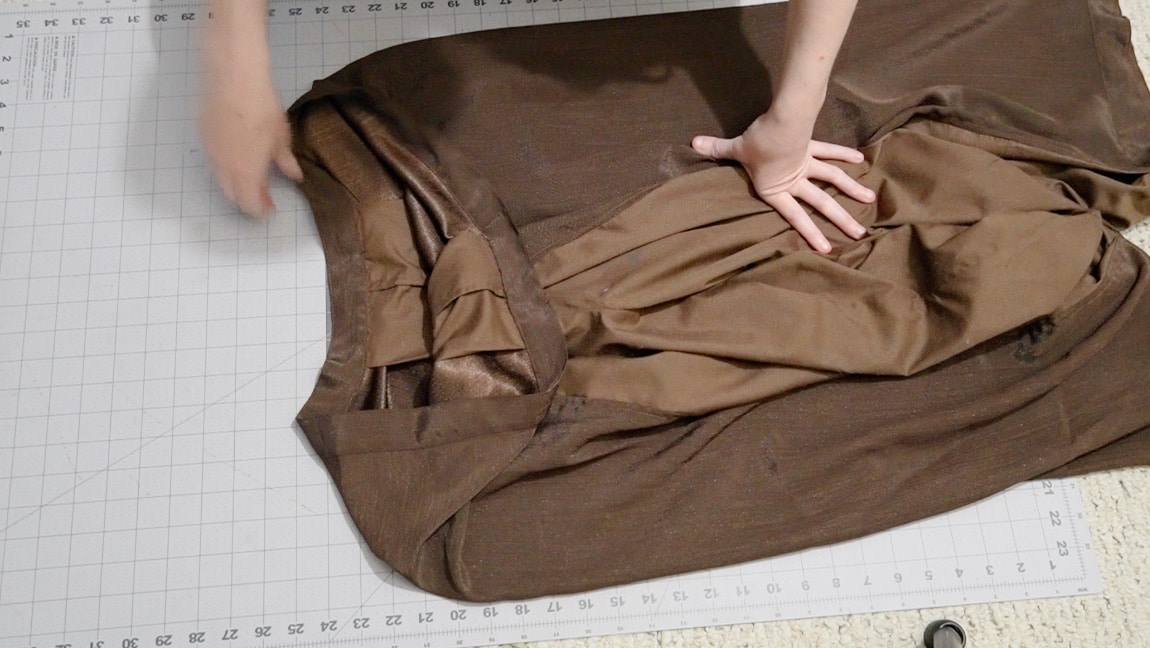
Pleat the top of the pants
Pleat the top of the pant legs so the Outer Pants meet at the center seam. Press this pleat and baste along the top of the pants to hold the pleat in place. Repeat this step for the back of the pants.

Step 6
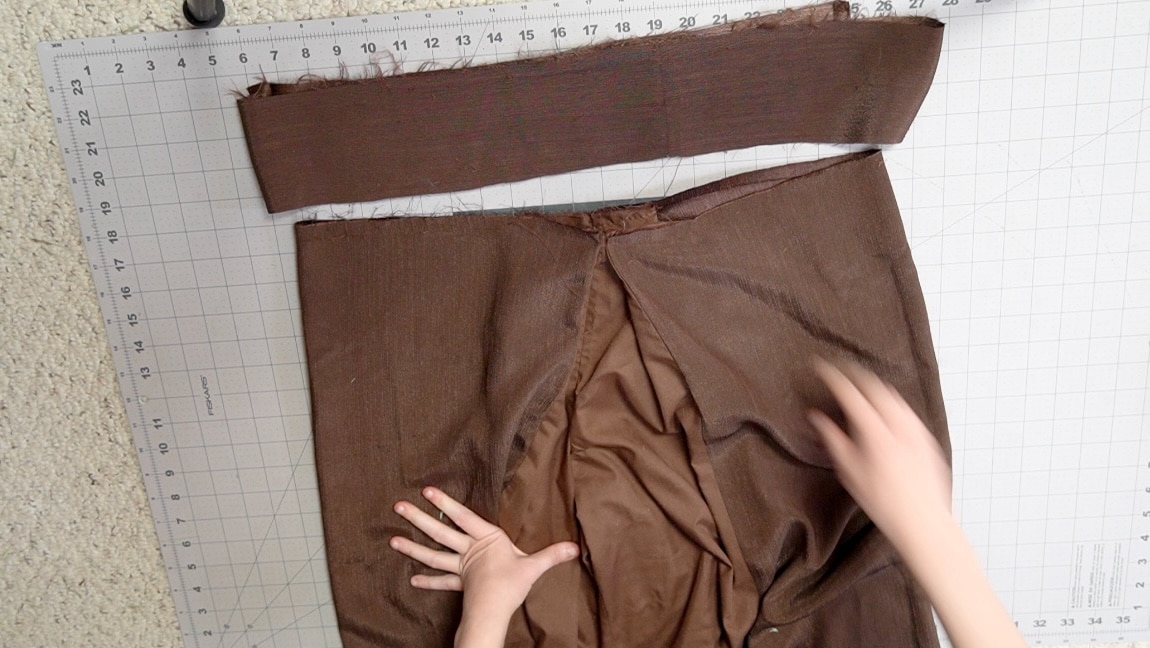
sew the waistband to the top of the pants
With right sides together, sew the Waistband along the short sides so that it forms a loop. Then sew the Waistband to the top of the pants.
Step 7
fold the waistband and sew a casing
Fold the waistband in half toward the inside of the pants, and sew it along the bottom edge to create a channel for the elastic. Leave a small gap in the stitches for inserting the elastic.
Step 8
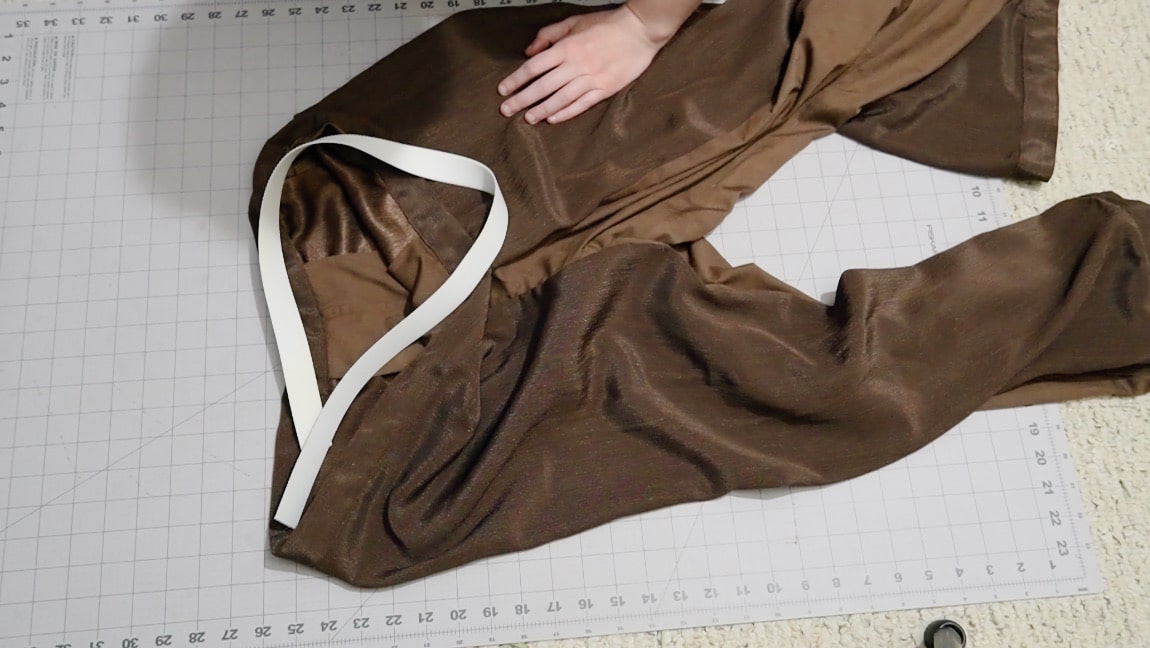
insert elastic into the casing
Cut a piece of 1″ elastic that is the length of your waist. Use a safety pin to add the elastic through the waistband casing. Try on the pants, and pull the elastic until the waistband feels comfortable around your waist. Then sew trim the elastic, sew it into a loop, and sew up the gap in the waistband.
Step 9
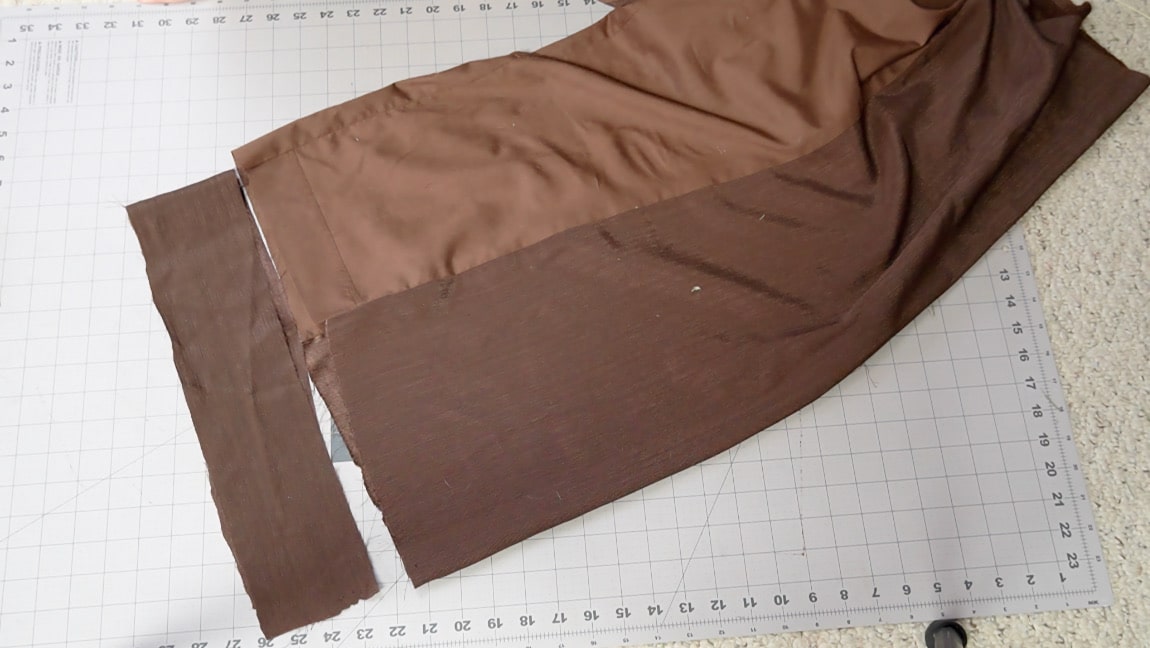
cut your cuffs and sew to the bottom of your pants
Measure the distance around the bottom of your pant legs, and cut your cuffs to the correct length (don’t forget about seam allowance). Just like the waistband, sew the cuffs into a loop and then sew them to the bottom of each pant leg.
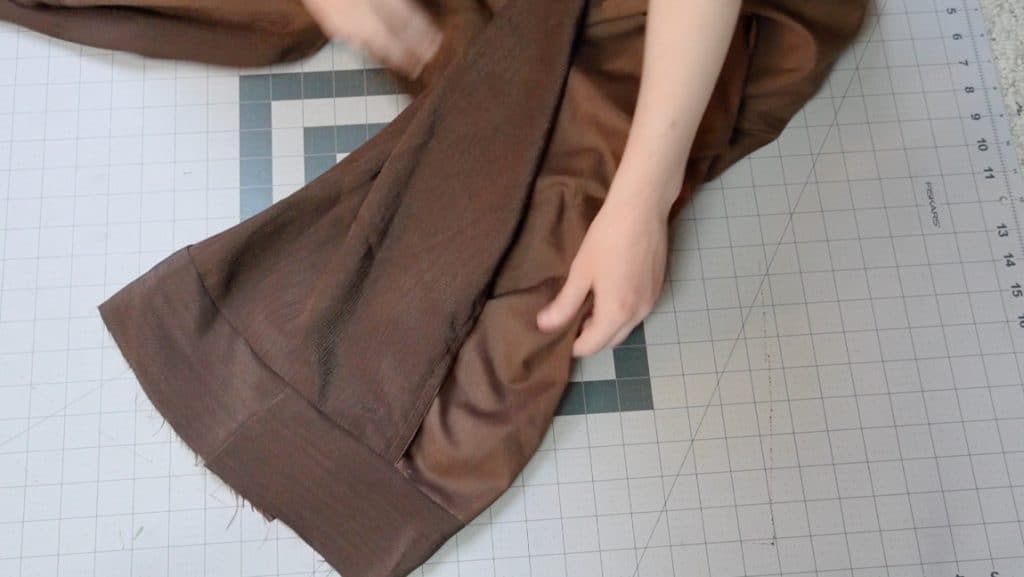
Step 10
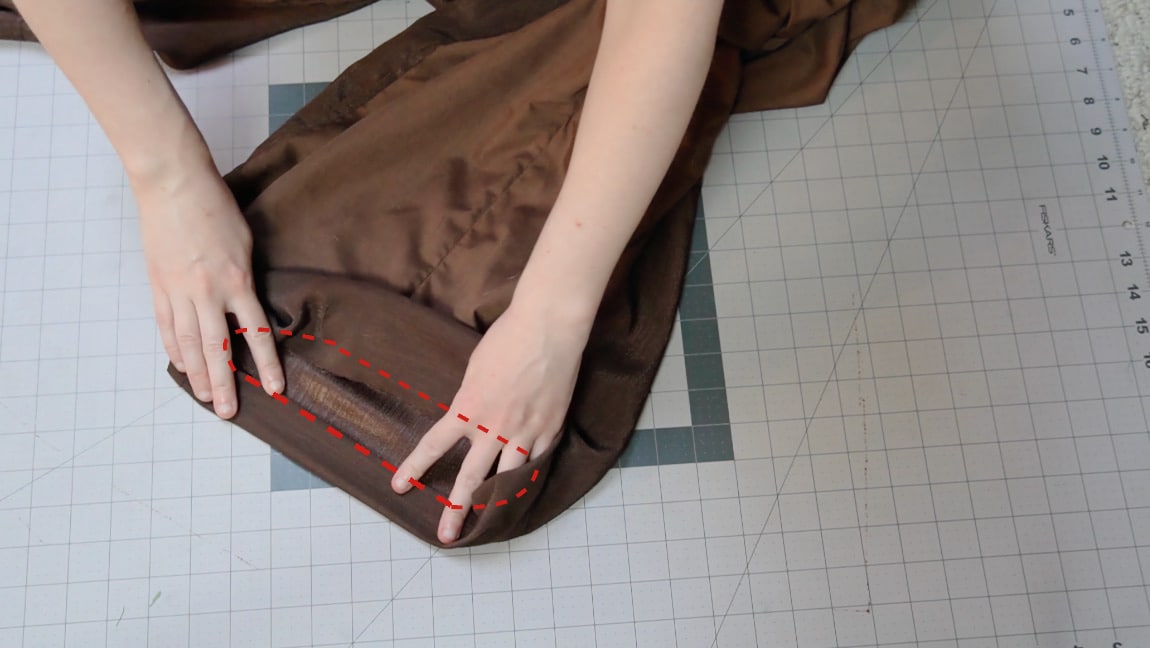
fold the cuffs and sew to form a casing
Fold the cuffs in half to the inside and sew them closed to create a channel for the elastic.

Step 11
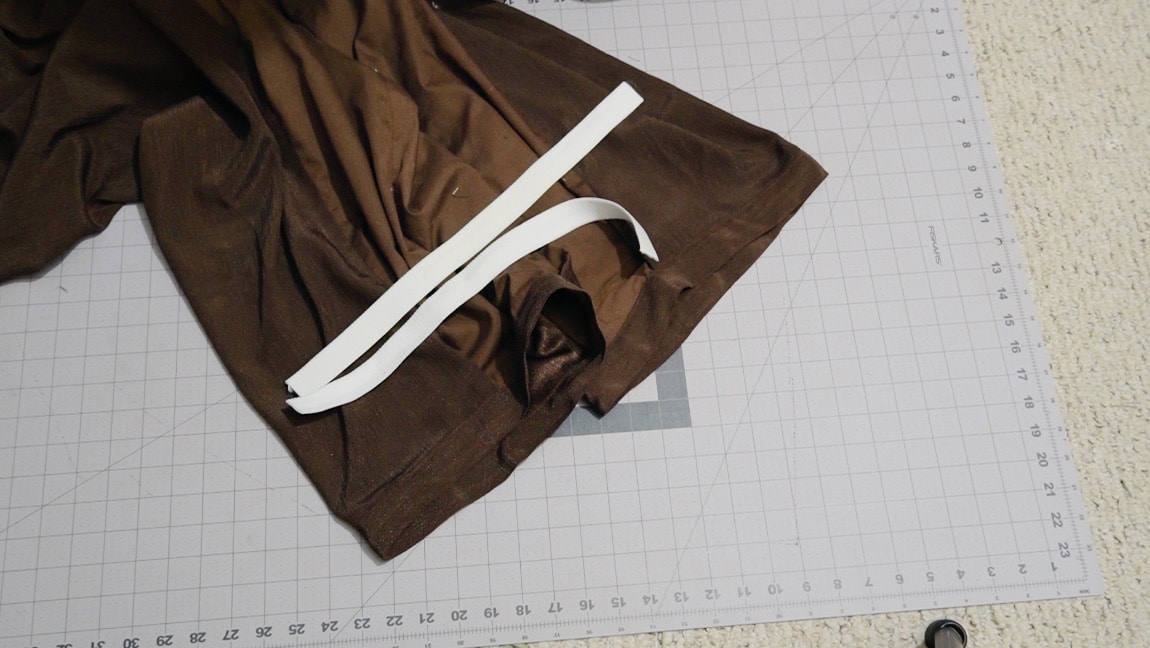
insert elastic into the casing
Cut two pieces of elastic that are about 12″ in length and insert them into the cuff casing. Pull the elastic until you are comfortable with how tight your cuffs are. Then sew the elastic into a loop and sew up the gap in the cuffs.
Step 16
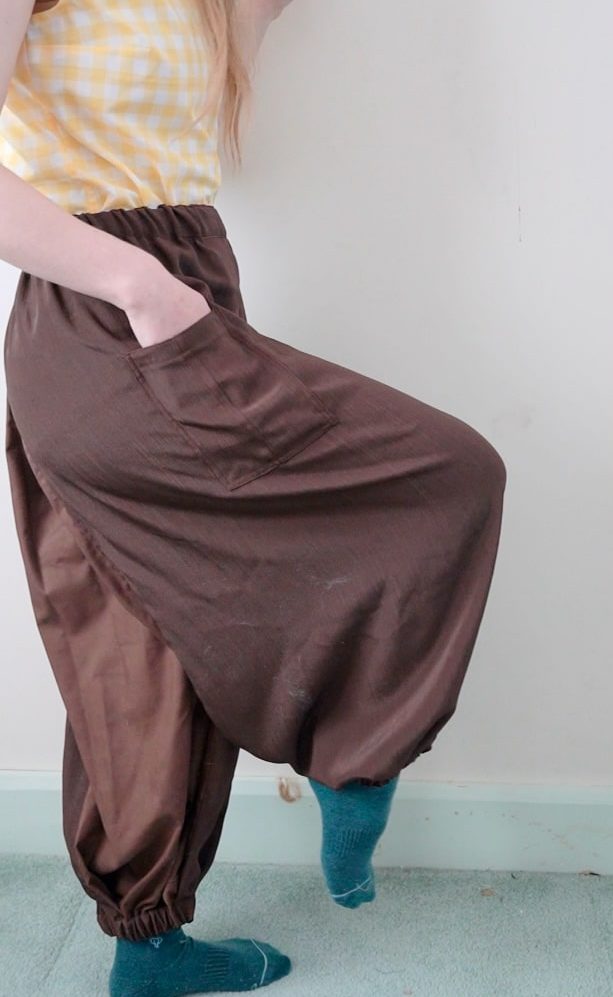
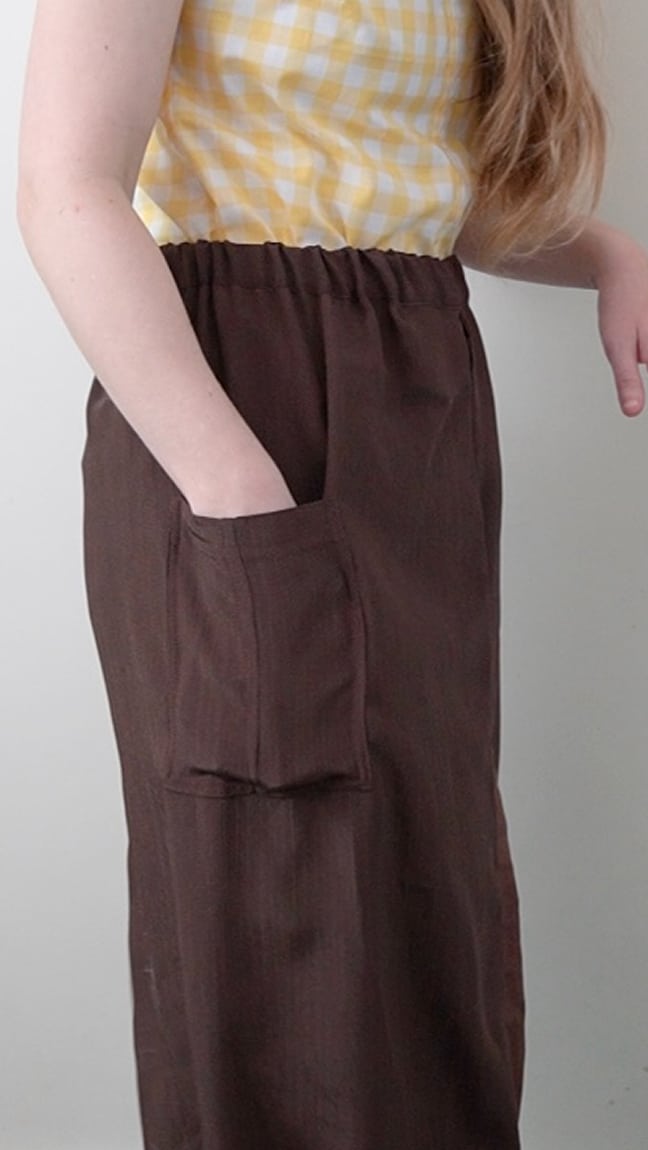
Optional: add a pocket
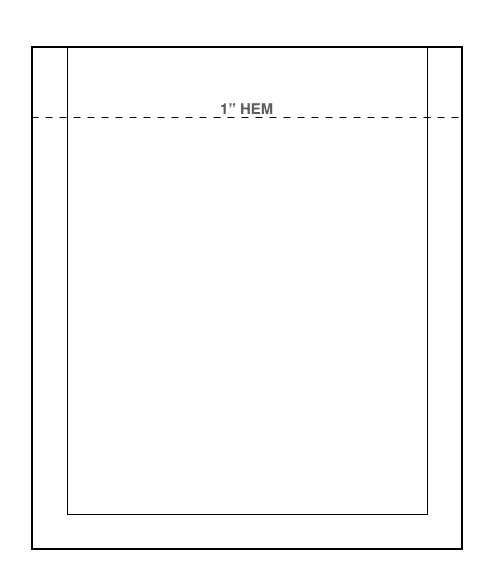
If you want, you can add patch pockets to the sides of your pants. I had a little fabric left over and add a pocket to one side as an afterthought.
You just need to cut a rectangle of fabric, hem the top of it and fold over the sides. Then topstitch the pocket to the side of your pants (I usually sew patch pockets about 4″ down from the waistband). I made a quick pocket pattern you can print out using the button below (it will fit a standard size phone), or you can make your own.
Finished!