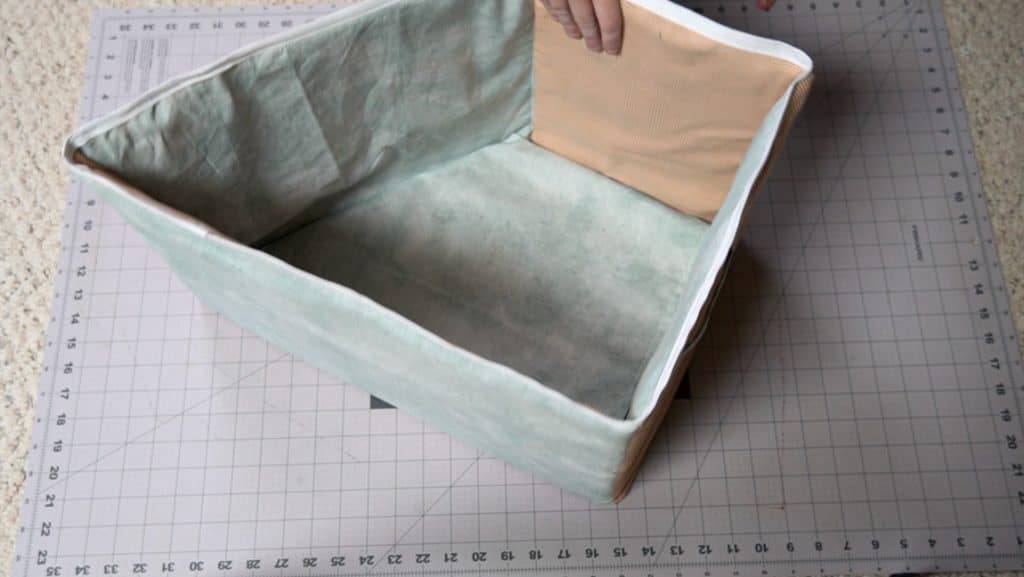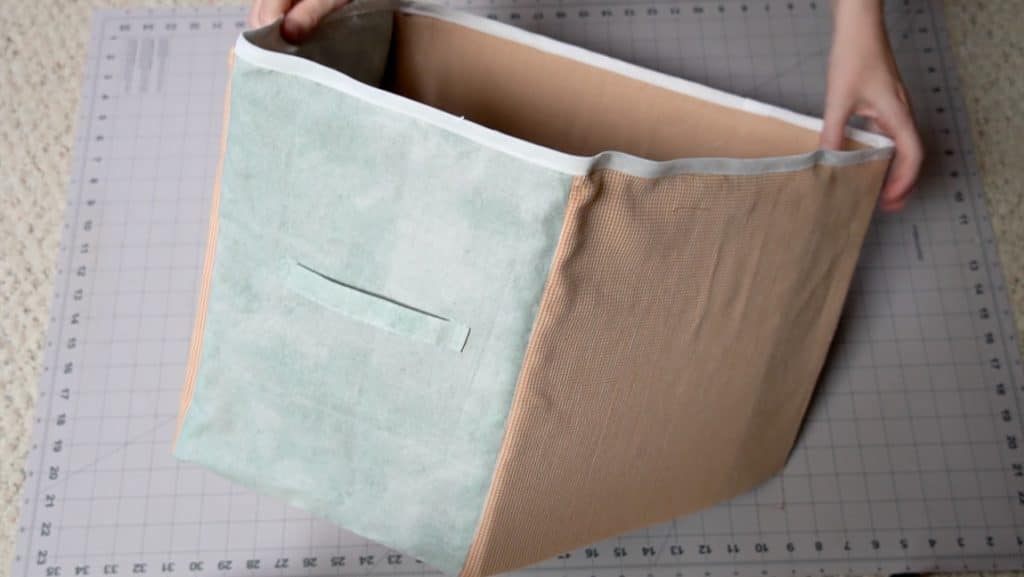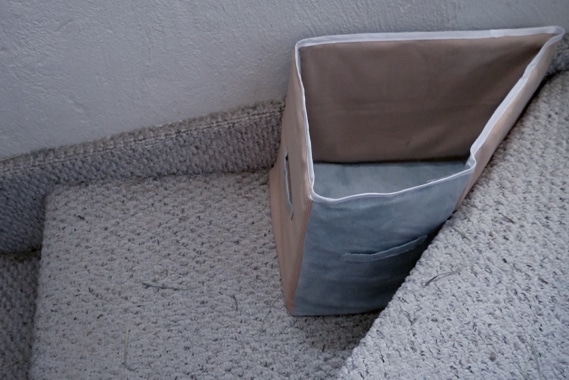
Tutorial: Storage Cube That Fits on Spiral Stairs
I live in an attic, and the main staircase leading up to my attic-studio is a spiral staircase with some awkward triangle steps. I can’t easily put standard storage cubes on these steps without losing a lot of space in the corners of the triangles. So I decided to make a storage ‘cube’ that will actually fit.
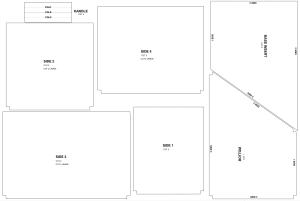
If you’re like me, and need a spiral staircase storage solution, this tutorial is for you. Print out the pattern below and follow along with the step-by-step instructions.
This page contains affiliate links. As an Amazon Associate, I earn a small commission from qualifying purchases. That being said, I encourage you to use your local sewing shop whenever possible, or to look for supplies second hand.
Supplies Needed:
(all of my patterns include 1/2″ seam allowance)
Step 1
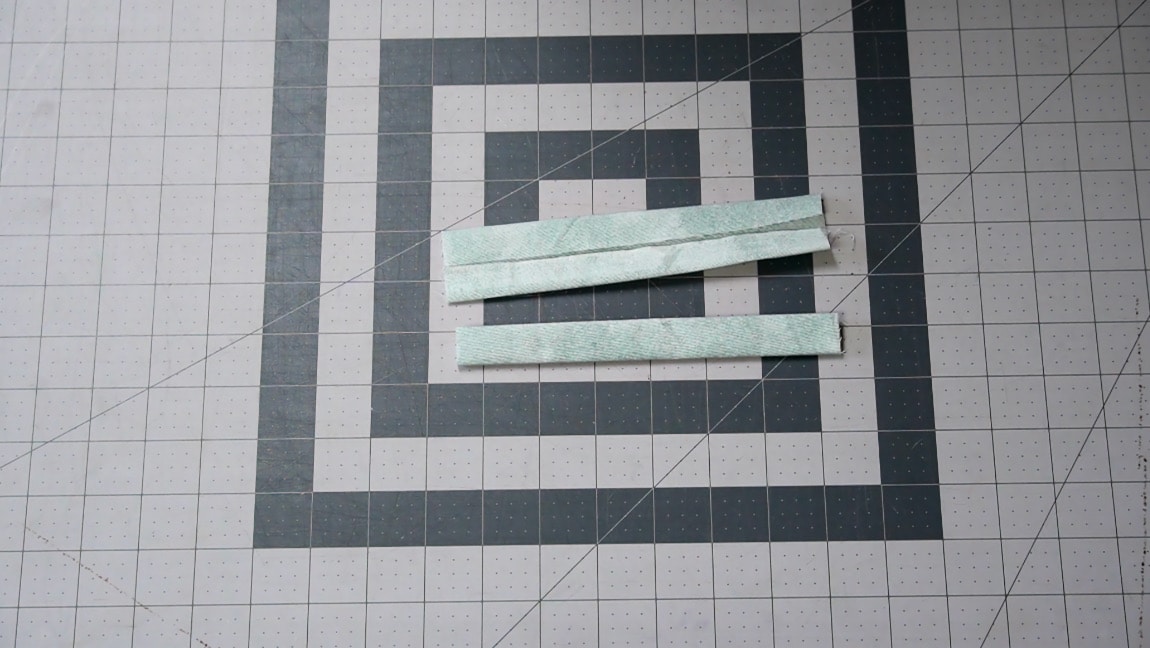
Fold and sew the handles
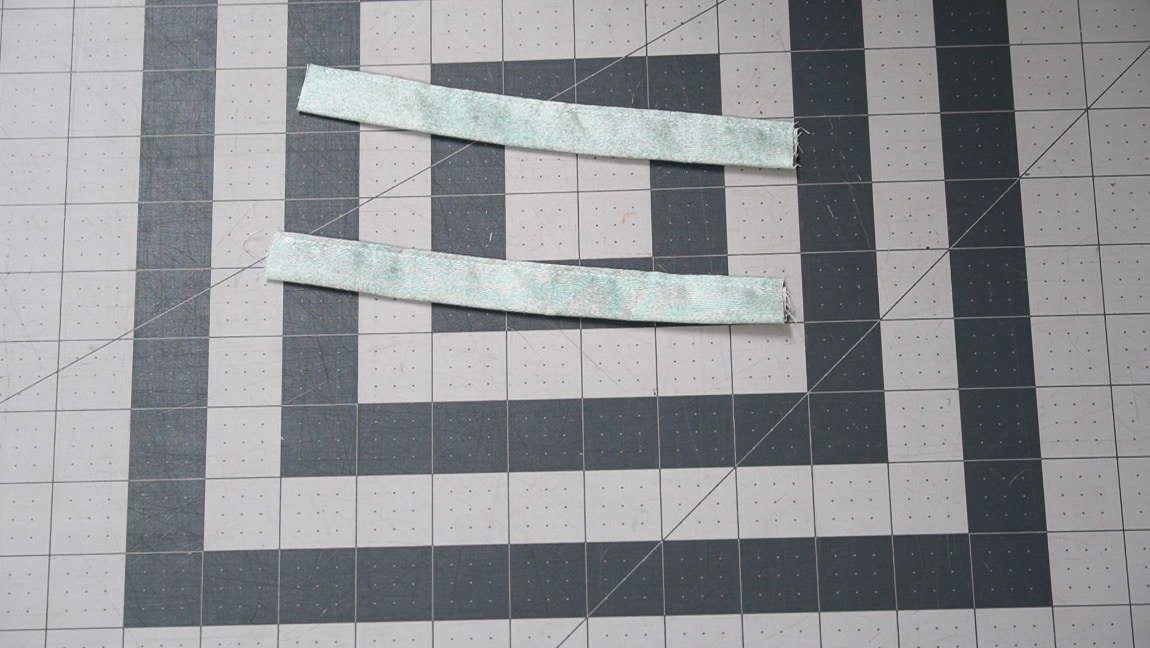
Fold the sides of the handles to meet at the center. then fold them in half. Sew along the open side to create your handle. You can use as many handles as you want. Just one side or all four, whatever will be most useful for you.
Step 2
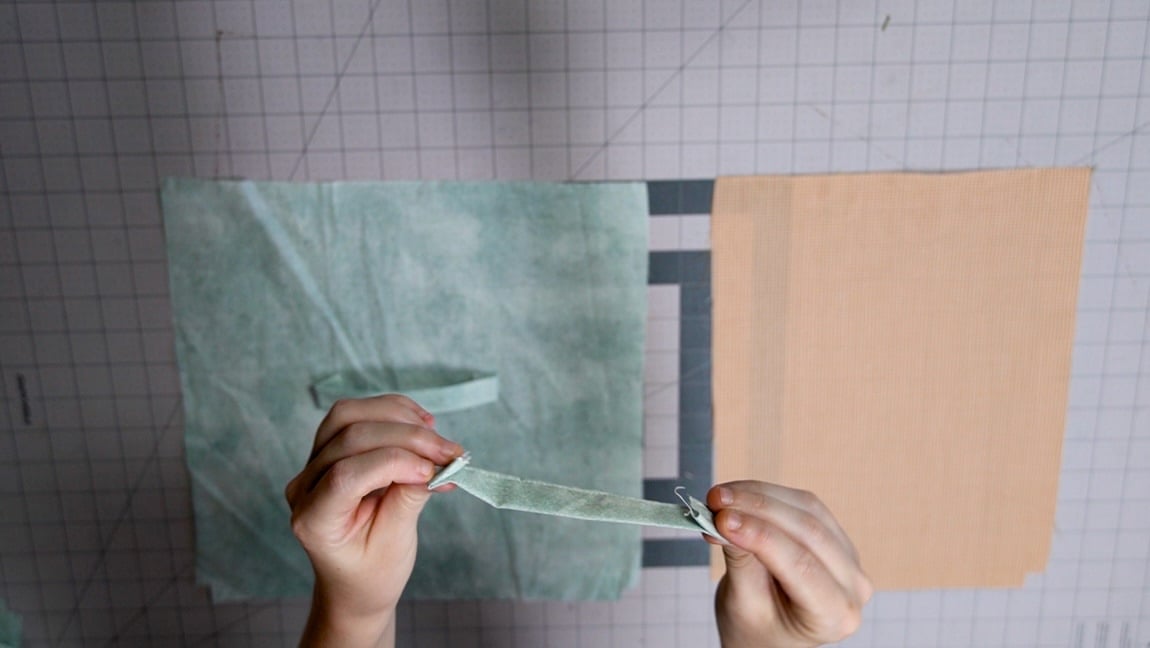
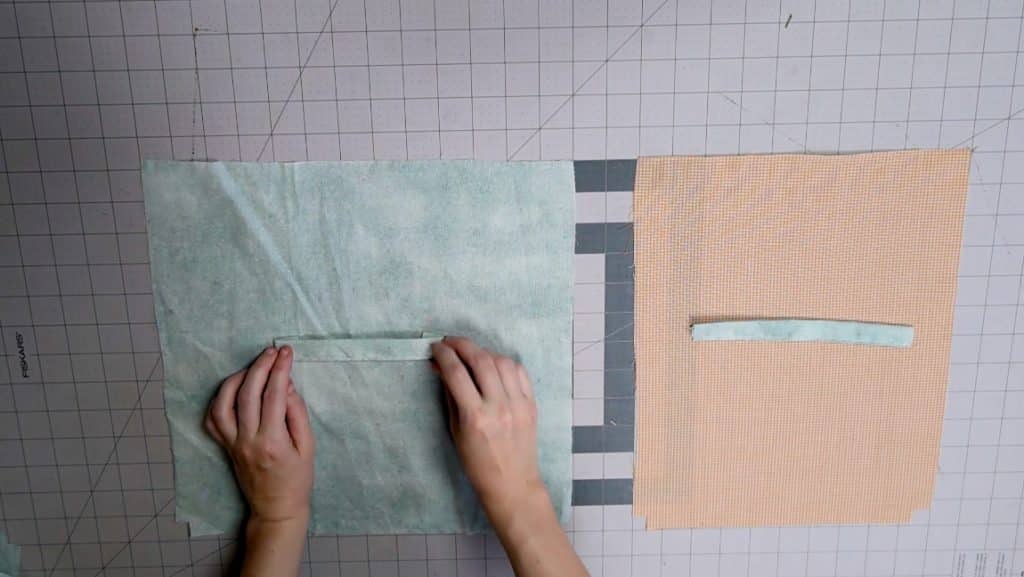
Sew the handles to the sides of the bin
Fold the ends of the handle over and sew them to the center of the side bin pieces.
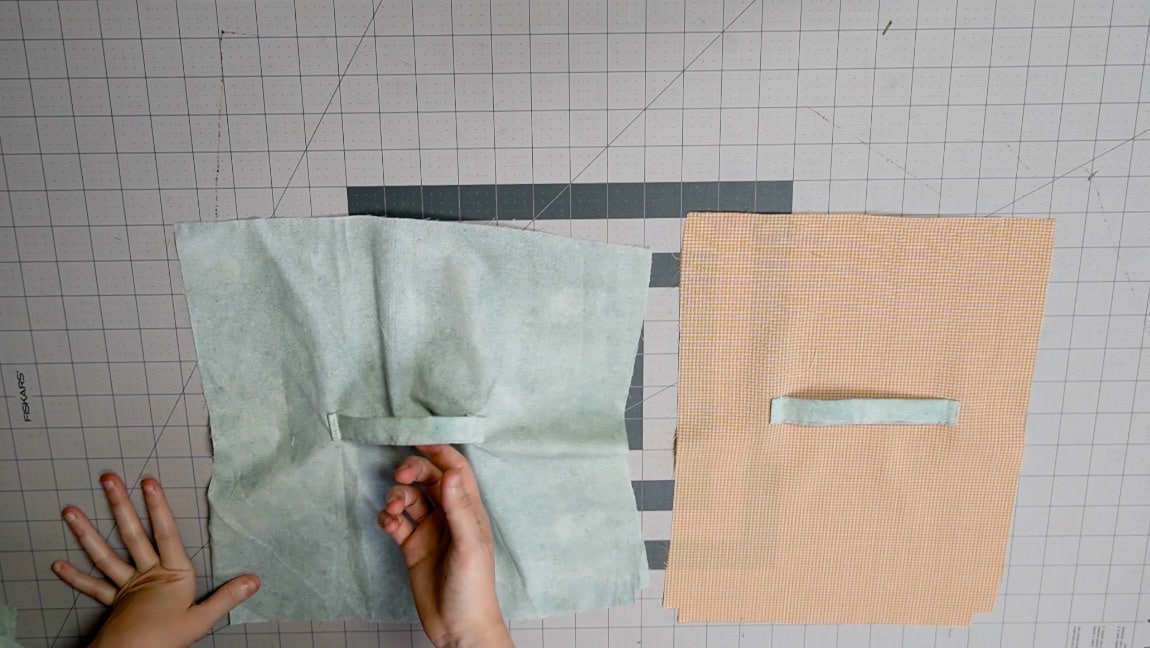
Step 3
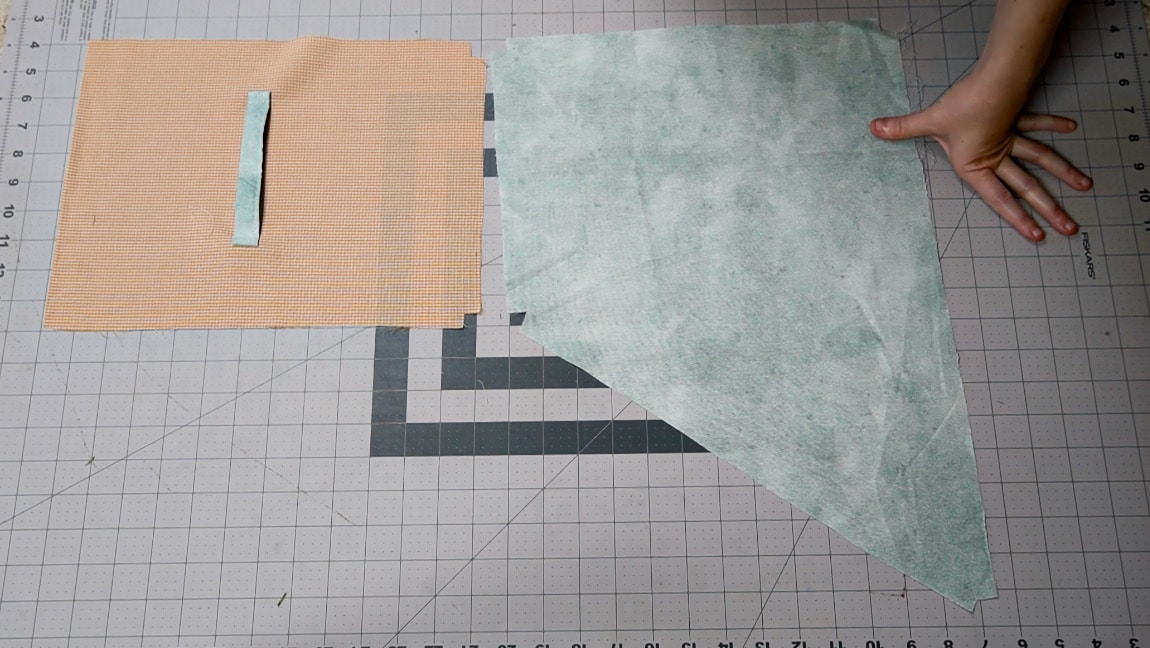
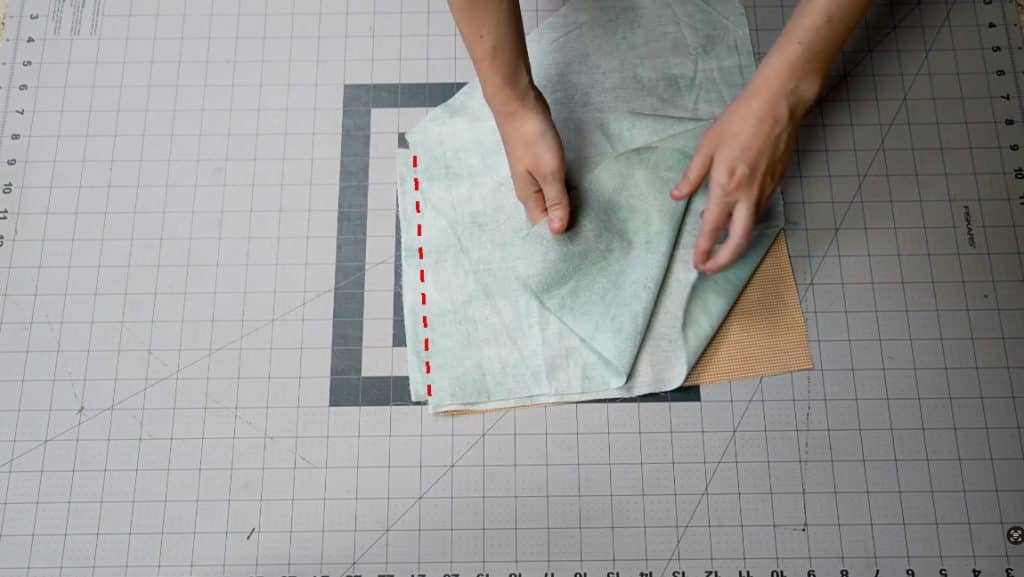
sew the first side of the bin
Sandwich the base of the bin between a side layer and a lining layer. The side and the lining will be right sides together, with the base in between.
Step 4
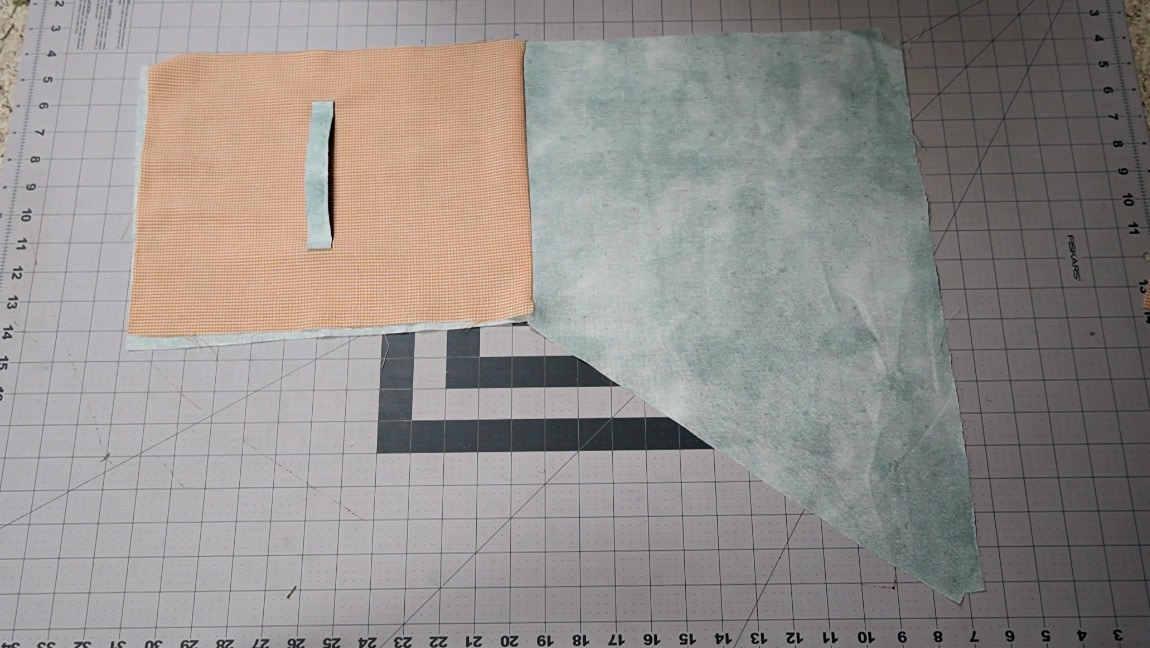
press the side and lining away from the base
after sewing, press the side and the lining away from the base to make room for the other sides.
Step 5
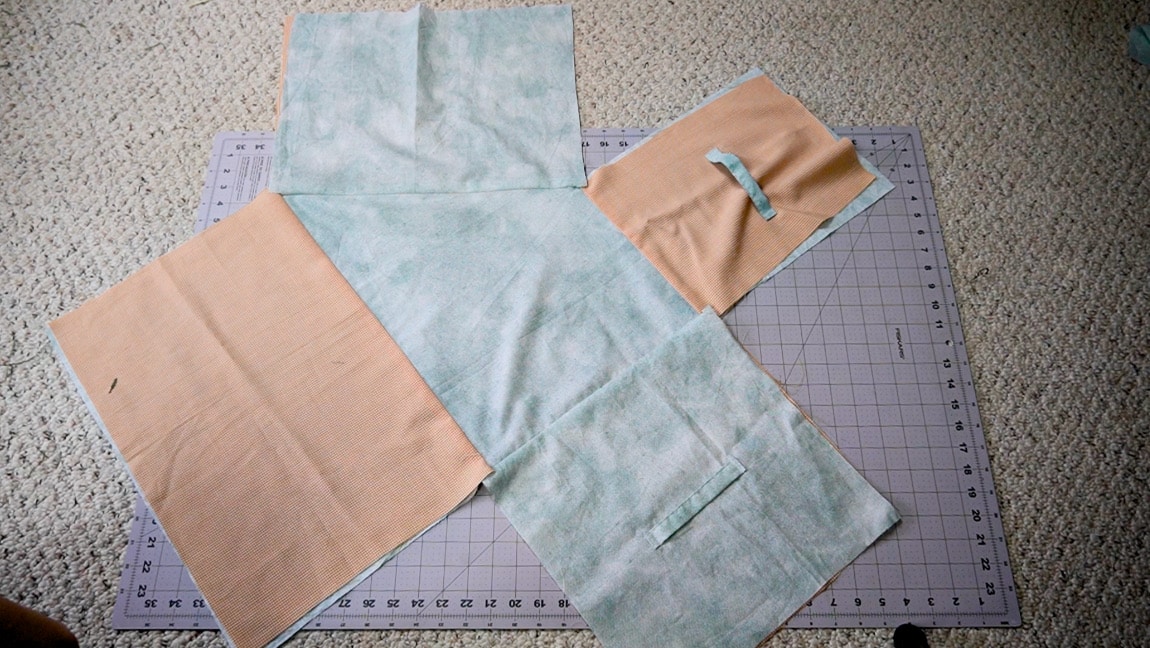
Repeat the previous steps for the other sides of the bin
Step 6
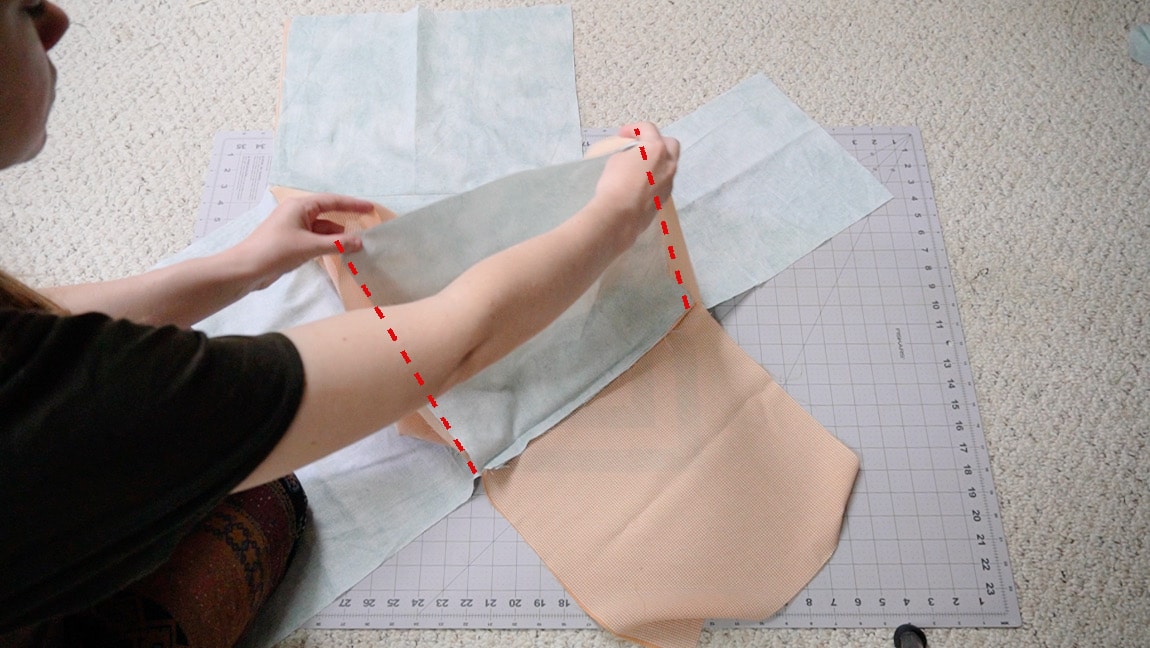
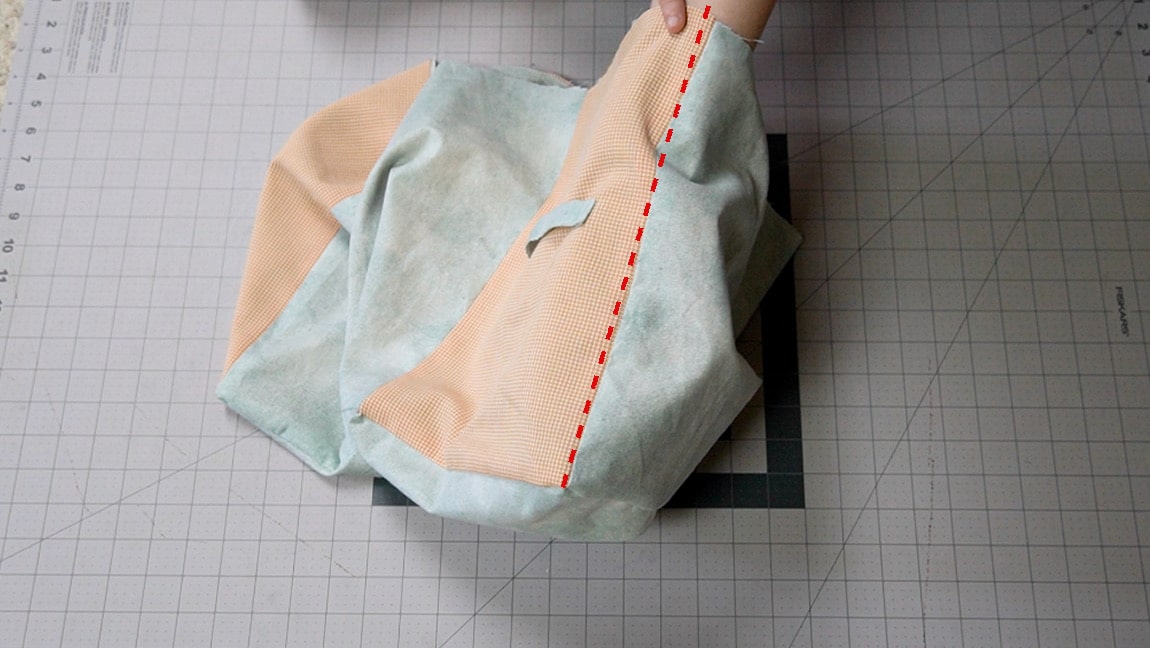
Sew the outer cube and the lining cube along the corner
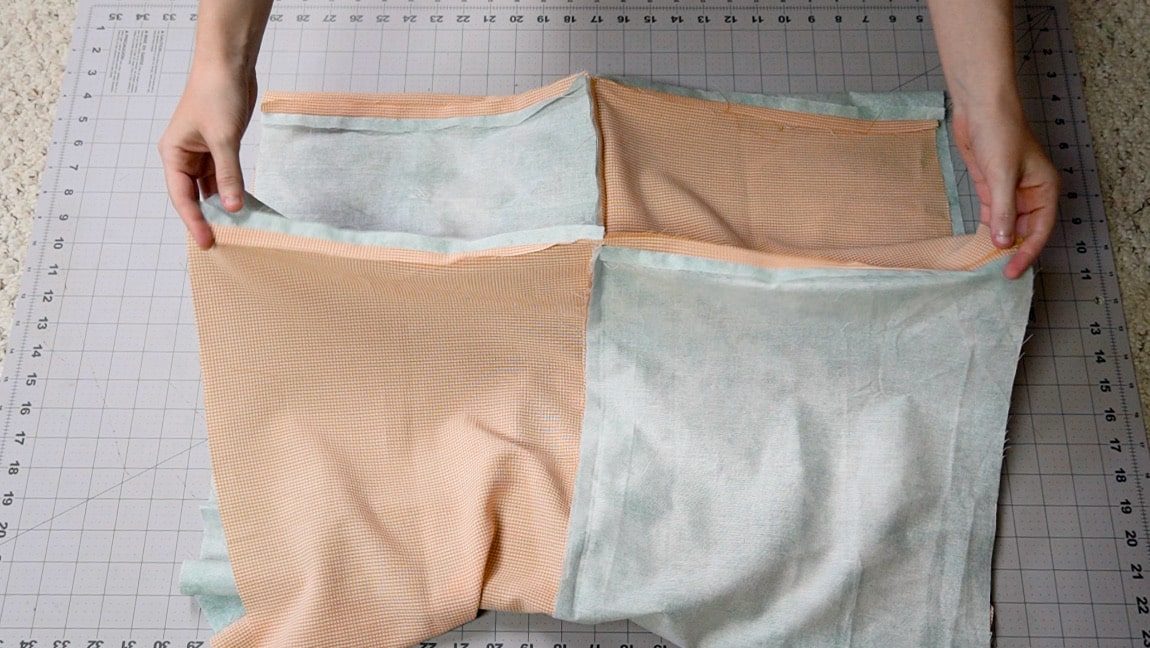
Peel the outside cube away from the lining layers. Sew them along the four corners with right sides together. Repeat that process on the other side with the lining layers. After sewing, you should have two cube shapes sewn with the base in the middle separating them.
Step 7
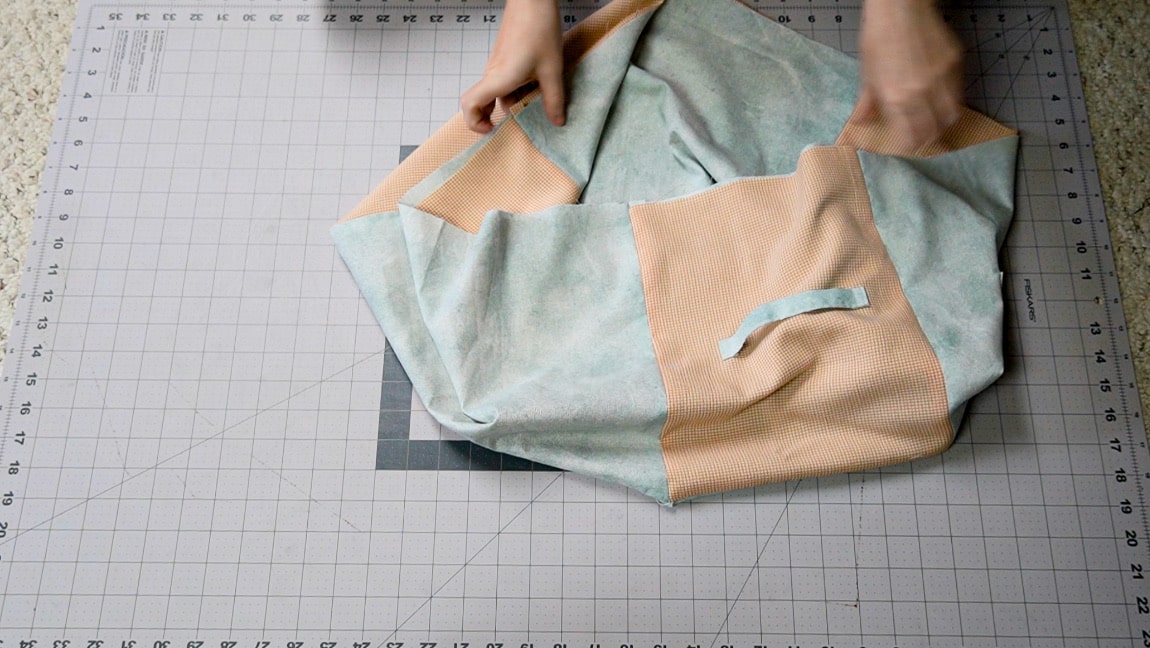
Fold the lining inside and sew the seams together to create pockets
fold the cube so the lining is inside. The side of the cube and the lining will have wrong sides together, so the seam allowance is hidden on the inside.
Line up the four corners of the cube and sew the lining and outer layer together along the seams. This will create four pockets for your cardboard.
Step 8
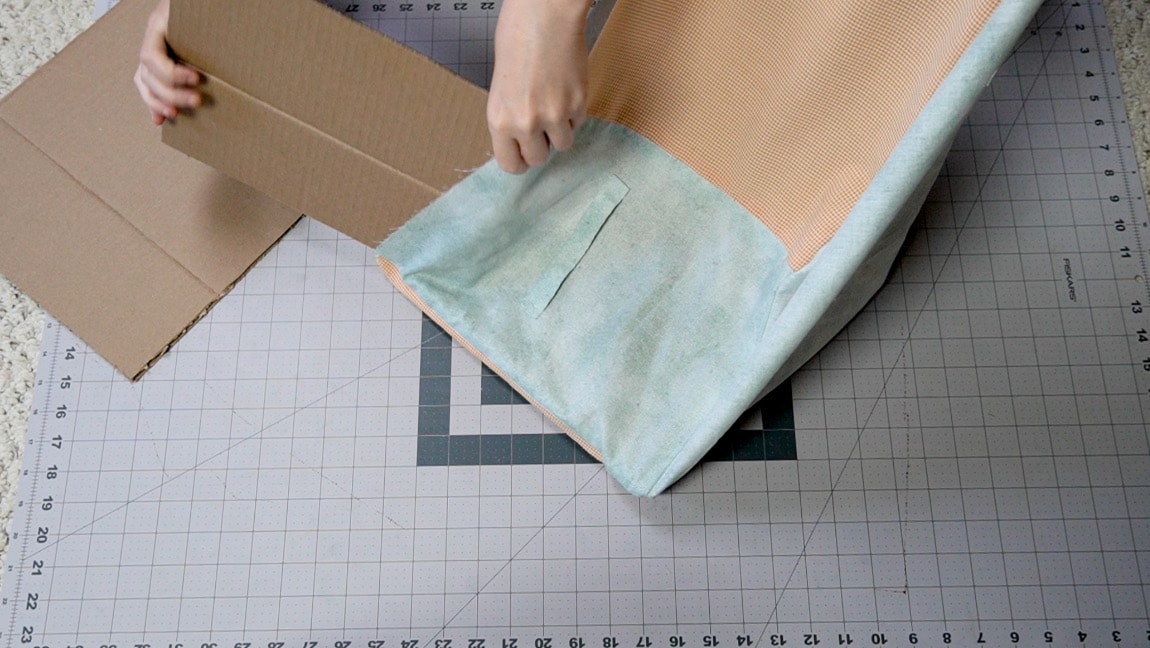
Add your cardboard into the sides of the bin
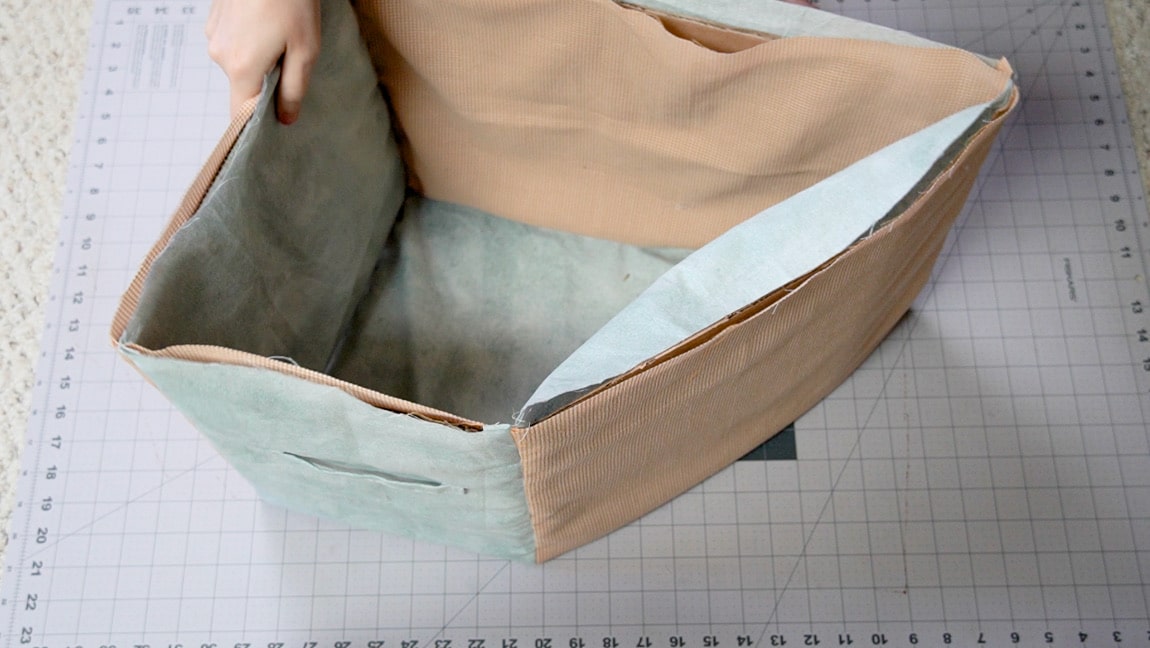
Step 9
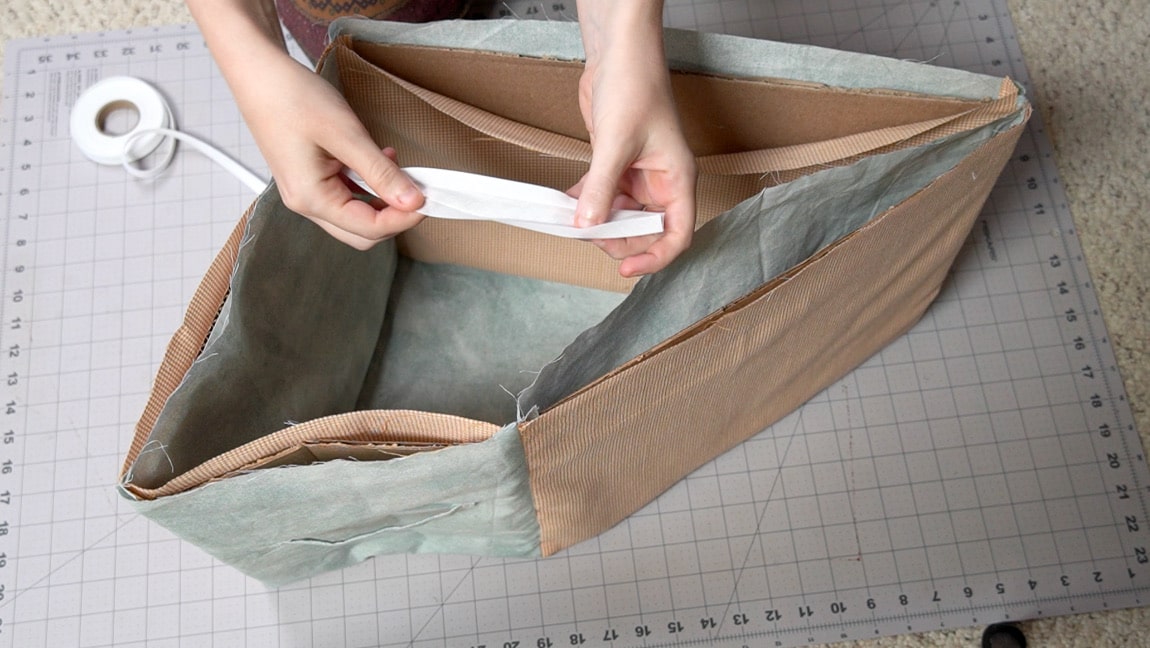
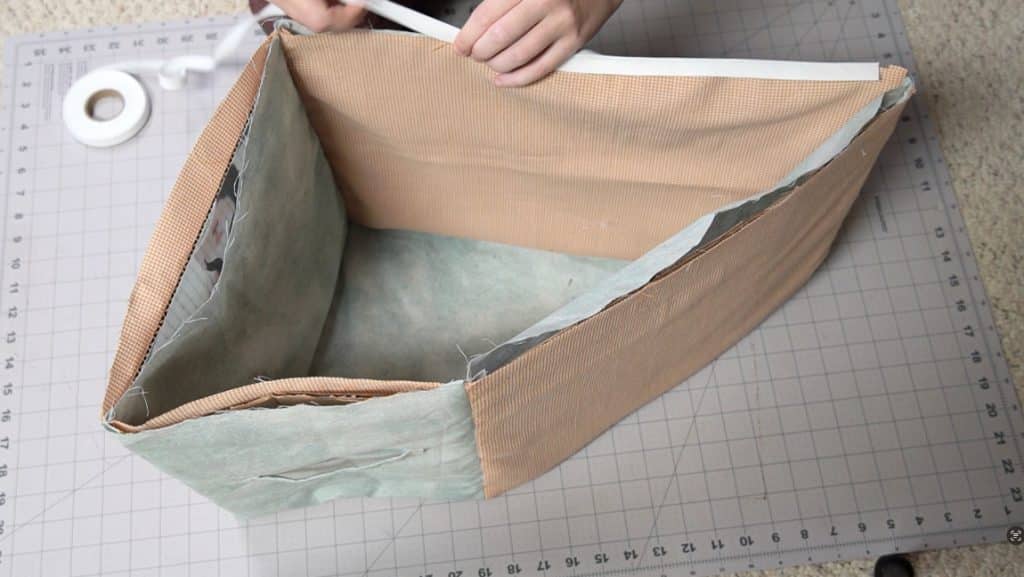
sew bias tape around the top of the cube
Use double fold bias tape and fold it around the upper edge of the bin. Sew it all the way around to seal the cardboard inside the pockets. I found this part to be a bit tricky with a sewing machine because of how bulky the cardboard is, especially around the corners. If it’s giving you trouble, remember you can always hand-sew the the twill tape instead of using the machine.
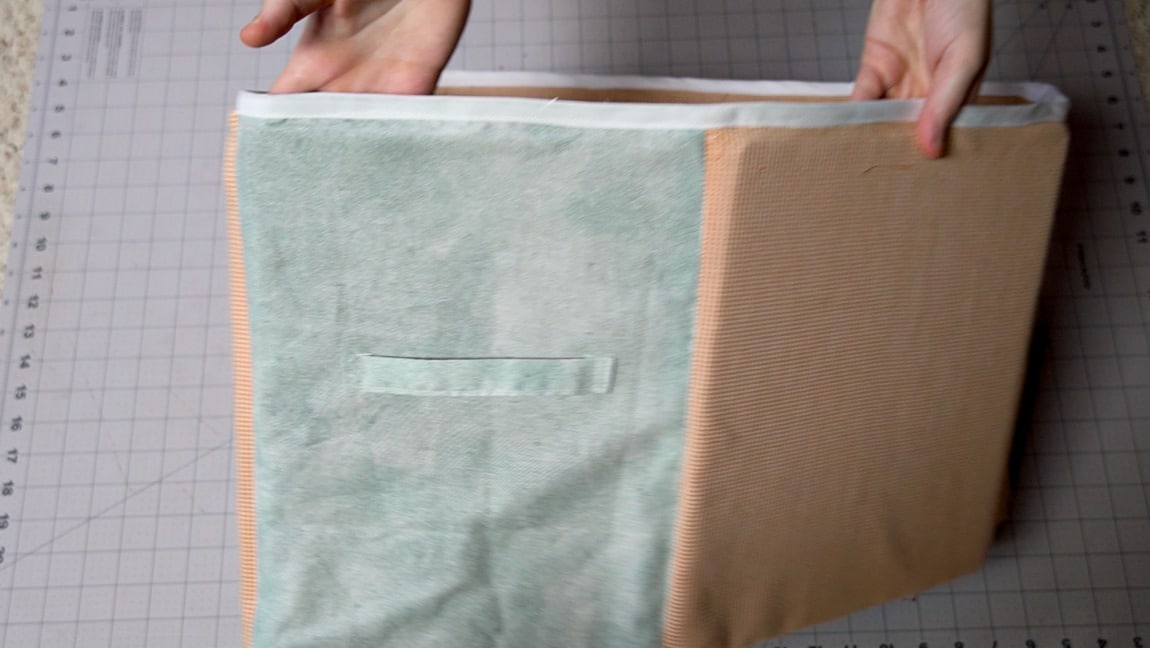
Step 10
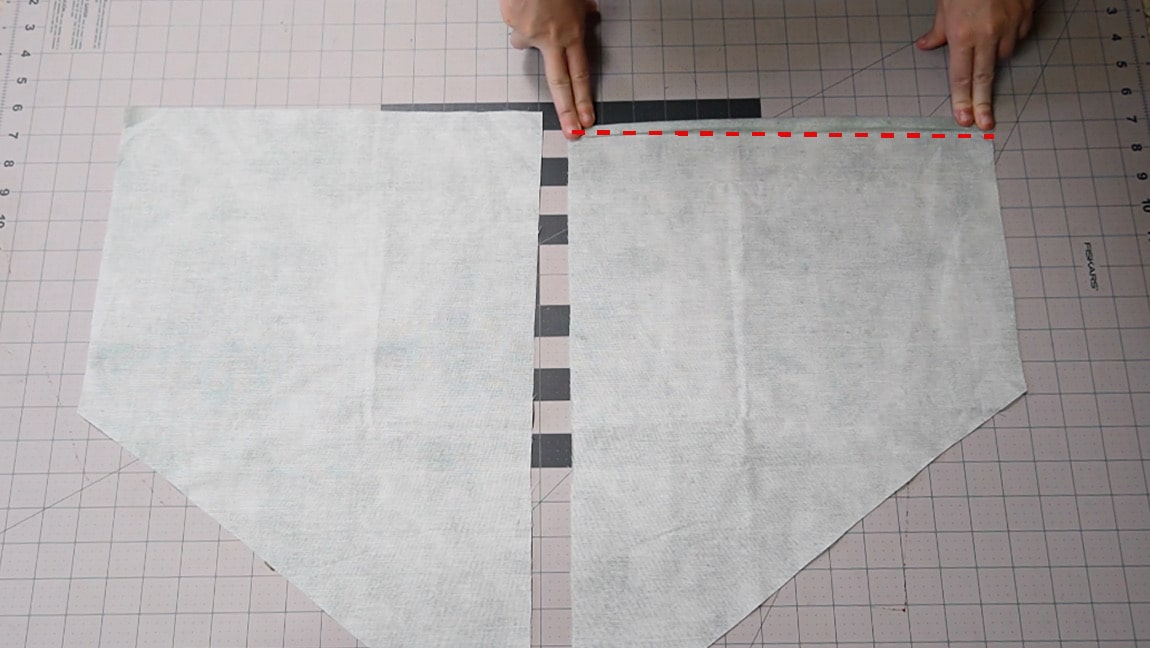
hem the base insert pieces
double turn the side opposite of the diagonal to hem it.
Step 11
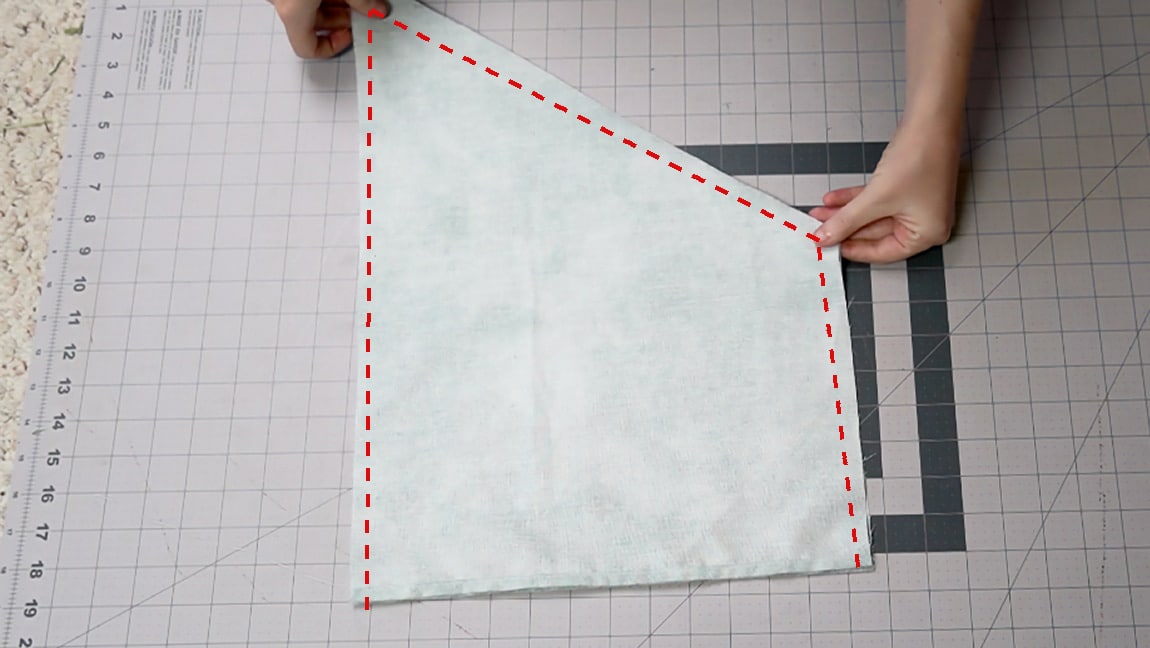
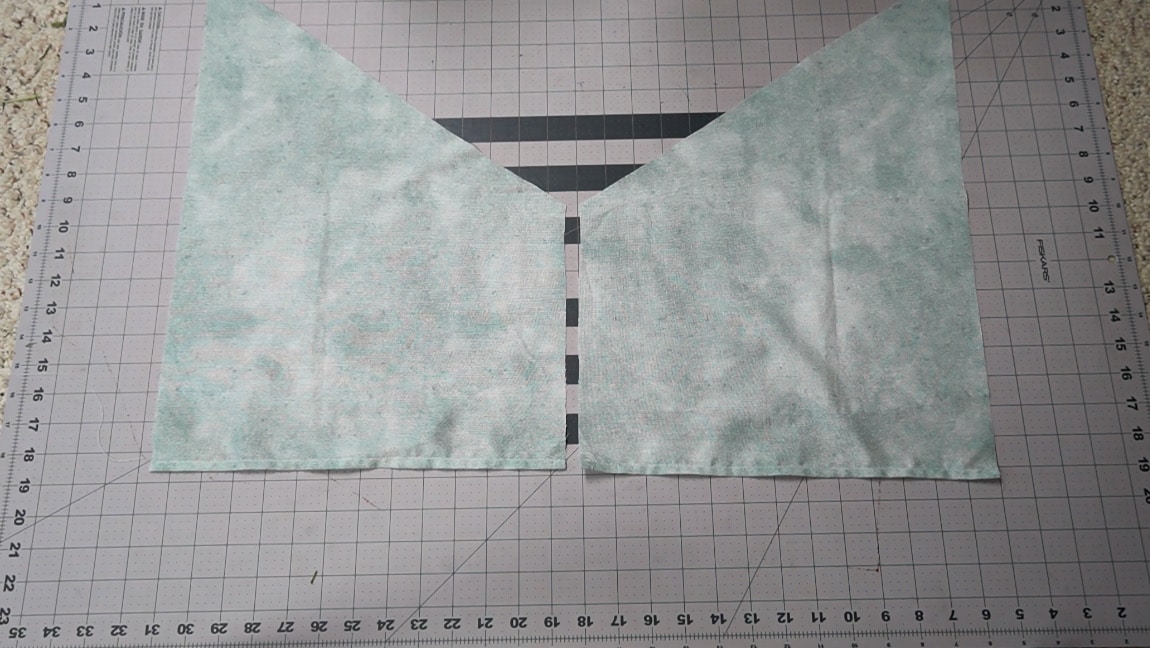
sew the base insert together
with right sides together, sew the two base insert pieces, leaving the hemmed side open
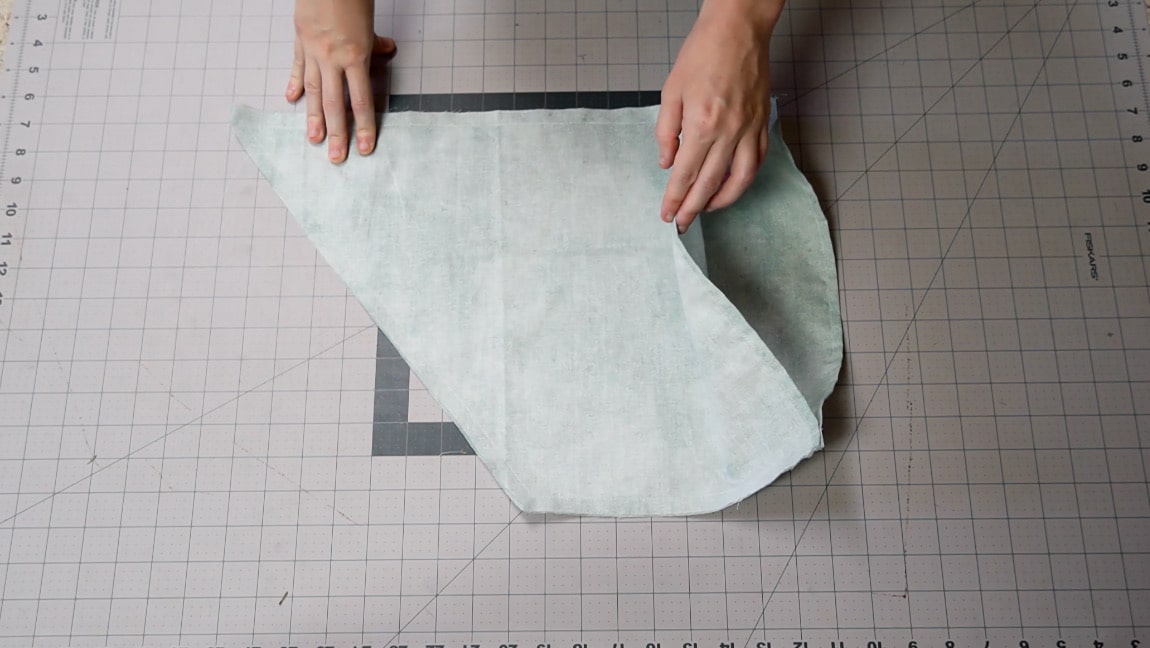
Step 12
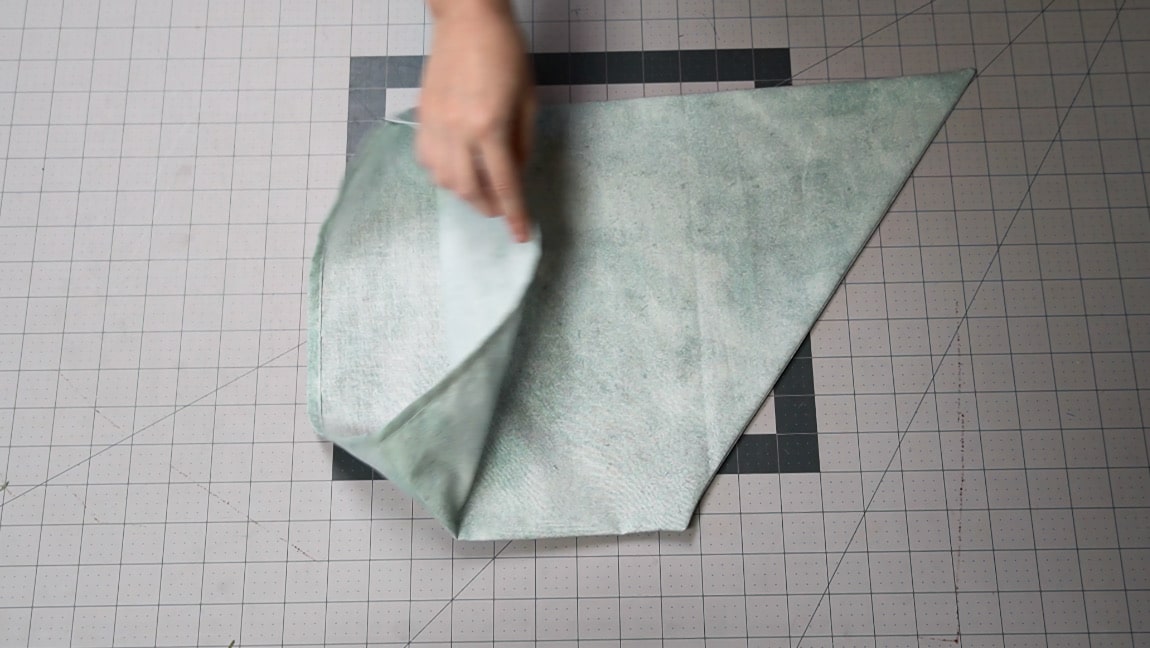
turn the base insert to the right side and insert the cardboard
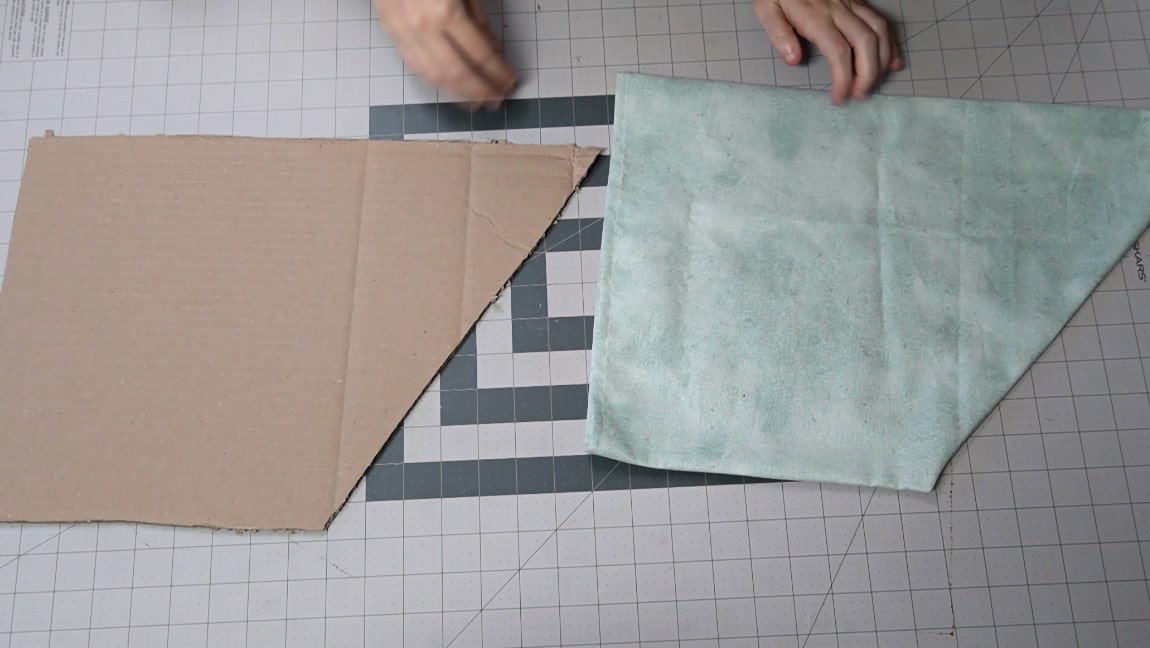
Clip the corners and turn the base to the right side through the hemmed edge. Then insert the cardboard. You will want to trim 1/2 inch off of all sides of the piece of cardboard to get it to fit inside the base
Step 13
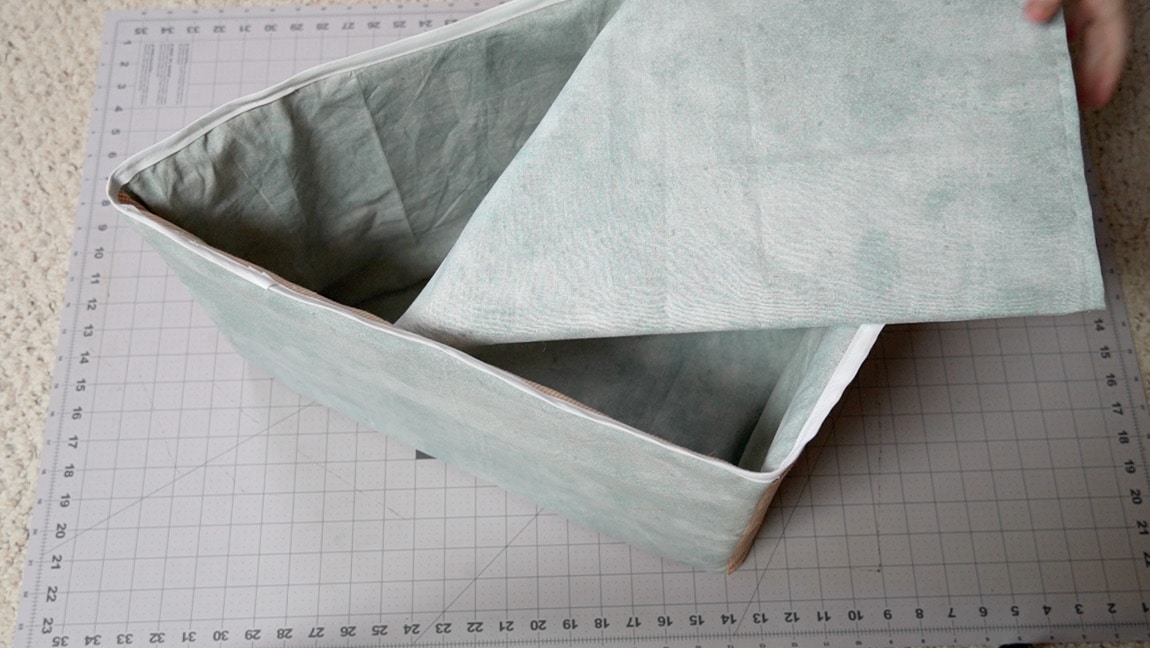
place the base at the bottom of the bin
Finished!