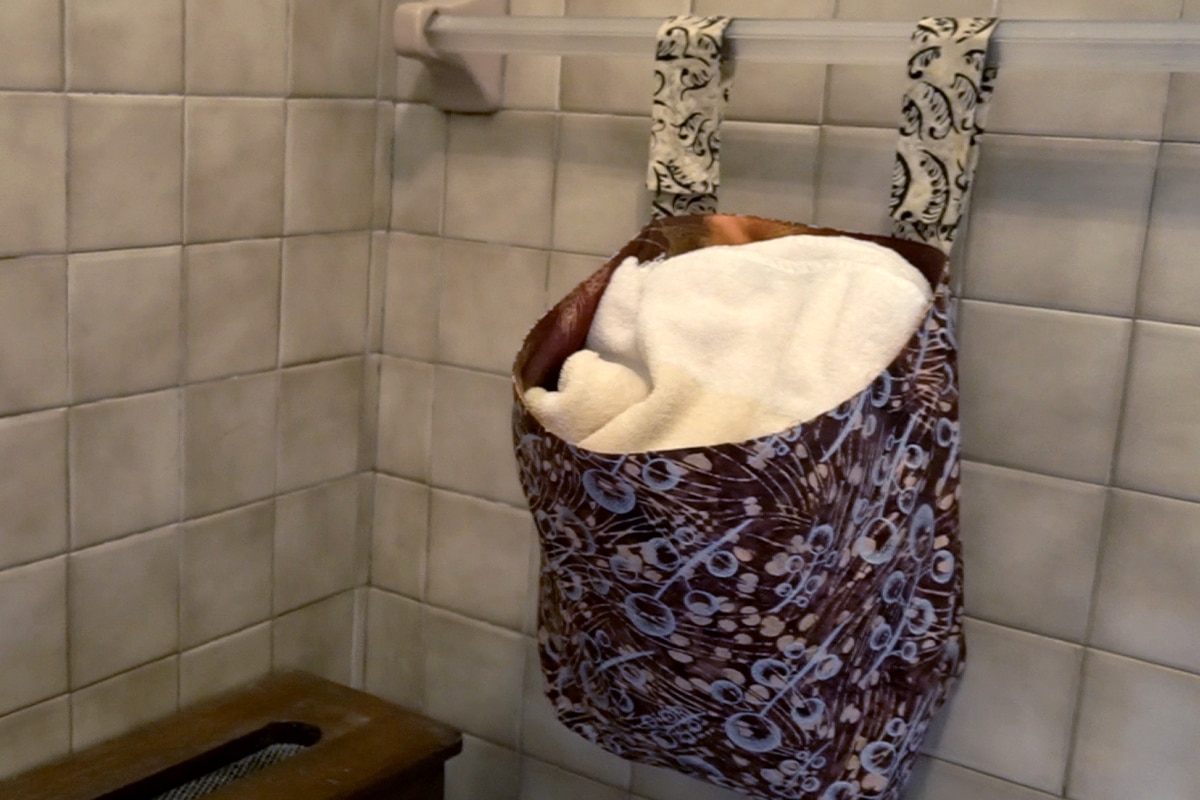
Tutorial: Hanging Basket with 1/2 yard of fabric
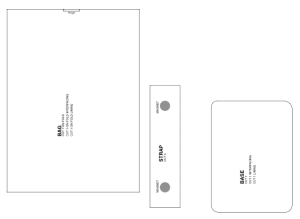
This tutorial will walk you through how to make a large hanging bin. You can use this for any number of purposes, from a towel hamper in the bathroom to extra kitchen storage, or toy room organizing. Print out the pattern below and follow along with the step-by-step instructions
This page contains affiliate links. As an Amazon Associate, I earn a small commission from qualifying purchases. That being said, I encourage you to use your local sewing shop whenever possible, or to look for supplies second hand.
Supplies Needed:
(all of my patterns include 1/2″ seam allowance)
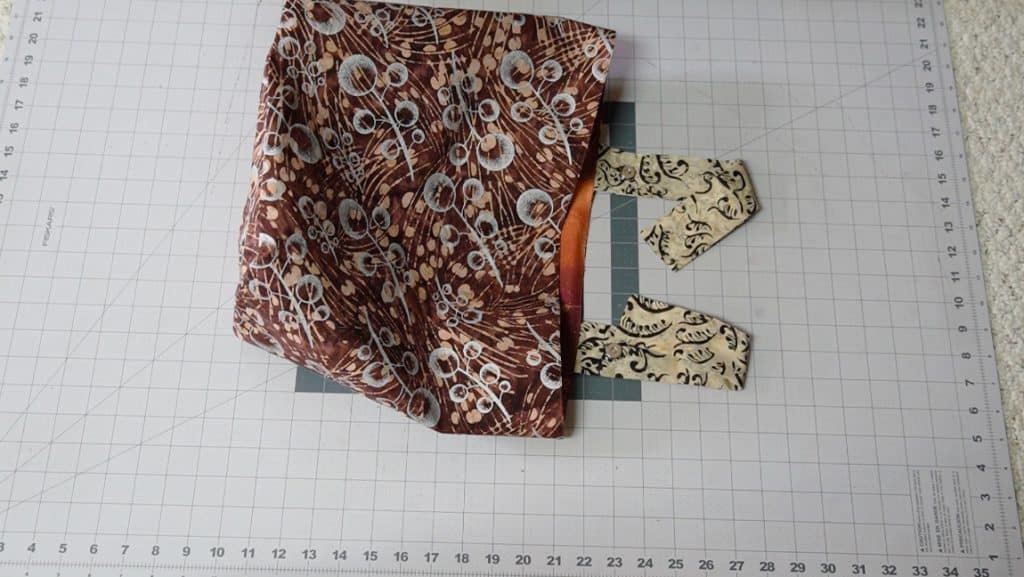
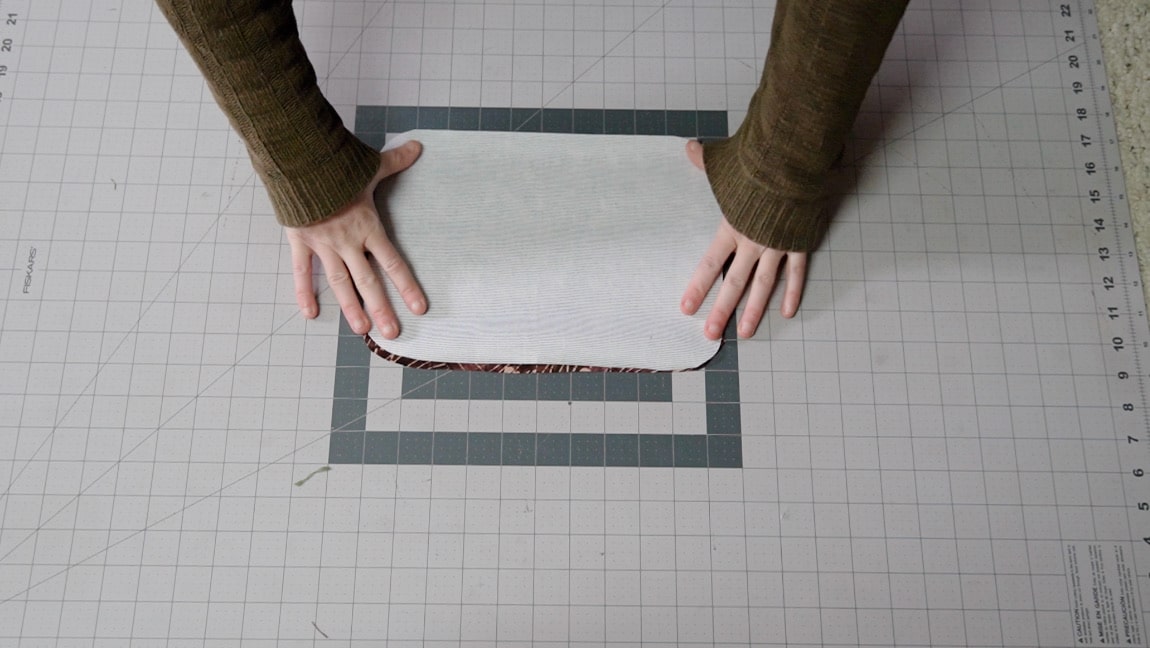
Step 1

apply interfacing to the bag and buckram to the base
Apply a medium interfacing to the bag, and a heavy interfacing or buckram to the base of the basket.
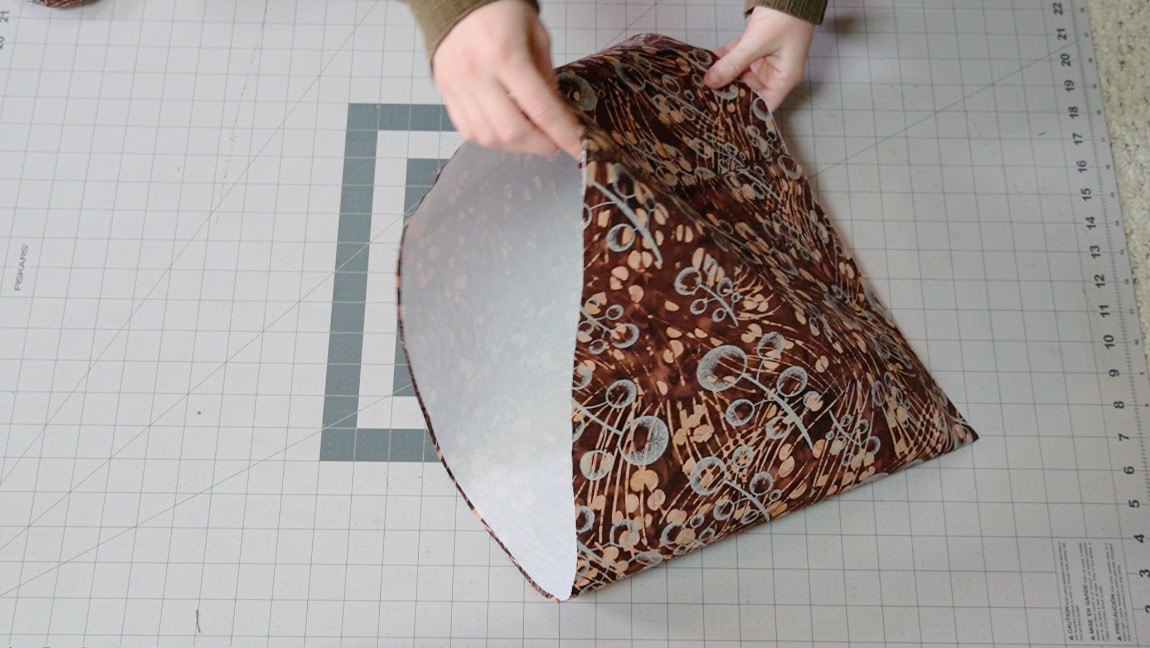
Step 2

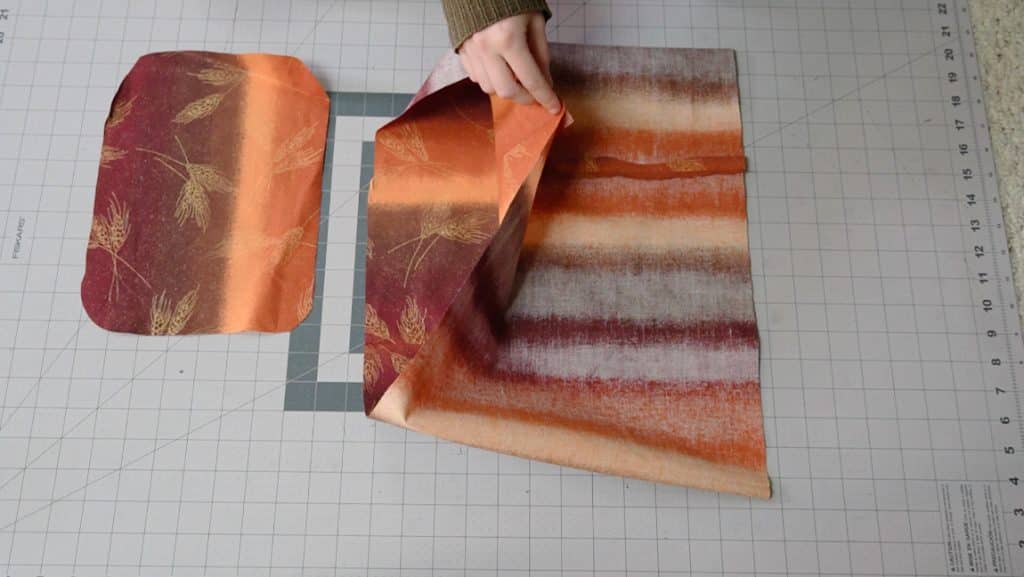
fold the bag in half and sew into a loop
Fold the bag in half and sew along the side seam to create a loop
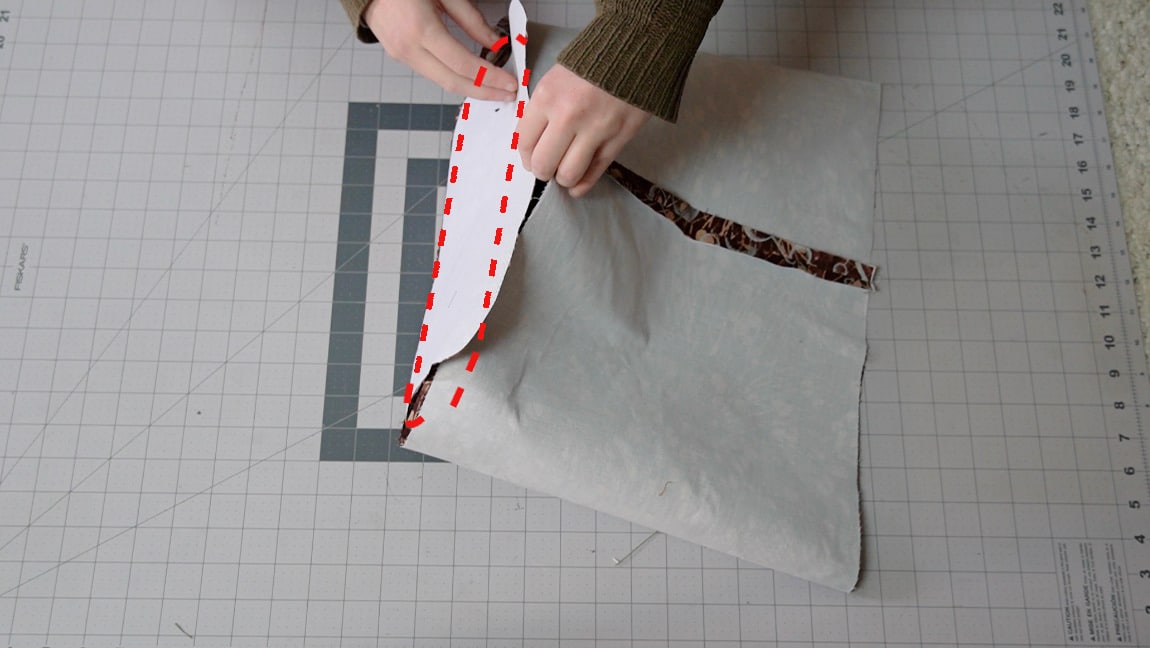
Step 3
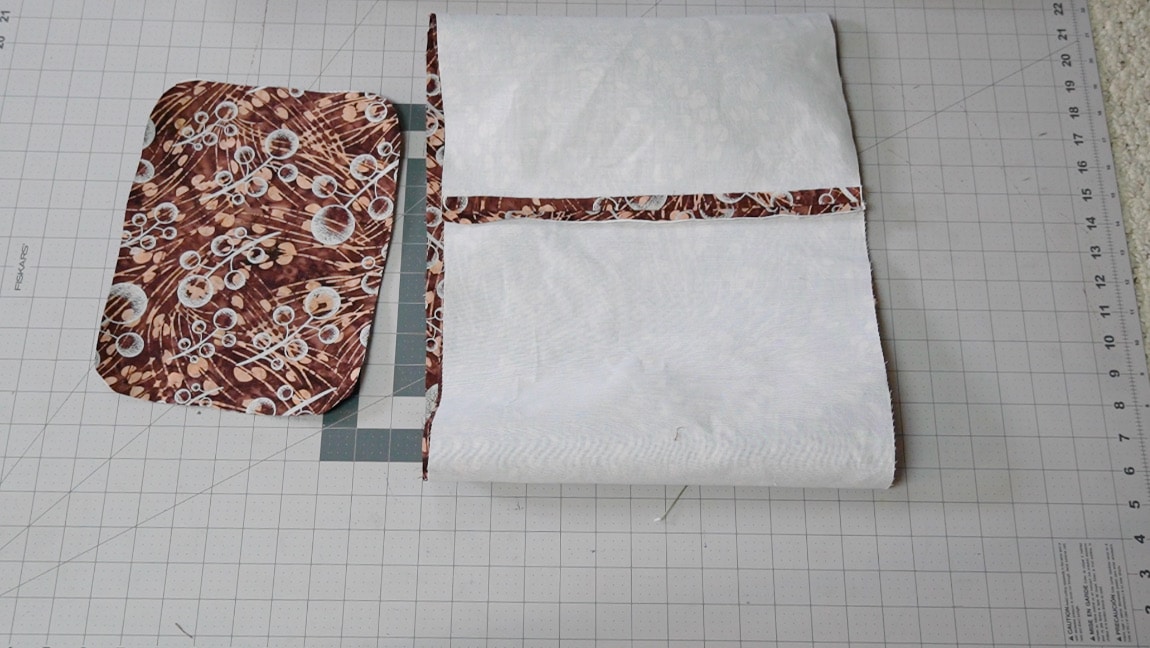
sew the base to the bag
With right sides together, sew the bag to the base, easing the fabric around the corners.
Step 4
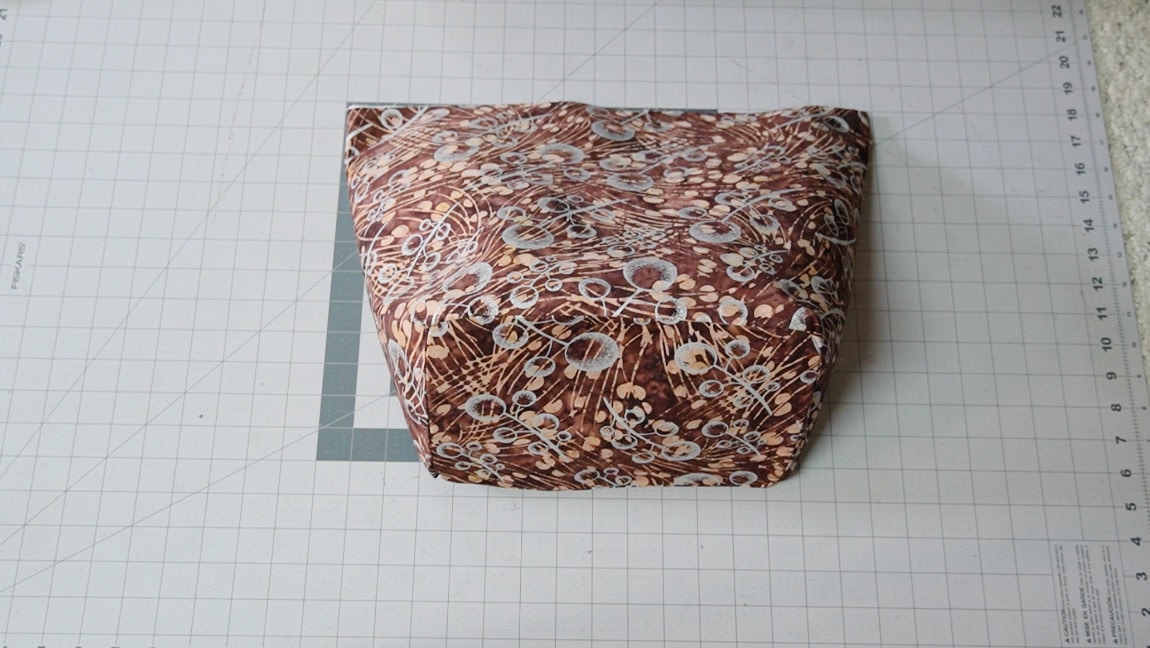
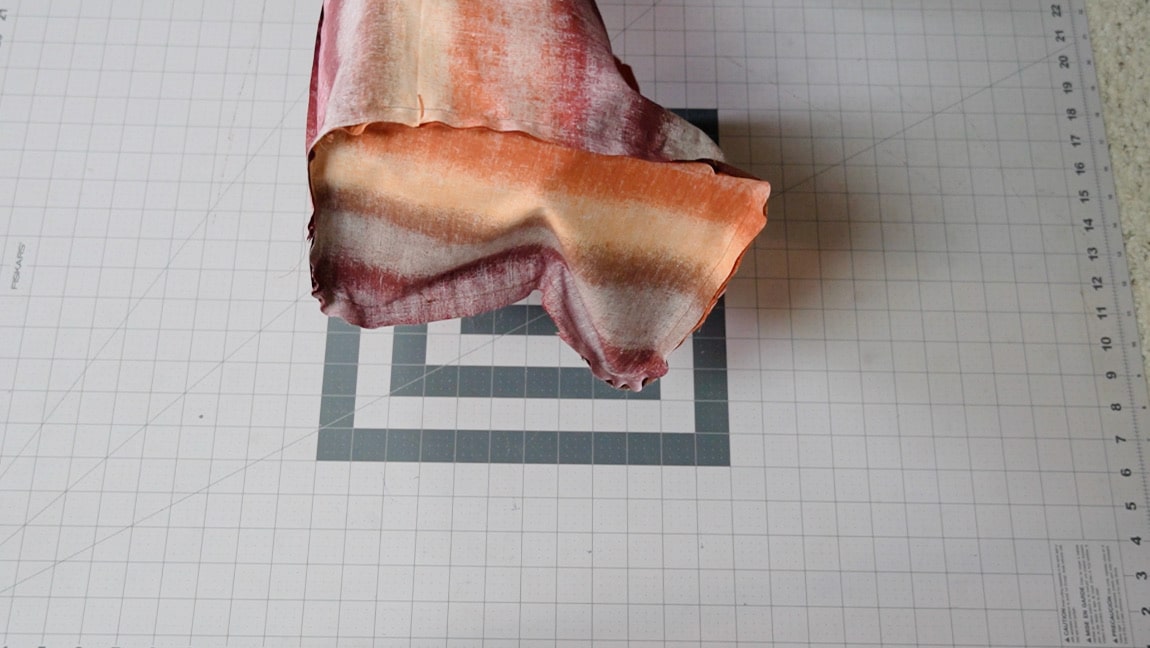
turn the bag to the right side
Step 5
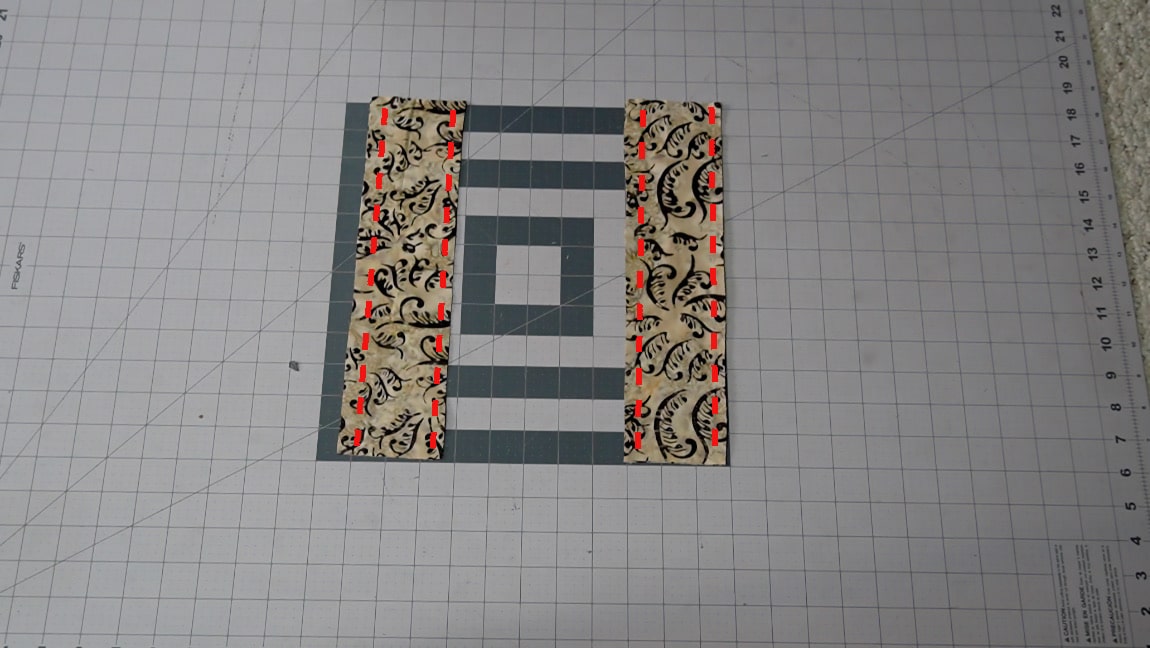
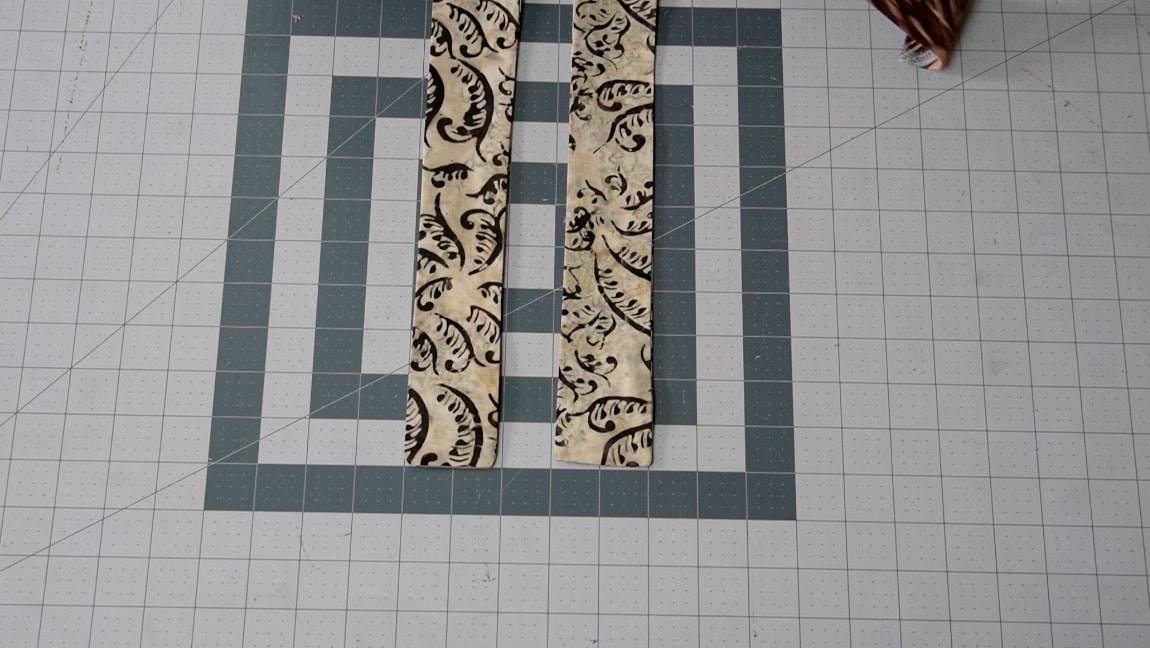
sew the straps
With right sides together, sew the straps in two sets down the long sides
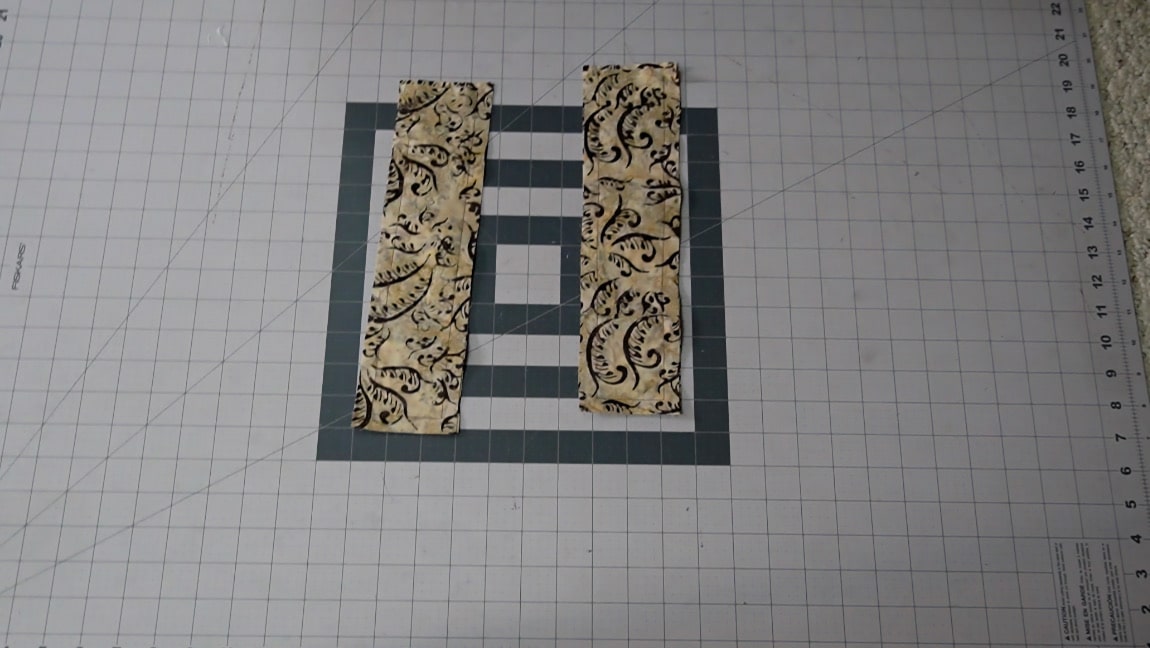
Step 6
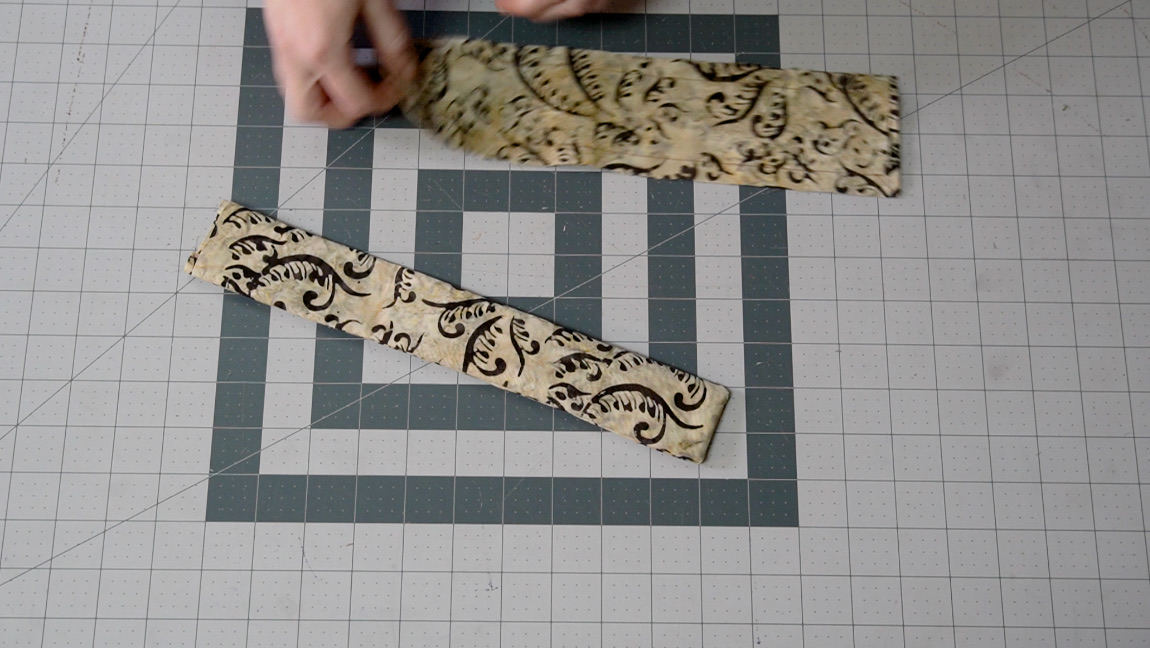
turn the straps to the right side
Step 7

sew the magnets to the straps
Sew the magnets to both ends of the strap according to the instructions your magnets come with.
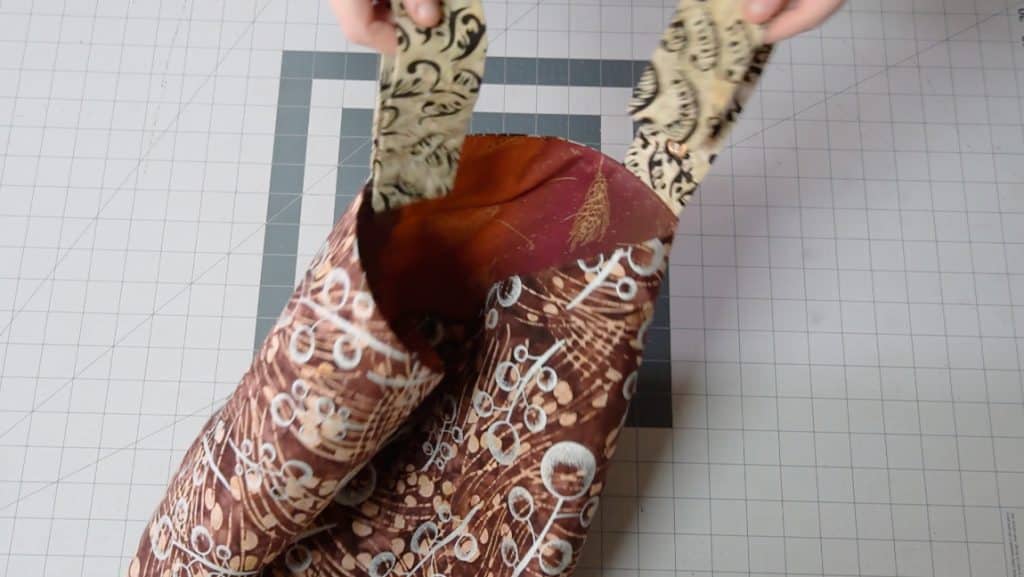
Step 8
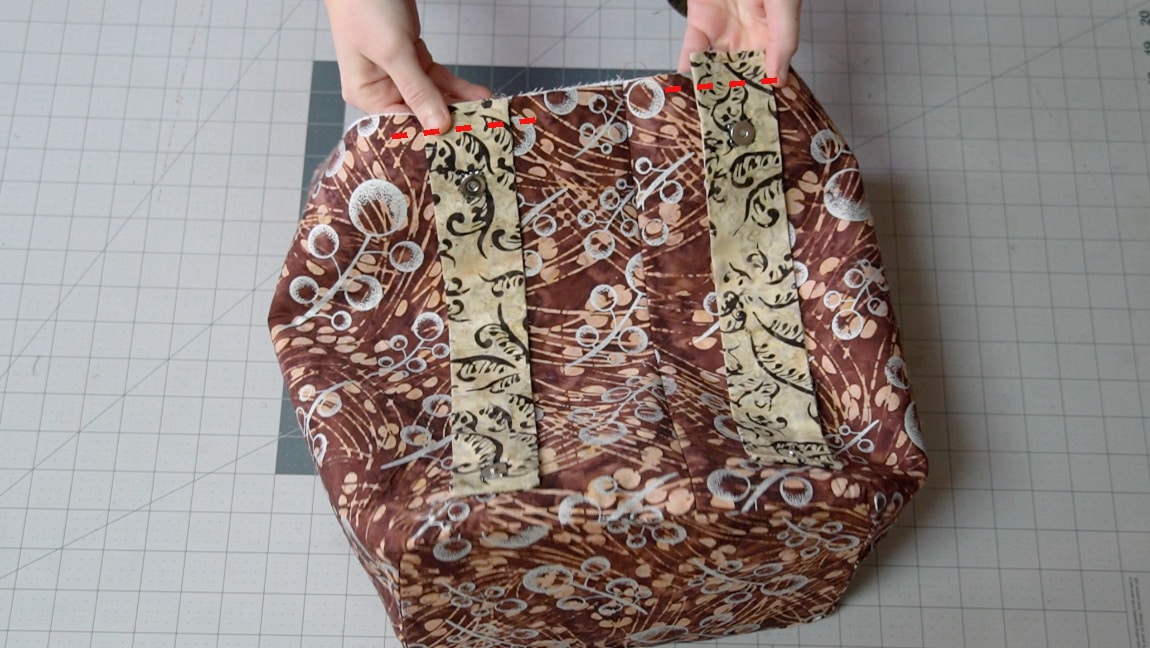
baste the straps to the bag
Place the straps on the back of the bag and baste them in place.
Step 9

sew the bag lining
Repeat steps 2 and 3 with the lining layer.
Step 10
sew the bag to the lining
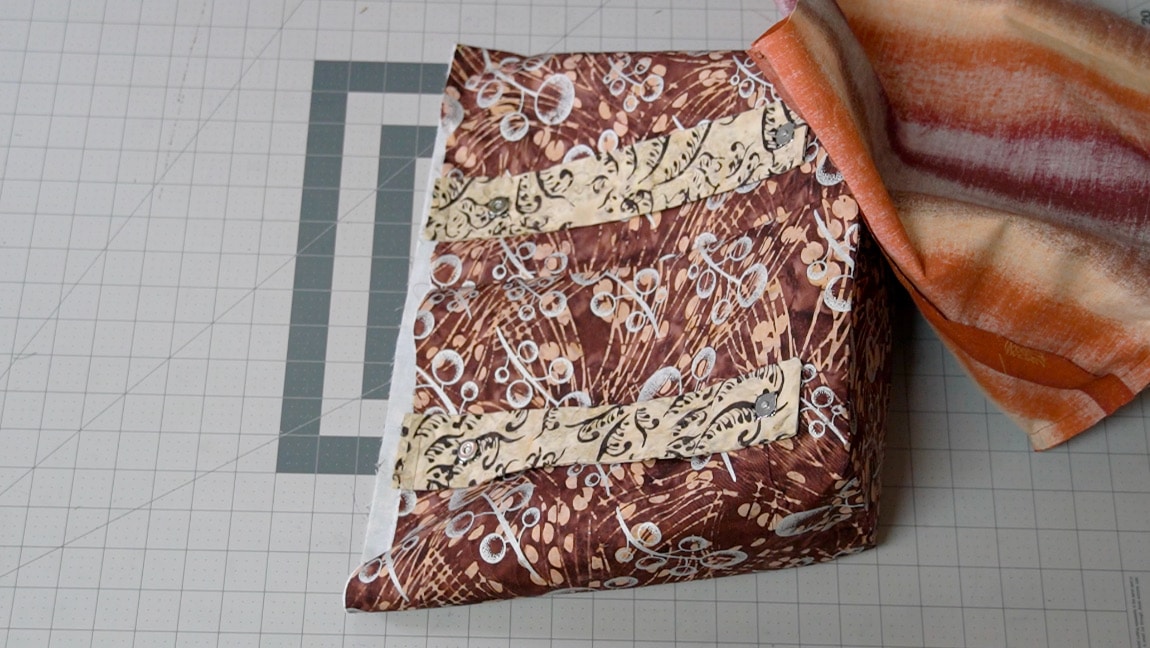
Place the bag inside the lining layer and sew them together along the perimeter. Leave a gap in the stitches so that you can turn it to the right side.
Step 11

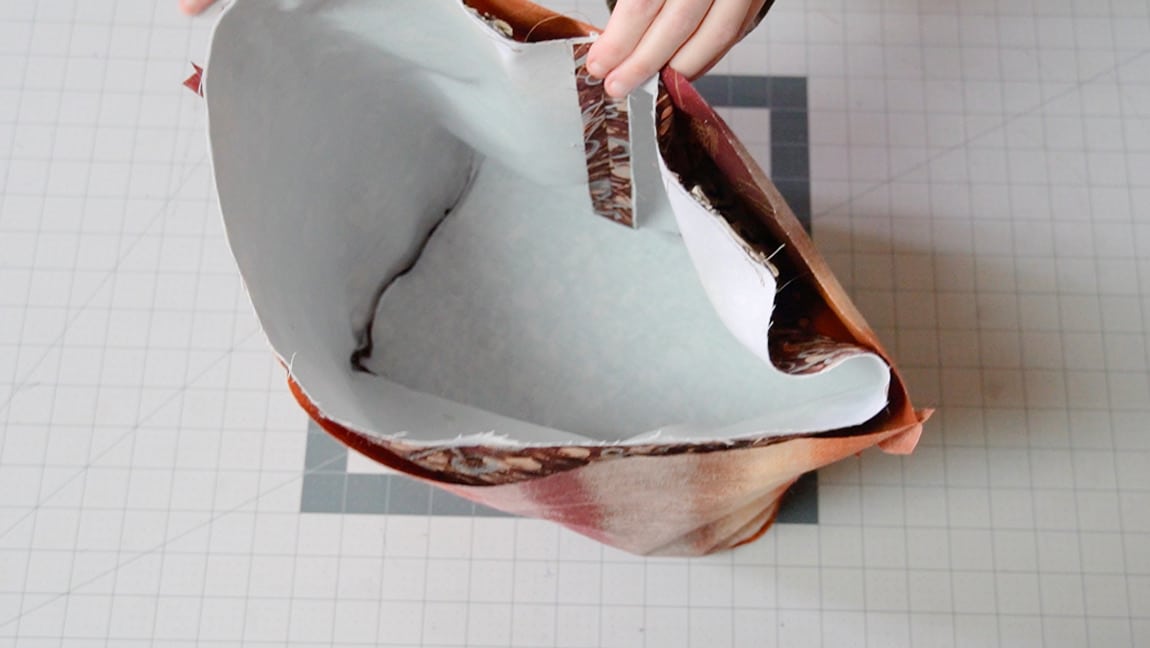
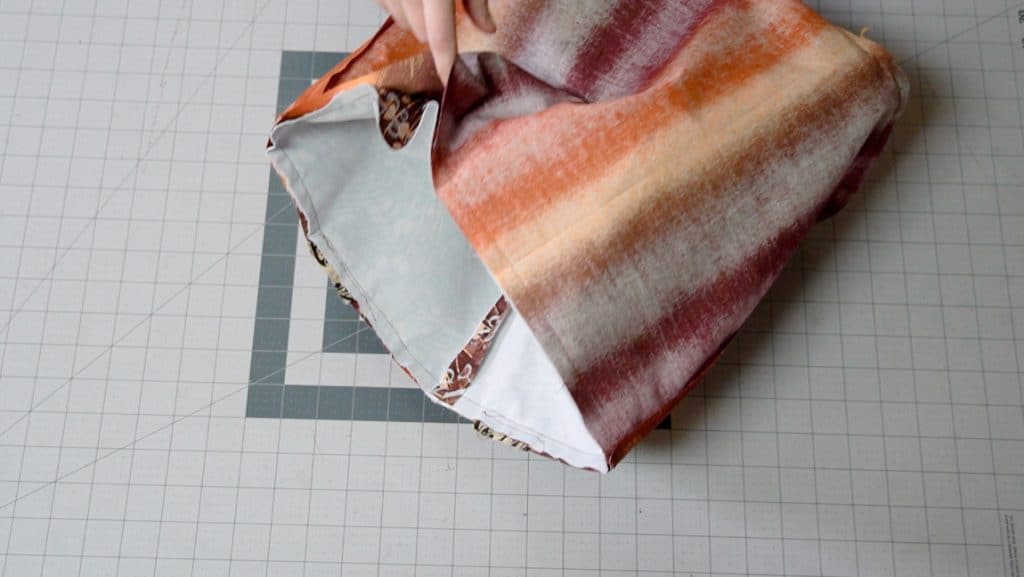
turn the bag to the right side and top stitch
Turn the bag to the right side through the upper gap. Then press the top seam and topstitch to seal the gap and make it look neat.
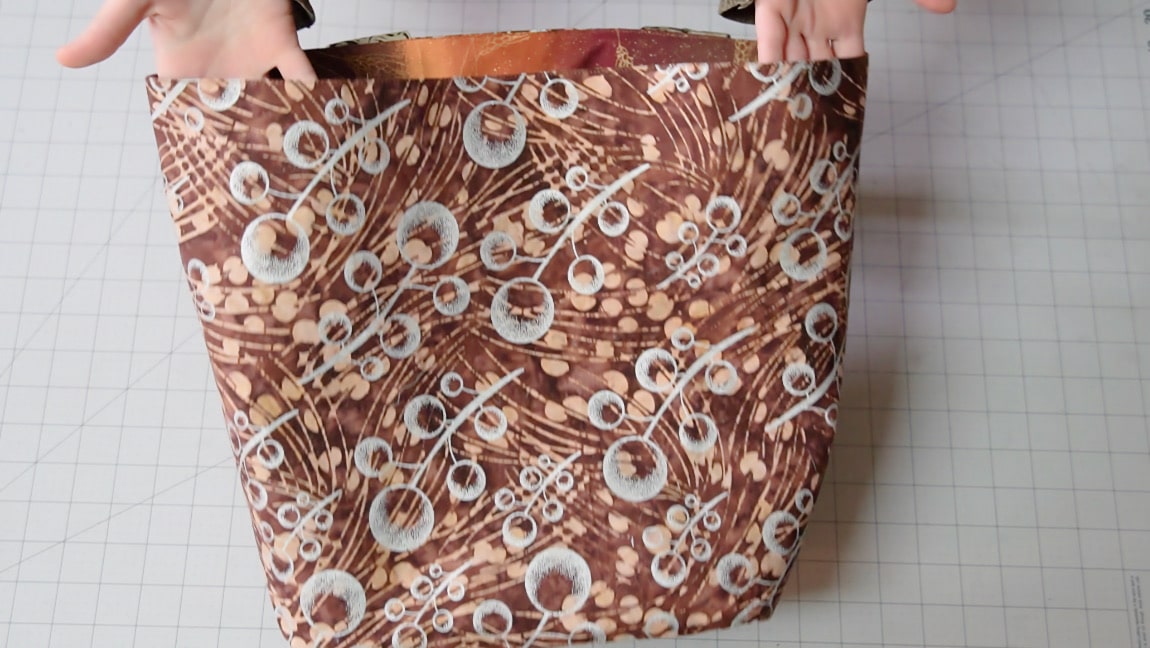
Finished!