Tutorial: Unique Summer Shawl Using Fabric Scraps
Use those leftover rayon, chiffon, voile, and lightweight fabric scraps to make a new shawl that shows off your unique creativity. I’ll walk you through how to sew your scraps into a collage using durable seams that will turn your old scraps into something new.
I recommend using a microtex needle when sewing lightweight fabric. You also may want to invest in a straight stitch place, since this can keep the fabric from puckering or being pulled under the needle when you’re trying to sew. (Learn more about sewing with lightweight fabric)

Supplies Needed:
Step 1

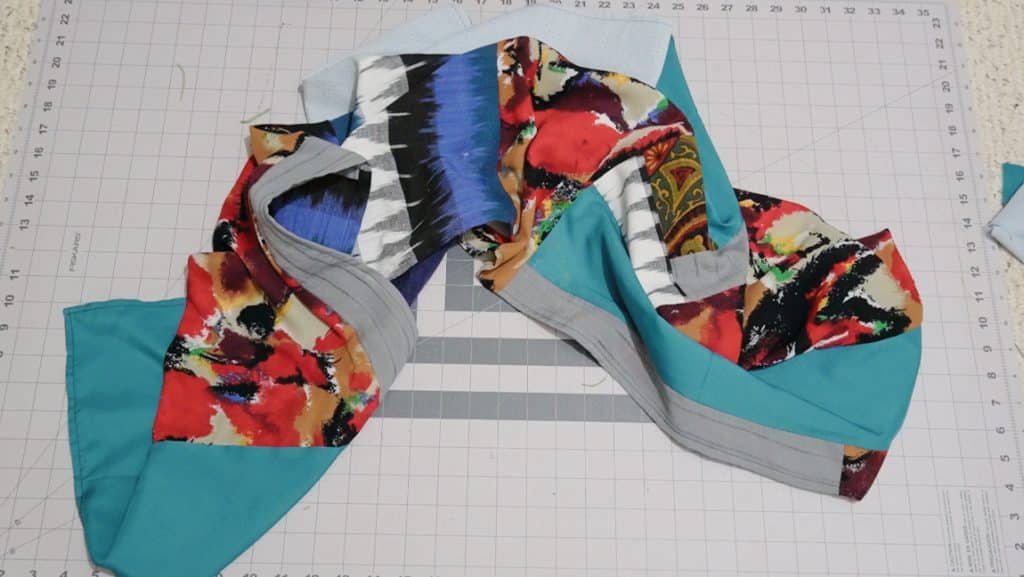
arrange your fabric scraps
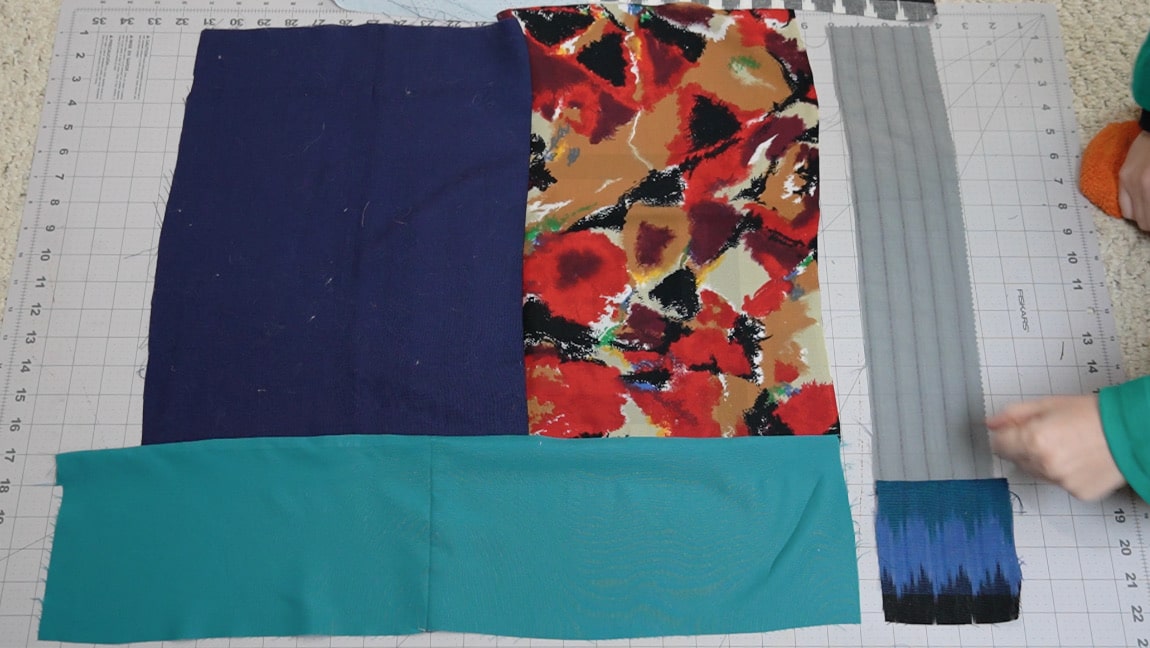
Start by laying out your fabric scraps in a rectangle that is roughly the size you want your final shawl to be. It’s okay if the edges along the perimeter don’t match up exactly, you’ll trim it later. Remember to overlap the fabric pieces to account for seam allowance.
I also recommend cutting your fabric pieces into squares and rectangles, especially if this is your first time making a scrap project. They are the easiest shapes to work with.

Step 2
sew the first seam with a narrow seam allowance
Because this is lightweight fabric, we’re going to make French seams between all of the scrap pieces. This takes longer to sew, but it will make your final shawl neater and more durable.
Start by sewing two scrap pieces with wrong sides together. You want to sew a narrow seam of 2/8 inch (or 1/4 in).
Step 3

Trim the Seam
Trim the seam allowance so it’s just about 1/8 inch. Be careful not to cut any of the stitches.
Step 4

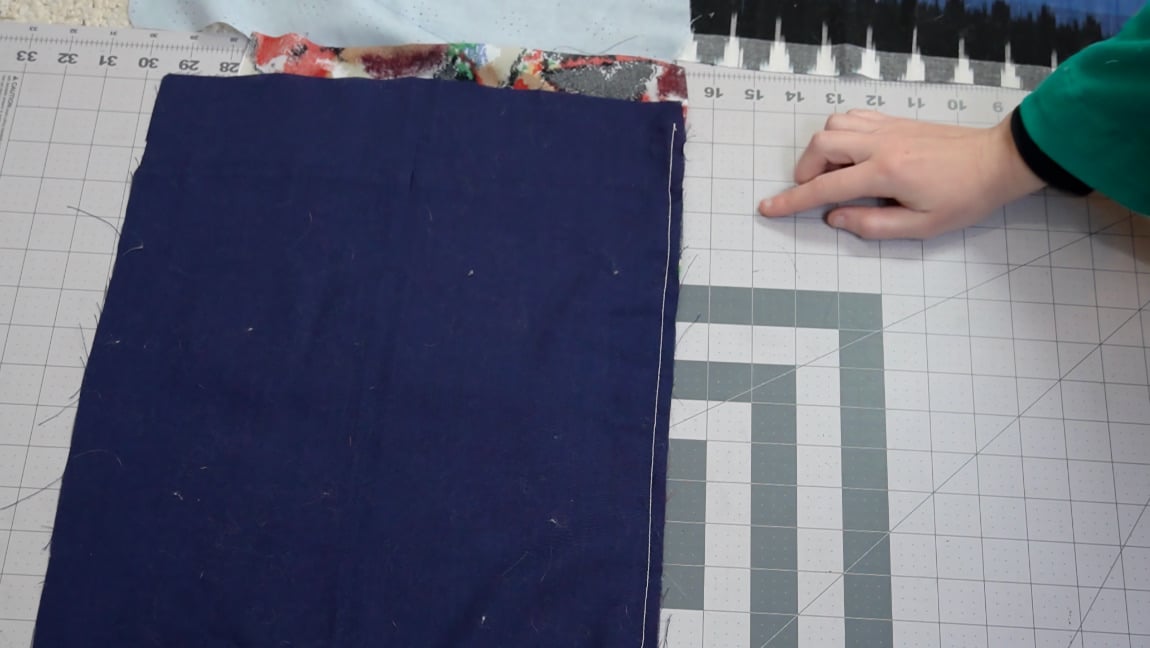
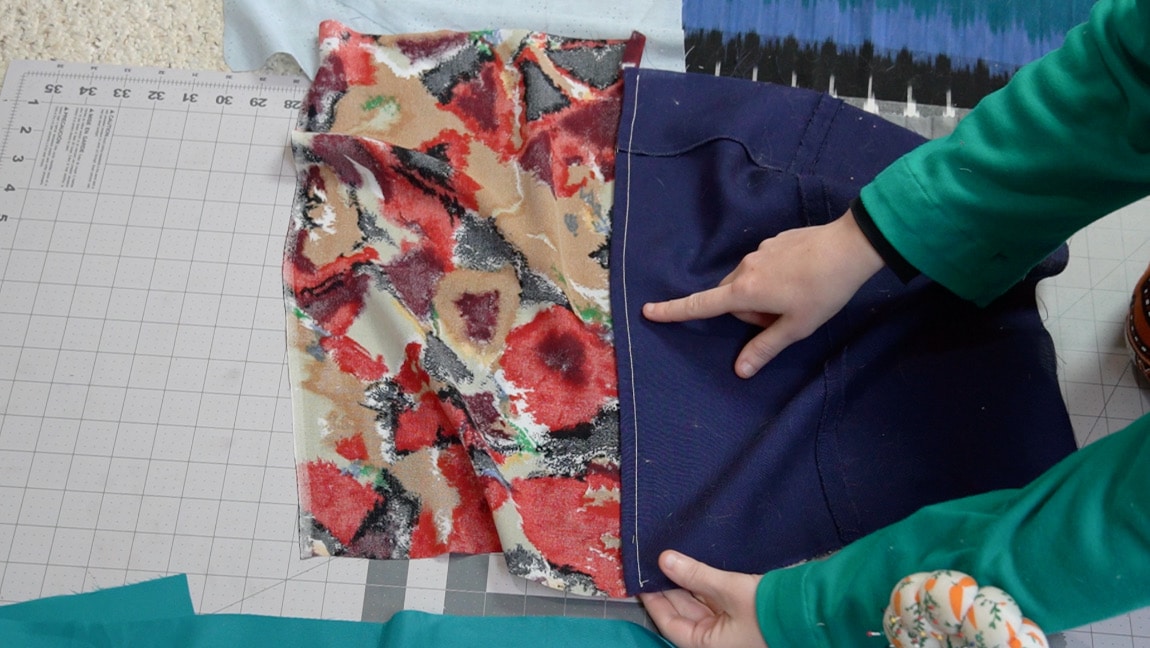
Flip the fabric around so you have right sides together
When you flip the fabric around, you’ll see that you now have the edge of the fabric enclosed inside the seam, so there are no raw edges visible. Press before sewing.
Now sew with a narrow 3/8 inch seam. After you sew it, press the seam toward whichever fabric is darker and more opaque. You now have a finished French seam!

Step 5
repeat steps 2-4 for all scrap pieces
One by one connect all of your scrap pieces until they are all connected. It’s easiest to do this in sections. Sew together smaller chunks of the shawl and then sew each chunk together to create the long length of the shawl.

Step 6

Trim the sides of the shawl
Now is the time to trim the overhanging fabric pieces to make them even along the four sides of the shawl so you have a rectangle.
Step 7

hem the shawl
Now all that’s left to do is hem the edges of the shawl. Make a narrow hem all the way along the edges. You can change the thread color to match depending on the fabric if you want to, or just use the same thread all the way around.
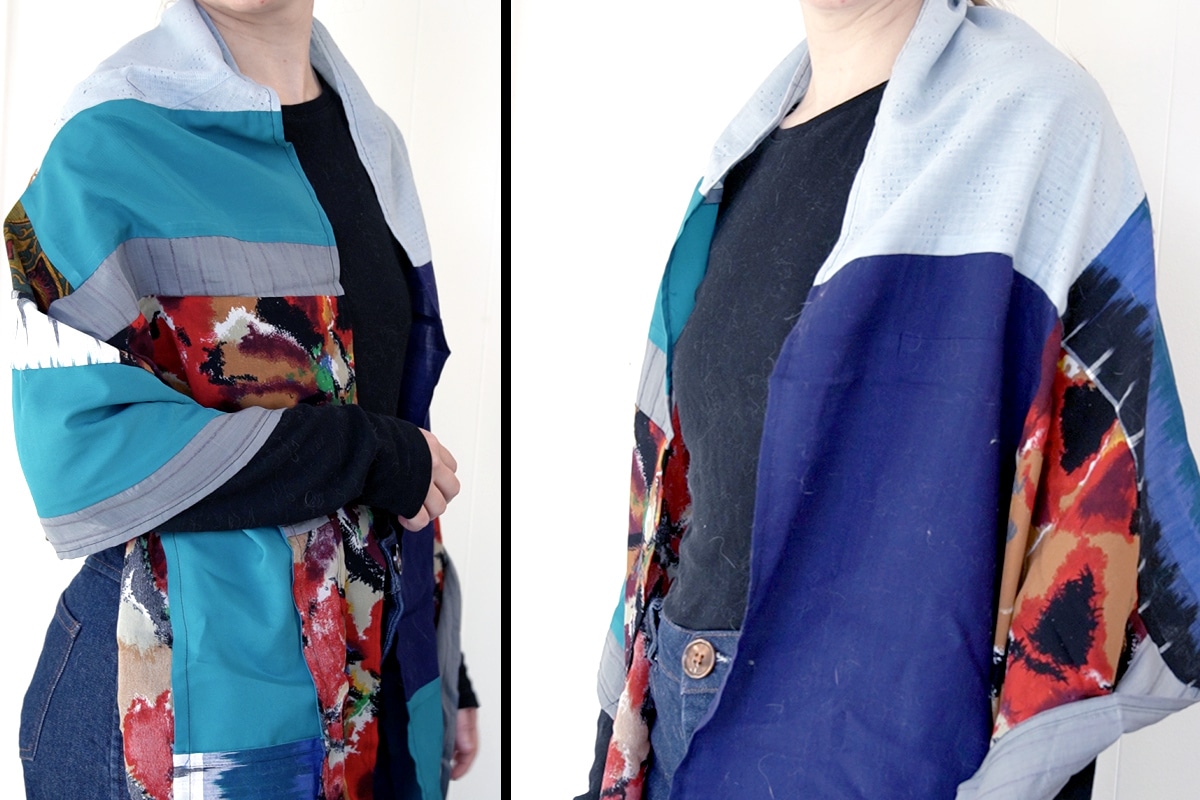
Finished!